

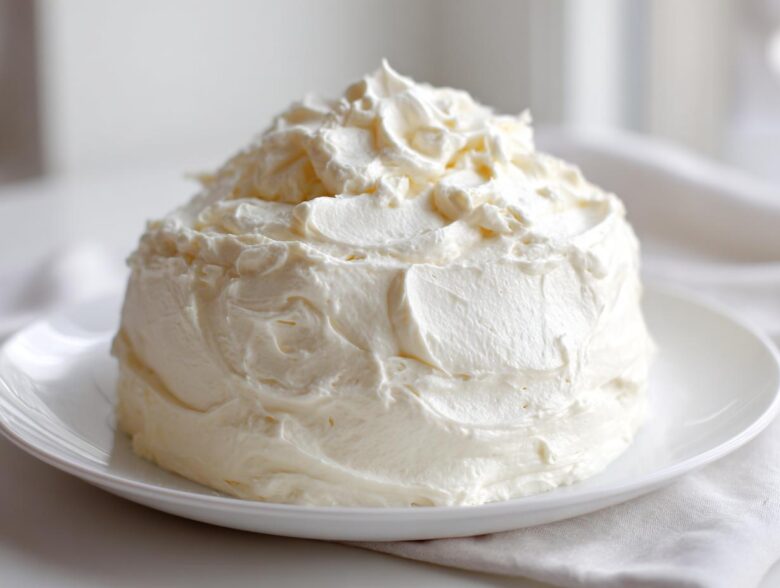
Oh, I know the pain! You spend so much time on a cake, and then the frosting looks gritty, too soft, or just plain lumpy. I used to think that perfectly smooth, creamy dream icing was something only professional bakers achieved. I’d spend ages beating it, but it never held its shape! But seriously, friends, I’ve cracked the code. That’s why I’m giving you my absolute secret for the best creamy and smooth 10-minute vanilla buttercream. It’s my go-to recipe now, and since I started using this method, my results have been stunning every single time. Say goodbye to grainy tops!
Why This is the Best Vanilla Buttercream for Cakes and Cupcakes
Seriously, you need this recipe in your life if you’ve ever been disappointed by grocery store icing. This version is pure, rich, melt-in-the-mouth frosting goodness. It performs like a dream! We’re making a classic American buttercream here, but we’re doing it right so you get that gorgeous, fluffy vanilla icing everyone raves about. Forget measuring everything by weight; this is a fast, fool-proof method guaranteed to give you that perfect finish for your next batch of cupcakes. Plus, you can whip this up in less time than it takes to clean the mixing bowl—it’s a true quick cupcake frosting 10 minutes wonder!
Achieving Smooth Buttercream Frosting Texture
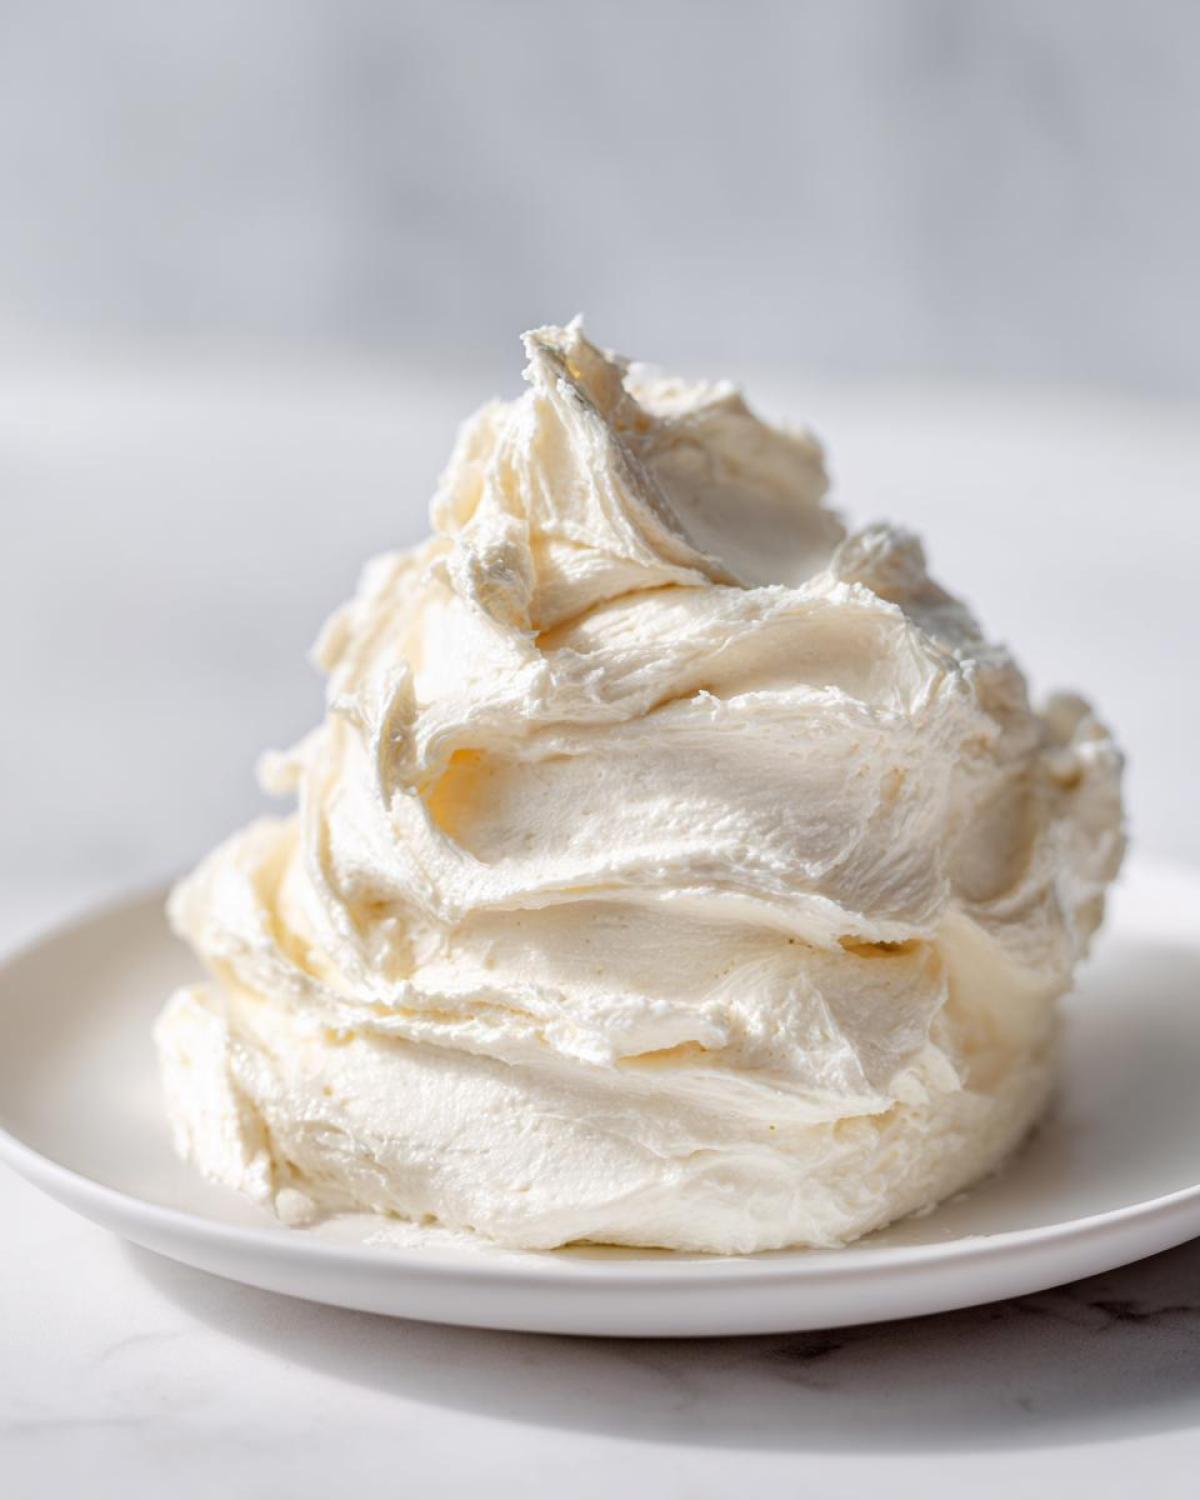
The secret to preventing that terrible grainy texture isn’t magic; it’s just science and patience! You absolutely must have your butter softened perfectly—not too cold where it stays lumpy, and definitely not melted and greasy. Start by beating the softened butter alone for a solid two minutes until it looks luxurious. This initial aeration is crucial. Then, when you slowly introduce the sugar, you’re incorporating air instead of just dumping everything together. That extra whirring time at the end is what turns a heavy icing into that beautiful, smooth buttercream frosting that pipes like a dream.
Ingredients for Your Ultimate Vanilla Buttercream Guide
Gathering the right components is half the battle won when making this classic vanilla frosting recipe. You’ll need one full cup of unsalted butter, and I mean room temperature—squishy but not oily. Then, we follow that with four cups of powdered sugar, but here’s the catch: it must be sifted! A full teaspoon of pure vanilla extract is necessary for that deep, rich flavor, and finally, you’ll need about two to four tablespoons of heavy cream or milk to get the consistency just right. Don’t forget that tiny pinch of salt; it wakes everything up!
Ingredient Notes and Substitutions for Creamy Buttercream Decoration
Let’s talk quality because it matters here. If you use cold butter, you’re guaranteeing lumps, so plan ahead! Sifting that powdered sugar is non-negotiable if you want that super creamy buttercream decoration finish. Now, if you’re baking in the summer or need a stable buttercream for gorgeous piping work, you can swap out a quarter cup of that butter for vegetable shortening. It sounds weird, but it keeps the frosting firm when things heat up. As for liquid, I prefer heavy cream because it makes the frosting richer, but regular milk works fine, just start with just two tablespoons!
How to Make Foolproof Vanilla Buttercream Icing in 10 Minutes
You want to see magic happen fast, right? That’s the beauty of this process! I promise this whole thing flies by, making it the ultimate vanilla frosting recipe no cooking required. The initial five minutes are all about getting the texture right, and the final five are for whipping it into something truly spectacular. This quick method ensures your cakes look professional without keeping you stuck in the kitchen all day. Just make sure your mixer attachments are clean and ready to go!
Step-by-Step for Whipped Vanilla Frosting
First things first, take that room-temperature butter and put it in your bowl—no lumps allowed! Beat that butter alone on medium speed for a solid two minutes until it looks pale and fluffy. Seriously, watch the clock! Next, you’re going to slowly invite the four cups of sifted powdered sugar into the mix, adding just one cup at a time on low speed. Once it’s all incorporated, add your vanilla and that tiny pinch of salt. Then comes the part that transforms it: add your liquid—milk or cream—just one tablespoon at a time. You might only need two! After the liquid is in, crank that mixer up to medium-high speed and just let it whip for three to five minutes. That’s the key to getting that light, whipped vanilla frosting that’ll hold its shape like a dream. Feel free to check our disclaimer if you have any questions about unusual mixing situations!
Tips for Perfect Piping: Making Your Vanilla Buttercream Decoration Stable
Okay, so you’ve got this gorgeous, rich vanilla buttercream, and now you want those perfect rosettes or sharp borders. Getting that buttercream that pipes well is all about the liquid content. If you want firm shapes that won’t droop the second they see the light, you need to err on the side of caution with your heavy cream or milk. Remember, I said 2 to 4 tablespoons? For piping, stick closer to two, or even stop at one and a half if your butter was really soft!
If you finish the whipping process and it looks a little too loose—like it’s running down the sides of the bowl instead of sticking up—don’t panic! That’s why we always save that last half-tablespoon of liquid. Just toss the bowl into the fridge for about *ten minutes*. Not twenty, not thirty—just ten. That little cold nap firms up the fat structure just enough so that when you bring it back out and give it one last quick beat, it’s suddenly stable enough for the prettiest swirls. This trick saves frosting every single time!
Troubleshooting Common Issues with Your Classic Vanilla Frosting Recipe
Even with the best recipe, sometimes our mixers have their own ideas, right? Don’t throw that bowl across the kitchen! The two most common headaches with any classic vanilla frosting recipe are graininess and the frosting being too loose to hold a shape. Graininess almost always means you didn’t beat the powdered sugar in long enough, or you skipped sifting. It needs that full five minutes of high-speed whipping after everything is incorporated to dissolve those fine sugar crystals.
If your frosting is too soft, which usually happens if your butter was too warm—I’ve done it!—just put the whole bowl into the fridge for ten minutes. Seriously. Don’t over-correct by adding more sugar right away, or you’ll end up with too much volume and a stiff texture. If it’s too stiff before you even start frosting, slowly add your liquid—milk or cream—one teaspoon at a time while the mixer is running low. A tiny bit of patience fixes almost everything when dealing with this gorgeous icing.
Storage and Reheating Instructions for Homemade Vanilla Frosting
Storing this homemade frosting is super easy, but you have to remember that it’s mostly butter, so temperature matters! If you’re using it all today or tomorrow, it’s perfectly fine to keep it covered tightly on the counter—but only if your kitchen isn’t scorching hot. For longer storage, like if you made extra for cookies later in the week, pop your airtight container in the fridge. Your vanilla buttercream will get rock hard!
Don’t worry if it hardens up! When you pull it out, you’ll need to let it warm up to almost room temperature, which takes about an hour. Then, put it back into your mixing bowl and beat it for a solid minute on medium speed. That quick whip reconnects the ingredients and makes it smooth and creamy again. Check our privacy policy if you’re worried about ingredient safety! It comes right back to life, ready for spreading.
Serving Suggestions for Rich Vanilla Buttercream
While this frosting is designed for cakes, I swear it deserves its own spotlight! It’s honestly one of my favorite simple dessert topping ideas. Try using it cold and firm as a delightful filling between homemade whoopie pies—it holds up beautifully. You can also swirl a big dollop on top of fudgy brownies right before they cool completely; the contrast between the warm, rich chocolate and the cool, sweet rich vanilla buttercream is just heavenly.
It’s equally delicious just warmed slightly so you can drizzle it over fresh fruit or use it to top warm cinnamon rolls instead of standard glaze. Honestly, sometimes I just eat a spoonful while taste-testing. Don’t judge me!
Frequently Asked Questions About American Buttercream Recipe
Can I use salted butter instead of unsalted for this vanilla buttercream?
You certainly *can*, but I always advise using unsalted butter, especially when aiming for the best vanilla buttercream for cakes. Salted butter varies wildly in its salt content from brand to brand. Since we only add a tiny pinch of salt here, adding salted butter can throw off the balance and make the frosting taste too sharp. If you only have salted, reduce that pinch of added salt to zero, taste it, and only add a micro-pinch if you truly feel it needs it. I want that pure sweet flavor, not a salty kick!
How do I easily color this fluffy vanilla icing?
Coloring is simple with this American buttercream recipe! The key is to use gel food coloring, not the liquid grocery store droppers. Liquid coloring adds moisture, which can loosen up your frosting and ruin the consistency you worked so hard for. Start with the tiniest amount of gel—a toothpick dab works wonders—and mix it completely before adding more. This makes achieving vibrant colors for that creamy buttercream decoration much easier without watering everything down.
Can this quick cupcake frosting be used for crumb coating layer cakes?
Oh yes, and it’s fantastic for that! Because this style of vanilla buttercream whips up so light and fluffy, it provides excellent coverage. For a crumb coat, you might want it slightly stiffer, so add a little less liquid than suggested. Once it sets for about 15 minutes in the fridge, you can apply your final, smooth layer. If you’re looking for more detailed construction tips, I have a whole post on techniques you can check out on my contact page, just kidding!
Nutritional Estimates for This Simple Dessert Topping
Now, I know we’re making something absolutely delicious here, so don’t stare too long at the numbers! Remember, this is just an educated guess based on standard measurements and serving sizes, okay? This estimate is broken down assuming a serving size of about a quarter cup, which is pretty generous for this simple dessert topping idea. Expect around 350 calories per serving, with about 18 grams of fat—that’s all that flavorful butter working hard! It clocks in around 45 grams of sugar, but trust me, it’s worth it for the sheer joy this vanilla buttercream brings!
PrintThe Best Creamy and Smooth 10-Minute Vanilla Buttercream Frosting
Make a classic, smooth, and fluffy American vanilla buttercream frosting in under ten minutes, perfect for piping decorations on cakes and cupcakes.
- Prep Time: 10 min
- Cook Time: 0 min
- Total Time: 10 min
- Yield: About 3 cups
- Category: Dessert Topping
- Method: Mixing
- Cuisine: American
- Diet: Vegetarian
Ingredients
- 1 cup unsalted butter, softened to room temperature
- 4 cups powdered sugar, sifted
- 1 teaspoon pure vanilla extract
- 2-4 tablespoons heavy cream or milk
- Pinch of salt
Instructions
- Place the softened butter in a large mixing bowl. Beat the butter with an electric mixer on medium speed until it is completely smooth and creamy, about 2 minutes. Scrape down the sides of the bowl.
- Gradually add the sifted powdered sugar, one cup at a time, mixing on low speed until incorporated. Increase the speed to medium-low and beat until combined.
- Add the vanilla extract and the pinch of salt. Mix well.
- Add the heavy cream or milk, one tablespoon at a time, beating on medium speed until you reach your desired consistency. If you want a stiffer frosting for piping, use less liquid. If you want a softer frosting for spreading, use more liquid.
- Once the liquid is added, increase the mixer speed to medium-high and beat for 3 to 5 minutes until the frosting is light, fluffy, and smooth. This whipping time is key to removing any graininess.
- Use immediately for frosting cakes or cupcakes.
Notes
- For the smoothest texture, ensure your butter is truly softened but not melted. Cold butter will result in lumps.
- Sifting the powdered sugar prevents lumps in the final product.
- If the frosting seems too soft after mixing, chill it for 10 minutes before using it for piping.
- To make a stable buttercream for warm weather, substitute 1/4 cup of the butter with vegetable shortening.
Nutrition
- Serving Size: 1/4 cup
- Calories: 350
- Sugar: 45
- Sodium: 35
- Fat: 18
- Saturated Fat: 11
- Unsaturated Fat: 7
- Trans Fat: 0
- Carbohydrates: 48
- Fiber: 0
- Protein: 1
- Cholesterol: 45