

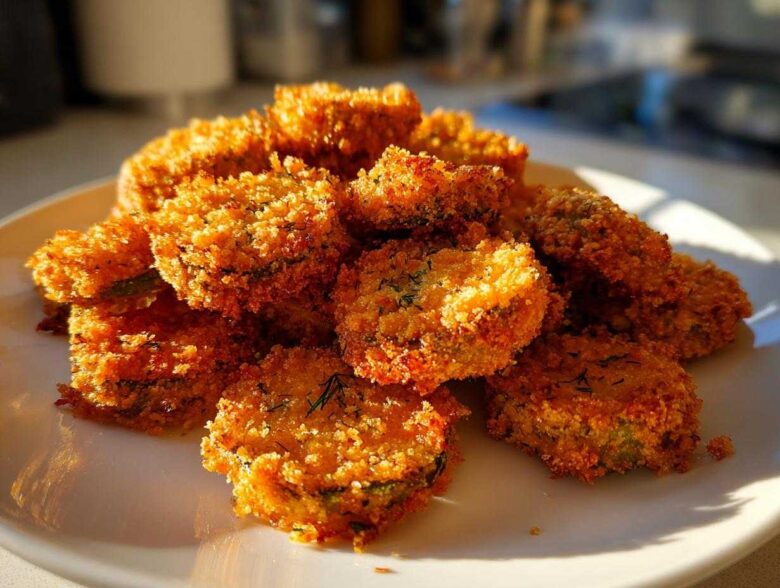
Okay, let’s be honest. Who doesn’t crave those decadent, greasy, deep-fried pickles you get at a fair? I absolutely do! But deep frying usually means a giant mess and, well, way too much oil clinging to everything. That’s where my obsession with the air fryer kicked in, and trust me, after weeks of testing coatings and spray-oil ratios, I finally cracked the code.
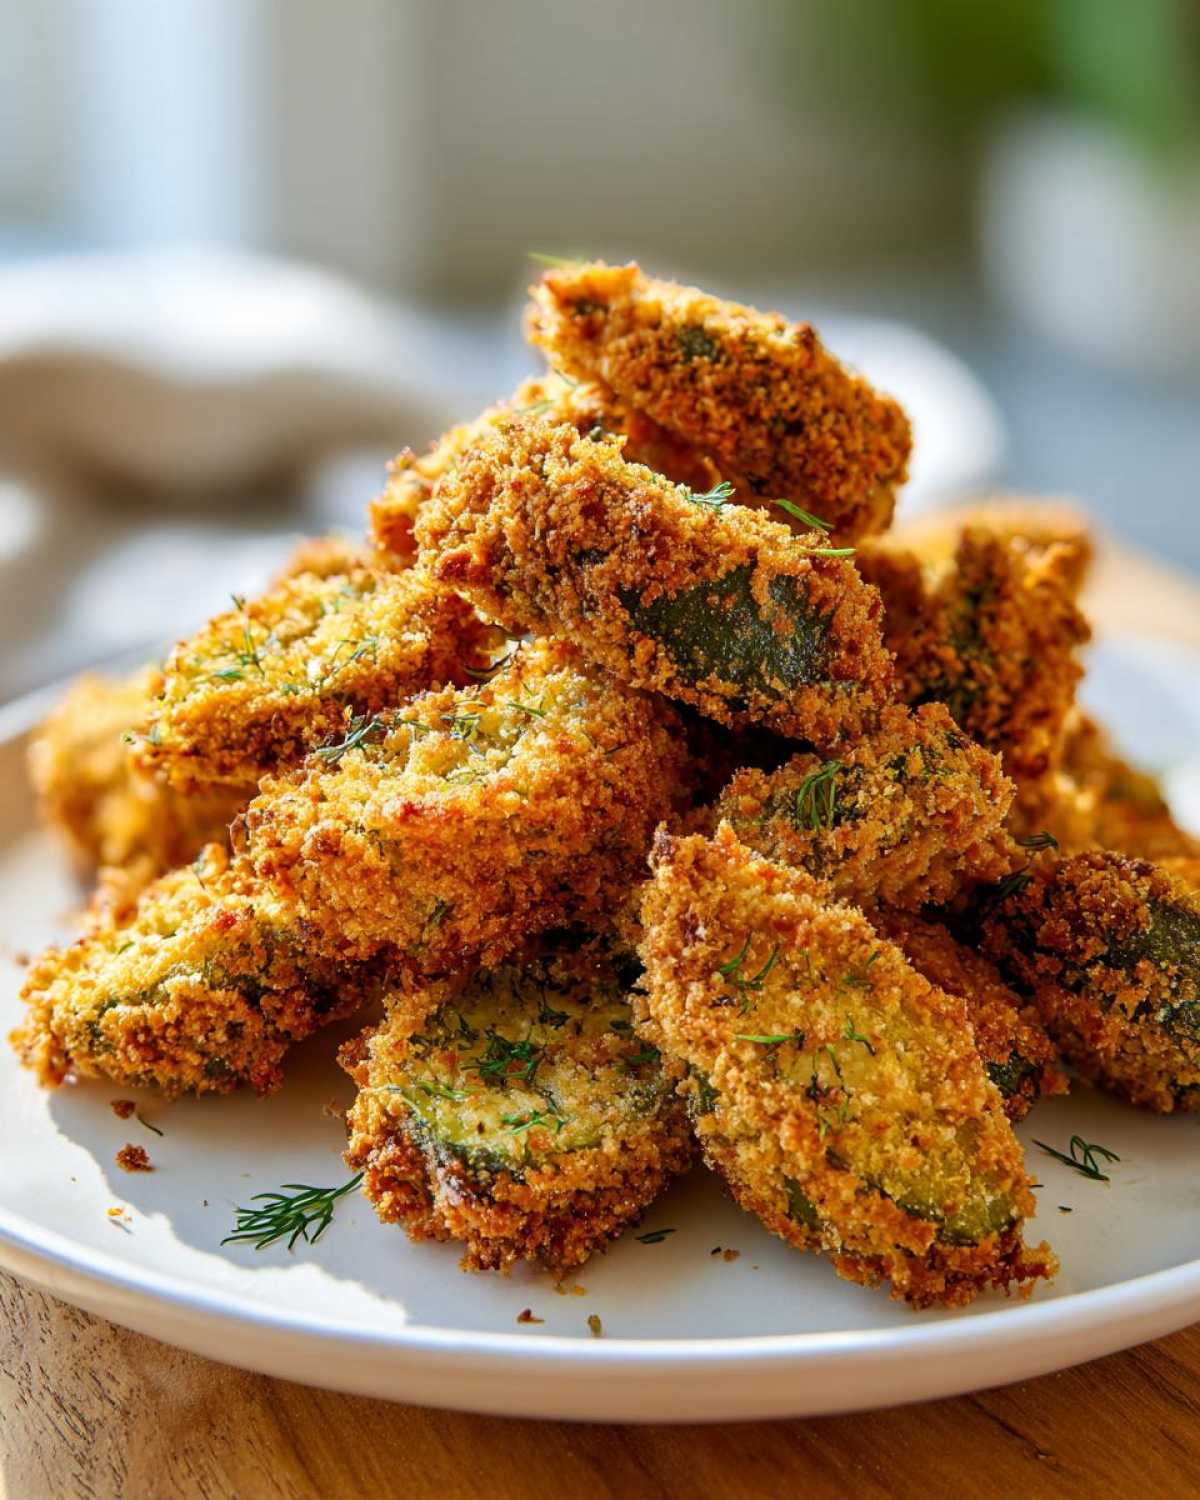
Forget soggy disappointment; we are making Air Fryer Crispy Garlic Dill Pickles that actually snap when you bite them. My mission was clear: use the air fryer to get that satisfying crunch while packing in tons of bright, herbaceous garlic and dill flavor. I’ve tweaked the breading process so many times I practically dream in flour and Panko now! This recipe is solid gold, and I can’t wait for you to try this healthier take on your favorite crunchy snack.
If you’re looking for more amazing snack ideas, I’ve got piles of them right over in my snacks category, but stick with me here—you’re going to want to master these pickles first!
Why You Will Love These Air Fryer Crispy Garlic Dill Pickles
I’ve made these dozens of times now, and honestly, they blow the fried versions out of the water because they bring that intense crunch without all the fuss. If you need convincing before you start setting up your breading stations, here are the top reasons these Air Fryer Crispy Garlic Dill Pickles will become a staple in your house:
- They are unbelievably crispy! Seriously, thanks to Panko and a good spray of oil, you get that deep-fried texture. They are truly some of the best Crispy Air Fryer Snacks out there.
- That garlic dill infusion is vibrant. We aren’t skimping on the spices in that breading layer, so they taste homemade and bursting with savory goodness.
- Cleanup is a breeze! You only have a couple of shallow bowls and the air fryer basket to wash. No heavy grease splattering all over the stove, which is my favorite bonus.
- The texture holds up! Unlike oven-baked versions that can get chewy quickly, these stay pleasantly firm and crunchy for longer.
- They cook lightning fast. Seriously, 10 minutes prep, 10 minutes cook time. Perfect for a last-minute craving or when game day food needs a quick boost.
- They feel lighter. You get all the satisfaction of a fried treat but with way less guilt, making them a fantastic healthy alternative for snacking.
Essential Ingredients for Perfect Air Fryer Crispy Garlic Dill Pickles
Okay, listen up, because the ingredients list for these Air Fryer Crispy Garlic Dill Pickles is short, but the prep you do *to* those ingredients is what matters most. You’re going to need one cup of dill pickle chips, but please—and I mean *please*—make sure they are pre-sliced or chip-style and most importantly: well-drained. Soggy pickles equal sad, floppy breading, and we aren’t having that!
For the coating, you need a classic three-step setup. We start with a half-cup of all-purpose flour seasoned with salt and pepper. Then, you’ll need two large eggs, lightly beaten with just a tablespoon of water—that tiny bit of water helps the coating stick nicely where the flour couldn’t grab it. Finally, the flavor bomb: one full cup of Panko breadcrumbs mixed with garlic powder, dried dill weed, and a dash of onion powder. Don’t forget that essential cooking spray for the outside; it’s crucial for that golden finish!
Ingredient Notes and Substitutions for Your Air Fryer Crispy Garlic Dill Pickles
Let’s talk crispy texture versus the dreaded sogginess. You absolutely must use Panko breadcrumbs here. Regular breadcrumbs just don’t give you the lift and crunch we are aiming for; Panko acts like little air pockets that crisp up perfectly.
The biggest thing people forget is drying the pickles. You need paper towels, lots of them, to pat those slices completely dry *before* they even see the flour. This simple effort is what makes it feel like you used oil for frying when you really didn’t—it helps achieve that No Oil Pickle Recipe vibe!
If you have fresh dill, great! Use maybe two teaspoons of finely chopped fresh dill instead of the dried weed in the Panko. Fresh is always superior, but the dried works just fine if that’s what you have on hand right now.
Mastering the Breading: Techniques for Air Fryer Crispy Garlic Dill Pickles
If you want crunchy pickles that don’t fall apart the second they hit the air fryer basket, you need to respect the breading process. This isn’t the time to rush! Good Homemade Crispy Pickles start with a solid three-station setup. I know it seems like extra work, but separating your dry, wet, and final coating is the absolute key to success here for great Air Fryer Breading Techniques.
First, lay out your first station: the seasoned flour mix. This layer is what gives the egg something to grab onto! Go through your ultra-dry pickles and coat each one lightly, making sure to shake off every bit of excess flour. If you leave too much flour, the next layer gets clumpy, and nobody wants a lumpy pickle coating.
Next is the egg wash. Dip your floured pickle in, let it drip for a second—we don’t want pools of egg, just an even coating. That little bit of water helps emulsify the mixture, which is a fancy way of saying it makes things stick better!
Then comes the grand finale: the Panko mixture. This is where our garlic and dill live! Once the pickle is fully coated in the Panko blend, you have to press it in. I mean it—gently but firmly press the breadcrumbs onto the surface of the pickle slice. Think of it like tucking it into a cozy, crispy blanket. If you skip pressing, that spice coating is definitely going to detach and stay stuck in your air fryer basket instead of clinging to the pickle!
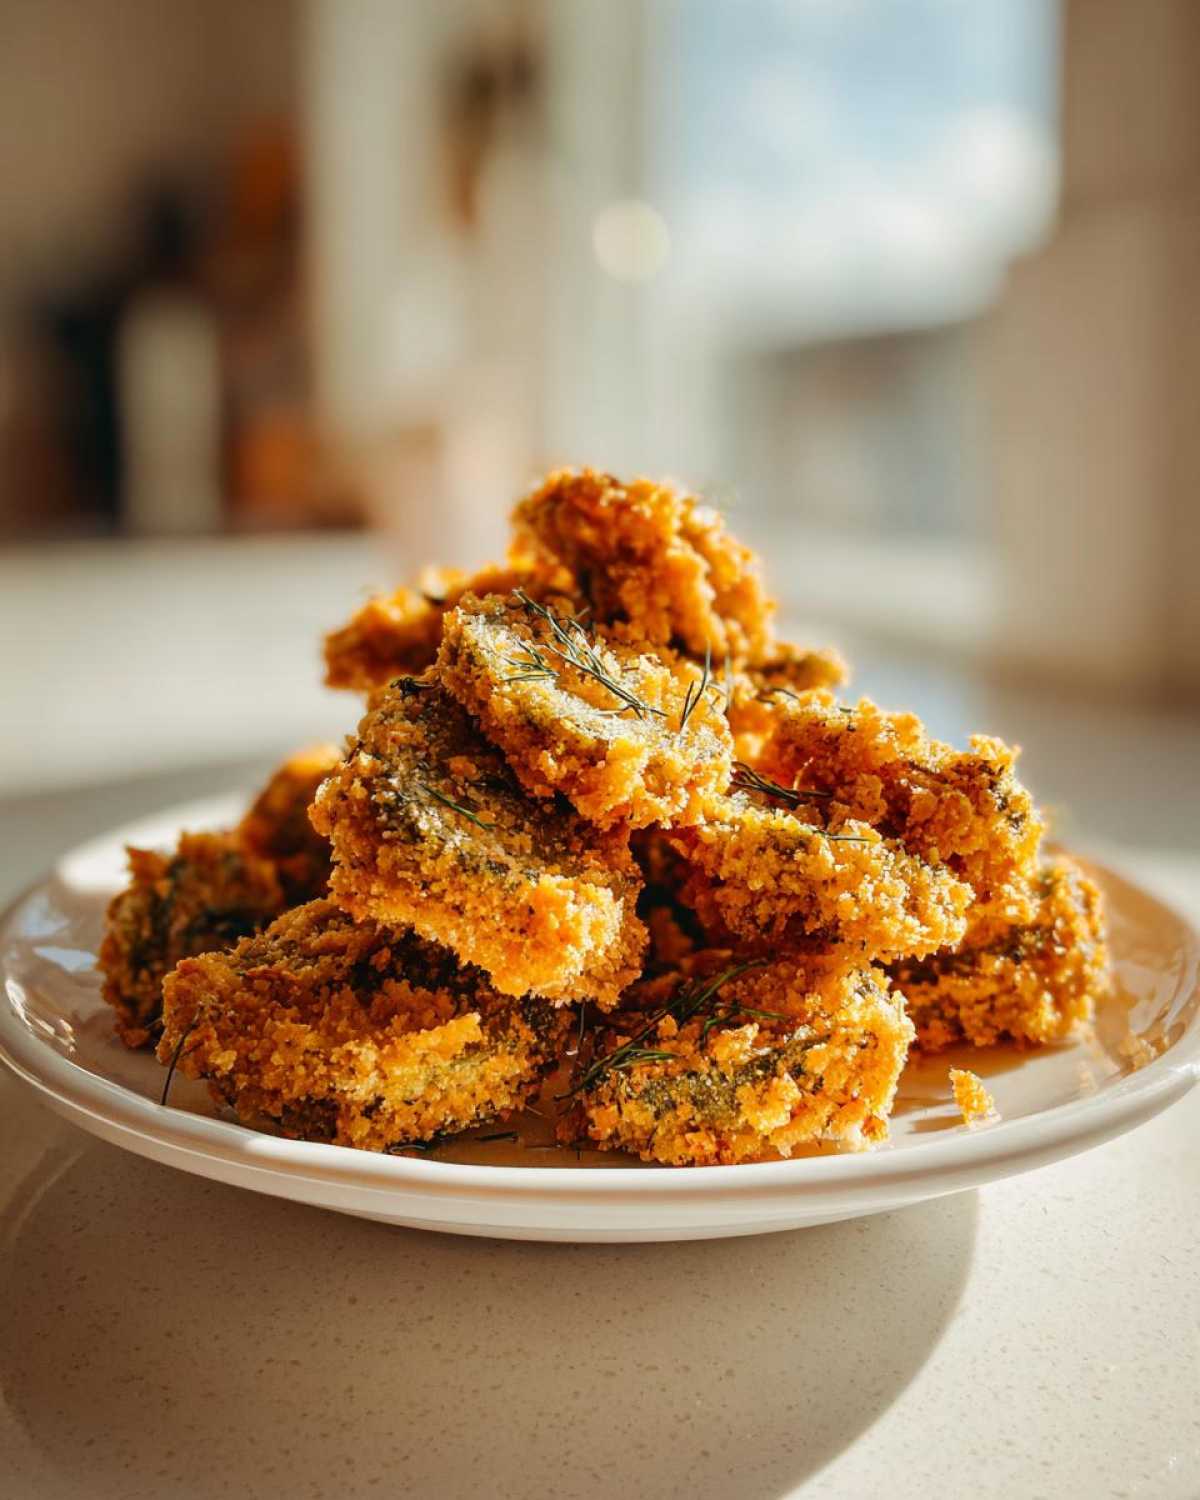
Once they are perfectly breaded, set them down on a clean plate or wire rack while you finish the rest of the batch. If you try to stack them after breading, they’ll stick together, and we’ll lose that crucial space needed for air circulation in the basket later on!
Step-by-Step Instructions for Air Fryer Crispy Garlic Dill Pickles
Alright, now that we have our super-seasoned, beautifully breaded pickles ready to go, it’s time to introduce them to the hot air! Following this part of the process correctly is what separates a good **Air Fryer Pickles Recipe** from an absolutely *amazing* one. Remember, we are aiming for maximum heat circulation, so be careful when loading your basket!
First things first—make sure your **Air Fryer Crispy Garlic Dill Pickles** are laid out in a single layer inside the basket. Repeat after me: Do not overlap them! If they are touching too much, the steam gets trapped, and that coating you worked so hard on goes soft. Think of it like giving each pickle its own little personal tanning spot under the heating element.
Once they are nestled in there, you must lightly spray the tops with your cooking spray. This oil is what helps the Panko brown so beautifully and gives you that necessary crunch. Cook them at 390F (200C) for about 8 to 10 minutes total. Set a timer for 4 minutes!
When that first timer goes off, carefully pull the basket out. Using tongs, flip each pickle over. Be gentle! Give the second side a light spritz of oil too, then slide the basket back in to finish cooking until they are golden, crisp, and look irresistible. They are totally done when they’re deeply colored and firm to the touch. Serve these babies immediately!
Crucial Tip: Chilling for Extra Crunchy Air Fryer Crispy Garlic Dill Pickles
This is a huge pro move, learned through painful experience when I tried to rush things! If you have even 15 extra minutes, I beg you to chill your breaded pickles. Once you’ve completed the whole three-step breading process, lay those coated pickles out on a clean wire rack and pop them right into the fridge for about 15 minutes.
Why does this matter so much? Well, when the breading chills, it solidifies just a bit and really bonds with the pickle. It locks in the moisture from the egg wash right at the coating line. When these chilled, set pickles hit the hot air fryer, they hold their shape way better, and that crunch factor skyrockets! It’s a small time investment that gives you some spectacular Crispy Air Fryer Snacks.
Serving Suggestions for Your Air Fryer Crispy Garlic Dill Pickles
You’ve made them! They are hot, they are crunchy, and they smell like a summer picnic mixed with an Italian deli—it’s the garlic dill magic! Now, you can’t just eat them plain, right? Well, you technically could, because they are amazing, but these delicious things are just begging for a creamy counterpart to balance out that tangy dill.
When it comes to that perfect dunk, you need something cool and punchy. I’ve experimented with what I call the ultimate pairings for these savory little bites. Forget the sad, plain ketchup; we are aiming higher!
If you want my top pick for the **Best Dipping Sauce for Pickles**, you should definitely check out my full guide on sauce pairings, but here are the three must-tries that go perfectly with our garlic dill profile:
- Spicy Ranch: This is my number one choice, especially if you like a little kick. Just mix your favorite store-bought ranch with a teaspoon or two of your go-to hot sauce—Sriracha or a chipotle blend works wonderfully. The coolness of the ranch cuts through the spice, and the herb base plays nicely with the dill.
- Garlic Aioli: Since we already have garlic in the coating, leaning into it by creating a garlic aioli is just decadent. It’s rich, creamy, and unbelievably good. You can whip this up fast by mixing mayonnaise, a squeeze of fresh lemon juice, grated fresh garlic, and a tiny pinch of salt.
- Cream Cheese Dip: For something slightly different—and maybe a bit closer to what you’d get with a cold store-bought pickle dip—try softening some cream cheese, mixing in a little buttermilk or milk until it’s drizzle-able, and stirring in some extra dried dill. It’s thick, tangy, and holds onto those crunchy pickles beautifully.
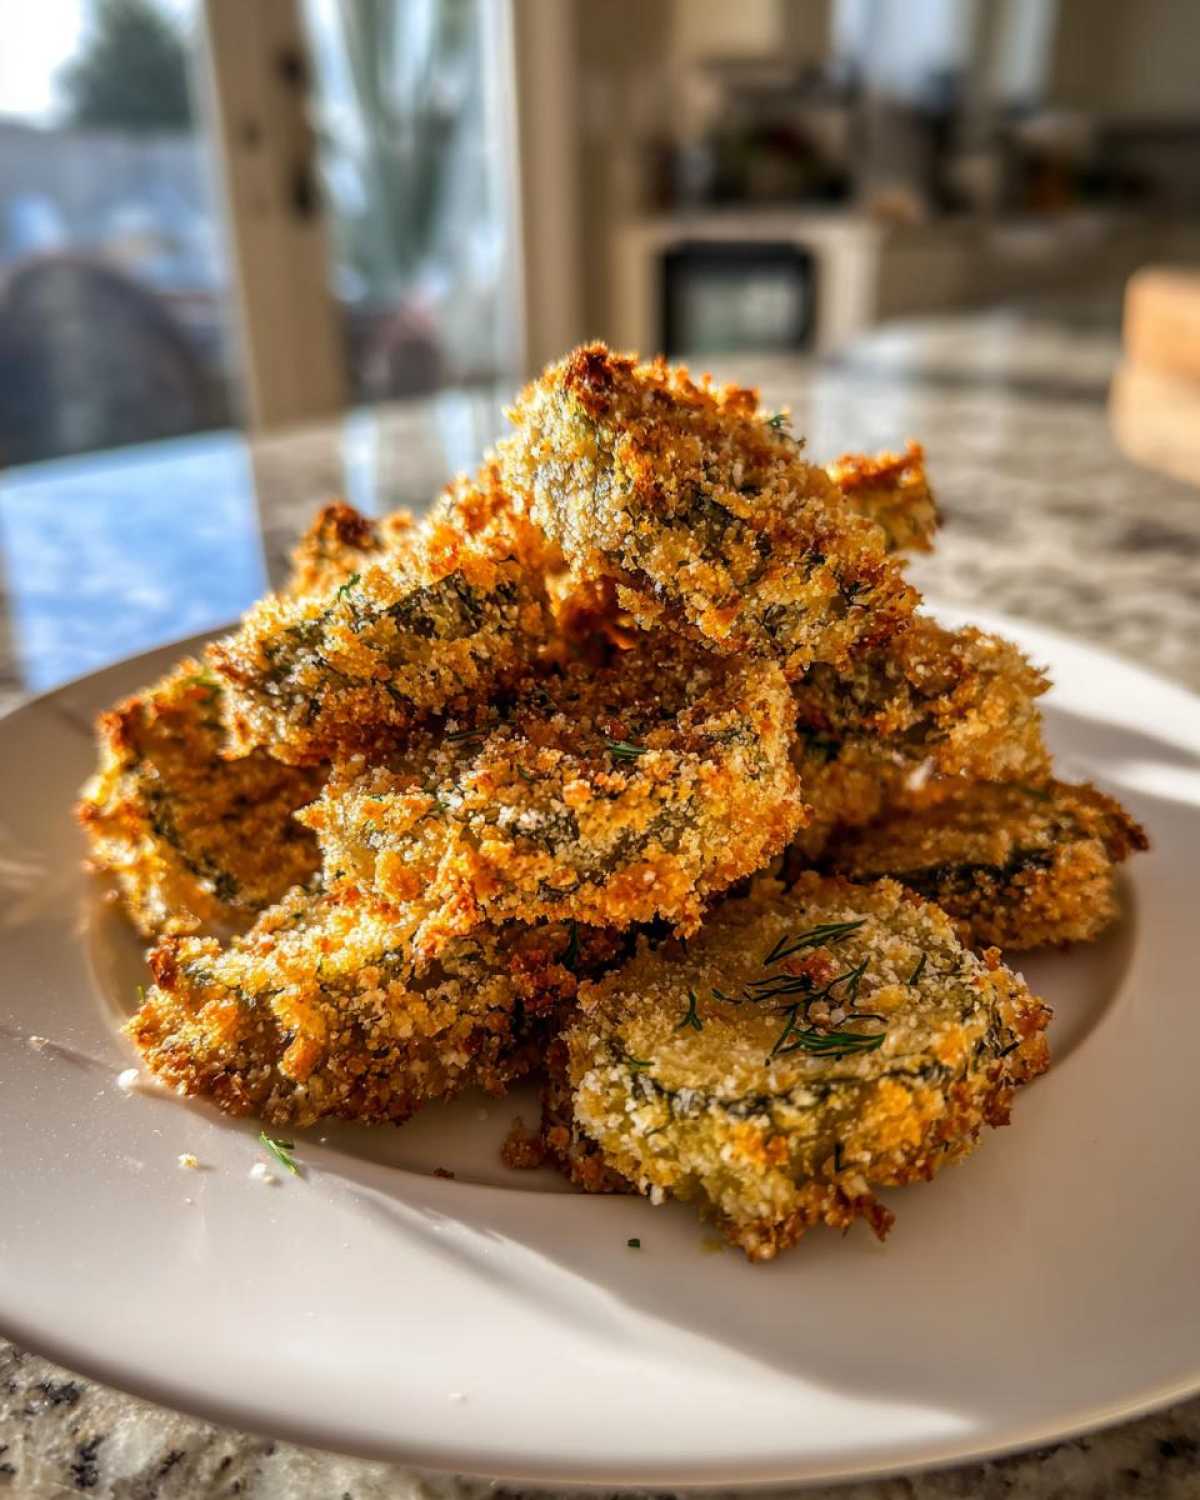
Seriously, do not skip the dip! It takes these **Air Fryer Crispy Garlic Dill Pickles** from a good appetizer to an absolute showstopper. Make sure the dip is cold when you bring it out, so you get that pleasant hot-and-cold sensory experience!
Troubleshooting Common Issues with Air Fryer Crispy Garlic Dill Pickles
Even when following the steps perfectly, sometimes the air fryer gods just aren’t smiling on us, right? I’ve definitely had batches of these Air Fryer Crispy Garlic Dill Pickles that just haven’t lived up to the crunch potential. But don’t you worry! Most air fryer mishaps with breaded items come down to a few very specific, easily fixed issues. Let’s talk about what might be going wrong so your next batch is perfect.
The number one reason people end up with limp, sad, almost soggy pickles that taste more steamed than fried is simple: moisture management. If you look back at Step 1, I went on and on about patting those pickles dry. I meant it! If there’s excess water or brine clinging to the pickle slice when it enters that breading station, the water heats up in the air fryer and creates steam *under* your beautiful Panko crust. Steam ruins crispiness instantly!
So, if your pickles come out floppy, go back and check your initial prep. Next time, pat those slices down until they feel almost rough and dry underneath the paper towel. You probably need to use more paper towels than you think!
The second big issue I see people running into involves the actual coating sticking. If you pull your finished pickles out and notice large flakes of the garlic dill breading stuck to the bottom of the air fryer basket, that means the breading didn’t adhere well enough before cooking. This usually happens for two reasons.
First, you didn’t press hard enough when you smothered them in the Panko mixture. Remember, you need to gently but firmly push that crumb layer onto the egg wash. Second, overcrowding is the silent killer of crispiness. If you pile them in, they trap humidity, and that trapped moisture loosens the breading. They have to travel in a single, sunny layer so the hot air can circulate around every single side. If you have to cook in batches, that’s what you must do! A few extra minutes cooking is a small price to pay for perfection.
Storage and Reheating Instructions for Air Fryer Crispy Garlic Dill Pickles
Here’s the hard truth about any crispy, breaded, air-fried delight: they are absolutely, one hundred percent, built to be eaten the second they come out of the air fryer. I mean it! The whole magic of these **Air Fryer Crispy Garlic Dill Pickles** is that incredible initial crunch we worked so hard to achieve with the Panko and the quick burst of hot air. They are best devoured hot, dipped in something cold and creamy.
That said, leftovers happen! Maybe you made too many for your game day spread, or maybe you just can’t stop thinking about that garlic dill flavor. If you have any leftover **Dill Pickle Chips Air Fryer** perfection, you can absolutely save them, but you have to be careful how you store and reheat them, otherwise, they’ll turn into sad, chewy sponges.
First, let them cool down to room temperature completely on a wire rack. Do not store them warm in a sealed container! Trapped heat and moisture are the enemies. Once cool, place them in a shallow, airtight container. Try not to pack them too tightly. They should be okay in the fridge for a day, maybe two, but frankly, the texture starts to deteriorate after about 12 hours, so keep your expectations low for day two crunch levels.
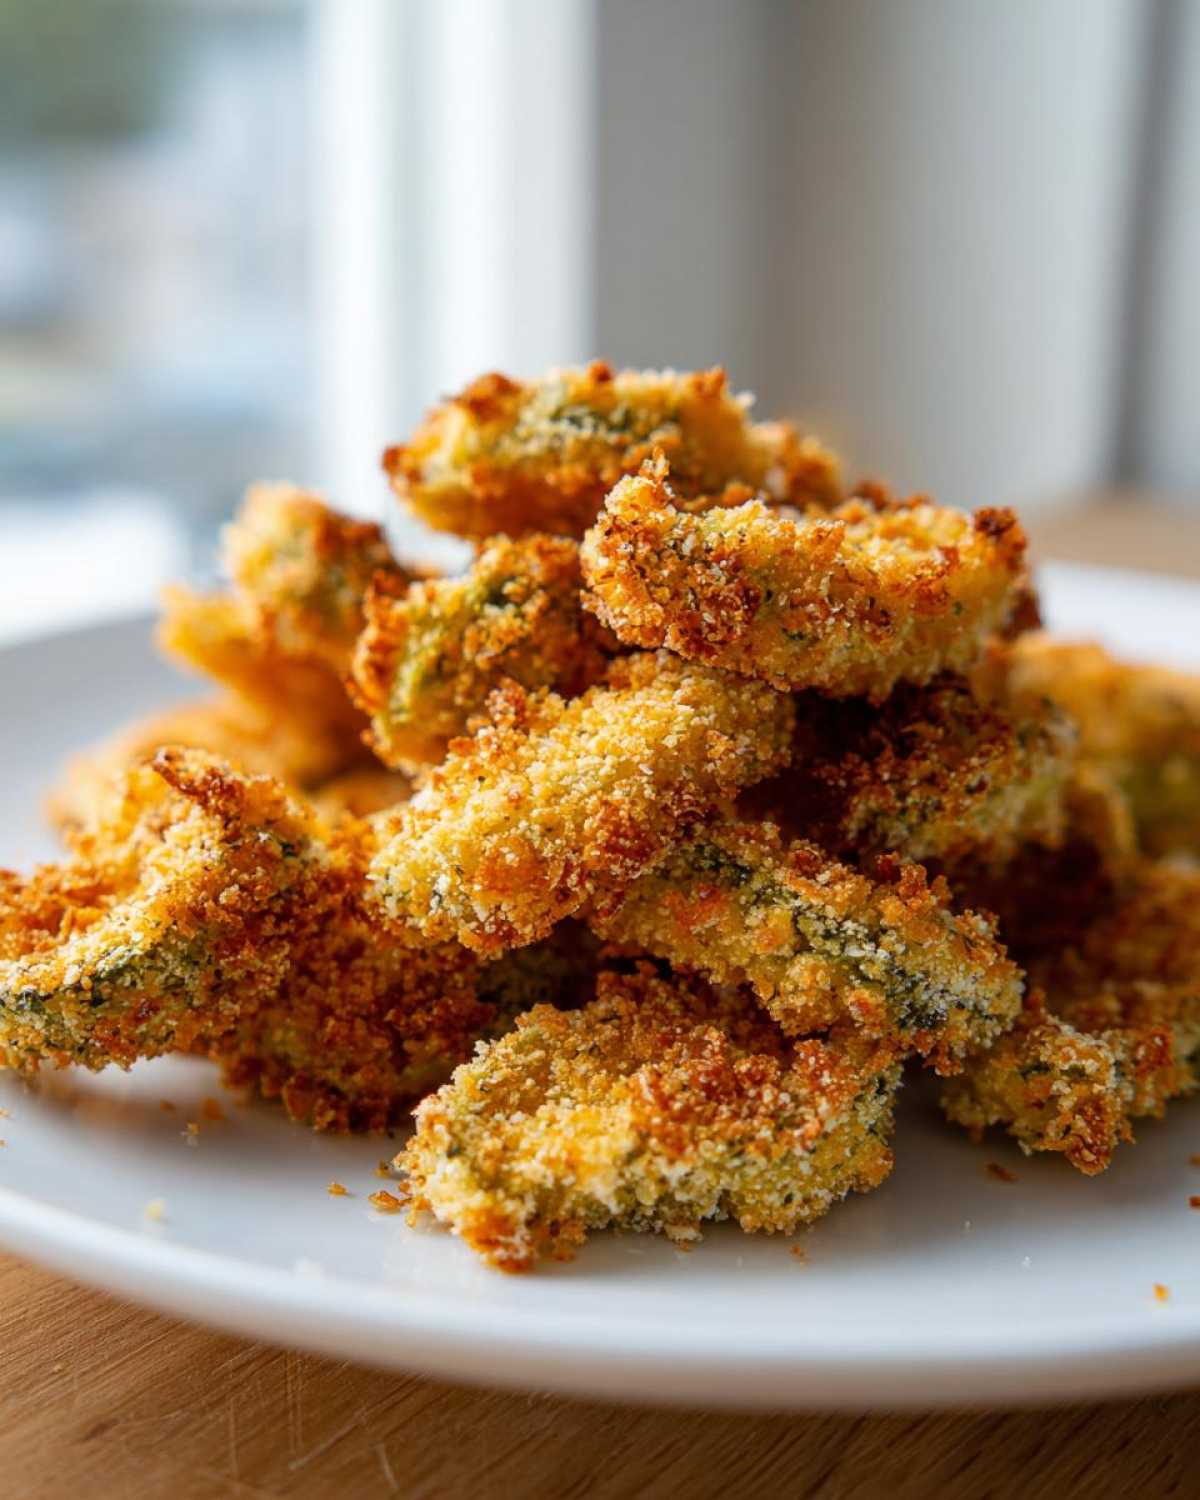
Now, for the reheating part—this is essential for bringing back just a little bit of that magic. Never use the microwave; it’s the death of crispiness. You absolutely must use the air fryer again! Preheat your air fryer to about 375F (190C). You just need a quick blast to dry them out and wake up the Panko.
Spread the few leftovers you want to eat in the basket in a single layer—no overlapping again! Cook them for just 3 to 4 minutes. Keep a close eye on them! Since they are already cooked, you are just trying to re-crisp the exterior, not cook them through again. Pull them out as soon as they start smelling fragrant and feeling slightly firm again. They won’t be *quite* as perfect as the first batch, but they’ll be miles better than any soggy remnants!
Frequently Asked Questions About Air Fryer Pickles Recipe
I figured you might have a few lingering thoughts after diving into all that breading advice! It’s totally normal; these crunchy snacks have a few little quirks, but once you know the answers, they become super simple. Here are the questions I get asked the most about making the perfect batch!
Why are my air fryer pickles still soggy instead of crispy?
This is the big one, and nine times out of ten, it comes down to one thing: water! The briny nature of the pickle itself is working against us here. You just have to commit to that first step—patting the pickle slices incredibly dry with paper towels until you think you can’t possibly press any harder, and then press one more time! Also, make absolutely sure you are spraying the tops with oil before cooking. That little bit of fat is the key to getting that golden, crunchy shield you want on your **Air Fryer Crispy Garlic Dill Pickles**.
Can I use regular breadcrumbs instead of Panko?
You *can*, but should you? Not if you want them truly crispy! Standard breadcrumbs are much finer, and they tend to absorb moisture faster and compact down when they heat up. Panko breadcrumbs, those flaky Japanese ones, are structured to stay light and airy, which gives you that delightful, shatter-crisp texture we are famous for on this blog. For the best results, stick to Panko!
What is the best temperature setting for these pickles?
I found success right around 390°F (200°C). Since our pickles are already wet inside and we are using less oil than traditional frying, you need that heat to be high enough to quickly crisp the outside before the inside can steam the coating. If your air fryer runs super hot, you might even be able to push it to 400°F, but keep a very close eye on them if you do—they can go from golden brown to burnt really fast!
Are these actually healthier than deep-fried pickles?
That’s what I love about them! Yes, they are definitely a significant improvement over deep-fried versions. While they aren’t 100% oil-free because we *have* to spray them to get them golden, the amount of oil absorbed is drastically lower. They are a much smarter choice for a guilt-free snack!
Can I use whole pickle spears instead of chips?
You certainly can, but be aware the cooking time will change! Spears are much thicker, meaning more moisture trapped deep inside. If you swap them out, you’ll probably need to add about 3 to 5 minutes to the cook time, and you really need to make sure you’re spraying both sides well. Slices are just easier because they heat up and crisp through evenly in that shorter 8 to 10-minute window.
Nutrition Estimates for Air Fryer Crispy Garlic Dill Pickles
I know many of you are choosing to make these **Air Fryer Crispy Garlic Dill Pickles** because they are a fantastic Healthy Fried Pickle Alternative compared to the diner versions. Because we skip the deep fryer and use Panko instead of heavy batter, the numbers look pretty manageable for a snack food! I’ve put together the estimates based purely on the ingredients list above, but remember, like any homemade recipe, your exact values depend on the brands you buy—especially for the pickles and the cooking spray you use.
Here’s a quick breakdown per serving (which we figured was about 10 pickle slices for this recipe):
- Serving Size: 1 serving (approx. 10 slices)
- Calories: 180
- Fat: 5g (with only 1g saturated fat—huge win!)
- Carbohydrates: 28g
- Protein: 6g
- Sodium: 450mg (Pickles are salty, so keep that in mind!)
- Sugar: 2g
See? Not bad at all for something that tastes this indulgent! If you are looking for other ways to use these bright, savory flavors—because I know you’ll fall in love with this profile—you can find tons of inspiration for other Garlic Dill Flavor Recipes on my site. Happy snacking!
PrintAir Fryer Crispy Garlic Dill Pickles
Make exceptionally crispy garlic dill pickles in your air fryer. This recipe uses a simple breading technique for maximum crunch without deep frying.
- Prep Time: 15 min
- Cook Time: 10 min
- Total Time: 25 min
- Yield: 4 servings
- Category: Appetizer
- Method: Air Frying
- Cuisine: American
- Diet: Vegetarian
Ingredients
- 1 cup dill pickle chips or slices, well-drained
- 1/2 cup all-purpose flour
- 1/2 teaspoon salt
- 1/4 teaspoon black pepper
- 2 large eggs, lightly beaten
- 1 tablespoon water
- 1 cup panko breadcrumbs
- 1 teaspoon garlic powder
- 1 teaspoon dried dill weed
- 1/4 teaspoon onion powder
- Cooking spray (oil-based)
Instructions
- Pat the pickle slices very dry using paper towels. This step is important for crispiness.
- Set up a three-station breading area: one shallow dish with flour, salt, and pepper; one shallow dish with beaten eggs and water; and one shallow dish with panko breadcrumbs, garlic powder, dried dill, and onion powder.
- Dredge each pickle slice first in the flour mixture, shaking off excess.
- Dip the floured pickle into the egg wash, letting excess drip off.
- Coat the pickle thoroughly in the panko mixture, pressing gently so the breading adheres well.
- Place the coated pickles in a single layer in the air fryer basket. Do not overlap them.
- Lightly spray the tops of the pickles with cooking spray.
- Air fry at 390F (200C) for 8 to 10 minutes, flipping halfway through. Spray the second side lightly with cooking spray before flipping.
- Continue cooking until the coating is golden brown and crispy.
- Serve immediately with your preferred dipping sauce.
Notes
- For extra crispiness, chill the breaded pickles on a wire rack for 15 minutes before air frying.
- Use thin pickle slices for the best results in the air fryer.
- A creamy ranch or spicy aioli pairs well with the garlic dill flavor.
Nutrition
- Serving Size: 1 serving (approx. 10 slices)
- Calories: 180
- Sugar: 2
- Sodium: 450
- Fat: 5
- Saturated Fat: 1
- Unsaturated Fat: 4
- Trans Fat: 0
- Carbohydrates: 28
- Fiber: 1
- Protein: 6
- Cholesterol: 65