

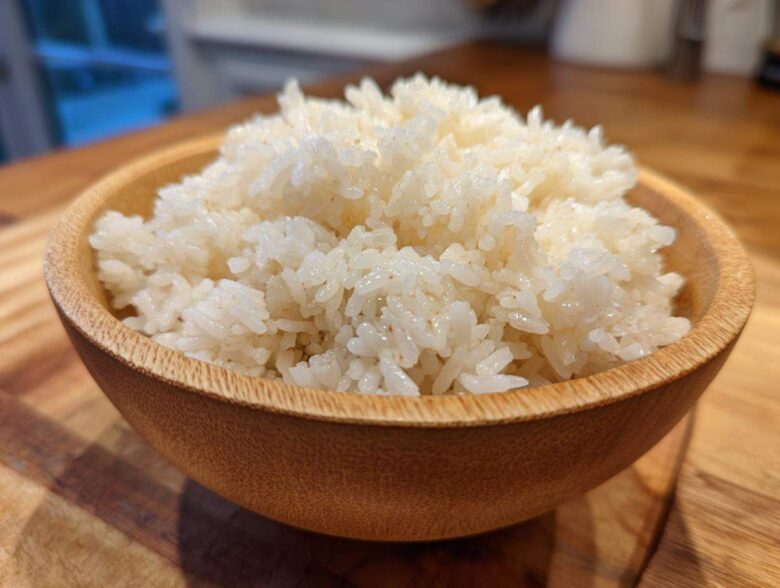
Welcome, my dear Empress. If you’re here, I know a secret you’ve learned, just like Marco and I had to learn the hard way: sushi hinges entirely on the rice. Forget the fancy fish for a minute; if your sushi rice is wrong, the whole experience falls flat. We used to overcomplicate things, creating huge spreads just to impress people, but the real revolution happened when we mastered simple, perfect building blocks like this. This isn’t just about cooking grains; it’s about achieving that elusive texture—sticky enough to hold its shape, but still fluffy—so you can finally make restaurant quality sushi rice at home, even if you’re just making a plate for two.
Why Mastering Sushi Rice is Your First Step to Restaurant Quality Sushi at Home
Honestly, if you get nothing else right—if your fish is just okay, or you mess up the seaweed wrap—perfectly seasoned and cooked sushi rice can save the day. I’m telling you, it’s the heart of the whole operation! Marco and I realized that obsessing over elaborate sauces was pointless when the temperature and texture of the rice were off. We’ve been there, trying so hard to get that restaurant quality sushi rice at home, and realizing the magic is actually in simplicity, not complexity. Check out what others have learned about this essential sushi rice base!
The goal here is mastering sushi rice texture. You want that satisfying stickiness so your roll doesn’t fall apart the second you pick it up, but you absolutely cannot have gummy, mushy rice either. It needs to feel substantial, like little pearls lightly coated in flavor. Trust me, once you nail this foundation, everything else becomes much easier.
Choosing the Best Rice for Sushi
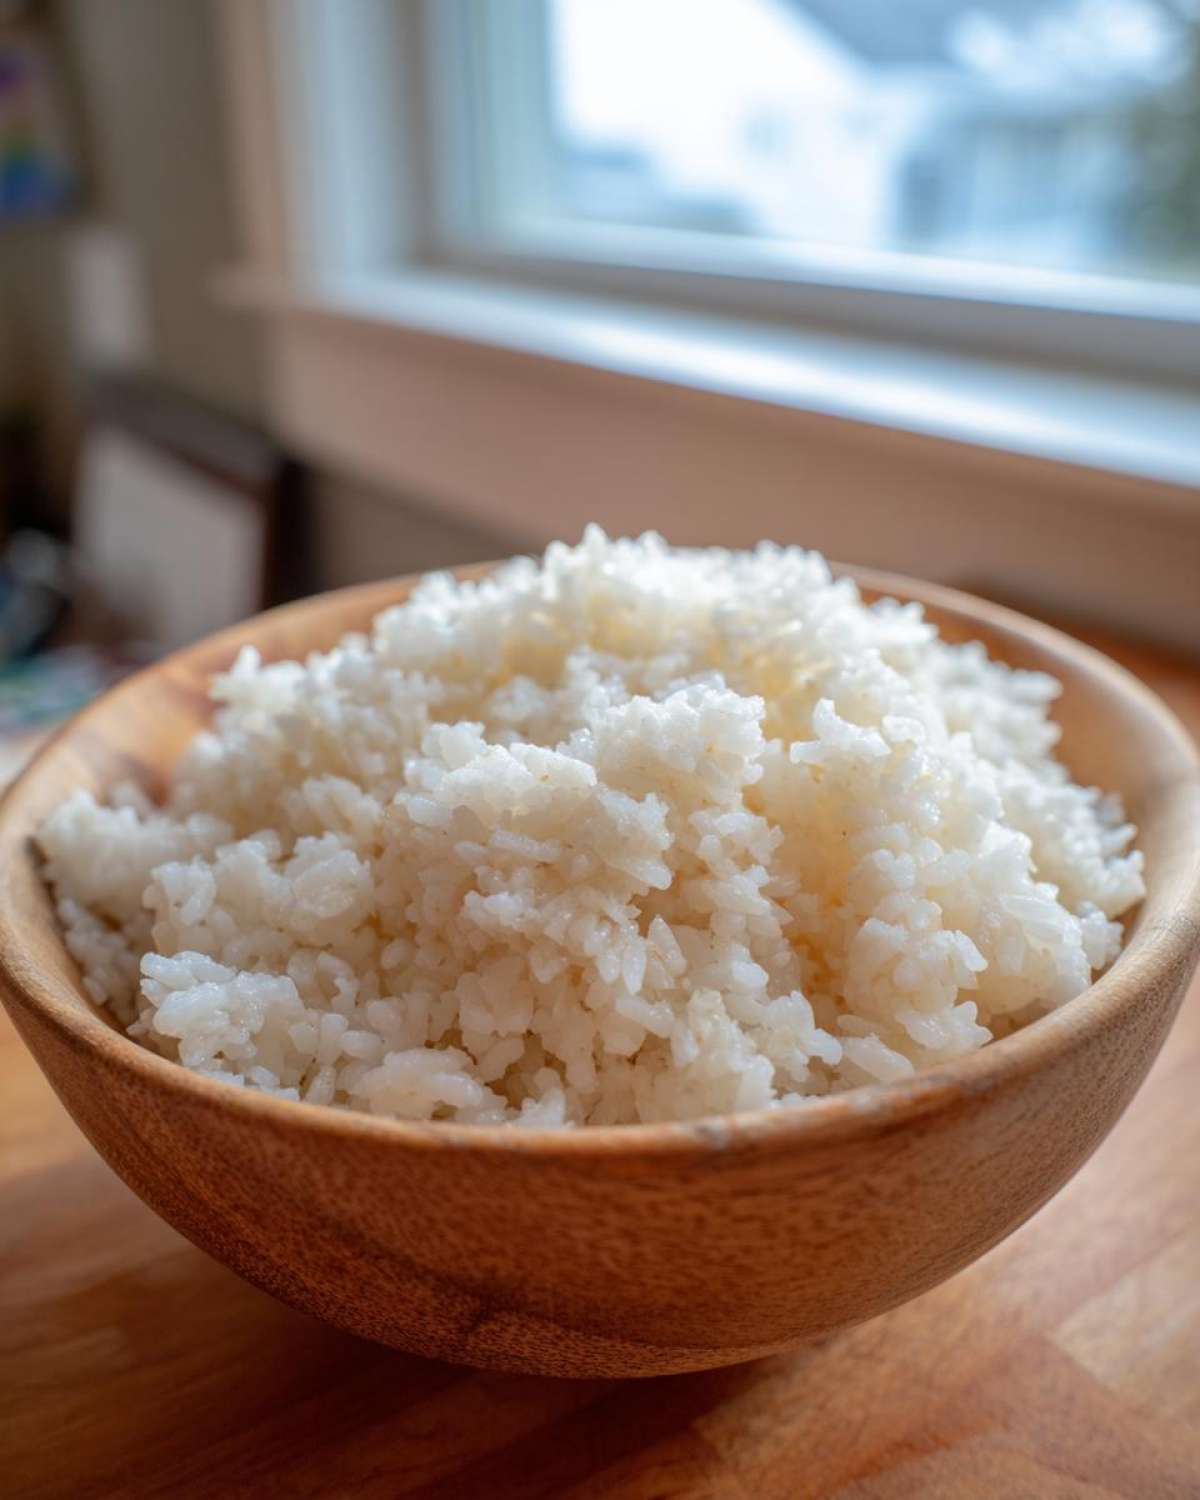
This is a non-negotiable starting point, Empress. You simply must get the right grain. Don’t bother trying with long-grain basmati or jasmine; they just don’t have what it takes. For authentic flavor and that necessary stickiness, you need a short-grain Japanese rice. Calrose rice works beautifully too if you can’t find the specific Japanese varieties. Why? Because these types contain a higher level of starch—amylopectin—which is what gives you that perfect, slightly yielding glue when it’s cooked and seasoned correctly.
My only expert tip here before we move on? Pay attention to your water ratio. Too much water and you get soup; too little and you get concrete. We stick to a very strict 1:1 ratio of rice to water after the rinsing and soaking, but we’ll get into the specifics of the cooking phase soon!
Gathering Ingredients for Perfect Sushi Rice
Okay, we’ve talked about the *why*, now let’s talk about the *what*. When you’re attempting restaurant quality sushi rice at home, you cannot skimp or substitute here. Marco always teases me because I review the pantry inventory twice before starting this recipe, but honestly, cheating on ingredients is what separates the okay sushi from the *regal* sushi!
First and most importantly, you need that two cups of short-grain Japanese rice—or Calrose if that’s what you can find. That specific starchy grain is what gives you that amazing, yielding texture we’re aiming for. And then, you need exactly two cups of plain, cold water for cooking. That ratio is vital, so please measure carefully when we get to the cooking part!
The second major component is surprisingly simple, but the measurements have to be precise to nail the authentic flavor profile. You’ll need a half cup of rice vinegar, three tablespoons of granulated sugar, and one teaspoon of fine sea salt. Together, these three things create the magic marinade that transforms plain cooked rice into the flavorful base we need.
The Essential Sushi Rice Vinegar Seasoning (Sushi-zu)
This mixture is what makes your rice taste like it came from the best place in town. We call it Sushi-zu, and getting the balance right for how to season sushi rice is everything. You must combine the rice vinegar, sugar, and salt gently in a small saucepan. This isn’t a boiling step, please hear me out! You just want to use low heat—really low heat—until those crystals of sugar and salt disappear completely into the vinegar.
If you boil the vinegar, you lose that bright tang that defines the dish. We need the full flavor profile of our sushi rice vinegar seasoning, not something cooked down and dull. Once everything is dissolved and totally smooth, take it off the heat immediately and let it cool down a bit while the rice finishes cooking. It needs to season the rice while the rice is hot, but the liquid itself can’t be scalding, or you’ll just steam everything into a pile of mush! See? Technique matters!
The Foundational Technique: Rinsing and Soaking the Sushi Rice
Now we get to the part people skip when they just want easy sushi rice, and that’s where they go wrong! Before we even think about turning on the burner or hitting the start button on the cooker, we have to prepare the raw grain. This process is absolutely non-negotiable if you want that perfect sticky rice for sushi texture.
First, you have to rinse the raw sushi rice. Put your two cups of rice into a fine-mesh sieve and run cold water over it. You need to gently agitate the grains with your hand, stirring them around until the water running through them is completely clear, not milky white. That cloudiness is excess starch, and if you cook it in, your rice will turn into a heavy paste rather than light, sticky pearls.
I learned this the hard way once when I was rushing before Marco came home! I only rinsed twice, and the resulting rice was slightly gloppy—not terrible, but definitely not Empress-worthy. Next, you must let the rinsed rice soak. Transfer it to a clean bowl, cover it with fresh cold water, and let it sit for a full 30 minutes. This lets the grains absorb moisture evenly before cooking starts. After soaking, drain it really well. This pre-soaking ensures the inside of every grain cooks perfectly alongside the outside, which is the secret to that satisfying texture we keep talking about. You can find some great technique guides when you check out this page!
How to Prepare Sushi Rice Using Three Different Methods
Alright, dear readers, here is where we put our perfectly prepared sushi rice grains to work! Not everyone has the same cooking tools, and that’s perfectly fine here at Eatable Empress. Marco swears by his Instant Pot for speed, but I still sneakily prefer the mindful process of the stovetop, honestly. The key, no matter which tool you choose, is respecting the rice. You cannot check on it, peek at it, or rush it—the steam does the heavy lifting! We’re going to cover all the bases here so you can master this, whether you’re using instant pot sushi rice or old-fashioned pots.
Stovetop Sushi Rice Guide: Achieving Perfect Absorption
If you’re following the stovetop sushi rice guide, pay close attention to this sequence. After you’ve drained your soaked rice, combine it with exactly two cups of cold water in a heavy-bottomed pot. Make sure that lid fits snugly—we want steam captured, not escaping! Bring that mixture up to a boil over medium-high heat.
The moment it hits a full boil, you must immediately drop the heat down to the absolute lowest setting your burner allows. Cover it tightly and let it simmer, undisturbed, for exactly 15 minutes. Mark my words: Do not lift the lid! Peeking releases the steam, and that steam is what cooks the rice evenly. Once those 15 minutes are up, turn the heat off completely, but leave the pot sitting right there, still covered, for another 10 minutes. This resting period is just as important as the cooking itself, so don’t cheat!
Instant Pot Sushi Rice: Foolproof Pressure Cooking
If you want this done in a flash, the instant pot sushi rice method is fantastic, and almost foolproof once you have the sequence down. Once your pre-rinsed and soaked rice is drained, toss it into the Instant Pot liner with the required two cups of water.
Seal it up and cook on High Pressure for just 4 minutes. That’s it! After the 4 minutes are up, you must resist the urge to release the pressure right away. Let it perform a Natural Pressure Release (NPR) for 10 minutes. That slow release finishes the cooking process beautifully. When you open it, the rice should look perfect and ready for seasoning!
Using a Standard Rice Cooker for Easy Sushi Rice
If you’re lucky enough to own a dedicated rice cooker—and why wouldn’t you be?—this is seriously the easiest route for making that great sushi staple recipe. After you’ve thoroughly rinsed and soaked your rice, just transfer it into the cooker bowl along with the exact two cups of cold water.
Just use the setting labeled “White Rice” or, if your machine is fancier, the specific “Sushi Rice” setting. Close the lid and walk away! Seriously, these machines are designed to manage the heat and stop when it’s done. It’s the definition of an *easy sushi rice* method because the machine manages all the fiddly timing for you.
The Final Fold: Mixing and Cooling Your Seasoned Sushi Rice
Okay, Empress, this is it. This final move transforms hot, fluffy rice into magnificent, seasoned sushi rice. If you mess up the cooking part, you can sometimes save it, but if you mess up *this* part, you’re looking at a disappointing, mushy mess. We need to achieve the perfect result here, building on all those great sushi rice technique tips we’ve absorbed!
First things first: transfer that hot, freshly cooked rice into a large, non-metallic bowl. Wood or glass is traditional and best because metal can react poorly with the vinegar. Now, take your slightly cooled seasoning liquid (the *sushi-zu*) and pour it evenly all over the rice in a circular motion. Don’t just dump it in one spot!
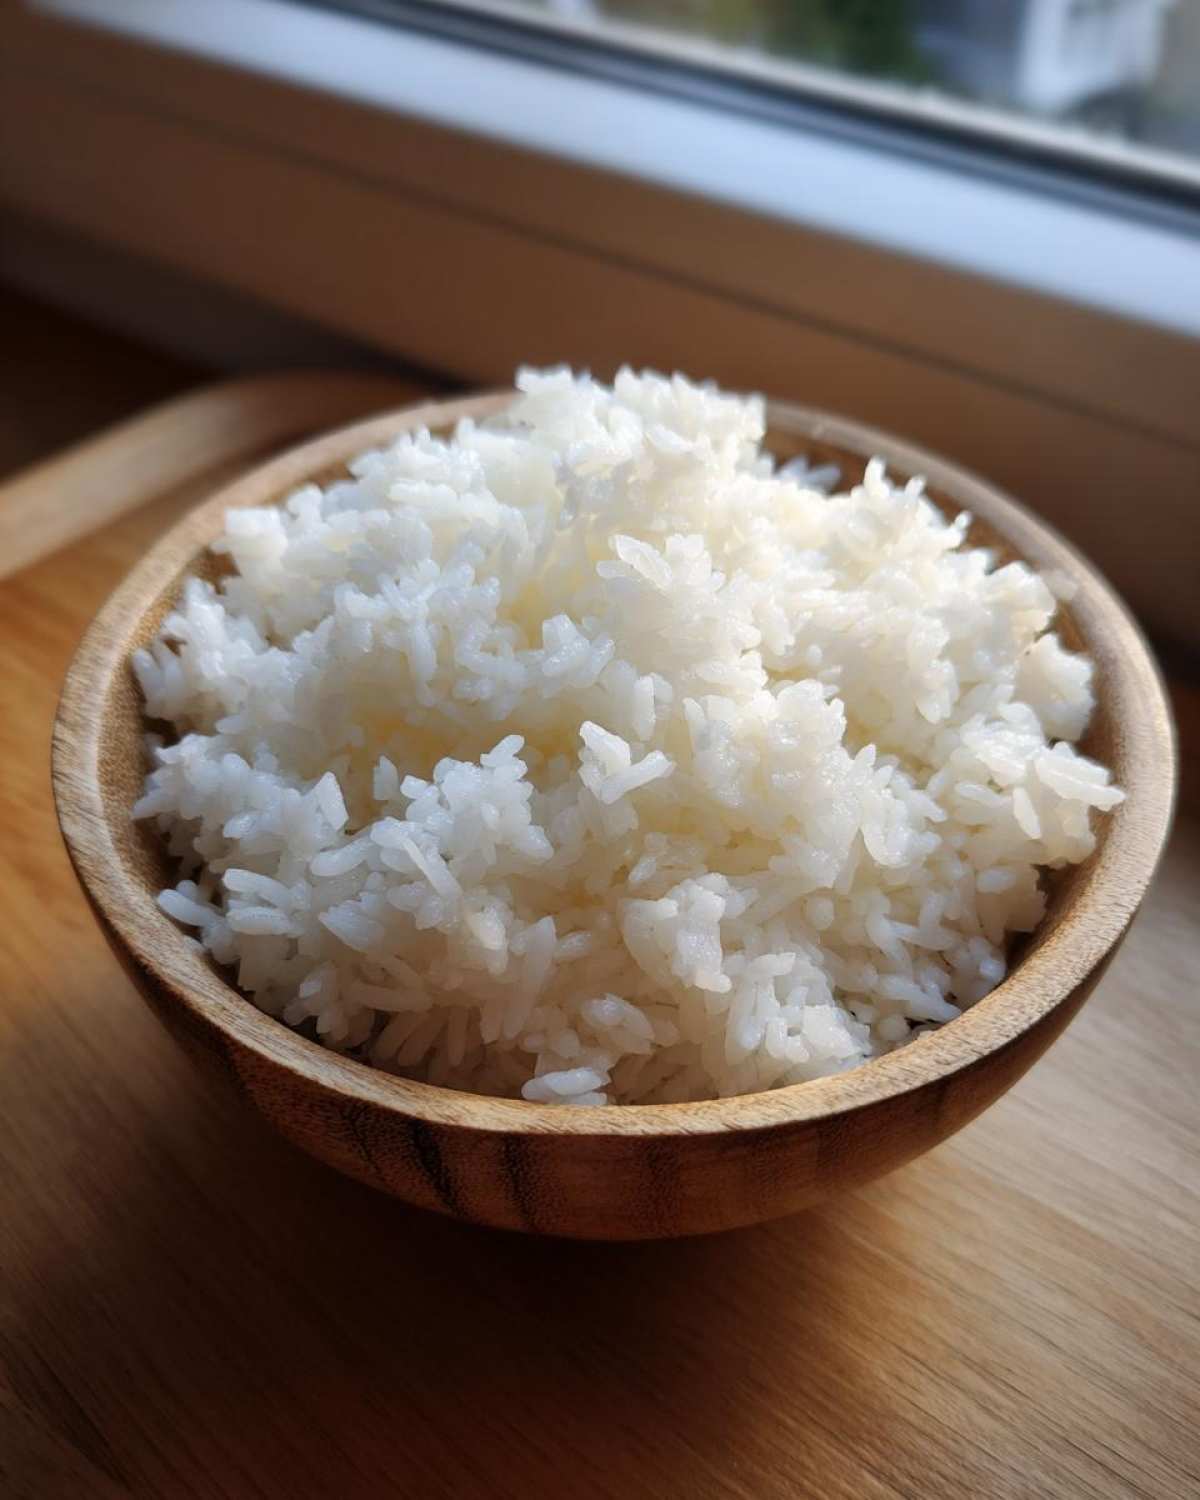
The absolute rule? You must use a gentle slicing or folding motion with a rice paddle or a wooden spoon. Do not stir! Stirring is what breaks apart the grains and releases too much internal starch, making it gluey. Slice down through the rice, turn the bowl, and fold it over. As you fold, have Marco or a patient friend fan the rice quickly—we want it to cool down fast to body temperature. This rapid cooling sets that perfect glossy, slightly sticky texture. It’s a workout, but trust me, this step makes or breaks your entire experience. For more on technique, peek at what they are doing over at this great resource, or check out the tips from Aline!
Tips for Success When Making Homemade Sushi Rice Recipe
Marco and I have learned a few essential tricks over the years when perfecting our homemade sushi rice recipe. Honestly, even after you think you’ve nailed the steps, a tiny detail can sometimes throw the whole batch off. So, here are the gold standards we live by to ensure every batch is successful, even when we’re trying to whip up an easy sushi rice meal on a busy night.
First, let’s go back to the seasoning part. When you’re folding in that warm vinegar mixture, you absolutely must use a non-metallic bowl. I mentioned wood or glass before, but I need to stress this: metal is a big no-no. The acid in the rice vinegar can react with certain metals, which can give your beautifully seasoned rice an off-putting, metallic tang. We want flavor harmony, not chemical interactions, right?
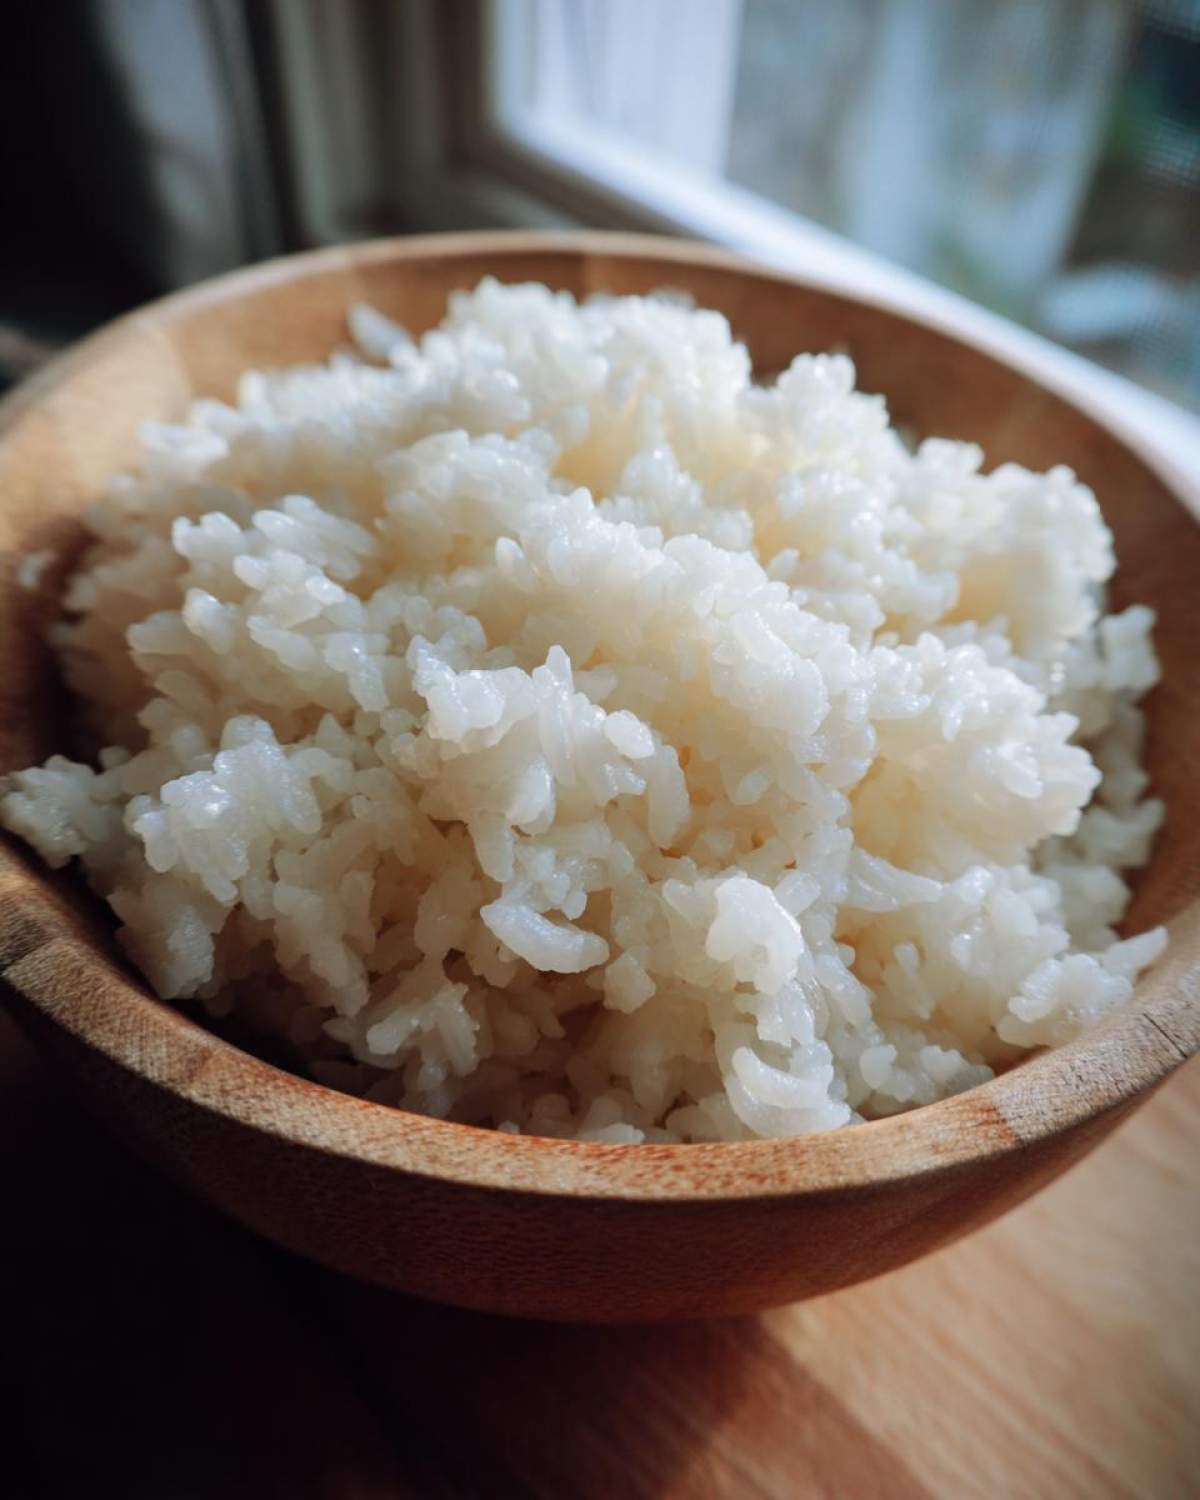
Secondly, and this is a killer mistake for beginners: don’t press the rice down after it’s cooked and settled in the pot or cooker! When that rice is resting, it needs respect. Pressing it down compacts the grains, forcing out the steam and giving you that heavy, dense core that we dread. Let it be fluffy; the grains should remain distinct even when they’re sticky.
Finally, never underestimate the power of tasting as you go! When you’re first trying this out, give your seasoned rice a small taste test before you’ve mixed it all through. The ratio of vinegar, sugar, and salt is lovely, but maybe you like it a touch saltier or tangier. This is your coronation, remember? You are the Empress! Adjust the seasoning blend slightly if needed, but make sure you’re tasting before you fully incorporate it. If you want more ideas on getting this perfect, take a look at this guide!
Ingredient Spotlight: Why Vinegar Matters for Texture
It’s easy to focus only on the sugar and salt in the seasoning, but the rice vinegar does some heavy lifting beyond just the flavor. That acetic acid in the vinegar is crucial for mastering sushi rice texture! When it mixes with the hot, starchy rice, the acid starts to work on the starch molecules right away. It helps firm up the exterior of the grains just enough, which stops them from completely dissolving into mush while still allowing them to stick beautifully to each other. That slight firmness you get is that signature snap that makes great sushi rice so addictive!
Storing Your Perfectly Prepared Sushi Rice
Now that you’ve gone through all that care—rinsing, soaking, cooking like a pro, and folding with the grace of royalty—the absolute last thing you want is for your efforts to dry out or spoil! Remember, this isn’t fluffy white rice you let sit around for days; seasoned sushi rice has specific needs. My rule, and the one Marco insists on, is that if you are making sushi rolls or nigiri for dinner tonight, you should use it when it’s still slightly warm, or at least room temperature.
If you plan to use it very soon, say within two or three hours, the best way Marco and I keep it fresh is by covering the bowl completely with a lightly dampened, clean cotton cloth. Not plastic wrap! Plastic wrap traps condensation and will trap moisture directly onto the grains, basically steaming them further sideways towards mushiness. The damp cloth stops the air from sucking the moisture out while allowing it to breathe and cool naturally.
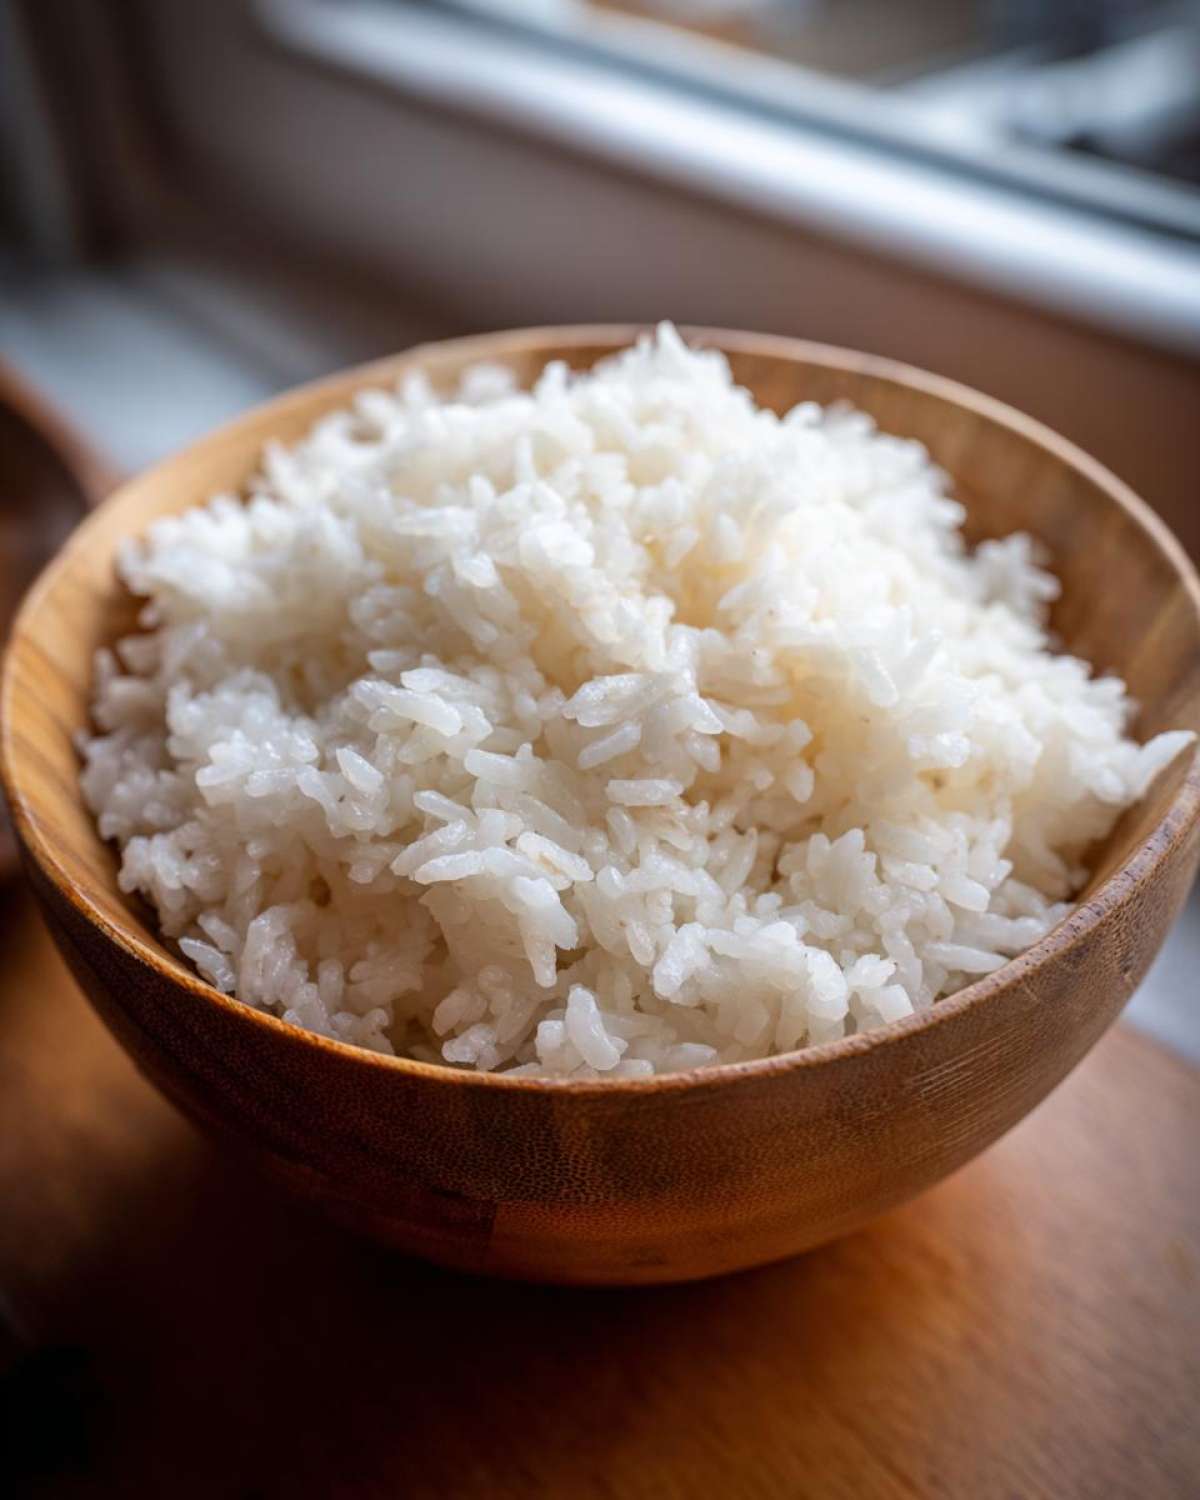
If you absolutely must store it longer—and I mean, don’t make a habit of this, Empress, as it’s always best fresh—you can refrigerate it. But you need to treat it gently. Place the rice into an airtight container and press a piece of plastic wrap directly onto the surface of the rice before putting the lid on. This minimizes drying. When you pull it out later, leave it on the counter for at least an hour to come up closer to body temperature. Never microwave sushi rice to reheat it, please! That heat is too harsh and will ruin that delicate texture you worked so hard to achieve with your sushi rice technique tips.
Frequently Asked Questions About Japanese Rice Preparation
Even after laying out the entire process for making that perfect sushi staple recipe, questions always pop up! That’s completely understandable. Making authentic Japanese rice preparation for sushi is tricky because it’s so different from how we normally cook rice. Marco and I definitely stumbled over a few things when we first started treating our weeknight meals like a royal feast, so let’s clear up the biggest hiccups so you can succeed!
Can I use long-grain white rice instead of sushi rice?
Oh, Empress, please don’t! I know it seems like you could just use whatever you have in the pantry, but the answer is a firm no. Long-grain rice, like basmati or jasmine, simply doesn’t contain the right type or amount of starch. That starch is the glue; it’s what allows the finished product to hold its shape. If you use long-grain rice, you’ll end up with individual, fluffy grains that fall apart the second you try to wrap them, making for a sad, crumbly experience. Stick to short-grain or Calrose if you want success!
How do I prevent my sushi rice from becoming mushy?
Mushy rice is the nemesis of any home sushi chef! There are two main culprits, and we’ve covered both in depth, but here’s the quick rundown for trouble-shooting: First, make sure you are rinsing that rice aggressively until the water runs crystal clear. Getting rid of that surface starch is critical for texture control. Second, when you mix in your seasoning, remember our sacred rule: slice and fold gently. Never stir or mash! Stirring breaks the grains and activates residual starch, turning your beautiful rice into pudding.
What is the ideal temperature to serve sushi rice?
This is such an important detail people overlook when they are trying to nail the restaurant quality sushi rice at home! You don’t want rice straight from the cooker—it’s too hot and steaming—and you absolutely do not want rice straight from the fridge. For the best flavor and texture, your seasoned sushi rice should be served when it is slightly warm, or what we call ‘lukewarm’ or body temperature. This specific temperature allows you to taste the subtle tang of the seasoning perfectly while the rice remains wonderfully pliable. If you’re curious about different techniques, you might want to check out this resource on Japanese rice preparation!
Serving Suggestions: Beyond the Maki Roll
We put so much love and technique into crafting this perfect rice; it’s only fair we celebrate it properly! While making those gorgeous maki rolls is definitely fun—and you absolutely should if you have nori sheets on hand—this perfectly seasoned rice is versatile enough for a whole royal spread. Think about how much effort went into that texture; we should let those sticky, tangy grains shine!
Once your sushi rice has cooled to that ideal lukewarm temperature, the world is your oyster. Of course, you can always use it for simple nigiri. Just lightly wet your hands (this stops the rice from sticking to you, an Empress trick Marco taught the Royal Tasters!) and gently form small, oblong patties. Place a tiny dab of wasabi (if you like that kick) and your favorite topping on top. Simple, elegant, and perfectly balanced.
But if you’re making a quick meal for just the two of you, this rice is truly the ultimate sushi bowl base recipe. Layer a generous scoop of the seasoned rice into your favorite bowl—I always grab the beautiful blue ones Marco brought back from our trip—and build your masterpiece on top. Layer on some sliced avocado, maybe some cooked shrimp or smoked tofu, a drizzle of low-sodium soy sauce, and a sprinkle of toasted sesame seeds. It’s luxurious, it’s easy, and it requires zero rolling skill! For more inspiration on quick cooking methods that free up your time to build great rice bowls, don’t forget to check out this article on Instant Pot sushi rice!
Understanding the Nutritional Breakdown of This Sushi Staple Recipe
Now, I know what you might be thinking, my dear Empress: “Sofia, is this magnificent sushi staple recipe just empty carbs?” And while I’ve always believed that food is first about joy and ritual—remember, we eat to treat ourselves like royalty!—it’s still smart to know what’s in the bowl. Knowing the basic makeup of your perfect sushi rice helps you build a truly balanced, regal meal around it.
We based these estimates on the ingredients list provided—the two cups of short-grain rice seasoned with the vinegar mixture, which yields about four cups of cooked rice total. Remember, these numbers are just guidelines; if you use a different brand of rice, or if you decide to add a little extra sugar to your seasoning for a sweeter kick, the final tally will shift slightly. Cooking this way is all about intuition, after all!
For a standard one-half cup serving of this finished, seasoned rice right here, here is what we’re generally looking at. You’ll find about 200 calories per serving, which is quite reasonable for the backbone of a great meal you’ve made yourself. We see that the majority of the content is carbohydrates at about 44 grams—that’s the energy needed to fuel your reign!
Protein clocks in low, around 4 grams, as rice isn’t a major source of protein. And the fat content? Practically zero, around 0.5 grams, which is wonderful! The small amount of sodium (150mg) comes mainly from the sea salt we use in the seasoning. The sugar content is about 8 grams, which comes from the recipe’s intentional addition to balance the vinegar’s sourness. It’s a surprisingly efficient and clean base for all your amazing toppings! If you want to see how others approach the science behind this rice, check out these successful versions over at Sudachi Recipes!
Share Your Royal Feast
Now that you have the keys to crafting the most phenomenal sushi rice—that perfect balance of sticky, fluffy, and tangy—it’s time for the grand unveiling! That’s the whole point of reclaiming your kitchen, isn’t it? To create something so delicious you simply must tell someone about it. Marco and I live for hearing about your victories, especially when it comes to mastering something that seems simple but is surprisingly technical, like this sushi rice technique tips anchor.
We want to know how your coronation went! Did you achieve that restaurant quality sushi rice at home we talked about? Were you able to let go of the stirring and embrace the slicing motion? I would absolutely love it if you jumped down into the comments below and left a rating for this recipe. A simple star rating tells me you succeeded, and that’s a win in my book!
But even better than a rating? A photo! If you managed to whip up a stunning sushi bowl or a beautiful maki roll, please share it with us on social media and tag us. Seeing our readers treat themselves to these simple, perfect feasts really fuels our mission here at Eatable Empress. It reminds me that we are all worthy of the good plates, even when we are just eating rice! Happy feasting, and long live your simple, delicious reign!
PrintHow to Make Perfect Sushi Rice: The Essential Foundation for Restaurant Quality Results
Mastering sushi rice is the key to great sushi at home. This guide gives you the technique and seasoning ratio for perfectly sticky and flavorful rice, whether you use a stovetop, rice cooker, or Instant Pot.
- Prep Time: 30 min (includes soaking)
- Cook Time: 25 min
- Total Time: 55 min
- Yield: About 4 cups cooked rice
- Category: Side Dish
- Method: Absorption/Steaming
- Cuisine: Japanese
- Diet: Vegetarian
Ingredients
- 2 cups short-grain Japanese rice (or Calrose rice)
- 2 cups cold water (for cooking)
- 1/2 cup rice vinegar
- 3 tablespoons granulated sugar
- 1 teaspoon fine sea salt
Instructions
- Rinse the rice: Place the rice in a fine-mesh sieve. Rinse under cold running water, gently agitating the grains with your hand until the water runs clear. This removes excess starch.
- Soak the rice: Transfer the rinsed rice to a bowl and cover with fresh cold water. Let it soak for 30 minutes. Drain well.
- Cook the rice (Stovetop Method): Combine the drained rice and 2 cups of cold water in a heavy-bottomed pot with a tight-fitting lid. Bring to a boil over medium-high heat. Once boiling, immediately reduce the heat to the lowest setting, cover, and simmer for 15 minutes. Do not lift the lid.
- Rest the rice (Stovetop Method): Remove the pot from the heat and let it stand, still covered, for another 10 minutes.
- Cook the rice (Rice Cooker/Instant Pot Method): Combine the drained rice and 2 cups of water in your appliance. Use the ‘White Rice’ or ‘Sushi Rice’ setting. If using an Instant Pot, cook on High Pressure for 4 minutes, followed by a 10-minute natural pressure release, then quick release any remaining pressure.
- Prepare the seasoning (Sushi-zu): While the rice cooks, gently warm the rice vinegar, sugar, and salt in a small saucepan over low heat until the sugar and salt fully dissolve. Do not boil. Let the mixture cool slightly.
- Season the rice: Transfer the hot, cooked rice to a large, non-metallic bowl (wood or glass is best). Pour the prepared seasoning evenly over the rice.
- Mix and cool: Using a slicing or folding motion with a rice paddle or wooden spoon, gently incorporate the seasoning into the rice. Avoid stirring or mashing the grains. Fan the rice as you mix to help it cool quickly to body temperature. This creates the perfect sticky texture.
- Use immediately or store: Use the seasoned sushi rice for rolls, nigiri, or sushi bowls. If storing, cover the bowl with a damp cloth to prevent drying until ready to use.
Notes
- Use short-grain rice labeled specifically as sushi rice for the best results. This grain type provides the necessary starch for stickiness.
- Do not press down on the rice while it cooks or rests; this ruins the texture.
- The seasoning ratio (vinegar, sugar, salt) is crucial for authentic flavor; adjust slightly based on your preference, but keep the balance.
- Always use non-reactive bowls when mixing the seasoning into the hot rice.
Nutrition
- Serving Size: 1/2 cup cooked
- Calories: 200
- Sugar: 8
- Sodium: 150
- Fat: 0.5
- Saturated Fat: 0
- Unsaturated Fat: 0.5
- Trans Fat: 0
- Carbohydrates: 44
- Fiber: 0.5
- Protein: 4
- Cholesterol: 0