

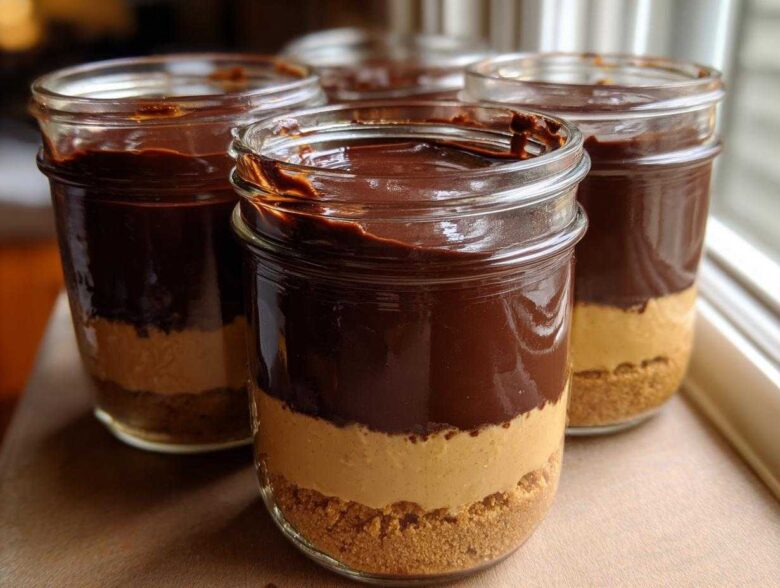
Sometimes, you just need dessert. Like, *right now*. I totally get those intense sweet cravings hitting you at 9 PM when you realize you don’t want to turn on the oven, deal with heavy dishes, or commit to an entire pie. That’s exactly when I whip these up! They scratch that deep, rich chocolate and salty peanut butter itch perfectly. The genius part? They are single-serving, totally no-bake, and sealed right in a jar for ultimate convenience—perfect for a grab-and-go treat later or sneaking one after dinner guilt-free. Seriously, these No-Bake Chocolate Peanut Butter Pie Jars have saved my weeknights more times than I can count. They come together faster than takeout, and believe me, the texture is spot-on creamy! If you love the classic flavor combo, you absolutely have to check out my full standard peanut butter pie recipe too, but these jars are pure speed and fun.
Why You Will Love These No-Bake Chocolate Peanut Butter Pie Jars
Forget all that fuss! These little jars are the ultimate instant gratification dessert. I’ve tested these layers over and over to make sure the filling doesn’t get runny, even when slightly warmer. They absolutely nail that satisfying pie texture without any baking time required.
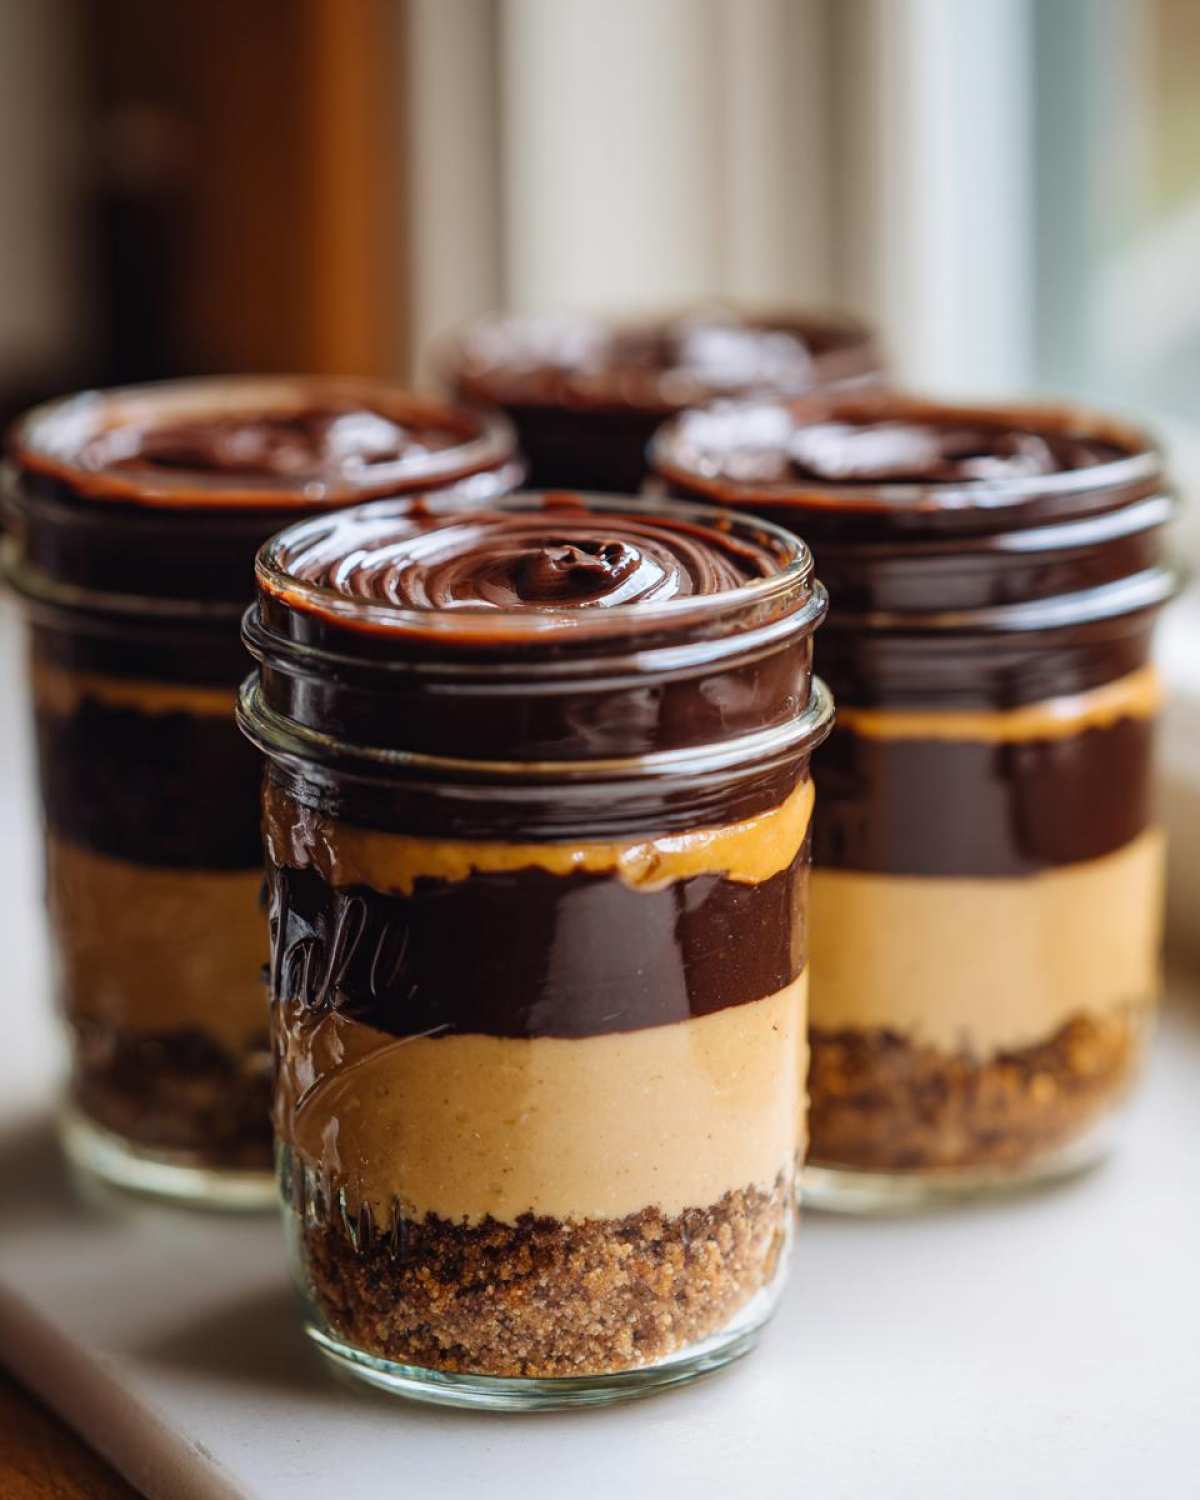
- They are perfectly portioned—no sneaking to eat the last slice!
- Zero heat involved; perfect for summer cravings.
- The chocolate and peanut butter ratio is pure magic. You seriously won’t believe how delicious these single serving desserts are.
Gathering Your Ingredients for No-Bake Chocolate Peanut Butter Pie Jars
Okay, before we start building these gorgeous little towers of deliciousness, we need to round up our supplies. The good news? You probably have most of this stuff already lurking in the pantry or fridge! Pay close attention to the cream cheese, though. It absolutely *must* be softened—I mean room temperature soft—so you don’t end up with lumps in your dreamy peanut butter layer. Trust me, that’s the number one pitfall I used to run into before I learned to plan ahead!
For the crust, we just need graham cracker crumbs and a bit of melted butter. Then for the main layers, we are hitting the classics:
- 8 ounces of cream cheese, softened perfectly
- Powdered sugar for that smooth sweetness
- Creamy peanut butter—skip the crunchy for this one!
- 1 teaspoon of vanilla extract to round out the flavor
- Heavy whipping cream (we use it cold for piping and thicker!), separated into two measurements
- Semi-sweet chocolate chips for the rich ganache
- And, obviously, your four little mason jars—I love the 8-ounce size for a perfect single serving!
See? I told you it was easy! We’re keeping things simple so we can get to the mixing part faster. Remember to check out my guide on making chocolate milk if you need a quick chocolate fix while you wait for that cream cheese to soften!
Step-by-Step Assembly of Your No-Bake Chocolate Peanut Butter Pie Jars
Alright, let’s get messy—but neat, because we are dealing with jars! This assembly process is all about maximizing flavor in every layer. We’re going from bottom to top: crunchy, creamy, chocolatey heaven, and then more creamy goodness on top. It’s shockingly fast, and you’ll be done before you can even debate ordering dessert out. If you’re craving something quick, these quick fix chocolate cravings don’t stand a chance!
Creating the Crust Base for Your No-Bake Chocolate Peanut Butter Pie Jars
First things first, let’s build the base for our No-Bake Chocolate Peanut Butter Pie Jars. In a tiny bowl, just toss your graham cracker crumbs with the melted butter. Mix it up until it looks like wet sand. Now, divide that buttery crumble evenly among your four jars. Grab the back of a small spoon or even your thumb and press that crust down firmly! We want a solid bottom layer here so it holds up to all that creamy filling we’re about to add.
Preparing the Creamy Peanut Butter Filling
Time for the star! Get your softened cream cheese, powdered sugar, peanut butter, and vanilla into a big bowl. Beat that until it’s totally smooth—no lumps allowed! Next, take that half cup of cold heavy whipping cream and whip it separately in another bowl until you get stiff peaks. Don’t overdo it! Then, use a spatula and gently *fold* the whipped cream right into the peanut butter mix. You have to be gentle here; folding keeps the air in, which is vital for achieving that light, mousse-like texture in your No-Bake Chocolate Peanut Butter Pie Jars filling.
Layering and Finishing the No-Bake Chocolate Peanut Butter Pie Jars
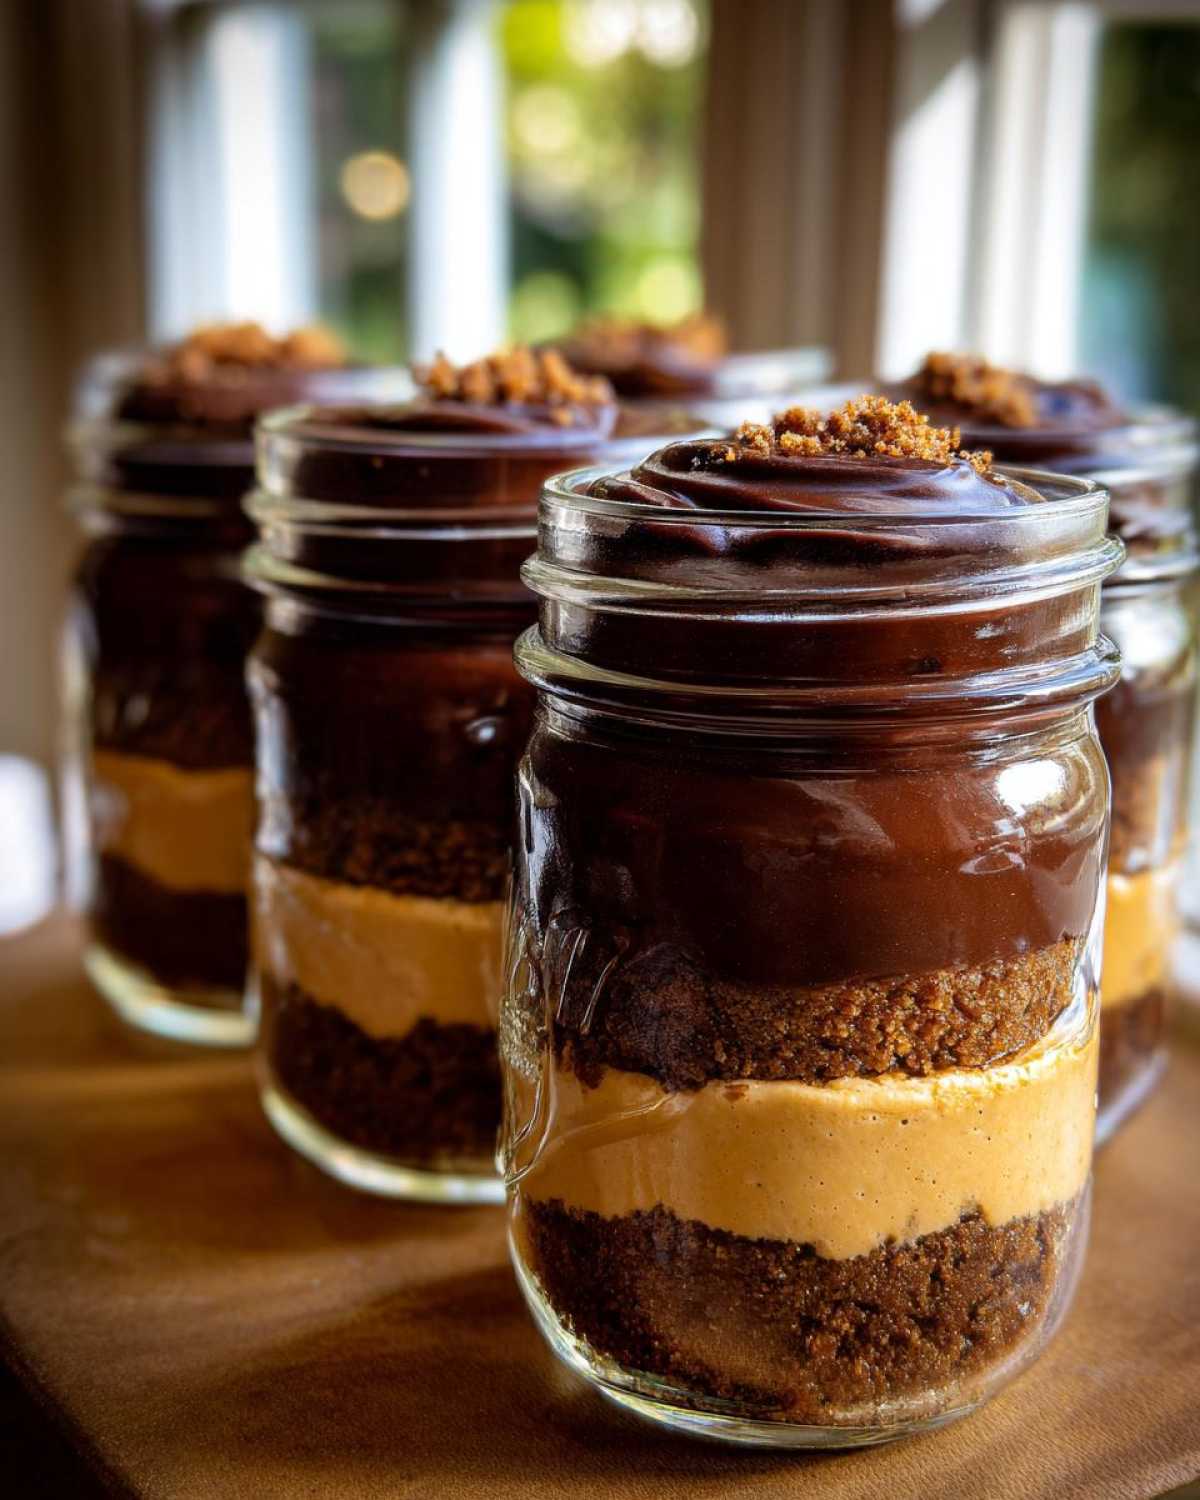
Now for the fun layering part! Spoon or pipe half of that beautifully airy peanut butter mixture over your crusts. Then, it’s ganache time! Microwave your chocolate chips and the remaining tiny bit of cream together in short bursts, stirring until it’s smooth and shiny. Pour that rich chocolate layer over the peanut butter. Finally, top everything off with the last bit of peanut butter filling and smooth the top. If you want that super clean look I always aim for, definitely use a piping bag for these layers! The crucial final step? Chill them in the fridge for at least two whole hours. This lets everything set up perfectly for your amazing No-Bake Chocolate Peanut Butter Pie Jars.
Tips for Perfect No-Bake Chocolate Peanut Butter Pie Jars
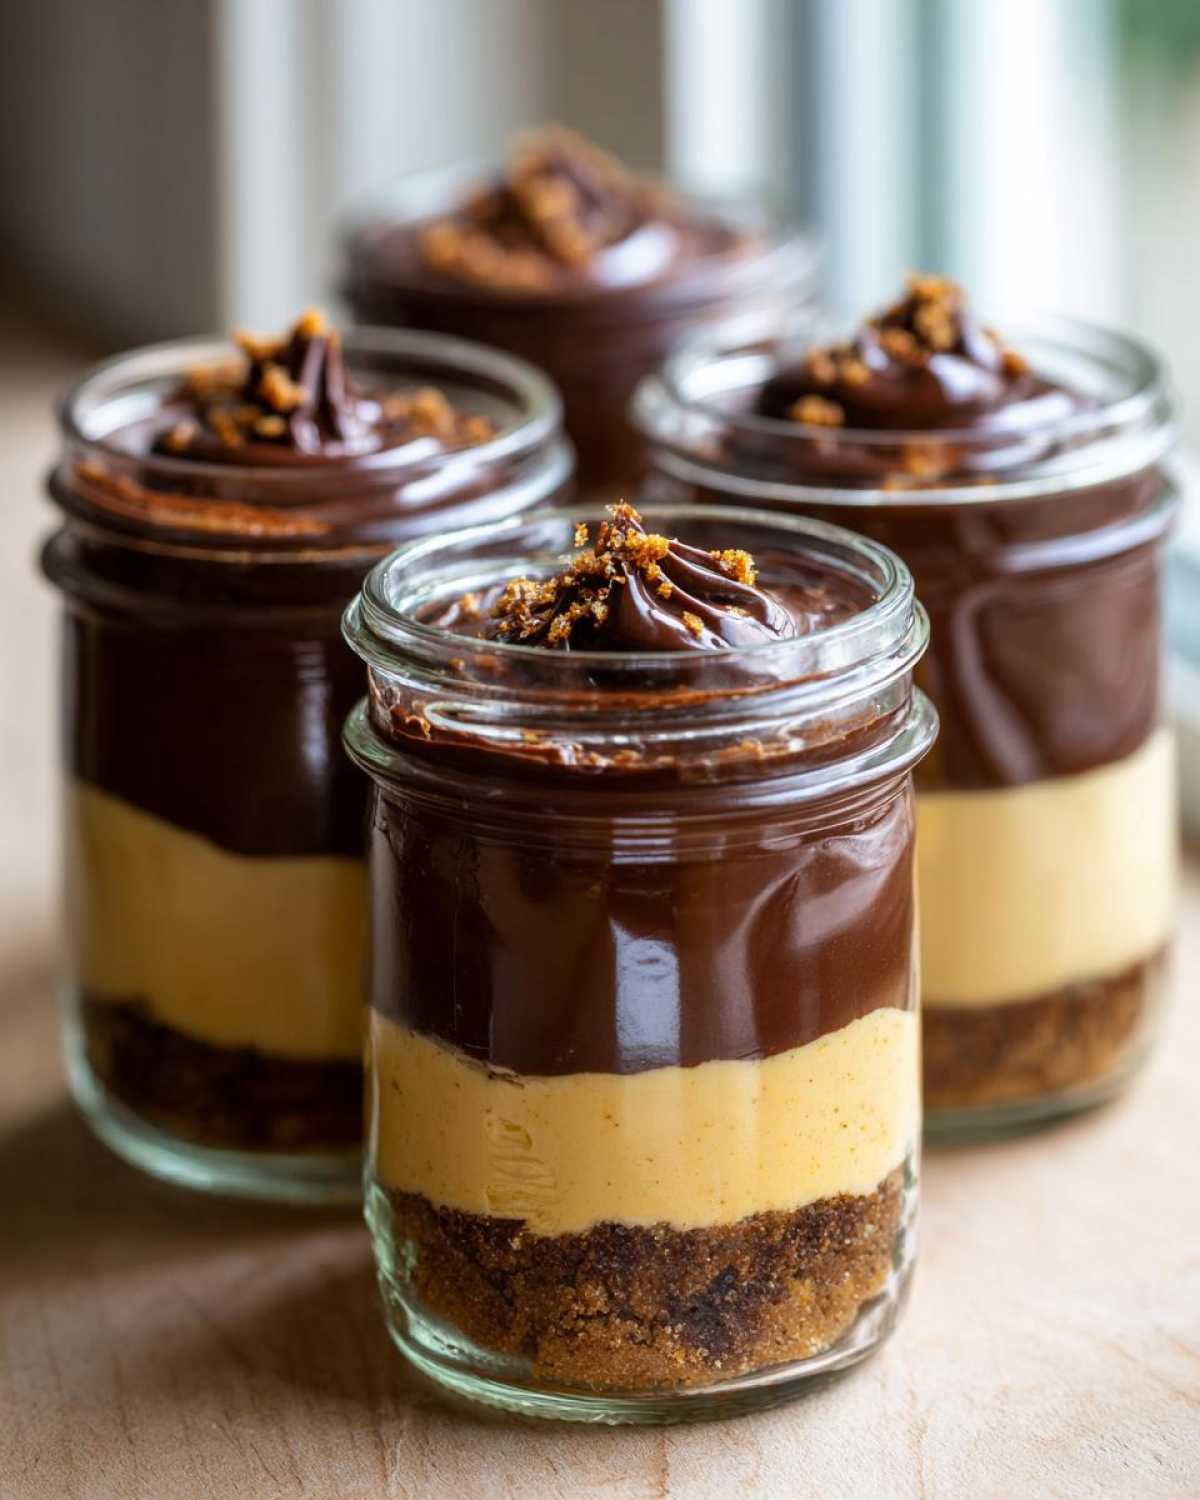
Getting these jars right is all about texture and structure, especially since we aren’t using the oven to help things firm up. My biggest tip for avoiding runny filling relates to that glorious whipped cream—you must whip it to stiff peaks! If it’s too soft, it just deflates into the peanut butter, leaving you with sweet soup instead of pie filling. You want that mousse-like texture, trust me.
Another thing pro bakers learn fast is presentation mastery. Honestly, if you want those gorgeous, distinct layers people gasp at, ditch the spoon for the piping bag method I mentioned earlier. It keeps the edges of the jar clean against the glass, which really shows off your layers of chocolate and peanut butter perfection in these No-Bake Chocolate Peanut Butter Pie Jars. It makes them look way fancier than the three minutes they took to assemble!
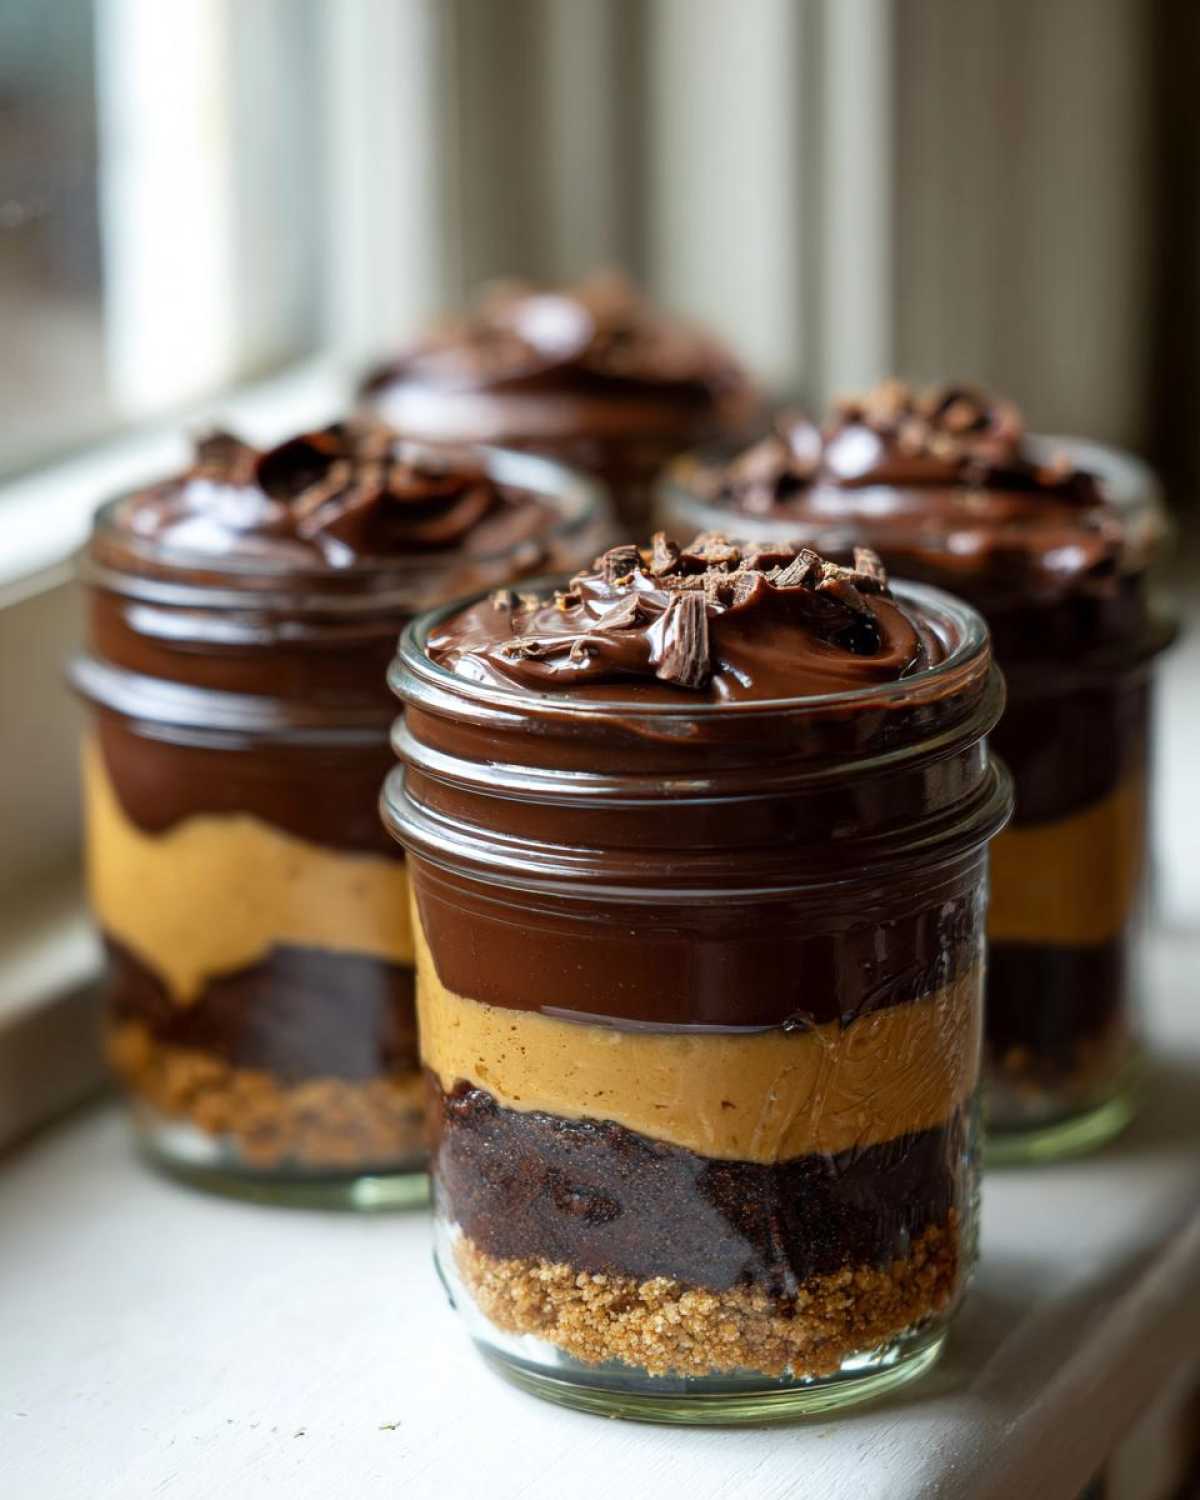
Also, don’t rush the chill time. Two hours is the minimum for these quick no-bake pies to firm up the crust and solidify the ganache. If you’re impatient, you’ll end up with a lovely, but messy, pudding. Patience pays off big time here when making satisfying No-Bake Chocolate Peanut Butter Pie Jars.
Storage and Make Ahead Options for Single Serving Desserts
This is where these little jars really shine! Because they are totally self-contained, they are the ultimate make-ahead hero. You can absolutely assemble these No-Bake Chocolate Peanut Butter Pie Jars a day ahead of time. I often make a batch Sunday afternoon, cover them tightly with their lids, and they last beautifully in the fridge for up to three days.
The filling actually seems to get even better overnight; the flavors really meld together! They are fantastic for meal prepping simple lunches or packing up for a picnic since they are already in their own container. Just remember, they need that two-hour chill, so plan accordingly. While you *could* freeze them, I generally tell people to skip it. Freezing can change the texture of the whipped cream layer, and when it thaws, it might weep a little moisture, which isn’t ideal for these make ahead peanut butter desserts. Stick to the fridge for maximum deliciousness!
Ingredient Notes and Substitution Ideas
I know sometimes you look at a recipe and think, “Darn, I’m out of X!” That’s okay! Because this is a no-bake situation, the swaps are pretty friendly, but we still have to be smart about how we change things up. If you need a gluten-free option, ditch the graham crackers and grab some crushed gluten-free vanilla wafers instead; they work like a dream for the crust base!
For my friends with peanut allergies, sunflower seed butter (SunButter) is a fantastic 1:1 swap for the peanut butter. It brings that same salty, savory note we love. If you want to skip whipping that heavy cream? You can cheat! Use one cup of a stabilized, store-bought whipped topping (like Cool Whip) instead, but only fold in half of it to keep the mixture firm. It’s less ideal than real whipped cream, but it definitely still hits the spot when you need those no-bake peanut butter recipes fast!
Frequently Asked Questions About No-Bake Chocolate Peanut Butter Pie Jars
It’s natural to have questions when tweaking a fantastic recipe like this! I get asked all the time about making these ahead or adjusting the ingredients. These quick No-Bake Chocolate Peanut Butter Pie Jars are so straightforward, but a little insider knowledge goes a long way to ensuring perfect results every single time you make these simple dessert jars.
Can I make the chocolate ganache topping ahead of time?
Oh, yes, absolutely! I sometimes premake the ganache because it only takes two minutes. Just whip up the chocolate chips and the tiny bit of cream until it’s glossy smooth. Once it cools down completely, it’s going to thicken up quite a bit—it might get almost solid! So, if you make it the day before, just let it sit on the counter for about 15 minutes before you try to pour it over your peanut butter layer. It needs to be viscous enough to pour but still soft enough to spread easily.
What is the best jar size for this recipe?
I designed this recipe specifically for 8-ounce mason jars, which gives you that perfect, satisfying portion without going overboard! These small jars work so beautifully for layering, like in these layered dessert in a jar treats. If you use a much larger jar, you might have extra filling left over, or the layers will get too thin to be satisfying. If you use tiny espresso jars, you’ll probably get five or six servings instead!
How can I make these peanut butter chocolate jar desserts lighter?
If you’re worried about the richness, I have two easy tricks for making these No-Bake Chocolate Peanut Butter Pie Jars a touch lighter. First, when whipping the heavy cream, fold in just half of what the recipe calls for; this reduces the fat content slightly while still offering some loft. Second, for the chocolate layer, use semi-sweet or even dark chocolate chips instead of milk chocolate. The higher cocoa content means you get that intense flavor without needing as much sugar overall.
Serving Suggestions for Portable Chocolate Desserts
Even though these No-Bake Chocolate Peanut Butter Pie Jars are super easy, presentation still matters! Since they are sealed up tight, you can add a little flourish right before you close the lid. A small dollop of fresh, unsweetened whipped cream right on top of that final peanut butter layer looks amazing. Then, sprinkle on some chopped roasted peanuts or even some fine chocolate shavings. They travel so well, making them perfect portable chocolate desserts for picnics or just packing up a little treat for yourself to take to the office. Just make sure those lids are sealed on tight so you don’t end up with chocolate smears everywhere!
Estimated Nutritional Data
I always want to be upfront about what’s in these little jars, but please remember these numbers are just estimates! I calculated them based on the specific brands and measurements listed in the ingredients above. Since we aren’t using an oven, the structure stays intact, but the richness comes from that peanut butter and cream cheese base!
- Serving Size: 1 jar
- Calories: 650
- Total Fat: 45g
- Carbohydrates: 58g
- Protein: 15g
This data helps you budget for your treats, but honestly, the joy of eating them is the most important nutritional fact!
Share Your Experience Making This No-Bake Dessert
That’s it! You’ve officially conquered the easiest, most satisfying dessert ever made! Now that you know the secrets to perfect No-Bake Chocolate Peanut Butter Pie Jars, I’m dying to know how yours turned out. Did you stick with the classic layering? Did you sneak a spoonful of the peanut butter filling before it went into the jars? (I won’t tell if you did!)
Seriously, drop a comment below the recipe and give me the scoop! I’d love to hear what you thought of the texture now that it’s chilled and firm. If you made any fun twists—maybe you used Oreos for the crust or added mini marshmallows to the top—snap a picture and tag me on social media! Seeing your beautiful individual portion desserts really makes my day. You can find all my latest kitchen adventures over on the blog.
Don’t be shy! Your feedback helps other readers feel confident making these yummy treats. Happy scooping!
PrintEasy No-Bake Chocolate Peanut Butter Pie Jars
Prepare individual servings of rich chocolate and peanut butter pie filling layered in jars. This dessert requires no oven and sets quickly in the refrigerator.
- Prep Time: 20 min
- Cook Time: 0 min
- Total Time: 2 hours 20 min
- Yield: 4 servings
- Category: Dessert
- Method: No-Bake
- Cuisine: American
- Diet: Vegetarian
Ingredients
- 1 cup graham cracker crumbs
- 3 tablespoons melted unsalted butter
- 8 ounces cream cheese, softened
- 1 cup powdered sugar
- 1 cup creamy peanut butter
- 1 teaspoon vanilla extract
- 1/2 cup cold heavy whipping cream
- 1/2 cup semi-sweet chocolate chips
- 2 tablespoons heavy whipping cream (for ganache)
- 4 small (8 ounce) mason jars
Instructions
- Mix graham cracker crumbs and melted butter in a small bowl. Divide this mixture evenly among the four jars to form the crust layer. Press down lightly.
- In a large bowl, beat the softened cream cheese, powdered sugar, peanut butter, and vanilla extract until smooth.
- In a separate bowl, whip the 1/2 cup of cold heavy whipping cream until stiff peaks form. Gently fold the whipped cream into the peanut butter mixture until just combined.
- Spoon or pipe half of the peanut butter filling evenly over the crust layer in the four jars.
- Place the chocolate chips and 2 tablespoons of heavy whipping cream in a microwave-safe bowl. Microwave in 20-second intervals, stirring between each, until smooth and glossy (this is your ganache).
- Pour or spoon the chocolate ganache evenly over the peanut butter layer in the jars.
- Top with the remaining peanut butter filling, spreading it evenly.
- Chill the jars in the refrigerator for at least 2 hours, or until firm.
- Serve cold directly from the jar.
Notes
- For a cleaner look when layering, use a piping bag or a large zip-top bag with the corner snipped off to pipe the fillings into the jars.
- If you prefer a firmer crust, chill the crust layer for 15 minutes before adding the first filling layer.
- You can top the finished jars with a dollop of extra whipped cream or chopped peanuts before serving.
Nutrition
- Serving Size: 1 jar
- Calories: 650
- Sugar: 55
- Sodium: 350
- Fat: 45
- Saturated Fat: 18
- Unsaturated Fat: 27
- Trans Fat: 0
- Carbohydrates: 58
- Fiber: 3
- Protein: 15
- Cholesterol: 75