

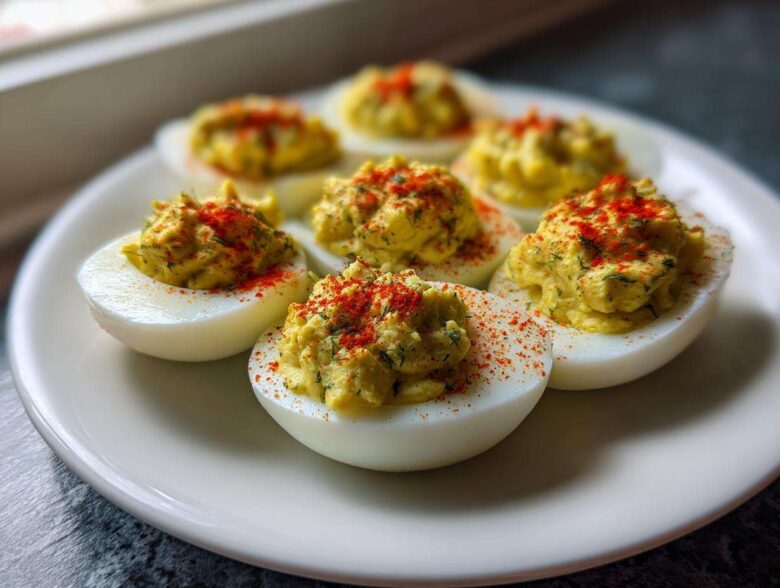
Oh my gosh, can we talk about party food for a minute? There are appetizers, and then there are classic appetizers—the kind that disappear the second you set them out. I’ve been making egg dishes for family gatherings since I was basically knee-high to a grasshopper, and I’ve learned a few tricks over the years to keep things exciting while sticking to tradition. Forget blending into the background! We’re going to take that simple, creamy base and give it a massive flavor upgrade. Trust me when I say that adding that zingy crunch makes all the difference. We’re talking about the absolute best Classic Deviled Eggs with Dill Pickle Relish you will ever taste, guaranteed to be the star of your next potluck.
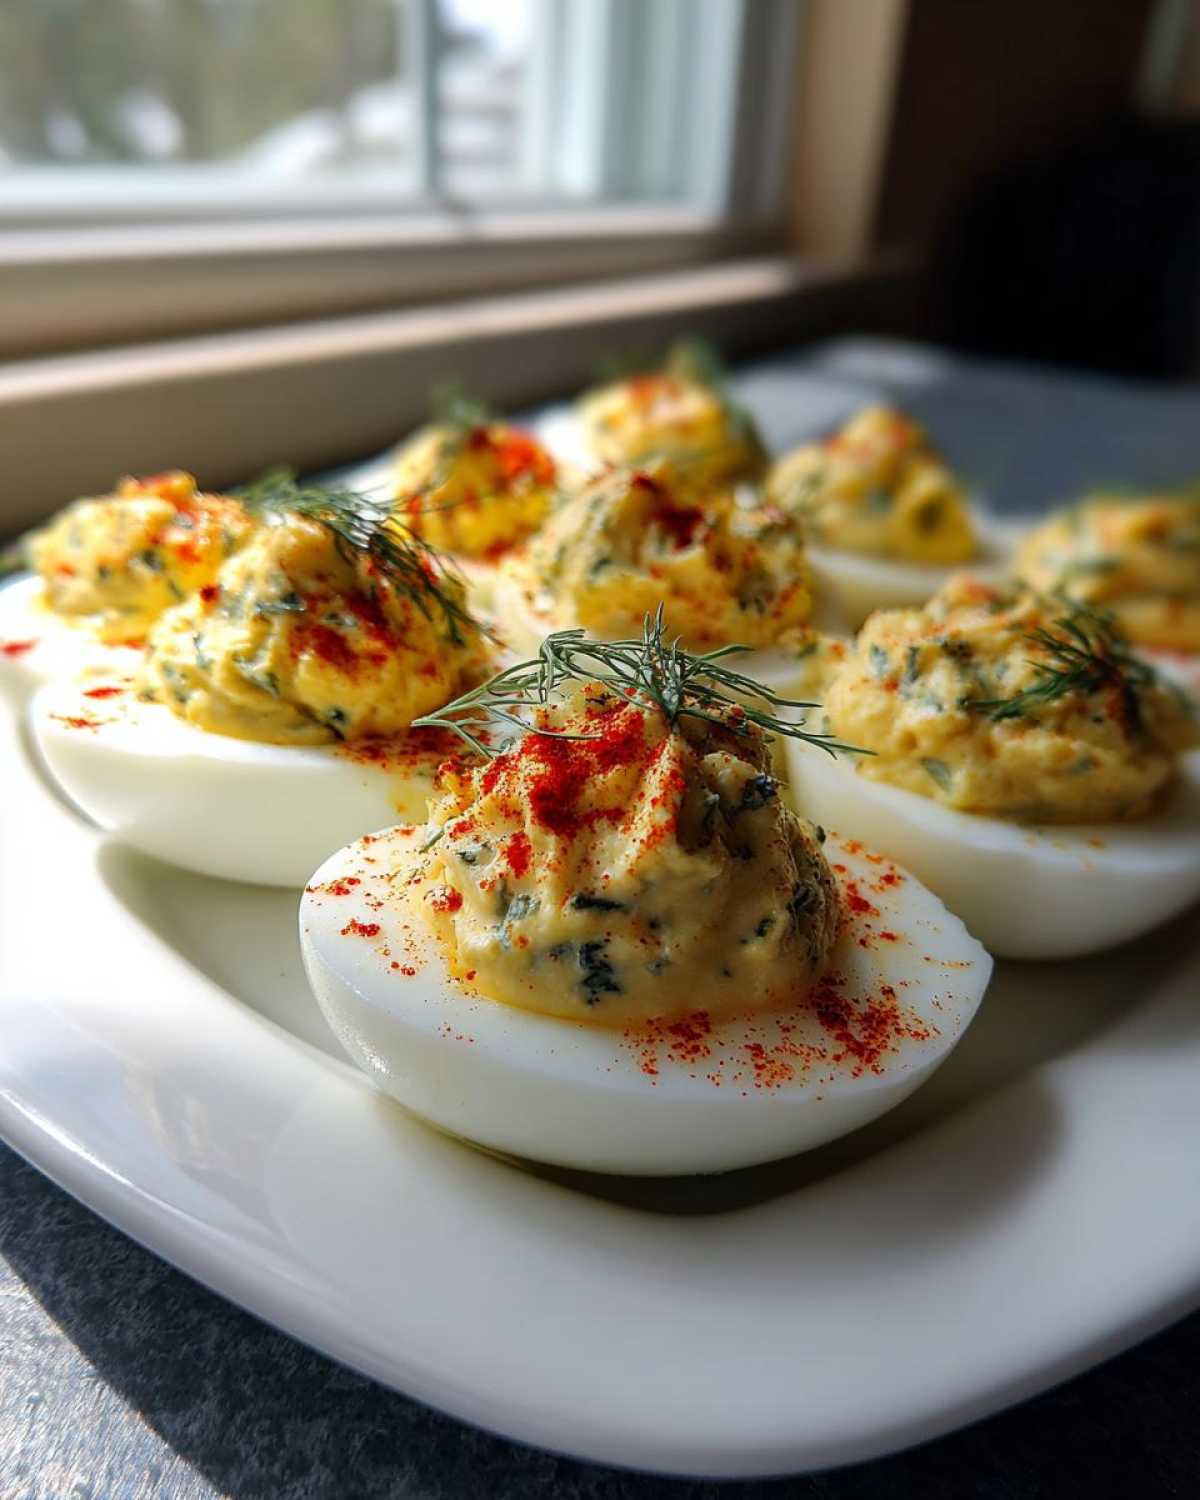
Why This Classic Deviled Eggs with Dill Pickle Relish Recipe Works
There are a million ways to make deviled eggs, I know! But this version is the one you keep coming back to, year after year. It solves all the usual headaches people have when they try to whip up a batch of this classic Creamy Egg Appetizer.
- The Perfect Peel: We start with a foolproof boiling and ice bath method. You won’t spend twenty minutes hammering shells trying to get those perfect white cups.
- That Tangy Zing: The dill pickle relish is the secret handshake! It cuts through the richness of the yolk and mayo beautifully, making them super refreshing.
- Unbeatable Creaminess: My technique ensures zero lumps. The resulting filling is velvety smooth, just how a great appetizer filling ought to be!
- Crowd Approved: Seriously, these never last past appetizers. They’re familiar but just exciting enough to make everyone ask for the recipe.
Gathering Ingredients for Classic Deviled Eggs with Dill Pickle Relish
Okay, the secret to not having a runny, sad deviled egg platter lies entirely in measuring precisely right here. We’re keeping things super classic for the base—twelve large eggs, because you always need more than you think you do for a decent spread. But the real stars, the ingredients that turn this from basic to brilliant, need very specific handling.
You’ll need about half a cup of nice, rich mayonnaise. Don’t skimp on the quality here; it’s holding all that flavor together! Then comes the tang: one tiny teaspoon of yellow mustard and an equal amount of white vinegar. These guys give it that classic little bite.
Essential Components for the Filling
Now for the flavor boosters that make these Classic Deviled Eggs with Dill Pickle Relish sing! We’re talking about two tablespoons of that gorgeous dill pickle relish. This is the most critical instruction in this whole section, so listen up: you absolutely *must* drain that relish very, very well. I mean, squeeze it lightly between a couple of paper towels if you have to! If you skip this, your creamy filling turns into soup, and nobody wants that messy situation on their appetizer plate.
A quarter teaspoon of salt and just a dash of black pepper balance everything out. Remember, we’re aiming for that tangy, savory profile, not just bland egg yolk mush. Get these measured out, and you’ve already won half the battle for the creamiest filling technique!
The Technique: How to Make Perfect Hard-Boiled Eggs for Classic Deviled Eggs with Dill Pickle Relish
Honestly, if you can’t peel the eggs easily, you probably won’t even get to the fun part of mixing in that wonderful pickle relish. Dealing with bits of shell clinging to your egg white is the bane of every appetizer maker’s existence, right? That’s why I want to share my trick for making them look beautiful when you slice them in half. This method is how I guarantee I get those smooth, perfect cups ready for filling every single time. It’s my go-to for learning How to make perfect deviled eggs!
First, get your twelve large eggs into a saucepan. They need to be in a single layer because we want them to cook evenly. Pour in the cold water—just enough to cover them by about an inch. Now, watch closely. You bring that water to a hard, rolling boil over high heat. The *second* it hits that full boil, I yank the whole pot off the burner. Turn off the heat, put a lid on it tight, and set your timer for exactly twelve minutes.
This steam-cooking trick works wonders. Once the twelve minutes are up, that’s go-time! Don’t wait even a second. Scoop those hot eggs straight into a big bowl of ice water, what we call an ice bath. They need to chill out completely for at least fifteen minutes in that icy bath. This sudden temperature shock is what makes the membrane shrink just a bit, separating slightly from the shell. Seriously, this step is non-negotiable for easy peeling!
Once they’re totally cold, get under the faucet. Peel them under cool running water—the water helps slide those annoying pieces of shell right off. Slice them in half, scoop those beautiful yolks out into a bowl, and you are ready for the tang magic to begin!
Creating the Creamy Filling for Your Classic Deviled Eggs with Dill Pickle Relish
Now that you have your pristine, perfectly peeled egg white cups sitting on the platter, it’s time to build that decadent, tangy center! This is where those mashed yolks really come into play, and I have a huge pet peeve about this step: you have to work those yolks until they are totally gone before you even think about adding the wet stuff.
Take a fork—or, if you’re feeling fancy, use a hand mixer for about ten seconds—and just smash those yolks. Keep going until it looks like super fine yellow sand, with absolutely no little dry chunks remaining. I mean it! If you leave lumps in now, adding the mayonnaise later just makes for a lumpy filling, and we are aiming for that luxurious, silky texture that defines great party food.
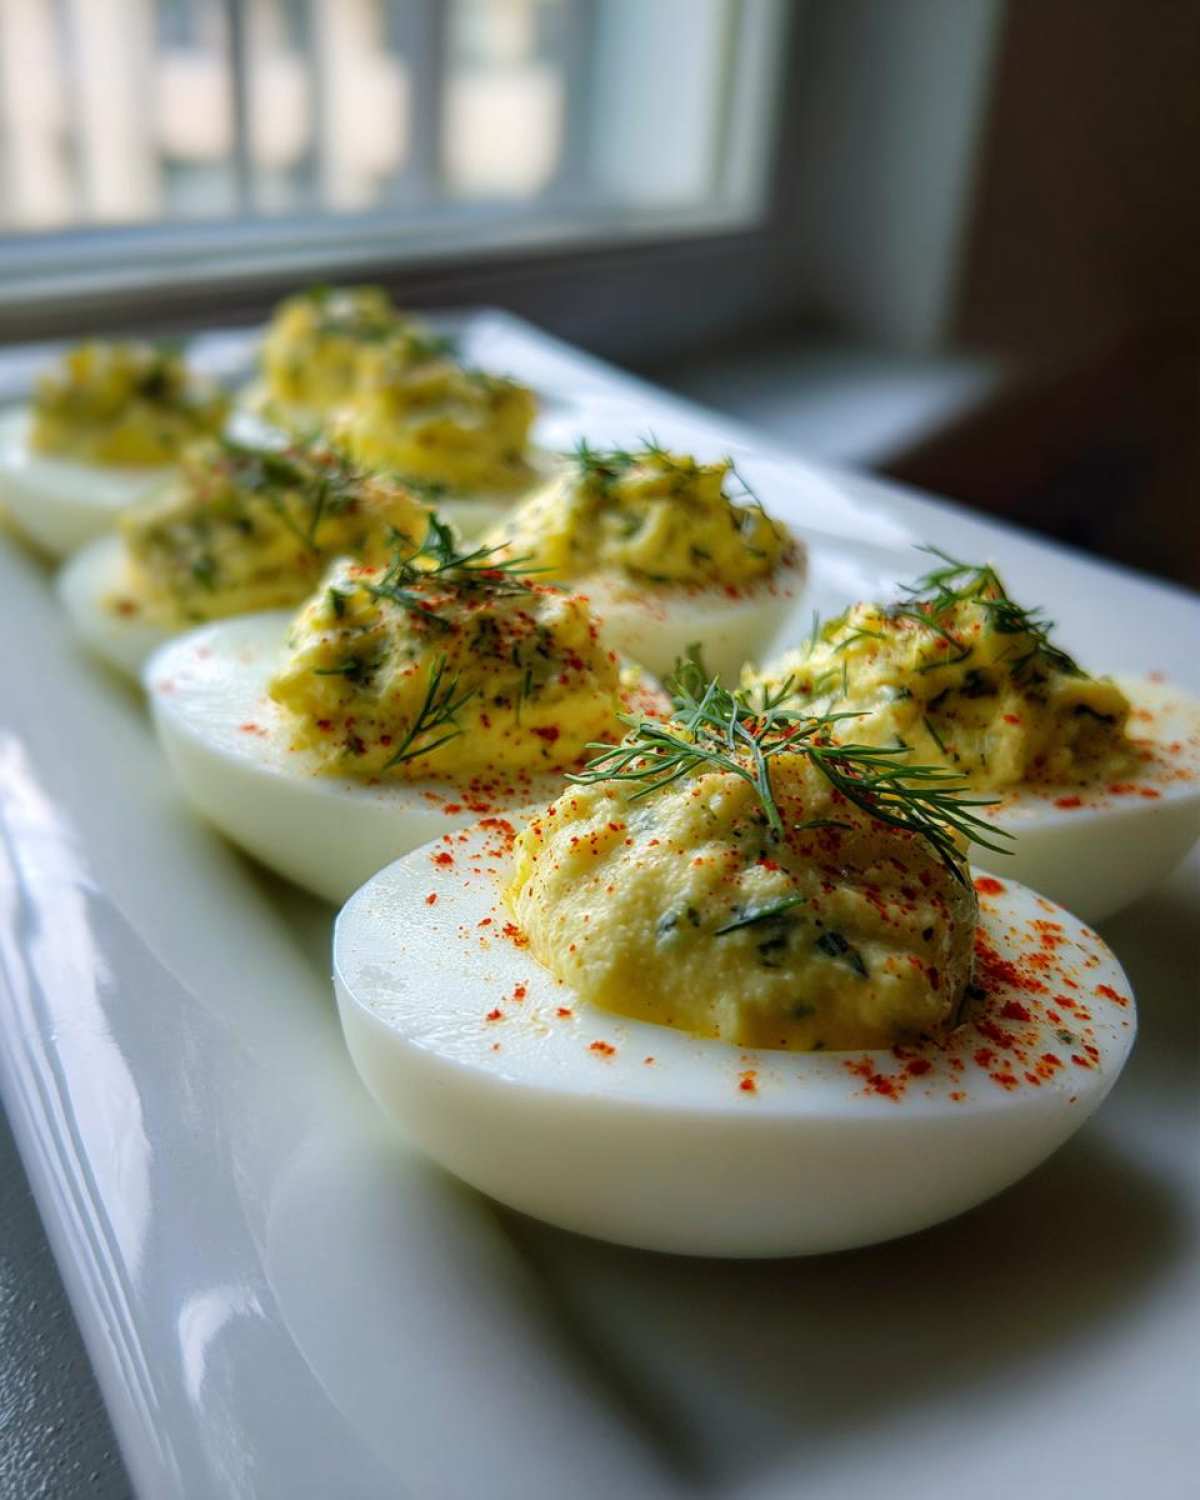
Once you hit that incredibly smooth base, go ahead and introduce your flavor builders: the creamy mayonnaise, the zingy mustard, that small splash of white vinegar, and your pre-drained dill pickle relish. Mix it all together gently. Your goal here isn’t aeration; it’s just combining everything until it’s perfectly unified.
Keep mixing until the entire mixture is glossy, uniform in color, and completely smooth and creamy. This is the cornerstone of the Creamy Filling Technique we’re mastering today! Once it looks good, you absolutely have to taste it. That’s right—grab a tiny spoon and make sure the seasoning is spot on. Does it need a tiny pinch more salt to make the pickle flavor pop? Maybe just a whisper more mustard for extra bite? Adjust it to your family’s preference. It’s your batch of Classic Deviled Eggs with Dill Pickle Relish, so make it perfect for your crowd!
Assembling and Presenting Classic Deviled Eggs with Dill Pickle Relish
Okay, gorgeous! We have the perfectly mashed, tangy-dream filling sitting here, and those empty egg white cups are begging to be filled. This is where you get to decide if you want to be elegant or just wonderfully fast. Piping the filling back in is my favorite way to get that restaurant-quality look. If you have a piping bag and a large star tip, pile your Classic Deviled Eggs with Dill Pickle Relish mixture in there. That ridged swirl looks so pretty, especially when you’re aiming for those top-tier Party Snack Recipes.
But hey, if you’re in a rush, or maybe you just prefer a rustic vibe, a small spoon works just fine! Just scoop the filling carefully back into the whites, making a nice little mound. Don’t worry if it’s not perfectly uniform; the flavor is what counts, not the fancy tip!
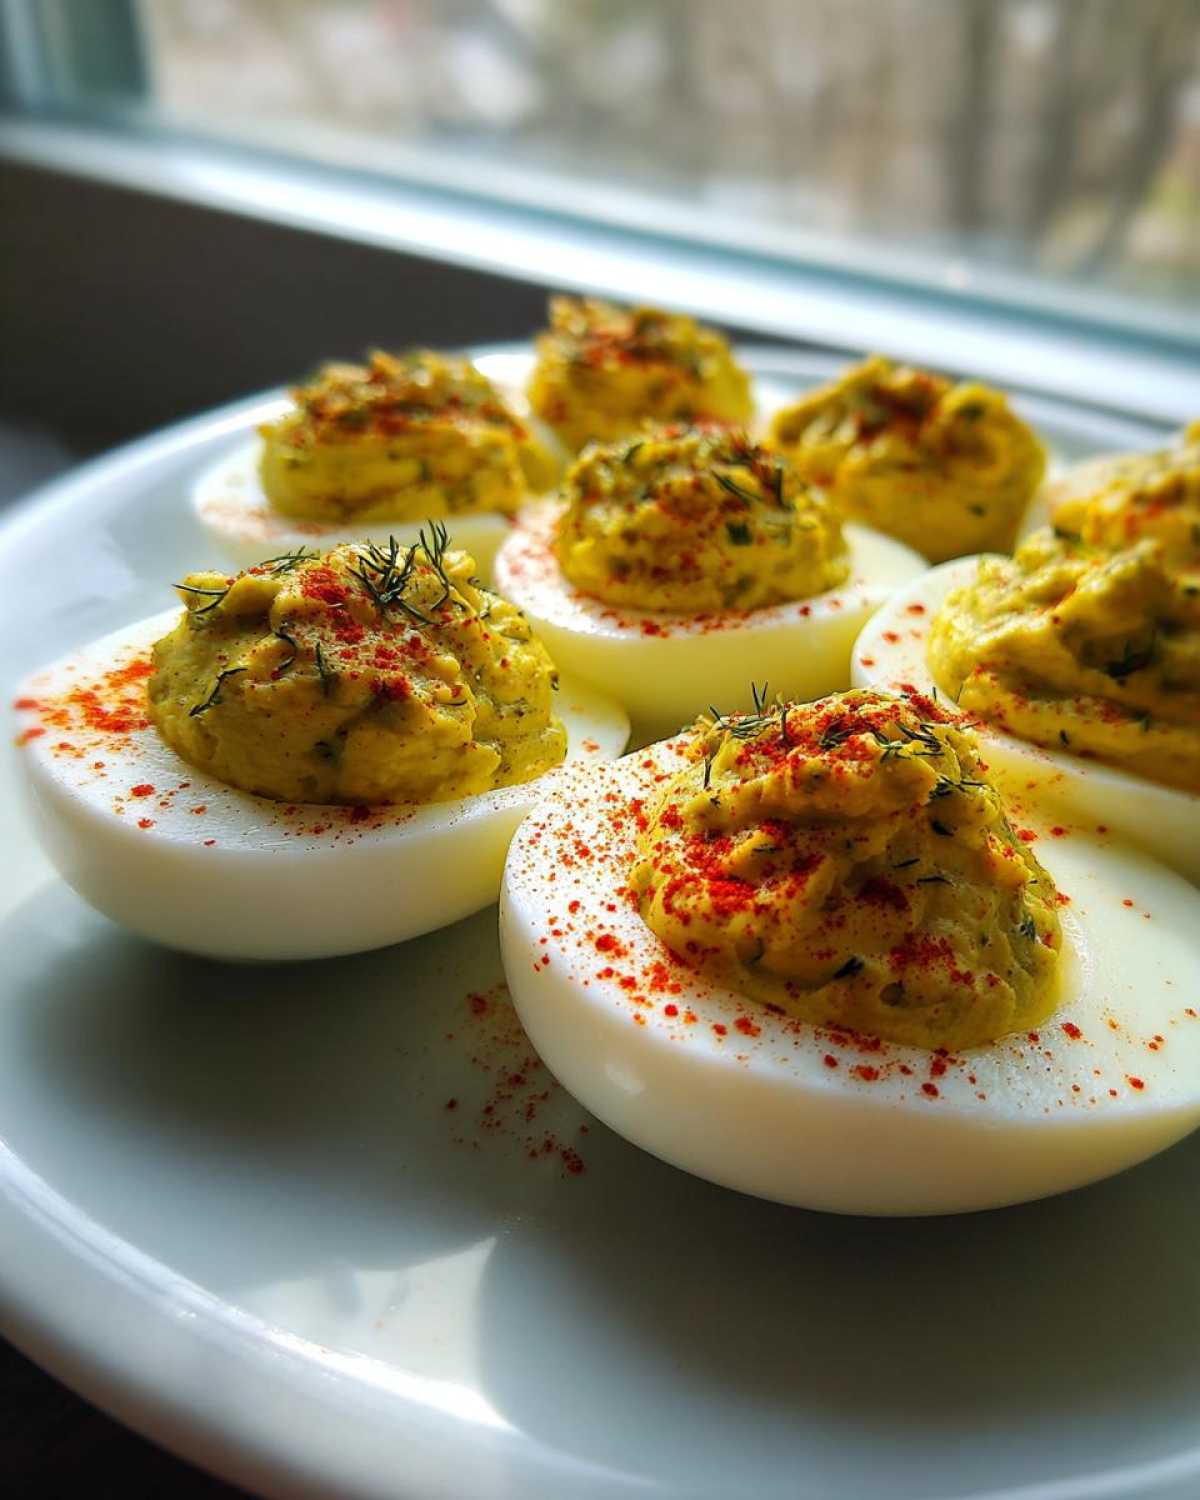
Now for the most underrated step in making any creamy appetizer: Chilling! You absolutely cannot skip this part. Once all twelve eggs are lovingly filled, cover that platter carefully with plastic wrap—make sure you don’t smoosh the tops! They need a minimum of 30 minutes resting in the refrigerator. This chilling time lets the flavors really settle into each other, making the filling firmer so it doesn’t slide out when someone picks it up.
Right before you carry them out to the happy crowd, it’s time for the final flourish! A light dusting of paprika is traditional, and I love how the reddish-pink contrasts with the creamy yellow. For an extra punch of green and more dill flavor, sprinkle on some finely chopped fresh chives or even some tiny, finely chopped pieces of the dill pickle relish itself. Seeing those little green bits lets everyone know these aren’t your run-of-the-mill eggs; these are the good ones!
Making Ahead and Storing Your Deviled Eggs with Pickle Flavor
Listen, hosting can be stressful, and nobody wants to be scrambling to mix yolk filling when people are already ringing the doorbell! This recipe is a dream for people who like to plan ahead, which is basically everyone I know. You get a great head start with these Make Ahead Appetizers because the filling holds up beautifully.
Here’s the golden rule for keeping your Classic Deviled Eggs with Dill Pickle Relish looking fresh: make the filling first, but hold off on filling the egg whites until serving day, or at least a few hours before. The filling itself is sturdy! You can mix up that entire creamy yolk mixture—mayonnaise, mustard, relish, spices, everything—and store it in an airtight container in the fridge. I’ve kept mine like this for up to 24 hours, and it was just as delicious and perfectly textured the next day.
When you’re ready to serve, pull that filling out about 20 minutes before you want to plate them so it’s not ice cold—it makes piping much easier! Scoop or pipe it right into your peeled egg white halves, garnish with paprika, and you are done. It cuts your actual serving prep time down to almost nothing!
If you *absolutely* have to assemble them early, I suggest filling the whites, but skip the paprika garnish. Cover the whole platter really, really tightly and keep them completely chilled. Don’t leave them sitting out on the counter, especially if you’ve added that extra punch of salty-sour relish. Everyone always comments on how fresh they taste!
Tips for Perfect Deviled Eggs with Pickle Flavor
I’ve made so many batches of these for holiday spreads and summer picnics that I’ve picked up a few little insider secrets to make them absolutely foolproof. You want that filling to be flawless, right?
First, let’s talk about the peeling again, because it’s seriously the most frustrating part! If you find shells fighting you, just peel the egg under a stream of cool running water. The water gets in between the membranes and the egg white, helping them slide right off. It sounds messy, but it saves so much time and frustration when you need those perfect white cups!
Next, if you’re someone who demands the smoothest texture possible—like, absolutely zero graininess—you might want to try this advanced move: after you mash the yolks, press them through a fine-mesh sieve right into your mixing bowl. It seems extra, I know, but when you pull those silky-smooth yolks out, mix them with the mayo, and you get that incredible feel? Totally worth it. You can see my favorite fine-mesh tool here: that small sieve really comes in handy for refining textures.
And finally, I’m repeating this because it’s important for the pickle flavor profile: drain that relish! Seriously, get all the liquid out. Excess moisture changes the entire structure of the filling, making it looser and less appealing. A little bit of crunch from the pickle piece is great, but swimming in brine? Absolutely not. Get it dry, and your filling stays perfectly creamy and tangy!
Serving Suggestions for Classic Deviled Eggs with Dill Pickle Relish
These bright, tangy eggs are utterly versatile. They are amazing just sitting on a platter waiting to be devoured, but I always think about what else is on the table when I’m deciding how to serve them. Are you putting these out for an Easter brunch? Or maybe a summer barbecue?
For backyard gatherings, these are prime Picnic Food Ideas material! The slight vinegar tang from the dill pickle relish actually holds up really well outdoors compared to super rich, purely creamy dips. They pair perfectly alongside smoky pulled pork sliders or a big platter of grilled shrimp. They offer that cool, comforting bite next to something hot off the grill.
When we are talking about parties, though, these Classic Deviled Eggs with Dill Pickle Relish really shine as part of a larger spread. Think about them balancing out salty things like olives or spicy cheese straws. They’re the perfect palate cleanser!
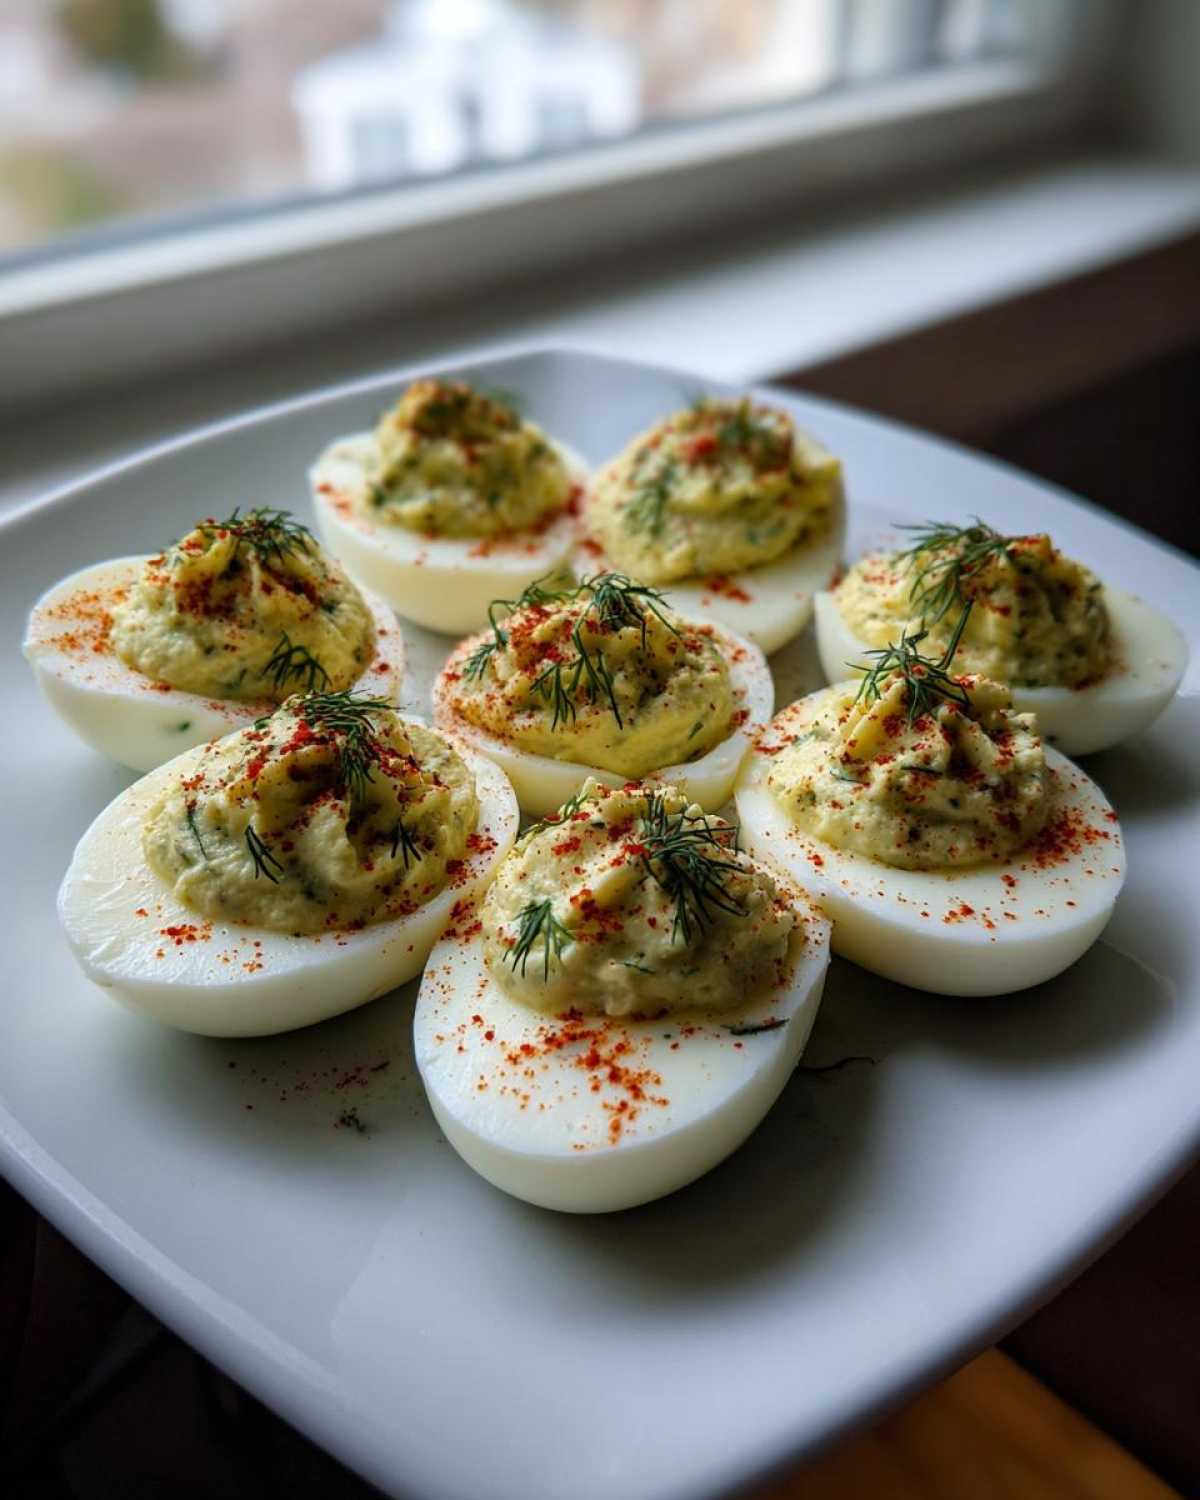
And of course, they are absolute must-haves for Holiday Egg Appetizers. I usually make a double batch for Thanksgiving because everyone swoops them up before the turkey is even carved. Just make sure they are well-chilled right up until the moment you serve them, especially if you’ve added that extra punch of salty-sour relish. Everyone always comments on how fresh they taste!
Frequently Asked Questions About Relish Deviled Eggs
I totally get it; when you find a great recipe for a staple like this, you start having questions about tweaking it for your own kitchen! These are the things folks ask me most often about jazzing up their Simple Finger Foods and perfecting that tangy filling.
Can I substitute sweet pickle relish for dill pickle relish?
You certainly *can*, but you’re going to end up with a very different flavor, honey! Since our goal here is that bright, slightly briny kick that compliments the yolks, switching to sweet relish will make them taste much sweeter overall. If you have to use it because that’s all you have? Go for it! But I’d suggest dropping the amount of relish down a touch, and maybe adding an extra tiny splash of vinegar to try and bring back some of that sour punch to balance the sweetness. It won’t be the exact same experience as this classic recipe, but it’ll still be tasty!
What is the best way to get a perfectly smooth, creamy filling?
Oh, I’m obsessed with texture, so this is important! The number one thing is really spending time on those yolks. You need to mash them with a fork until they look like baby powder, no excuses! If you want next-level, velvety smooth results that feel expensive—especially if you’re serving these at a fancy gathering—pass the mashed yolks through a fine-mesh sieve before you add anything else. I know, it’s an extra dish to wash, but mixing that silky yolk with the mayo, mustard, and relish? It creates the kind of Creamy Egg Appetizer filling that just melts in your mouth.
How long are these safe to keep out at a party?
This is a vital food safety question, especially since we’re dealing with hard-boiled eggs and mayonnaise in that lovely filling. Because they contain eggs and often mayo, you really shouldn’t leave assembled deviled eggs—even these wonderful Relish Deviled Eggs—out at room temperature for more than two hours total. If it’s a really hot day, like an outdoor picnic in July, that window shrinks to just one hour. Always keep extras covered and chilled until you need to replenish the platter. Better safe than sorry when it comes to happy guests!
Nutritional Estimate for Classic Deviled Eggs with Dill Pickle Relish
I always get asked about this, especially when I bring these tasty little bites to gatherings where everyone is watching what they eat! It’s important to remember that these numbers are just a guide—a helpful snapshot based on the standard ingredients I use. What brand of mayonnaise you pick, or how much relish you manage to successfully drain out, can change things slightly!
This estimate is based on a serving size of two halves, which is pretty standard for keeping track. When you look at the data, you see that these Classic Deviled Eggs with Dill Pickle Relish are really satisfying without being too heavy. They pack a good protein punch!
Here is what you can generally expect per serving (2 halves):
- Calories: Around 90 calories. They are wonderfully portion-controlled!
- Fat: About 8 grams total fat. Most of that richness comes from that beautiful yolk and quality mayonnaise.
- Protein: A solid 3 grams of protein per serving. Great for keeping folks satisfied while they mingle.
- Carbohydrates: Very low, hovering right around 0.5 grams. It’s mostly coming from the tiny bit of sugar in the relish or mustard.
- Sugar: Super low, usually just half a gram, which is fantastic.
- Sodium: This one is higher, around 120mg, because of the salt we add and the natural sodium in the relish.
So go ahead and enjoy a couple! They are fantastic for picnics or parties, and knowing the rough breakdown makes it easier to balance out the rest of your plate. I learned a lot about nutrition when I was trying to manage my own recipes, which makes tracking these estimates easy for you now. You can always check out our official privacy policy if you’re curious about how we handle any data related to recipe tracking!
Share Your Experience Making This Appetizer
And just like that, you’ve created the ultimate party snack! Seriously, I hope you’re feeling proud of those beautiful deviled eggs loaded with that tangy pickle flavor. Now that you’ve mastered the technique for perfectly peeling the eggs and balancing the creamy filling with the zest of the dill pickle relish, I really, really want to hear about it!
Did you find the recipe easy to follow? Were you surprised by how much that little bit of relish brightened up the whole dish? Don’t be shy! Drop a star rating right down below based on how they turned out for you. Getting your feedback helps me know I’m giving you the right advice for your kitchen adventures.
And if you managed to snap a picture of your platter—especially if you went heavy on the paprika or tried garnishing with those tiny pickle bits—tag me on social media! Seeing my recipes come to life in your homes is honestly the best part of running this whole kitchen blog. I’m always checking in on our latest posts and comments, waiting to see how your Classic Deviled Eggs with Dill Pickle Relish turned out. Happy snacking, and thanks so much for baking (or, well, deviling!) with me today!
PrintClassic Deviled Eggs with Dill Pickle Relish
Make classic deviled eggs with a bright, tangy flavor boost from dill pickle relish. This recipe yields a creamy filling perfect for any gathering.
- Prep Time: 20 min
- Cook Time: 12 min
- Total Time: 32 min
- Yield: 24 halves
- Category: Appetizer
- Method: Boiling and Mixing
- Cuisine: American
- Diet: Vegetarian
Ingredients
- 12 large eggs
- 1/2 cup mayonnaise
- 2 tablespoons dill pickle relish, drained well
- 1 teaspoon yellow mustard
- 1 teaspoon white vinegar
- 1/4 teaspoon salt
- 1/8 teaspoon black pepper
- Paprika, for garnish
- Optional: Finely chopped fresh dill or chives, for garnish
Instructions
- Place eggs in a single layer in a saucepan. Cover eggs with cold water by about one inch.
- Bring the water to a full, rolling boil over high heat. Once boiling, immediately remove the pan from the heat, cover it, and let the eggs stand for 12 minutes.
- Immediately transfer the eggs to an ice bath (a bowl filled with ice and cold water) and let them cool completely for at least 15 minutes. This stops the cooking process and helps with peeling.
- Peel the cooled eggs. Slice each egg in half lengthwise. Gently scoop the yolks into a medium bowl. Place the empty white halves on a serving platter.
- Mash the yolks thoroughly with a fork until no lumps remain.
- Add the mayonnaise, drained dill pickle relish, mustard, white vinegar, salt, and pepper to the mashed yolks. Mix until the filling is completely smooth and creamy. Taste and adjust seasoning if needed.
- Spoon or pipe the yolk mixture back into the egg white halves. For piping, use a pastry bag fitted with a star tip.
- Chill the filled eggs for at least 30 minutes before serving.
- Just before serving, lightly sprinkle the tops of the eggs with paprika and optional fresh dill or chives.
Notes
- For easy peeling, crack the shell all over and peel under cool running water.
- If you prefer a smoother filling, press the mashed yolks through a fine-mesh sieve before mixing in the other ingredients.
- Drain the relish thoroughly; excess liquid will make the filling runny.
- You can make the filling up to 24 hours ahead of time and store it covered in the refrigerator. Fill the egg whites just before serving.
Nutrition
- Serving Size: 2 halves
- Calories: 90
- Sugar: 0.5
- Sodium: 120
- Fat: 8
- Saturated Fat: 2
- Unsaturated Fat: 6
- Trans Fat: 0
- Carbohydrates: 0.5
- Fiber: 0
- Protein: 3
- Cholesterol: 95