

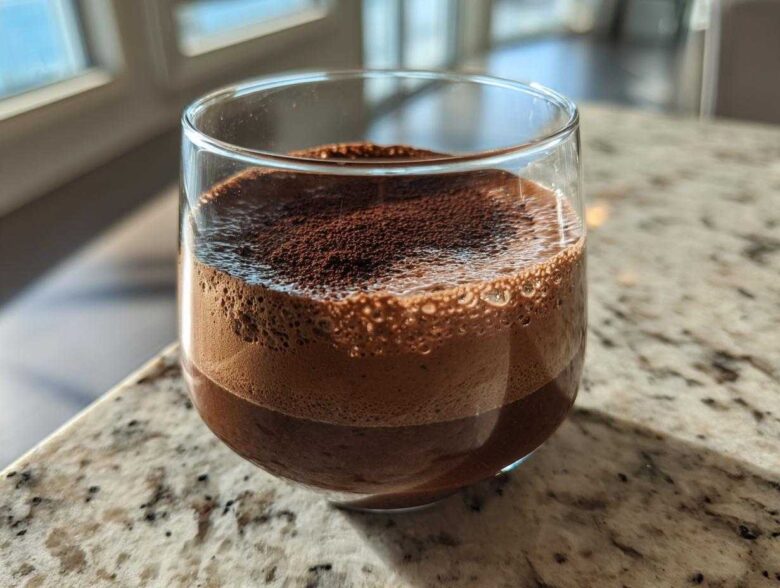
Are you tired of those complicated, egg-heavy desserts that promise heaven but deliver anxiety? Me too! For years, I chased that elusive, perfect cloud of whipped chocolate, often ending up with slightly gritty pudding instead. I finally cracked the code to the most luxurious, unbelievably easy chocolate mousse recipe you will ever try. Seriously, this whole decadent experience is based on just three ingredients, and guess what? There’s absolutely no baking involved. This foolproof method changed my life for all those last-minute dinner party emergencies. If you want to know more about our kitchen philosophy, check out our story here. Trust me, once you master this simple technique, this chocolate mousse will become your signature.
Why This Easy Chocolate Mousse Recipe is Your New Go-To
This recipe cuts right to the chase without sacrificing any of the wow factor. Why spend an hour fussing when you can have true indulgence in minutes? It’s engineered for perfection, making it the ultimate quick chocolate dessert for weeknights or unexpected guests.
- It requires truly just three simple ingredients—no gelatin, no egg yolks, just pure magic.
- The result is incredibly light and airy, yet somehow still a silky smooth mousse.
- It sets up perfectly in the fridge, meaning you can always have a fancy treat ready!
Achieving a Creamy Decadent Dessert with Minimal Effort
Honestly, if you can chop chocolate and whip cream, you can make this. This structure is what makes it such a fantastic chocolate mousse for beginners. There’s no tempering, no fears about raw eggs; you simply melt, fold, and chill. It’s the definition of a creamy decadent dessert achieved through perfect simplicity, not complicated technique!
Gathering Ingredients for Your 3 Ingredient Mousse
Okay, listen up! Since this recipe has so few moving parts, the quality of what you put in absolutely matters. Think of it like a tailored suit—simple cut, but expensive fabric! I always stress picking the best dark or semi-sweet chocolate you can find. Don’t skimp here; it’s the main flavor component, and it’s what makes the final product shine.
You need to have everything ready before you start stirring. Make sure your heavy whipping cream is bone-chilling cold—that’s non-negotiable for good volume. And remember to finely chop that chocolate into tiny little pieces. It melts so much faster and smoother that way!
Ingredient Clarity and Quality
We are relying on that beautiful, cold heavy whipping cream to turn into our structure. If it’s even slightly warm, you’ll end up with soup, not the amazing light and airy mousse we’re aiming for. For the chocolate, I adore using something 70% cacao or higher. If you choose a super bittersweet chocolate, you might skip the optional sugar entirely, which is perfect if you prefer a truly rich dark chocolate dessert experience.
Step-by-Step Instructions for Foolproof Chocolate Mousse
This is where the real alchemy happens, but don’t panic! I’ve broken down every move we need to make to get that perfect light and airy texture. You want that beautiful, decadent feel, and the secret to stopping it from turning into heavy pudding lies in how we combine our ganache with the whipped cream. This process ensures we end up with the best chocolate mousse imaginable.
Melting the Chocolate Base for Silky Smooth Mousse
First, get that chocolate chopped up small and pop it in a nice heatproof bowl. Then, we heat up exactly half of our cold cream—just until you see tiny little bubbles around the edge of the saucepan. Don’t let it roll! Pour that hot cream right over your chocolate. Now, here is your first trust moment: walk away! Let it just sit there for a full five minutes. This gentle heat does the work. After five minutes, whisk it slowly until it’s totally smooth and glossy. It should look liquid and rich. Set this bowl aside so it can cool completely down to room temperature before we do anything else. If it’s too hot, it melts the gorgeous air right out of your whipped cream later!
Folding Technique for Light and Airy Mousse
While that base is cooling, whip your remaining cream and the optional sugar in a separate bowl until you get stiff peaks—you know, when you can pull the whisk out and the cream stands straight up. Now for the crucial part of making this a real whipped chocolate dessert! Take about one-third of that fluffy cream and stir it firmly into your cooled chocolate base. This takes the thickness down a notch and loosens up the mixture. Once that’s combined, gently, gently fold in the rest of the whipped cream. You’re not stirring; you’re cutting down the middle and flipping over. Stop the second you don’t see any white streaks. Overmixing means a flat, dense dessert, and we want airy clouds!
After that, spoon it carefully into your serving dishes. We need at least two hours in the fridge for it to firmly set up.
Tips for the Perfect Chocolate Mousse
Even though this is a wonderfully simple chocolate mousse, there are a couple of tiny pitfalls you can avoid if you know the secrets! This no bake chocolate dessert relies entirely on technique, so a little foresight goes a long way toward that perfect, dreamy scoop.
The biggest rookie mistake I see people make is adding the beaten cream while the chocolate base is still warm. You haven’t built that necessary structure yet! Always let the ganache cool down until you barely feel any warmth left—room temperature is ideal. If it feels even slightly hot to the touch, it will deflate your whipped cream instantly, leaving you with soupy sadness.
Expert Advice for Troubleshooting Your Chocolate Mousse
What if your heavy cream just won’t whip up? Well, first, double-check it’s cold! If it still won’t behave, sometimes adding just a tiny pinch of cream of tartar—like, seriously, a whisper—can help stabilize it. On the flip side, if your cooled chocolate mixture is too thick or starting to set up too firmly before you fold in the cream, try gently warming a small spoonful of the remaining cold cream and whisking it into the chocolate chunk by chunk until it’s pliable again. This little bit of dairy helps loosen it just enough so you can incorporate the air without crushing it. Remember, gentle folding is the goal!
Serving and Presenting Your Chocolate Mousse
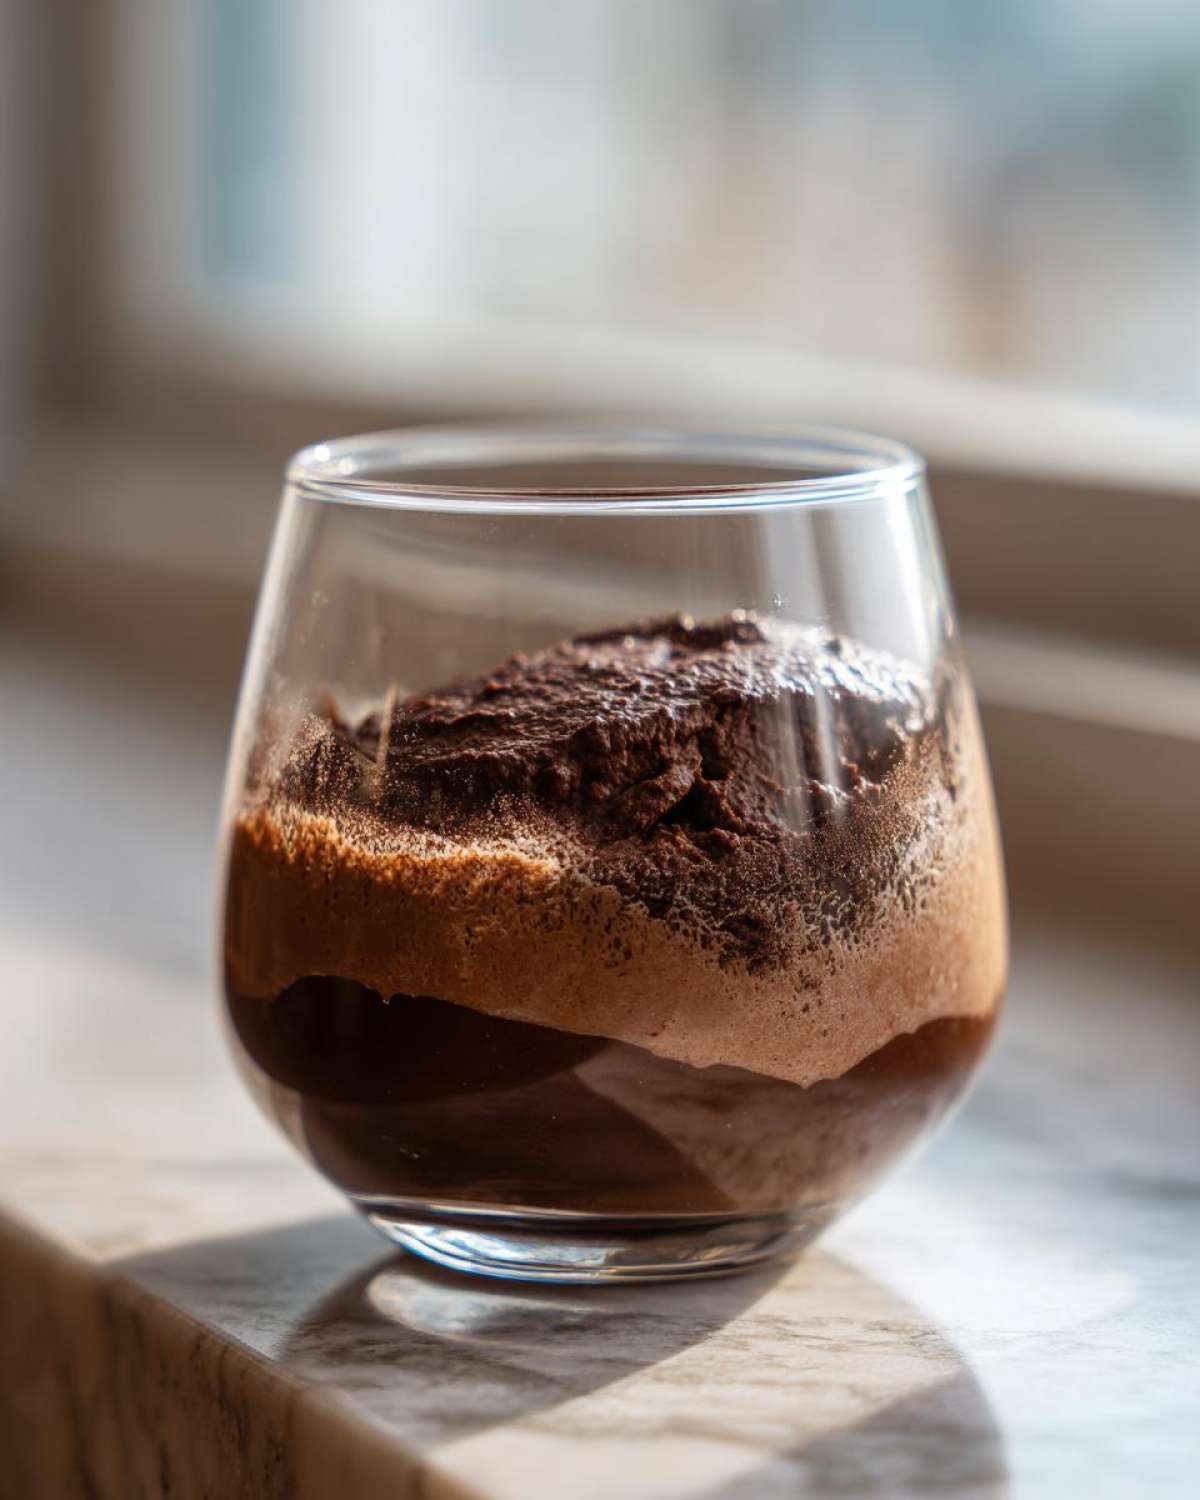
Once that beautiful chocolate mousse has chilled and set, the fun part—making it look as amazing as it tastes—begins! This is the moment where your simple three-ingredient recipe transforms into something worthy of any formal gathering. Because it sets so perfectly, it’s fantastic served in little individual dessert cups. That single-serving presentation always looks so polished, right?
I often make this when I need a showstopper without stressing out my entire afternoon. It just feels so luxurious, doesn’t it? You can prepare everything the day before, and all you need when company arrives is a quick garnish!
Elegant Dessert Ideas for Dinner Parties
Keep it simple! The mousse itself is rich, so you don’t need heavy toppings. A light shaving of good quality dark chocolate sprinkled right on top elevates any serving instantly. If you want a pop of color—especially around Valentine Day chocolate treats season—a couple of fresh raspberries or a single mint sprig makes it look incredibly professional. For a richer feel, sometimes I just pipe a small dollop of leftover whipped cream right on top before chilling. It really leans into that elegant dessert idea vibe, and nobody will guess how easy it was!
Make Ahead Dessert and Storage for Chocolate Mousse
The best part about this incredible chocolate mousse? It totally loves being made ahead! This makes it my absolute favorite make ahead dessert when I’m hosting a busy dinner party. You need a minimum of two hours chilling time down in the fridge for it to firm up properly, but honestly, it tastes even better after about six hours when those flavors have really settled in.
You can safely store your finished mousse, covered tightly, for up to two full days. If you cover it too loosely, though, it can definitely pick up fridge smells, which ruins that delicate chocolate flavor. Just pull it out about 15 minutes before serving, add your final garnish, and boom—perfection ready to go!
Variations on the Classic Chocolate Mousse
While this basic three-ingredient recipe is truly spectacular as is, sometimes you just need to jazz things up a little, right? It’s so much fun to see how changing just one tiny component can completely shift the flavor profile of your chocolate mousse. We totally get why people look for a deeper, more intense experience, especially if you love that rich dark chocolate dessert profile!
You can easily swap out the semi-sweet chocolate for milk chocolate if you want something sweeter, or even go for an extra-bitter baking chocolate for a super sophisticated finish. A splash of liquor, like a teaspoon of good quality brandy or maybe a hint of orange liqueur, folds in beautifully when you add the first portion of whipped cream, too. It keeps everything tasting fresh and exciting!
Exploring Egg-Free Chocolate Mousse Options
One of the biggest advantages of this particular style of chocolate mousse is that it is inherently free of eggs! We don’t have to worry about raw egg safety or separating yolks and whites, which is fantastic for everyone, especially when you’re whipping things up quickly. Since this recipe skips the eggs entirely, we are already in the land of the safe and simple no egg chocolate mousse. This simplicity makes it a stress-free option for any gathering—plus, it’s naturally vegetarian!
Frequently Asked Questions About This Quick Chocolate Dessert
How long does this easy chocolate mousse recipe need to chill?
This is a make ahead dessert superstar! While you technically can serve it after just an hour, I really, really don’t recommend it. I find that a minimum of two hours is required to get that true, firm set for a beautiful scoop. However, if you’re looking for the absolute best texture, letting it chill overnight is the secret weapon for a truly glorious silky smooth mousse.
Can I make this a richer dark chocolate dessert without altering the texture?
Yes, you totally can, but be careful! If you switch to a 75% or 80% cacao chocolate, you might find the finished product a tad bitter—which some people love! If you make that switch, I highly suggest adding the full tablespoon of sugar, or maybe even slightly more. Using higher cacao content doesn’t usually affect the whipped cream structure, but it definitely impacts the flavor balance for this quick chocolate dessert.
What if I don’t have semi-sweet chocolate? Can I use chocolate chips?
You certainly can, but chips sometimes have stabilizers added to help them keep their shape during baking, which can occasionally make melting a little trickier and might result in a result that is less perfectly smooth. If you must use chips, make absolutely sure you chop them finer than you think you need to! Better yet, grab a good quality bar. Trust me, it makes a difference in creating that creamy decadent dessert feel we are aiming for. Always remember that we provide a full legal disclaimer regarding any recipe modifications.
Is this good for individual dessert cups?
It’s tailor-made for them! Serving this as an individual dessert cups portion is my favorite elegant presentation for dinner party desserts. They look so professional sitting on a tray. Just line up your prettiest glasses, spoon or pipe the mix in, and let them chill. It’s a foolproof way to serve an impressive final course.
Estimated Nutritional Profile of This Chocolate Mousse
Now, I have never fussed too much over calories when it comes to a perfectly good creamy decadent dessert, but I know some of you are curious! Based on the standard measurements, here is an estimate for one serving. Please remember these numbers can shift depending on the exact brand of heavy cream or the percentage of cacao in the chocolate you end up using—it’s just part of ingredient transparency, which I always think is important!
Here are the rough figures we calculated:
- Calories: around 350
- Fat: about 28g
- Sugar: roughly 25g
We are keeping things simple and transparent here, just like the privacy policy on our site. Enjoy this treat knowing that you made it with minimal effort and maximum flavor!
Share Your Experience Making This Chocolate Mousse
Okay, now that you have this amazing, simple recipe tucked away, I absolutely *need* to hear about it! Did you manage to get that perfect, light texture? How did your guests react when you told them it was only three things?
Please, please, please hop down into the comments section below and let me know what you thought. A quick rating helps other bakers trust this simple method! Did you keep it pure and classic, or did you sneak in a little orange zest?
If you made this for a special night—maybe it was an impromptu date night or even for Valentine’s Day as a quick treat—tell me all the details! I love seeing how these little successes happen in your kitchens. If you ran into any issues, ask away too; we’re all learning together! Don’t forget to check out our cookie policy if you have questions about browsing the site!
PrintEasy 3-Ingredient Silky Chocolate Mousse
Make a rich, creamy, and light chocolate mousse using only three ingredients. This no-bake recipe is quick to prepare and perfect for any occasion.
- Prep Time: 15 min
- Cook Time: 5 min
- Total Time: 20 min
- Yield: 4 servings
- Category: Dessert
- Method: No Bake
- Cuisine: French
- Diet: Vegetarian
Ingredients
- 1 cup heavy whipping cream, cold
- 6 ounces semi-sweet or dark chocolate, finely chopped
- 1 tablespoon granulated sugar (optional, adjust to taste)
Instructions
- Place the chopped chocolate in a medium, heatproof bowl.
- Heat half of the heavy whipping cream (1/2 cup) in a small saucepan until it just simmers around the edges. Do not let it boil rapidly.
- Pour the hot cream over the chopped chocolate. Let it sit undisturbed for 5 minutes to melt the chocolate completely.
- Whisk the chocolate and cream mixture until it is completely smooth and glossy. Set aside to cool to room temperature.
- In a separate large bowl, whip the remaining 1/2 cup of cold heavy whipping cream and the optional sugar until stiff peaks form.
- Gently fold about one-third of the whipped cream into the cooled chocolate mixture to lighten it.
- Carefully fold in the remaining whipped cream until just combined. Avoid overmixing to keep the mousse airy.
- Spoon the mousse into individual serving cups or small bowls.
- Chill in the refrigerator for at least 2 hours before serving.
Notes
- Use high-quality dark chocolate for the best flavor.
- If you prefer a lighter texture, you can use a hand mixer to gently whip the chocolate mixture after adding the first portion of cream, before folding in the rest of the whipped cream.
- This mousse can be made ahead and stored in the refrigerator for up to 2 days.
Nutrition
- Serving Size: 1 serving
- Calories: 350
- Sugar: 25
- Sodium: 30
- Fat: 28
- Saturated Fat: 17
- Unsaturated Fat: 11
- Trans Fat: 0
- Carbohydrates: 28
- Fiber: 3
- Protein: 5
- Cholesterol: 95