

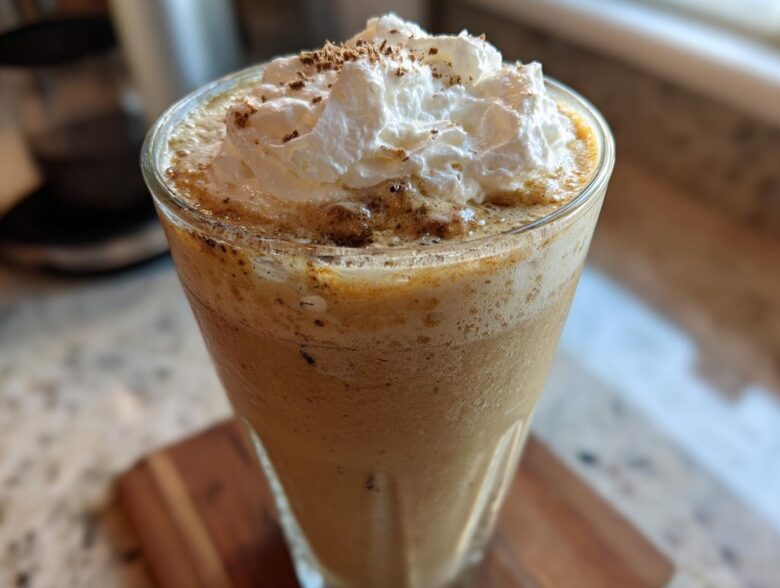
Oh my gosh, sometimes you just wake up, and nothing else will do except that perfectly cold, super-creamy, slightly sweet blended drink you usually have to drive across town to get, right? I used to think those café-style frozen treats were impossible to replicate at home. I really did! Every time I tried making my own Homemade Vanilla Bean Frappuccino, I ended up with either melted sludge or icy chunks that fought my regular blender. It was so frustrating!
But after weeks of testing, I finally cracked the code on achieving that signature smooth, thick, almost milkshake-like texture. Seriously, my kitchen now produces a Copycat vanilla bean Frappuccino recipe that tastes just as good, if not better, than my favorite spot. We’re focusing entirely on the vanilla flavor here—no coffee needed unless you toss in a shot later! Trust me, once you master this simple technique, you’ll never look back. If you want to know a little more about what makes this blog tick and why I love sharing these kitchen victories, you can check out my About Us page!
Why This Homemade Vanilla Bean Frappuccino Recipe Works (The Copycat Secrets)
The magic behind making this Copycat vanilla bean Frappuccino recipe taste exactly right isn’t about fancy syrups; it’s about the balancing act between ice, fat, and sweetness. We need enough density so it doesn’t melt into a puddle the second it hits the table. I found that when I started thinking about texture differently—almost like making a super-thick frosting—it all changed. If you love creamy vanilla flavors, you have to check out my recipe for best creamy vanilla buttercream recipe for another fun vanilla adventure!
That’s why this recipe calls for both milk *and* heavy cream. The fat content is crucial for achieving the best Homemade Frappuccino texture secrets. It emulsifies everything and makes the drink feel rich, coating your tongue just like the ones from the drive-thru. Also, don’t skimp on the sugar! It’s not just for sweetness; sugar lowers the freezing point of the liquid, making the blended ice softer and less “crunchy.”
Achieving Perfect Homemade Frappuccino Texture Secrets
If you’ve struggled with How to make creamy Frappuccino drinks before, the secret isn’t just the blender speed—though that helps! It’s using something to bind that ice structure together. I use a tiny pinch of xanthan gum, and honestly, that little bit of stabilizer prevents separation. If you skip it, just make sure you use whole milk and plenty of that heavy cream, and you’ll still get a great result.
When you blend, you absolutely must go low and slow first. If you blast the ice immediately, the blades will spin above the ice, just tossing it around until it melts. We want smooth, not slushy! We are aiming for that spoonable, thick consistency.
Essential Ingredients for Your Homemade Vanilla Bean Frappuccino
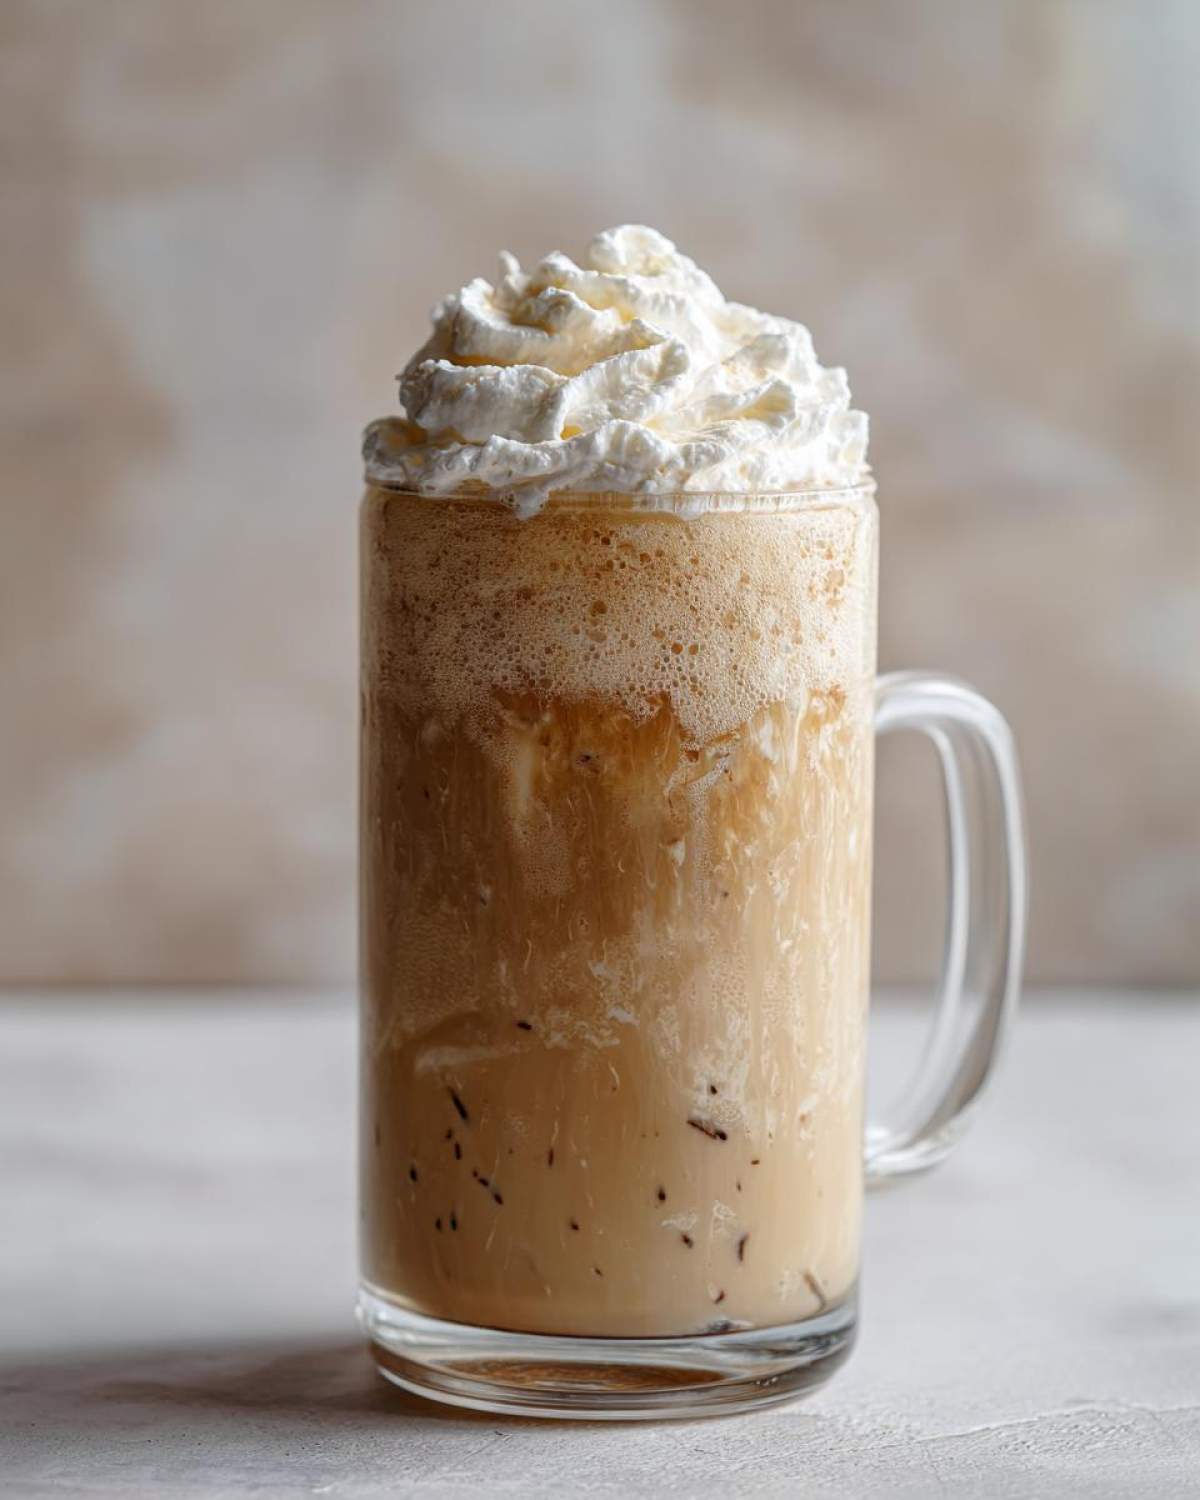
Okay, let’s talk about what you need to gather. This list looks simple because we’re keeping this an easy blended vanilla drink, but those few items are non-negotiable if you want that *exact* flavor profile. Remember, this recipe focuses only on that sweet, creamy vanilla essence, so don’t worry about adding coffee unless you want to sneak it in later! If you’re looking for another simple liquid favorite, you might enjoy my recipe for quick homemade chocolate milk recipe.
Make sure everything is cold before you start—especially the milk and cream. Cold ingredients mean less time blending, which means less melting! I always measure my ice firmly packed into the cup first. Here’s the breakdown for one perfect serving:
- 1 cup ice cubes, firmly packed
- 1/2 cup whole milk (or whatever milk you prefer)
- 1/4 cup heavy cream (don’t skip this; it’s the backbone of the creaminess!)
- 2 tablespoons granulated sugar (use slightly less if you like things milder)
- 1 teaspoon vanilla bean paste (this is my favorite for spotting those pretty black specks!)
- 1/4 teaspoon xanthan gum (this is the secret weapon if you want it super thick, but don’t worry if you skip it!)
- A tiny pinch of salt (this just wakes up all the sweet flavors, trust me!)
Ingredient Notes and Substitutions for Your Blended Vanilla Drink
The vanilla is where you can really choose your adventure. If you don’t have vanilla bean paste, you can use about 1/2 teaspoon of pure, high-quality vanilla extract, but try to add about 1/4 teaspoon of actual vanilla bean seeds if you can find them. That’s what bumps it up to that authentic taste. For those using non-dairy options—you absolutely can make a Blended iced vanilla recipe no coffee! Use oat milk or almond milk, but try to keep the heavy cream measurement or substitute it with a thick, high-fat non-dairy cream alternative. That fat ratio is what prevents it from turning icy slushy instead of smooth and creamy.
And yes, you can definitely adjust the sugar! We start with two tablespoons because we are building a flavor base, but if you know you like things sweeter, add another teaspoon before you blend. Taste testing is key, though you might have to wait until the end!
Step-by-Step Instructions for the Easiest Homemade Vanilla Bean Frappuccino
This is the part where all that careful measuring pays off! Since this drink comes together in under two minutes—prep time excluded—you want to have everything ready to go. I know you’re excited, but don’t just toss everything in and hit ‘PULSE.’ We have a specific blending protocol here to make sure we avoid the dreaded chunky result, which is the quickest way to ruin a perfect blended moment.
Grab your high-speed blender, because this is where the magic happens. If you need some other quick recipes for weeknights when blending sounds easier than cooking, take a peek at my quick shredded chicken tacos recipe for inspiration!
First, load up everything into the blender jug: your ice cubes, the milk and heavy cream, the sugar, your vanilla bean paste (or extract), that pinch of salt, and if you’re using it, the xanthan gum. Don’t overcrowd the pitcher—we need room for things to move!
- Start Slow: Put the lid on tight! Begin blending on the absolute lowest speed your machine has. You want to hear the ice start to crackle apart without the blade freezing up solid. This introductory stage takes maybe 10 seconds.
- Ramp It Up: Now, gradually increase the speed. As it gets faster, you should see the mixture start moving in a smooth vortex down toward the blade. We are aiming for smooth perfection here.
- The Scrape Check: If you notice that the mixture on the sides isn’t falling down, stop the blender immediately! Use a rubber spatula to scrape down any sticking bits back toward the center blade. This ensures we don’t have pockets of unblended milk or sugar hiding out.
- Final Blend: Blast it on high speed for another 15 to 30 seconds until everything is completely uniform. If you look closely, you should see a thick, smooth flow, like soft-serve ice cream when you lift the lid.
Pour it right away into your favorite tall glass. Seriously, serve this right away! The longer it sits before you enjoy it, the more that perfect consistency starts to degrade.
Tips for the Best Homemade Vanilla Bean Frappuccino Consistency
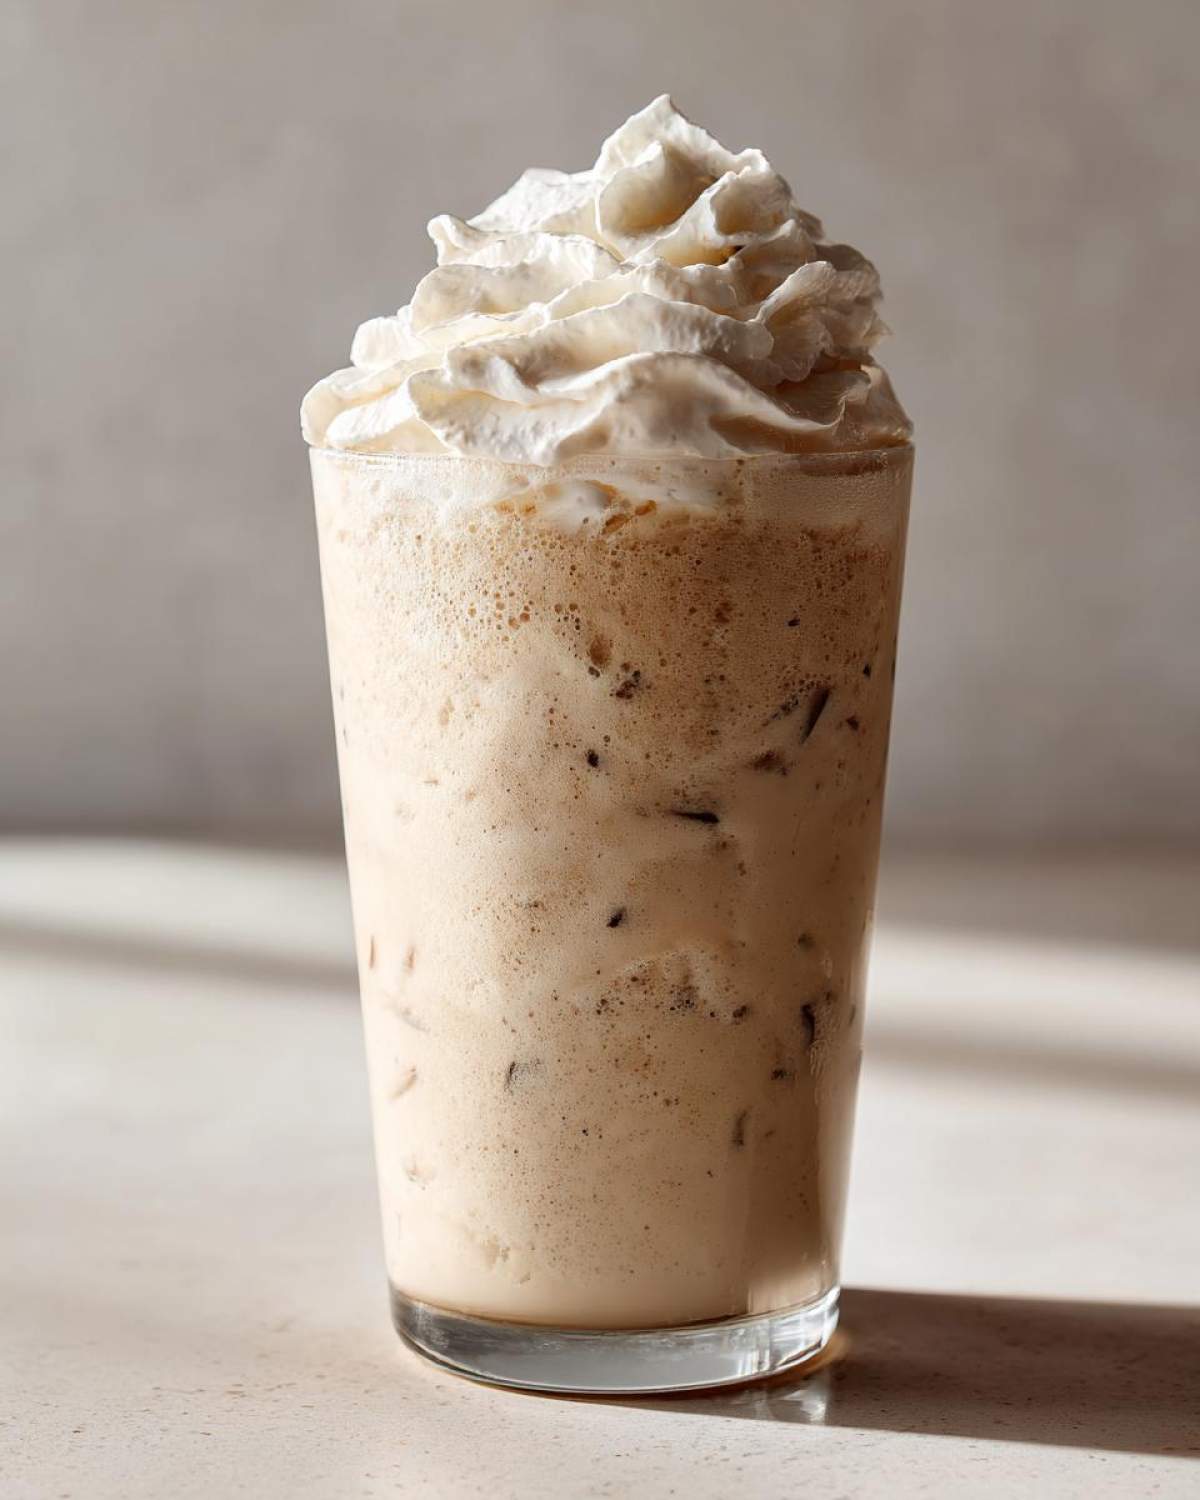
Okay, we nailed the ingredients, and we’ve got the blending order down, but let’s talk seriously about texture, because this is the absolute heart of getting that Perfect Frappuccino consistency tips down. Remember what I said earlier? We want it thick enough to eat with a spoon for a second before you take a sip. If you want this Simple blended vanilla bean recipe to rival the pros, you have to treat the ice amount like gospel.
If you find your drink turned out a little too thin—maybe your ice wasn’t packed tight enough, or you added too much liquid—don’t panic! Stop the blender, add about a quarter cup more ice, and maybe four or five cubes of vanilla ice cream if you have some handy. Ice cream acts as a fat stabilizer and adds body instantly. Blend it again on high for just 10 seconds. That little boost will save your drink!
Now, the other way around: if you went too thick, and your blender is whining because it can’t move (that awful sound!), you need just a splash more liquid. I mean a tiny splash—think one tablespoon of milk at a time. Too much liquid, and you’ll lose that lovely thickness we worked so hard for. It’s a delicate balance, but you’ve got this!
My number one tip for preventing melting and chunkiness relates entirely to your blender technique. Never, ever let your blender sit idle after the ingredients are combined. The friction from the blade generates heat, and that heat is your enemy! The moment you achieve that smooth, thick consistency, turn the machine off and pour immediately. It’s a race against time, but that immediate transfer ensures you get the coldest, creamiest result possible. If you are looking for another fast recipe that involves minimal heat, check out my guide on making easy 3 ingredient chocolate mousse recipe. Enjoy that amazing texture!
Customizing Your Starbucks Style Vanilla Drink at Home
The best part about making your own Starbucks style vanilla drink at home is that you are the boss of the flavor profile! While our base recipe rocks that pure vanilla vibe, you can totally spice things up if you’re feeling adventurous. A tiny drizzle of almond extract—I mean seriously, a drop or two—can add a lovely complexity that pairs amazingly with the vanilla and cream.
If you’re craving something seasonal, peppermint extract works miracles in this base, making it taste like a wintery treat even in July. And hey, if you’re looking for that little caffeine kick to turn this into a Thick blended ice coffee alternative, just chill a strong shot of cold brew concentrate really well and pour it in right before blending! It blends right into that creamy mixture without disrupting the texture too much. We have a fantastic recipe for coffee cake cookies if you need another reason to love coffee flavors!
You already know how to adjust the sugar, so feel free to tweak that up or down. But honestly, try it once exactly as written—the sugar is critical for the consistency, remember? Experimenting at home is half the fun!
Serving Suggestions for Your Homemade Vanilla Bean Frappuccino
Now that you have this perfectly smooth, icy base for your Simple blended vanilla bean recipe, we absolutely need to talk about presentation! A homemade drink isn’t complete until it looks like it came right out of a fancy glass, right? Getting the toppings right is crucial for that ultimate copycat experience. If it doesn’t look worth the five minutes of effort, what’s the point?
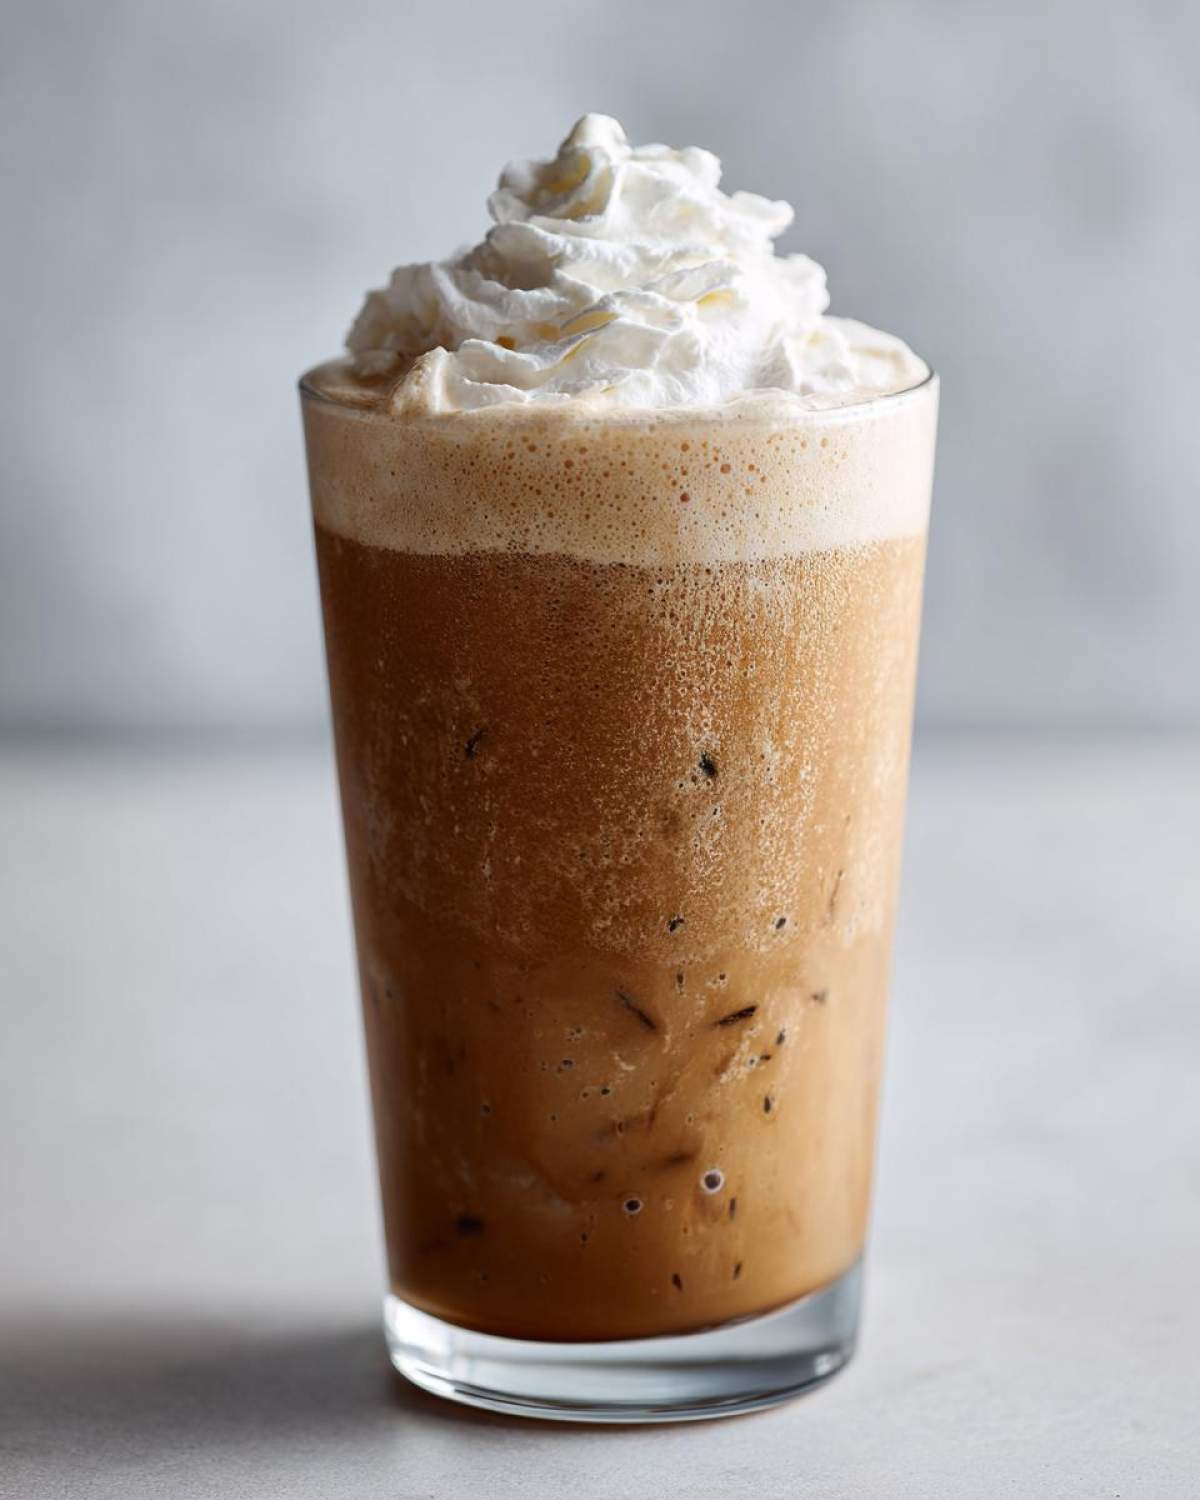
First up: whipped cream! This makes or breaks the visual appeal. You can certainly use a store-bought can if you’re in a hurry, but I highly encourage you to try making your own whipped cream. It whips up so fast and tastes unbelievably fresher. If you want to stick with dairy, just use very cold heavy cream, whip it with a little powdered sugar and vanilla until stiff peaks form. For those skipping dairy, a can of chilled full-fat coconut cream works wonders if you whip just the solid cream part with some sweetener.
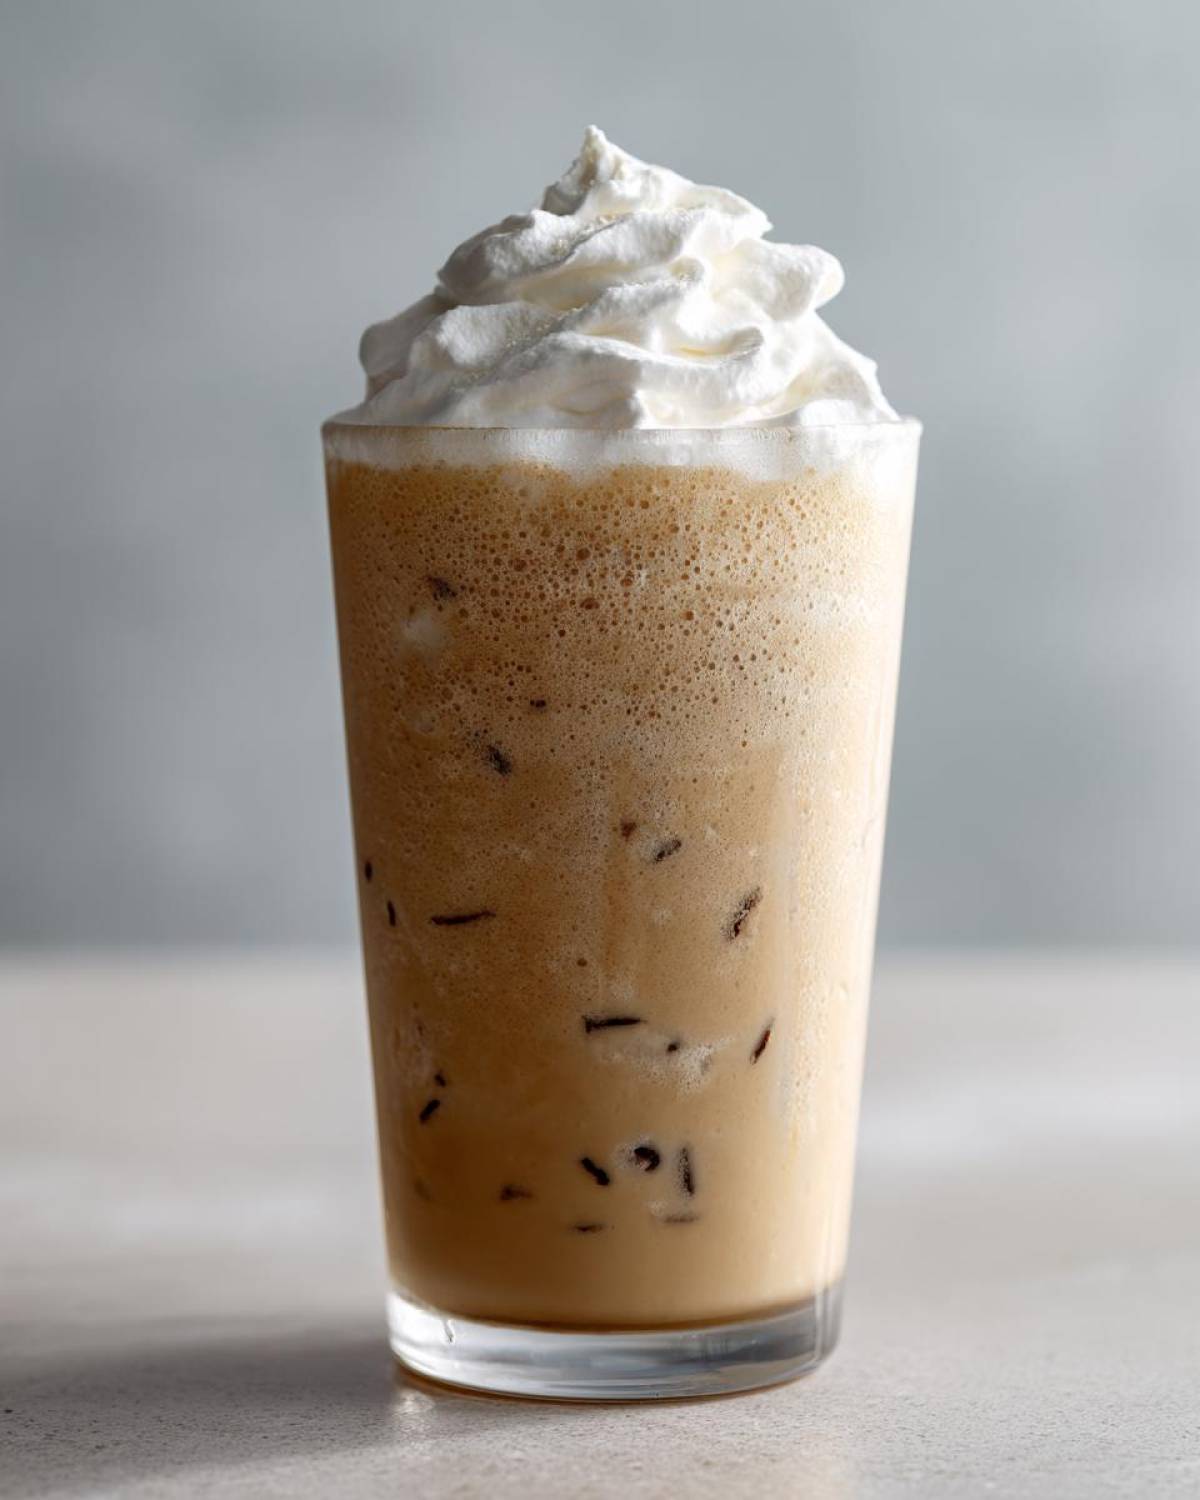
If you want to go above and beyond, you need a drizzle! After the whipped cream goes on—and pile it high, please—grab a little extra vanilla bean paste, thin it down with a teaspoon of milk, and drizzle it artistically over the top. It doesn’t need to be perfect; the natural speckles look so pretty cascading down the white clouds of cream. You can even top it with a dusting of pink or white sprinkles if you’re making this for a celebration.
For a quick, elegant finish, sometimes I just stop after the whipped cream, but then I dust lightly with powdered sugar. It mimics that classic look of the plain vanilla bean drinks they serve. If you’re looking for another fabulous vanilla-based project, my guide to making the best creamy vanilla buttercream recipe is perfect for topping cupcakes!
Storage and Reheating Instructions for Blended Drinks
Now, here’s the harsh reality check that I have to give you, because I want you to be successful: you cannot store a Frappuccino. I mean, you *can*, but you won’t like what you find.
These aren’t like regular iced coffees where you can just leave the ice and it turns into slightly watery coffee later. This Homemade Vanilla Bean Frappuccino is suspended in perfect emulsion thanks to the high-fat content and the finely crushed ice. The second it sits for more than five minutes, gravity starts winning, and that beautiful, thick texture separates into sad, watery milk on the bottom and chunky ice slush on top.
If you absolutely must make a larger batch than you can drink right away (maybe you’re batch prepping for the summer!), you need a plan B. Don’t put it in the fridge; that just guarantees separation. Instead, pour the leftover mixture into ice cube trays and freeze it solid. It might seem like extra work, but this is how we manage expectations and ensure Trustworthiness in this recipe!
When you’re ready for another one, take the frozen cubes out and toss them straight into the blender. You will probably need to add an extra tablespoon or two of milk just to help it blend again, but this method preserves the flavor profile perfectly. It’s basically DIY Frappuccino concentrate!
Honestly, though, the absolute best way to enjoy this is fresh, right off the blade. Make one serving at a time, hand the toppings over, and drink it immediately while you’re mixing up the next batch!
Frequently Asked Questions About Making a Homemade Frappuccino
I know sometimes you just have a quick question that needs a quick answer, and that’s totally fair! Here are the things people ask me most often when they are trying to master their Homemade Vanilla Bean Frappuccino for the first time. We want to make sure you succeed, so let’s clear up any last doubts about this Easy blended vanilla drink!
If you’re looking for something sweet to go along with your drink, make sure you check out my recipe for lemon cookies with meltaway zesty glaze—they are perfect for summer sipping!
Can I make the Homemade Vanilla Bean Frappuccino ahead of time?
Oh, I wish you could, but seriously, no! This is my absolute biggest rule for any blended ice drink: you have to make it right before you drink it. If you pour this into a container and stick it in the fridge, you’re just going to end up with flavored milk at the bottom and a sad, hard block of ice on top. The Perfect Frappuccino consistency tips only work right off the blade.
The only way to ‘prep’ this is by freezing the liquid components (milk/cream/sweetener mix) into ice cube trays, which turns it into a frozen base. Then, you just toss those cubes with fresh ice and blend when you are ready to serve. It keeps that amazing, creamy texture intact!
What is the best substitute for vanilla bean paste in this recipe?
Vanilla bean paste is my favorite because those little black flecks just scream “gourmet,” but I know it’s not always in everyone’s pantry. If you can’t find it, the next best thing is to use a very high-quality, pure vanilla extract. You’ll want to use about half the amount of paste that the recipe calls for in extract, so about 1/2 teaspoon.
To really drive home that deep flavor, try to add just a tiny scrape of seeds from half a vanilla bean pod if you have one lying around. That little bit of extra seed material really punches up the flavor profile we are aiming for in this Starbucks style vanilla drink at home!
How do I make this recipe without a high-speed blender?
You absolutely don’t need a thousand-dollar blender to make this! The secret to using a standard blender for this Thick blended ice drink is patience. You need to add slightly less ice than called for—maybe use 3/4 cup of ice instead of the full cup. When you blend, you must use shorter bursts on medium speed, and you’ll need to stop, scrape down the sides, and let the mixture settle for 10 seconds between pulses.
It will take longer—maybe two full minutes of pulsing rather than 30 seconds of high blending—and yes, the resulting texture might be slightly icier rather than super silky smooth, but it will taste fantastic! Just be careful not to let the machine overwork and heat up.
Is this Homemade Vanilla Bean Frappuccino recipe supposed to have coffee?
Great question! Absolutely not! This is specifically designed to be a coffee-free treat. This recipe focuses entirely on capturing the creamy, sweet flavor of the classic vanilla bean base. So, if you are looking for a purely sweet, dessert-style Blended iced vanilla recipe no coffee, you are in the right place! If you want coffee later, just blend in a shot of espresso or cold brew concentrate along with the other ingredients, but know that it will change the color from white to light tan.
Estimated Nutritional Data for This Easy Blended Vanilla Drink
Okay, so I tried to nail down the numbers for you, because sometimes we just want to know the rough breakdown of what we’re sipping on. Please, please remember this is just an estimate! This information is based on making one serving using standard whole milk and heavy cream, and it covers the base drink *before* any optional toppings like extra sugary syrups or whipped cream are added. A disclaimer page on my site goes into more detail about how varied these numbers can be, which you can check out here: You can read more about my general nutrition disclaimers here.
Honestly, since this is such a treat, I try not to sweat the macro tracking too much, but if you are counting calories or sugar, this gives you a good ballpark for the pure, Homemade Vanilla Bean Frappuccino base:
- Serving Size: 1 drink
- Calories: A pretty hearty 350 calories. (Remember, that comes from the fat in the cream!)
- Fat: About 20 grams. That’s what gives it that dreamy mouthfeel!
- Carbohydrates: Around 40 grams.
- Sugar: Roughly 35 grams. This is mostly from the added sugar and the natural lactose in the dairy.
- Protein: A modest 3 grams.
If you decide to top this Easy blended vanilla drink with a huge swirl of sugared whipped cream, you’re going to add significantly more sugar and fat, so keep that in mind! I usually treat myself and add the whipped cream, knowing it’s a special indulgence. Enjoy every sip!
PrintHomemade Vanilla Bean Frappuccino
Make a smooth, icy copycat Vanilla Bean Frappuccino at home using simple ingredients. This recipe focuses on achieving the correct thick texture.
- Prep Time: 2 min
- Cook Time: 0 min
- Total Time: 2 min
- Yield: 1 serving
- Category: Beverage
- Method: Blending
- Cuisine: American
- Diet: Vegetarian
Ingredients
- 1 cup ice cubes
- 1/2 cup whole milk (or preferred milk)
- 1/4 cup heavy cream
- 2 tablespoons granulated sugar
- 1 teaspoon vanilla bean paste (or 1/2 teaspoon pure vanilla extract plus 1/4 teaspoon vanilla bean seeds if available)
- 1/4 teaspoon xanthan gum (optional, for thickness)
- Pinch of salt
- Whipped cream for topping (optional)
Instructions
- Place the ice cubes, milk, heavy cream, sugar, vanilla bean paste (or extract/seeds), xanthan gum (if using), and salt into a high-speed blender.
- Start blending on a low speed to break down the ice, then gradually increase the speed to high.
- Blend continuously until the mixture is completely smooth and has a thick, uniform consistency, scraping down the sides if necessary. This usually takes 30 to 60 seconds depending on your blender.
- Pour the mixture into a tall glass.
- Top with whipped cream, if desired. Serve immediately.
Notes
- For a thicker drink, increase the amount of ice by 1/4 cup or add a small amount of vanilla ice cream.
- If you do not want coffee, omit it. The vanilla flavor is the focus here.
- To make this dairy-free, use oat milk or almond milk and a non-dairy heavy cream alternative.
- Adjust the sugar to your taste preference.
Nutrition
- Serving Size: 1 drink
- Calories: 350
- Sugar: 35
- Sodium: 50
- Fat: 20
- Saturated Fat: 12
- Unsaturated Fat: 8
- Trans Fat: 0
- Carbohydrates: 40
- Fiber: 0
- Protein: 3
- Cholesterol: 60