

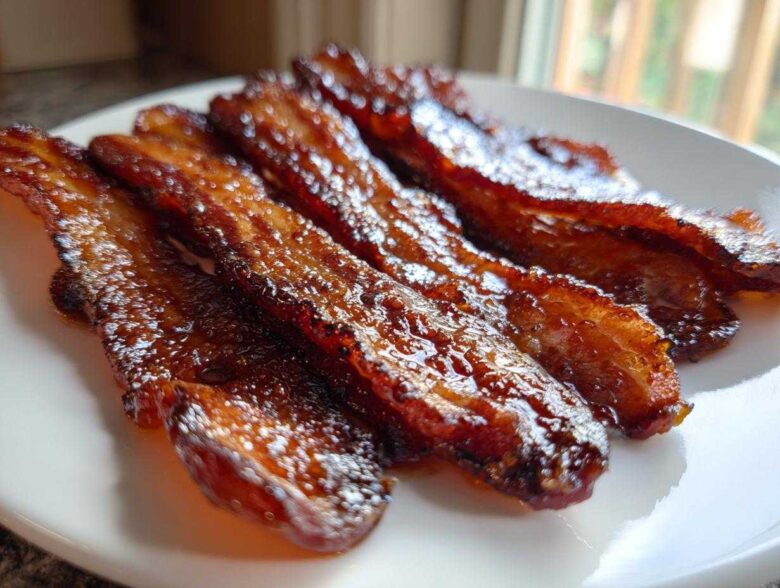
Oh, you know those moments when you just desperately need that perfect bite that hits salty, sweet, and smoky all at once? Stop searching, friend, because I finally cracked the code on making what I call The Ultimate Crispy Brown Sugar Glazed Bacon using the oven. Forget soggy attempts! I spent way too many weekends trying every temperature and pan setup imaginable because I refuse to settle for anything less than shatteringly crisp bacon coated in sticky, dark caramel.
After testing batches until my kitchen looked like a sugar bomb had gone off, I figured out the magic setup needed to get that perfect crust without burning it into charcoal. Trust me, once you try this foolproof method for making your own Brown Sugar Glazed Bacon, you’ll never go back to the skillet. It’s heavenly served alongside eggs or as the star of your next brunch spread. You can check out more of my favorite breakfast recipes right here: my breakfast category!
Why This is the Best Brown Sugar Glazed Bacon Recipe
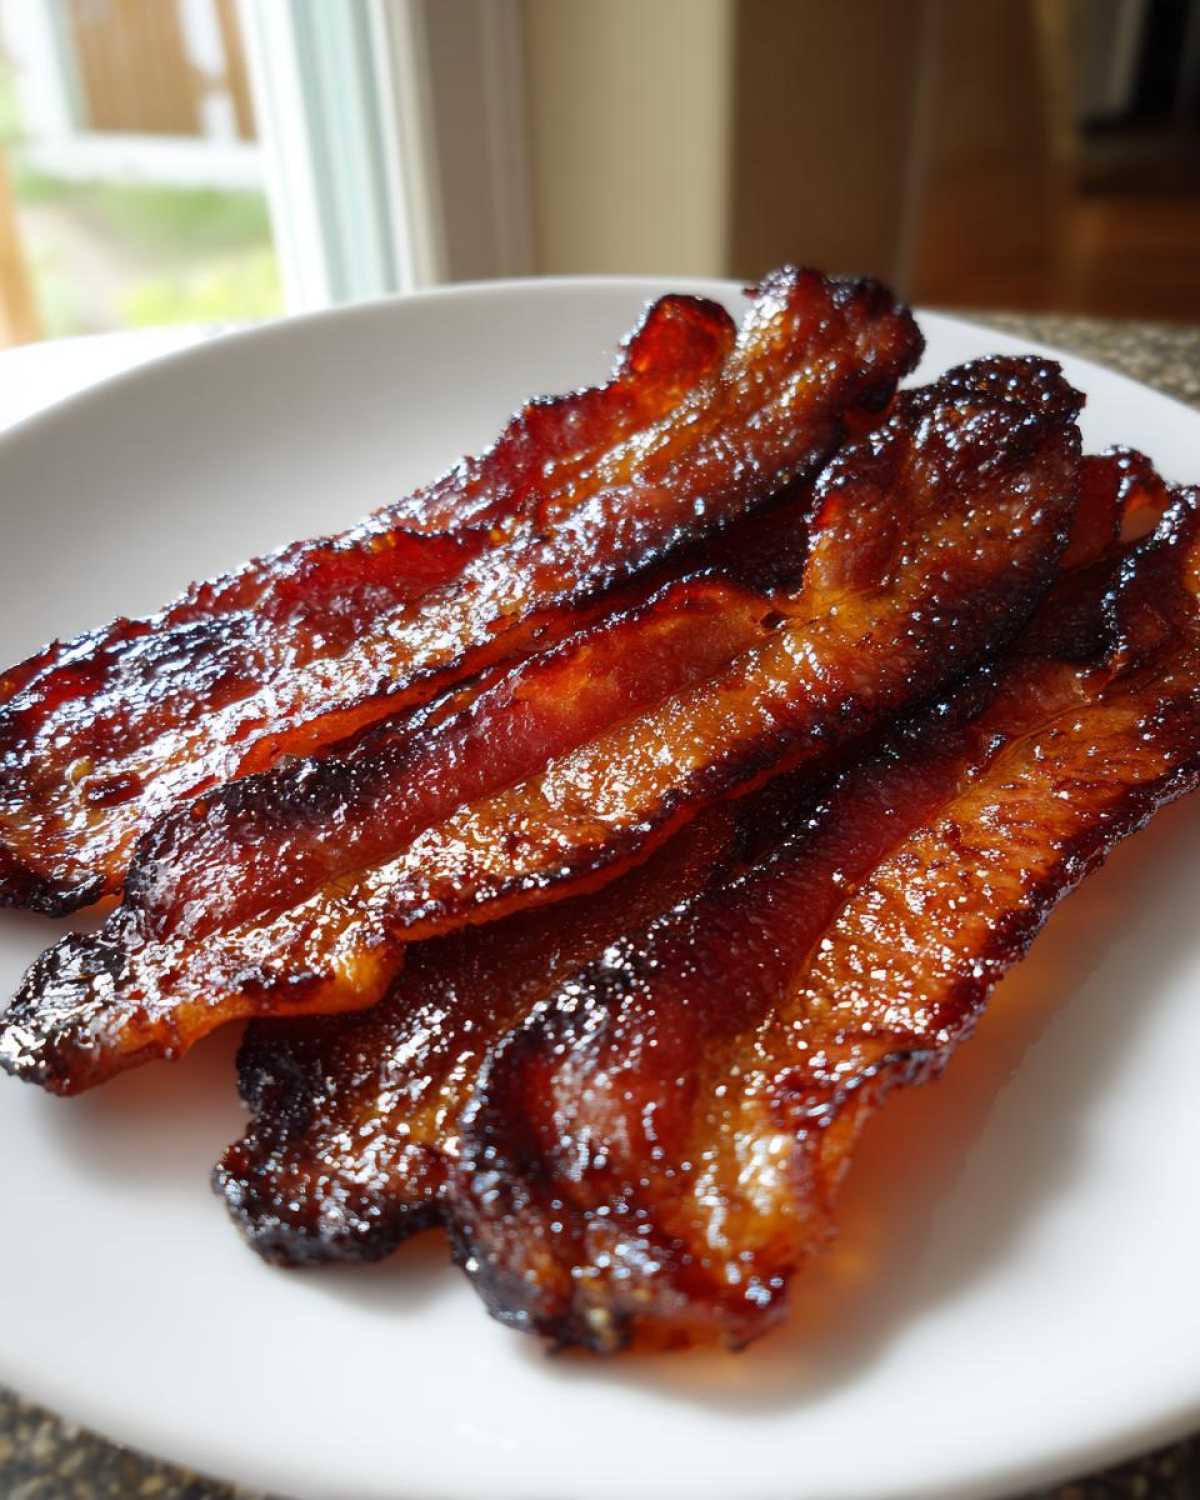
Look, there are a million recipes out there promising candied bacon, but they often fail you in the final moments—either the sugar burns before the fat renders, or you end up with floppy, soggy strips. I developed this oven technique because I refuse to settle for anything less than shatteringly crisp bacon coated in sticky, dark caramel. It’s honestly as good as the frosting on my famous vanilla buttercream—but savory!
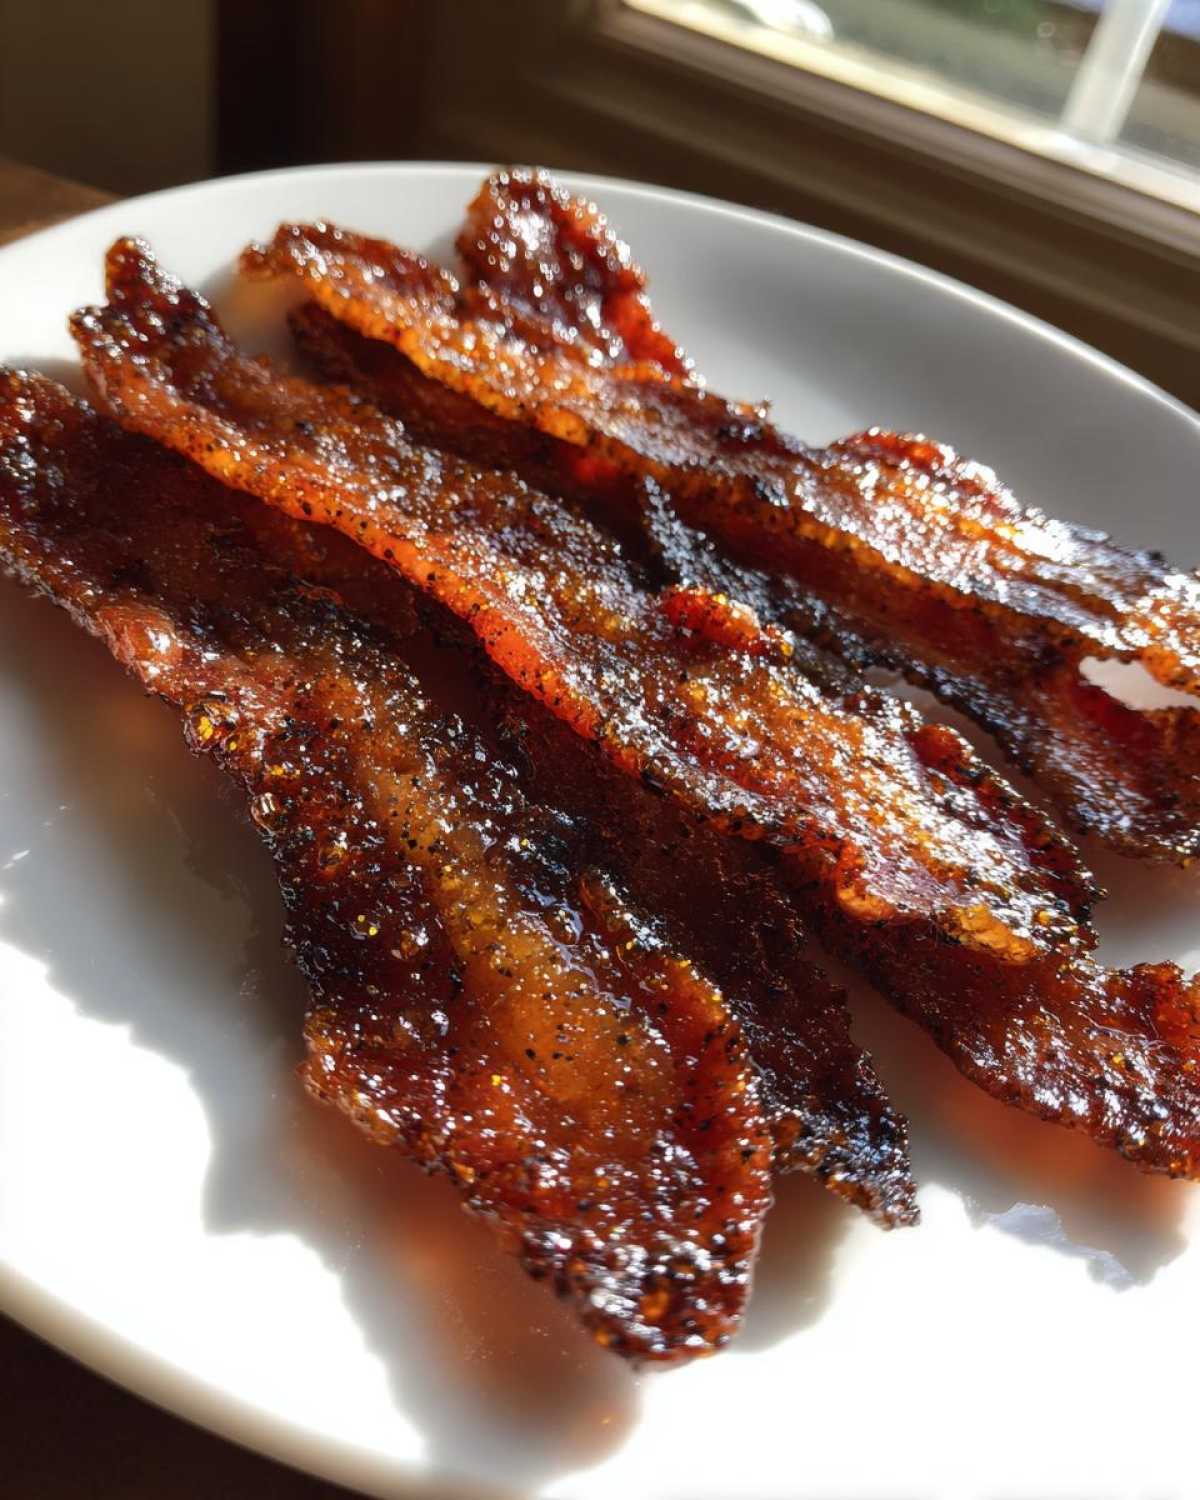
This isn’t just bacon with sugar sprinkled on top; this is true Sweet and Savory Bacon that caramelizes beautifully. The secret lies in elevating the bacon off the sheet pan. This allows the fat to drip away, ensuring that the sugar coating creates a genuinely Crispy Caramelized Bacon texture instead of just frying the bottom half!
Once you see how flawless the results are using this method, you’ll know why I call this the best version out there. It’s surprisingly simple, too, which I love!
Key Benefits of Our Brown Sugar Glazed Bacon
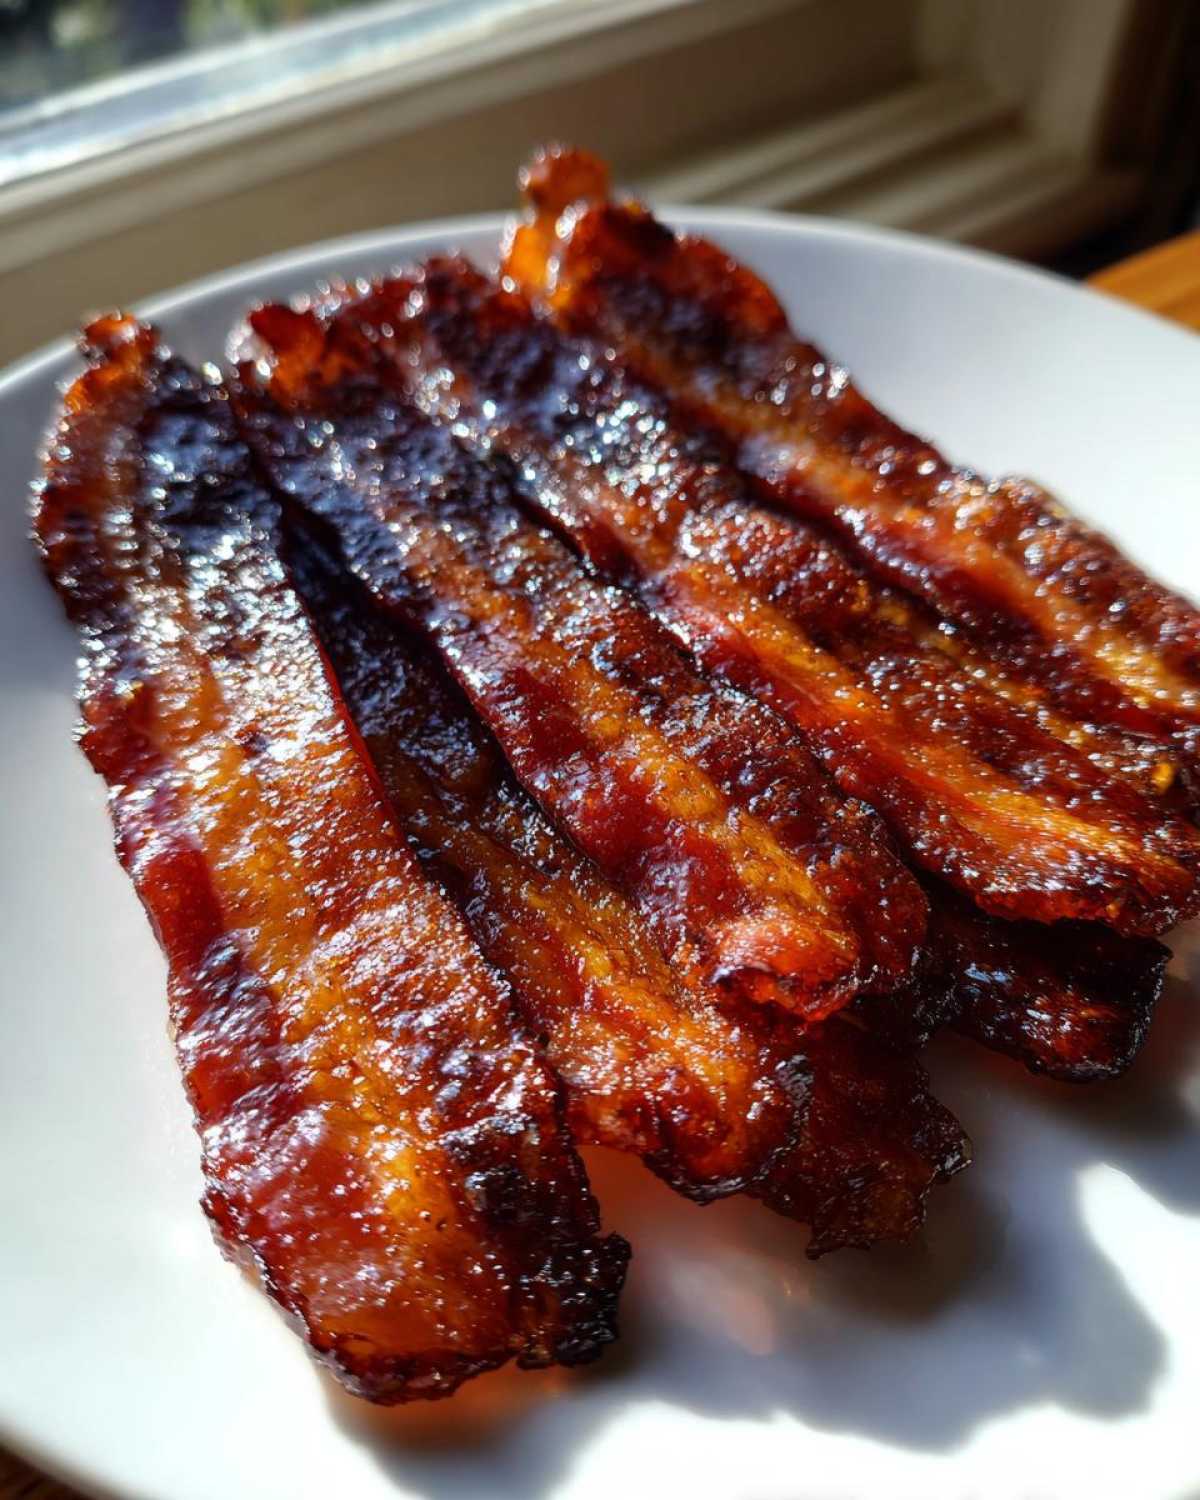
- Guaranteed crispiness because the bacon cooks on a rack over the pan.
- Cleanup is a breeze! I line the sheet pan with heavy-duty foil underneath the rack.
- This sticky masterpiece is versatile—amazing as a brunch side dish or a truly show-stopping appetizer.
Gathering Your Perfect Brown Sugar Glazed Bacon Ingredients
Okay, let’s talk supplies! Making sensational Brown Sugar Glazed Bacon seems fancy, but honestly, it uses staple ingredients you probably already have, provided you keep brown sugar stocked for my maple brown sugar cookies. We are keeping this recipe focused, so you only need a few key players for maximum flavor payoff.
You’ll need a full pound of bacon—and listen closely, this is important—you really, really want the thick cut variety here. Thin bacon cooks too fast, and the sugar burns before the meat gets that gorgeous, chewy-crisp texture we are aiming for.
Here is the breakdown of what you need for the glaze:
- One pound of thick cut bacon (No compromises on thickness, trust me!)
- 1/2 cup packed brown sugar (Make sure it’s packed down firmly in the measuring cup!)
- 1 teaspoon of freshly cracked black pepper.
- 1/4 teaspoon of cayenne pepper, which is totally optional, but oh boy, does it make a difference.
Ingredient Notes and Substitutions for Brown Sugar Glazed Bacon
That tiny pinch of cayenne is my little trick for cutting through the richness. It just gives you this lovely warmth on the finish that makes people stand up and ask, “What *is* that amazing flavor?” If you aren’t a fan of heat, just skip it, no worries!
Now, if you happen to be out of brown sugar, or just feel like experimenting, remember what I mentioned in the notes: you can swap out just one tablespoon of that brown sugar for a tablespoon of maple syrup. That substitution really pumps up the classic breakfast flavor profile when making your Brown Sugar Glazed Bacon.
But honestly, the recipe as written brings the best balance of sweetness and that smoky, savory bacon flavor. It’s the one I always fall back on!
Step-by-Step Instructions for Baked Brown Sugar Glazed Bacon
I know baking bacon sounds weird when we usually fry it, but trust me, the oven is where the magic happens for this sticky glaze. This process takes about 30 minutes total, but it ensures even cooking and that luxurious caramelization. First things first: get that oven fired up! You need 400 degrees Fahrenheit; anything less and the fat won’t render properly before the sugar melts, leading to a greasy mess.
This method for making Brown Sugar Glazed Bacon just transforms the strip into something utterly irresistible—it’s almost like candy! Just make sure you have your mixing bowl ready for that sugar blend before you even touch the bacon, otherwise, you’ll rush the coating process later on. If you’re looking for other oven-baked meals to whip up while the bacon is crisping, check out my recipe for blackened salmon!
Preparing the Pan for Crispy Brown Sugar Glazed Bacon
This is the most critical setup step for achieving genuinely Crispy Brown Sugar Glazed Bacon. We aren’t just putting bacon on a sheet pan; we are building a little cooking tower! Start by lining a rimmed baking sheet completely with heavy-duty aluminum foil. This step saves your sanity later because cleanup is practically nonexistent!
Next comes the absolute non-negotiable: place a wire cooling rack directly on top of that foil. Why? Because the bacon needs to be elevated. As the bacon cooks, the fat drips down onto the foil below, keeping the strips themselves from sitting in rendered grease. This elevation is what guarantees every single strip renders properly and gets that wonderful, crackly crust.
Glazing and Baking: Achieving Sticky Bacon Strips
Once your bacon is arranged in a single layer on the rack—no overlapping allowed, or you end up with steamed patches—it’s time for the sweet stuff. Sprinkle half of your prepared brown sugar mix evenly over the top side of the bacon. Press it down *super* gently so it sticks. We bake like this for 15 minutes at 400°F, then the real flip happens!
Carefully pull out the hot pan (be careful!), flip every strip quickly, and sprinkle the remaining sugar mix on the other side. Back into the oven it goes for another 10 to 15 minutes. You have to watch it closely here because that sugar mixture containing all that goodness likes to caramelize fast. Those last five minutes are make-or-break for achieving perfect Sticky Bacon Strips!
When it looks deeply brown and bubbly, pull it out and immediately transfer the strips to paper towels to drain. Don’t let them sit on the hot pan, or they’ll keep cooking and might burn! Five minutes of cooling, and you’ve got yourself the best bacon you’ve ever made.
Tips for Making Perfect Candied Bacon Recipe
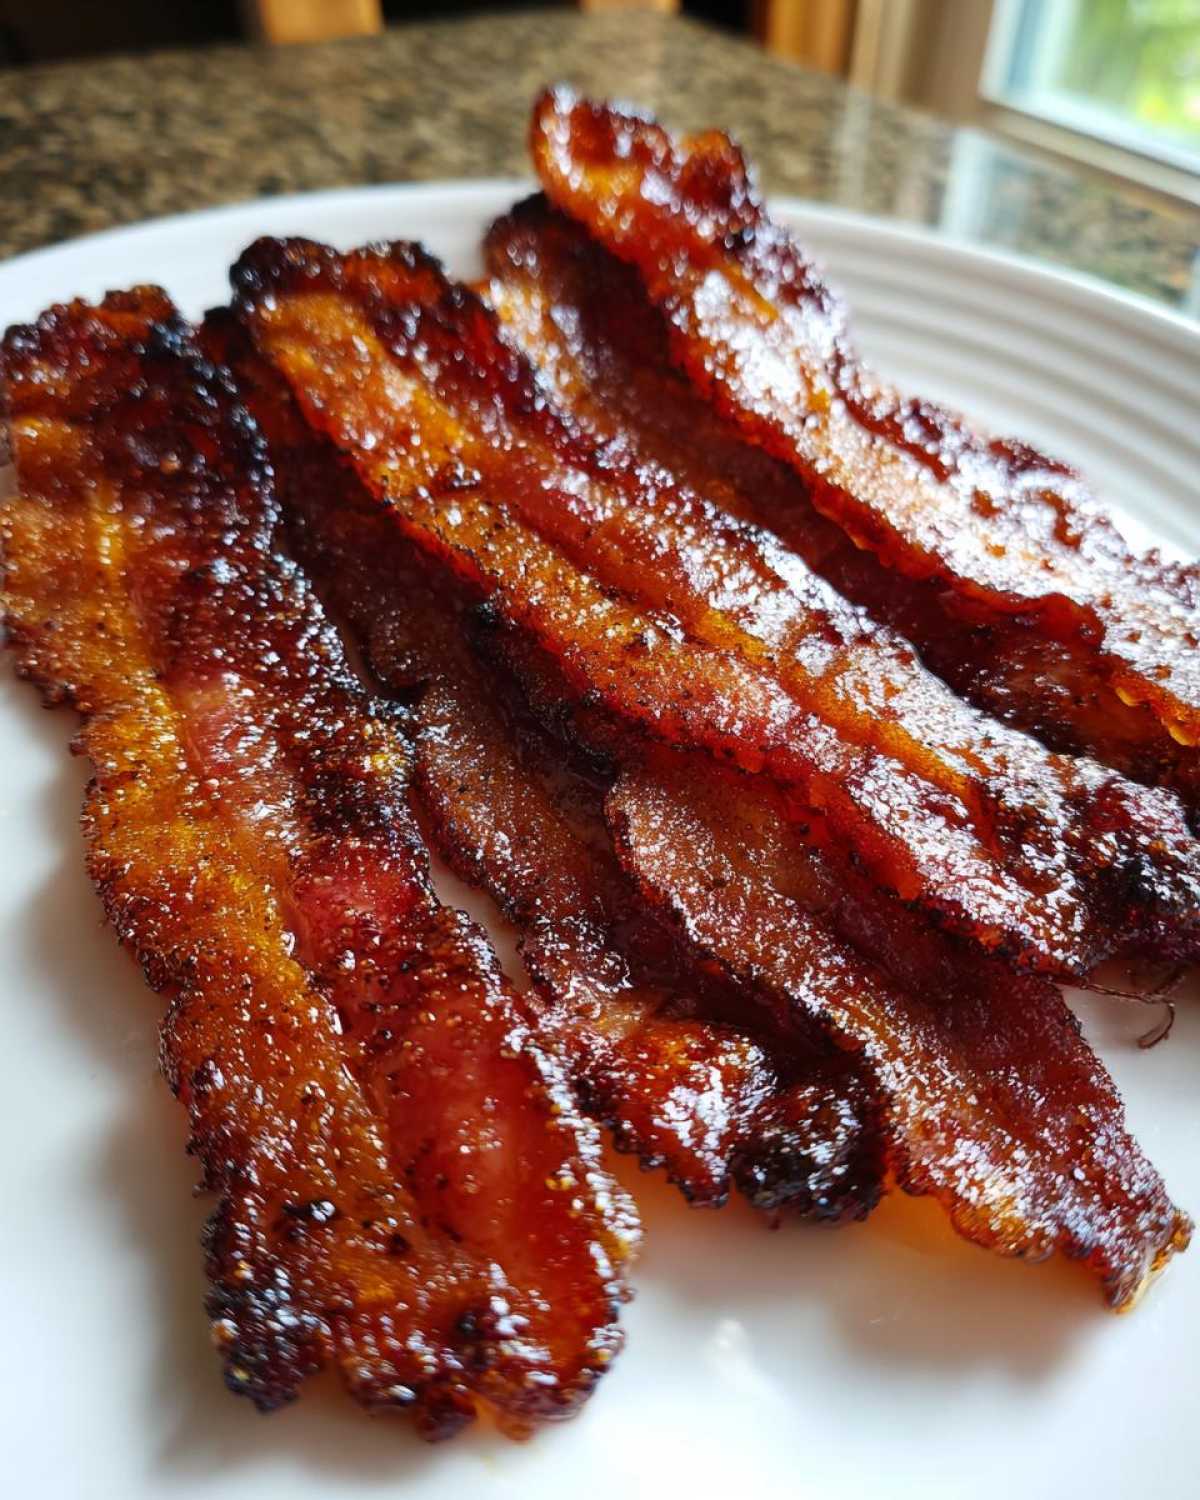
I mentioned earlier that I learned this recipe the hard way—usually through sheer panic as smoke alarms started chirping! My first attempt at making Candied Bacon Recipe involved using thin-cut bacon, and honestly, it was a disaster. The sugar melted almost instantly and then turned into this dark, tarry sludge that was impossible to clean from my aluminum pan before I learned to use the rack/foil combo.
The biggest takeaway I have for you, which reinforces what I said above, is to stick with a nice, hearty cut. If you can find Thick Cut Glazed Bacon, use it! That extra thickness gives the meat time to render its fat and crisp up properly while the exterior sugar coating gets that beautiful, deep amber color we all crave. It needs that robust structure to support the glaze.
Also, temperature management is everything here. If you crank the heat too high above 400°F, that sugar is going to scorch before the bacon is even half done. It’s better to bake it slightly longer at the right temperature than to rush it and end up with burnt bits mixed into your sweet goodness. I’m serious, you need to babysit it during those final minutes. I usually set a timer for 5 minutes, walk away, and then come back every single minute until it looks deep mahogany.
If you’re trying to recreate that smoky flavor without actually smoking it, try dusting it lightly with smoked paprika along with the pepper. It gives this Candied Bacon Recipe an extra layer of complexity that just sings alongside the sweetness. Speaking of flavor complexity, if you want to try something stunningly different after mastering this, you have to check out my coffee cake cookies—though they are completely different, they share that same spirit of balancing indulgent flavors!
Equipment Needed for Homemade Candied Pork Belly
I love when a recipe is straightforward, and making this Homemade Candied Pork Belly is certainly one of those times! You don’t need a fancy stand mixer or any professional gear. In fact, I usually make this bacon while supervising my kids’ homework, so you know it’s fuss-free. The key is having the right foundation set up in the oven, though!
If you don’t have a few of these items handy—especially that wire rack—you’ll struggle to get that perfect crispiness. It’s worth grabbing these basic tools now so you’re ready for the next time the candied bacon craving hits. If you’re baking up a storm, don’t forget to check out my recipe for big-batch hot cocoa mix for a cozy pairing!
Here is exactly what you need to pull off the best batch of Homemade Candied Pork Belly every single time:
- Rimmed Baking Sheet: This is non-negotiable because it catches all the rendered fat and any sugar drips. If it’s not rimmed, you’ll have a sticky mess all over your oven floor!
- Wire Cooling Rack: Seriously, this is the crucial piece of equipment. It elevates the bacon so the fat drains away, giving you that all-around crispness instead of soggy bottoms.
- Small Mixing Bowl: You just need a little dish to combine your brown sugar, pepper, and cayenne. Keep it small so you don’t waste time digging out your giant salad bowls.
- Tongs: These are essential for safely flipping the bacon after the first bake. They give you a secure grip on those hot, sticky strips.
- Heavy-Duty Aluminum Foil: I highly recommend lining the baking sheet with foil *before* putting the rack in place. It makes cleanup so unbelievably fast you’ll wonder why you waited so long to try this.
That’s it! No complicated gadgets, just simple tools setting you up for guaranteed success in making spectacularly sticky, caramelized bacon. It’s so simple, you’ll feel like a genius.
Serving Suggestions for Your Easy Glazed Bacon Appetizer
Now that you have made the most magnificent, sticky, sweet, and savory bacon known to humankind, the real question is: Where do I put it all? Because trust me, you’ll want to sprinkle this everywhere. This isn’t just a breakfast side dish anymore; it’s a full-blown flavor enhancer for almost any meal!
If you plan to serve these strips as an Easy Glazed Bacon Appetizer at a party, just pile them high on a small platter with toothpicks. People disappear fast when caramelized pork is involved, so make sure you have plenty! I often pair it with something cheesy, like my cranberry brie bites—the sweet pork just takes that rich cheese to a whole new level.
But let’s talk about how it transforms your regular weeknight meals. The sweetness works wonders when crumbled over salads, especially anything with apples, walnuts, or a sharp vinaigrette. It adds that salty crunch you usually only get from croutons, but way more delicious!
And for brunch? Forget standard bacon! Chop it up and mix it into things like deviled eggs or sprinkle it over pancakes if you’re feeling extra decadent. Honestly, though, my family loves it baked right into a casserole. If you’re looking for a hearty main dish featuring bacon, you absolutely have to try preparing my bacon cheeseburger casserole—using this glazed bacon instead of standard strips will blow your mind!
Even better than reheating it? Just eating the leftovers cold straight from the fridge at 10 PM. Don’t judge me; we all do it!
Storage and Reheating Instructions for Leftover Bacon
Oh, the glorious dilemma: having leftover crispy, caramelized bacon! First off, you should feel proud, because making enough leftovers of this stuff means you successfully resisted eating it all in one sitting. That said, how you store it truly determines if it stays shatteringly crisp or turns into a sad, sweet chewable slab.
The key to storing this Brown Sugar Glazed Bacon is keeping moisture out. Sugar loves humidity, and humidity is the enemy of crispness! So, after the bacon has cooled completely—and I mean completely, otherwise condensation builds up—you need to seal it tight.
I recommend a rigid, airtight container. You can use Ziploc bags, but the container seems to hold its shape better and prevents the strips from smushing into one giant clump of sweet pork. You can generally keep this on the counter at room temperature for about 24 hours if your house isn’t brutally humid. But for longer storage, say up to four days, the fridge is your best bet!
Now, when it comes to reheating, toss that microwave in the trash! Microwaving bacon is a crime against texture; it just turns into rubber instantly. We need dry heat to wake up that crispness again.
- Oven or Toaster Oven: Set your oven low, around 300°F (150°C). Lay the strips in a single layer directly on a clean baking sheet—no rack needed this time. Heat for about 5 to 7 minutes until they smell amazing and feel firm again.
- Air Fryer: This is honestly my favorite reheating trick! Set the air fryer to 325°F (160°C) for just 3 to 4 minutes. Keep an eye on it, because the sugar likes to brown fast when it’s already cooked. This method crisps it up perfectly without much effort.
When you pull it back out, let it rest on a paper towel for just a minute. Voila! You’ve got almost freshly made, sticky, gorgeous bacon ready for round two. It’s almost like getting a second helping of breakfast!
Frequently Asked Questions About Making Brown Sugar Bacon
I get asked about this recipe constantly because everyone wants that perfect balance of sweet and salty in their kitchen! Since this method is so focused on the oven technique, some questions pop up again and again. I’ve gathered the top ones here to save you a little bit of time, so you can get straight to eating that glorious Brown Sugar Bacon sooner!
If you want to learn more about how I run my kitchen and what inspires these recipes, you can always pop over to my About Us page, but for now, let’s tackle your bacon questions!
Can I use the stovetop method instead of baking?
Technically, yes, you *can* try to shallow-fry this bacon on the stovetop, but I strongly advise against it if you are aiming for that beautiful, even coating. When you use a skillet, the bottom of the bacon hits the hot pan immediately. This means the sugar melts, burns, and sticks to your pan long before the top side even gets coated, let alone starts to caramelize properly. The oven is superior because the heat surrounds the bacon, allowing the fat to render slowly while the glaze sets evenly. Stick to the oven for truly Sticky Bacon Strips!
How do I ensure my bacon is crispy, not chewy?
This is the million-dollar question for any kind of Candied Bacon Recipe! The wire rack is your superhero here. Remember how I detailed setting up the foil-lined sheet pan with a rack on top? That elevation is the non-negotiable step. By using the rack, you physically suspend the bacon strips so that as the fat melts out, it drips away completely. If the bacon sits in its own grease, it steams rather than bakes, and you end up with chewy, sad strips. Make sure your rack is sturdy and the strips aren’t touching each other when you return them to the oven for that final bake. That combination of elevation and proper timing guarantees a **Crispy Caramelized Bacon** result every time!
What if I accidentally burned my glaze slightly? Can I save it?
Oof, that awful smell! If you overcooked it just a touch—maybe it went from deep mahogany to slightly dark brown—don’t panic or toss the whole batch. Once you drain the bacon on paper towels, sometimes the burning flavor stays mostly on the surface. You can take a clean paper towel very gently dab the darkest spots, or even try brushing a tiny bit of room-temperature water over the very dark areas before the sugar fully hardens. If it’s truly charcoal, well, lesson learned for next time, right? Just watch those last few minutes like a hawk!
Can I use artificial sweetener instead of brown sugar?
Oh, honey, please don’t try that with this recipe! Brown sugar isn’t just about sweetness here; it’s crucial for the texture because the molasses content gives it body and richness. Artificial sweeteners won’t caramelize correctly, they often burn faster, and they don’t create that dense, sticky coating we are aiming for in our Holiday Bacon Recipe. Stick to the real packed brown sugar for the best result!
Nutritional Estimates for This Breakfast Side Dish with Brown Sugar
Look, I’m a cook, not a dietitian, so take these numbers with a grain of salt—or maybe a pile of sugar, since that’s what’s in this amazing bacon! Since we are using a full pound of bacon and a good cup of sugar coating it, this is definitely a weekend treat, not an every-day staple, even though it makes the most incredible Breakfast Side Dish with Brown Sugar.
These estimates are based on using standard thick-cut bacon and following the recipe exactly (including the cayenne). Remember, if you use leaner bacon or skip some of the glaze, your values will change significantly. Consider this your basic guide for our Brown Sugar Glazed Bacon servings!
For a standard serving size of two strips, here is what you are generally looking at:
- Calories: Around 250 Calories (Yes, it’s decadent!)
- Fat: About 20 grams of Fat (The bacon has to render some fat, that’s how it gets good!)
- Protein: A solid 10 grams of Protein to keep you full.
- Carbohydrates: Roughly 13 grams.
- Sugar: This comes in around 12 grams, purely from our beloved brown sugar glaze.
These figures are just estimations based on the primary ingredients, so if you’re tracking macros super closely, you might want to tweak based on the specific bacon brand you choose. But honestly, when your kitchen smells this good, the numbers fade away for a moment! If you ever have questions about my baking philosophy or need to get in touch about a recipe, feel free to hit me up on my contact page anytime!
PrintThe Ultimate Crispy Brown Sugar Glazed Bacon (Oven Baked Method)
Follow these steps to make sweet and savory bacon with a perfectly caramelized, sticky brown sugar coating using the oven baking method.
- Prep Time: 5 min
- Cook Time: 30 min
- Total Time: 35 min
- Yield: 4 servings
- Category: Breakfast
- Method: Baking
- Cuisine: American
- Diet: Low Calorie
Ingredients
- 1 pound thick cut bacon
- 1/2 cup packed brown sugar
- 1 teaspoon black pepper
- 1/4 teaspoon cayenne pepper (optional, for heat)
Instructions
- Preheat your oven to 400 degrees Fahrenheit (200 degrees Celsius). Line a rimmed baking sheet with aluminum foil for easy cleanup.
- Place a wire cooling rack on top of the prepared baking sheet. This allows fat to drip away, helping the bacon crisp.
- Arrange the bacon strips in a single layer on the wire rack. Do not overlap the strips.
- In a small bowl, combine the packed brown sugar, black pepper, and cayenne pepper (if using). Mix these dry ingredients well.
- Sprinkle the brown sugar mixture evenly over the top side of the bacon strips. Press the sugar lightly so it adheres.
- Bake for 15 minutes.
- Carefully remove the baking sheet from the oven. Using tongs, flip each bacon strip over.
- Sprinkle the remaining brown sugar mixture over the second side of the bacon strips. Press lightly.
- Return the bacon to the oven and bake for another 10 to 15 minutes, or until the glaze is deeply caramelized and the bacon reaches your desired crispness. Watch closely during the last few minutes to prevent burning.
- Remove the bacon from the oven and immediately transfer the strips to a plate lined with paper towels to drain excess grease.
- Let the bacon cool for 5 minutes before serving; the glaze will firm up as it cools.
Notes
- For extra flavor, you can substitute 1 tablespoon of maple syrup for 1 tablespoon of the brown sugar.
- If you prefer chewier bacon, reduce the total cooking time by 5 to 7 minutes.
- This bacon works well crumbled over salads or served alongside eggs for breakfast.
Nutrition
- Serving Size: 2 strips
- Calories: 250
- Sugar: 12
- Sodium: 450
- Fat: 20
- Saturated Fat: 7
- Unsaturated Fat: 13
- Trans Fat: 0
- Carbohydrates: 13
- Fiber: 0
- Protein: 10
- Cholesterol: 45