

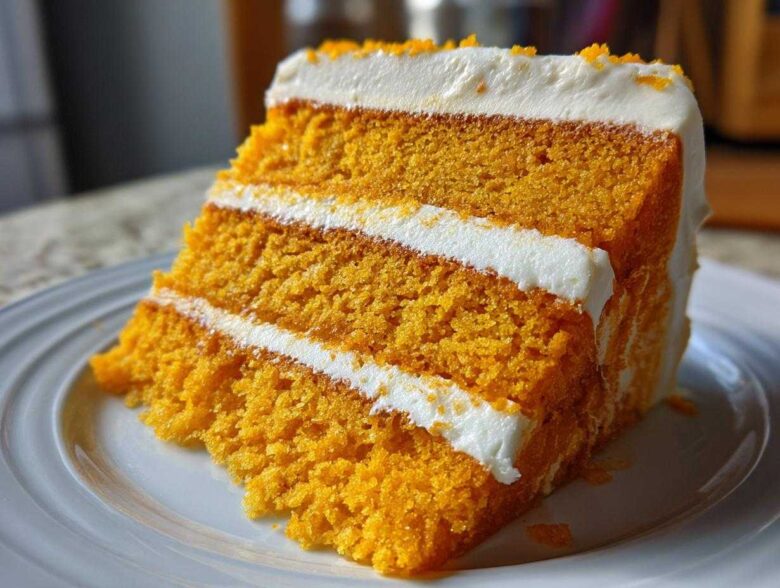
Oh my gosh, you are going to LOVE making this cake! Seriously, there’s nothing better on a sunny afternoon than that perfect, bright, tangy-sweet flavor combo that instantly takes you back to childhood. Forget boring sponge cakes; we are diving headfirst into summer nostalgia with my Ultimate Moist Orange Creamsicle Layer Cake. This isn’t just any recipe; it’s the one I fought for at birthdays because it’s packed with real orange zest and has that incredible creamy vanilla finish. Trust me, this Creamsicle Cake is going to be the bright centerpiece for every party from now on. I actually based the lightness of the vanilla components on my favorite classic vanilla cupcakes, so you know the base is solid!
Why This Creamsicle Cake is Your New Family Favorite Cake
I’ve baked hundreds of cakes, and this one always wins the popularity contest! It’s perfect because it hits that sweet spot between being super bright and tasting intensely homemade. It’s not too heavy, which makes it a fantastic Summer Party Cake Idea.
- The secret to its staying power is the buttermilk combination—it keeps this Moist Layer Cake Recipe soft for days.
- We nail that authentic flavor using both fresh juice *and* zest. No artificial shortcuts here!
- Seriously, the frosting is so airy; it almost floats. If you want a different frosting approach, check out my guide on perfect vanilla buttercream, but for this, the cream cheese version is king.
Ingredients for the Ultimate Moist Creamsicle Cake
Gathering your supplies is half the fun, right? I’ve learned that stressing over ingredient quality makes the final Creamsicle Cake that much better. Don’t try to substitute the buttermilk; it’s essential for that slight tang that cuts through the sweetness. When you look at this list, you’ll see we’re treating this like a serious bake, which is why it tastes so amazing!
For the Velvety Orange Cake Layers
We start with the structure for that beautiful Citrus Sponge Cake. Everything needs to be ready to go before the mixer even turns on!
- 2 1/2 cups all-purpose flour
- 1 1/2 cups granulated sugar
- 1 tablespoon baking powder
- 1/2 teaspoon salt
- 1 cup unsalted butter, softened (make sure it’s really soft!)
- 4 large eggs
- 1 cup buttermilk
- 1/4 cup fresh orange juice (the fresher, the better!)
- 1 tablespoon generous orange zest
- 1 teaspoon vanilla extract
For the Fluffy Creamsicle Frosting
This frosting is what really brings home the vanilla side of that classic Orange Creamsicle Dessert. It needs to be super smooth, so be patient when creaming the butter and cheese!
- 8 ounces cream cheese, softened
- 1/2 cup unsalted butter, softened
- 4 cups powdered sugar, sifted (sifting is a non-negotiable step here!)
- 1/4 cup heavy cream
- 1 teaspoon vanilla extract
- 1 teaspoon orange extract
Step-by-Step Instructions for Your Creamsicle Cake
Alright, time to get messy! Baking is all about following the order, especially when you want that perfect Velvety Orange Cake. Don’t rush the beginning, and you won’t have to stress later. If you’re already picturing this beautiful Bright Orange Dessert on your table, focus on Step 1 first—getting that oven warm!
Preparing and Baking the Citrus Sponge Cake
We’re using the creaming method here, which means we want air in these layers! Go ahead and preheat that oven to 350°F (175°C). Get those two 9-inch round pans greased up really well and dusted with flour as the recipe suggests. Whisk your dry stuff—flour, sugar, baking powder, salt—in one bowl. Then, in another, whisk those glorious liquids: eggs, buttermilk, juice, zest, and vanilla.
Now for the magic integration! Add the softened butter right into your dry mix and start mixing slowly until it looks like wet sand—kind of coarse. Then, add your wet mixture in slowly, mixing on medium speed. Stop the second it comes together. Seriously, stop! Overmixing develops gluten, and we want fluffy, not chewy. Pour that batter evenly and bake for about 30 to 35 minutes. You’ll know it’s done when a tester comes out clean. Let them cool in the pans for just 10 minutes—no more, no less—before turning them out onto a rack to cool completely. They absolutely must be room temperature before frosting, or you’ll have a Melty Mess!
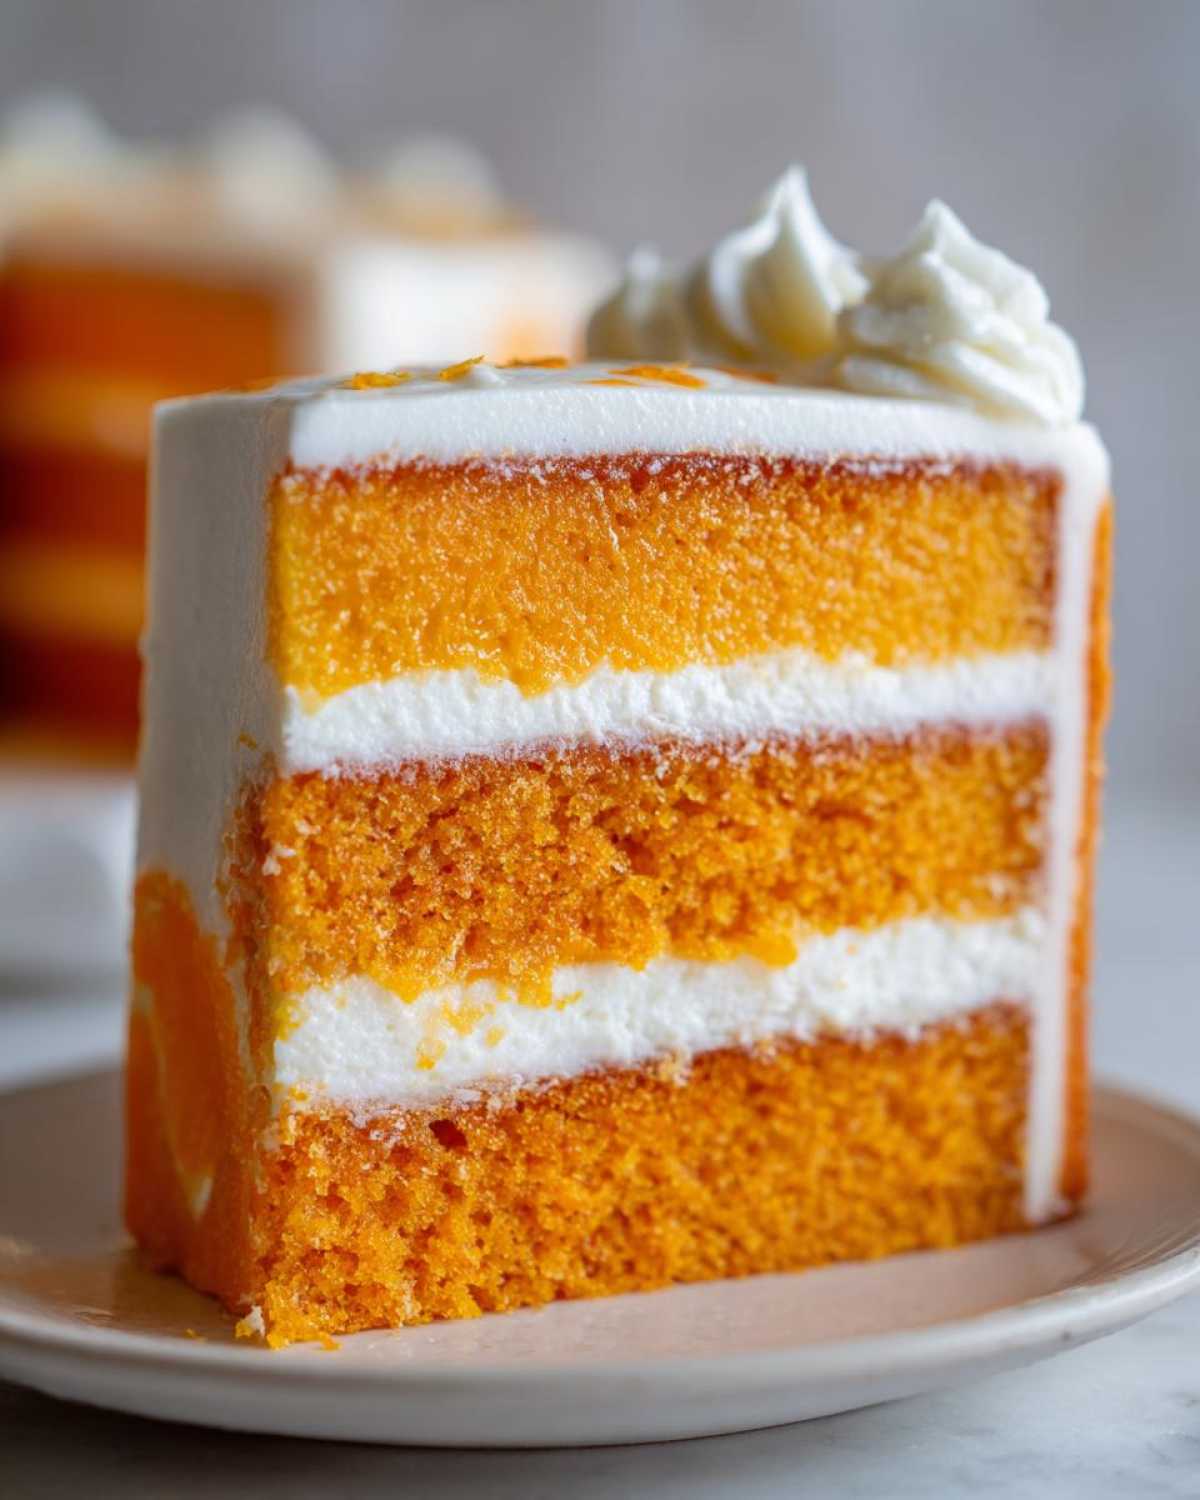
Creating the Fluffy Creamsicle Frosting
While those cakes cool down (which feels like forever, I know), let’s make the topping. Get that softened cream cheese and butter beating together until they are just smooth. We need creamy, not lumpy! Next, add that sifted powdered sugar slowly, scraping down the bowl frequently. You’re going to see it thicken up fast.
Once it’s incorporated, you need to beat it on medium-high speed for a solid couple of minutes. We are aiming for fluffy! Add your heavy cream, vanilla, and that hint of orange extract. Keep beating it until it looks light, almost like whipped cloud. If you feel like it’s a little soupy after beating, pop the whole bowl into the fridge for about 15 minutes. A slightly chilled frosting is way easier to handle, especially for beginners. You can grab my trick for layering the cake perfectly right here.
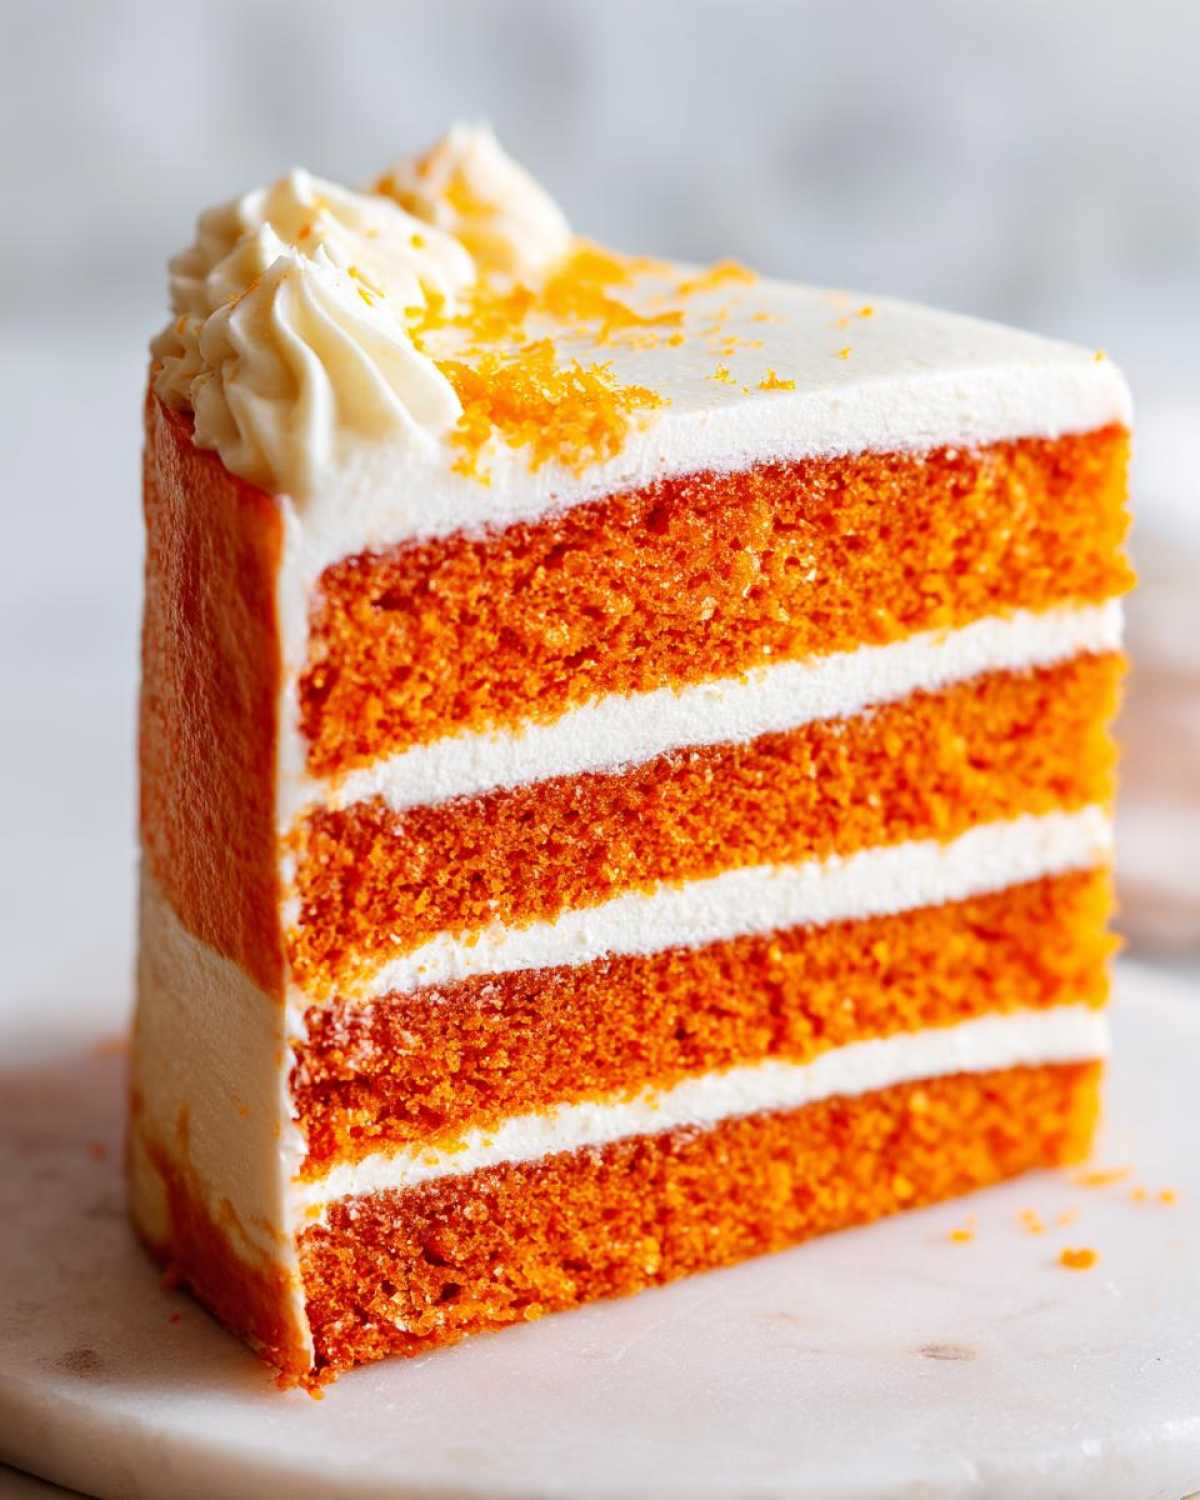
Assembling the Bright Orange Dessert
Once those cakes are totally cool—I mean, stone cold—it’s time to stack! Place your first layer down, use a generous scoop of that beautiful frosting, and spread it evenly to the edges. Put the second layer right on top. Now, crumb coat the entire thing! Just put a super thin layer of frosting all over the sides and top to catch any loose crumbs. Pop the whole thing in the fridge for 15 minutes to set that base layer. After that quick chill, you can apply your final beautiful, thick layer of Fluffy Creamsicle Frosting and decorate it however you want!
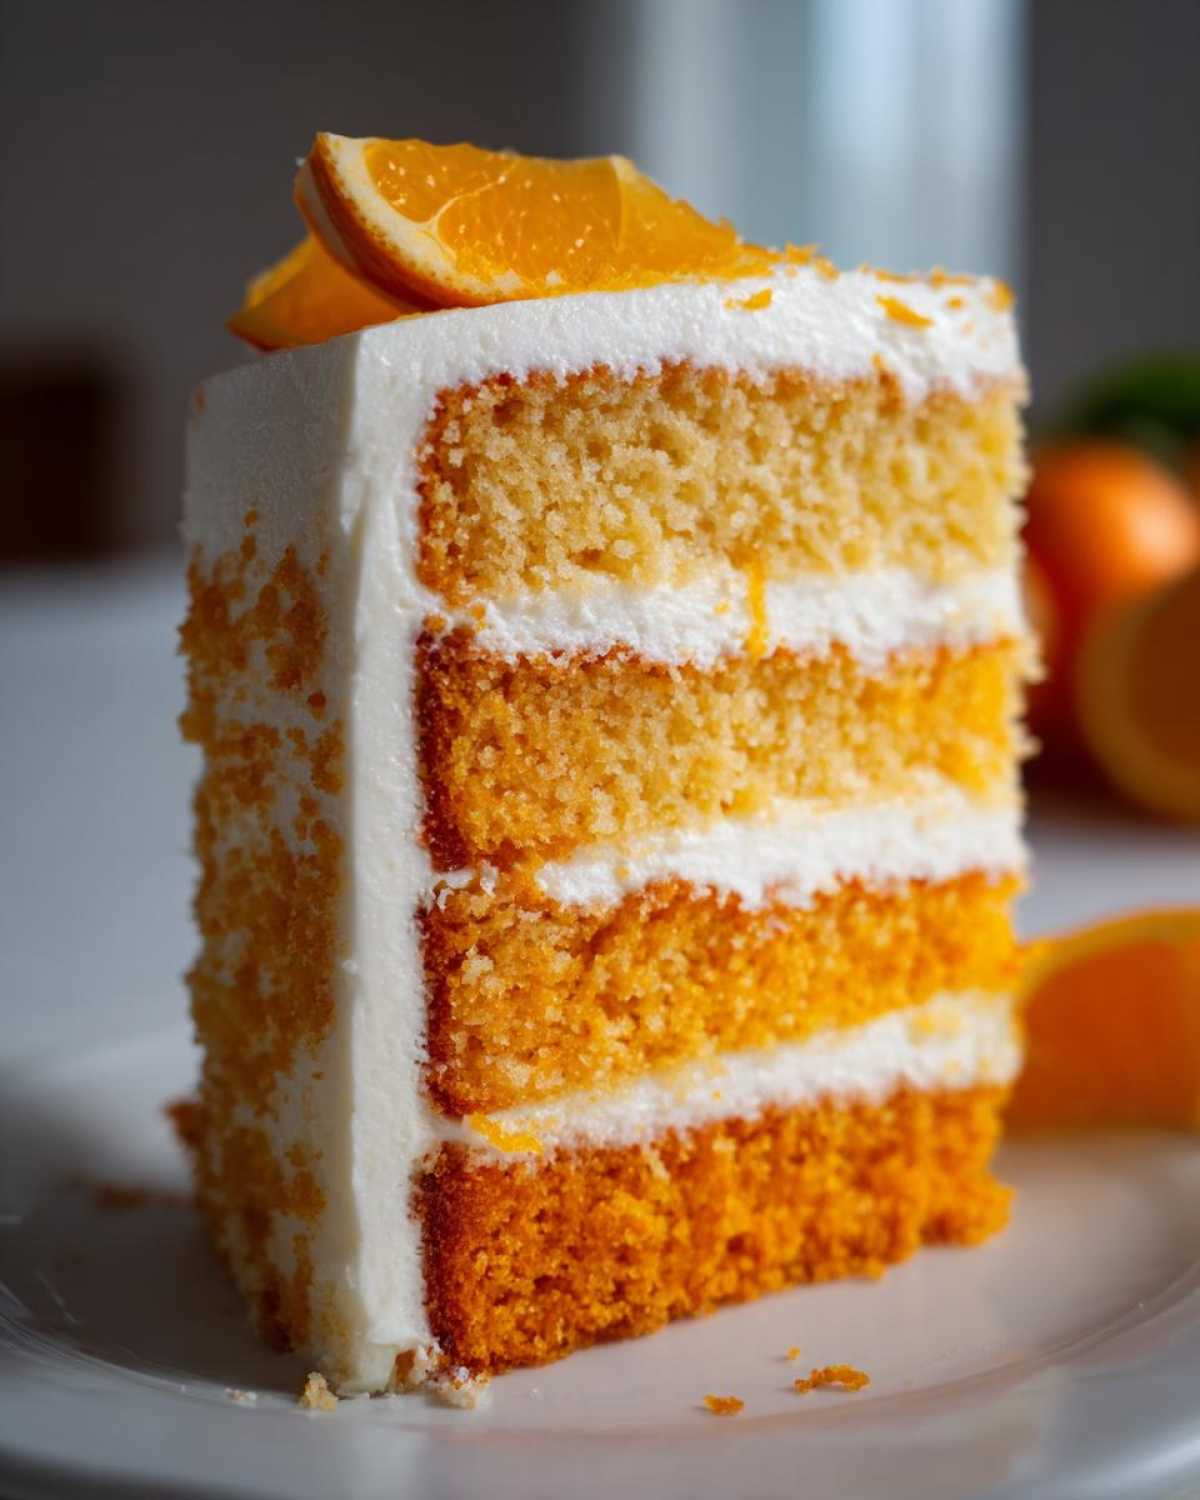
Tips for the Perfect Creamsicle Cake Success
Baking this showstopper is easy, but a few little tricks will launch it from ‘tasty’ to ‘legendary’! You absolutely have to use fresh orange juice and zest—that bottled concentrate just doesn’t have the same punch. Fresh zest is the key to making sure that orange flavor really sings through the vanilla in this Creamsicle Cake. I swear by it!
If you are worried about your frosting stability, especially if your kitchen is warm, just follow my little cheat: chill it! If the Fluffy Creamsicle Frosting seems too soft to handle after you beat it, stick the whole bowl or even the mixer bowl into the fridge for about 15 minutes. It firms right up, making smoothing the layers so much easier. You can find more ways to maximize that beautiful citrus flavor when you check out my thoughts on using orange zest in general. If you’re patient for those few minutes, you’ll get the most gorgeous result possible!
Variations on the Classic Orange Creamsicle Dessert
Once you master this Moist Layer Cake Recipe, you’ll want to try it in every format possible! It’s so versatile, which is why it works perfectly as an Easy Orange Vanilla Dessert.
If you’re hosting a huge crowd and maybe don’t want to bake, try turning this into a cool, jiggly treat. You could adapt this flavor profile by making an Orange Jello Poke Cake; just poke the vanilla cake layers and pour over orange gelatin while warm! That’s a fantastic Retro Dessert Recipe.
For the ultimate centerpiece, you’ve got to consider a Creamsicle Ice Cream Cake. You can use the baked layers as a base, completely cool them, and then layer them with softened vanilla ice cream and maybe a homemade orange swirl. It’s pure sunshine! I have a great post on using citrus in shortbreads if you prefer a crunchy base, like for meltaway citrus cookies, instead of a full cake structure.
Storage and Reheating Instructions for Your Creamsicle Cake
This gorgeous, fluffy Creamsicle Cake needs a little special care once it’s frosted because of that wonderful cream cheese frosting. You absolutely must keep it covered tightly in the refrigerator. Because it’s so moist, it stays fantastic for about four days nestled in there!
If you want to freeze slices for later enjoyment, which I totally recommend because leftovers go fast, only freeze the *cake layers* before you frost them. Wrap those completely in plastic wrap, then foil. They freeze beautifully for up to three months. Let them thaw on the counter before you mix up that amazing frosting!
Serving Suggestions for This Nostalgic Citrus Cake
This cake screams happy gatherings! Because the flavor is so bright and fresh, it pairs perfectly with a simple cup of hot coffee or maybe a nice, light herbal tea post-lunch. It honestly feels like the quintessential Spring Baking Recipe, so don’t hide it away—bring it out for weekend brunches or early afternoon celebrations.
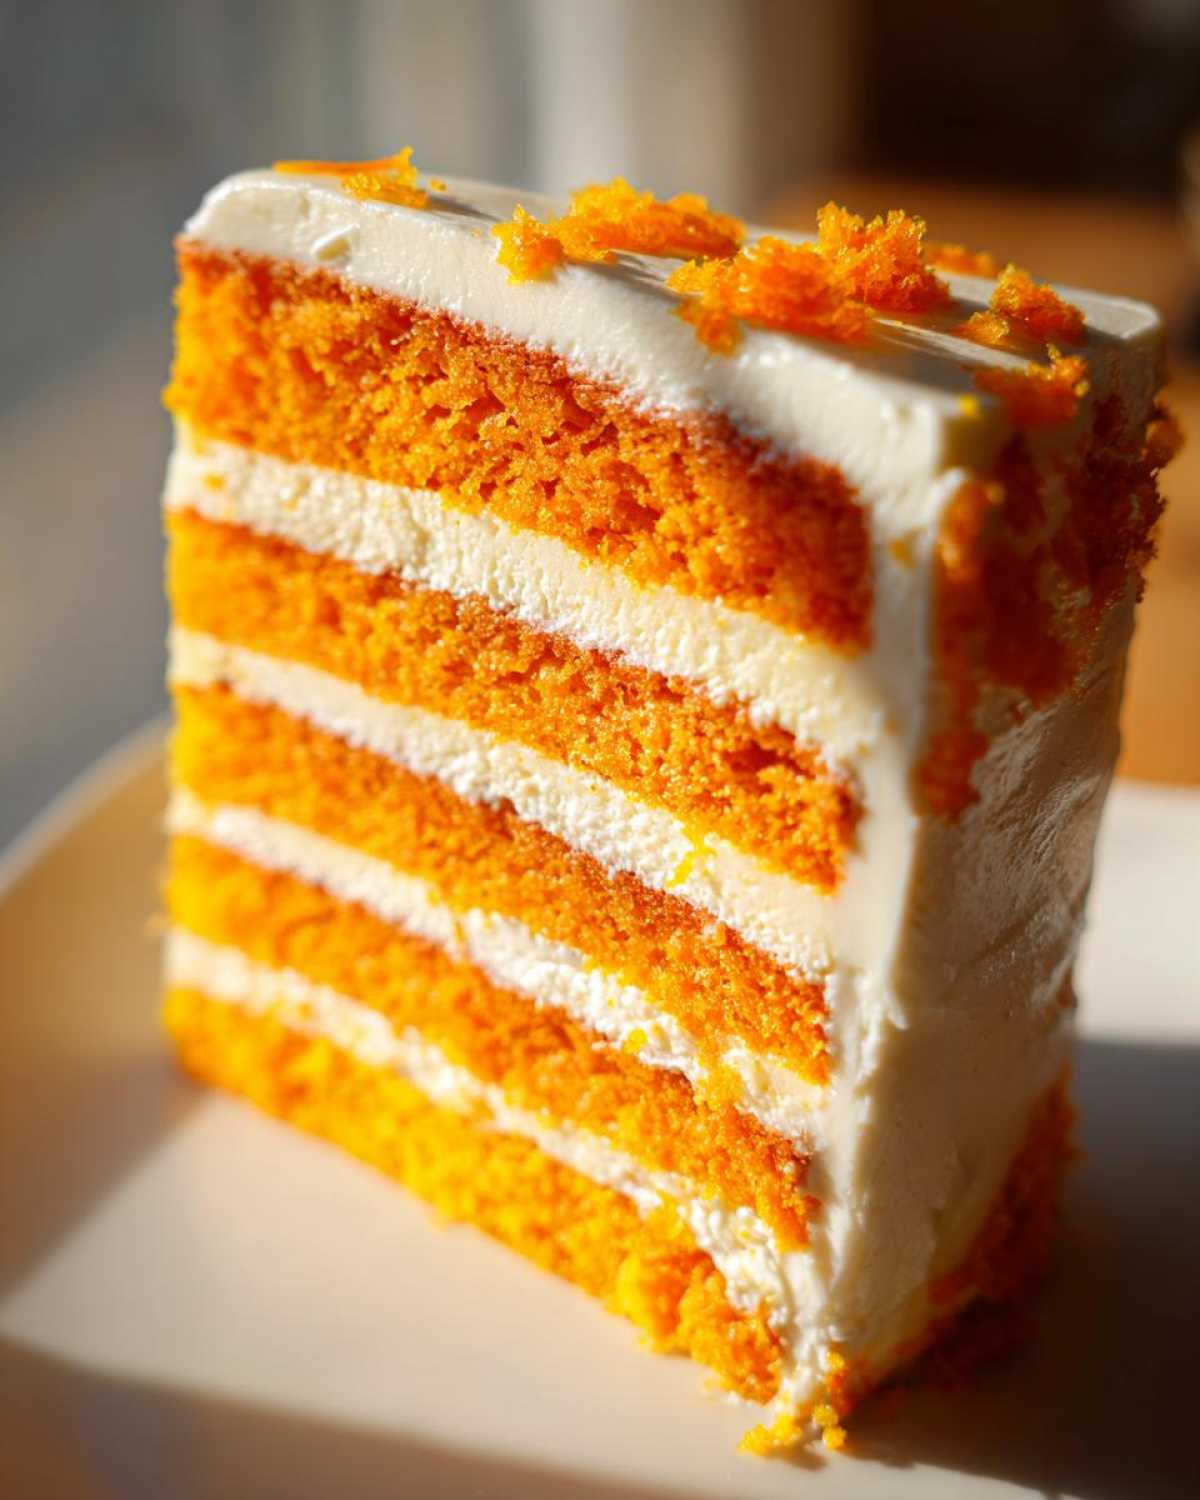
It looks amazing standing tall on a simple white platter. You don’t need much else once you’ve done the frosting! It’s really beautiful enough to just be the star of the show, maybe with a few berries sprinkled around the base just for color, but honestly, this Orange Flavored Cake stands on its own merit. Check out my full collection of spring baking recipes for more sunshine-inspired treats!
Frequently Asked Questions About Making a Creamsicle Cake
When I first started making this recipe, I had about a million questions too! It’s so worth asking them up front so you get that perfect Nostalgic Citrus Cake result without any kitchen drama. Here are the biggest little things people trip over when making this Easy Homemade Cake.
Can I substitute buttermilk with orange soda or milk?
Oh, gosh, please don’t use orange soda! While it sounds like a fun idea for an Orange Creamsicle Dessert, soda adds way too much sugar and weird carbonation, which messes with the structure of our delicate layers. If you can’t find buttermilk, you can absolutely make a substitute by adding one tablespoon of white vinegar or lemon juice to one cup of regular milk and letting it sit for five minutes until it curdles slightly. That gives you the necessary acid to work with the baking powder!
Why did my cake layers sink in the middle?
Usually, sinking happens for two main reasons, and it’s a bummer when you’re this close to frosting time! First, check your baking powder—if it’s old, it won’t lift the batter properly. Second, and this is the most common mistake, you opened the oven door too early! For this Moist Layer Cake Recipe, don’t peek until at least the 28-minute mark. If you let the cold air rush in before the structure is set, it’ll collapse right there. Patience pays off!
Can I use oil instead of butter for the cake layers?
While oil definitely yields a moist cake, the butter is crucial for the flavor and texture we are aiming for here. Butter gives us that signature rich taste and helps create those tiny air pockets when we cream it with the sugar, which is key for a fluffy yet sturdy layer. If you want the best possible Citrus Sponge Cake, stick to the softened butter. For other easy bakes, try my guide on making an easy homemade cake where oil might be a better choice!
How do I get that perfect, bright orange color without food coloring?
Honestly, for the most authentic Bright Orange Dessert, you should rely on the fresh zest and juice, which will give you a lovely, slightly pale, buttery yellow-orange tone. If you feel like it needs that vibrant, almost cartoonish orange color you see in store-bought versions, a tiny drop of gel food coloring (orange or even yellow) mixed into the wet ingredients is your friend. But trust me, let that fresh citrus shine!
Estimated Nutritional Data for This Orange Flavored Cake
Now, I know we don’t bake for the nutrition label, we bake for the joy and the flavor explosion! But since this Orange Flavored Cake is incredibly rich and moist, it’s good to have a general idea of what’s inside. Please remember that these numbers are just estimates based on standard calculations for a slice of this size. I didn’t factor in any extra sprinkles or candied fruit you might add on top!
When you’re enjoying this gorgeous Creamsicle Cake, think of it as a delicious splurge. It’s perfect for celebrations, and honestly, a slice is totally worth it. This data is based on 12 servings, so adjust if you think your cake deserves more generous cuts!
- Serving Size: 1 slice
- Calories: 450
- Sugar: 55g (That’s where all the magic comes from!)
- Fat: 22g
- Saturated Fat: 14g
- Carbohydrates: 60g
- Protein: 5g
- Sodium: 280mg
If you’re looking for something lighter, you could always try my easy homemade cake section, but for this perfectly decadent Orange Creamsicle Dessert, these numbers are the baseline for pure happiness!
PrintUltimate Moist Orange Creamsicle Layer Cake
A moist layer cake recipe capturing the bright orange and sweet vanilla flavor of a classic Creamsicle treat, topped with a light, fluffy frosting.
- Prep Time: 25 min
- Cook Time: 35 min
- Total Time: 60 min
- Yield: 12 servings
- Category: Dessert
- Method: Baking
- Cuisine: American
- Diet: Vegetarian
Ingredients
- 2 1/2 cups all-purpose flour
- 1 1/2 cups granulated sugar
- 1 tablespoon baking powder
- 1/2 teaspoon salt
- 1 cup unsalted butter, softened
- 4 large eggs
- 1 cup buttermilk
- 1/4 cup fresh orange juice
- 1 tablespoon orange zest
- 1 teaspoon vanilla extract
- For the Frosting: 8 ounces cream cheese, softened
- 1/2 cup unsalted butter, softened
- 4 cups powdered sugar, sifted
- 1/4 cup heavy cream
- 1 teaspoon vanilla extract
- 1 teaspoon orange extract
Instructions
- Preheat your oven to 350°F (175°C). Grease and flour two 9-inch round cake pans.
- In a large bowl, whisk together the flour, sugar, baking powder, and salt.
- Add the softened butter to the dry ingredients and mix on low speed until the mixture resembles coarse crumbs.
- In a separate bowl, whisk together the eggs, buttermilk, orange juice, orange zest, and vanilla extract.
- Gradually add the wet ingredients to the dry ingredients, mixing on medium speed until just combined. Do not overmix.
- Divide the batter evenly between the prepared pans. Bake for 30 to 35 minutes, or until a toothpick inserted into the center comes out clean.
- Let the cakes cool in the pans for 10 minutes before inverting them onto a wire rack to cool completely.
- To make the frosting, beat the softened cream cheese and butter together until smooth.
- Gradually add the powdered sugar, mixing until incorporated.
- Beat in the heavy cream, vanilla extract, and orange extract until the frosting is light and fluffy.
- Once the cakes are completely cool, place one layer on a serving plate. Spread a generous layer of frosting on top. Place the second layer on top and frost the top and sides of the entire cake.
Notes
- For extra orange flavor, use fresh-squeezed orange juice instead of bottled.
- Chill the frosting for 15 minutes if you find it too soft to spread easily.
- You can decorate the sides with orange sprinkles or candied orange slices.
Nutrition
- Serving Size: 1 slice
- Calories: 450
- Sugar: 55g
- Sodium: 280mg
- Fat: 22g
- Saturated Fat: 14g
- Unsaturated Fat: 8g
- Trans Fat: 0.5g
- Carbohydrates: 60g
- Fiber: 1g
- Protein: 5g
- Cholesterol: 95mg