

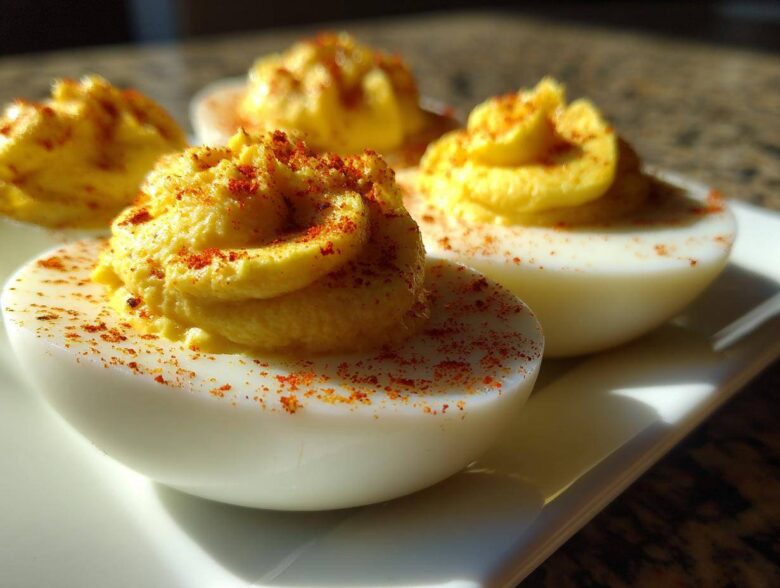
Whenever I host a gathering, whether it’s a casual weekend get-together or a huge holiday meal, I always get asked for the recipe that disappears first. And nine times out of ten, that’s my super creamy, perfectly seasoned deviled eggs. Honestly, getting these right felt like rocket science when I was first starting out, especially peeling those darn eggs! But I figured out the trick to cooking them perfectly every single time, and that’s half the battle won. Forget dry yolks and rubbery whites; this recipe delivers the ultimate, flavorful bite that makes everyone ask for seconds immediately. You absolutely need these for your next run of easy party food ideas!
Why You Will Make the Best deviled eggs Every Time
It might sound dramatic, but once you use my boiling method, you’ll never look back. These aren’t just any eggs; they are an instant hit because they meet every requirement for a perfect appetizer. Trust me, mastering this simple approach means these become your signature dish!
- They have that incredibly creamy texture you dream about.
- The flavor is perfectly tangy—never dull or overly vinegary.
- You use just a few simple pantry ingredients.
- They look impressive on any platter, even though they are quick to assemble.
Gathering Simple Ingredients for Classic deviled eggs
You won’t believe how few things you need to make these rockstar appetizers! That’s the beauty of sticking to the classics. We aren’t messing around with seventeen different powders here; just quality staples that combine into something truly special. I always try to keep these on hand because they count as one of my favorite simple ingredients appetizers. It’s all about the ratios, which I’ve nailed down for you below!
Ingredients for the deviled eggs
- 12 large eggs
- 1/2 cup mayonnaise
- 2 tablespoons yellow mustard
- 1 tablespoon white vinegar
- 1/2 teaspoon salt
- 1/4 teaspoon black pepper
- Pinch of paprika for garnish
How to Cook Perfectly Peeled Eggs for deviled eggs
Look, if you struggle with peeling, you’re going to hate making these, and that’s a tragedy! The secret to stunning deviled eggs isn’t in the filling; it’s in the cook. If your whites are torn up or you’re practically scraping the yolk out with a knife, you messed up the temperature shock. My method is foolproof because it moves the eggs straight from boiling horror to total cold shock. You need to bring the water to a rolling boil first, then immediately kill the heat, cover it, and let them sit still for exactly 12 minutes. Don’t lift that lid!
Once the timer goes off, scoop those hot things out and dump them right into the ice bath. I mean immediately. That quick temperature drop is what makes the egg contract just enough to separate cleanly from the white membrane. They need to chill completely—about ten minutes in that ice water—before you even try to crack them. My little trick for easier peeling? I gently tap the shell all over on the counter until it looks like a cracked mosaic, then I peel them right under a slow stream of cool water. It washes the tiny shell fragments away and helps separate the membrane. If you nail this stage, thanks to guidance from my perfectly cooked eggs guide, the rest of the recipe is a breeze!
Creating the Tangy Yolk Filling for Your deviled eggs
Okay, now that you have perfect, pale, easy-to-peel egg whites sitting pretty on your platter, it’s time for the fun part—the filling! This is where we achieve that incredible, smooth texture that separates the amateurs from the pros. Scoop those beautiful yolks into a bowl. Grab your fork first, before anything else, and start mashing them up. You really need to work them until they are fine crumbs, almost like cornmeal. Don’t rush this; a few stubborn lumps will ruin your otherwise perfect batch of tangy yolk filling.
Once they’re mostly smooth, we add the liquids—the mayo, the mustard (yellow only, please, we want that classic color!), and that crucial splash of vinegar for tang. Mix it, mix it, mix it! Keep folding and scraping the sides until it literally looks like velvet. That’s the sign you’ve hit the Best deviled egg flavor sweet spot. Finish with your salt and pepper. Taste it right there! If it seems flat, give it one more tiny sprinkle of salt or a drop more vinegar. You’re aiming for balanced flavor that really pops!
Assembling and Garnishing Your Crowd Pleasing deviled eggs
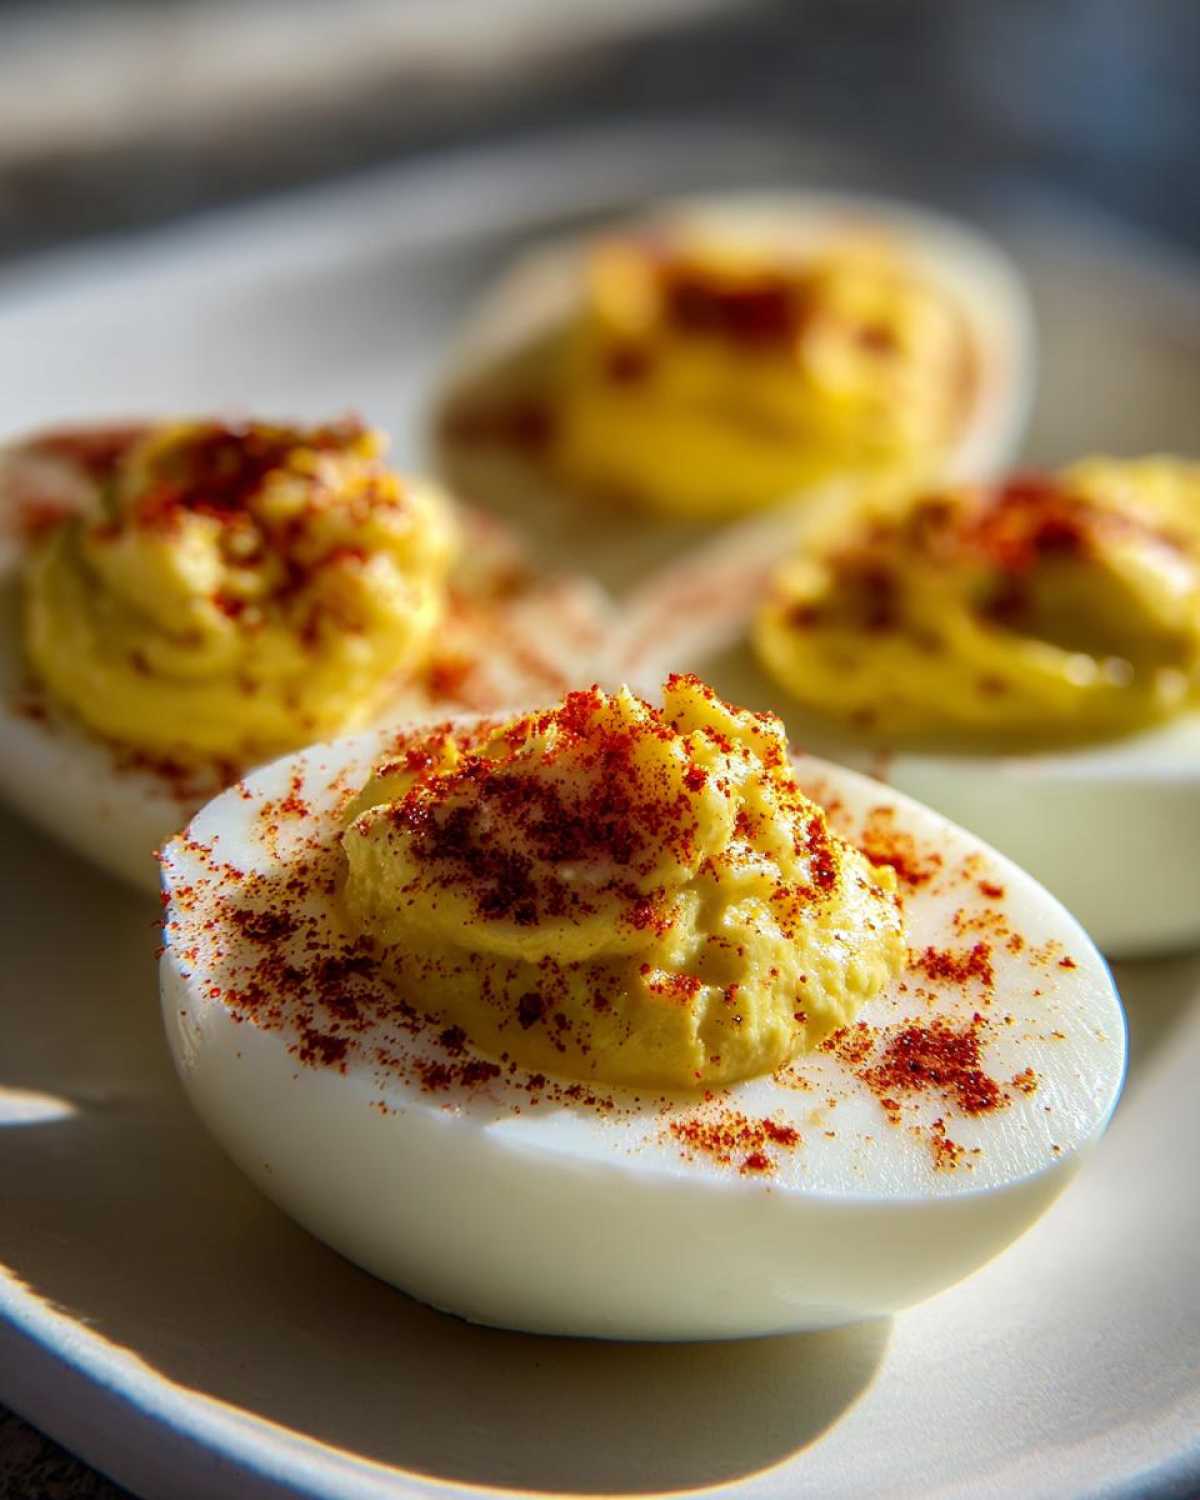
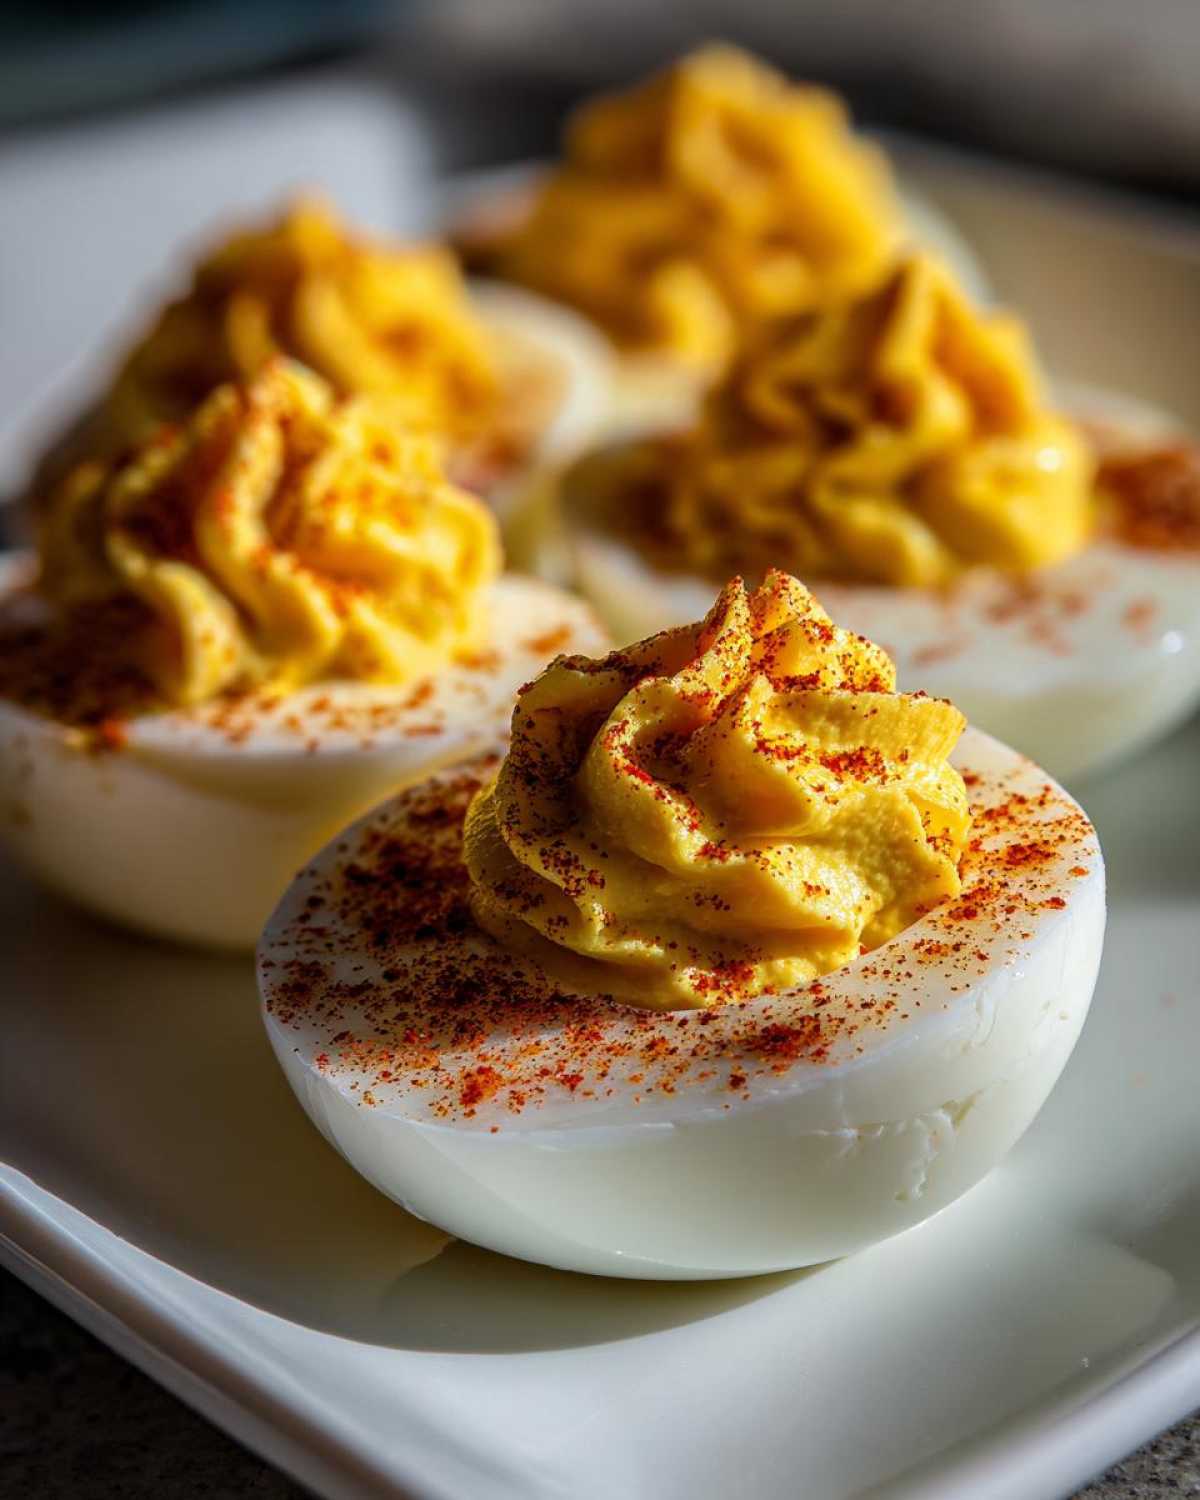
The moment of truth! You have your creamy, glorious yolk mixture and your perfectly clean egg white boats ready for filling. For a super professional look, I highly recommend using a piping bag fitted with a large star tip. It makes them look instantly fancy, like something you’d buy from a caterer. But honestly, if you don’t have one, just use a small spoon! Work quickly, spooning or piping the mixture high into the centers of the whites. Mound it up slightly—we want volume!
Once they are all filled, it’s garnish time. A light, gentle dusting of paprika across the top is non-negotiable for me. It adds a necessary pop of color against the pale yellow filling. These become true crowd pleasing appetizers once they look this good. But here’s the absolute last, highly important step for making the deviled eggs taste amazing: you must chill them. Seriously, don’t eat them warm! Pop them on that platter, cover them loosely with plastic wrap, and let them hang out in the fridge for at least 30 minutes. This lets the flavors settle and firms up that creamy filling so they hold their shape beautifully.
Tips for the Ultimate Homemade deviled eggs Experience
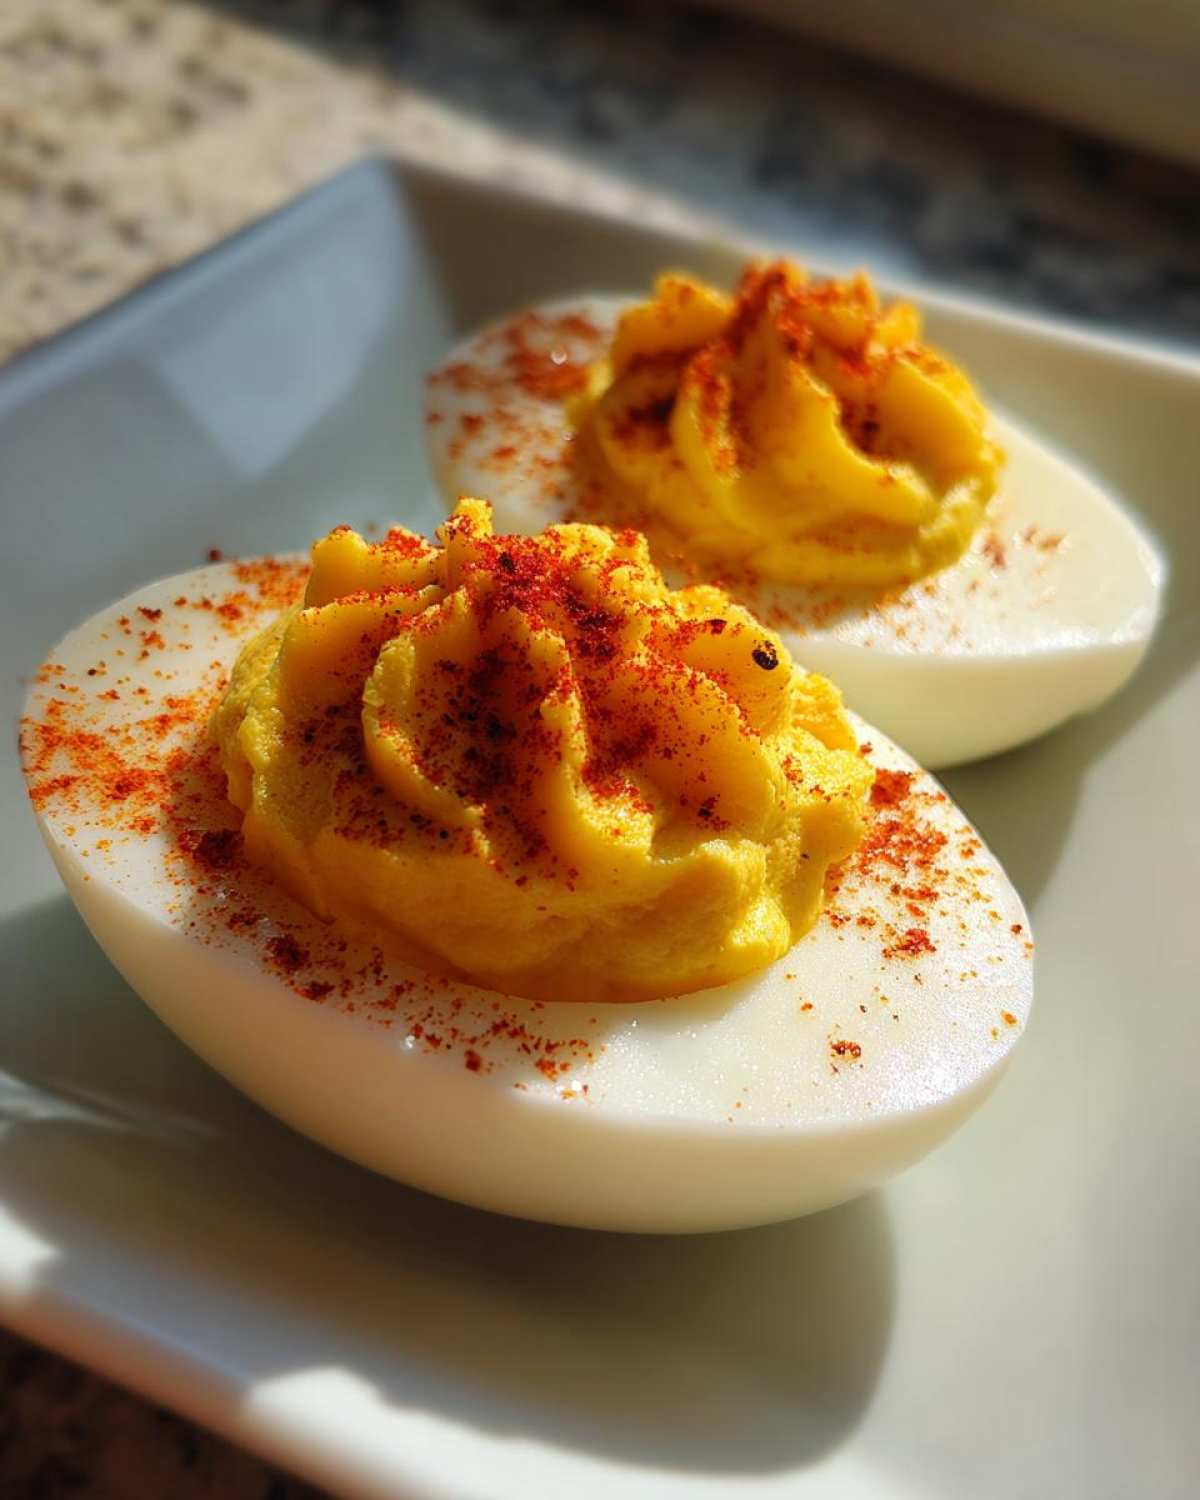
You’ve mastered the basic technique, but if you really want to elevate these beyond just a simple snack recipe and turn them into something memorable, here are the little hacks I use. I always suggest thinking about additions because customizing your deviled eggs is half the fun. Remember that tangy flavor we talked about? If you want an extra layer of that signature zip, try stirring in about a half teaspoon of sweet pickle relish when you mix in the mayonnaise. I love doing this for summertime picnics; it keeps the filling moist and adds a cute texture!
Also, remember that peeling tip? I brought it up earlier for cooking, but it applies here too. If you are making these for a big event, always try your best to assemble them soon after chilling the cooked whites. While they are amazing homemade deviled eggs, they are best texture-wise the day you make them. If you absolutely must prep hours ahead, keep the whites covered and the separated yolks covered until just before you are ready to mix and pipe. This strategy ensures they stay fresh and pristine!
Storage and Make Ahead Tips for deviled eggs
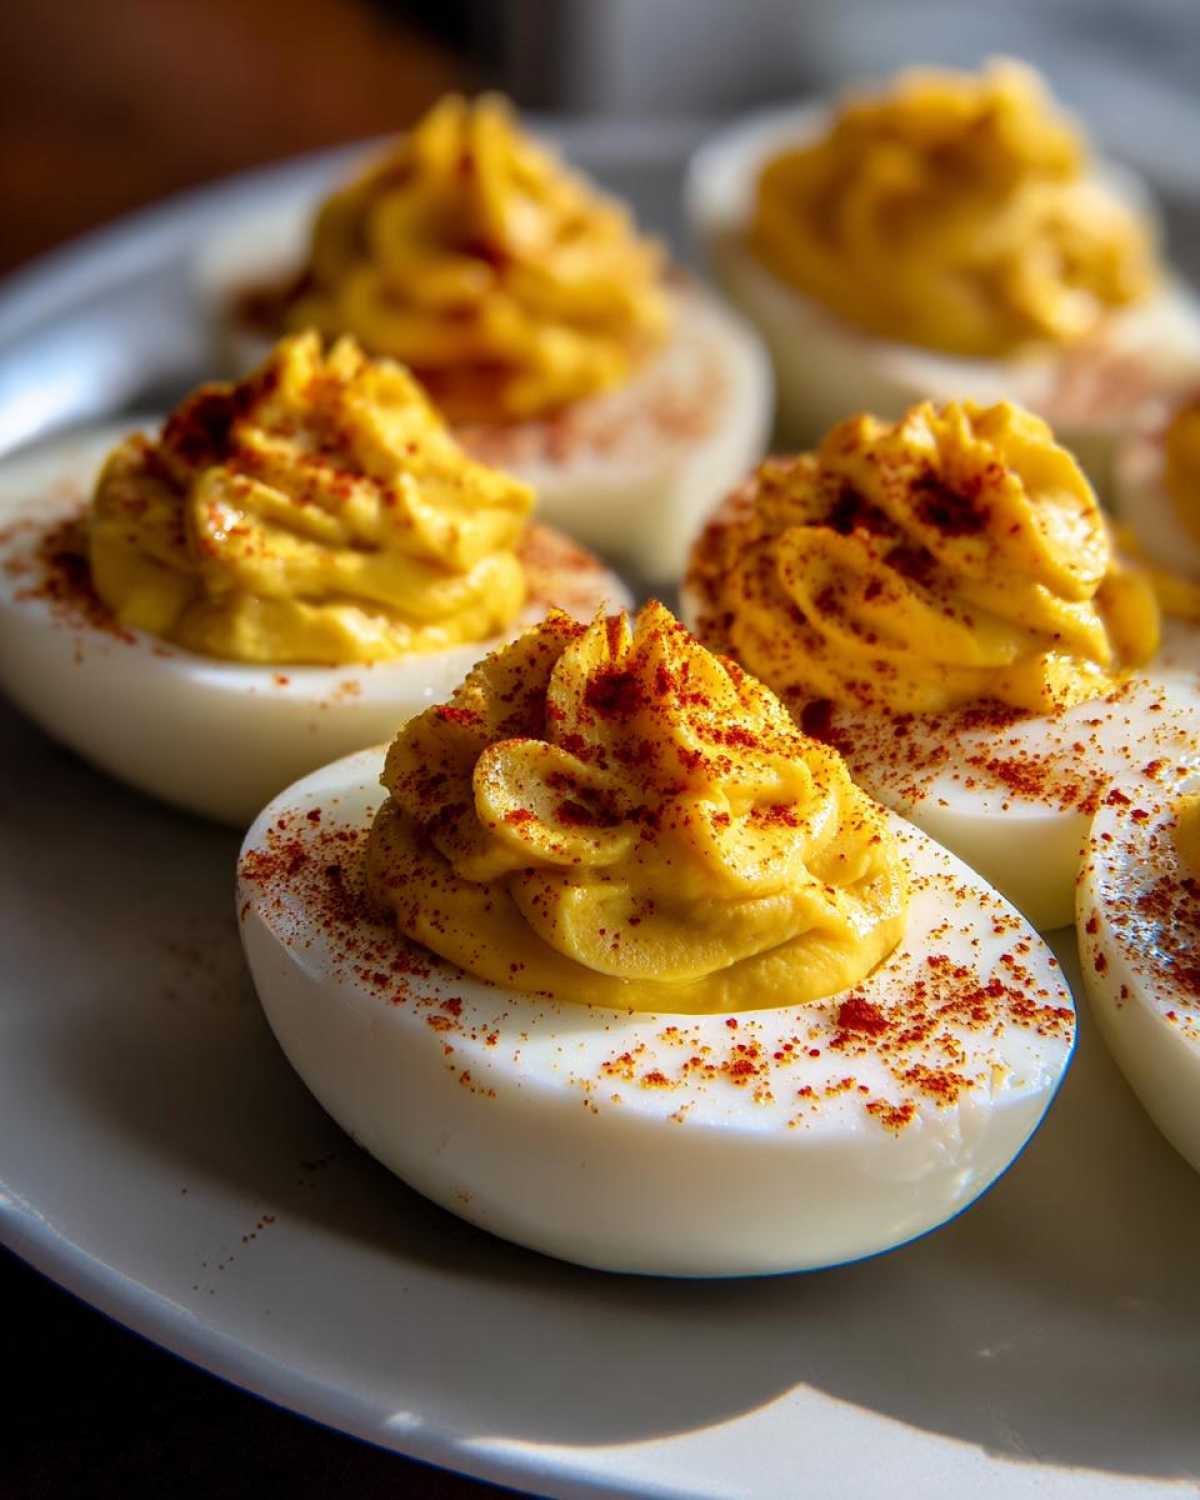
Planning a huge potluck or party means you need to think ahead, right? That’s why these deviled eggs are fantastic—they fall into that perfect category of make ahead appetizers, but you have to handle them correctly. If you assemble them fully and then try to store them for too long, the filling can sometimes dry out or start weeping a little, and honestly, nobody wants that watery look on their platter!
The safest bet, if you’re not serving them the same day, is to stop right after you cook and peel the eggs. Keep those perfectly clean, hollowed-out egg white halves covered tightly in the fridge. Then, treat the yolk filling like gold; keep that mixed filling in a sealed, airtight container. It stays fresh and creamy like that for a good two days, easy.
When it’s party time, just bring the whites and the filling out about 20 minutes before you plan to assemble. Pipe them up, dust with paprika, and you are done! If you absolutely must assemble them completely the day before, which I sometimes do if I’m swamped, cover the platter with plastic wrap, but press the wrap down gently so it’s barely touching the tops of the paprika. Then, keep them chilled until you walk out the door. They’re still really good, but I promise you, the next-day texture is always the most perfect when you finish the assembly right before serving!
Frequently Asked Questions About deviled eggs
How do I stop my deviled egg filling from looking grainy?
Oh, that grainy texture is the absolute worst! It happens when you add the mayonnaise and mustard before the yolks are completely pulverized. You need those yolks to be like fine dust first. Take your time with the fork until it looks powdery. If you really struggle, whip out the food processor! Just give the yolks a couple of quick pulses until they look like silk before you add the rest of your ingredients. It’s cheating a little, but wow, the results are spectacular creamy egg recipes!
Can I make these Southern comfort food appetizers ahead of time?
You sure can, and I highly recommend it for big holidays so you aren’t scrambling! But like I mentioned, true freshness comes from waiting to assemble. For the best results, cook and peel your eggs the day before. Keep the whites covered on a platter in the fridge, and keep the perfectly mixed yolk filling in its own sealed container. Assemble them right before guests arrive, maybe an hour before, so they stay optimally fresh and moist.
What is the secret to preventing green rings around the yolk?
That gross greenish-gray ring around your yolk means you overcooked the egg, or at least, you let it cool down too slowly. The green is just a harmless chemical reaction between the sulfur in the white and the iron in the yolk, but it looks terrible! The secret, which I preach about constantly, is the ice bath. As soon as those 12 minutes are up, they must plunge straight from the boiling water into a bowl full of ice and water. That immediate, total temperature drop stops the cooking process right there, and you’ll never see a green ring again on your classic appetizer recipes!
Nutritional Estimate for These deviled eggs
I always get asked about the nutritional side of things, especially when serving up these little bites of happiness at a gathering. Since we are mixing full yolks with mayonnaise, they aren’t exactly calorie-free, but honestly, one or two disappears before anyone starts counting! I wanted to give you a general idea based on the 12 large eggs and standard condiments we used here. But look, this is just a ballpark figure, okay?
The exact numbers can swing a little depending on what brand of mayonnaise you use or if you add any of my special variations, like bacon bits or extra sugar from relish. So please take this as a helpful guide, not a strict dietary requirement. These are deviled eggs, meant to be enjoyed!
- Serving Size: 2 halves
- Calories: 90
- Fat: 8g
- Saturated Fat: 2g
- Carbohydrates: 0.5g
- Protein: 3g
- Cholesterol: 95mg
See? Not bad for such a satisfying snack! Keep in mind that the sodium comes mostly from the salt we added, so adjust that if you’re watching your salt intake. Just enjoy these amazing, creamy treats responsibly!
PrintClassic Creamy Deviled Eggs
Make perfect, creamy deviled eggs with this simple recipe. This guide focuses on achieving a smooth filling ideal for any gathering.
- Prep Time: 15 min
- Cook Time: 15 min
- Total Time: 40 min
- Yield: 24 halves
- Category: Appetizer
- Method: Boiling and Mixing
- Cuisine: American
- Diet: Vegetarian
Ingredients
- 12 large eggs
- 1/2 cup mayonnaise
- 2 tablespoons yellow mustard
- 1 tablespoon white vinegar
- 1/2 teaspoon salt
- 1/4 teaspoon black pepper
- Pinch of paprika for garnish
Instructions
- Place eggs in a saucepan and cover with cold water. Bring water to a rolling boil over high heat.
- Once boiling, remove the pan from the heat, cover it, and let the eggs stand for 12 minutes.
- Immediately transfer the eggs to an ice bath (a bowl of ice water) and let them cool completely, about 10 minutes.
- Peel the cooled eggs. Slice each egg in half lengthwise.
- Carefully scoop the yolks into a medium bowl. Place the egg white halves on a serving platter.
- Mash the yolks with a fork until fine. Add the mayonnaise, mustard, vinegar, salt, and pepper. Mix until the filling is completely smooth and creamy.
- Spoon or pipe the yolk mixture back into the egg white halves.
- Sprinkle the tops of the filled eggs with paprika before serving.
Notes
- For easier peeling, gently crack the shell all over and peel under cool running water.
- If you prefer a tangier filling, add 1/2 teaspoon of sweet pickle relish to the yolk mixture.
- Chill the finished deviled eggs for at least 30 minutes before serving for the best flavor and texture.
Nutrition
- Serving Size: 2 halves
- Calories: 90
- Sugar: 0.5
- Sodium: 120
- Fat: 8
- Saturated Fat: 2
- Unsaturated Fat: 6
- Trans Fat: 0
- Carbohydrates: 0.5
- Fiber: 0
- Protein: 3
- Cholesterol: 95