

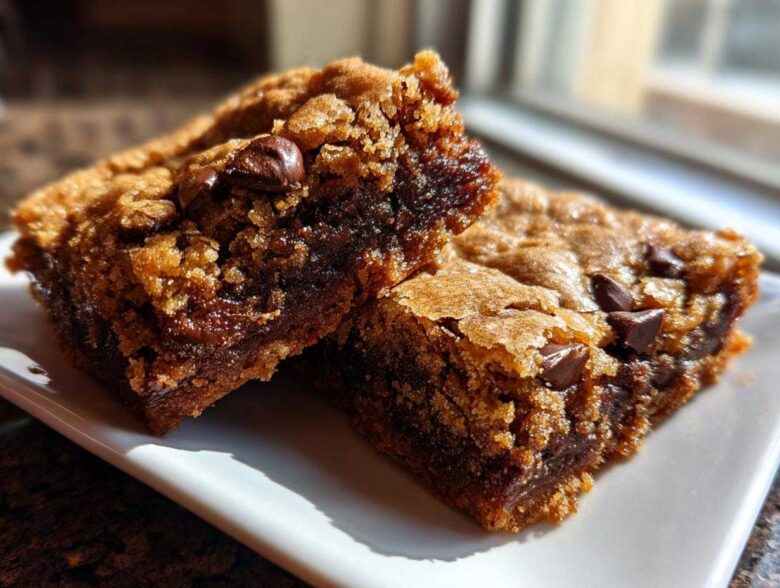
If you, like me, have thrown pans away because the cookie result was cakey, thin, or crumbly instead of beautifully, gloriously chewy, then stop everything you’re doing. We are done with disappointing desserts! After years of testing every ingredient ratio imaginable, I can finally hand over the ultimate Chewy Chocolate Chip Cookie Bars recipe. Forget the razor-thin versions; these are thick, deeply flavored, and packed with chocolate. The secret weapon? It’s all about melted butter and the sugar ratio. Trust me, once you make these, they will be your go-to simple one pan cookie dessert.
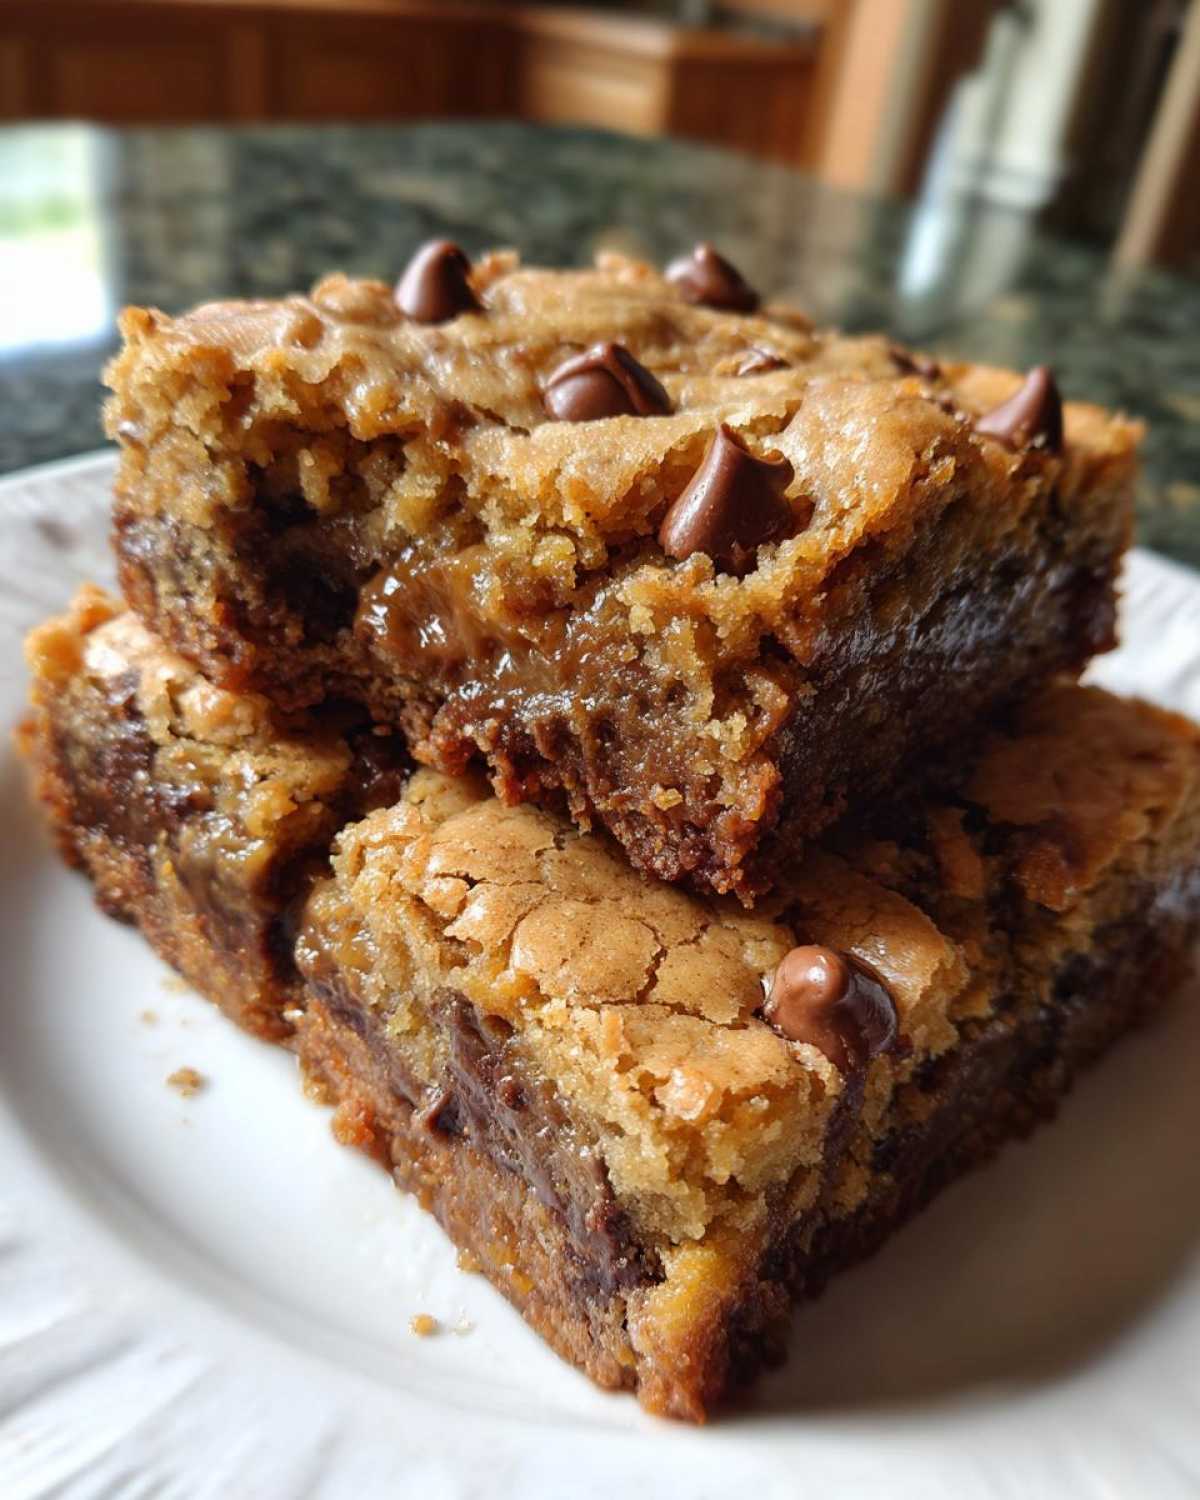
Why These Chewy Chocolate Chip Cookie Bars Are Superior
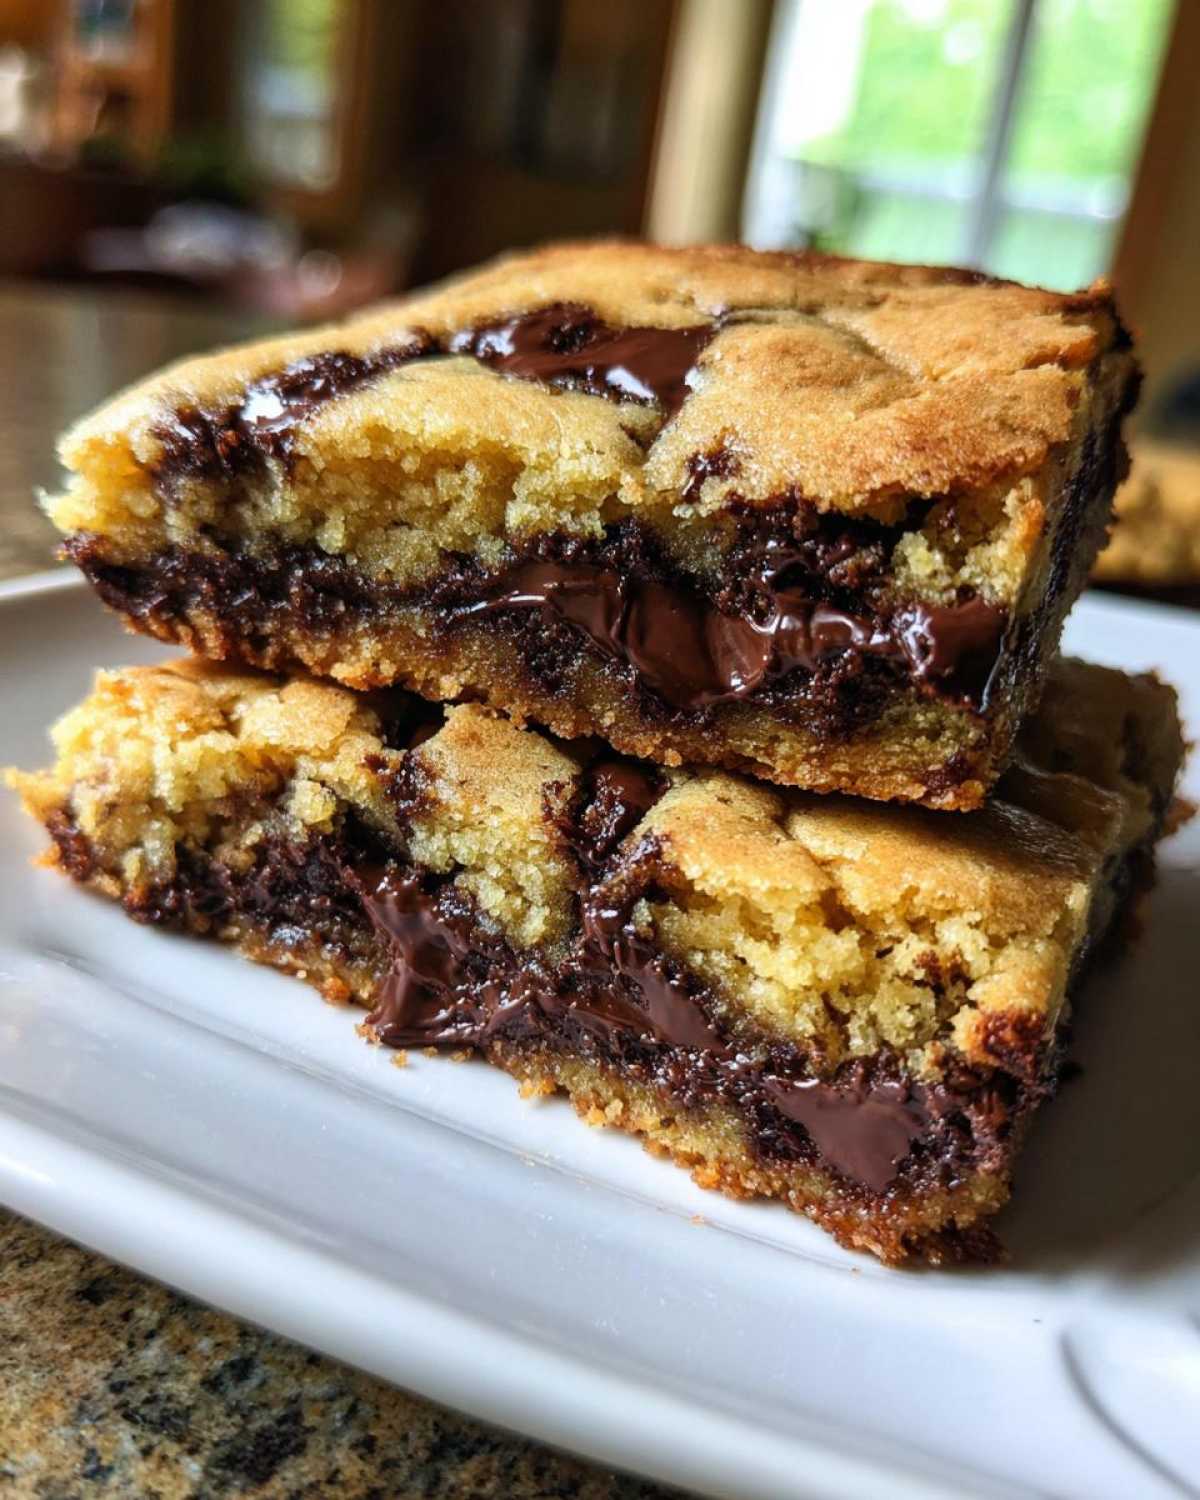
I know you’re looking for one thing: chewiness. Getting that gooey center cookie bars experience in a pan format is trickier than you’d think! Most recipes online give you something closer to a blondie or a crisp shortbread. Not this one. We are aiming for that perfect pull—the kind that makes you close your eyes after the first bite.
These aren’t just good; these are the Thick and Chewy Cookie Bars you read about in bakery cookbooks. Everyone struggles with keeping cookie bars soft, but we cracked the code. It’s all about the liquid fat and the sugar balance. If you want crisp edges, use softened butter. If you want pure, delicious chew, you need melted butter, plain and simple!
The Science Behind Perfectly Chewy Cookie Bars
The secret to the ultimate chew starts with melted butter. When butter is melted, it coats the flour particles more thoroughly than softened butter does, which actually inhibits gluten formation. Less gluten means less structure, or less cakey-ness! We also use a high ratio of brown sugar to white sugar.
Brown sugar holds moisture because of that molasses content, which keeps the Chewy Chocolate Chip Cookie Bars soft long after they’ve cooled down. This combination ensures they bake up dense, rich, and maintain that wonderfully soft center.
Ingredients for the Best Chewy Chocolate Chip Cookie Bars Recipe
Okay, gathering your supplies is half the battle! The beauty of these Chocolate Chip Cookie Bar Recipe is that you probably already have everything you need. We are keeping this simple, letting those chewy textures do the heavy lifting! You’ll notice we use a lot of brown sugar—don’t reduce it, that’s cheating!
Here is exactly what you need for one 9×13 inch pan of pure bliss:
- 1 cup (2 sticks) unsalted butter, melted (Yes, melted! That’s our trick!)
- 1 cup packed light brown sugar (Pack it in there!)
- 1/2 cup granulated white sugar
- 2 large eggs, straight from the carton
- 1 tablespoon vanilla extract
- 2 1/4 cups all-purpose flour
- 1 teaspoon baking soda
- 1/2 teaspoon salt (I use fine table salt here, not flaky sea salt just yet)
- 1 1/2 cups semi-sweet chocolate chips
Now, my own little insider tip? Don’t cheap out on the chocolate chips if you can help it. While standard semi-sweet works beautifully for the *Melted Butter Chewy Bars*, if you can find a mix—say, half semi-sweet and half dark or milk chocolate chunks—you get these amazing pockets of melted, fudgy goodness throughout. Those big chunks make all the difference when you’re aiming for that ultra-rich texture.
How to Make Chewy Chocolate Chip Cookie Bars Step-by-Step
Alright, buckle up! Making these Easy Homemade Chocolate Chip Bars is mostly about timing and simple assembly. We don’t need fancy mixers for this job; just a good bowl and a whisk when we start! Follow these steps exactly, and I promise you’ll master the process for the Best Chewy Chocolate Chip Cookie Bars Recipe.
It’s crucial to remember that we are baking these low and slow compared to some cookies, and that cooling time is non-negotiable if you want bars that hold their shape.
Pan Preparation and Preheating for Chewy Chocolate Chip Cookie Bars
First things first, let’s get that oven hot—350 degrees Fahrenheit is our target temperature. The biggest mistake people make when baking desserts in a pan is skipping proper lining! For this 9×13 inch pan, you absolutely must use parchment paper. Don’t just lay it flat; you need to create an overhang on the two longer sides.
I usually cut a piece that’s a few inches wider than the pan itself. Let the extra paper hang over the edges like little handles sticking up. This lets you lift the entire slab of warm goodness out easily once it’s cooled down. Seriously, this trick means no broken corners when you try to slice your Rich Chocolate Chip Squares!
Mixing Wet and Dry Components for Melted Butter Chewy Bars
Grab your largest bowl because this is where the flavor foundation is built. Pour in that melted butter we discussed—it should still be liquid! Next, dump in both the brown sugar and the white sugar. Whisk these vigorously until they are totally combined. It might look a little gritty still, but that’s okay; we’re just making sure the sugar starts dissolving into that fat.
Now, drop in your two eggs, one at a time. Whisk until the first one is fully incorporated before adding the second. Then, swirl in that vanilla extract. The wet mix should look rich and slightly glossy now.
In a separate bowl, you need the dry stuff: flour, baking soda, and salt. Give those a quick whisk to distribute the leavening agent evenly. This is my personal trick for avoiding a mixing disaster: add the dry ingredients to the wet ingredients in three additions, stirring gently by hand or on the lowest mixer speed possible. Stop mixing immediately when you see the last few streaks of flour disappear. If you overmix here, that gluten screams, and suddenly your Perfectly Chewy Pan Cookies turn into tough bricks. Don’t worry if it looks a little shaggy; that’s perfection!
Finally, fold in those chocolate chips. Don’t use the electric mixer for the chips; just use a spatula. Once they are evenly dispersed, scrape the whole beautiful batter into your prepared, overhanging parchment-lined pan and spread it out evenly. Smooth the top a bit so it bakes flat.
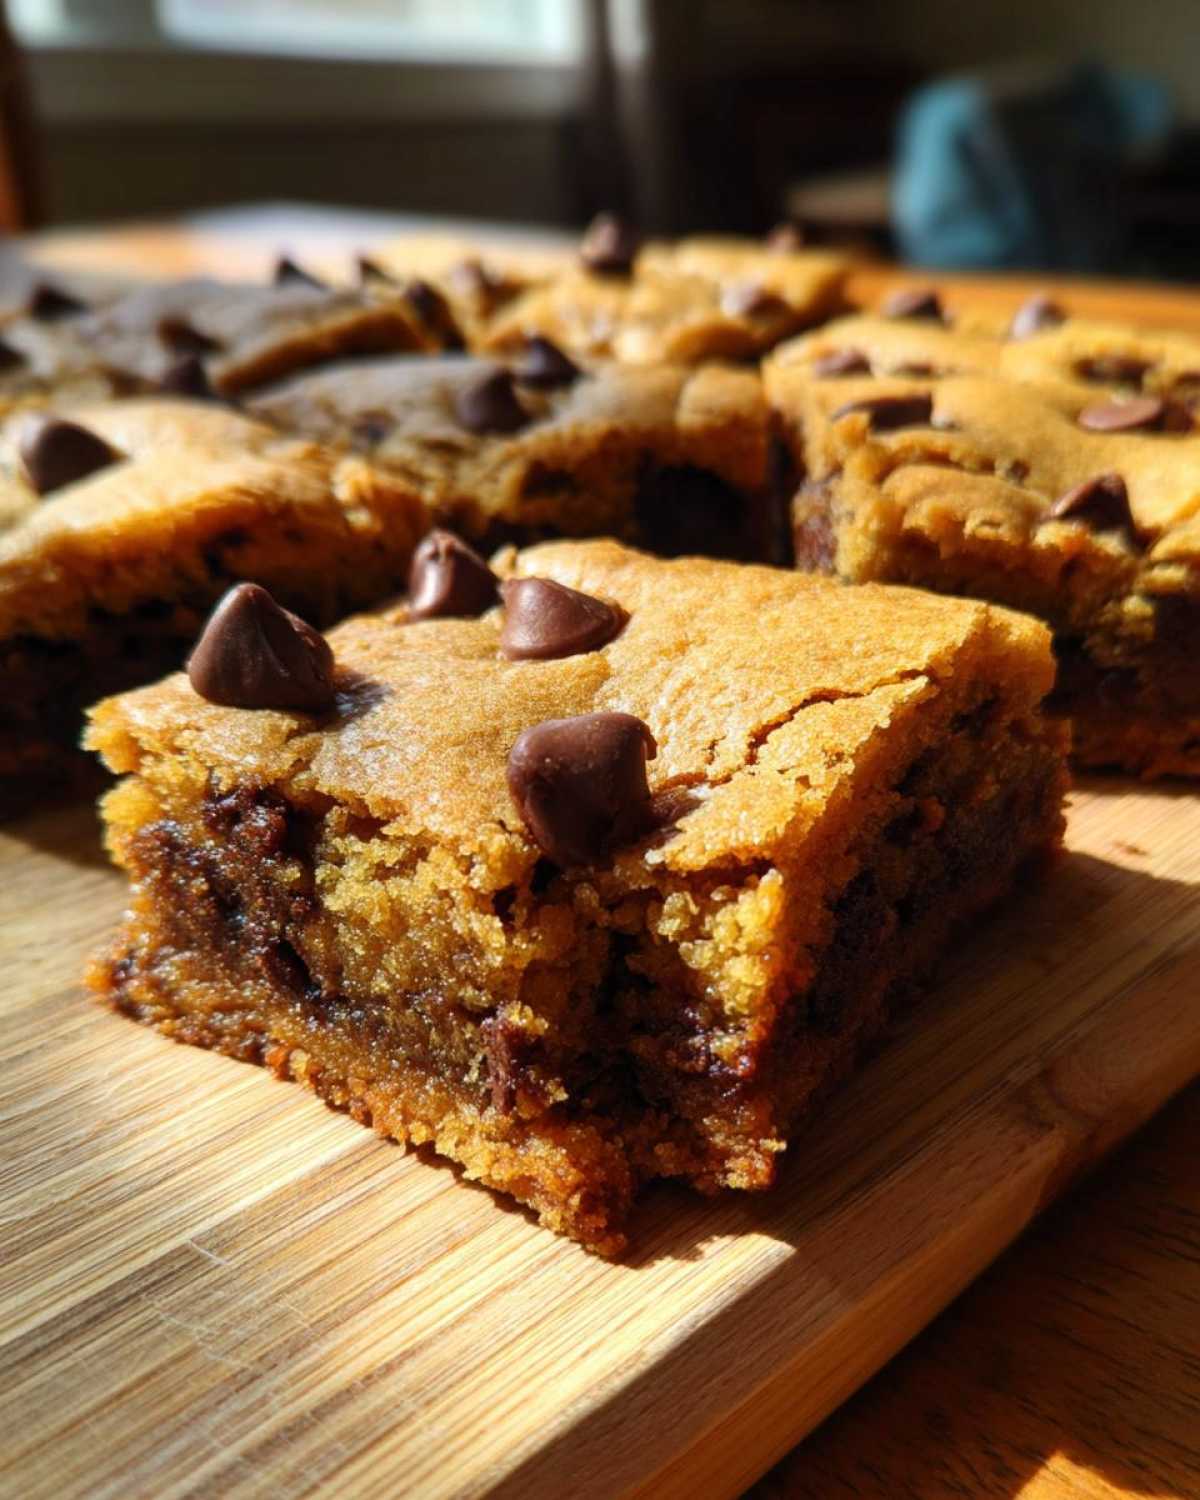
Tips for Perfectly Chewy Pan Cookies Success
Now that we have these amazing Thick Bakery Style Cookie Bars batter ready in the pan, the baking is the crucial, nail-biting part! A few tiny tweaks here will ensure you move past ‘just okay’ cookies and land firmly in the realm of unforgettable, melt-in-your-mouth goodness. We aren’t making flat, crispy things; we want those gorgeous, thick, and delightfully gooey bars.
Don’t peek too early, and please resist the urge to take a bite straight out of the oven. Cooling is just as important as baking when we are chasing that chew factor!
Baking Time and Visual Cues for Optimal Chewiness
Slide that pan into your preheated 350°F oven. The total bake time is usually right around 25 to 30 minutes, but you must watch what the edges are doing. We are looking for those edges to look set, maybe slightly golden brown and firm. However, the middle of the pan should still look a tiny bit unset and glossy.
If you wait until the very center looks completely baked through, you’ve gone too far! That soft middle is exactly what will solidify into that amazing, Gooey Center Cookie Bars texture as everything cools down. When the edges are done, pull the pan out! Place it on a wire rack and just leave it alone. You simply cannot cut these while they are warm; they will collapse into a mess.
I know it’s torture, but you must let them cool completely—at least two hours, or even better, chill them for an hour before cutting. This cooling time allows the sugars to redistribute and lock in that dense chewiness we worked so hard to achieve.
Flavor Boosts for Rich Chocolate Chip Squares
These bars are incredible just as written, but if you want to level them up into something worthy of a specialty bakery case, I have two easy suggestions that work beautifully with the melted butter base.
First, let’s talk about browning the butter. If you have an extra five minutes, melt the butter in a saucepan over medium heat and swirl until it foams up and little brown bits form on the bottom, smelling nutty and rich. That’s it! Let it cool just slightly before whisking in your sugars. This simple move turns these into next-level Brown Butter Chocolate Chip Bars. The depth of flavor is unbelievable.
Second, right before the bars go into the oven, grab a shaker of flaky sea salt—not your regular table salt! Sprinkle a very light, even layer over the entire top surface of the dough. Those crystals melt slightly while baking and give the Rich Chocolate Chip Squares that perfect salty counterpoint to the sweet dough and chocolate. It’s totally optional, but it just screams professional baker!
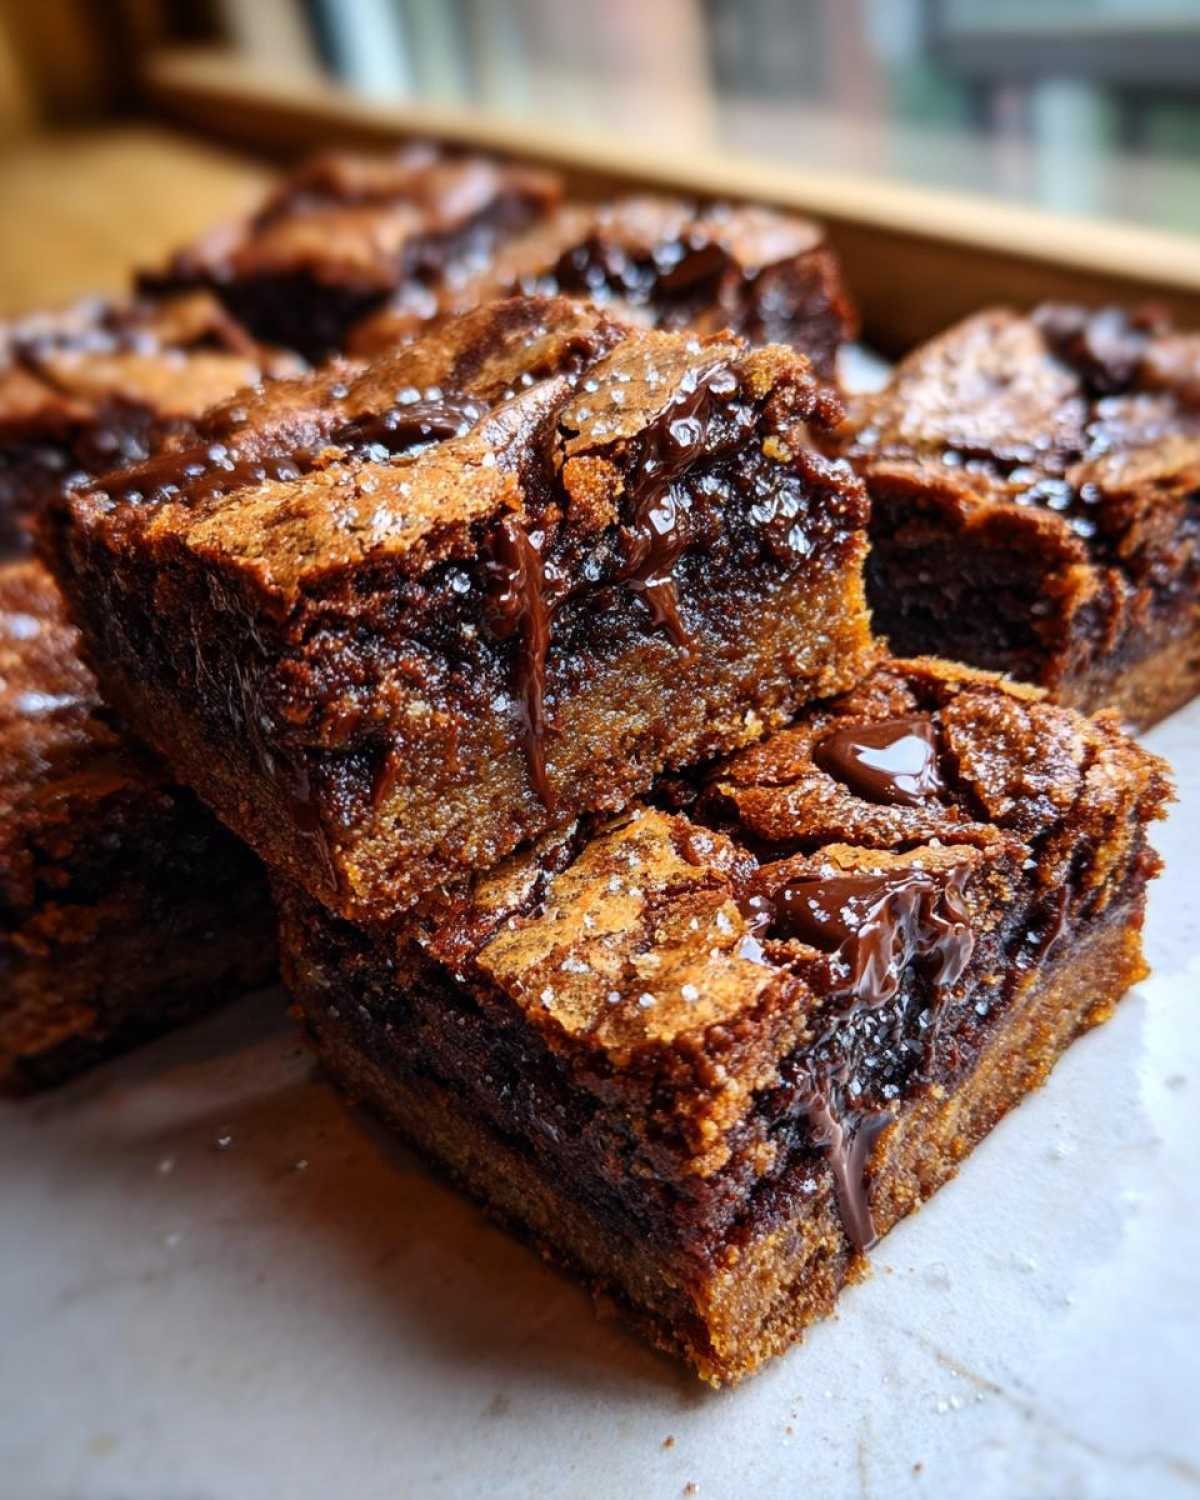
Variations on Your Chewy Chocolate Chip Cookie Bars
Part of the fun of baking from scratch is making the recipe your own! While these Chewy Chocolate Chip Cookie Bars are absolutely perfect as they are, once you nail the texture, you can start having fun with mix-ins. Since the base dough is so robust and chewy, it can handle a little extra bulk without turning cakey, which is fantastic!
Here are a few ways I love to shake things up when I need a break from the classic:
- Double the Chocolate Drama: Swap out half of the semi-sweet chips for milk chocolate chips or even some chopped-up dark chocolate bars. The different melting points create more complicated layers of chocolate goodness in every bite.
- Nutty Crunch Addition: If you want a little texture contrast, fold in about 3/4 cup of toasted, chopped pecans or walnuts along with the chocolate chips. Make sure they are toasted first, or they can taste a bit flat! For a great nutty flavor profile, check out my thoughts on Butter Pecan Cookies for inspiration.
- Peanut Butter Swirl: This makes them wonderfully fudgy! Before dropping the dough into the pan, warm up about 1/2 cup of creamy peanut butter so it’s easily drizzled. Dollop spoonfuls over the cookie dough in the pan and then use a knife or skewer to gently swirl it through the top layer. Don’t mix too much, or you’ll lose that beautiful marbling effect.
- Chunky Candy Bars: Smash up a few of your favorite candy bars—think Snickers or Heath bars—and fold them in at the very end. They bake up beautifully and add caramel or nougat pockets throughout the pan of bars. Just remember, candy bars add extra sweetness, so maybe skip the extra sea salt if you do this one!
Remember, the key to keeping these variations successful is still respecting the base recipe: melted butter and *do not overbake*. Have fun experimenting!
Storage and Reheating Instructions for Chewy Chocolate Chip Cookie Bars
The best part about these Chewy Chocolate Chip Cookie Bars is that they are even better the next day! Because of the high brown sugar content and that lovely melted butter, they stay incredibly moist if you store them correctly. No one wants a stale bar, especially when you’ve worked hard for that perfect chew!
You don’t need to refrigerate these at all, which is great news for counter space. I always say, if you can keep bread fresh on the counter, you can keep these bars fresh too. Place your cooled, cut squares into a truly airtight container. I prefer a nice glass container with a tight-clamping lid, but a heavy-duty zip-top bag works in a pinch.
Keep them stored on your counter at room temperature, and they should stay perfectly soft and chewy for a solid 4 to 5 days. Honestly, I’ve never seen them last longer than that, but they disappear fast in my house! If you somehow manage to have leftovers longer than that, or if your kitchen is super hot and humid, then the fridge is an option, but be warned: cold will temporarily firm up the texture.
Now, if your bars have been chilling in the fridge or they’ve just been sitting for a couple of days and feel a little firmer than you remember? Don’t worry! We can fix that instantly and make them taste like they just came out of the oven. This only takes seconds.
For the best reheat, take just a single bar—no more—and pop it in the microwave. You only need about 8 to 12 seconds on medium power. That little bit of warmth softens the sugars and fats just enough to bring back that wonderful, slightly gooey texture we were aiming for. It melts the chocolate chips just slightly, and trust me, eating that slightly warm, soft bar is pure heaven. Just be careful not to overheat it, or you’ll end up with a slightly hard edge!
Frequently Asked Questions About Chewy Chocolate Chip Cookie Bars
I totally get it; sometimes baking throws us a curveball, and we need a quick answer to save our dessert! Since the primary goal here is achieving those amazing, dense Chewy Chocolate Chip Cookie Bars, most questions revolve around texture and size. Here are the ones I hear most often from folks trying to get that perfect pull!
Can I use softened butter instead of melted butter in this Chewy Chocolate Chip Cookie Bars Recipe?
Oh, you absolutely *can*, but I have to give you a little heads-up if you do. If you use softened butter, you’ll be mixing air into the fats and sugars instead of using the heavy, dense liquid fat that melted butter provides. This means you are essentially making a traditional cookie dough, and what you end up with won’t be the chewy bar we want!
Softened butter leads to a lighter, cakier texture with more spread. It will be delicious, sure, maybe a Homemade Brownie Alternative, but it won’t give you the dense, fudgy chew that this specific Simple One Pan Cookie Dessert is famous for. Stick to melted butter for that guaranteed chewiness!
What happens if my Chewy Chocolate Chip Cookie Bars are too hard?
Hardness usually boils down to one of two things, and sadly, both kill that glorious chew factor we aimed for with the Melted Butter Chewy Bars! First, check if they were overbaked. If you left them in the oven until the center looked totally firm, the moisture baked right out. Second, did you mix the flour in too long? Overmixing develops gluten, making the bars tough instead of tender like perfect Thick and Chewy Cookie Bars.
If they are already baked and hard, don’t panic! As I mentioned earlier, you can revitalize them slightly by zapping them for 10 seconds in the microwave. If they came out hard from the oven, next time, check them 5 minutes earlier. Remember: the center should still look slightly underdone when you pull them out!
Is it okay to use a smaller pan size?
You can totally switch pans, but you have to adjust your time and expectations! If you use a smaller pan, like an 8×8 inch square, you’re making the dough much thicker. This means your baking time will increase significantly, probably by 10 to 15 minutes. You risk burning the edges before the middle gets warm enough to set right, so keep a close eye on it.
If you use a larger pan, like a half-sheet pan, your bars will be super thin and bake much faster—maybe only 18 minutes! For the best-Thick and Chewy Cookie Bars result, stick to that 9×13 inch measurement. That’s where the ingredient ratios really sing!
Estimated Nutritional Data for Chewy Chocolate Chip Cookie Bars
Okay, now for the data! I always feel a little guilty looking at the numbers after making these amazing Chewy Chocolate Chip Cookie Bars, but knowledge is power, right? You still have to enjoy them, though; they are worth every single delightful bite!
Please remember that these figures are just estimates based on the ingredients listed above using standard brand averages for the sugar, flour, and chocolate chips. If you swap in dark chocolate or add nuts, the numbers will definitely shift, so take these as a good guideline for the classic version of these Rich Chocolate Chip Squares.
This data is calculated per one standard serving (or one square cut from the 9×13 pan):
- Serving Size: 1 bar
- Calories: 280
- Total Fat: 15g
- Saturated Fat: 9g
- Total Carbohydrates: 35g
- Total Sugar: 22g
- Protein: 4g
- Sodium: 150mg
See? Not too bad for something this unbelievably good! The balance of carbs and fat comes from that fantastic melted butter mixture we worked so hard on to ensure we got those Thick and Chewy Cookie Bars instead of something dry. Enjoy responsibly, my friends!
Share Your Perfectly Chewy Chocolate Chip Cookie Bars
I’ve given you my absolute best secrets for achieving those glorious, super chewy, thick cookie bars, and now it’s your turn! Baking should be a conversation, not a monologue, so I really want to hear how these turned out for you.
Did you go for the sea salt finish? Did you manage to resist cutting them until they were completely cool (I rarely do!)? Please take a moment to leave a star rating down below. A rating helps other bakers know that this is really the Chocolate Chip Cookie Bar Recipe that delivers every single time.
If you had any questions while mixing or baking, or if you tried one of the variations and want to shout about how amazing it was, drop a comment! I love seeing your results and answering any last-minute troubleshooting tips you might need. Happy baking, friend!
PrintChewy Chocolate Chip Cookie Bars
A straightforward recipe for thick, chewy chocolate chip cookie bars using melted butter for the best texture.
- Prep Time: 15 min
- Cook Time: 30 min
- Total Time: 45 min
- Yield: 16 servings
- Category: Dessert
- Method: Baking
- Cuisine: American
- Diet: Vegetarian
Ingredients
- 1 cup (2 sticks) unsalted butter, melted
- 1 cup packed light brown sugar
- 1/2 cup granulated white sugar
- 2 large eggs
- 1 tablespoon vanilla extract
- 2 1/4 cups all-purpose flour
- 1 teaspoon baking soda
- 1/2 teaspoon salt
- 1 1/2 cups semi-sweet chocolate chips
Instructions
- Preheat your oven to 350 degrees Fahrenheit. Line a 9×13 inch baking pan with parchment paper, leaving an overhang on the sides for easy removal.
- In a large bowl, whisk the melted butter, brown sugar, and white sugar together until fully combined. The mixture will look slightly grainy.
- Beat in the eggs one at a time, mixing well after each addition. Stir in the vanilla extract.
- In a separate medium bowl, whisk together the flour, baking soda, and salt.
- Gradually add the dry ingredients to the wet ingredients, mixing on low speed or by hand until just combined. Do not overmix.
- Fold in the chocolate chips.
- Press the dough evenly into the prepared baking pan.
- Bake for 25 to 30 minutes. The edges should look set, and the center should still look slightly soft.
- Let the bars cool completely in the pan on a wire rack before lifting them out using the parchment paper overhang.
- Cut into squares once cool.
Notes
- Using melted butter over softened butter helps create a denser, chewier texture in bars.
- For extra flavor, you can brown the butter before melting it completely.
- Sprinkle flaky sea salt over the top of the dough before baking for a bakery-style finish.
Nutrition
- Serving Size: 1 bar
- Calories: 280
- Sugar: 22
- Sodium: 150
- Fat: 15
- Saturated Fat: 9
- Unsaturated Fat: 6
- Trans Fat: 0
- Carbohydrates: 35
- Fiber: 1
- Protein: 4
- Cholesterol: 45