

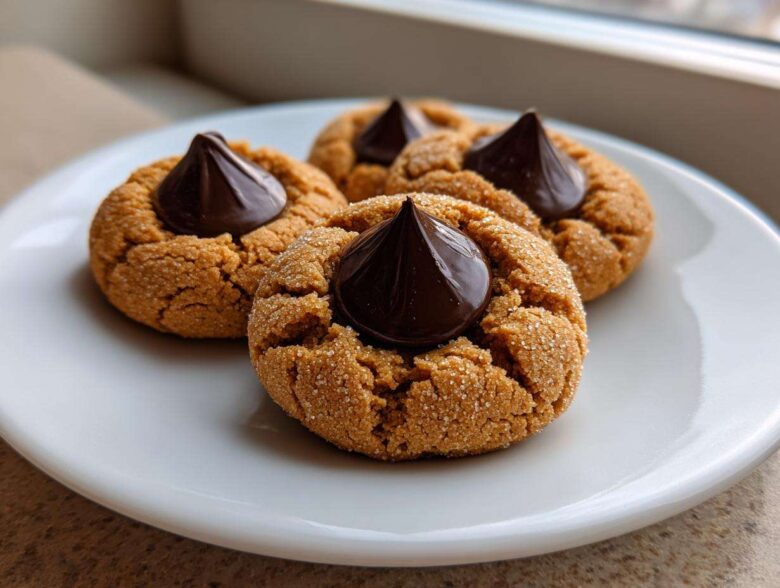
Forget the complicated baking performances we used to put on for guests. Marco and I learned the hard way that the real joy of the kitchen is in the simple, deeply satisfying treats you make just for yourselves. And nothing screams heartwarming, uncomplicated joy quite like a classic Kiss Cookies tray. These aren’t fussy; they are pure, nostalgic delight ready in about 30 minutes! Today, we’re diving into my go-to Peanut Butter Blossoms recipe, the absolute king of festive cookie ideas. I promise, mastering this simple beauty will make you an Eatable Empress in your own right, proving you deserve the best, easiest treats—check out our story on why we changed our kitchen philosophy.
Why This Classic Kiss Cookies Recipe Reigns Supreme
Honestly, these aren’t just cookies; they’re tiny, edible showstoppers that require almost no effort. That’s how you know they are truly regal. Other holiday cookie recipes can be so demanding, but these Peanut Butter Blossoms are fast, forgiving, and look incredible on any plate. If you’re looking for the best Kiss Cookie recipe, this is it—it’s the one Marco always asks for first! You can see why we featured this recipe on our spotlight page.
Achieving the Perfect Soft and Chewy Cookies Texture
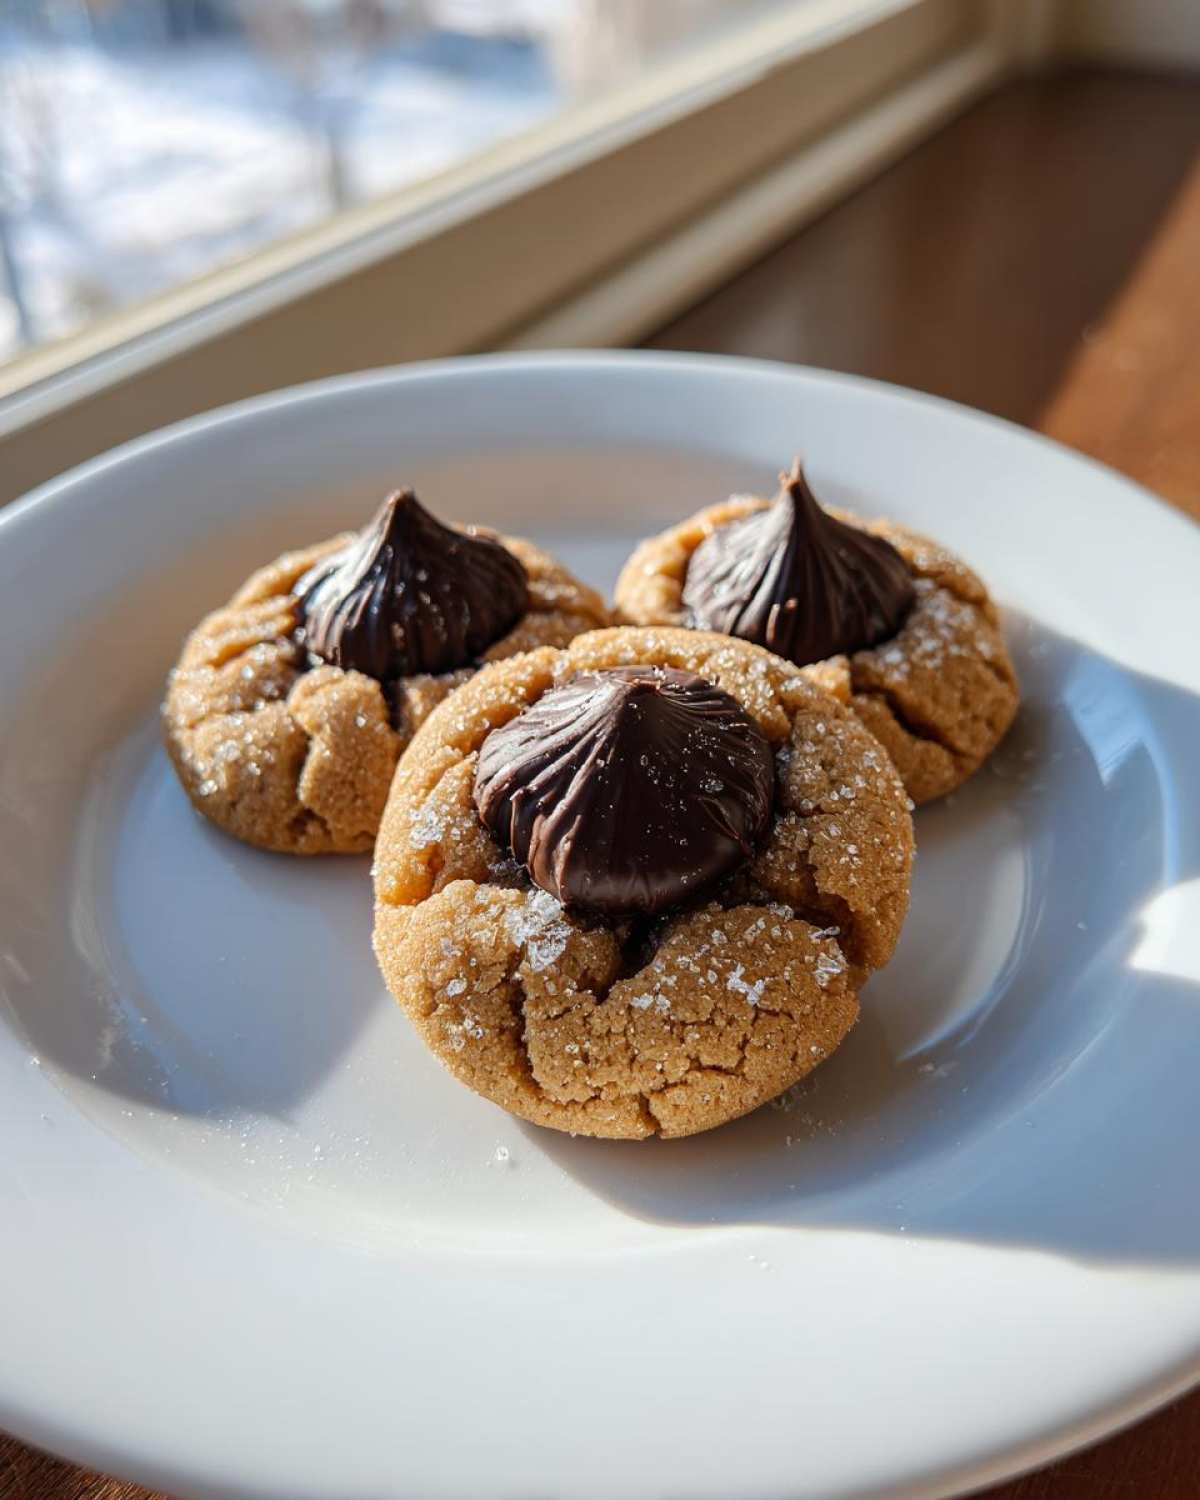
We nail the texture because of the sugar balance. We use both granulated and light brown sugar, and that brown sugar is key! It keeps moisture locked in, ensuring you get those wonderfully soft and chewy cookies you dream about. And please, don’t overmix once you add the flour. We want to keep things tender!
The Magic of Baking with Hershey Kisses
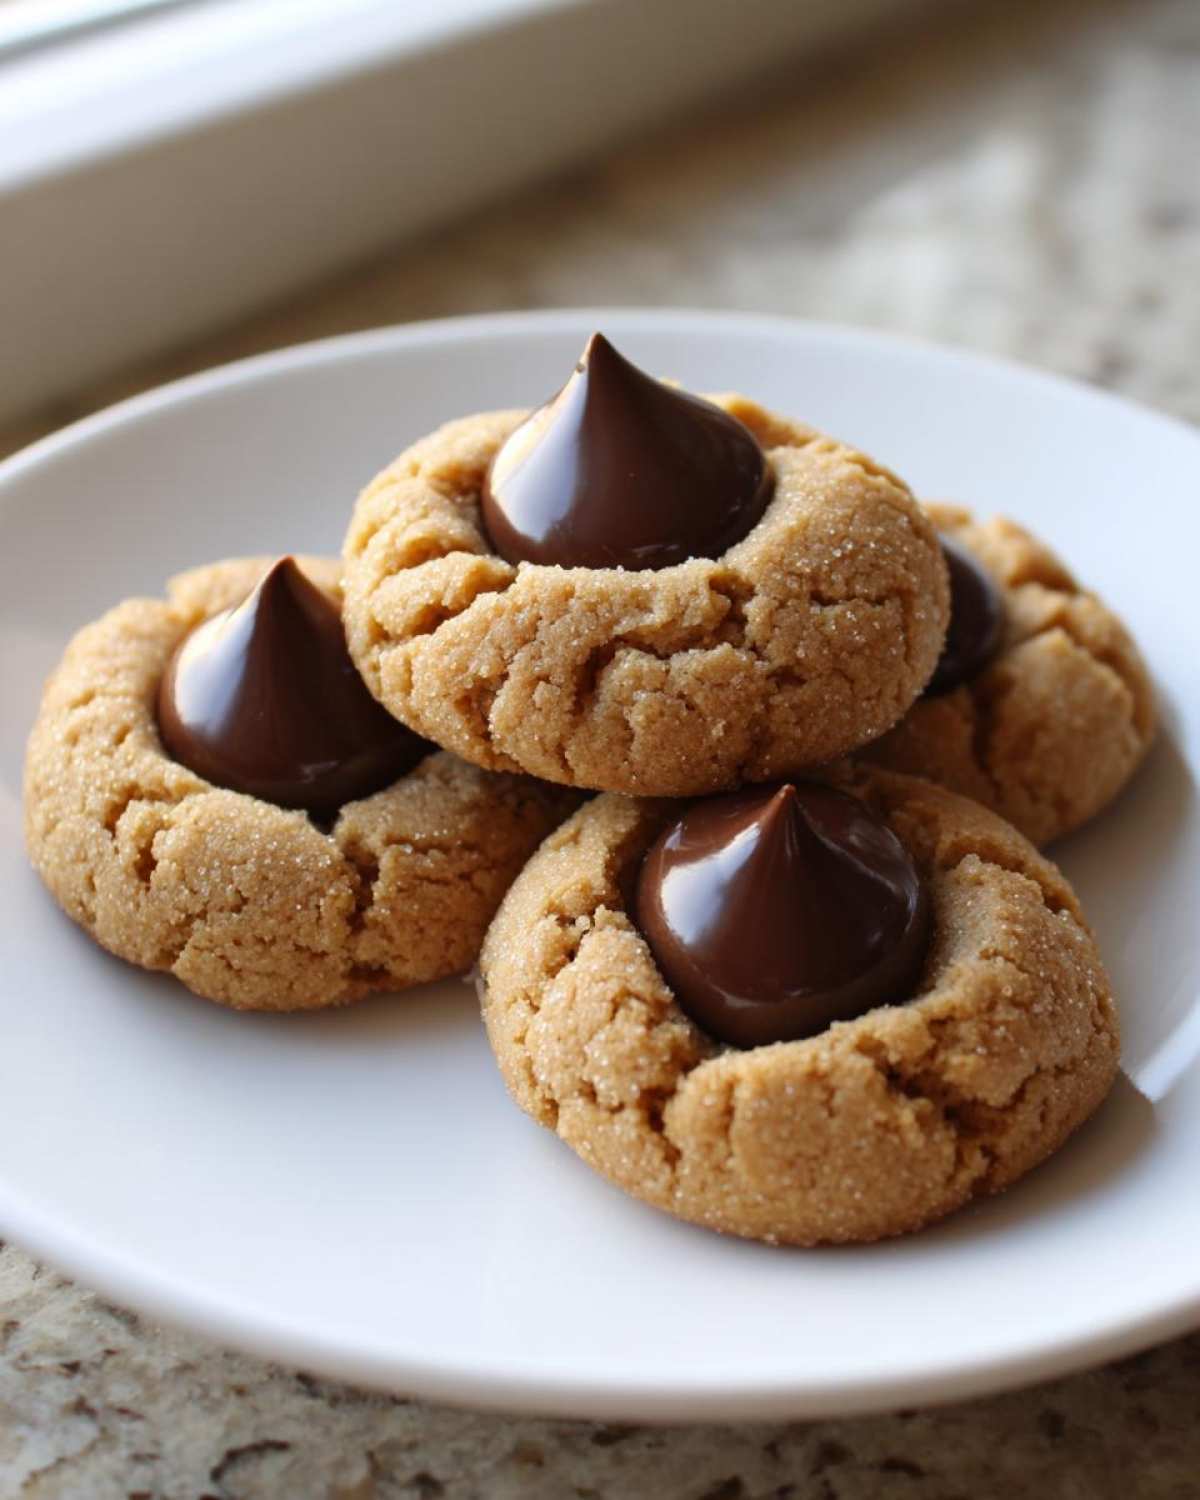
The whole charm comes from that iconic, perfect chocolate crater. That little dollop of chocolate turns a good cookie into an instant favorite. My absolute must-do technique for perfect Hersheys Kiss Cookies? Always freeze your Kisses for at least 30 minutes beforehand. Trust me, this simple trick stops them from melting into puddles when they hit that hot dough. You want that perfect little divot, not a sunken mess!
Gathering Your Ingredients for Perfect Kiss Cookies
Okay, deep breath time! Before we get into the magic of mixing, we need to make sure our royal court of ingredients is assembled. For this Kiss Cookies Recipe, precision is everything, especially since we are relying on the right ratios for that perfect chewy texture. If you’re treating yourself like royalty, you need to use the right tools and ingredients, right? I always lay everything out before I even turn on the oven, just so I don’t panic mid-mix. You can find some of my favorite prep tools over at my coffee cake essentials guide, though the cookie prep is simpler!
Essential Components for Your Kiss Cookies Recipe
We need to make sure we have everything ready to go here. Remember, we are making about 28 cookies, so plan accordingly! Having room temperature items is surprisingly important for proper creaming, so take your butter and egg out ahead of time—Marco usually forgets, but I try to plan ahead!
- One and a half cups of all-purpose flour.
- Three-quarters of a teaspoon of baking soda and half a teaspoon of salt to balance things out.
- Three-quarters of a cup of creamy peanut butter—I really prefer JIF for that classic taste, but use what you love.
- Half a cup of unsalted butter, and this is crucial, it needs to be very soft. Like, almost spreadable soft, but not melted!
- A third of a cup of granulated sugar just for the dough itself, plus an extra half cup reserved for coating later.
- One-third of a cup of light brown sugar, and you must pack it down firmly into the cup.
- One large egg, and it should be at room temperature.
- Two teaspoons of good vanilla extract.
- And the star of the show: 28 Hershey’s Kiss candies that have been unwrapped and, this is vital, frozen solid.
Step-by-Step Instructions for Homemade Candy Kiss Cookies
Alright, let’s get these beauties into the oven! This whole process moves quickly once you have your ingredients ready, which is why having everything measured out beforehand is such a lifesaver. We want to keep that baking time short so we can get to the best part: pressing in that chocolate! If you want more tips on quick baking methods, check out my guide on zesty meltaway cookies; the timing principles are similar.
Preparing the Dough Base
First thing, let’s crank that oven up to 375°F (190°C) and line those sheets—you don’t want any sticking! In your big bowl, you have to cream that super soft butter, peanut butter, the third cup of granulated sugar, and the brown sugar until it’s dreamy and light. Now, mix in your room-temperature egg and vanilla. When you bring in the dry stuff—the flour, baking soda, and salt—go slow! Mix on low just until they disappear. Seriously, stop mixing right there. Overmixing is the enemy of soft cookies, and we are holding out for soft and chewy cookies here!
Shaping and Coating Your Kiss Cookies
Take that shallow dish with the remaining half cup of sugar we set aside earlier. Use a small spoon or your hands to roll the dough into nice, even 1-inch balls—consistency helps them bake evenly, which is important. Next, you need to give those dough balls a good, thorough roll in the sugar. I mean it, coat them totally! That sugar coating is what gives our Peanut Butter Blossoms that classic, crackled, sparkly finish when they bake. Space them about 2 inches apart on your parchment-lined sheets.
Baking and Applying the Hershey Kiss
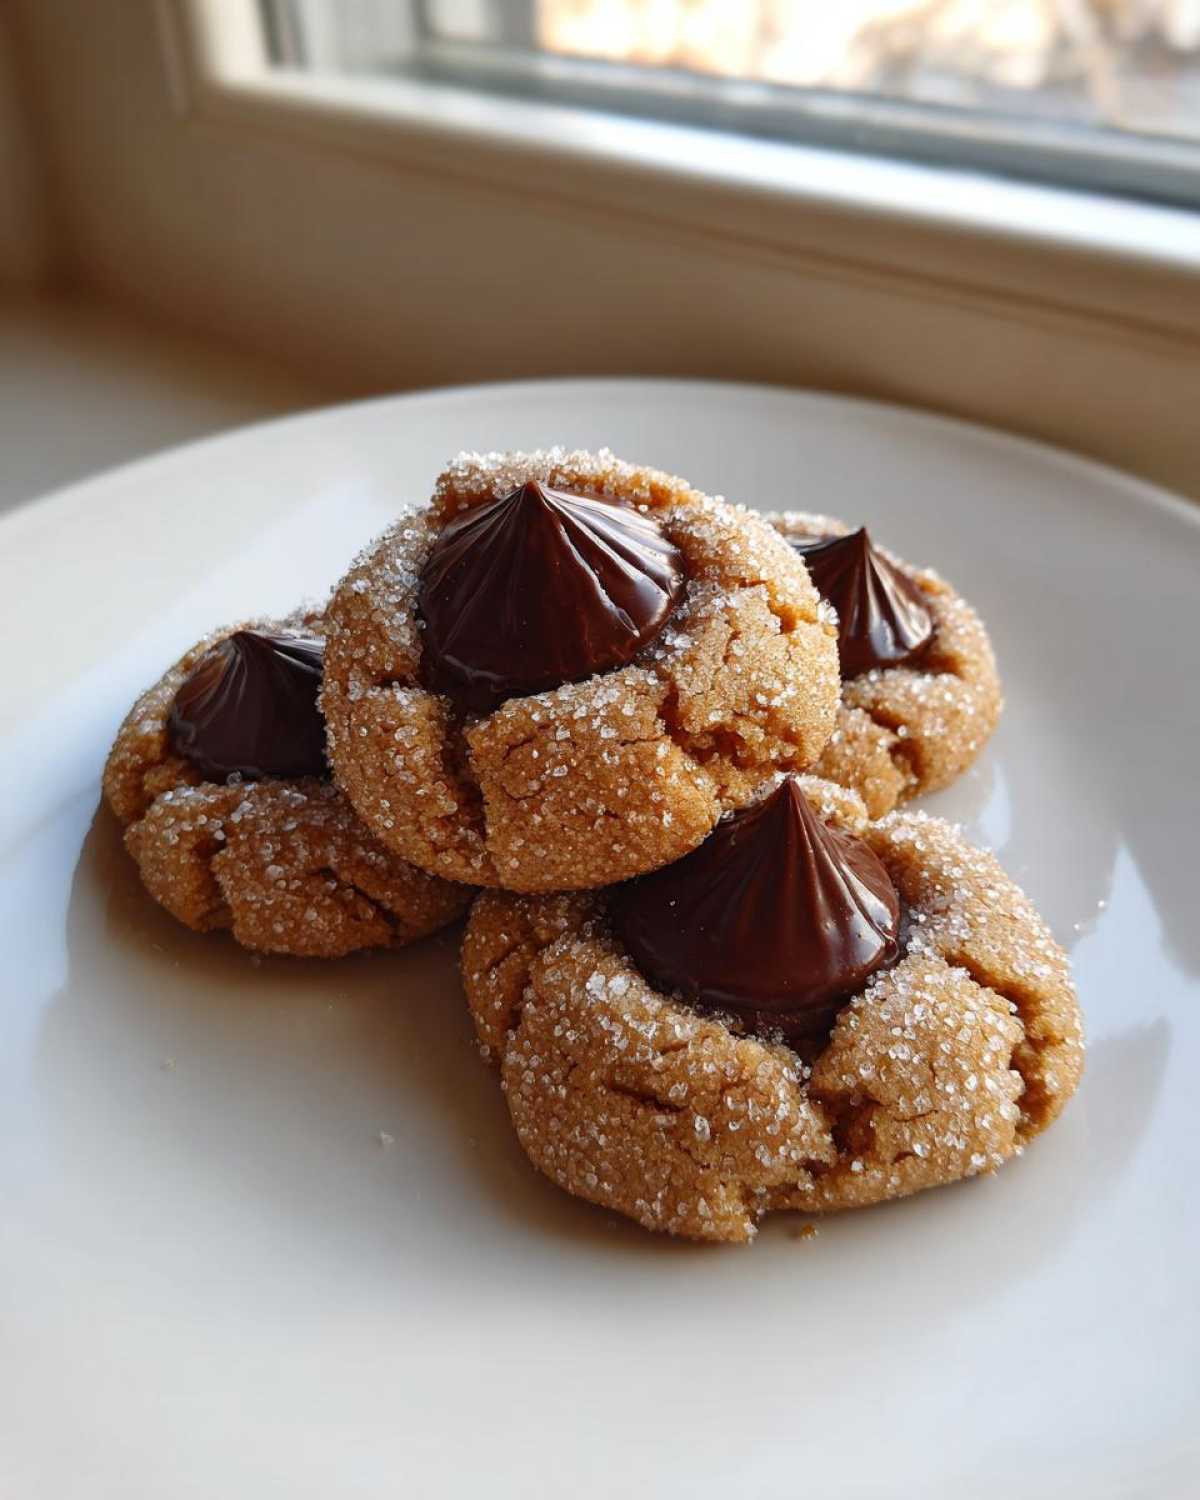
Bake these cuties for just 8 to 10 minutes. Watch the edges more than the middle; you want them set but the center still looking just a touch soft. The residual heat does the rest of the work! The second the pan comes out of the oven, grab those frozen, unwrapped Kisses and gently press one right into the center of each warm cookie. Don’t push too hard! Let them sit on that hot sheet for about 5 minutes to firm up before you dare transfer them to a wire rack to finish cooling. That cooling time sets the Kiss perfectly!
Tips for Success with Your Peanut Butter Blossoms
Making Hersheys Kiss Cookies is easy, but making *perfect* ones takes a little intuition, trust me. Marco learned this the hard way when he rushed the vanilla extract addition last month! My best piece of advice centers on the butter and egg temperature. If your butter isn’t wonderfully soft, your dough won’t cream properly, and you lose that lovely lift. You can read more about ingredient temperature tips over on my Butter Pecan Cookie guide.
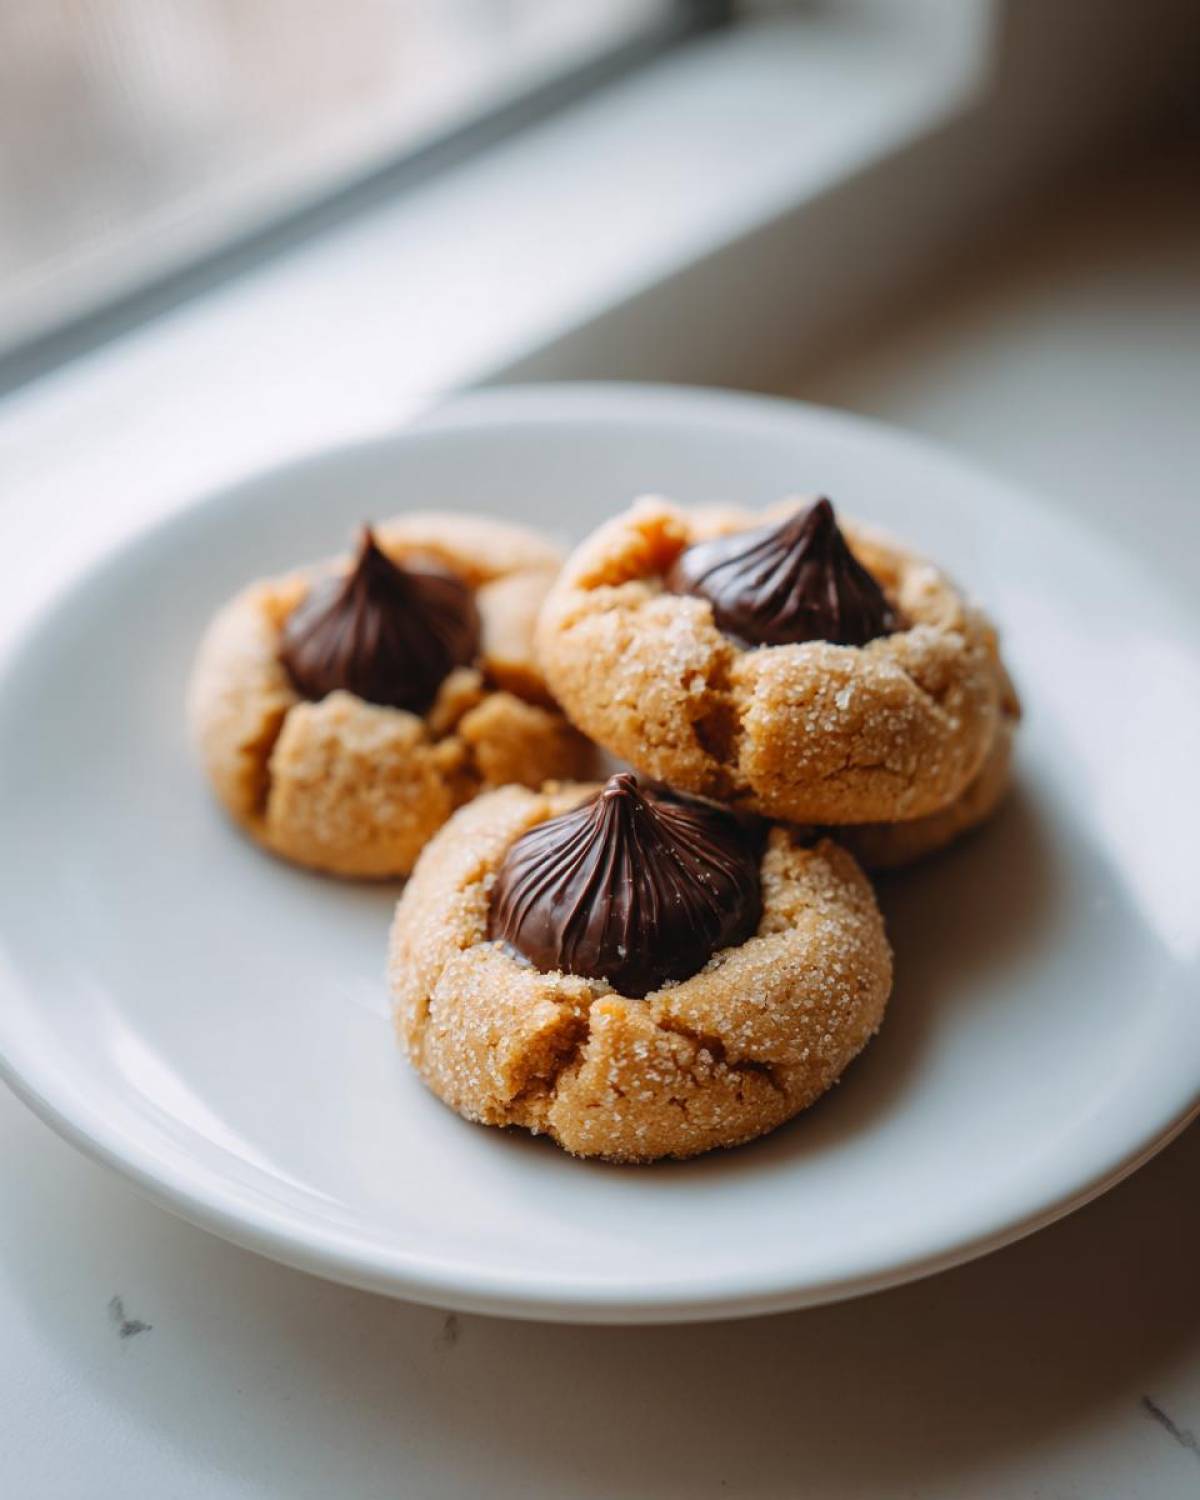
Also, please stick closely to the 8 to 10-minute baking window. These classic holiday treats should still look slightly doughy in the middle when they leave the oven. That slight under-baking is exactly what allows the residual heat to finish the job while preventing your beautiful Kisses from turning into chocolate soup when you press them in. Patience for exactly five minutes on the hot tray after baking is crucial!
Variations on Classic Kiss Cookies
While the peanut butter version owns my heart—and Marco’s—the beauty of the Kiss Cookies Recipe is its versatility! It’s so easy to pivot this base to suit whatever holiday or craving strikes. We aren’t just sticking to peanut butter here at the Empress court; we love experimenting with flavor profiles, especially when special occasion Kisses show up in stores. For more inspiration on exciting flavor shifts, take a peek at our maple brown sugar favorites; the same simple layering applies!
Making Chocolate Kiss Drop Cookies
If you are craving something richer, you can absolutely morph this into Chocolate Kiss Drop Cookies. The simplest way to do this is to take your standard dough base—but instead of the peanut butter, you incorporate unsweetened cocoa powder right in with your dry ingredients. You need to be careful with the liquids when you do this, as cocoa powder can dry things out a little. You might need an extra splash of milk just to keep the dough pliable enough to roll, but boom—instant chocolate blossom!
Festive Kiss Cookies for Holidays
This is where we really lean into the fun for Christmas or Valentine’s Day. Don’t limit yourself to standard milk chocolate Kisses! We’ve seen wonderful versions of Red Velvet Blossoms using the red velvet cookie base, and then pressing a dark chocolate Kiss in the center for that stunning contrast. Around Christmas, you can find those delightful Candy Cane Kisses, which pair perfectly with a simple shortbread dough base that already has some peppermint extract in it. Or, if you love warm flavors, try adding ground ginger and cinnamon to the dough to mimic Gingerbread Kiss Cookies for a super festive feel!
Storage and Reheating Instructions for Your Kiss Cookies
The best part about these Hersheys Kiss Cookies is that they taste just as regal the next day! Marco and I usually try to save a few, but we aren’t always successful because they disappear so fast. Storing them properly is important, though, especially to protect that delicate chocolate crown.
The number one rule for keeping these fresh is to let them cool completely, and I mean *completely*, before you even think about putting them away. If you try to store them while they are even slightly warm, you’ll end up with melted chocolate smears everywhere and a sad, mushy cookie—we don’t do mushy in this court!
Once they are cool, I prefer an airtight container. Just layer them between sheets of parchment paper or wax paper. You don’t need to worry about putting them in the fridge unless your kitchen is incredibly hot or humid, which can sometimes make the chocolate top start to feel sticky. If you refrigerate them, just let them sit on the counter for about 15 minutes before serving; the cookie itself gets much better when brought back to room temperature.
Can you freeze them? Yep! Wrap that airtight container tightly in plastic wrap, and they will last beautifully for up to three months. When you want to enjoy one, just pull out what you need and let it thaw on the counter for an hour or so. It’s like time travel back to when you first baked them! For help making a post-baking treat that lasts even longer, you can check out my recipe for easy homemade chocolate mousse.
Frequently Asked Questions About Kiss Cookies
I know you probably have a few lingering questions before you dive in to bake these beauties! That’s the sign of a smart baker! We want to make sure your first batch of Kiss Cookies turns out like a dream, not a disaster. We’ve covered all the tricky spots below, especially around technique, so you can guarantee that classic, perfect look. If you want more general baking wisdom from our court, feel free to check out my guide on making fluffy scones!
Can I substitute the peanut butter in this Kiss Cookies Recipe?
Oh, that’s the million-dollar question! For this specific Kiss Cookies Recipe, I really, truly advise against it if you want the classic texture. Peanut butter is a sturdy fat, and it plays a huge role in keeping the dough strong enough to hold that sugar coating and the eventual weight of the chocolate. If you go for a softer nut butter, you risk the cookie spreading way too much, and then the Kiss sinks right into the dough. If you have an allergy and need a swap, you’ll need to find a dedicated recipe for Butter Cookies with Hershey Kisses or Sugar Cookies with Kisses instead, as you’d have to completely rebalance the fats and sugars.
How do I prevent the Hershey Kiss from melting completely?
This is the number one beginner mistake, but we are masters here! Remember what I said earlier? You have to freeze those Kisses! Pop them in the freezer for at least half an hour, maybe even longer if your kitchen is warm. Then, the timing is everything when they come out of the oven. You only bake the cookie for 8 to 10 minutes, and the second that tray hits the counter, you press that frozen Kiss firmly into the center. The cookie is hot, the Kiss is ice-cold, and they meet in sweet harmony!
Are these considered Thumbprint Cookies with Kisses?
That’s a great way to think about them, and honestly, in a pinch, you could call them that! People often confuse the two because both involve making an impression in the center. Traditional Thumbprint Cookies with Kisses sometimes use a shortbread base, and you use your thumb to make the indentation *before* baking, filling it with jam or, in this case, a Kiss. Our Peanut Butter Blossoms are slightly different because we roll them in sugar first, and we only create the impression *after* baking, using the soft, warm dough as the mold for the cool chocolate. So, while very similar in spirit, Blossoms are technically a drop cookie format rather than a traditional pressed thumbprint.
Estimated Nutritional Data for These Kiss Cookies
I believe in transparency in the kitchen, even when it comes to the numbers! Once Marco gets excited, he tends to forget we’re not just eating air and happiness, so having an idea of what’s in these glorious Homemade Candy Kiss Cookies is important for keeping balance in our royal household. Here are the estimated facts based on the ingredients in this recipe, which yields about 28 cookies.
Just a quick note from me, Sofia: these numbers are based on the specific ingredients listed—like using creamy peanut butter and standard sugar amounts. If you start substituting, these values will change, so keep that in mind! For more details on how we manage our sensitive data on the site, you can always review our privacy policy.
- Serving Size: 1 cookie
- Calories: 160
- Sugar: 12g (Yes, we deserve it!)
- Sodium: 85mg
- Fat: 9g
- Saturated Fat: 4g
- Carbohydrates: 18g
- Protein: 4g
See? Totally reasonable for a glorious, festive treat! Enjoying these classic holiday treats shouldn’t come with guilt, only joy. That’s the Empress way!
Share Your Royal Kiss Cookies Creations
Baking should always be a celebration, and I truly hope getting to know this Kiss Cookies Recipe has made you feel ready to treat yourself like royalty. Now that you have the secrets to making the softest, chewiest Peanut Butter Blossoms, the best part comes next: the sharing!
Marco and I live for seeing your kitchen triumphs. Did the Kisses set perfectly? Did you manage to save any for later? Please tag us in your photos! Telling us how this simple cookie brought a little bit of that royal joy—that moment of savoring a beautiful, unhurried feast—to your Wednesday night is what keeps our fire going here at Eatable Empress.
When you share your results, remember our motto: you deserve the good plates, even on a Tuesday. Drop a comment below and let me know what you thought of this recipe. If you have any lingering questions, or just want to say hello, you can always reach out via our contact page. Happy baking, and long live the simple feast!
PrintClassic Peanut Butter Blossoms (Kiss Cookies)
Make the best soft and chewy Peanut Butter Blossoms, a classic holiday treat topped with a melted Hershey’s Kiss. This recipe is simple and perfect for your cookie tray.
- Prep Time: 20 min
- Cook Time: 10 min
- Total Time: 30 min
- Yield: 28 cookies
- Category: Dessert
- Method: Baking
- Cuisine: American
- Diet: Vegetarian
Ingredients
- 1 ½ cups all-purpose flour
- ¾ teaspoon baking soda
- ½ teaspoon salt
- ¾ cup creamy peanut butter
- ½ cup unsalted butter, very soft
- ⅓ cup granulated sugar (for dough)
- ½ cup granulated sugar (for rolling)
- ⅓ cup light brown sugar, packed
- 1 large egg, room temperature
- 2 teaspoons vanilla extract
- 28 Hershey’s Kiss candies, unwrapped and frozen
Instructions
- Preheat your oven to 375°F (190°C). Line baking sheets with parchment paper.
- In a medium bowl, whisk together the flour, baking soda, and salt. Set aside.
- In a large bowl, cream together the soft butter, peanut butter, ⅓ cup granulated sugar, and brown sugar until smooth.
- Beat in the egg and vanilla extract until just combined.
- Gradually add the dry ingredients to the wet ingredients, mixing on low speed until just combined into a dough. Do not overmix.
- Place the remaining ½ cup of granulated sugar into a shallow dish.
- Roll the cookie dough into 1-inch balls. Roll each ball thoroughly in the granulated sugar to coat completely.
- Place the sugared dough balls about 2 inches apart on the prepared baking sheets.
- Bake for 8 to 10 minutes, or until the edges are lightly set. The centers will look slightly soft.
- Immediately upon removing the cookies from the oven, gently press one frozen, unwrapped Hershey’s Kiss candy into the center of each warm cookie.
- Let the cookies cool on the baking sheet for 5 minutes before transferring them to a wire rack to cool completely. The Kiss will set as the cookie cools.
Notes
- Freezing the Hershey’s Kisses beforehand helps prevent them from melting completely into the cookie dough when pressed in.
- For the softest cookies, do not overbake. The residual heat will finish the baking process after you add the Kiss.
- This recipe makes about 28 cookies, perfect for sharing or keeping a few for yourself.
Nutrition
- Serving Size: 1 cookie
- Calories: 160
- Sugar: 12g
- Sodium: 85mg
- Fat: 9g
- Saturated Fat: 4g
- Unsaturated Fat: 5g
- Trans Fat: 0g
- Carbohydrates: 18g
- Fiber: 1g
- Protein: 4g
- Cholesterol: 15mg