

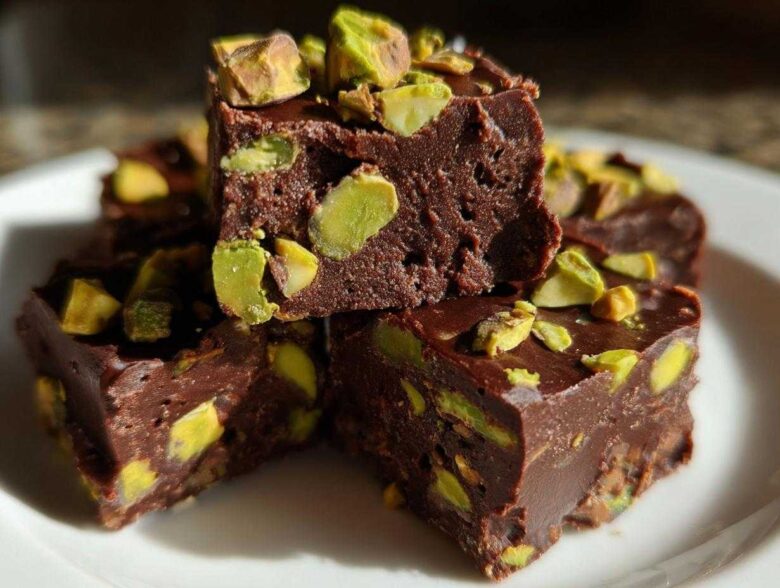
Oh, you know those days, right? You desperately need a truly satisfying, rich dessert, but the thought of turning on the oven when it’s already hot outside—or worse, when you’re just wiped out—makes you want to cry? Me too! That’s why I spent ages perfecting my recipe for the ultimate No-Bake Pistachio Chocolate Fudge Squares. Forget messing around with flour and baking times; these are pure fudgy indulgence made right on the stovetop and then tucked into the fridge.
This condensed milk fudge base took me through at least three failed batches until I hit the perfect ratio of chocolate and sugar to get that dense texture we all crave. Seriously, if you’re looking for easy chocolate pistachio dessert that tastes gourmet but takes maybe 15 minutes of active work, you’ve hit the jackpot.
If you’ve ever tried my chocolate mousse before, you know I love simple yet powerful recipes. These squares deliver on every promise. Don’t forget to check out my tips for making easy 3-ingredient chocolate mousse if you need a quick textural contrast later!
Why Our No-Bake Pistachio Chocolate Fudge Squares Are Your New Favorite Treat
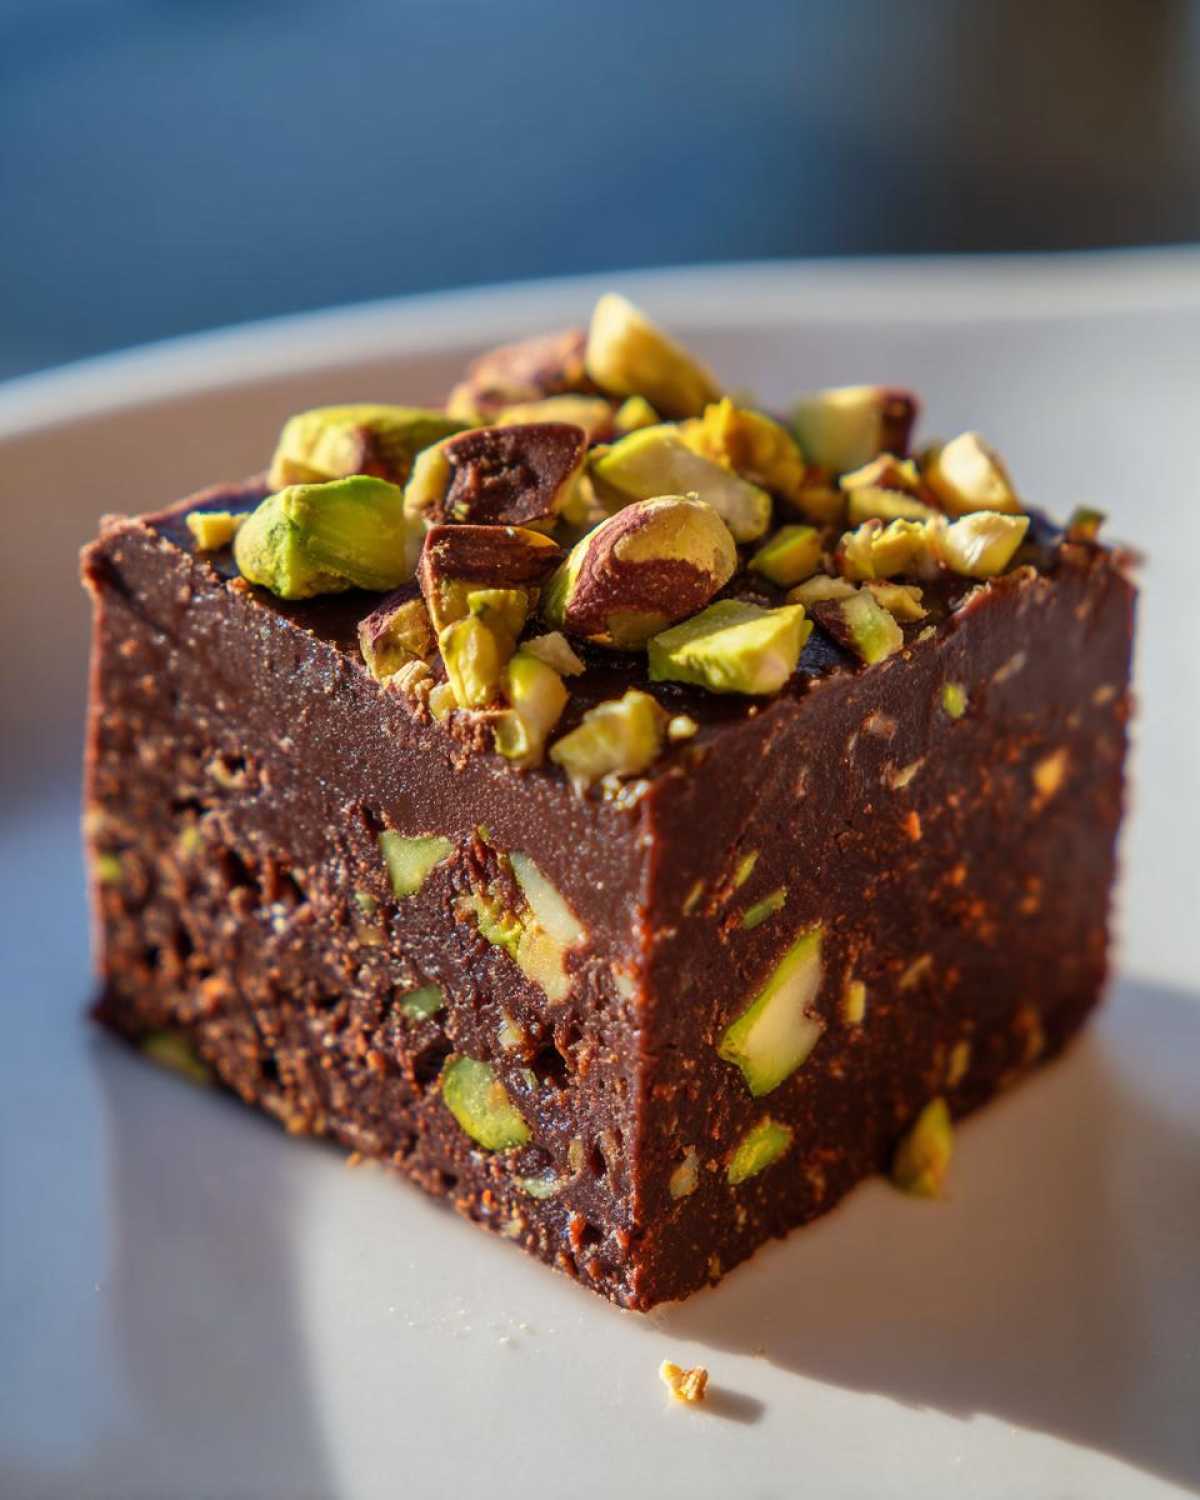
Honestly, finding a dessert that satisfies that deep, chocolatey craving without adding extra heat to the kitchen is a total win. These No-Bake Pistachio Chocolate Fudge Squares are not just easy; they are robust, satisfyingly dense, and look absolutely gorgeous, especially with that pop of green from the pistachios. They’re perfect for when unexpected guests drop by!
I’ve put these out at holiday gatherings and casual weeknight dessert cravings, and they disappear every single time. Think about how great it is to have a huge batch ready to go tomorrow. You can learn more about my favorites for planning ahead here: make ahead dessert bars.
Speed and Simplicity: The No-Bake Advantage
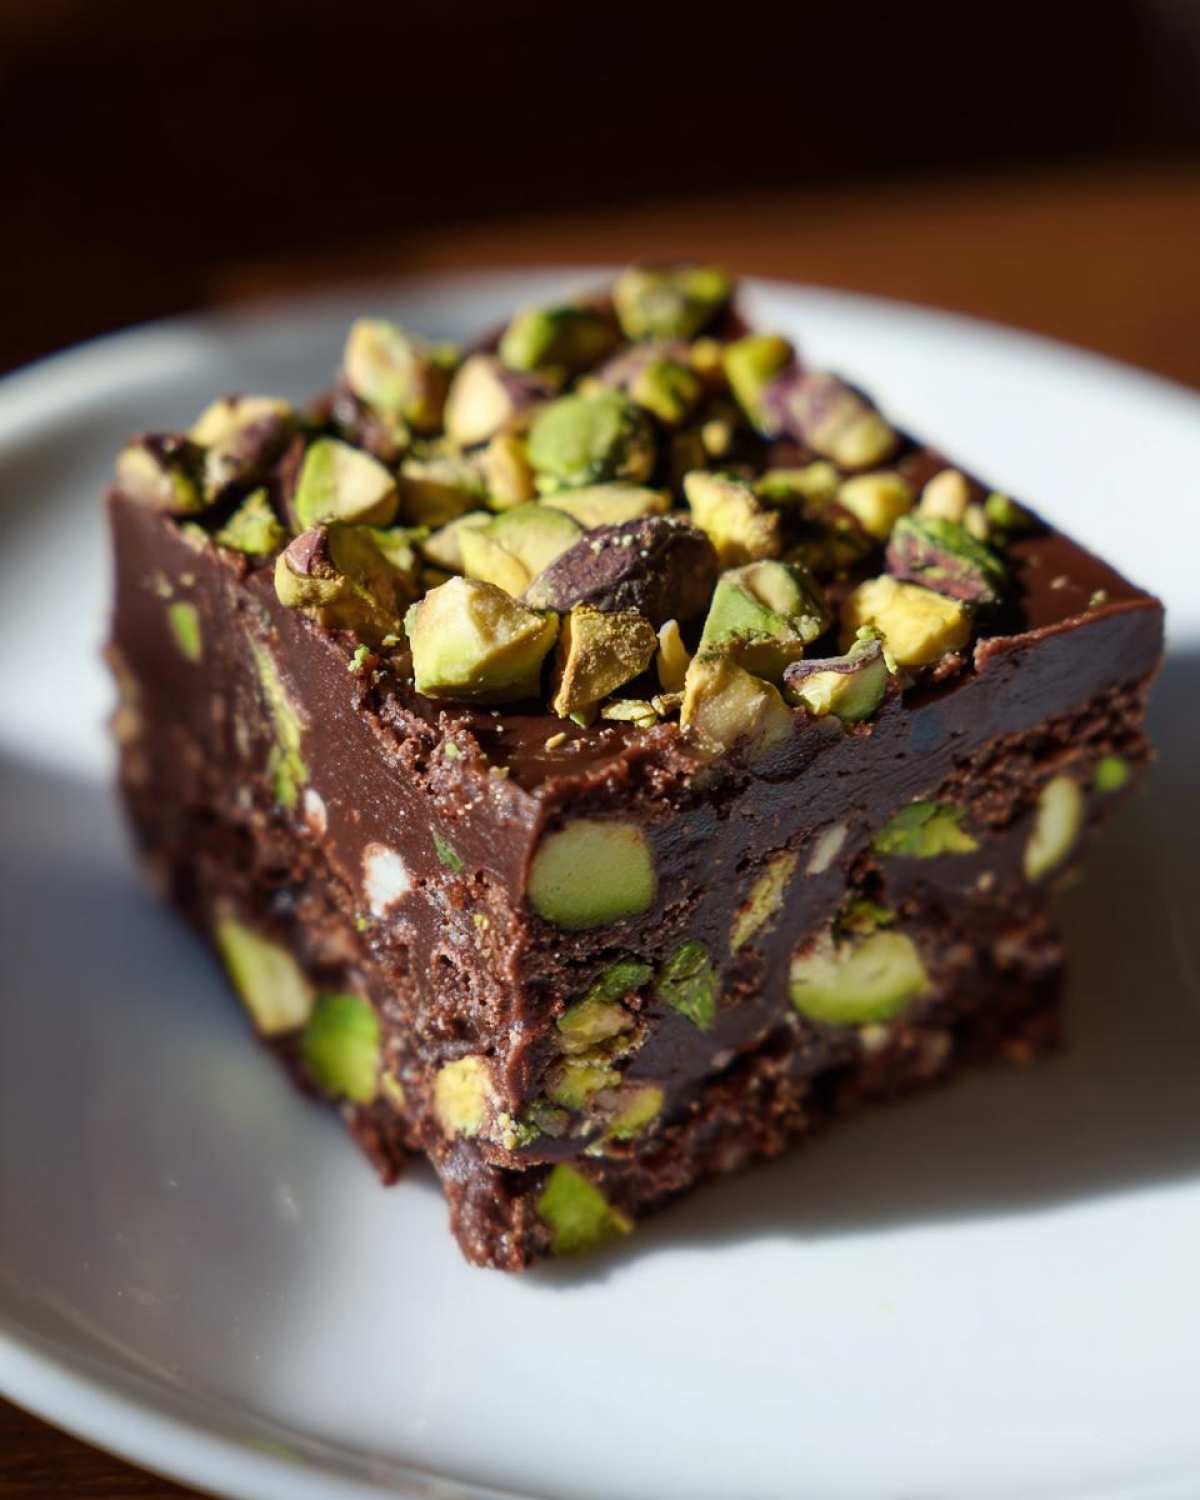
You really can’t beat the speed here. We’re talking about 15 minutes of active work—that’s it! Since we skip the oven entirely, cleanup is minimal, too. You just melt, stir, press, chill, and you’re done. It’s the perfect solution when you need a quick party dessert that still feels indulgent.
Achieving the Perfect Fudgy Texture Dessert Recipe
This is where we shine compared to regular brownies! We aren’t looking for cakey; we want that thick, dense, melt-in-your-mouth experience. Because we use sweetened condensed milk and butter instead of eggs and flour for structure, you naturally get that incredibly rich, perfect fudgy texture dessert recipe. They hold their shape beautifully when cut, which is half the fun!
Essential Ingredients for Rich No Bake Fudge Bars
Okay, for these rich no bake fudge bars, the beauty is that the ingredient list is surprisingly short, but every single item matters! Since we’re not relying on baking powder or eggs to do the heavy lifting, the quality and preparation of what we *do* use become vital. You’re going to need sweetened condensed milk—that’s the powerhouse that gives us that creamy structure, far better than evaporated milk, trust me. I talked all about how essential milk products are in my condensed milk cake post, and it’s the same principle here.
You’ll also rely heavily on good quality cocoa powder and butter. Please, sift those powders! It’s a small step that saves you from little dry chocolate lumps sitting in your otherwise perfect fudge. And those pistachios? They need to be nice and rough so you get that texture surprise in every bite. Here’s what you need!
- 1 (14 ounce) can sweetened condensed milk – This is our binder and sweetener!
- 1 cup (2 sticks) unsalted butter – Don’t skimp here; this adds the luxurious mouthfeel.
- 1 teaspoon vanilla extract – Don’t leave this out; it makes the chocolate taste deeper.
- 1/2 cup unsweetened cocoa powder, sifted – Sifting prevents cracking later!
- 3 cups powdered sugar, sifted – Must be sifted carefully!
- 1 cup shelled pistachios, roughly chopped – Reserve a small handful for the top!
- 1/2 cup semi-sweet chocolate chips (for topping) – The final layer of decadence.
Ingredient Notes and Substitution Tips
Listen, if you swap out the sweetened condensed milk for anything else, you’re not making this recipe anymore—you’re making something else entirely! That milk provides the sugars and the right liquid content to set up firm without an oven. If you want to adjust the nut, I’d say go for it, but stick to other high-fat nuts like pecans or walnuts. Almonds can get a little grainy here.
For the chocolate top, I usually use semi-sweet because it balances the extreme sweetness of the fudge base underneath. If you use milk chocolate chips up top, you might find the whole thing too sweet overall, so tread lightly! And one more thing: make sure those pistachios are raw or lightly toasted, not heavily salted, so you can control the final salt level yourself.
Step-by-Step Guide to Making No-Bake Pistachio Chocolate Fudge Squares
Alright, this is the exciting part! Turning those simple ingredients into something that tastes like it took hours of complicated baking. Because these are such fantastic no oven dessert ideas, the technique is all about gentle heating and patient mixing. We aren’t trying to whip air in here; we’re creating a smooth, homogenous fudge that will set up perfectly firm later. I always put on some good music before I start this section because I know that within 20 minutes, I’ll have a dessert chilling!
The recipe instructions look straightforward, but I have a few little secrets I’ve learned over the years to avoid sticky messes or crumbly tops. Grab your saucepan and let’s get these incredible quick fudge squares recipe bars started on the right foot. You can see the full details here, but trust me, focusing on temperature control during the melting phase is key.
Preparing Your Pan and Melting the Base Ingredients
First things first: the pan prep! Do not skip the parchment paper overhang on two sides (like handles). When these squares are chilled, they get super firm, and trying to pry them out of a square pan without handles is just asking for a huge mess on your counter. Lightly grease that paper too, just for good measure!
Next, when you melt that butter on medium-low heat, watch it closely. You just want it fully liquid, not sizzling or browned. Once it’s melted, pull the pan completely off the heat before you add the condensed milk and vanilla. Heat activates the sugars in the condensed milk too fast, and we want a slow, controlled melt for the smoothest base possible.
Creating the Creamy No Bake Chocolate Squares Mixture
This is where you might feel like you’re making thick pudding, but keep going! After the base liquids are combined, you add the cocoa powder. Now, here’s the big L-word: Lumps! If you didn’t sift that cocoa, you’ll be whisking forever. Whisk until you think it’s smooth, and then whisk for thirty more seconds. Smoothness here guarantees that creamy quality in the final product.
Then comes the powdered sugar—and this is the part that takes effort. Add it slowly, mixing thoroughly after each addition. It’s going to get really stiff, almost like dough. Don’t be scared if your arm starts to tire a little! We need all that sugar incorporated. This is what builds that signature dense, creamy no bake chocolate squares density!
Incorporating Pistachios and Setting the No-Bake Pistachio Chocolate Fudge Squares
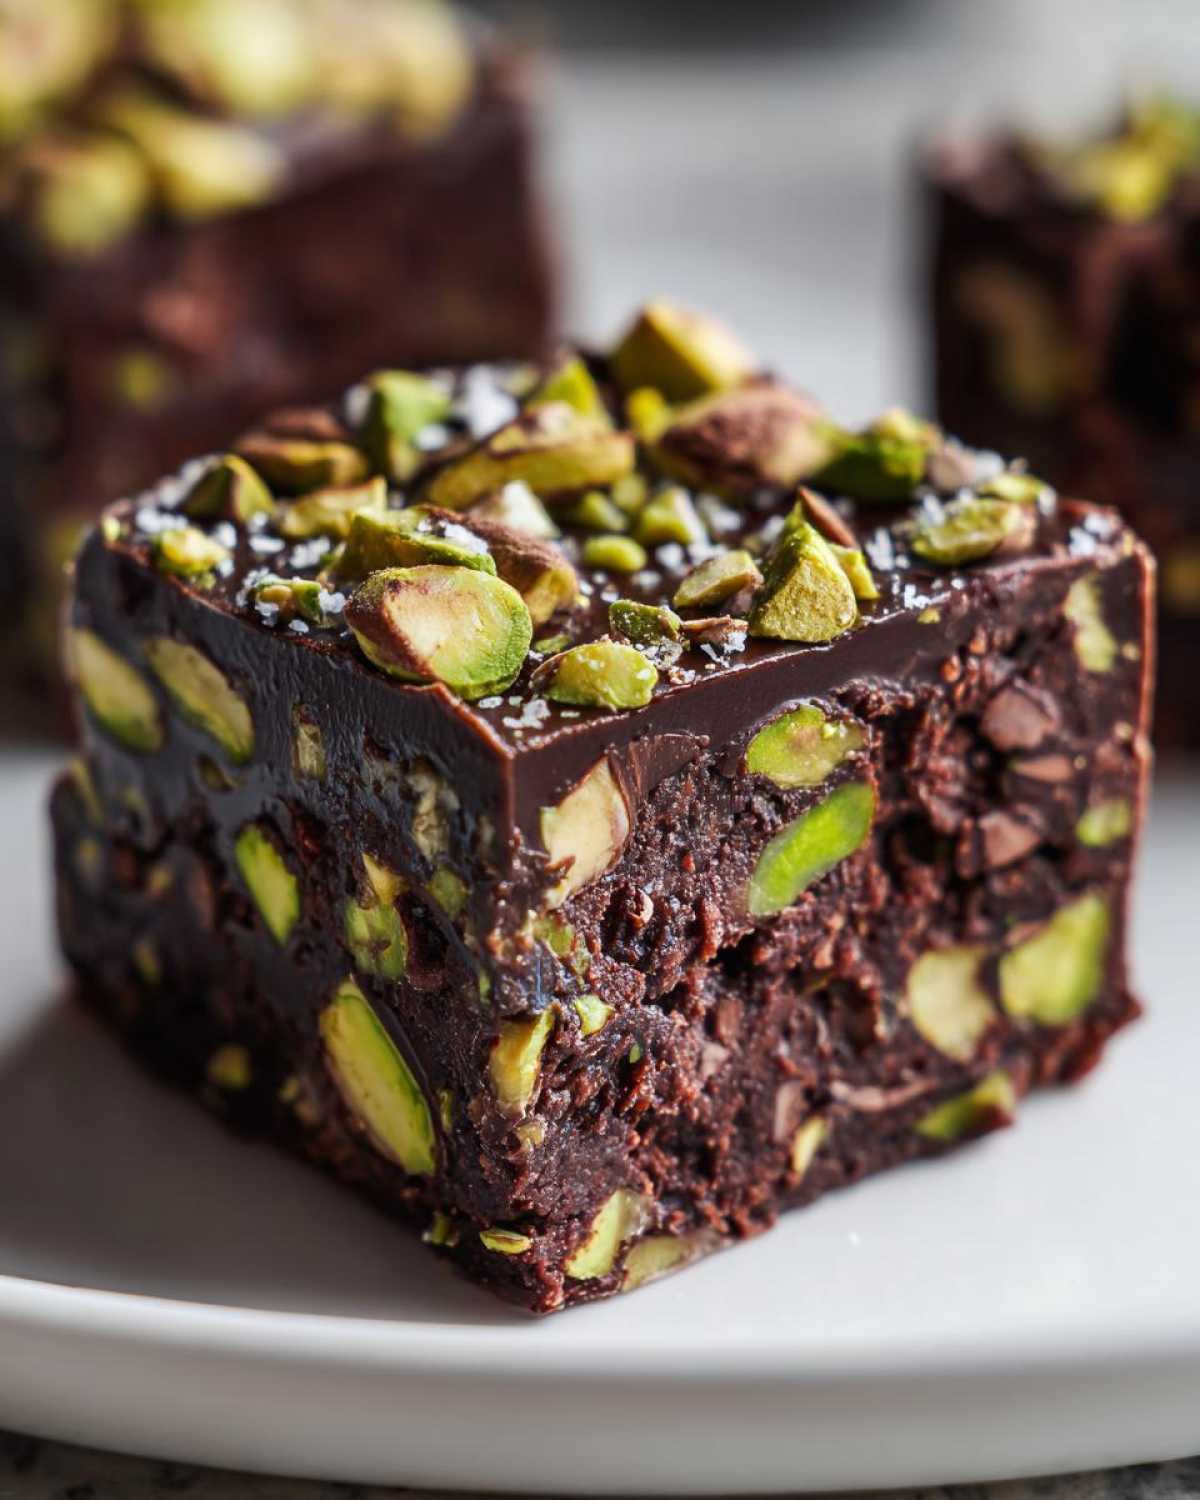
Once the sugar is fully incorporated, gently fold in those chopped pistachios. Remember, scoop them in and gently turn the fudge over itself. We don’t want to beat the mixture again; we just want the nuts distributed evenly. I always reserve a small pinch of the best-looking ones for the very top garnish later!
Press that mixture *firmly* into your prepared pan. Use the back of a spatula or a small glass to really compact it down. This ensures you get those beautifully dense squares and not ones that crumble when you try to pick them up. Melt your top chocolate layer, spread it thin, sprinkle those reserved nuts, and then treat it like gold in the fridge for at least three hours. Seriously, don’t rush the chilling!
Tips for Perfect Cutting and Serving Your Fudge Squares
Okay, now that the hard part is done—the fudgy mixing—we face the final boss: getting a clean, beautiful square! If you try to cut this when it’s anything less than rock solid, you’re going to end up with messy, sad-looking blobs instead of those sharp, gorgeous No-Bake Pistachio Chocolate Fudge Squares we worked so hard for.
My trick, which I learned the hard way after ruining an entire batch meant for a party, involves a little bit of physics and a very sharp knife. Don’t worry about slicing through that pretty chocolate layer; it’s totally achievable if you listen to my advice!
First and foremost: patience! Make sure those squares chill for the full three hours, or even four if your kitchen is warm. You need that cold structure. Because we have that top chocolate layer, these function a bit like easy layered dessert bars, so we need to treat that top layer gently when slicing.
Here are my absolute must-do steps for serving:
- The Warm Knife Technique: This is non-negotiable for clean cuts through fudge. Fill a tall glass with very hot water. Dip your sharpest knife into the hot water for about ten seconds. Wipe the knife completely dry with a clean towel, and then make one clean slice. Dip, wipe, slice. It melts the chilled chocolate just enough to glide through without cracking or dragging the fudge underneath.
- Score First: Before you do the serious cutting, take a ruler and lightly score the top surface with a butter knife, lightly pressing the lines where you want your 16 squares to be. This gives you a visual guide so your full cuts line up perfectly.
- Use the Overhang: Remember that parchment paper we left hanging out of the pan? Use those flaps like handles to lift the entire block of fudge onto a clean cutting board. It’s so much easier to stabilize the whole slab on a flat surface than trying to wiggle the knife down in the pan!
Once you cut them, let the squares sit on the cutting board for about five minutes before transferring them to your serving platter. This lets the surface temperature equalize slightly, ensuring they don’t stick to the board or each other.
Storage and Make Ahead Dessert Bars Instructions
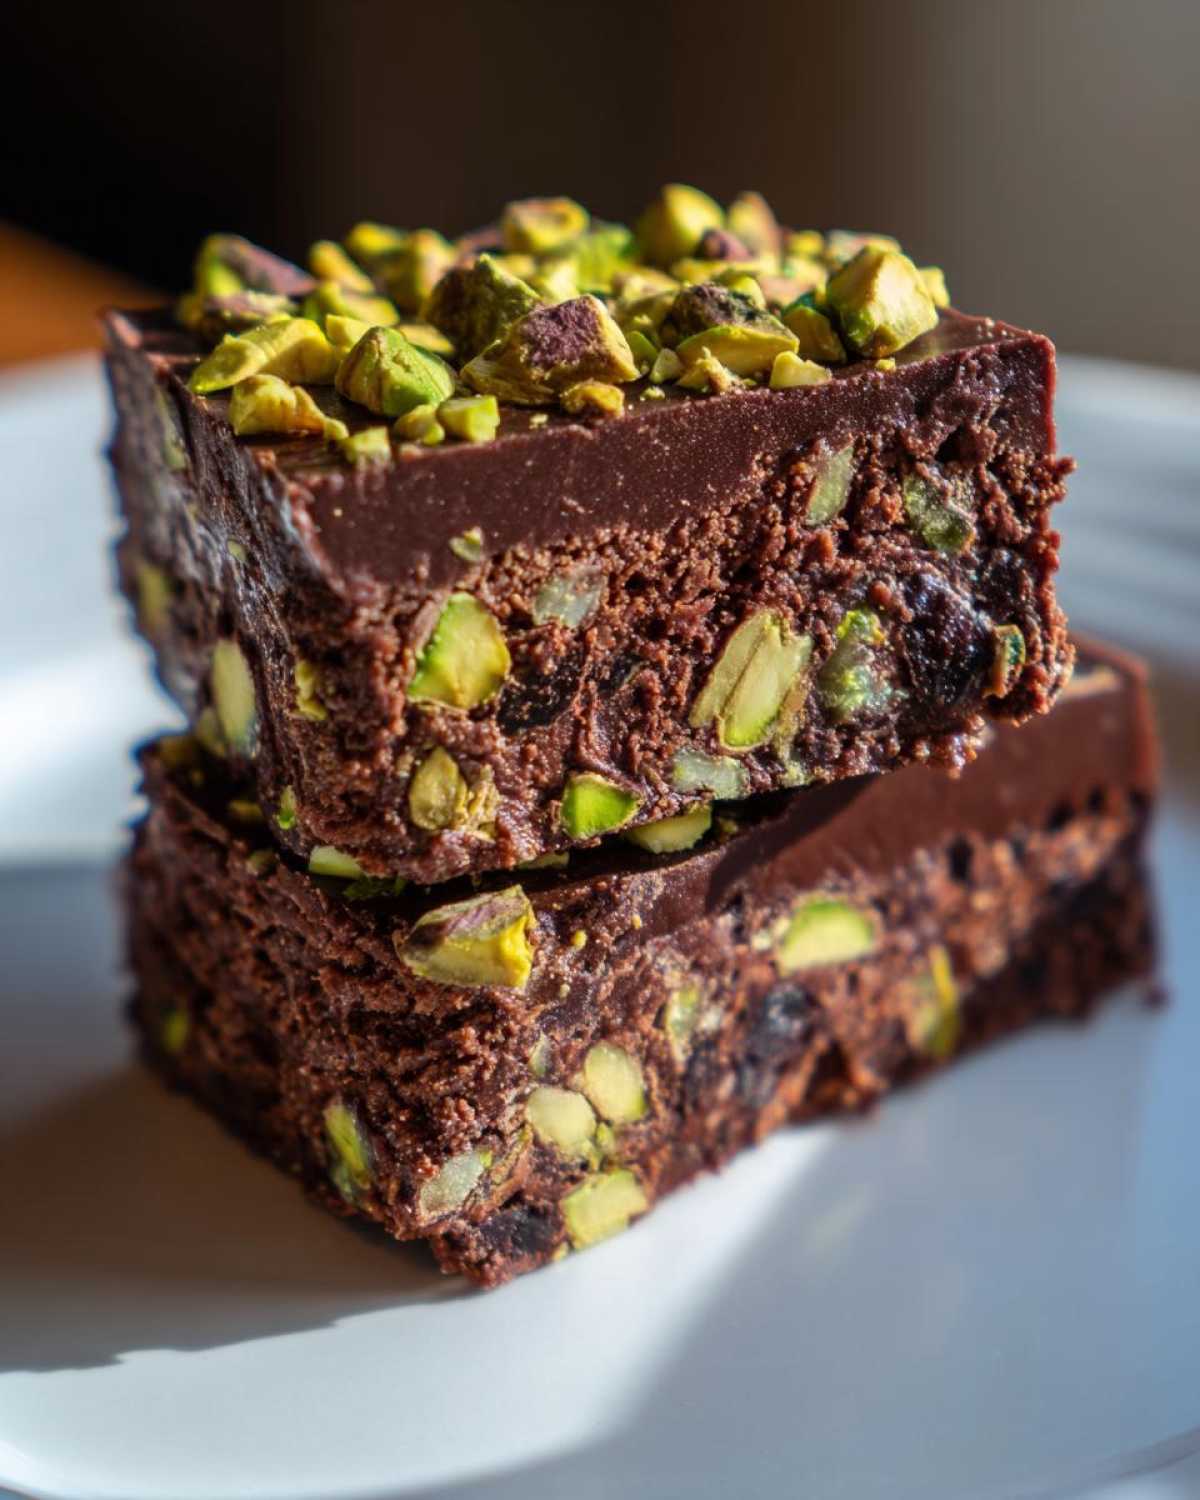
This is the reason I adore this recipe so much! These No-Bake Pistachio Chocolate Fudge Squares are the definition of a dream make ahead dessert bars. They actually taste better the day after you make them, which is rare for a no-bake treat! The flavors—that deep chocolate, the sweetness of the caramel-like base, and the crunchy nuts—all have time to marry together perfectly overnight.
You’ve already done the hard part, so knowing how to preserve that magical texture means you always have dessert ready, whether it’s for a last-minute craving or a big family gathering next week. They are incredibly stable due to the butter and condensed milk content, which acts like a natural preservative. You can rely on these!
When you’re storing them, airtight is key—you don’t want them soaking up any weird fridge smells! I always separate the layers of squares with wax paper or parchment slices. This is important not just for preventing sticking but also because if they are cut slightly imperfectly, the layers won’t meld back together overnight. If you plan ahead, check out more tips here: make ahead dessert bars.
Key Storage Guidelines for Fudge Longevity
For the best experience, keep them chilled. They firm up perfectly in the refrigerator and stay that way for up to a week. Just pull one or two squares out about 15 minutes before you plan to serve them. This lets them chill down just enough so they aren’t rock hard, but they still maintain a perfect bite.
- Refrigerator Life: Up to 7 days in a fully sealed, airtight container.
- Tip for Cutting: If you need to store them *before* cutting (because maybe you like giant slabs!), wrap the entire chilled block tightly in plastic wrap first, then foil, and then chill. You can then slice them using the warm knife trick noted earlier.
Freezing Your Make Ahead Dessert Bars
Yes, you absolutely can freeze these! They freeze like a dream, which makes them excellent for holidays or major events where you need to prep weeks in advance. They are hardy make ahead dessert bars, remember?
To freeze them successfully—and this step is crucial for keeping that chocolate top nice—cut them into squares *before* freezing. Separate each square with a small piece of wax paper. Stack them gently in a freezer-safe, rigid container. Make sure the top layer is protected by the lid or even a piece of cardboard underneath the lid to prevent crushing.
When you’re ready to eat them, just pull out the number you need. Thaw them in the refrigerator overnight on a paper towel-lined plate. Seriously, no one will ever guess these gorgeous No-Bake Pistachio Chocolate Fudge Squares have been chilling in the deep freeze!
Variations on the Best Pistachio Chocolate Recipe
Now, I know what you’re thinking. Maybe you don’t have pistachios on hand, or perhaps you just love experimenting! That’s the fun part about simple foundation recipes like this one. Because the base—the dense, fudgy core—is so utterly dependable, you can play around with the flavor additions without worrying about the whole dessert falling apart. Trust me, these small tweaks still keep us firmly in the “no-bake” zone, so no oven anxiety needed!
I always tell people that the real secret to mastering the best pistachio chocolate recipe is understanding how the primary fat/sugar structure interacts with mix-ins. Here are my two absolute favorite ways to riff on these No-Bake Pistachio Chocolate Fudge Squares without messing up that perfect chill time.
Adding a Sea Salt Flaky Finish
This variation is for my fellow sweet-and-salty lovers out there. The fudge base is wonderfully rich and sweet, and sometimes you need a little punch to cut through that richness. It’s so easy to do!
Instead of just sprinkling the reserved plain pistachios on top of the melted chocolate layer, skip the nuts for a second. Melt your chocolate chips as directed. Then, grab some flaky sea salt—Maldon is my absolute favorite, but any flaky salt works. Drizzle the melted chocolate gently over the surface of the fudge, and immediately sprinkle a generous pinch of sea salt over the chocolate. Don’t use table salt, though; flaky salts dissolve slower and give you that tiny, perfect burst of salinity that elevates the chocolate flavor instantly.
Swapping Nuts for Crunchy Pecans or Almonds
While my heart belongs to the vibrant green of the pistachio, sometimes you just need a different kind of crunch. This recipe handles heartier nuts beautifully, mainly because the fudge is so sturdy. If you substitute the pistachios, I’d strongly recommend giving them a quick, dry toast in a skillet for about five minutes beforehand.
Toasting really wakes up the oils in the nuts and deepens their flavor, which is important since they aren’t sitting next to a warm oven releasing aromas. Pecans offer a buttery crunch that pairs wonderfully with dark chocolate, while slivered almonds give a nice, milder texture, almost like a crunchy layer within the fudge itself. Just chop them roughly to the same size as you would the original pistachios, and fold them into the fudge mixture right before pressing it into the pan, saving a tiny bit for the top garnish if you like!
Frequently Asked Questions About No-Bake Pistachio Chocolate Fudge Squares
I knew you’d have questions! That’s the sign of a truly tempting recipe, right? When I was first perfecting these No-Bake Pistachio Chocolate Fudge Squares, I ran into a few speed bumps that I hope my notes have already cleared up for you. But just in case, here are a few of the things I get asked most often about these gorgeous, dense bars. It’s all about getting that perfect texture so they slice cleanly every time!
If you’ve been looking for tips on how to perfect the base flavor, you might enjoy my deep dive on how to make pistachio fudge, which discusses boosting that green nut flavor even more!
Can I make these No-Bake Pistachio Chocolate Fudge Squares softer?
That’s a great question, especially if you prefer a slightly gooier texture over the super-firm fudge that cuts like a dream. You absolutely can adjust this, and it’s simple! Remember that 3 cups of powdered sugar we added? That’s what builds the bulk and the firmness. If you want them a little softer—maybe closer to a really thick truffle texture—just reduce the powdered sugar amount by 1/4 cup. That small subtraction adds just enough moisture back into the structure to keep them delightfully chewy rather than purely rigid fudge. Just remember, if you go that route, you might need an extra 30 minutes of chilling time to compensate!
What is the best way to store these rich no bake fudge bars?
These are happily rich no bake fudge bars, meaning they hold up beautifully! Because of the high butter and sugar content, they are refrigerator staples. The very best way to store them is in a completely airtight container stacked with wax paper or parchment between the layers. This prevents them from absorbing any strange fridge smells and stops them from sticking together, which is critical if you’re trying to keep those clean edges sharp. They will stay perfectly fresh and firm for up to a week in the fridge. If you need to keep them longer, see my notes on freezing them solid—they handle the freezer like champs!
Nutritional Estimates for Your Indulgent Pistachio Squares
Now, I know some of you are probably wondering how bad these glorious little indulgent pistachio squares really are for you! Since these are super rich, they pack a punch, but honestly, comparing them to a slice of triple-layer bakery cake? I’ll take my dense fudge any day!
I ran the numbers based on the 16 squares this recipe yields, just to give you a general idea of what you’re diving into. Remember, this is just an estimate based on standard store-bought ingredients, so your exact totals might vary depending on the brand of chocolate chips or the exact sugar content of your sweetened condensed milk. This is just for fun, not for strict dieting, okay?
If you’re looking for more flavor ideas that stick to these wonderful, decadent bars, check out some other great ideas here: indulgent pistachio squares.
Here’s the basic breakdown:
- Serving Size: 1 square
- Calories: About 280 – Satisfyingly rich!
- Fat: Around 15g (Yes, that butter and chocolate add up, but that’s what makes it fudge!)
- Saturated Fat: Roughly 9g
- Carbohydrates: 35g
- Sugar: 35g (It’s fudge, honey, it’s going to be sweet!)
- Protein: 4g
- Fiber: 1g
A quick note on the sugar: Since we use sweetened condensed milk *and* powdered sugar, it’s naturally high. That’s what keeps these No-Bake Pistachio Chocolate Fudge Squares firm and fudgy without any baking aids, which is the trade-off we happily accept when choosing a no-bake recipe!
Share Your Quick Party Dessert Bars Creations
Well, friend, that’s it! You’ve got the full blueprint for the absolute best, easiest, no-oven-required No-Bake Pistachio Chocolate Fudge Squares in your hands. I hope you love the deep, easy richness as much as I do. Every time I make a batch, I’m reminded that the best desserts don’t need hours of fuss, just great ingredients and a little love!
Now, as someone who tests these recipes until the pan is sparkling clean, I am dying to know how yours turned out! Did the chocolate set perfectly? Were your pistachio bits crunchy? Tell me everything!
Please take a moment to leave a star rating below—it helps other folks looking for amazing quick party dessert bars find this recipe. And if you snapped a picture of those beautifully layered squares, tag me on social media! I absolutely love seeing your kitchen creations. Happy fudging!
PrintNo-Bake Pistachio Chocolate Fudge Squares
Make rich, dense fudge squares featuring chocolate and pistachio flavors without turning on your oven. This recipe sets quickly for an easy dessert.
- Prep Time: 15 min
- Cook Time: 5 min
- Total Time: 3 hours 20 min
- Yield: 16 squares
- Category: Dessert
- Method: No Bake
- Cuisine: American
- Diet: Vegetarian
Ingredients
- 1 (14 ounce) can sweetened condensed milk
- 1 cup (2 sticks) unsalted butter
- 1 teaspoon vanilla extract
- 1/2 cup unsweetened cocoa powder, sifted
- 3 cups powdered sugar, sifted
- 1 cup shelled pistachios, roughly chopped
- 1/2 cup semi-sweet chocolate chips (for topping)
Instructions
- Line an 8×8 inch baking pan with parchment paper, leaving an overhang on two sides for easy removal. Lightly grease the paper.
- In a medium saucepan over medium-low heat, melt the butter completely.
- Remove the saucepan from the heat. Stir in the sweetened condensed milk and vanilla extract until combined.
- Whisk in the sifted cocoa powder until the mixture is smooth and no lumps remain.
- Gradually add the sifted powdered sugar, mixing well after each addition until a thick, uniform fudge mixture forms.
- Fold in the chopped pistachios, reserving about 2 tablespoons for garnish.
- Press the fudge mixture evenly into the prepared pan. Smooth the top with a spatula.
- Melt the chocolate chips in a microwave-safe bowl in 30-second intervals, stirring until smooth. Spread the melted chocolate evenly over the fudge layer.
- Sprinkle the reserved chopped pistachios over the chocolate topping.
- Refrigerate for at least 3 hours, or until the fudge is firm enough to cut.
- Use the parchment paper overhang to lift the fudge from the pan. Cut into 16 squares.
Notes
- For the cleanest cuts, allow the fudge to set fully in the refrigerator. Use a sharp, warm knife for slicing.
- If you prefer a slightly softer fudge, reduce the powdered sugar by 1/4 cup.
- Store leftovers in an airtight container in the refrigerator for up to one week.
Nutrition
- Serving Size: 1 square
- Calories: 280
- Sugar: 35
- Sodium: 75
- Fat: 15
- Saturated Fat: 9
- Unsaturated Fat: 6
- Trans Fat: 0
- Carbohydrates: 35
- Fiber: 1
- Protein: 4
- Cholesterol: 35