

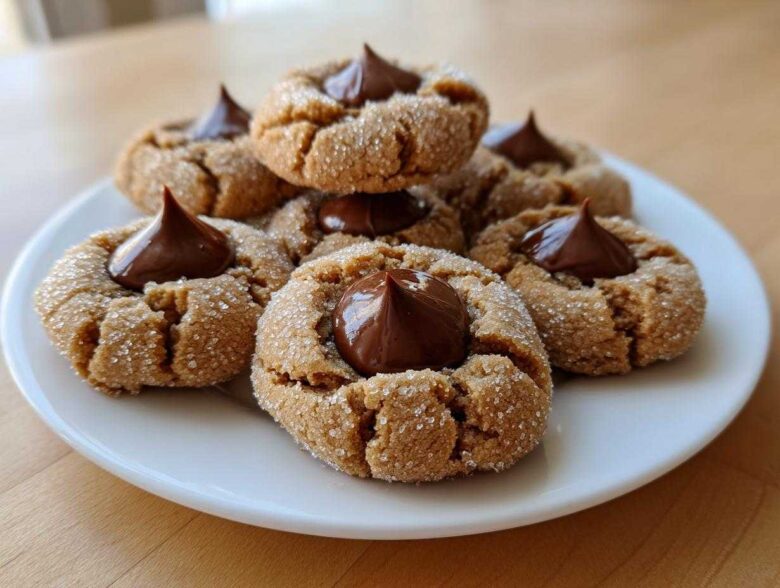
The scent of melting chocolate mixed with warm peanut butter is my absolute favorite smell during the holidays. Seriously, nothing says Christmas cookie platter quite like a beautiful ring of those classic Peanut Butter Blossoms. Now, I know there are a million recipes out there, but trust me when I say I’ve perfected mine. After years of testing, I landed on this no-chill method for perfect peanut butter blossoms every time. These aren’t those dry, crumbly ones either—we are aiming for soft and chewy, cookies that practically melt in your mouth the best! If you’re looking for the ultimate Classic Peanut Butter Blossoms that everyone asks for, stick with me, because this is genuinely the best version I’ve ever made.
If you want to learn more about my kitchen adventures and why I share these secrets, you can check out my little corner of the internet!
Why This is the Best Peanut Butter Blossom Recipe (Texture Guaranteed)
The secret sauce for truly amazing Peanut Butter Blossoms isn’t about fancy additions; it’s about getting that iconic texture right. We want soft and delightfully chewy cookies, not bricks! Because this recipe is designed to be mixed and baked immediately—no chilling required—the way the sugars and fats interact is key.
Using a full cup of both granulated and light brown sugar gives us great spread and that wonderful crackle top we all love for our Peanut Butter Blossoms. The brown sugar is the real MVP here; its moisture content keeps the cookie soft long after they come out of the oven. Honestly, if you follow the mixing instructions exactly, you’ll have that perfect, slightly puffy base ready for its chocolate kiss without waiting an hour for the dough to firm up!
Achieving Soft Peanut Butter Cookies with a Perfect Crackle Top
When we cream the butter and both sugars together, we’re building air pockets. Those pockets are what give you that soft, almost melt-in-your-mouth quality instead of a hard snap. We use all butter here because it adds so much necessary richness. That classic, crinkly blanket that forms on the surface while baking? That’s the hallmark of a top-tier Peanut Butter Blossom. It means the outside set just enough before the inside softened—perfection!
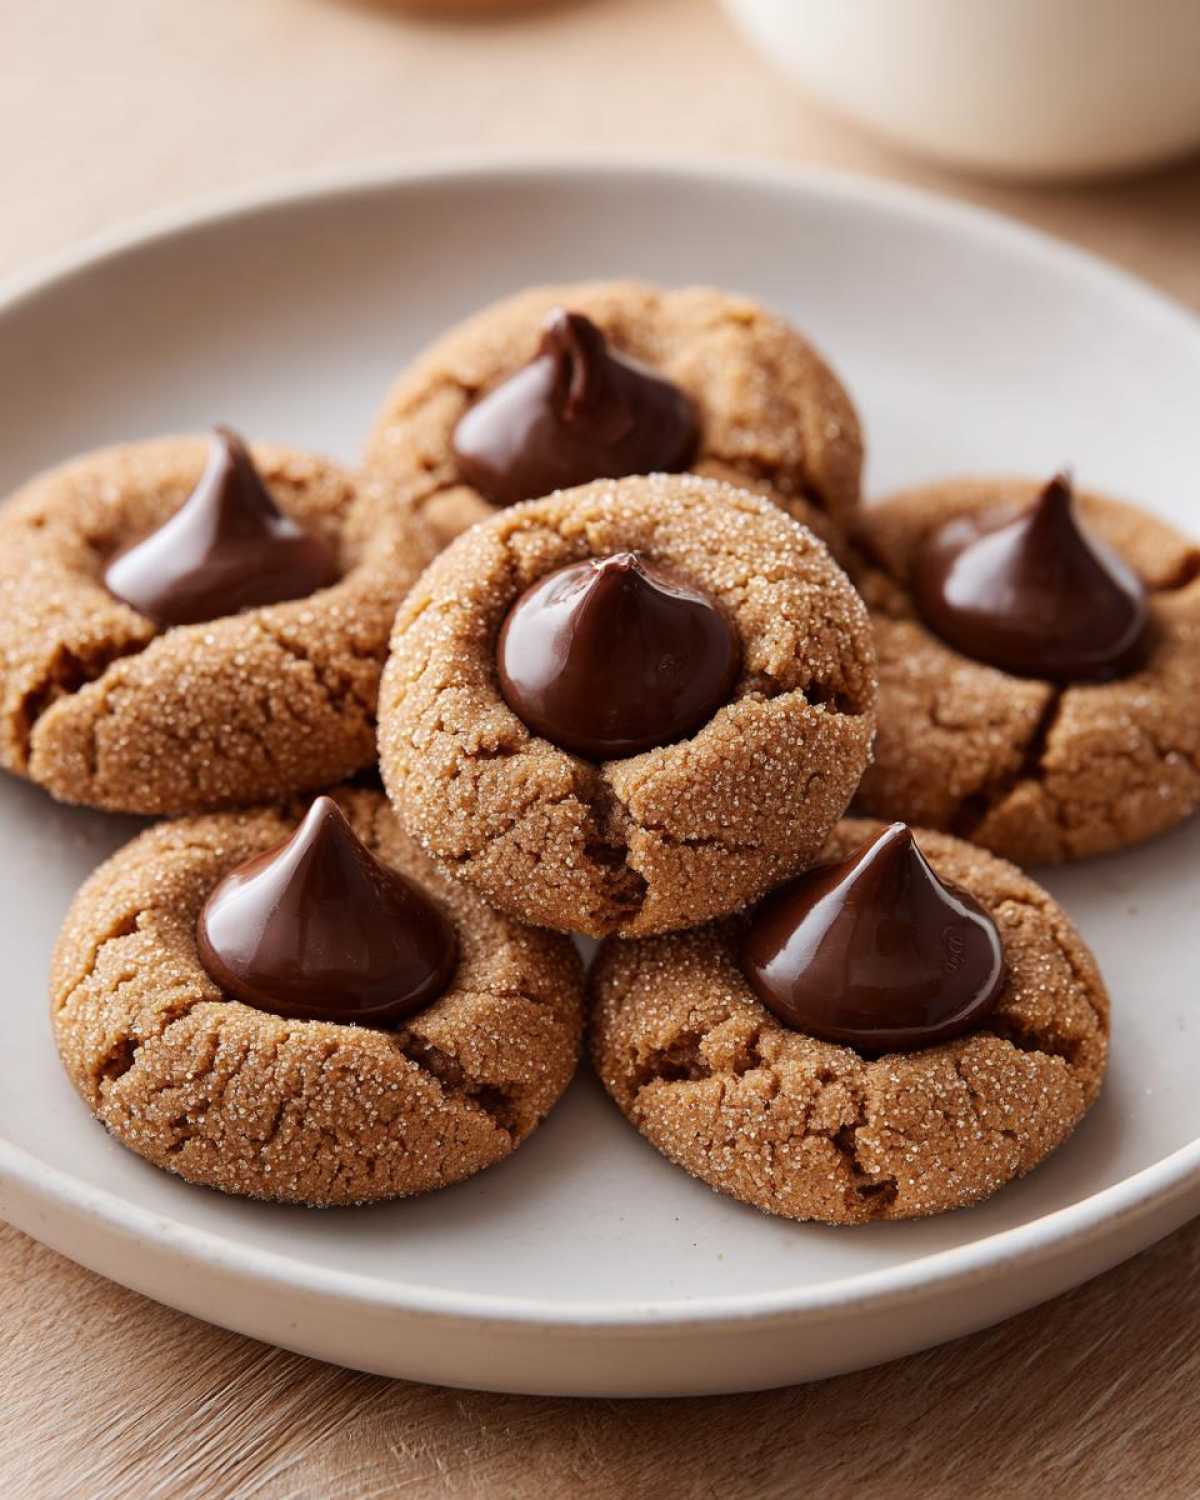
Ingredients for Perfect Chewy Peanut Butter Blossoms Recipe
Okay, gathering your ingredients is my favorite part because it feels like prepping for battle! For these Chewy Peanut Butter Blossoms Recipe to work their magic, you really need to make sure your butter is soft. Not melted, but just soft enough that if you poke it, your finger leaves a nice little dent. And don’t forget to pack that brown sugar tight into the measuring cup—that step really impacts the final chewiness we are looking for!
Here is exactly what you need for about three dozen of our family’s favorite Peanut Butter Blossoms:
- 1 cup of unsalted butter, softened to room temperature
- 1 cup of granulated sugar (this is for the dough *and* for rolling!)
- 1 cup of light brown sugar, packed down hard
- 2 large eggs, straight from the fridge is fine
- 1 teaspoon of vanilla extract—good quality makes a difference here!
- 1 cup of creamy peanut butter (I stick to Jif or Skippy, nothing too oily)
- 2 3/4 cups of all-purpose flour
- 1 teaspoon of baking soda
- 1/2 teaspoon of baking powder
- 1/2 teaspoon of salt
- About one full bag (12 ounces) of Hershey’s Kisses, unwrapped and ready to go!
That’s it! See? Nothing too crazy. Using both white and brown sugar is essential for the texture, and using creamy peanut butter ensures a super smooth dough base before we roll them in that extra layer of white sugar.
Step-by-Step Instructions for Classic Peanut Butter Blossoms
Getting these Peanut Butter Blossoms made and in the oven is so quick, which is why they’re my go-to when I realize I need a holiday cookie fast! First things first: tell your oven to warm up to 375 degrees Fahrenheit. Get those baking sheets ready and line them with parchment paper—it makes clean-up a breeze, trust me. We are aiming for a short, sweet bake time of about 8 to 10 minutes, so stay close; these cookies go from perfect to overdone fast!
Once they are baked, we hit the most important part: giving them their trademark chocolate top right away, while they are still burning hot from the oven. That residual heat is what softens just the base of the Hershey Kiss so it sinks perfectly into the crackled cookie top without melting everywhere. That quick 5-minute rest on the hot sheet before moving them is non-negotiable for keeping that soft texture we worked so hard for when making these Easy Chocolate Kiss Cookies.
Mixing the Dough for No Chill Peanut Butter Cookies
Start in a big bowl by creaming your softened butter with both the white and brown sugars. Really beat that until it looks light and dreamy. Then, add the eggs one at a time, mixing well after each addition, followed by your vanilla and that lovely peanut butter. Now, grab a separate bowl and whisk together all your dry stuff—flour, baking soda, powder, and salt. When you add the dry mix to the wet, go slow on low speed until it *just* comes together. Seriously, stop mixing the second you don’t see streaks of flour anymore. Overmixing makes these lose their chew!
The Crucial Kiss Placement on Your Peanut Butter Blossoms
After mixing, you’ll scoop out little 1-inch balls of dough. Don’t skip the next step! You need a small bowl of extra granulated sugar, and you must roll every single dough ball completely in that sugar until it’s totally coated. This creates that lovely, crunchy outer shell that contrasts beautifully with the soft inside. Place these sugary spheres about two inches apart on your sheet. Remember what I said? Bake for just 8 to 10 minutes until the edges look set. As soon as they come out, immediately press one unwrapped chocolate kiss right into the middle of each hot cookie. That heat does all the magic!
Tips for Success with Your Family Recipe Peanut Butter Cookies
Now that you have the steps down for these Peanut Butter Blossoms, let’s talk about the small hiccups people sometimes run into. The biggest one, in my experience, is oven temperature. Ovens lie, I swear! If your cookies are baking unevenly or flattening too much, grab an inexpensive oven thermometer. Accurate heat at 375°F is critical for that quick bake time we need.
Also, spacing is super important—don’t crowd the pans! Keep those dough balls about two inches apart on the baking sheet. They spread just enough to set, but too close and you end up with one giant, messy peanut butter cookie blob. If you want them slightly firmer, you can go ahead and bake them for an extra minute or two, but remember, any longer and you lose that wonderful soft center that defines this Nostalgic Christmas Cookie Recipe.
Ingredient Notes and Substitutions for Peanut Butter Blossoms
I get asked all the time if you can mess around with the ingredients, especially the peanut butter! For the absolute best results in these Peanut Butter Blossoms, I really advise sticking to creamy peanut butter. It blends in smoothly and keeps the dough unbelievably soft. If you absolutely must change it up, crunchy peanut butter works, but it will give you a slightly grainier texture.
If you use crunchy, just mix it in gently so you don’t deflate all the air we built up earlier during the creaming step. Also, don’t worry too much about the brand of peanut butter; just avoid the super natural, oily kinds because they can throw off the moisture balance in this Simple Peanut Butter Dessert. Stick to the classics for guaranteed success!
Making Variations: Beyond the Classic Peanut Butter Blossoms
While the classic chocolate kiss atop our creamy base is non-negotiable for me most of the time, these Peanut Butter Blossoms are just begging to be experimented with! Once you nail the base dough—which is already fantastic on its own—you can have so much fun.
My absolute favorite switch-up is using different flavored Kisses when they pop up seasonally. Have you seen the caramel ones? Wow! Pressing one of those into the warm cookie is like a flavor explosion. Also, don’t be afraid to jazz up the dough itself.
A little sprinkle of cinnamon or maybe a tiny pinch of instant espresso powder mixed in with your dry ingredients gives the dough a whole new character. That pairs perfectly with a dark chocolate Kiss! These small tweaks let you personalize this Nostalgic Christmas Cookie Recipe every single year.
Storage and Reheating Instructions for Soft Peanut Butter Cookies
The best part about these Soft Peanut Butter Cookies is that they stay soft for days, but you have to store them right! As soon as they are completely cool—and I mean totally cool, otherwise you’ll trap steam—stack them in a single layer in a really good airtight container. If you stack them too high, the chocolate Kisses on the bottom layer might get smooshed, which would be a total tragedy.
If you’re planning ahead for the holidays, they freeze like a dream! Pop them in a freezer-safe bag, making sure to put a small piece of waxed paper between any cookies that might touch. They last great for about three months. Honestly, they’re usually gone before then, but it’s good to know!
Frequently Asked Questions About Hershey Kiss Peanut Butter Cookies
Do I need to chill the dough for these peanut butter blossoms?
Nope! That’s one of the best parts about this specific recipe for my Best Peanut Butter Blossom Recipe. We use the perfect balance of butter and sugar ratios so that you can mix these babies and get them straight onto the baking sheet. No chilling required! This makes them fantastic when you realize you forgot to bake for a cookie swap tomorrow. They are designed to be No Chill Peanut Butter Cookies!
What happens if I overbake my soft peanut butter cookies?
If you bake these Soft Peanut Butter Cookies for too long, they lose that essential chewiness and get brittle, which defeats the whole purpose! If you bake them for more than 10 minutes—or 12 minutes if you’re pushing it—the edges will become too hard. When this happens, the cookie base won’t be soft enough to accept the chocolate kiss gently. Aim for slightly puffy centers when you pull them out; the heat from the tray will finish the cooking process perfectly.
Can I use crunchy peanut butter in this recipe?
You absolutely can substitute creamy with crunchy peanut butter if you like a little more texture in your Hershey Kiss Peanut Butter Cookies. Just remember that the texture of the dough will change slightly as you mix it. The final cookie will be less smooth inside but still wonderfully chewy on the edges. It just changes the mouthfeel a little bit!
How do I keep the chocolate kiss from melting completely?
This is the most common rookie mistake! You have to press the chocolate Kiss immediately after you pull the cookies out of the oven. I’m talking, one hand grabs the tray, the other hand grabs the chocolate. The residual heat is just enough to soften the bottom of the chocolate so it sinks nicely into that lovely crackle top, but it’s not hot enough to turn the whole thing into a runny mess. If you wait even five minutes, the cookie cools too much, and you’ll end up just cracking the top of the cookie when you try to push the chocolate in. For more kitchen safety tips, please read my site disclaimer.
Estimated Nutritional Data for Simple Peanut Butter Desserts
I always like to list out the estimated nutrition information, just so we know what deliciousness we are dealing with! Remember, this is just an estimate based on the standard ingredients listed above, so things like the exact brand of peanut butter or the exact size of your Kisses can change it slightly. It’s a guide, not gospel!
- Serving Size: 1 cookie
- Calories: 180
- Sugar: 15g
- Sodium: 110mg
- Fat: 10g
- Protein: 4g
- Carbohydrates: 22g
As always, if you look closer at my kitchen policies after you’ve eaten half the batch, you can find my full privacy policy details here!
PrintClassic Soft Peanut Butter Blossoms

This recipe yields soft and chewy peanut butter cookies topped with a chocolate kiss, perfect for holidays.
- Prep Time: 20 min
- Cook Time: 10 min
- Total Time: 30 min
- Yield: About 3 dozen cookies
- Category: Dessert
- Method: Baking
- Cuisine: American
- Diet: Vegetarian
Ingredients
- 1 cup unsalted butter, softened
- 1 cup granulated sugar
- 1 cup packed light brown sugar
- 2 large eggs
- 1 teaspoon vanilla extract
- 1 cup creamy peanut butter
- 2 3/4 cups all-purpose flour
- 1 teaspoon baking soda
- 1/2 teaspoon baking powder
- 1/2 teaspoon salt
- About 1 bag (12 ounces) Hershey’s Kisses, unwrapped
Instructions
- Preheat your oven to 375 degrees Fahrenheit. Line baking sheets with parchment paper.
- In a large bowl, beat the softened butter, granulated sugar, and brown sugar together until creamy.
- Beat in the eggs one at a time, then mix in the vanilla extract and peanut butter until combined.
- In a separate medium bowl, whisk together the flour, baking soda, baking powder, and salt.
- Gradually add the dry ingredients to the wet ingredients, mixing on low speed until just combined. Do not overmix.
- Roll the dough into 1-inch balls. Roll each ball in granulated sugar to coat completely.
- Place the sugared balls about 2 inches apart on the prepared baking sheets.
- Bake for 8 to 10 minutes. The edges should look set, but the centers will still look slightly soft.
- Immediately after removing the cookies from the oven, press one chocolate kiss gently into the center of each cookie. The residual heat will soften the chocolate slightly.
- Let the cookies cool on the baking sheet for 5 minutes before transferring them to a wire rack to cool completely.
Notes
- If you prefer a slightly firmer cookie, bake for an additional 1 to 2 minutes.
- You can substitute creamy peanut butter with crunchy peanut butter for added texture.
- Do not chill the dough; this recipe is designed for immediate baking.
Nutrition
- Serving Size: 1 cookie
- Calories: 180
- Sugar: 15
- Sodium: 110
- Fat: 10
- Saturated Fat: 4
- Unsaturated Fat: 6
- Trans Fat: 0
- Carbohydrates: 22
- Fiber: 1
- Protein: 4
- Cholesterol: 20