

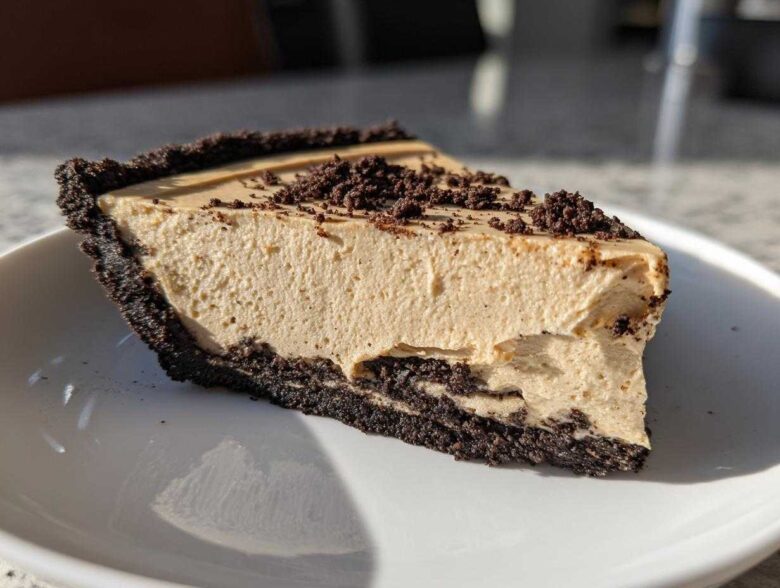
Oh my gosh, do you ever just GET that craving? That deep, soul-satisfying need for something rich, sweet, and impossibly creamy? Forget turning on the oven, because I have found the cheat code for the absolute best dessert ever: my Easy No-Bake Creamy Peanut Butter Pie. I perfected this specific version years ago when my AC unit died in the middle of July, and I swore I wouldn’t go a summer without my favorite comfort food. Trust me, this recipe for peanut butter pie delivers that perfect, decadent flavor without any fuss. It comes together so fast, and the cleanup is practically non-existent!
If you want to know more about the magic behind this kitchen, you can always read up on our story. But right now, let’s talk pie!
Why This Easy Peanut Butter Pie Recipe Is a Crowd Pleaser Desserts Winner
When I bring this out, people lose their minds, and honestly, I don’t blame them! This isn’t just another dessert; it’s pure bliss in a slice. The main reason it wins every time is because it hits all those must-have qualities people secretly crave. It’s super speedy, ridiculously creamy, and requires zero baking whatsoever. Who doesn’t love a simple dessert that tastes like you worked for hours on it?
Here is why this peanut butter pie always disappears first:
- It’s truly creamy—no grainy textures here, ever!
- The Oreo crust offers that fantastic, salty-sweet crunch.
- It’s perfect for making at the last minute.
- It always passes the ultimate crowd pleasure desserts test.
The Appeal of No Oven Dessert Preparation
Seriously, no oven at all! That’s the magic trick here. This No Bake Peanut Butter Pie is my go-to when the kitchen is already too hot, or when I’ve got a million things cooking for Thanksgiving Pie Recipes. You just mix the ingredients, press the crust, and let the fridge do the hard work. It frees up precious oven space when you need it most. It just feels like cheating in the best way possible.
Gathering Ingredients for Your Creamy Peanut Butter Pie
Okay, before we get to the mixing, let’s talk about supplies. The beauty of this Quick Peanut Butter Filling is that it uses pantry staples, but we need to make sure they are prepped right! Cream cheese has to be fully softened—I mean finger-smushable soft—or you end up with lumps that just won’t disappear. Pull that out about an hour before you plan on mixing. Everything else is pretty straightforward, but the quality of the peanut butter really matters for that classic taste.
Ingredient Notes and Simple Dessert Ideas Substitutions
You absolutely must use creamy peanut butter for the silkiness we are aiming for in this Classic Peanut Butter Pie. If you use natural peanut butter where the oil separates, I sadly cannot guarantee the same structure. Also, the whipped topping must be completely thawed, but remember, don’t whip it! We are folding it in gently to keep all that air in there. If you’re out of Oreos, you can totally use graham crackers—just know that for a Graham Cracker Crust Pie, you might need just a touch more melted butter to make it stick together properly.
Step-by-Step Instructions for the Best Peanut Butter Pie
This is where the magic happens, and guess what? It’s so easy. We have zero baking involved, so safety is mostly about keeping things cold until they need to be mixed! Follow these steps exactly, and you’ll have the most stunning peanut butter pie you’ve ever made. Remember, timing is everything with a no-bake dessert, so pay attention to those chilling moments!
Achieving the Perfect Oreo Crust Peanut Butter Pie Base
First up, crust time. You mix your crushed Oreos—and I mean *fully* crushed, no big chunks—with the melted butter right in the pie plate until it all looks like wet sand. Then, use the bottom of a measuring cup or just your very clean fingers to push it down hard against the bottom and up those sides. I like to really compact mine because nobody wants a crust that crumbles when you finally slice into that creamy peanut butter pie! Once it’s packed tight, pop that plate into the freezer while you whip up the filling. It needs a good 15 to 20 minutes in there to really set up solid.
Mixing the Quick Peanut Butter Filling
Now for the star of the show! Grab your electric mixer because we are beating that softened cream cheese, peanut butter, powdered sugar, and vanilla until it is just perfectly smooth—no lumps allowed! This mixture should look thick and amazing on its own. Next, take your thawed whipped topping and gently, gently, gently fold it in using a spatula. I always stop folding the second I don’t see any more white streaks. If you overmix here, you knock all the air out, and your pie won’t be that dreamy, light texture you came for. Once it’s combined, scoop that filling right into your chilled Oreo crust and smooth the top flat. Then, cover it loosely and get it into the fridge for at least four hours. That chilling time is non-negotiable for a firm slice!
Tips for Success Making Homemade Peanut Butter Pie
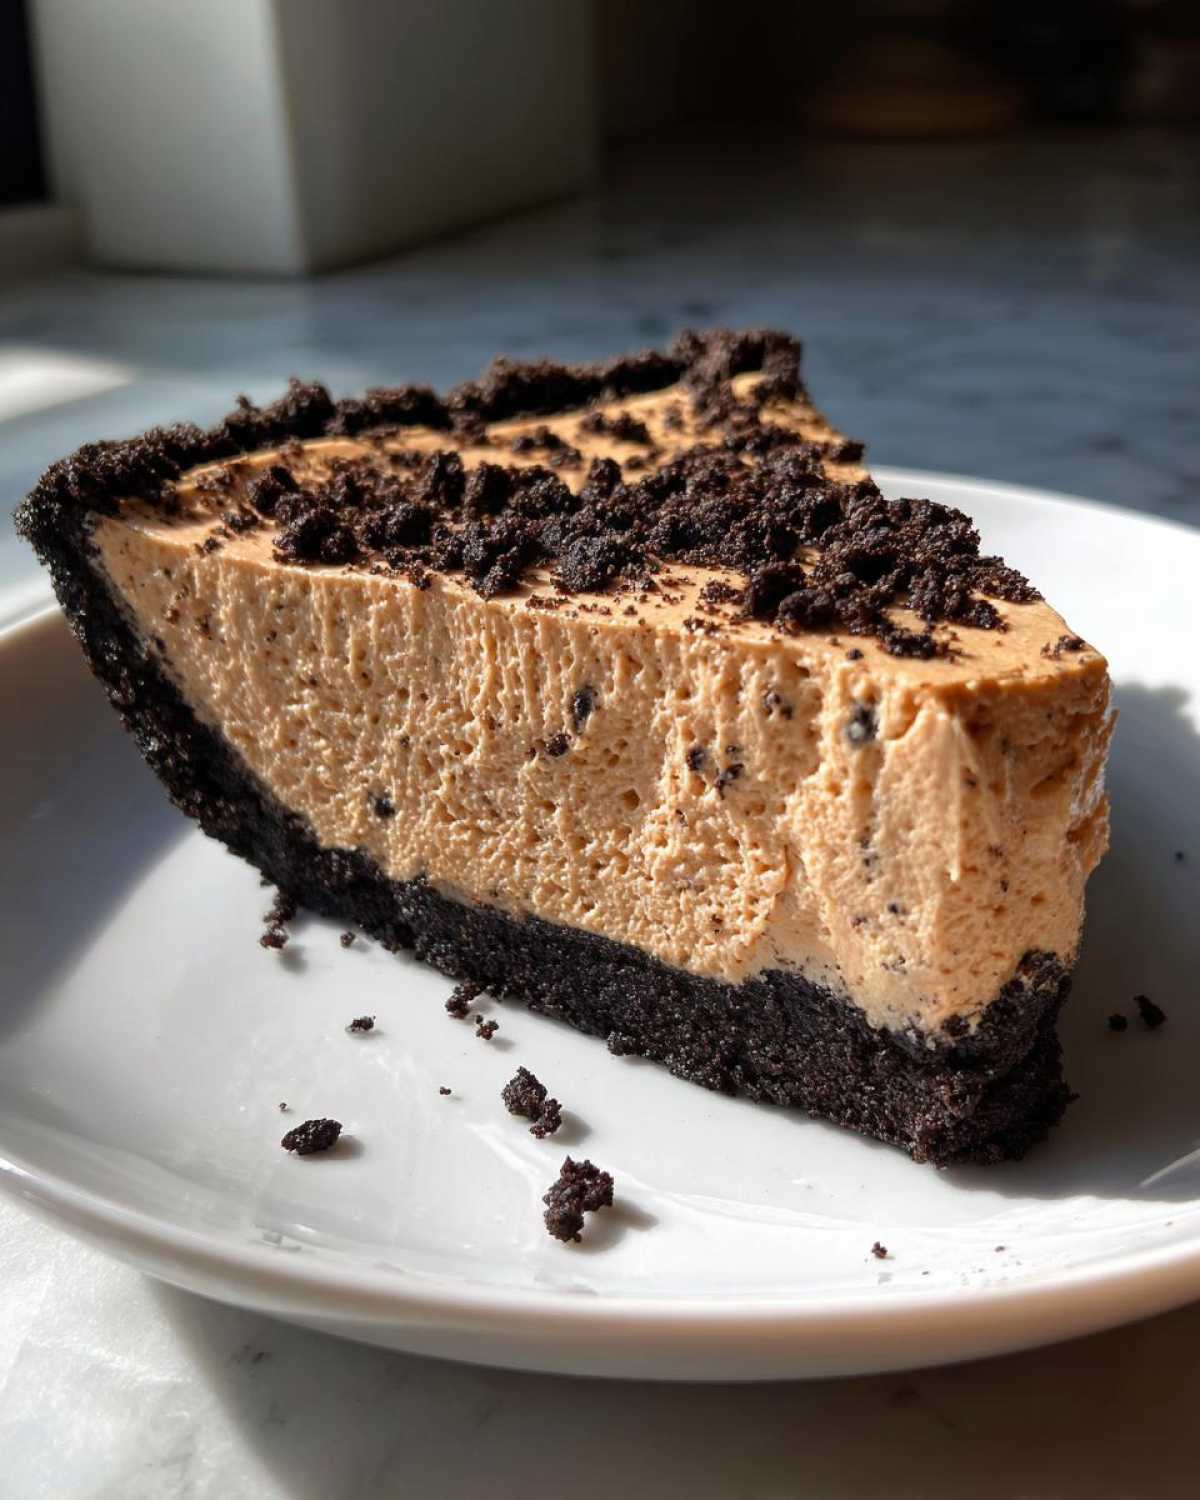
You’ve made an amazing no-bake pie, but sometimes—especially the first time—that filling can be a little moody! I learned this the hard way once when I tried to rush the chilling process. It looked like a delicious, thick puddle instead of a beautiful peanut butter pie slice. Oops! Now I follow three little rules that ensure success every single time.
First, if you are using a standard glass pie dish, make sure it is completely cold before you add the filling. Pouring warm filling into a room-temperature dish just tells the fats to stay soft longer. Second, if your filling feels too loose after folding in the whipped topping, don’t panic! Pop the bowl itself back in the freezer for 15 minutes to firm up before topping the crust. Finally, when slicing, use a sharp knife dipped in hot water and wiped clean between every cut. It makes serving so neat.
You can review my full site disclaimer if you have any questions, but these few tricks make assembling this decadent peanut butter dessert foolproof!
Serving Suggestions for Your Decadent Peanut Butter Dessert
This pie is beautiful just as it is, especially if you covered it with those mini peanut butter cups the recipe mentions. But if you’re feeling extra fancy, a quick drizzle of melted chocolate or a thin ribbon of caramel sauce on top elevates this beauty instantly! You can even dust the edges with a fine layer of cocoa powder for a chocolate peanut butter pie look. It’s flexible enough to be the star at a major event like Thanksgiving Pie Recipes, or just perfect when you need a quick, simple dessert after a long week.
Storing and Make Ahead Desserts Instructions
This is truly one of the best Make Ahead Desserts you can find! The pie needs a minimum of four hours in the fridge to get firm enough to slice cleanly, but honestly, it tastes even better if you make it the day before. When storing leftovers, keep it covered tightly in the refrigerator. It holds up beautifully for three to four days. Since it’s a no-bake number, there’s no worry about texture changing like there is with actual baked crusts!
Frequently Asked Questions About Peanut Butter Pie
I know sometimes when you find a super easy recipe, you start worrying about the little details. Did I use the right type? Can this freeze well? Don’t sweat it! I’ve answered the questions I get asked most often about making this Easy Peanut Butter Pie Recipe so you can feel totally confident before you start mixing.
Can I use natural peanut butter for this pie?
That’s a very common question! I strongly advise sticking to traditional, shelf-stable creamy peanut butter. When you use natural peanut butter, the oil tends to separate and won’t incorporate smoothly with the cream cheese and sugar. It makes the mixture oily and stops us from achieving that perfect, dense, creamy peanut butter pie texture. Stick with Jif or Skippy for the best results here.
How long must this No Bake Peanut Butter Pie chill before slicing?
This is critical! For the filling to firm up enough so the slices stand tall proudly, you need at least four hours in the refrigerator. If you try cutting it at two hours, it’ll just slump right out of course. However, if you need a super fast dessert, you can pop the assembled pie into the freezer for about an hour—that will firm it up enough for a semi-frozen slice, though you’ll miss the true Creamy Peanut Butter Pie experience.
Is this pie suitable for making ahead for Thanksgiving Pie Recipes?
Absolutely! This is one of my favorite Make Ahead Desserts. If you want it perfect for a holiday gathering, assemble the whole thing (crust and filling) and chill it overnight. It retains its texture beautifully. If you make it more than 24 hours ahead, though, I’d go light on the optional whipped topping, or just wait to add that layer right before serving.
If you ever have more questions about my specific techniques, please feel free to reach out through my contact page anytime!
Estimated Nutritional Data for This Peanut Butter Pie
Now, I’m going to be totally upfront with you: this is a rich, decadent dessert, so we aren’t breaking any low-calorie records here! But when you’re indulging in the Best Peanut Butter Pie, you want to know what you’re digging into, right? I ran the numbers based on the ingredients list above, but please, take this with a grain of salt—or maybe a grain of powdered sugar!
The exact numbers will definitely change depending on whether you use a store-bought crust vs. homemade, or the specific brand of peanut butter you grab. This data is just a guideline so you know what a typical slice of this amazing treat looks like:
- Calories: Approximately 450 per slice
- Fat: This comes in around 30g, with about 12g being saturated fat from the cream cheese and butter.
- Carbohydrates: Expect about 40g of carbs.
- Sugar: It clocks in high, around 35g, which is expected for a sweet pie like this!
- Protein: You still get a decent boost, usually around 10g.
Always remember that these figures are based on an 8-serving yield. If you cut super generous slices for your guests (because who doesn’t love a bigger slice of this Homemade Peanut Butter Pie?), the numbers will shift! If you want the full legal lowdown, you can always check out our official privacy policy, but truthfully, this pie is best enjoyed without counting every single calorie!
Share Your Homemade Pie Experience
That’s it, friends! You’ve conquered making the ultimate Easy Peanut Butter Pie Recipe. Now, this is the part where you tell me how it went! Did you sneak a taste before it fully set? Did the Oreo Crust hold up like a dream? Pop down below and leave me a star rating and tell everyone how yours turned out. Don’t forget to share a picture on social media—I absolutely love seeing your amazing creations!
PrintEasy No-Bake Creamy Peanut Butter Pie with Oreo Crust

You can make this rich, creamy peanut butter pie without turning on your oven. It uses a simple Oreo crust and sets up quickly.
- Prep Time: 20 min
- Cook Time: 0 min
- Total Time: 4 hr 20 min
- Yield: 8 servings
- Category: Dessert
- Method: No-Bake
- Cuisine: American
- Diet: Vegetarian
Ingredients
- 1 1/2 cups crushed Oreo cookies (about 25 cookies)
- 6 tablespoons unsalted butter, melted
- 1 cup creamy peanut butter
- 1 (8 ounce) package cream cheese, softened
- 1 cup powdered sugar
- 1 teaspoon vanilla extract
- 1 (12 ounce) container frozen whipped topping, thawed
- Optional topping: 1 cup heavy cream, 2 tablespoons powdered sugar, 1/2 cup mini peanut butter cups
Instructions
- Prepare the crust: Mix the crushed Oreo cookies and melted butter in a medium bowl until fully combined. Press the mixture firmly into the bottom and up the sides of a 9-inch pie plate. Place the crust in the freezer while you prepare the filling.
- Make the filling base: In a large bowl, beat the peanut butter, softened cream cheese, 1 cup powdered sugar, and vanilla extract with an electric mixer until smooth and creamy.
- Fold in the whipped topping: Gently fold the thawed whipped topping into the peanut butter mixture until no streaks remain. Do not overmix.
- Assemble the pie: Spoon the peanut butter filling evenly into the chilled Oreo crust. Smooth the top with a spatula.
- Chill: Cover the pie loosely with plastic wrap and refrigerate for at least 4 hours, or until the filling is firm.
- Prepare optional topping (if using): In a separate bowl, beat the heavy cream and 2 tablespoons of powdered sugar until stiff peaks form. Spread or pipe the whipped cream over the chilled pie. Sprinkle with mini peanut butter cups.
- Serve: Slice and serve cold.
Notes
- For a firmer crust, chill it for 15 minutes before adding the filling.
- If you do not have Oreos, you can substitute with graham crackers and reduce the added butter by 1 tablespoon.
- You can use crunchy peanut butter if you prefer texture in your filling.
Nutrition
- Serving Size: 1 slice
- Calories: 450
- Sugar: 35g
- Sodium: 320mg
- Fat: 30g
- Saturated Fat: 12g
- Unsaturated Fat: 18g
- Trans Fat: 0g
- Carbohydrates: 40g
- Fiber: 2g
- Protein: 10g
- Cholesterol: 45mg