

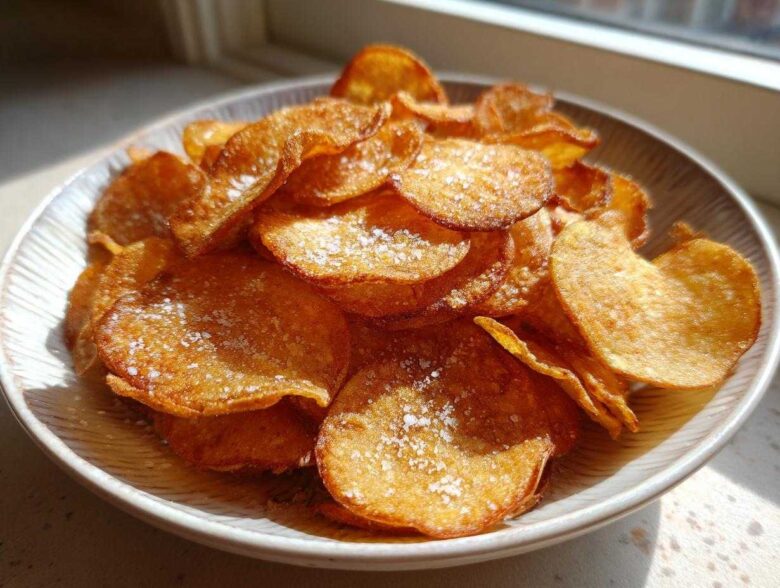
Oh, if you know me, you know I live for that perfect, shatteringly crisp sound. That moment when you bite into something and you just get *the crunch*. Staring longingly at a bag of store-bought potato chips used to be my Tuesday night ritual, but those days are over! Sofia and I realized we shouldn’t save the best snacks for company; we deserve the royal treatment every single night. That’s why I put on my apron and spent weeks perfecting the ultimate homemade guide. Trust me when I say this post is my absolute favorite because I’m handing over the keys to true crispiness, whether you are deep frying for that classic indulgence, baking for a lighter approach, or needing a quick fix in the air fryer. We’re talking texture mastery here! For those who want to know more about our philosophy of always treating yourself like royalty, you can check out our story.
Why This Ultimate Homemade Potato Chips Recipe Reigns Supreme
I know what you’re thinking: why bother making your own when you can grab a bag? But honestly, once you taste a chip made fresh—thin, golden, and perfectly seasoned—there’s no going back. This truly is an easy potato chip recipe once you nail the prep work. It’s the ultimate homemade comfort food because you control every single glorious crunch!
This guide isn’t just one recipe; it’s a complete toolkit for the perfect snack. We cover everything you need for movie nights or just when you need a truly satisfying bite.
Three Methods for Perfect Potato Chips: Your Choice, Your Crunch
- Classic Fried: This gets you that deep, rich flavor and the absolute *loudest* crunch. It’s indulgent, and totally worth it sometimes.
- Oven Baked Chips: If you want something lighter but still deeply satisfying, the oven method is your friend. It’s so easy to manage a big batch this way!
- Air Fryer: Perfect for when the craving hits fast. You get incredible texture with minimal fuss or oil, making it a brilliant quick and easy snack.
Secrets to Achieving Truly Crispy Potato Chips
The secret sauce isn’t a specific seasoning; it’s all about eliminating starch and moisture before the heat even touches them. You absolutely must rinse those slices until the water runs clear—that cloudy water is pure enemy starch! Then, you pat them bone-dry. If they aren’t dry, you are steaming them instead of getting those beautiful, crispy potato chips everyone loves.
For more of our best finds and general kitchen inspiration, you can always browse our main blog roll!
Gathering Your Ingredients for Homemade Potato Chips
Okay, step two! Before we fuss with heat or ovens, we need our cast of characters ready to go. I find that laying everything out, having your ‘mise en place’ ready, instantly lowers my stress level. We keep this list super simple upfront, and then we jazz it up with seasonings later.
Essential Components for Perfect Slices
For the base, you need 3 large potatoes. I always recommend Russet or Yukon Gold—they hold their shape beautifully. For the cooking medium, if you’re frying, you’ll need plenty of neutral vegetable oil. If you’re following the healthier routes, just grab 1 tablespoon of good olive oil.
Potato Chips Seasoning Ideas
The basics are just fine sea salt or kosher salt, but this is where you can really start experimenting with potato chips seasoning ideas! I’m throwing in garlic powder and a tiny bit of paprika today, but feel free to grab whatever spice jars are calling your name. Don’t be shy!
How to Make Potato Chips From Scratch: Step-by-Step Guide
Alright, now for the fun but serious part: making the actual potato chips! You need precision here, Marco-style, because if your slices aren’t uniform, they won’t cook evenly, and that means soft spots. Nobody wants a soft potato chip!
Preparing the Thinly Sliced Potato Recipe Base
First things first: you’ve got to slice them razor thin. I swear by my mandoline slicer to get that perfect, almost translucent cut for your thinly sliced potato recipe. If you aren’t using a mandoline, use the sharpest knife you own and take your time! Once they are sliced, move them immediately into that big bowl of cold water. You’ll see the water turn murky almost instantly. That cloudiness is starch, and starch equals limp chips. You need to soak them for at least half an hour—sometimes longer—and change that water once if it gets really thick. This soaking process is crucial; it primes the potato to release all that unwanted goo so you can achieve maximum crunch later on!
The Crucial Step: Drying Your Slices for Crunchy Potato Chips
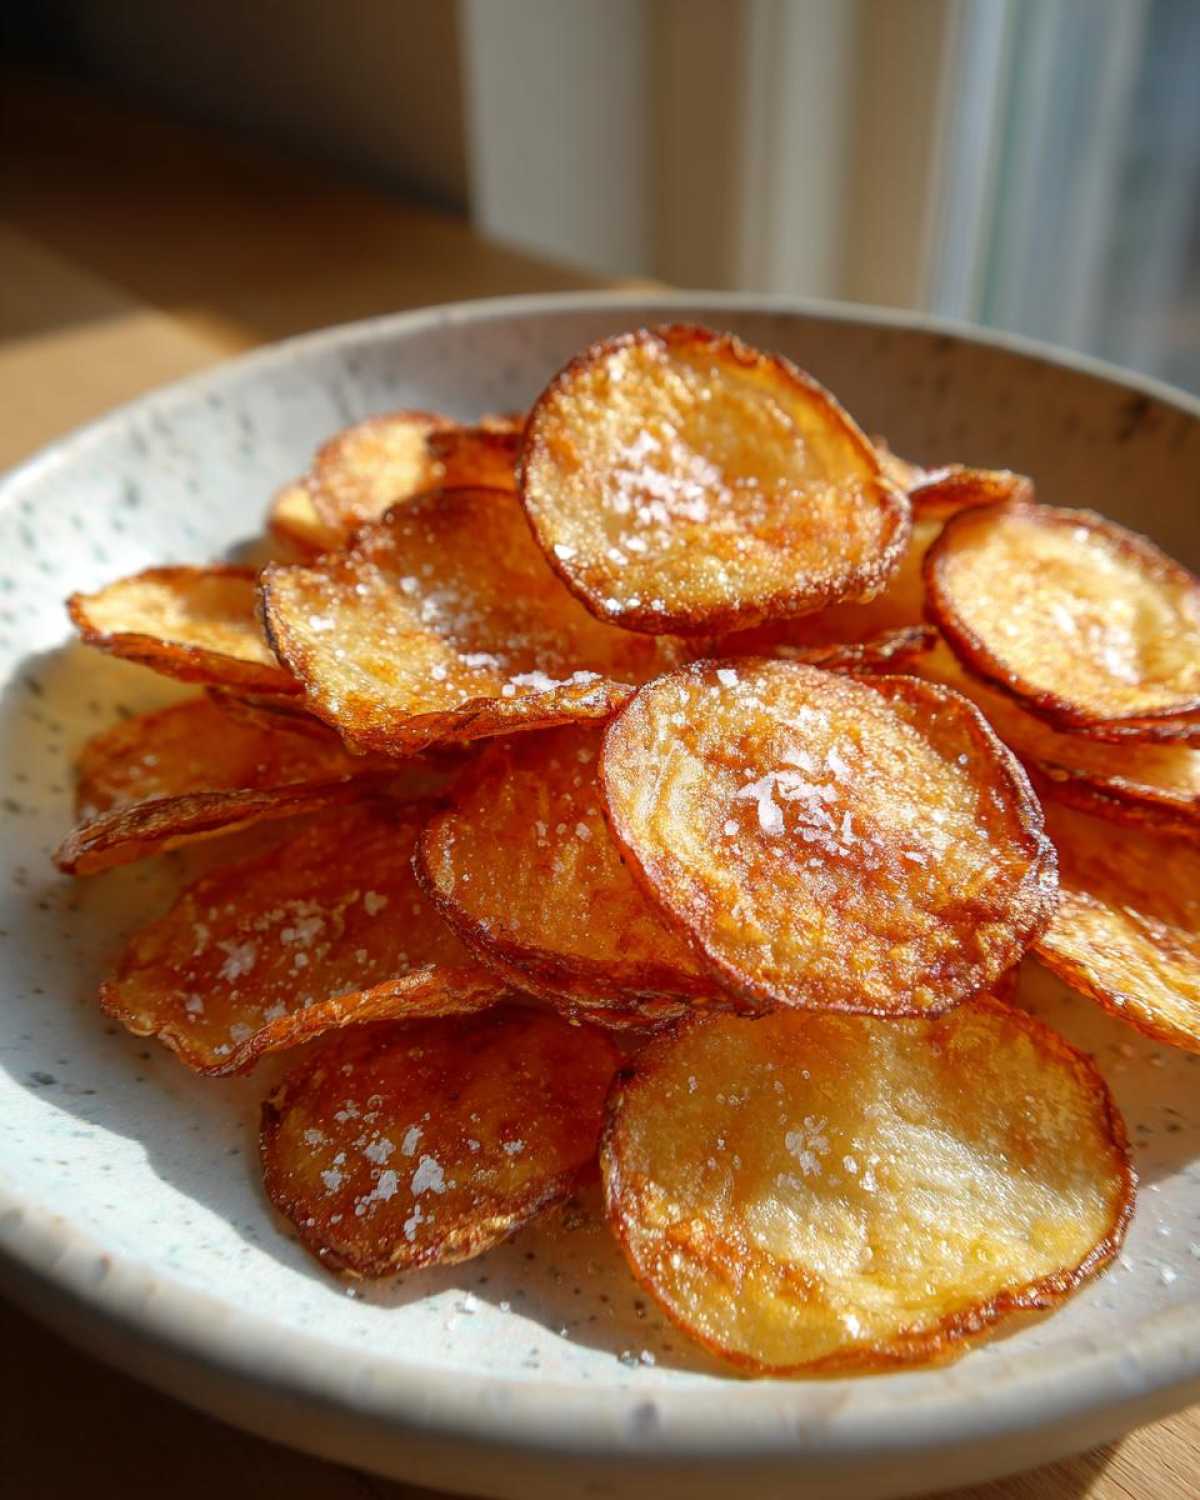
Next up is the part I sometimes rush, but then I regret it immediately: drying! You hear me? You must get these slices completely dry. I lay them all out on clean tea towels or even a stack of paper towels and just keep patting until I feel like my hands might fall off. If there is one single drop of water left, it will steam your chips instead of frying or baking them crispy. Don’t let moisture sabotage your incredibly tempting batch of crunchy potato chips. We want crunch, not steamed vegetable slices!
If you want to see our favorite side-dish pairings for when you have these beauties ready to go, check out my recipe for quick shredded chicken tacos—a little savory and tangy contrast always works!
Method 1: Classic Fried Potato Chips for Ultimate Crunch
You want the real deal? The kind that hits your nostalgia button hard? Then we are going deep-fry! Look, I know some people shy away from deep frying at home, but for the absolute best texture—that cloud-like interior and sturdy, cracking exterior—nothing beats this method. It’s pure, satisfying, classic snack indulgence.
First, you need to check your oil temperature. This is non-negotiable. Grab that candy thermometer, or whatever you use to keep an eye on things, and get your vegetable oil nice and happy at 325°F (160°C). If it’s too cool, the chips will soak up oil like a sponge and get greasy. Too hot, and they’ll burn before they cook through!
Next, remember what I said about moisture being the enemy? Well, oil is very aggressive, so make sure those slices are bone dry before they hit the pot. Now, work in tiny batches! I mean tiny. Don’t overcrowd the pot, or the oil temperature will plummet immediately, and you’ll end up with soft, sad slices instead of amazing, crunchy potato chips. Carefully drop them in, stir them occasionally with a spider or slotted spoon, and watch them closely. They go from golden to dark brown in literally seconds after the initial few minutes. You are looking for them to be a lovely, even golden color and stop bubbling so vigorously. This usually takes about 3 to 5 minutes.
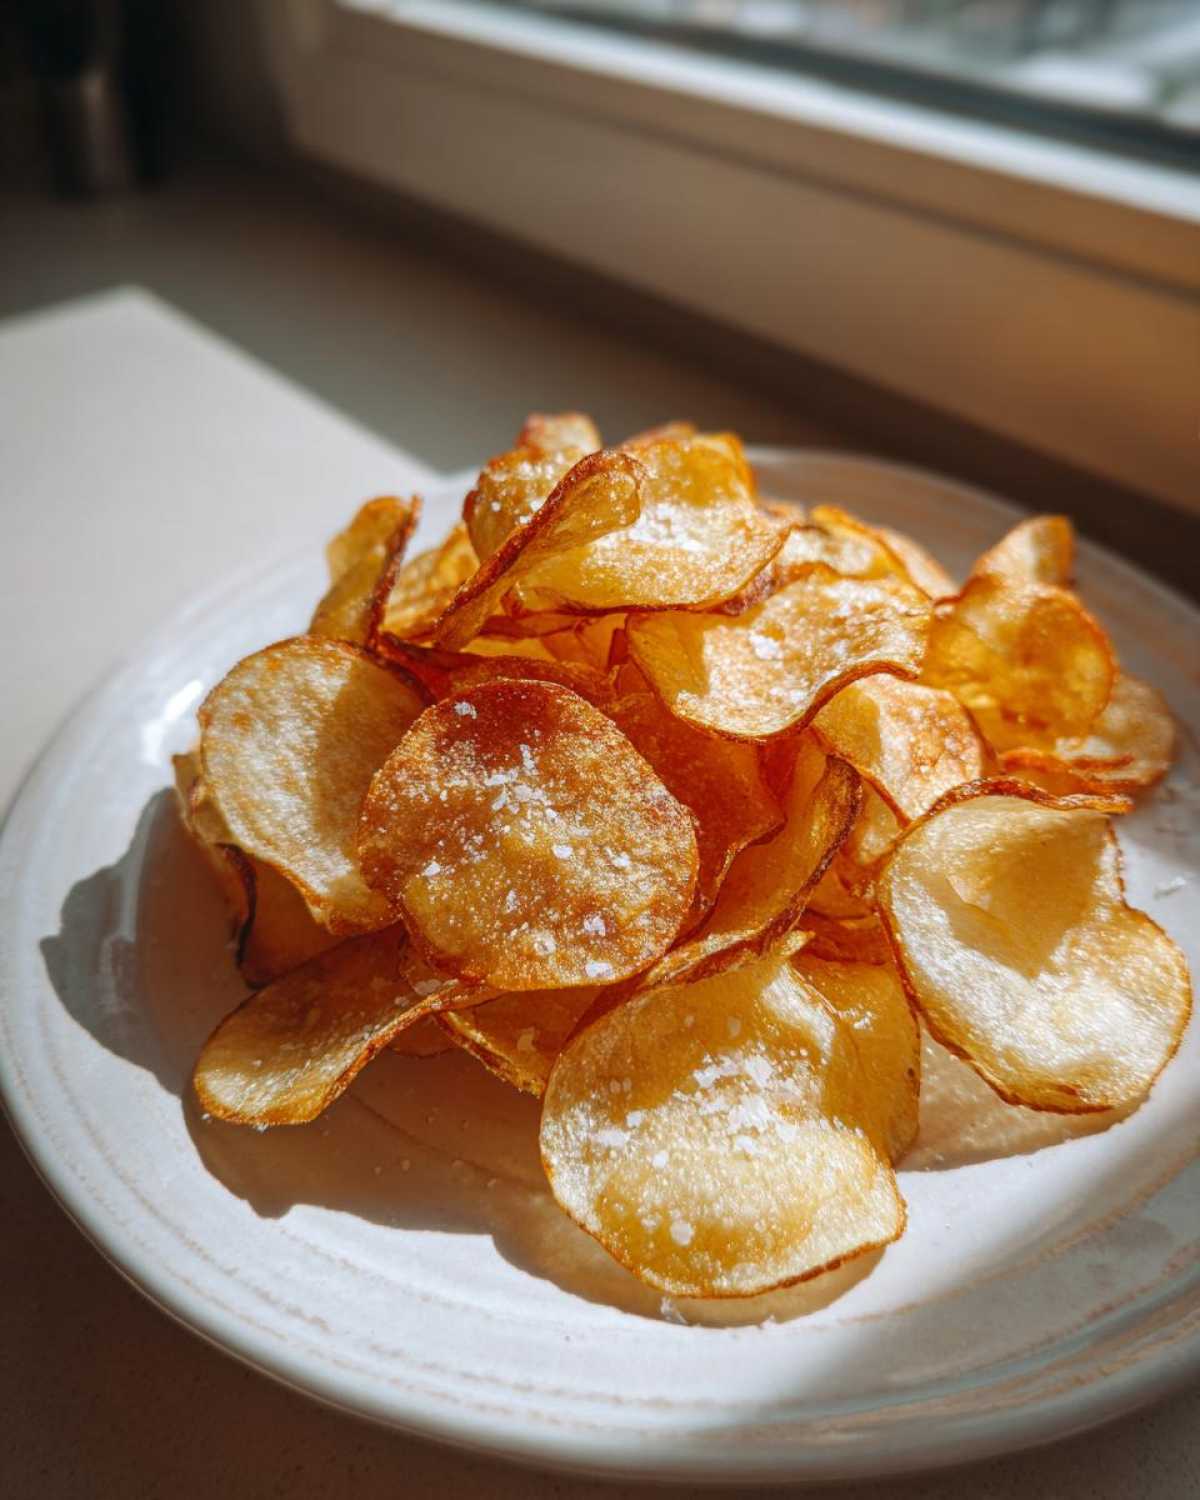
Once they look perfect, use your slotted spoon to scoop them out onto a wire rack set over paper towels. You must get them draining immediately. The second they hit that rack, you need to sprinkle them liberally with fine salt. Seriously, salt them while they are sizzling hot—that’s how the flavor actually grabs onto the chip! You can find some of my other favorite home-base recipes, like my classic Italian arancini, if you’re looking for something else comforting to make later!
Method 2: Oven Baked Chips for a Healthier Potato Chips Recipe
Now, if you’re like me and you want that fantastic potato crunch but maybe you don’t want to manage a deep fryer full of oil on a Tuesday night, this is where the magic of the oven comes in. This is the batch I often make when I just need a quick, guilt-free snack fix. We’re aiming for deeply satisfying flavor with less fat, making this a wonderful healthy potato chips option!
First, preheat your oven way up high to 400°F (200°C). High heat is what gives us that snap we are looking for in these oven baked chips. Remember those perfectly dried slices we worked so hard on? Good! Now, grab a medium bowl—don’t use the one you used for the fried batch, please!—and toss those slices with about 1 tablespoon of olive oil. You just need enough to lightly coat every little piece so it browns nicely, not swim in it.
This is the time for seasoning! Salt, garlic powder, paprika, whatever floats your boat. Toss it all together, making sure every slice gets some love. Then comes the part that requires supreme Marco focus: baking sheets! You MUST use parchment paper on your baking sheets. Seriously, don’t skip this; it makes cleanup a dream and helps with even heat distribution.
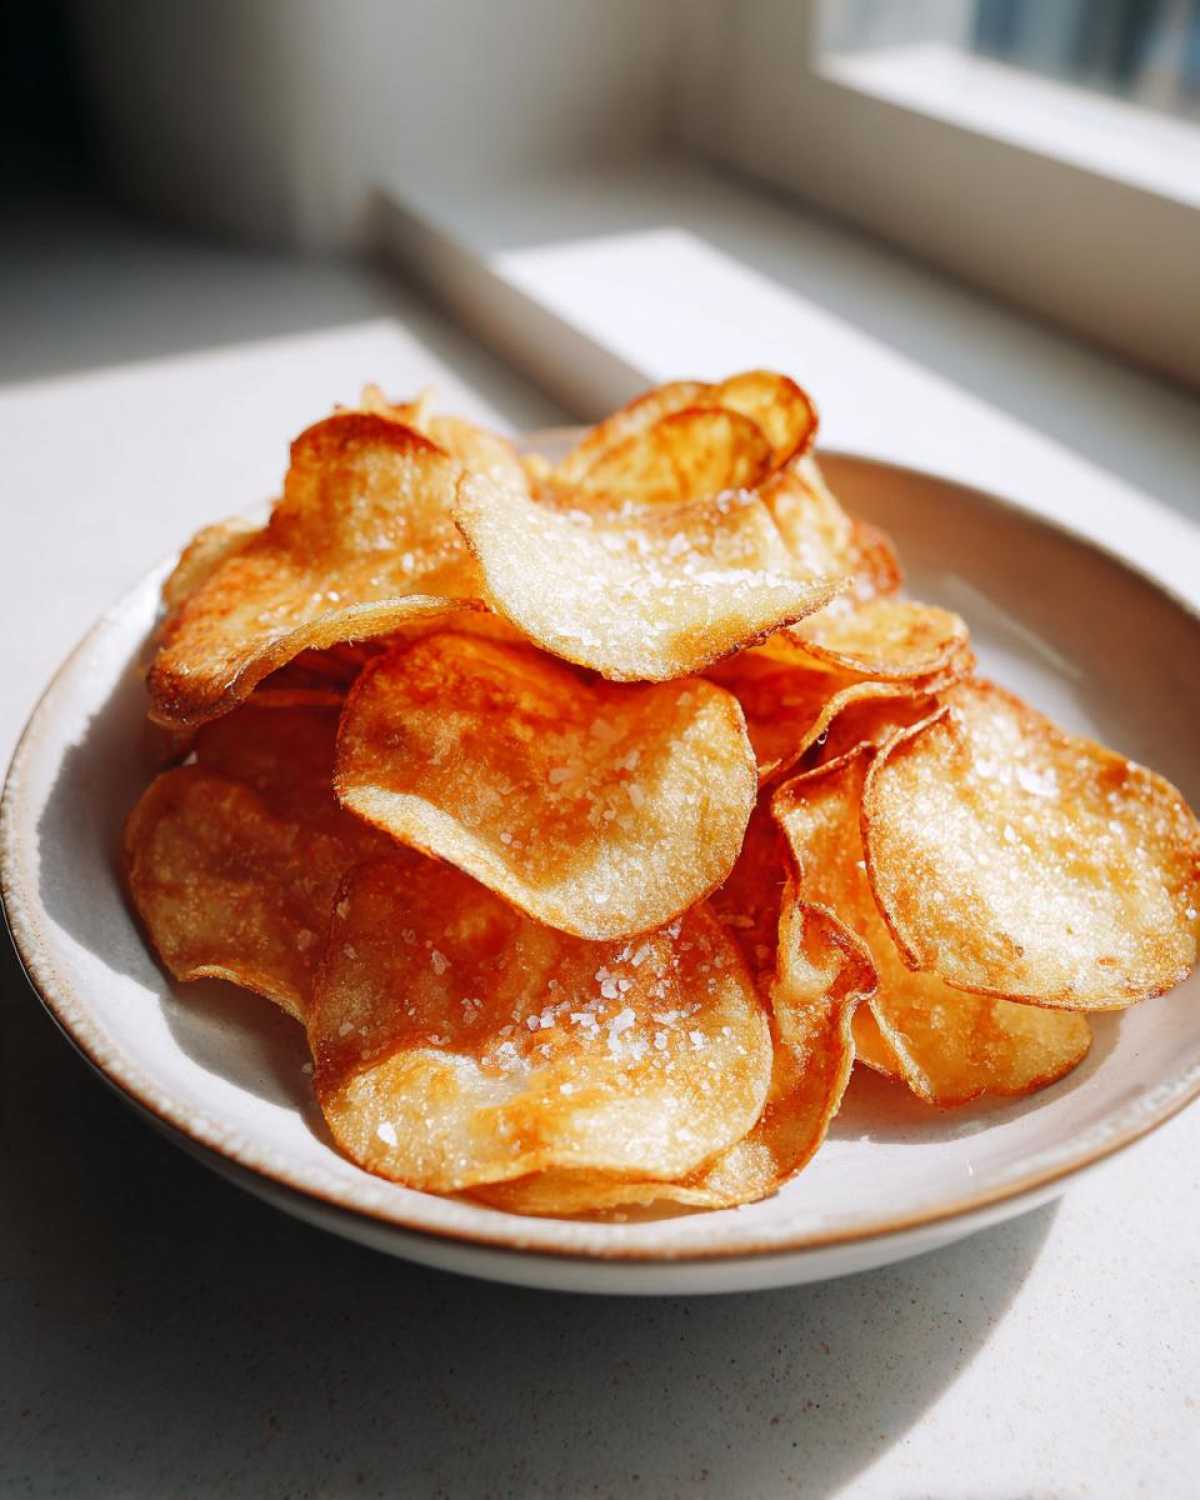
Arrange the seasoned slices in a single, perfectly even layer. I cannot stress this enough: DO NOT OVERLAP THEM. If they touch, they steam. If they steam, they get floppy. We are not making floppy chips here! If you have too many chips for one sheet, just grab a second sheet. It is always better to use two sheets than risk a soggy batch.
Slide them into that hot oven for about 15 to 20 minutes. Set a timer, but get ready to hover around the 12-minute mark. About halfway through, you need to flip them gently with a thin spatula. When the edges look beautifully golden brown and they feel firm when tapped, they are done. Pull them out, transfer them immediately to a big waiting bowl, and give them a final shower of salt while they are piping hot. If you need a reference for side pairings, check out my recipe for slow cooker mashed potatoes—it’s irony, I know, but they are amazing together!
If you’re looking for other great ways people are enjoying their baked snacks, you should see what the folks over at Wanda’s Recipes are doing with their loaded baked versions!
Method 3: Quick Air Fryer Potato Chips
When the craving for potato chips hits hard and fast, the air fryer swoops in like a superhero! This is seriously my favorite way to grab a quick, flavorful, and satisfying bite without waiting for the oven to preheat for ages. It falls right into that sweet spot of being both a quick and easy snack and having fantastic texture.
First, make sure your air fryer basket is prepped. Preheat the machine to 350°F (175°C). If you made the big batch of dried slices, scoop out what you need—remember, just like the oven, you cannot crowd this basket! Work in single, manageable layers, or these beautiful air fryer potato chips will end up steaming instead of crisping.
Toss your chips with the last bit of olive oil and seasoning, then load up the basket carefully. You’ll cook these for about 10 to 15 minutes total. The most important part of this process is the shaking! You must remember to pull out the basket and give it a good, healthy shake every 5 minutes. This redistributes the heat and ensures every surface gets that lovely golden crisp. When they smell irresistible and look deeply golden, pull them out, immediately toss them with your final pinch of salt, and savor that crunch!
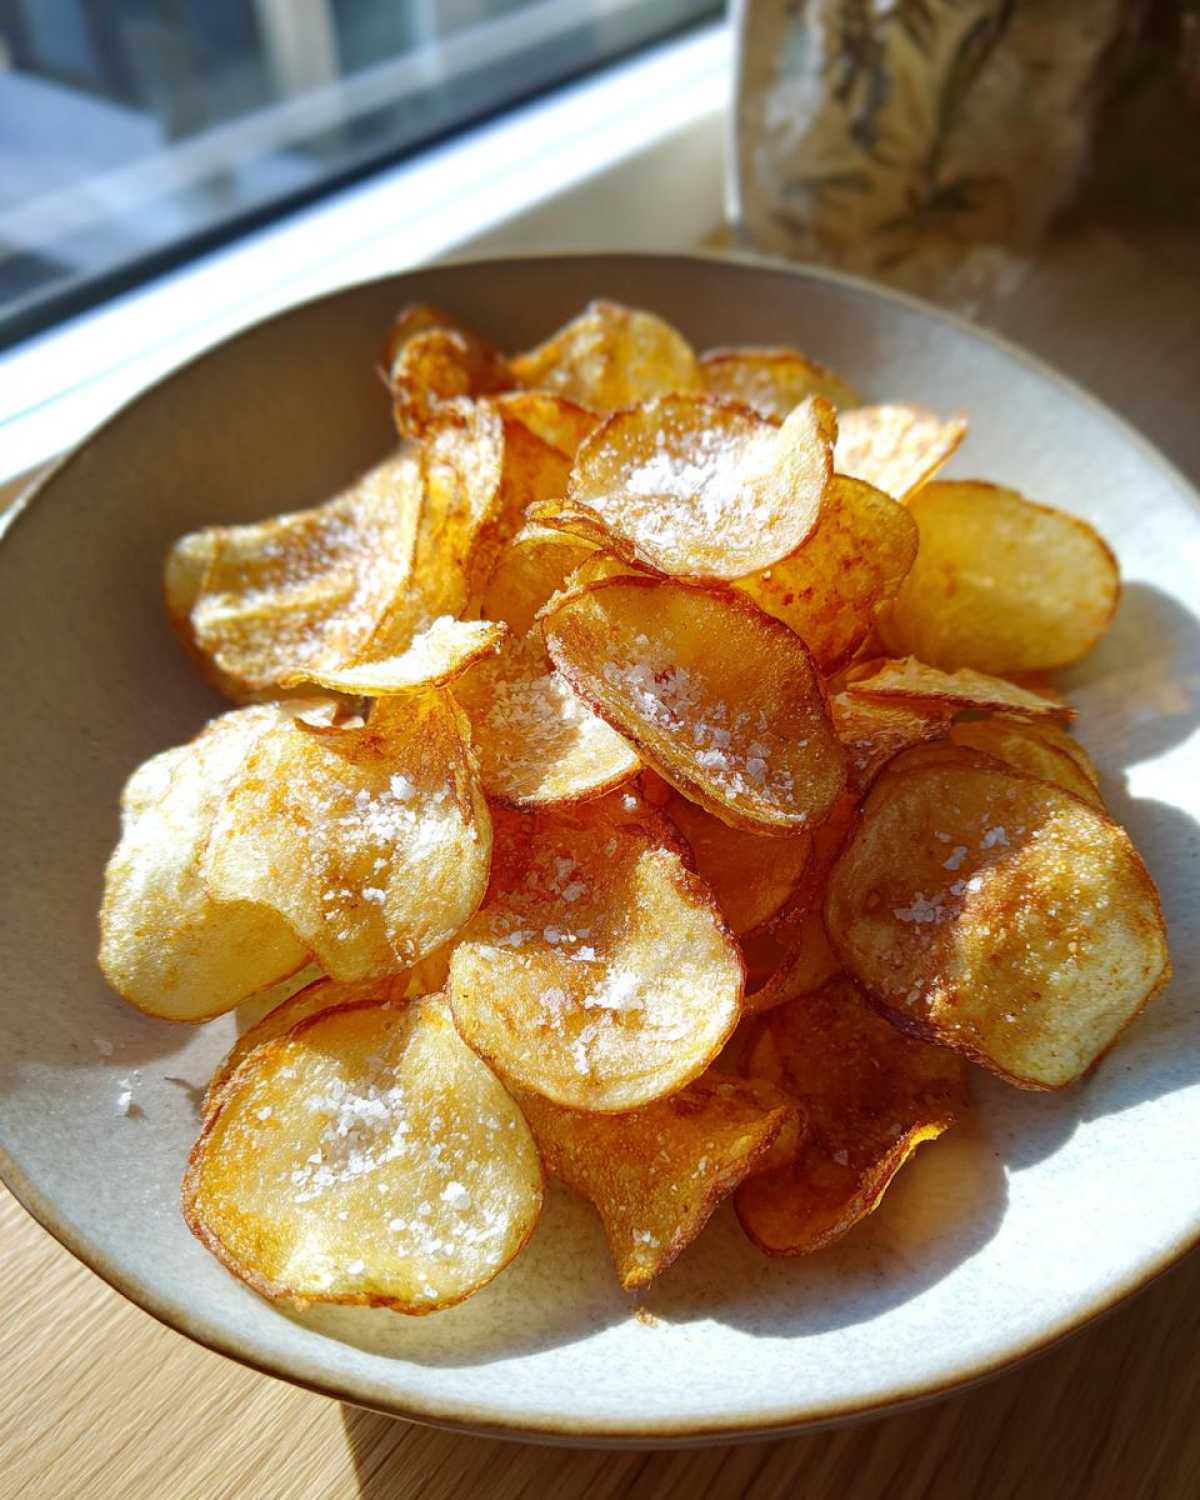
If you want to use up some of those amazing holiday leftovers, try checking out my recipe for easy homemade hot cocoa mix later—sometimes the perfect salty snack calls for a cozy drink!
For some truly spectacular inspiration on maximizing air fryer results, I always check out the brilliant folks at Air Fryer Healthy. They have some great tricks up their sleeves for getting those things perfectly crisp!
Tips for Success with Your Homemade Potato Chips
Okay, you’ve mastered the slicing and the drying—now let’s talk about making sure every single batch is a winner. I learned these little tricks I the hard way, usually by eating a whole bowl of slightly lackluster chips and vowing to do better next time! Consistency is everything when you are trying to make the best potato chips recipe at home.
Remember this: uniform thickness is the MVP here. If your slices vary too much, the thin ones burn while the thick ones stay chewy. Use that mandoline, even if it scares you a little bit! Also, seasoning must happen when the chips are screaming hot, especially for the fried and air fryer methods. The salt needs that surface heat to stick properly.
When you need a break from the standard salt, feel free to look up more coffee cake cookie recipes for inspiration on topping techniques, but for chips, here are some fun flavor swaps!
Flavor Variations Beyond Basic Potato Chips Seasoning Ideas
Once you have the texture down, the world of flavor opens up! If you want to get creative with your potato chips seasoning ideas, try tossing the chips with onion powder and a touch of smoked paprika for a smokier profile. Maybe you’re feeling cheesy? Nutritional yeast gives you a great dairy-free cheesy flavor that sticks beautifully in the air fryer.
For a real kick, a simple mix of chili powder and dried dill is incredible on the baked version. Just make sure those seasonings are dry blends; wet additions will mess with your crisp factor!
Serving Suggestions and Storing Your Homemade Snack
Okay, this is important: if you can manage it, eat these immediately! Whether you fried them, baked them, or air-fried them, the texture is absolutely heavenly right out of the oven or pot. That initial, fresh crunch is what we work so hard for, so treat yourself right away!
Now, I know sometimes we make too much (it happens to the best of us!). If you have leftovers, you absolutely must store them in an airtight container. If they sit out, they’ll get sad and soft really fast, and frankly, soft chips are a culinary crime in my book. They are fantastic served alongside a lovely appetizer like my cranberry brie bites when we have friends over, but honestly, they are best eaten solo the next day! If they do lose a little crispness, try giving them a quick 5-minute blast back in a 350°F oven. Sometimes you just need that little refresh. You can see another great recipe site review here!
Frequently Asked Questions About Making Potato Chips
I know you might still have a couple of lingering questions! It’s okay! When you’re moving from store-bought magic to making your own incredible snacks, details matter. I’ve gathered some of the questions I got most often when I was first figuring out this whole process.
What is the secret to making truly crispy potato chips?
If you take one thing away from this whole guide, please let it be this: Rinsing the starch out and drying them until they feel like sandpaper before they hit the heat is the secret weapon! Seriously, soak those slices in cold water until it’s clear, then pat every single one dry with total dedication. That dedication equals crunchy potato chips, every time.
Can I use sweet potatoes for this easy potato chip recipe?
Oh, yes, you absolutely can! Sweet potatoes make a fantastic, slightly sweeter alternative for this easy potato chip recipe. The one thing you need to watch out for is that they have a slightly different sugar content. They tend to brown much faster than regular white potatoes, so keep a really close eye on them, especially in the air fryer or oven. You might even need to drop the temperature a touch lower than recommended for the Russets.
Are air fryer potato chips truly a guilt-free snack?
That’s a great question! Compared to deep frying, yes, they are way closer to a guilt-free snack because you are using maybe a teaspoon or two of oil instead of cups! However, I always want to be upfront: you still need *some* oil, even in the air fryer, to help them crisp up and get that beautiful golden color. They are significantly lower in fat, which I love, but I wouldn’t call them zero-calorie snacks—they are just vastly healthier!
If you’ve mastered the salt and crunch and are ready for the next simple challenge in your royal kitchen, you have to try my recipe for easy 3-ingredient chocolate mousse. It’s another weeknight win!
Estimated Nutritional Information for Homemade Potato Chips
Now, I know that after we’ve made something this delicious, sometimes the practical side of our brain starts ticking—how much of that glorious crunch are we actually consuming? Since we made three different versions (fried, baked, and air fryer), the numbers can shift quite a bit depending on the method you choose. Please remember that these figures are just estimates based on the core ingredients listed above, and they don’t account for the specific brands of oil or the amount of salt you throw on at the end. I always encourage you to treat this as a fun guideline rather than a strict nutritional breakdown!
For serving size reference, we calculated this snapshot based on dividing the total yield by four. This is usually a good snack size, but let’s be real—sometimes I need two servings of that crunchy goodness!
- Serving Size: 1/4 of the recipe
- Calories: Approximately 250 (Note: Fried chips will be higher due to oil absorption, baked/air fryer lower)
- Fat: Around 15g (This varies the most between methods!)
- Saturated Fat: Roughly 2g
- Carbohydrates: About 28g
- Protein: Approximately 3g
- Sodium: Approx 350mg (This is totally dependent on how much salt *you* sprinkle on afterward!)
- Cholesterol: 0mg
We skipped the super detailed breakdown of all the fats since they fluctuate so much, but the biggest takeaway is that making your own allows you to consciously control that sodium level. If you’re looking for more fantastic recipes that elevate simple ingredients into something special—like my easy 3-ingredient chocolate mousse—we’ve got you covered!
Share Your Royal Snack Creations
That’s it! You have completed the journey from humble potato to ultimate, crunchy homemade snack masterpiece. Whether you went classic fried for that unbeatable satisfaction, or kept it light in the air fryer, I truly hope you can hear that incredible *snap* when you bite in.
Now that you’ve crowned yourself the sovereign of salty snacks, I desperately want to know how it turned out! Did you stick to the garlic and paprika, or did you go totally wild with your own seasoning blend? Don’t keep that brilliance to yourself; we are all about sharing the royal feast here at Eatable Empress!
Leave me a rating down below—five stars if you’re already planning your next batch! And when you post a picture of your golden, crunchy perfection on social media, tag us! I love seeing your creations in your own kitchens. Tagging us helps other readers see how versatile and easy this ultimate recipe really is.
If you have any final burning questions that weren’t answered in the FAQ section, or if you just want to say hello and tell me how much you loved these chips, please reach out to us through our contact page. We read every single message. Long live the simple feast, and long live perfect, homemade crunch!
PrintThe Ultimate Homemade Potato Chips: Fried, Baked, and Air Fryer Crispy Versions

Learn how to make the best crispy potato chips from scratch using three methods: classic deep-fry for maximum crunch, oven-baked for a healthier snack, and air fryer for quick results. This guide gives you the secrets to perfectly thin, golden, and satisfying homemade chips.
- Prep Time: 20 min
- Cook Time: 20 min
- Total Time: 40 min
- Yield: 4 servings
- Category: Snack
- Method: Frying, Baking, Air Frying
- Cuisine: American
- Diet: Vegetarian
Ingredients
- 3 large Russet or Yukon Gold potatoes
- Vegetable oil, for frying (if using the classic method)
- 1 tablespoon olive oil (for baking or air frying)
- 1 teaspoon fine sea salt, or to taste
- 1 teaspoon garlic powder (optional seasoning)
- 1/2 teaspoon paprika (optional seasoning)
Instructions
- Prepare the Potatoes: Wash and dry the potatoes completely. Using a mandoline slicer or a very sharp knife, slice the potatoes as thinly as possible, aiming for uniform thickness for even cooking.
- Rinse and Soak: Place the thin slices into a large bowl of cold water. Swirl them around to release excess starch. Let them soak for at least 30 minutes, or up to 2 hours, changing the water once if it becomes very cloudy. This step is key for crispy potato chips.
- Dry Thoroughly: Drain the potatoes and spread them in a single layer on several layers of clean kitchen towels or paper towels. Pat them completely dry. Moisture is the enemy of crispiness.
- Choose Your Method: Decide whether you want classic fried, oven baked chips, or air fryer potato chips.
- Method 1: Classic Fried Chips (For Ultimate Crunch): Heat 2 inches of vegetable oil in a deep, heavy-bottomed pot to 325°F (160°C). Working in small batches, carefully add the potato slices to the hot oil. Fry for 3–5 minutes, stirring occasionally, until they are golden brown and stop bubbling vigorously. Remove with a slotted spoon and drain on a wire rack set over paper towels. Immediately sprinkle with salt.
- Method 2: Oven Baked Chips: Preheat your oven to 400°F (200°C). In a bowl, toss the dry potato slices with 1 tablespoon of olive oil, salt, and any desired seasonings like garlic powder and paprika. Arrange the slices in a single layer on baking sheets lined with parchment paper, ensuring they do not overlap. Bake for 15–20 minutes, flipping halfway through, until edges are brown and crisp.
- Method 3: Air Fryer Potato Chips: Preheat your air fryer to 350°F (175°C). Toss the dry slices with 1 tablespoon of olive oil and seasoning. Place the chips in the air fryer basket in a single layer (work in batches). Cook for 10–15 minutes, shaking the basket every 5 minutes, until golden brown and crunchy.
- Season and Serve: While the chips are still hot, transfer them to a large bowl and toss with additional salt or your favorite seasoning mix. Serve immediately for the best texture.
Notes
- For the best results with any method, slice the potatoes uniformly thin. A mandoline slicer provides the most consistent thickness.
- If you are making baked or air fryer chips, tossing them with a small amount of oil helps them brown and crisp up nicely.
- Try different seasonings like onion powder, chili powder, or nutritional yeast for unique flavor profiles.
Nutrition
- Serving Size: 1/4 of recipe
- Calories: 250
- Sugar: 1
- Sodium: 350
- Fat: 15
- Saturated Fat: 2
- Unsaturated Fat: 13
- Trans Fat: 0
- Carbohydrates: 28
- Fiber: 3
- Protein: 3
- Cholesterol: 0