

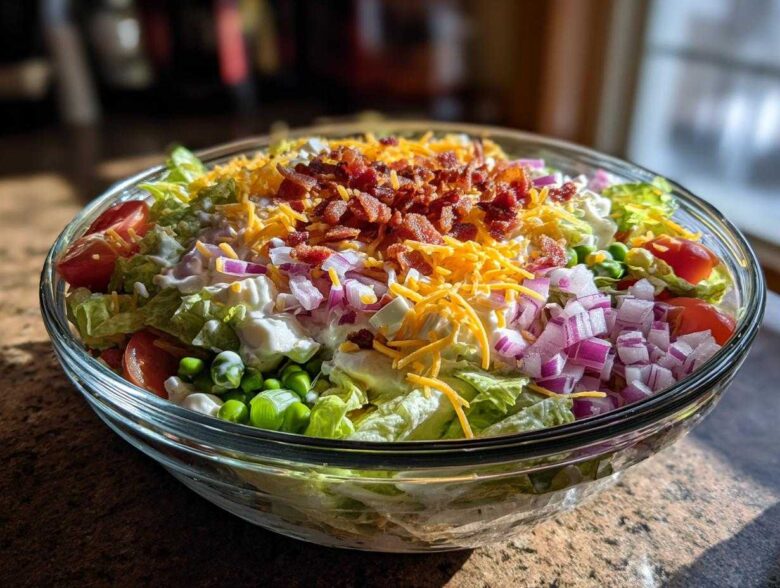
Sometimes, the dishes that scream “comfort” aren’t roasts or casseroles; they’re the incredible, old-school sides that show up at every great American gathering. Marco and I used to stick to complicated appetizers, but I’ve learned that true regality comes from mastering the simple things—and few things are simpler or more satisfying than a perfectly constructed 7 layer salad. It’s the ultimate retro side dish, completely perfect for our modern need to prep food ahead of time. When I make this, I’m not doing it to impress a crowd; I’m doing it because even on a busy Tuesday, I deserve the best flavors the kitchen has to offer, echoing our philosophy over at Eatable Empress. Get ready, because I’m handing over the definitive, incredibly easy layered salad recipe that builds beauty right in the bowl.
Why This Classic 7 Layer Salad Reigns Supreme (The E-E-A-T Factor)
You see, this isn’t just a pile of random vegetables; it’s architecture you can eat! The number one reason I champion this dish is the sheer convenience. It’s the ultimate make ahead salad. I prepare it the night before, and it tastes even better the next day. Marco absolutely loves how beautiful it looks—you need a clear glass bowl, trust me, because showing off those distinct layers is half the fun of these wonderful retro salad recipes.
For me, this 7 layer salad is a taste of home. It’s savory, it’s creamy, and that little bit of salty bacon crunch makes it irresistible. It’s proof that simple comfort food can absolutely feel regal!
Gathering Ingredients for Your 7 Layer Salad Recipe
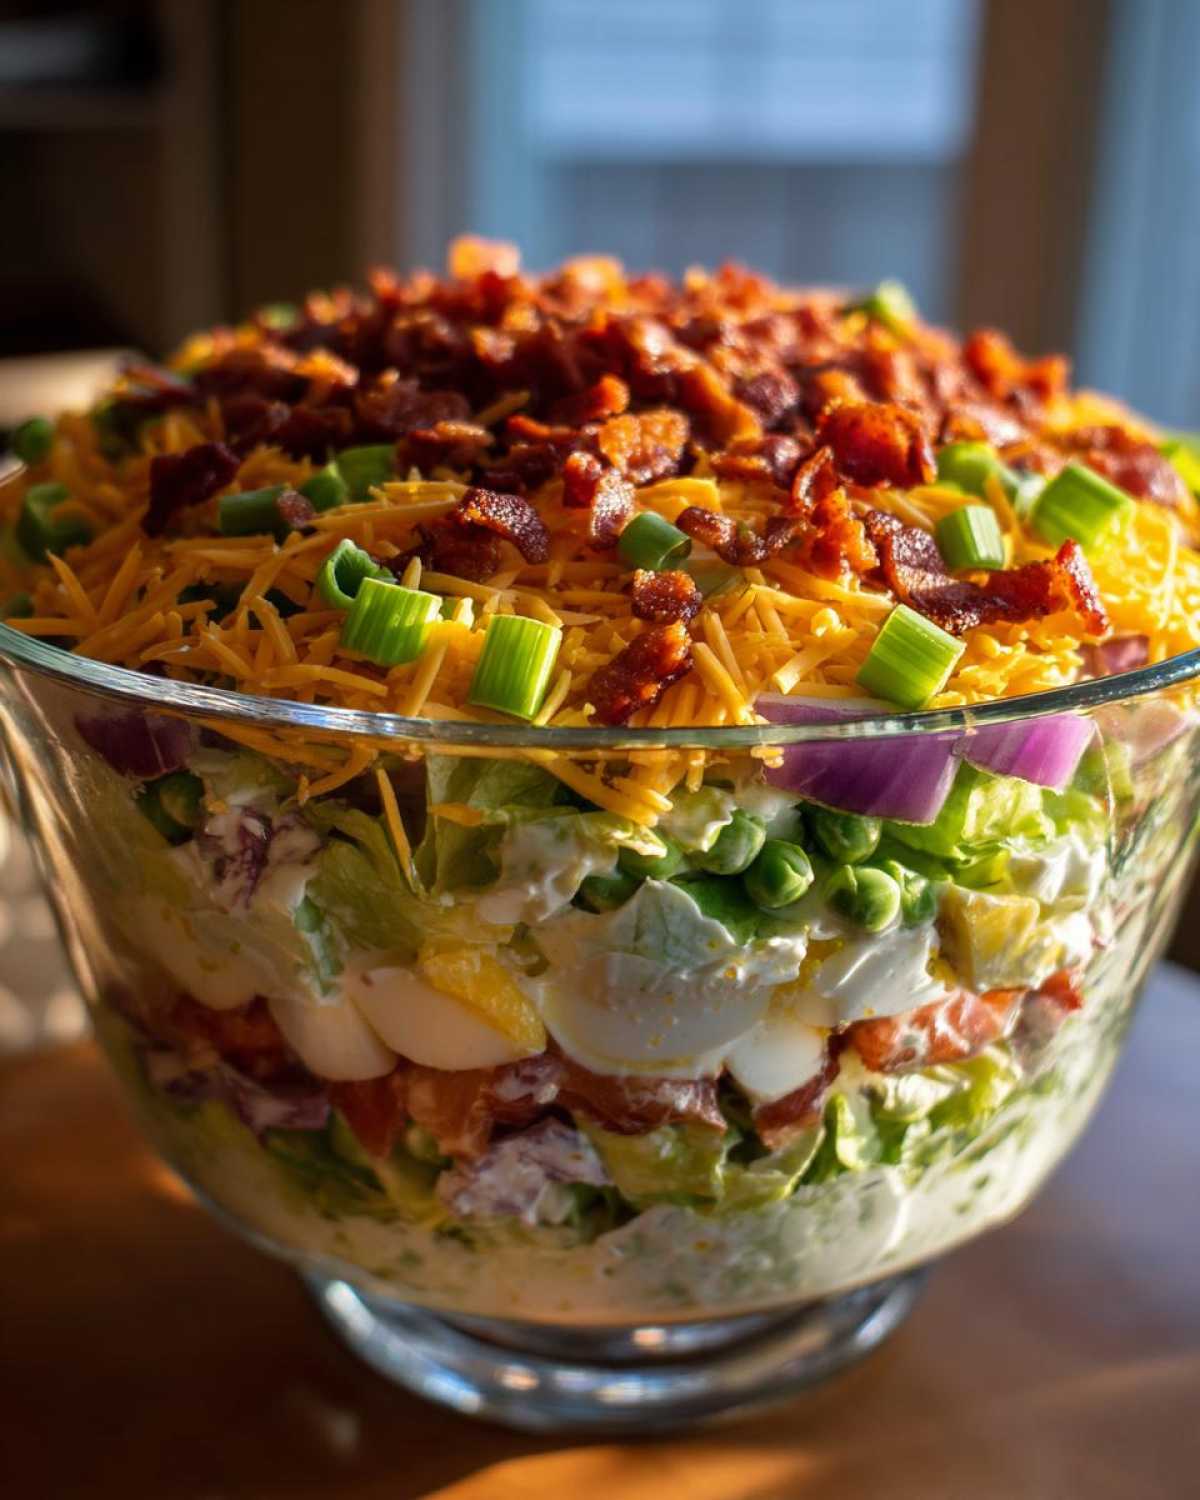
When we’re building something this beautiful, the quality of the components really matters, right? Since this is a showcase dish, you want every layer to contribute maximum flavor and that perfect *crisp layered salad* texture. Pulling everything out beforehand makes assembly a breeze. Trust me, having your bacon crumbled and your eggs ready to go makes the whole process feel less like work and more like an artistic endeavor. We’re keeping this classic, so make sure you grab the good sharp cheddar!
The Creamy Dressing for Your Layered Salad Recipe
This dressing is what pulls everything together; it’s the secret sauce that makes this a proper *creamy vegetable salad*. You’ll need the mayonnaise, white vinegar, sugar, and Dijon mustard. Don’t just dump them in a jar and shake! I need you to whisk these together really well until they’re unbelievably smooth. That little bit of sugar and Dijon cuts through the richness of the mayo and makes the final texture silky, not grainy.
Components for the Best Seven Layer Salad
Now for the main event layers. You must have one full head of iceberg lettuce, chopped finely—that’s our crunch base! Next, you need thawed peas, chopped celery, and red onion. Remember, if those peas aren’t completely thawed, they’ll leak water into your layers later, and that’s a disaster. We’ll also need four hard-boiled eggs sliced, six strips of crispy bacon crumbled, sharp cheddar cheese shredded, and nice chopped tomatoes for the top splash of color. Keep everything prepped and waiting for the layering!
Step-by-Step Assembly: Building the Perfect 7 Layer Salad
Okay, this is where the magic happens! Get that beautiful, large glass bowl—remember, we eat with our eyes first, so showing off this structure is non-negotiable for the ultimate 7 layer salad experience. Work deliberately, but don’t rush. Each ingredient needs its own space to shine before settling into its final resting place. We are building from the ground up!
Layering the Base and Veggies for a Fresh Layered Salad Recipe
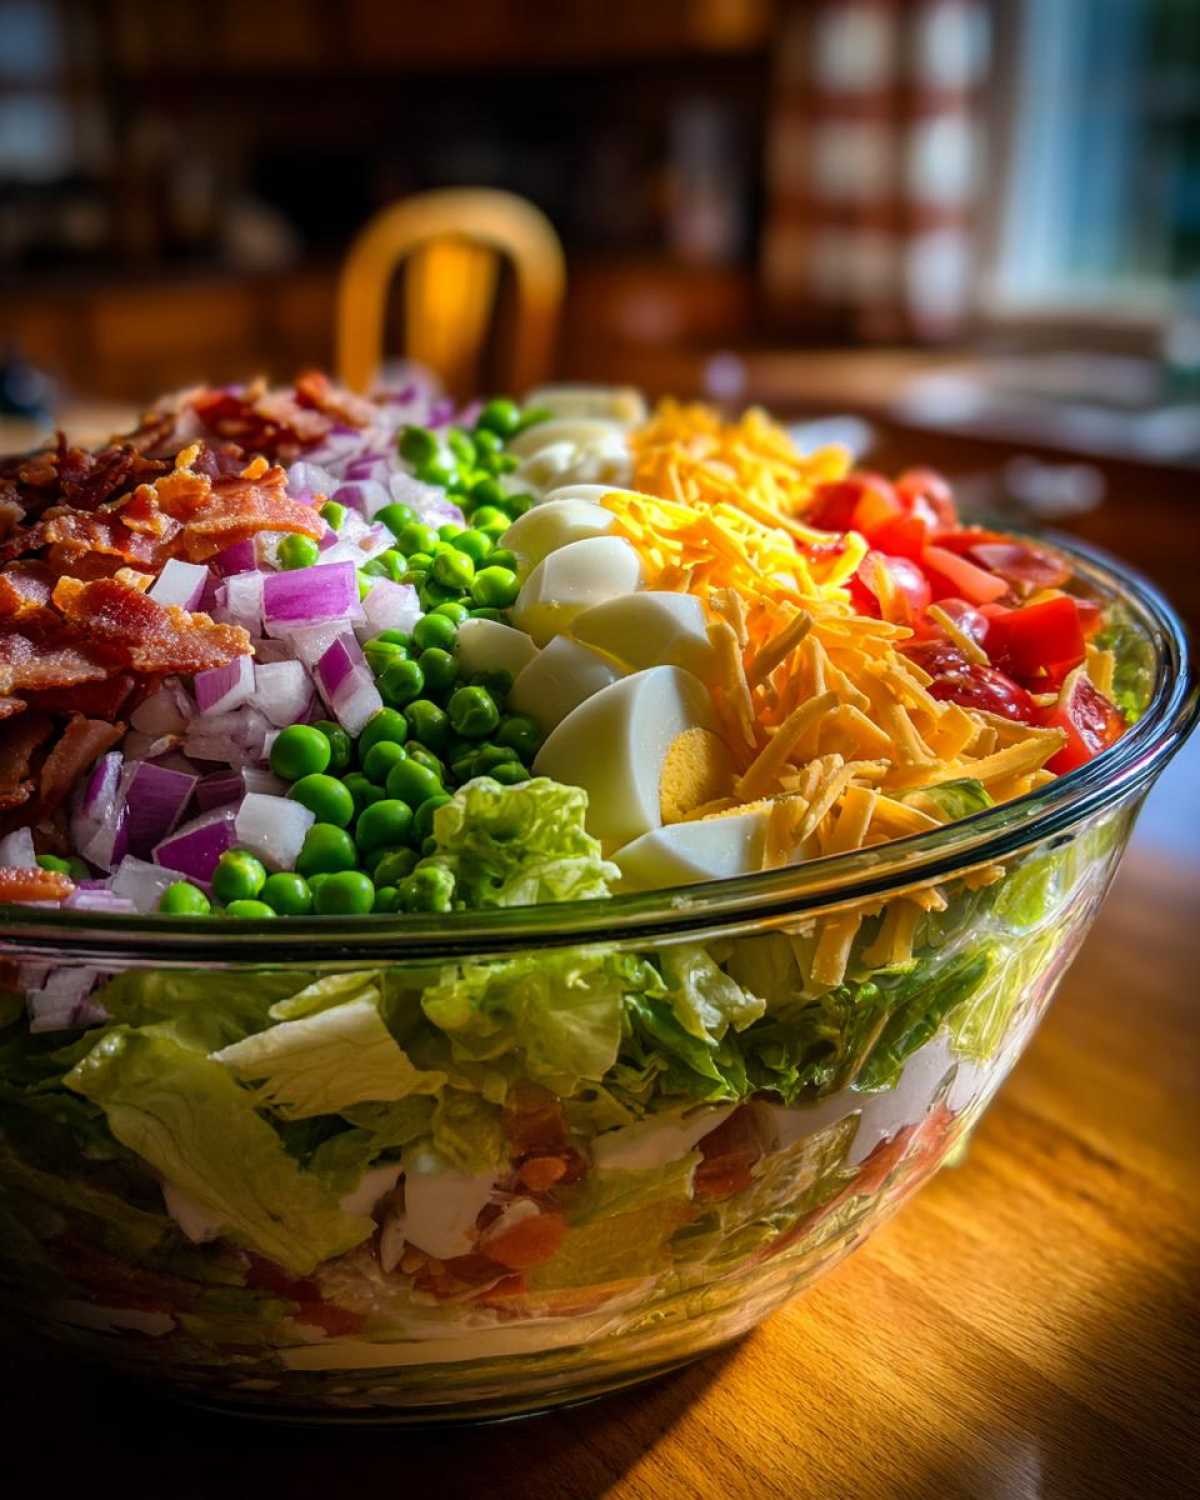
First things first: the lettuce goes down. You’ll start by placing half of your chopped iceberg lettuce on the very bottom. This acts like a little sponge, ready to soak up any residual moisture later. Next, sprinkle in your thawed peas evenly; they add that beautiful pop of green. Follow that immediately with a layer of celery, and then the chopped red onion.
Mid-Layering: Dressing, Cheese, and Bacon in the 7 Layer Salad
Once the veggies are set, it’s time to anchor things down. Add your sliced hard-boiled eggs. Then, gently spread half of your creamy dressing over the eggs. I like to use the back of a spoon held close to the surface so I don’t disturb the layer below. Over that dressing, sprinkle half of your sharp cheddar cheese. Finally, we add the crispy bacon!
Finishing the Fresh Layered Salad Assembly
Now we repeat the cycle to cap it off! Add the rest of your lettuce over the bacon. Spread the remaining dressing smoothly over this top lettuce layer—this works to seal in the freshness. For the grand finale, sprinkle the rest of the cheddar cheese across the top, and then scatter those bright chopped tomatoes last. This layering ensures you get a bit of everything—that crunch, that saltiness, and that creamy coating—in every single slice of your gorgeous 7 layer salad.
Make Ahead Salad Tips for Stress-Free Potluck Side Dishes
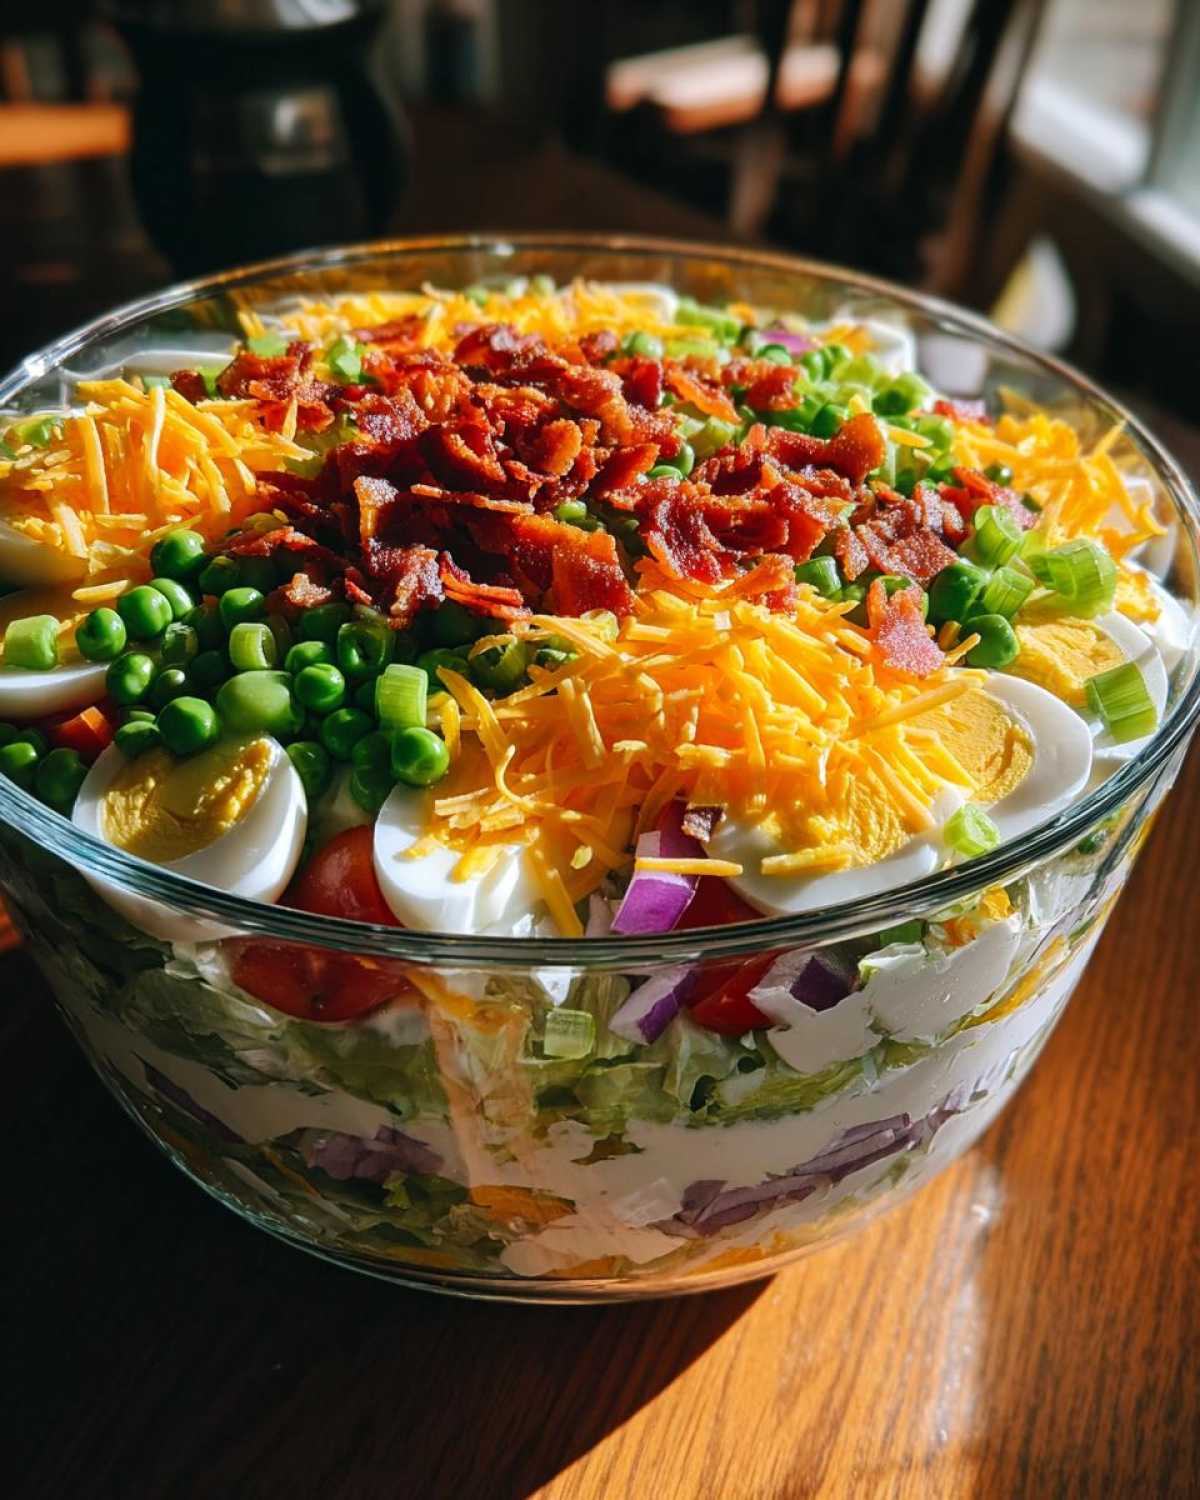
If you’re hosting, you know that making things ahead seals the deal! This 7 layer salad truly shines as the perfect make ahead salad. My rule is this: assemble it completely the night before your event, or at the very least, six hours before serving. Why? Because that resting time is crucial! It allows the flavors from the bacon, onion, and that creamy dressing to meld deep into the vegetables. It transforms from a nice salad into *the definitive* potluck side dish everyone talks about.
When you put it away, you absolutely must cover it tightly. I use plastic wrap pressed right down onto the top layer of tomatoes and cheese, and then I usually wrap the whole bowl in foil afterward just to be safe. This seals out any stray fridge smells and keeps the lettuce from wilting before it hits the table. Honestly, the anticipation the next morning makes it worth the wait!
Tips for Success When Making Your 7 Layer Salad
Making a truly magnificent *7 layer salad* comes down to a few tiny, yet mighty, executive decisions. First, and this is crucial: drain everything well! Those peas, those tomatoes—we want flavor, not soupy water sitting at the bottom. Also, please use the tallest, clearest bowl you own. If you can’t see the layers clearly, what’s the point, right? We are aiming for show-stopping elegance here.
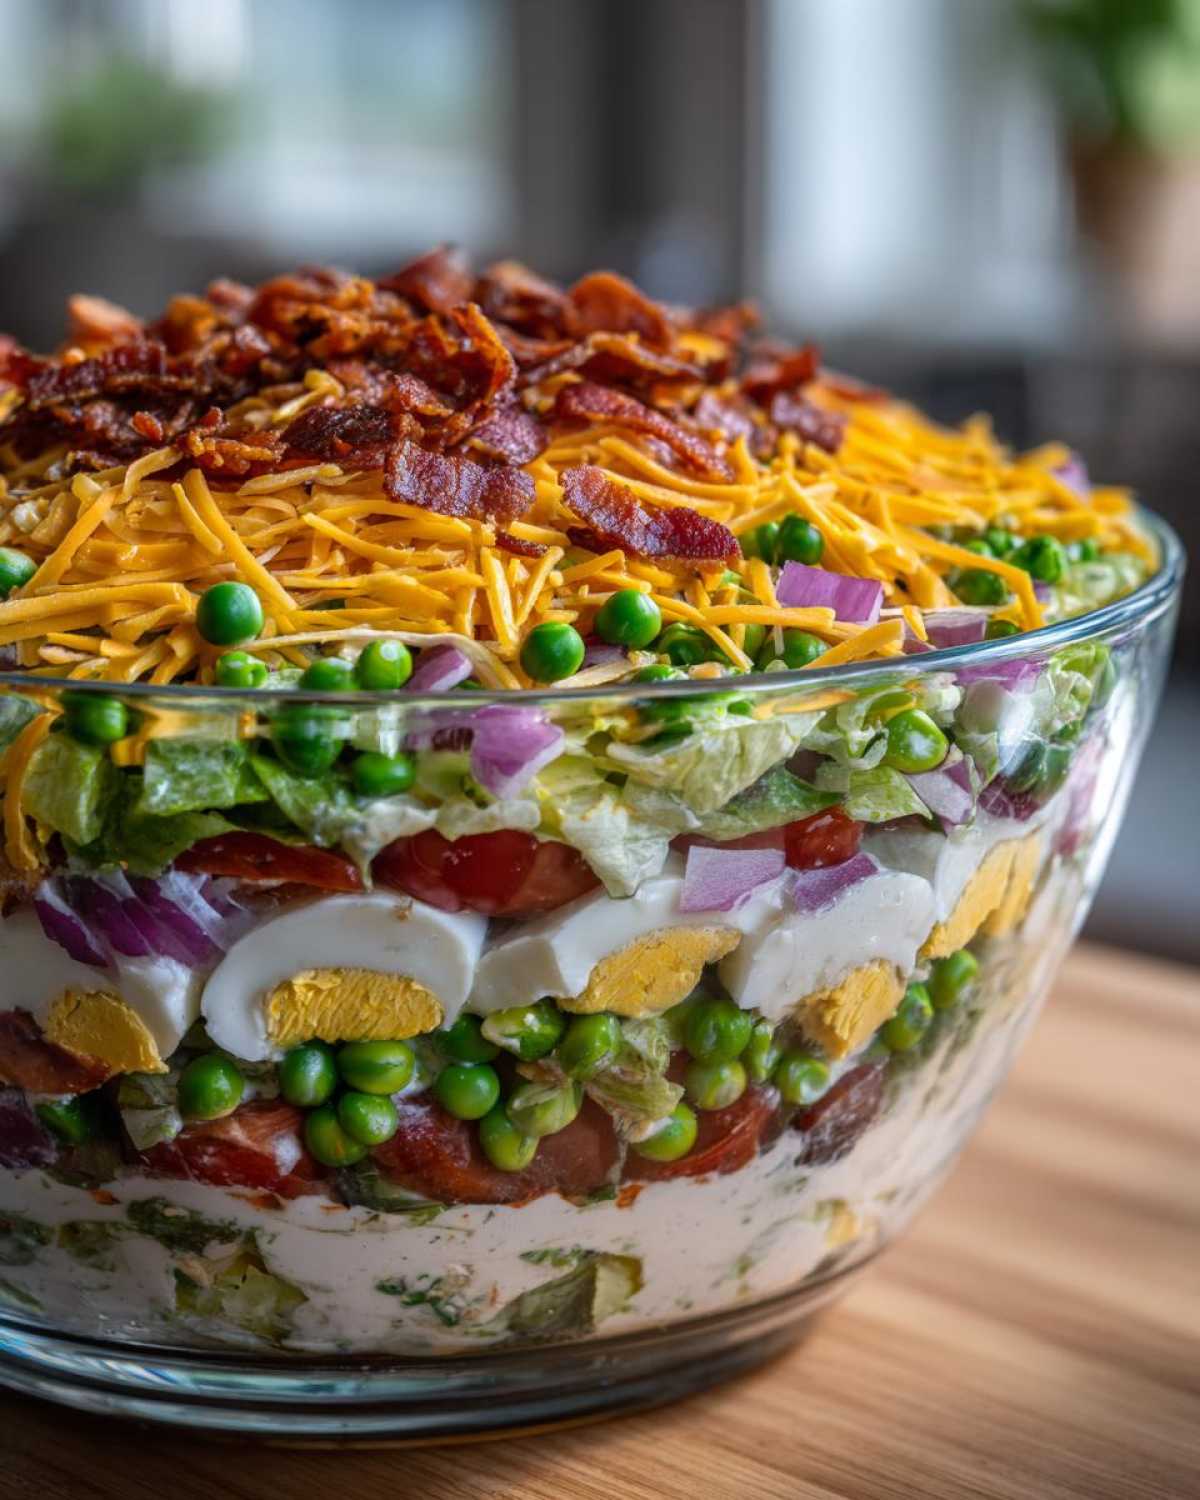
When it comes time to serve this family favorite salad, don’t scoop it like a casserole. You need to slice straight down with a sharp knife through all levels, and then use a serving spoon that’s long enough to lift the whole slice out cleanly onto the plate. Voila! Instant royalty on your plate, without messing up the structure for the next person. That’s how you treat yourself like royalty!
Variations: Beyond the Classic 7 Layer Salad
While our heart belongs firmly with this classic version, I totally get it—sometimes you need to mix things up or maybe you’re hosting a themed night! We’ve seen some fun takes recently, like turning this into a full-on seven layer taco salad variation, which sounds amazing for a casual Friday night. If you prefer to keep it in the garden salad family, don’t be afraid to swap the cheddar for Monterey Jack for a creamier texture. I’ve even heard whispers of people adding crisp, finely chopped cauliflower or even thin slices of mushroom to boost the veggie count in this simple layered vegetable salad base. The beauty of a layered dish is that the structure usually holds, no matter what delicious additions you introduce!
Serving Suggestions for This Easy Party Salad
Because this 7 layer salad is rich with bacon and that beautiful creamy dressing, I always pair it with something lighter on the main course line. It absolutely steals the show as one of those must-have holiday side dish recipes, especially when you bring it to a summer BBQ! Think blackened fish or simple, succulent grilled chicken to cut through the creaminess.
Whatever you choose, serving this visual stunner elevates the entire meal. It’s truly the perfect dinner party side salad because it requires zero effort from you once it’s chilled; you just slice and serve the elegance!
Storage and Reheating for Your 7 Layer Salad
Since this masterpiece is served cold, we don’t need to worry about reheating—praise be! The best part about this recipe being the best seven layer salad is that leftovers are totally a thing. If you have any remaining after your gathering, cover that beauty tightly and pop it right back into the fridge. It holds up surprisingly well for two, maybe even three days!
Now, I won’t lie; the lettuce won’t be quite as crisp on day three, and the bacon might get a little softer, but honestly, that creamy dressing soaks in and makes the remaining layers incredibly flavorful. Just promise me you won’t even think about freezing this! It just doesn’t work well for cold salads. Grab a plate tomorrow and enjoy your perfectly prepped creation!
Frequently Asked Questions About the 7 Layer Salad
Every time I share this recipe, I get the same brilliant questions from my followers who are ready to treat themselves to the best side dish! It’s totally normal to have a few tweaks in mind when you’re planning your feast. Don’t worry if you have a specific dietary need or just want to know the secret to perfect presentation—I’ve got the answers right here!
Can I substitute the dressing if I do not want a creamy vegetable salad?
That’s a fair question! While the creamy mayonnaise-based dressing is genuinely what makes this a *creamy vegetable salad* and helps bind the whole structure, you certainly can try an alternative. A light, tangy vinaigrette works okay, but be warned—it won’t offer the same richness or stability. The classic binding agent is crucial for keeping your beautiful 7 layer salad layers from sliding around when you go to slice it!
What is the best dish to use for this layered salad recipe?
If you want that stunning visual effect that makes this an ideal choice for your next trip out as one of your favorite picnic salad ideas, you must use a tall, clear glass bowl. A trifle dish is perfect! If you use a standard wide, shallow bowl, you lose the height and the defined look of the different layers. We want height and clarity for maximum impact on the serving table!
How long before serving should I assemble the 7 layer salad?
This is the most important part! To get the absolute best flavors—where the eggs and bacon start speaking to the peas and celery—you really need time. I always aim to assemble the entire dish at least overnight. A minimum of four full hours in the fridge is required just to let the flavors marry and for those layers to set firmly enough so they don’t collapse when you cut into them. Trust me on the overnight chill!
Enjoying Your Perfect 7 Layer Salad
And there you have it! You’ve done the work, you’ve respected the layers, and now you get to experience the reward. Whether you brought this to a massive family reunion or just decided you deserved a truly magnificent side dish for a quiet evening at home, you’ve mastered the art of the beautiful, simple feast. I sincerely hope this process of building the ultimate classic seven layer salad felt satisfying and relatively stress-free.
I’m always so eager to hear how our royal recipes turn out in your kitchens! Once you’ve sliced into that beautiful bowl and everyone has had a taste, please come back and leave me a rating right here on the post. Let me know if it was the star of your *potluck side dishes* or what main course you paired it with. Marco and I read every single comment!
Sharing your success helps build our community. Tag me on social media when you serve it up—I love seeing your gorgeous presentations! Enjoy every single crisp, creamy bite of your fantastic 7 layer salad!
PrintClassic 7 Layer Salad: The Best Potluck Side Dish

Make the ultimate classic 7 layer salad. This recipe features fresh ingredients layered perfectly and a creamy dressing, making it an easy make-ahead salad ideal for any gathering.
- Prep Time: 25 min
- Cook Time: 10 min
- Total Time: 35 min
- Yield: 8 servings
- Category: Side Dish
- Method: Layering
- Cuisine: American
- Diet: Vegetarian
Ingredients
- 1 head iceberg lettuce, chopped
- 1 cup frozen peas, thawed
- 1 cup chopped celery
- 1 cup chopped red onion
- 4 hard-boiled eggs, sliced
- 6 slices bacon, cooked and crumbled
- 1 cup shredded sharp cheddar cheese
- 1 cup chopped tomatoes
- 1 cup mayonnaise
- 2 tablespoons white vinegar
- 1 teaspoon sugar
- 1 teaspoon Dijon mustard
Instructions
- Prepare the dressing: In a small bowl, whisk together the mayonnaise, white vinegar, sugar, and Dijon mustard until smooth. Set aside.
- Prepare the vegetables and bacon: Ensure the peas are thawed. Chop the celery and red onion. Slice the hard-boiled eggs. Cook the bacon until crisp, then crumble it. Shred the cheddar cheese. Chop the tomatoes.
- Assemble the layers in a large glass bowl or trifle dish in this specific order: Start with half of the chopped lettuce on the bottom.
- Add the next layer of peas over the lettuce.
- Follow with the celery layer.
- Add the red onion layer next.
- Place the sliced hard-boiled eggs over the onions.
- Spread half of the creamy dressing evenly over the egg layer.
- Sprinkle half of the shredded cheddar cheese over the dressing.
- Add the crumbled bacon layer.
- Top with the remaining lettuce.
- Spread the remaining dressing over the top layer of lettuce.
- Finish by topping with the remaining cheddar cheese and the chopped tomatoes.
- Cover the bowl tightly with plastic wrap. Chill the salad for at least 4 hours, or preferably overnight, to allow the layers to set and the flavors to meld.
- When ready to serve, slice down through all the layers to serve portions.
Notes
- Prepare this salad the night before your event; chilling overnight makes it a perfect make-ahead salad.
- Use a clear glass bowl to show off the distinct layers, which is key for this retro salad recipe.
- If you are serving a large crowd, you can easily double this recipe for a bigger potluck side dish.
Nutrition
- Serving Size: 1 serving
- Calories: 350
- Sugar: 5
- Sodium: 450
- Fat: 30
- Saturated Fat: 10
- Unsaturated Fat: 20
- Trans Fat: 0
- Carbohydrates: 10
- Fiber: 2
- Protein: 12
- Cholesterol: 100