

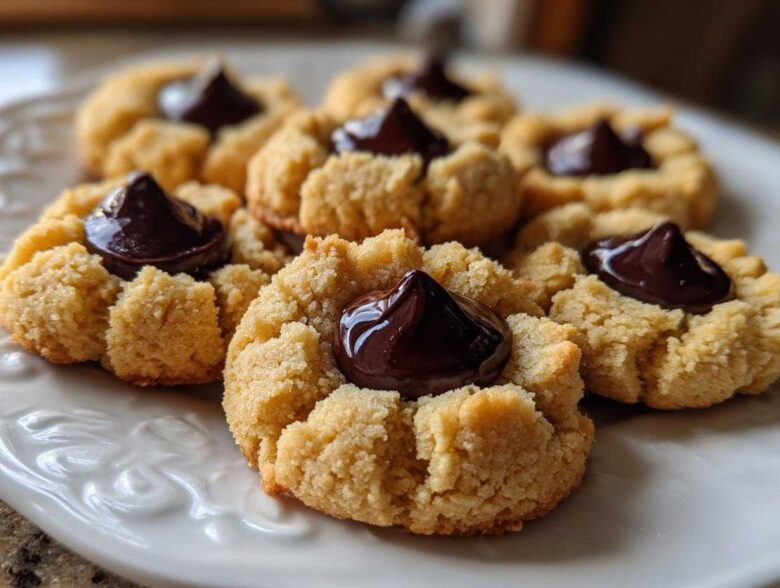
There are some cookies that just scream ‘home’ and ‘celebration,’ don’t you think? For me, that’s the classic peanut butter blossom. It’s that perfect, nostalgic little package of sweet and salty deliciousness. While Marco and I are busy teaching everyone how to treat themselves like royalty every day, we also know that a truly reliable, decadent treat is essential for those sacred, quiet moments. This recipe isn’t complicated—it’s just *right*. Forget dry, crumbly messes; I’m sharing my method for the absolute **best soft and chewy peanut butter blossom** you will ever eat. This batch is just for you, Empress; no guests required! If you want to know more about reclaiming your kitchen as your sanctuary, check out our philosophy over on the About Us page.
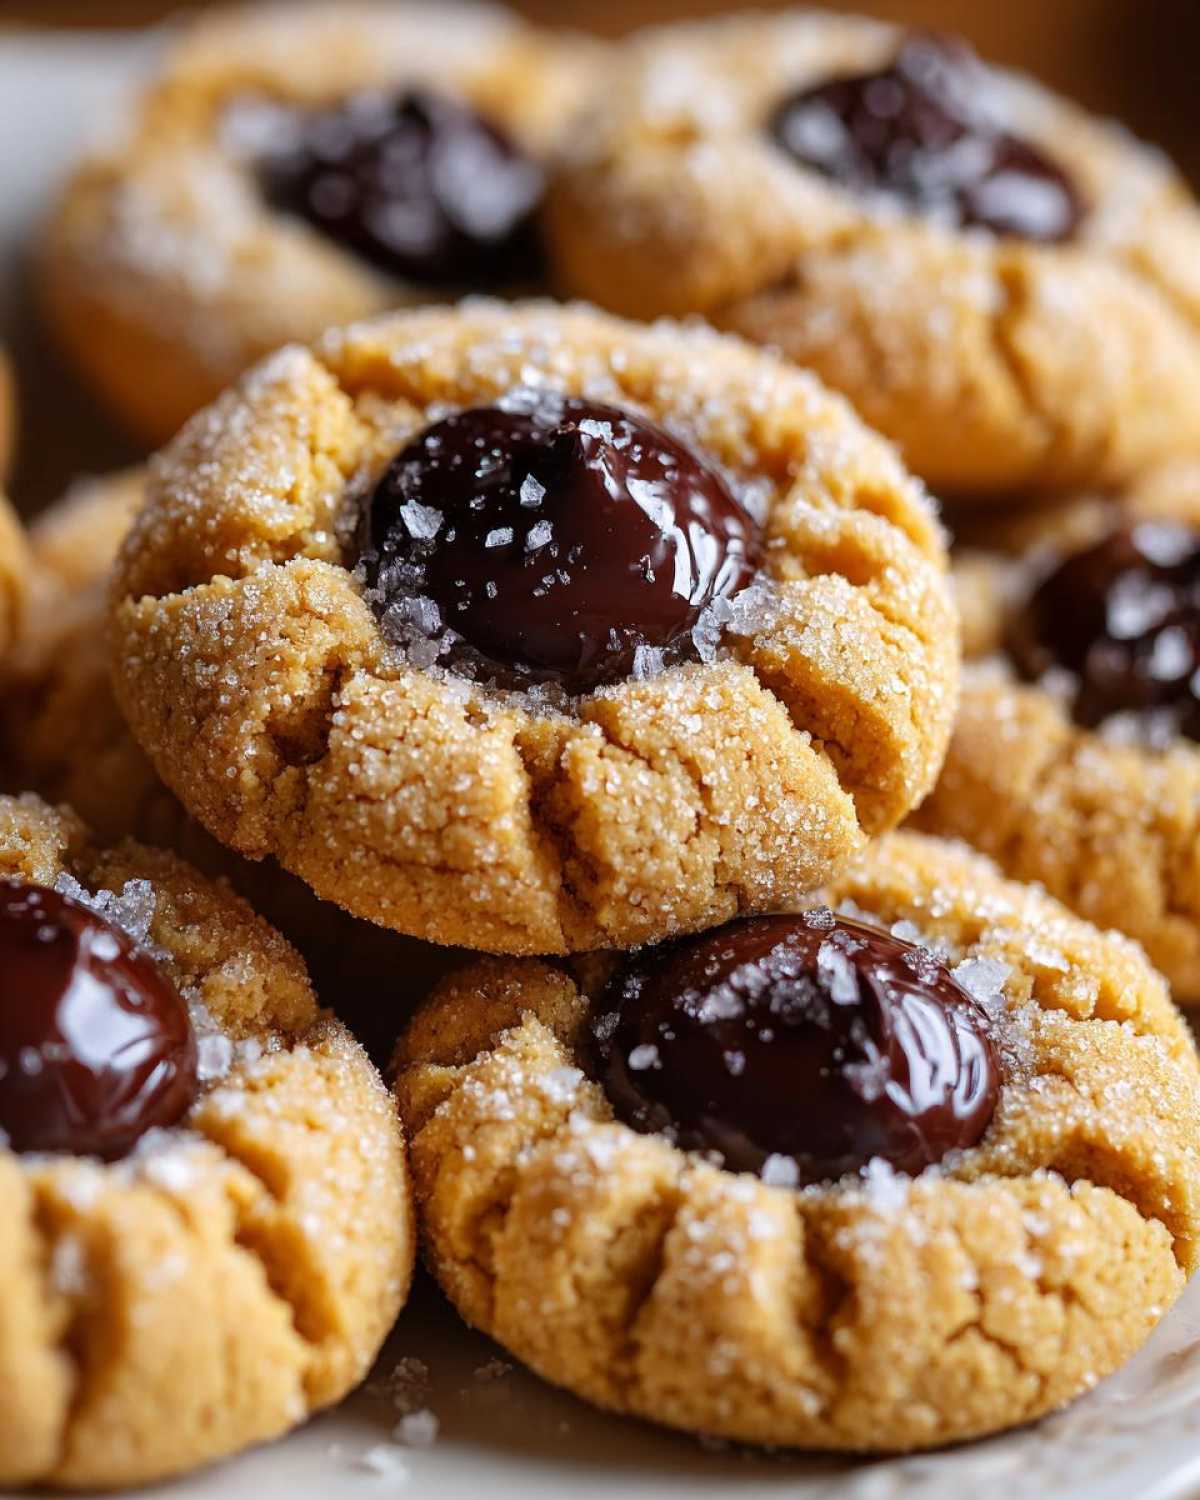
Why You Deserve These Soft and Chewy Peanut Butter Blossoms
Listen, you deserve a guaranteed win, especially when it comes to holiday baking or just making a Wednesday feel special. This isn’t just another cookie recipe; it’s the blueprint for happiness. I promise these creations deliver exactly what you’re craving!
- They are unbelievably soft and chewy, never dry—that’s the secret we nail down!
- That iconic, crinkly peanut butter look with the shiny chocolate top? Perfection achieved every time.
- They are fast! You can have these baked and ready for your next cookie swap in under an hour total.
- They are completely reliable. Marco says they are sturdy enough for gifting but tender enough for midnight snacking.
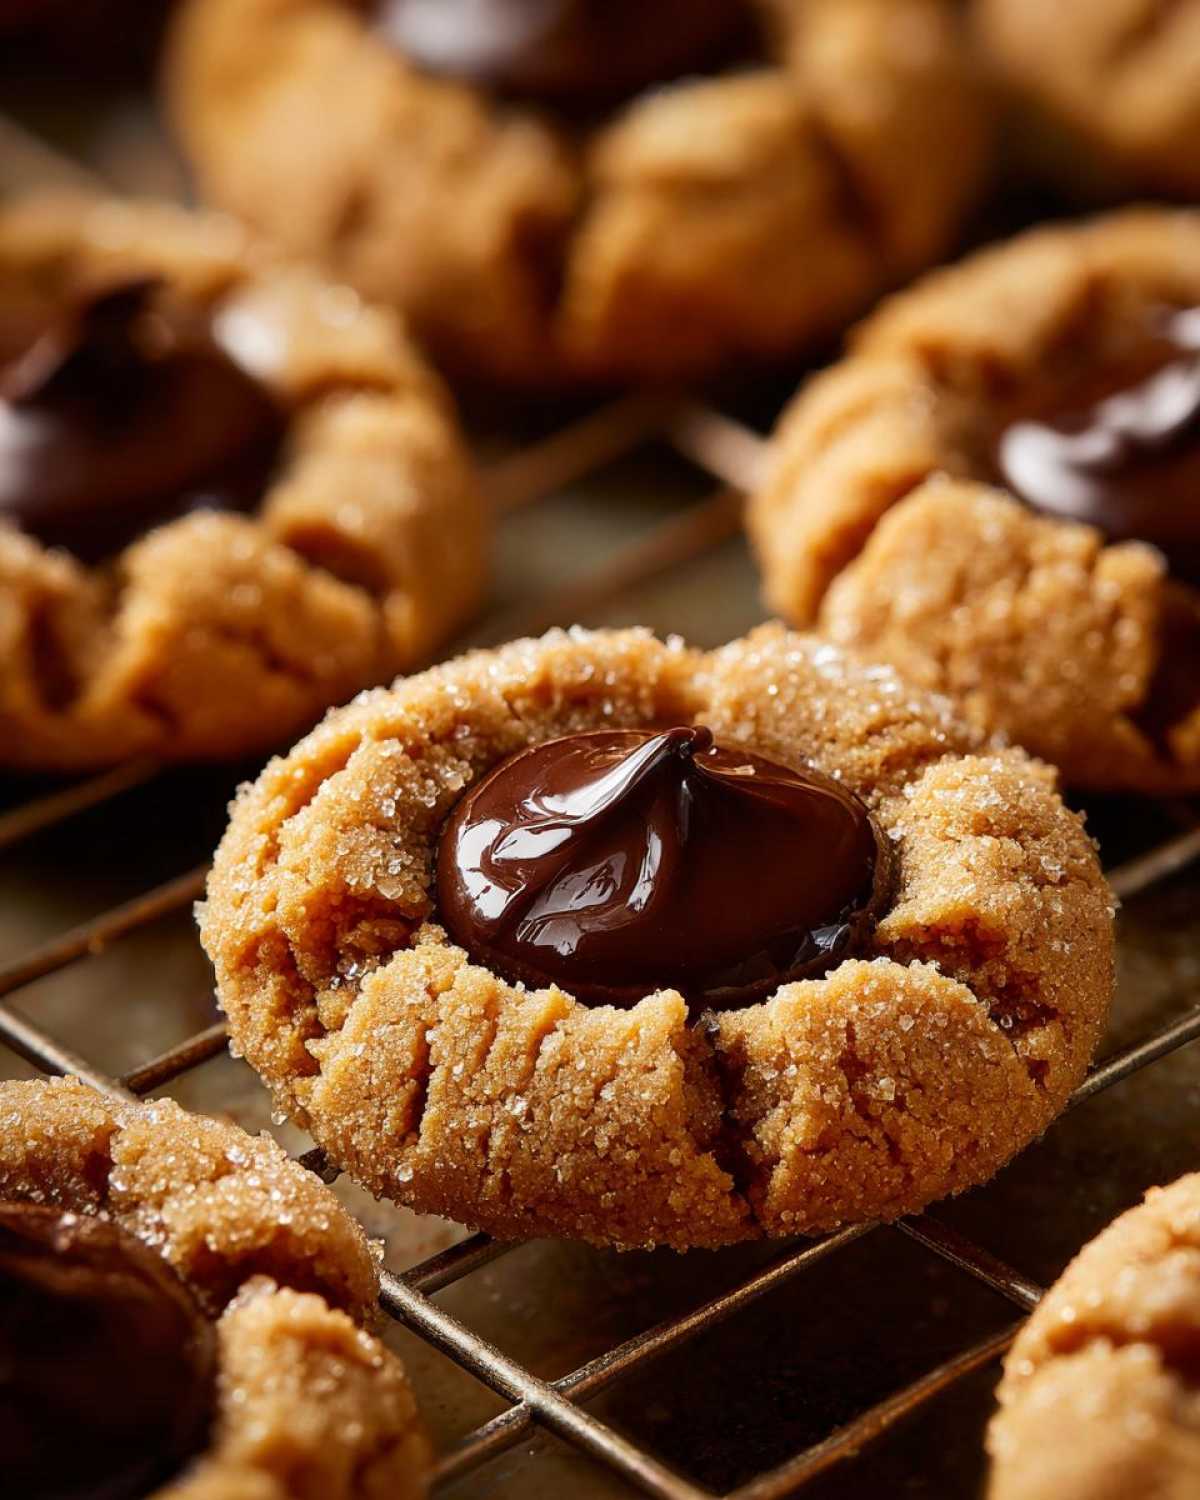
Ingredients for the Perfect Peanut Butter Blossom
Alright, let’s talk essentials! When you’re aiming for the absolute best, the ingredients matter. I always say, you can’t make a royal dessert with common goods. For these classic peanut butter blossoms, stick to the list below. Using a good, creamy peanut butter is a game-changer for that rich flavor—no substitutes, please! This is the foundation for cookies that stay soft for days. Remember, having everything measured out beforehand makes the entire process so much smoother, especially when you’re creating special treats for yourself.
- 1 cup unsalted butter, softened
- 3/4 cup creamy peanut butter
- 3/4 cup granulated sugar
- 3/4 cup packed light brown sugar
- 2 large eggs
- 1 teaspoon vanilla extract
- 2 1/4 cups all-purpose flour
- 1 teaspoon baking soda
- 1/2 teaspoon baking powder
- 1/2 teaspoon salt
- 1/4 cup granulated sugar (for rolling)
- 1 bag (about 12 ounces) Hershey’s Kisses, unwrapped
If you’re looking for other ways nuts and peanut flavors transform simple treats, you might enjoy my recipe for no-bake protein balls sometime!
Mastering the Peanut Butter Blossom: Step-by-Step Instructions
Okay, this is where the magic happens, and I promise it’s going to feel easy! We are building these **peanut butter blossom** cookies layer by layer to guarantee that soft, chewy result. First things first: always preheat that oven to 375 degrees F. It’s a small thing, but when you’re aiming for consistency, that initial blast of heat is crucial for setting the outside just right.
Preparing the Dough for Your Peanut Butter Blossom
You have to take your time with the creaming step—this is my biggest trick for a soft cookie! Get that softened butter, peanut butter, white sugar, and brown sugar into your bowl. Beat it until it looks light and fluffy, like a cloud waiting for a meringue. Then, mix in your eggs one at a time. Now, for the dry stuff: mix your flour, baking soda, powder, and salt separately. Add the dry into the wet mixture slowly. And here is the critical part: stop mixing as soon as you see the last streak of flour disappear. If you overmix, you develop gluten, and suddenly, your soft cookie turns into a tough little disc! We don’t want that for our **peanut butter blossom**.
Baking and Adding the Iconic Chocolate Kiss
Once the dough is mixed, pour that separate 1/4 cup of sugar onto a little saucer. Roll your dough into one-inch balls and then give them a good, thorough coating in that sugar. That coating is what creates that signature crackly top we all love on **Classic Peanut Butter Cookies**! Place them about two inches apart on your parchment-lined sheets. Bake them for just 8 to 10 minutes—I mean it! They should still look slightly soft in the middle when you pull them out; they firm up on the cookie sheet. That residual heat is exactly what gently melts the Hershey’s Kiss. Place a Kiss right in the center immediately! If you wait even two minutes, the chocolate won’t soften enough, and you’ll just end up cracking your beautiful **peanut butter blossom**.
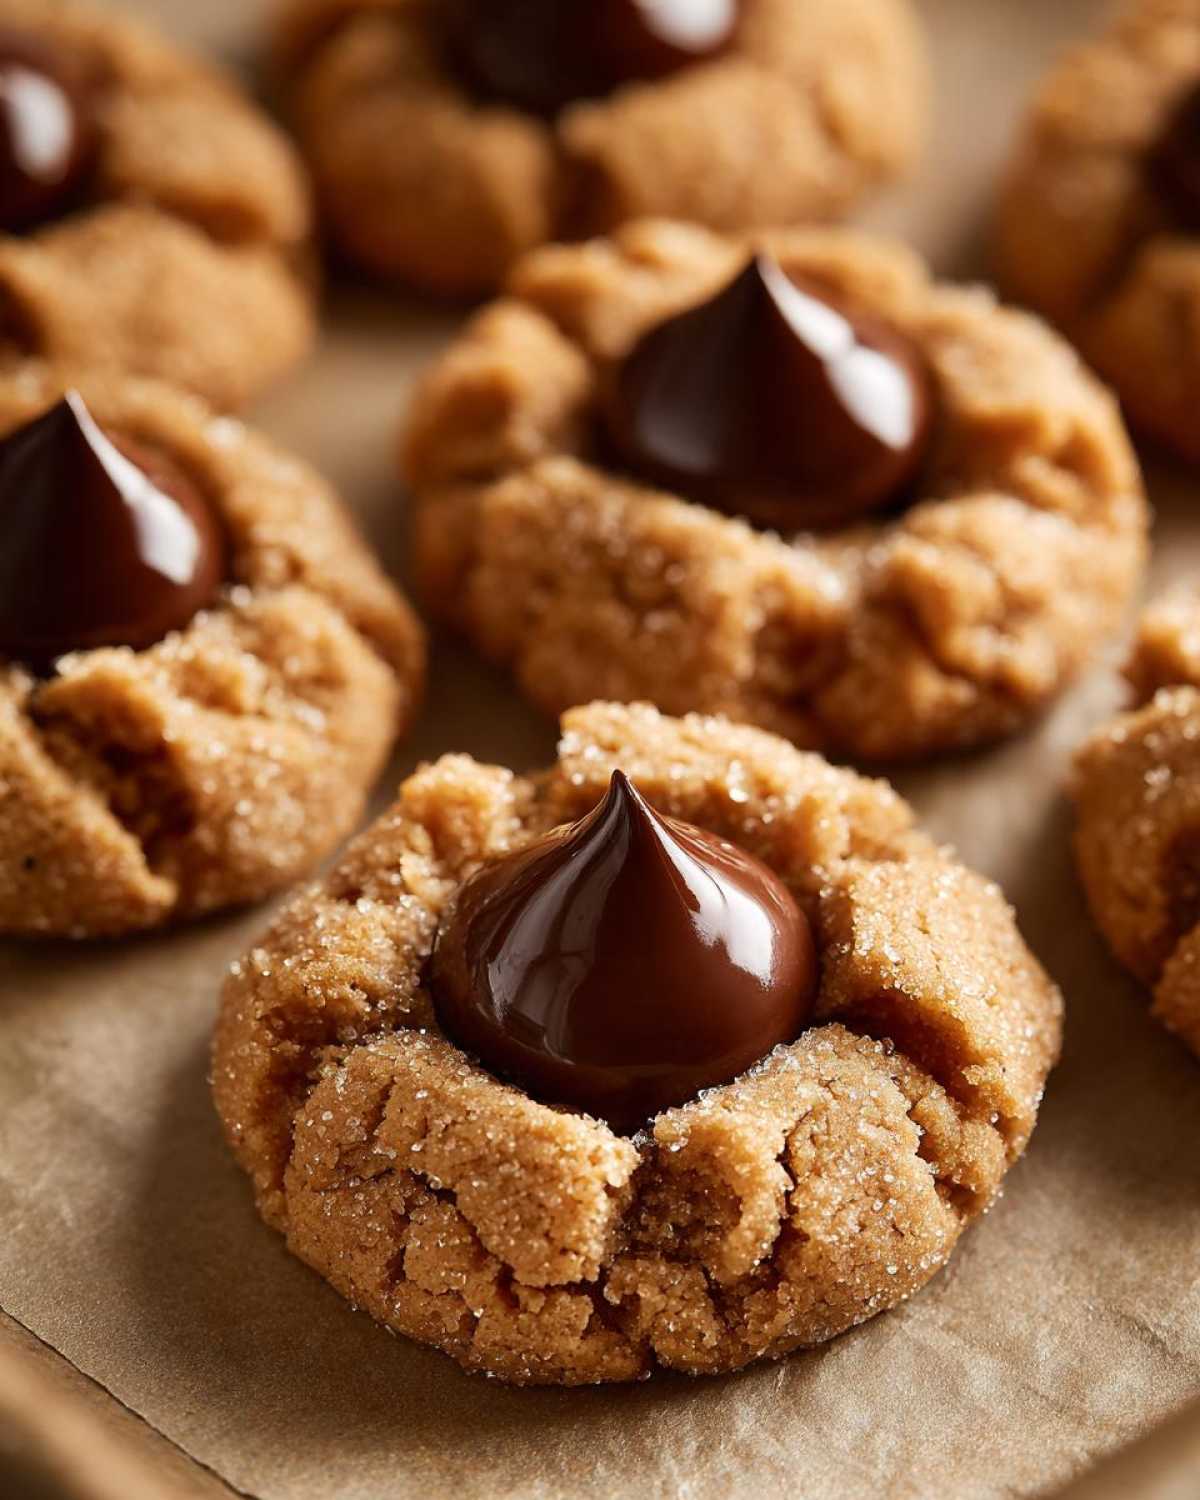
If you’re looking for another fantastic cookie that requires that same level of precision with oven heat, check out my recipe for coffee cake cookies with streusel!
Tips for Achieving the Best Peanut Butter Blossom Texture
This is the moment where we move from good **peanut butter blossom** cookies to truly exceptional ones. Achieving that coveted chewy center and that beautiful crackly top isn’t luck; it’s about honoring a few simple rules. Trust me, Marco used to pull these out too early, and we ended up with chocolate chips instead of kisses!
The biggest secret, which I mentioned just briefly above, is underbaking, but you have to let them rest on the hot sheet afterward. Bake them until the edges look set but the middle still has a slight wobble. They finish cooking on that residual heat. If you wait until they look fully done in the oven, they will turn into hard little disks once they cool down. We want soft baked peanut butter treats, not hockey pucks!
Also, remember those two sugars—the white and the brown? That combo isn’t just for flavor complexity; the brown sugar, with its molasses, helps keep these treats wonderfully moist long-term, while the coating of white sugar gives us those gorgeous, fine cracks on the surface. It’s a classic technique for a reason!
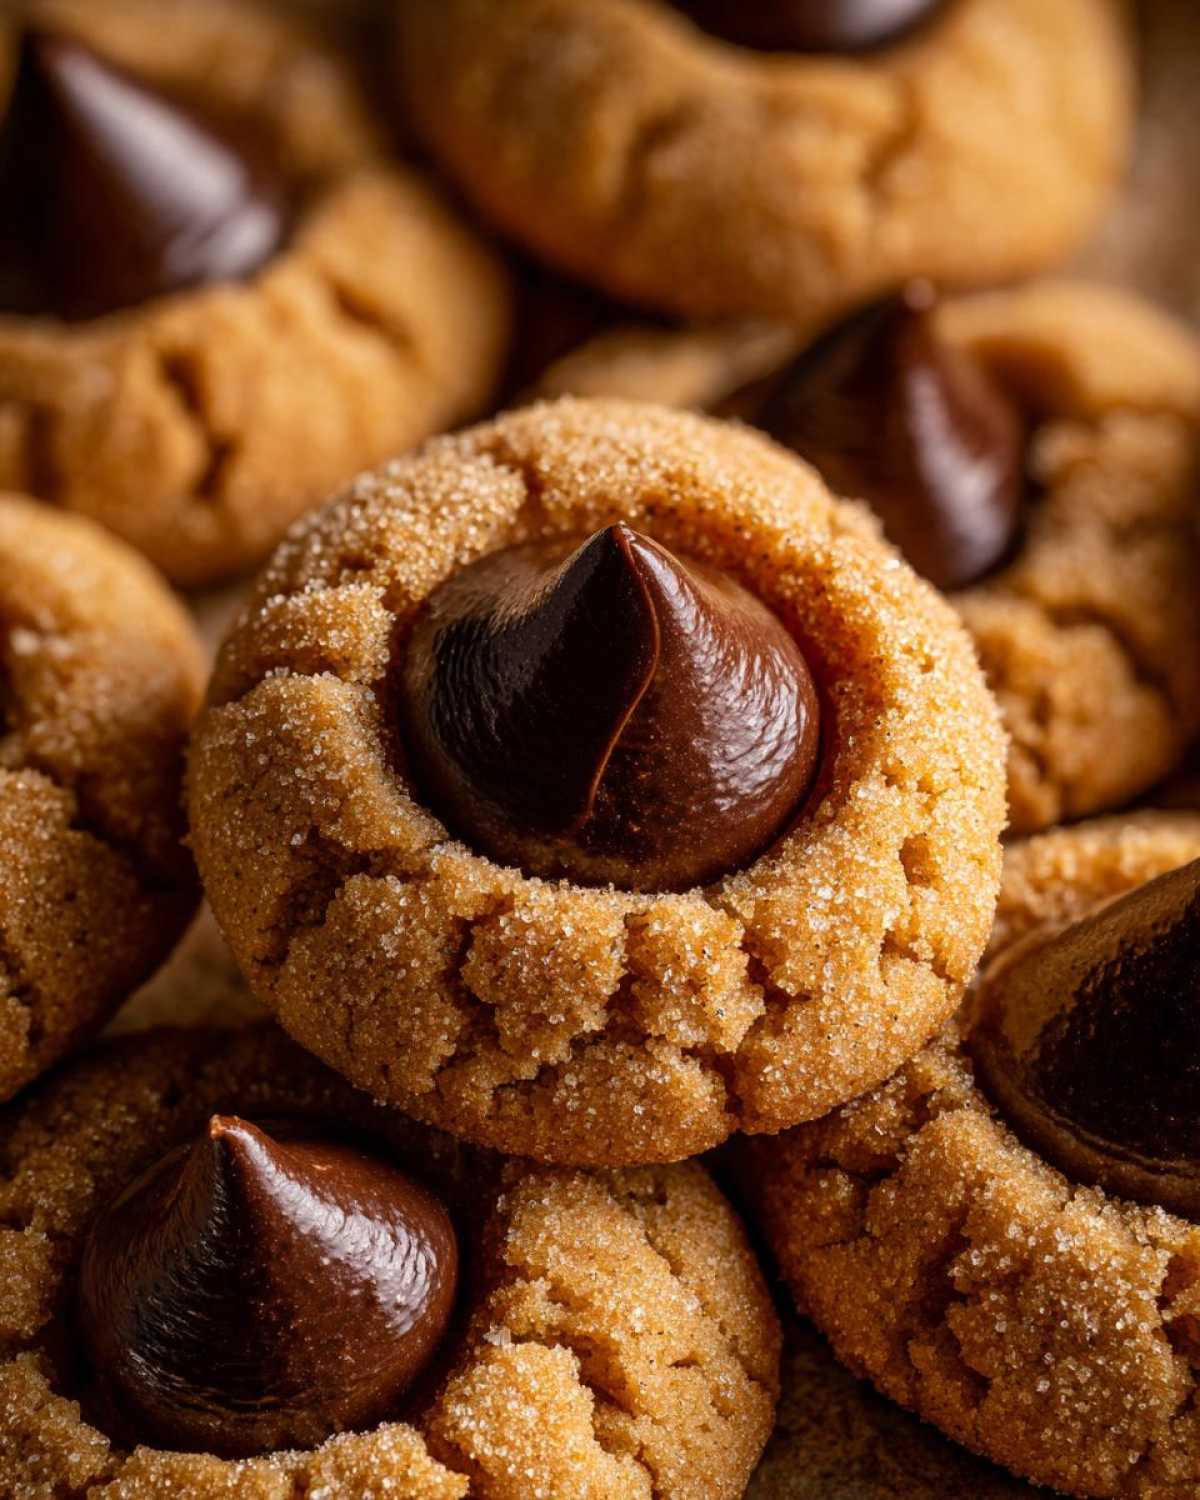
If your chocolate kiss seems determined to just melt flat, wait about two minutes after they come out before pressing it in. That little pause is often the difference between a perfect dip and a chocolate puddle. For more advanced dessert resilience, I have some great ways to stop cheesecakes from cracking over on my post about creating crack-free cheesecake, which uses similar timing logic!
If you want to see how another baker approaches getting that perfect soft texture, this post on Homemade Peanut Butter Blossoms has some great visual examples of the ‘just-baked’ look we are aiming for.
Variations on the Classic Peanut Butter Blossom
While I will always champion the original combination—creamy peanut butter and a Hershey’s Kiss—I know we sometimes need to adapt things for life, allergies, or just plain curiosity! My philosophy is that a recipe only truly succeeds if it works for *you*. So, let’s tweak these famous **peanut butter blossom** cookies to fit your needs without sacrificing that signature soft bite.
For allergy considerations, or just wanting a different flavor profile entirely, you can absolutely swap out the creamy peanut butter for sunflower seed butter or even cashew butter if you’re feeling fancy. Just make sure your replacement nut/seed butter is the standard, creamy variety, not the super-oily kind, or your dough might get a bit messy.
And the kiss? Oh, the possibilities! Dark chocolate Kisses offer a wonderful bitter contrast to the sweet dough. Or, if you’re feeling extra decadent, try pressing in a mini peanut butter cup instead! You’ll get a slightly different melt, but an equally satisfying, chocolate-loaded center. If you’re exploring other nutty baked goods, I’ve got a great butter pecan cookie recipe that uses a similar approach to richness!
Storage and Keeping Your Peanut Butter Blossoms Fresh
I know these are generally made for immediate gratification, especially when baking for the holidays, but we need to talk about how to make them last! If you manage to have any left over—and honestly, that’s a miracle in our house—you want to keep that chewy texture Marco and I work so hard for. The secret here is simple storage.
Keep your finished **soft baked peanut butter treats** in a truly airtight container. I mean seal it tight! They do best sitting right on the counter at room temperature. Resist the urge to put them in the fridge, trust me. Cold temperatures just suck the moisture right out of a cookie like this.
As I noted, they stay wonderfully soft for several days this way. If you want to go really big batch, you can freeze them unfrosted, but for a truly fresh experience, just bake exactly what you plan to eat in the next three to four days. It’s worth making a fresh batch later if you run out! When you are done baking, you might need a warm drink, so check out my recipe for easy homemade hot cocoa mix to enjoy alongside these cookies.
Frequently Asked Questions About Homemade Peanut Butter Blossoms
I know you’re going to have questions once you start baking! That’s the fun part of reclaiming your kitchen—figuring out the little quirks. Getting these Chewy Chocolate Kiss Cookies just right is all about timing your chocolate kiss insertion. But don’t worry, I’ve gathered the few sticking points people usually run into when making these amazing, Easy Christmas Cookies.
Can I make the peanut butter blossom dough ahead of time?
Yes, you absolutely can! I usually prefer rolling them out right away, but if you need to prep ahead, chill the dough balls for up to two days. Just make sure you let them sit on the counter for about 20 minutes before rolling them in sugar and baking. If you bake them straight from the fridge, they might take an extra minute or two in the oven, which can sometimes result in a slightly firmer texture than the extra-chewy ones we are aiming for.
Why did my chocolate kiss sink or melt completely into my peanut butter blossom?
This is all about heat management! If the kiss melts away into a puddle, chances are your cookie was either in the oven too long, or you waited too long to place the chocolate on top after taking them out. Remember, we want the residual heat to do most of the work. You need to press that Kiss in within 30 seconds of removing the cookie tray from the oven. If your oven runs hot, you might even wait a full minute, but never longer than that, or the cookie structure will be too cool to hold the chocolate upright.
Are these considered one of the Best Peanut Butter Cookie Recipes?
In my book, yes, hands down! We have worked hard to make sure these are the definitive soft and chewy version. The combination of granulated and brown sugar builds that perfect soft base, and the balance of fat we use keeps them tender for days. If you’re looking for definitive proof, you can see how other bakers struggle to achieve this soft texture over at this classic recipe guide. But stick to our method, and you’ll see why these are the best! If you want more pointers on simple, show-stopping bakes, check out my guide to easy Christmas cookies!
Nutritional Estimates for This Iconic Peanut Butter Dessert
Serving yourself a beautiful, homemade treat means knowing what’s in it, though honestly, I try not to obsess over the numbers when it comes to joy! This is just an estimate based on standard ingredients, so take it with a grain of salt (and a sprinkle of sugar!).
- Serving Size: 1 cookie
- Calories: 180
- Fat: 10g (4g Saturated Fat)
- Carbohydrates: 21g
- Protein: 3g
- Sugar: 15g
- Cholesterol: 25mg
Remember, this is for a homemade peanut butter blossom, made with love, so the enjoyment factor is through the roof!
Share Your Royal Peanut Butter Blossom Creations
Now that you’ve treated yourself like royalty and mastered the **peanut butter blossom**, I want to see your royal results! Did you get that perfect crackly top? Take a photo and tag us on social media—let us see how you celebrated your simple feast. Remember, this is about honoring your own hunger for beautiful food.
If you loved this classic recipe, please leave a rating below so others know these are truly the best! I love seeing all your delicious creations over on the main blog!
PrintThe Best Soft and Chewy Peanut Butter Blossoms

You deserve a classic cookie that is soft, chewy, and iconic. Follow these simple steps to make the best homemade peanut butter blossoms topped with a chocolate kiss.
- Prep Time: 20 min
- Cook Time: 10 min
- Total Time: 30 min
- Yield: About 3 dozen cookies
- Category: Dessert
- Method: Baking
- Cuisine: American
- Diet: Vegetarian
Ingredients
- 1 cup unsalted butter, softened
- 3/4 cup creamy peanut butter
- 3/4 cup granulated sugar
- 3/4 cup packed light brown sugar
- 2 large eggs
- 1 teaspoon vanilla extract
- 2 1/4 cups all-purpose flour
- 1 teaspoon baking soda
- 1/2 teaspoon baking powder
- 1/2 teaspoon salt
- 1/4 cup granulated sugar (for rolling)
- 1 bag (about 12 ounces) Hershey’s Kisses, unwrapped
Instructions
- Preheat your oven to 375 degrees F. Line baking sheets with parchment paper.
- In a large bowl, cream together the softened butter, peanut butter, 3/4 cup granulated sugar, and brown sugar until the mixture is light and fluffy. This step helps create your soft texture.
- Beat in the eggs one at a time, then mix in the vanilla extract.
- In a separate medium bowl, whisk together the flour, baking soda, baking powder, and salt.
- Gradually add the dry ingredients to the wet ingredients, mixing on low speed until just combined. Do not overmix the dough.
- Place the remaining 1/4 cup of granulated sugar in a shallow dish.
- Roll the dough into 1-inch balls. Roll each ball thoroughly in the sugar coating.
- Place the sugared balls about 2 inches apart on the prepared baking sheets.
- Bake for 8 to 10 minutes, or until the edges are set but the centers still look slightly soft. You want them slightly underbaked for chewiness.
- Immediately upon removing the cookies from the oven, gently press one unwrapped Hershey’s Kiss into the center of each warm cookie. The residual heat will soften the chocolate just enough.
- Let the cookies cool on the baking sheet for 5 minutes before transferring them to a wire rack to cool completely.
Notes
- For the chewiest peanut butter blossoms, slightly underbake the cookies. They firm up as they cool.
- If your chocolate kisses are melting too much, wait 2 minutes after removing the cookies from the oven before pressing them in.
- Store these cookies in an airtight container at room temperature to keep them soft for several days.
Nutrition
- Serving Size: 1 cookie
- Calories: 180
- Sugar: 15
- Sodium: 110
- Fat: 10
- Saturated Fat: 4
- Unsaturated Fat: 6
- Trans Fat: 0
- Carbohydrates: 21
- Fiber: 1
- Protein: 3
- Cholesterol: 25