

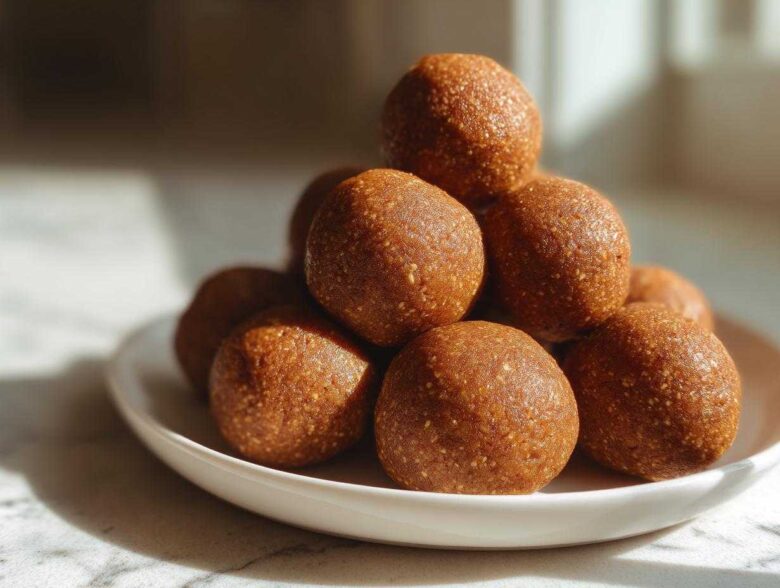
I swear, some days I look at my schedule and think, “How am I supposed to conquer the world on zero fuel?” If you’re anything like me—always moving but still trying to eat real food—you need quick backups. Forget those chalky protein bars! I’ve perfected these No-Bake Peanut Butter Protein Balls over and over again because they are hands-down the best I’ve ever made. Seriously, they taste like cookie dough but they’re packed with goodness. They are my secret weapon for immediate energy when the 3 PM slump hits. These little gems—our beloved protein balls—are a total lifesaver for busy weeks and meal prep.
Before you jump into the recipe, you should know a little bit about just who I am in the kitchen. I’m all about simplifying things without cheating on flavor, check out my story to see why I obsess over good, honest ingredients!
Why These No-Bake Peanut Butter Protein Balls Are Your New Favorite Healthy Protein Snacks
Look, I’m not going to lie. Sometimes I want something that tastes like a guilt-free dessert, not just fuel. That’s the magic of this recipe! These peanut butter balls tick every box you could possibly have for great healthy protein snacks. They are chewy, perfectly sweet, and you don’t have to stand over a hot stove for one second. Honestly, it feels almost too easy!
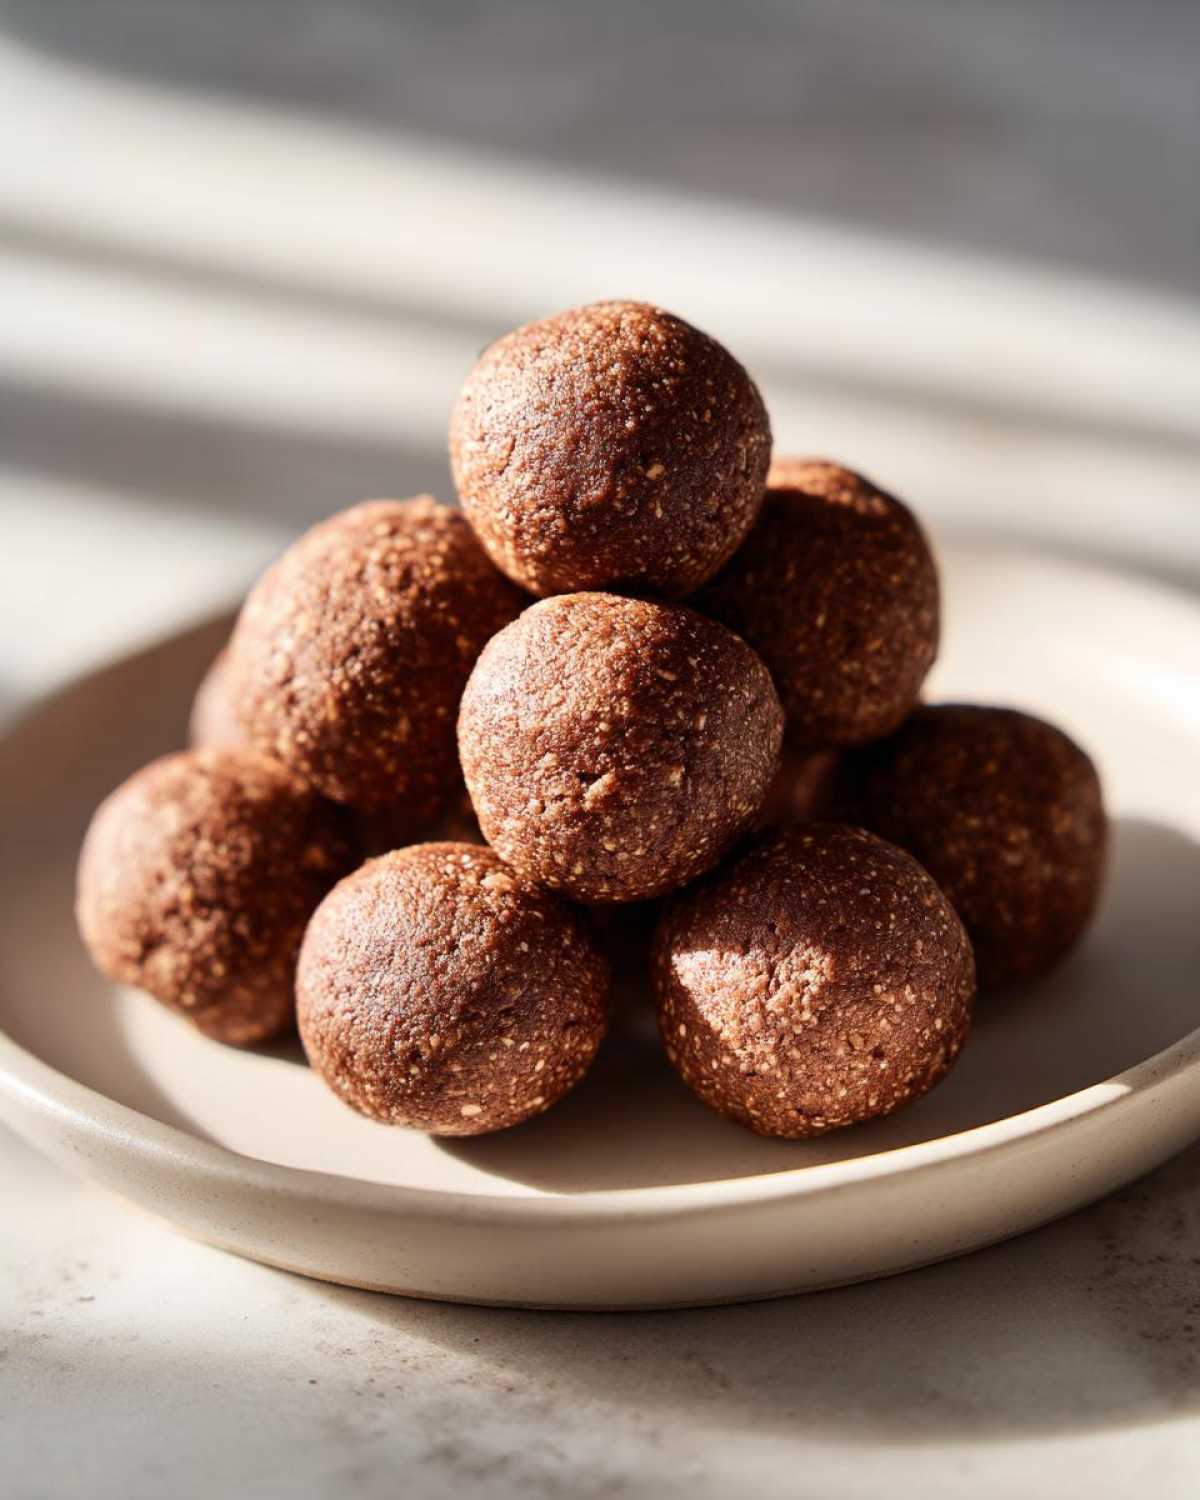
- They come together so fast you’ll wonder if you skipped a step.
- The flavor profile is pure comfort food, but they are secretly good for you.
- They are sturdy enough to throw in your gym bag without turning into mush.
Quick Energy Bites Ready in Minutes
Prep time is just ten minutes, tops! You can literally whip these up while your coffee is brewing. That super-fast turnaround is why these immediately shot up to the top of my list for Meal Prep Snacks. You make a big batch on Sunday, and you’re set for the week with protein balls ready to grab!
Perfect Post Workout Fuel
After a hard workout, I need something that balances carbs to restore energy and protein to rebuild, and these hit that sweet spot perfectly. They aren’t overly sugary, so you get that clean energy boost without the dreaded crash later on. They make fantastic Quick Energy Bites when you’re starving post-gym.
Gathering Ingredients for Easy Protein Balls
Okay, you’re going to love this part because there’s no fancy shopping trip involved here. When I say these are Easy Protein Balls, I mean it! The beauty of this recipe is that every single component is something I already have lurking in my pantry most of the time. No weird extracts or obscure flours needed, I promise.
We’re talking oats, peanut butter, and protein powder—the usual suspects for great high protein snack ideas. Don’t worry about the specifics just yet; I’ve laid out every exact measurement you need for that perfect texture in the next section. Just make sure your freezer isn’t already crammed full, because you’ll want room for your new favorite snacks!
Essential Ingredients for Perfect Peanut Butter Protein Balls
When you’re making something that relies on binding textures, the quality of your starting ingredients matters so much! These Protein Balls Recipe instructions are super clear because I want you to have success on your first try. Think of the oats as the structure, the peanut butter as the glue, and the protein powder as the powerhouse. Don’t swap major components unless you’re ready to tweak the liquids later, okay?
I wrote down the exact list below—no guessing involved! I find writing it out like this helps me cross things off my actual grocery list, too. If you stick to these core ratios, you’ll get that wonderfully chewy texture that makes these the best Healthy Treat Recipes around. They are so good; definitely a massive step up from those bland, powdery bites you sometimes find in stores.
- 1 cup rolled oats (Make sure they are plain rolled oats!)
- 1/2 cup peanut butter (Make sure it’s natural, creamy style. That’s important!)
- 1/2 cup vanilla or unflavored protein powder
- 1/4 cup ground flaxseed or chia seeds
- 1/4 cup honey or maple syrup (Your choice for the binder!)
- 1 teaspoon vanilla extract
- 1-2 tablespoons water or milk (Just for small adjustments, keep it handy)
Ingredient Notes and Substitutions for Protein Balls
Now for the fun part—customizing your amazing protein balls! If you have a serious nut allergy, substitute sunflower seed butter or tahini for the PB. It gives a slightly earthier flavor, but it works wonderfully.
If you crave chocolate (and who doesn’t?), swap out the vanilla powder for chocolate protein powder and toss in two tablespoons of unsweetened cocoa powder with your dry ingredients. Boom—instant Chocolate Protein Bites! And listen, if you need these to be Gluten Free Protein Balls, just make absolutely sure you grab certified gluten-free rolled oats. Everything else is naturally gluten-free, thankfully, which keeps these firmly in the Clean Eating Snacks category.
Step-by-Step Instructions for No Bake Energy Bites
This is where the magic happens, and honestly, it’s so simple that you’ll be amazed at how professional these look. Remember, these are No Bake Energy Bites, so we skip the oven entirely, which means less cleanup! The goal here is just to get everything combined into a cohesive, moldable dough.
When you are done, you should have something that feels exactly like thick cookie dough—something you could easily use a scoop on. If your mixture is crumbly or looks dusty, don’t panic! That’s why we keep that little extra bit of water or milk nearby to save the day for our protein balls.
Mixing the Dough for Chewy Energy Bites
First, take all your dry stuff—the oats, the flaxseed, and that protein powder—and toss them into a sturdy bowl. I always mix these first with a fork just to make sure the powders are evenly distributed. If you don’t do this, you might end up with a pocket of pure protein powder somewhere, and trust me, that’s not a pleasant surprise!
Next, in go the wet ingredients: peanut butter, your sweetener (honey or maple syrup), and the vanilla. Now, start mixing! It’s going to feel super stiff at first, but keep working it. If after a full minute of stirring it still looks dry and won’t come together, add a tablespoon of liquid at a time. You want it uniform and thick, not sticky or runny. Stop when you can press a ball of it together with your fingers and it holds its shape completely.
Rolling and Chilling Your Protein Balls
Once your dough is perfect, grab a small cookie scoop or just use a teaspoon to measure out your portions. Roll them quickly between your palms into nice, tight balls, about 1 inch wide. You want them uniform so they all look pretty lined up on your fridge shelf!
Place these finished protein balls onto a parchment-lined plate or tray. Now, the crucial final step: they need to chill out! Pop the whole tray into the refrigerator for at least 30 minutes. This cooling time firms them up beautifully, stopping them from being too soft or sticky when you go to eat them. This little rest is key for great texture!
Tips for Success When Making Protein Balls
Trust me, I’ve made enough batches of these protein balls to know the small things that make the difference between okay and absolutely perfect! The number one pitfall is usually the peanut butter temperature. If your peanut butter is rock hard right out of the jar, it will make the dough way too dry no matter how much liquid you add. Let it sit on the counter for an hour first, or give it a quick 10-second zap in the microwave if you’re in a rush.
When you are rolling them—and you should definitely be thinking about adding those mini chocolate chips or maybe some shredded coconut—don’t press too hard! You just want a gentle roll to firm them up. Pressing too firmly compresses the oats too much and you lose that lovely soft, chewy bite. Keep those hands gentle! These protein balls are super forgiving, but a light touch really makes them taste better, like a true healthy treat.
Storage and Make Ahead Energy Balls
The absolute best part about these treats? They are superstars when it comes to planning ahead! You can make a huge double batch of these delightful protein balls on a Sunday, and they stay wonderfully fresh all week long. Just tuck them into an airtight container—I use glass ones so I can see how many are left—and pop them right into the fridge.
They last beautifully for a full week in the cold, tasting just as fresh as the day you rolled them. This feature makes them top-tier Make Ahead Energy Balls for hectic mornings or those days when you just cannot face the kitchen. Seriously, having these on hand saves me from hitting the vending machine every single time!
Frequently Asked Questions About Protein Balls Recipe
I get so many questions about these peanut butter bites, which is totally understandable! Everyone wants their protein balls to be chewy and perfect every time. So, I figured I’d save us all some time and put the most common things people ask right here at the bottom. If you still have questions after reading this, please reach out!
Can I freeze these Protein Balls?
Absolutely! I’ve tested this extensively because sometimes I like to make a giant batch that lasts me a few weeks. Yes, you can totally freeze them. Just arrange the finished, chilled balls in a single layer on a baking sheet lined with parchment paper, and pop that into the freezer until they are solid—about an hour.
Once they’re good and hard, transfer them to a heavy-duty zip-top bag or an airtight container. They freeze beautifully for up to three months. When you need one, just pull it out! They thaw perfectly on the counter in about 15 minutes, or you can eat them straight from the freezer if you prefer them super hard and icy!
What is the best protein powder to use in these Easy Protein Balls?
This is a big one! The type of powder you use really dictates the final texture. Whey protein tends to absorb liquid a little differently than plant-based options. If you use standard whey, you might need slightly more liquid added during the mixing stage to get that perfect dough consistency.
If you’re using plant-based powders—like pea or brown rice—they can sometimes make the mixture a bit drier or grittier. My advice for these Easy Protein Balls is to stick to a very finely milled powder. Honestly, this recipe works really well with most standard Protein Balls with Protein Powder, but just be ready to adjust that tablespoon of water or milk until it feels right!
Nutritional Estimates for These Healthy Treat Recipes
I know you want to know what exactly you are putting into your body, and I love that about you! Since these protein balls are designed as healthy treat recipes and fuel, let’s look at the numbers. Remember, because I use natural peanut butter and different types of sweeteners (honey versus maple syrup), these are just estimates per ball—about 120 calories each.
You get a solid 8 grams of protein in every bite, which is fantastic for recovery! Carbs and fat are balanced to keep you sustained without weighing you down. Just keep in mind these numbers can shift based on your brand choices. For the full breakdown, including sugar and fiber, make sure you check out my full ingredient disclosure over on the recipe disclaimer page!
Share Your Favorite Protein Balls Creations
Whew! Now that you’ve got the recipe and all my little insider tips for making the absolute best protein balls, I really want to hear from you! Did you try adding dried cranberries instead of chocolate chips? Did you use sunbutter? Don’t be shy!
Please leave a comment below letting me know how they turned out, or even better, give the recipe a star rating so others know how much you loved these quick energy bites. If you have pictures, I’d love to see them! You can always drop me a line through my contact page to share your results!
PrintNo-Bake Peanut Butter Protein Balls

Make these easy, no-bake peanut butter protein balls for a quick, healthy snack or post-workout fuel. They require minimal ingredients and no oven time.
- Prep Time: 10 min
- Cook Time: 0 min
- Total Time: 10 min
- Yield: 12 servings
- Category: Snack
- Method: No-Bake
- Cuisine: American
- Diet: Vegetarian
Ingredients
- 1 cup rolled oats
- 1/2 cup peanut butter (natural, creamy)
- 1/2 cup vanilla or unflavored protein powder
- 1/4 cup ground flaxseed or chia seeds
- 1/4 cup honey or maple syrup
- 1 teaspoon vanilla extract
- 1-2 tablespoons water or milk (as needed)
Instructions
- Combine the rolled oats, protein powder, and ground flaxseed in a medium bowl. Mix well to distribute the dry ingredients evenly.
- Add the peanut butter, honey or maple syrup, and vanilla extract to the dry mixture.
- Mix everything together using a sturdy spoon or your hands until a thick, uniform dough forms. If the mixture is too dry, add water or milk one tablespoon at a time until it holds together.
- Roll the dough into small, uniform balls, about 1 inch in diameter.
- Place the finished protein balls on a plate or baking sheet lined with parchment paper.
- Refrigerate for at least 30 minutes to firm up before serving.
Notes
- For a chocolate version, add 2 tablespoons of unsweetened cocoa powder and use chocolate protein powder.
- You can substitute almond butter or sunflower seed butter for peanut butter.
- Store the finished protein balls in an airtight container in the refrigerator for up to one week.
- For mix-ins, add 1/4 cup of mini chocolate chips or shredded coconut before rolling.
Nutrition
- Serving Size: 1 ball
- Calories: 120
- Sugar: 5
- Sodium: 50
- Fat: 6
- Saturated Fat: 1
- Unsaturated Fat: 5
- Trans Fat: 0
- Carbohydrates: 12
- Fiber: 2
- Protein: 8
- Cholesterol: 0