

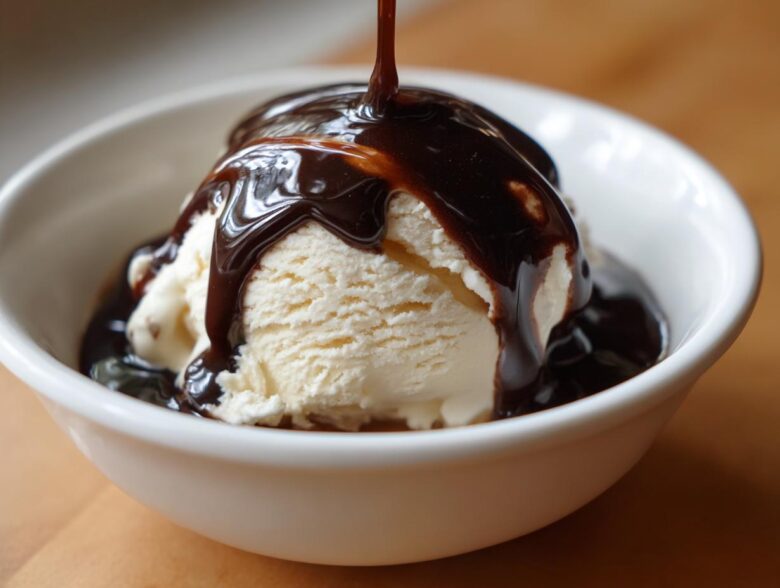
We have all been there, reaching into the pantry for that familiar bottle, only to find the commercial goop halfway empty. Stop settling for that overly sweet, mysterious liquid! As the Empress of our own table, I decided Marco and I deserved better, a chocolate treat that felt truly indulgent, not mandatory. That’s why I created this incredibly fast, rich recipe for homemade chocolate syrup. It comes together with pantry staples in under ten minutes, proving that treating yourself like royalty doesn’t require an elaborate production—sometimes it just requires ditching the store-bought stuff for something fresh and glorious. You deserve this level of simple luxury, even on a quiet Tuesday night.
Why This Homemade Chocolate Syrup is Better Than Store Bought Syrup
Frankly, the stuff in the grocery aisle just doesn’t taste like real chocolate, does it? It settles weirdly, and when you pour it, it lacks that decadent flow. Trust me when I say this recipe is the best homemade chocolate syrup you will ever make. You get to control the quality of the cocoa, and that makes all the difference. We are talking about a truly silky smooth chocolate sauce here, not the sticky, overly sweet version you’re used to. It takes maybe ten minutes total, and Marco insists it makes his morning mocha taste like it came from a fancy café. Ditching the artificial ingredients for simple sugar and cocoa is my dedication to our philosophy—why settle for less, even in your syrup? If you love a good creamy topping, you absolutely have to check out my recipe for creamy vanilla buttercream, too!
Achieving That Rich Chocolate Drizzle Recipe Texture
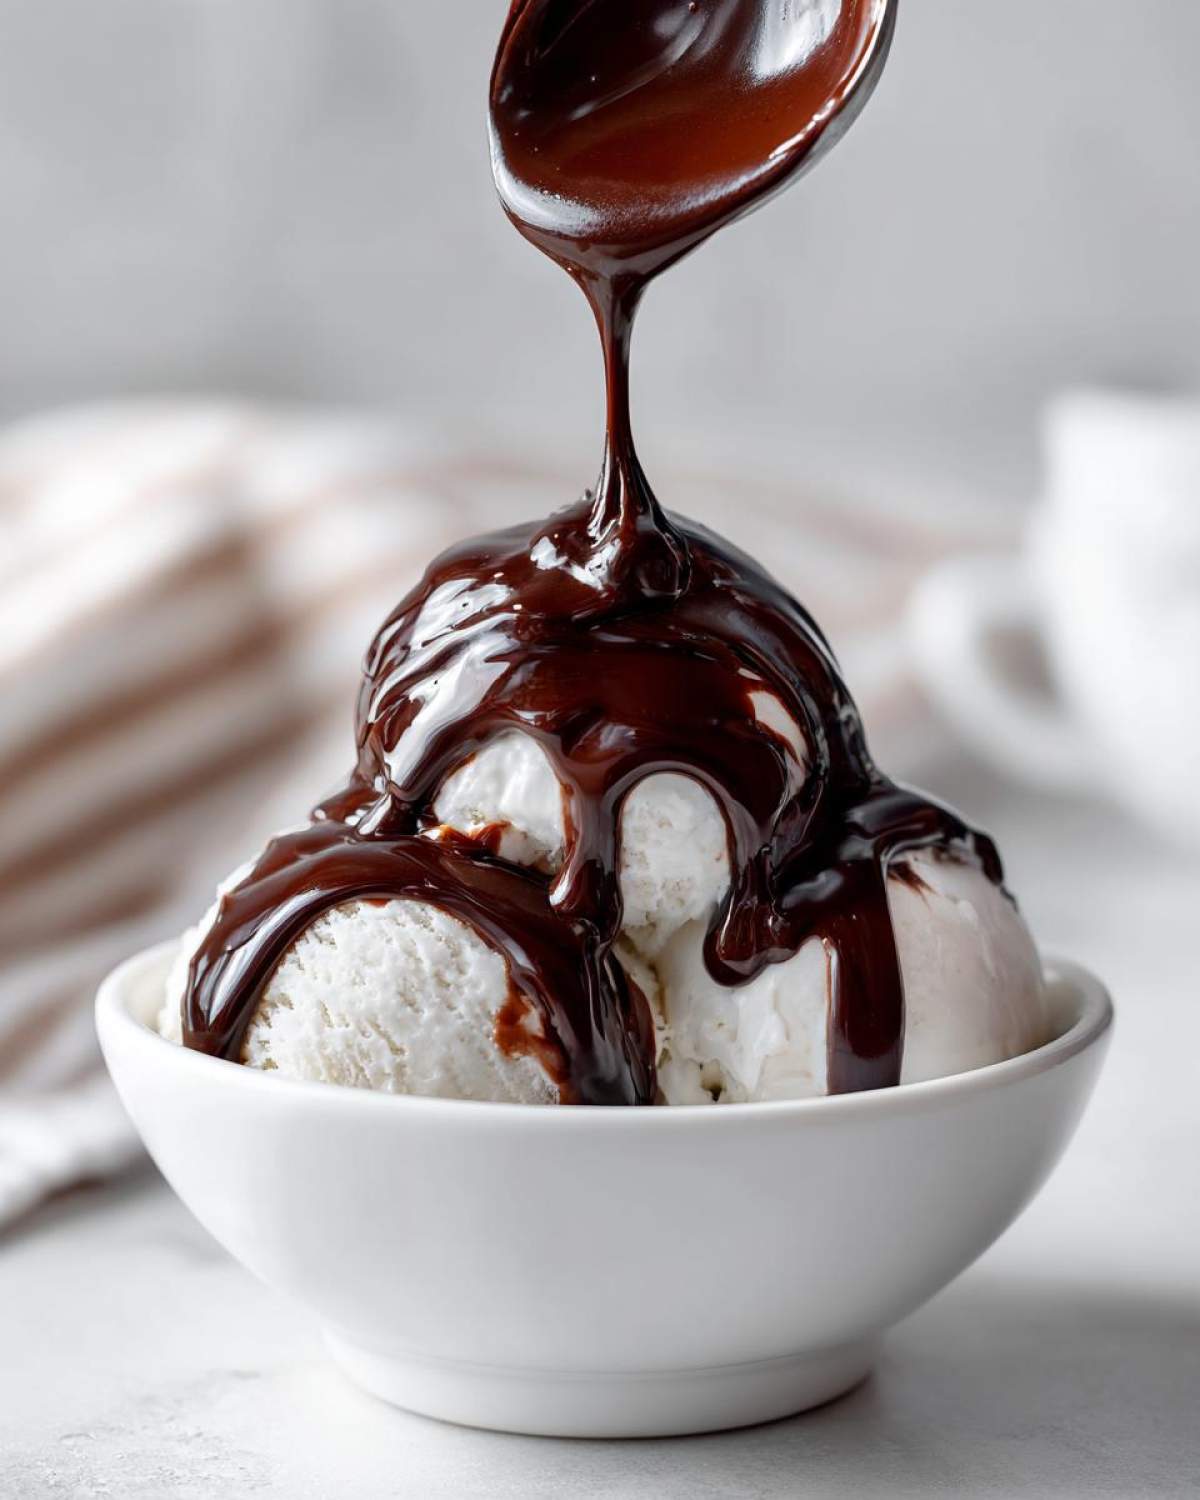
The secret to getting that luxurious, thick coating on your ice cream isn’t just the ingredients; it’s the timing. That one-minute simmer is crucial! Commercial syrups often rely on thickeners that become gummy when they sit. Our method allows the simple sugar and cocoa to meld just enough so that when it cools down, it turns into a beautiful, pourable syrup. It’s a magnificent rich chocolate drizzle recipe waiting to happen, all from your stovetop!
Ingredients for Your Quick Chocolate Syrup Recipe
When it comes to this incredibly fast recipe, I love that everything I need is usually just sitting in my cupboards already. We aren’t relying on fancy items here; we’re reaching for basic, beautiful pantry staples. You only need five things to create something that tastes miles better than anything bottled. Don’t you just love when that happens? Write these down, or better yet, grab your saucepan and let’s get started!
- 1 cup granulated sugar
- 1 cup unsweetened cocoa powder
- 1 cup water
- 1 teaspoon vanilla extract
- Pinch of salt
Ingredient Notes and Substitutions for Chocolate Syrup
One thing I hear a lot is worry about corn syrup, but I can put your mind at ease right away: this is intentionally a no corn syrup chocolate recipe! We use granulated sugar to get that clean, recognizable sweetness that pairs perfectly with the dark cocoa. Also, if you are plant-based, this recipe is naturally vegetarian, and it fits right into an easy vegan chocolate syrup framework too, provided you use vegan-certified sugar. See? Simple ingredients mean fewer worries and more delicious syrup ready for your royal dessert plate in minutes.
How to Prepare Easy Homemade Chocolate Sauce
Alright, let’s turn these glorious ingredients into an instant upgrade for your dessert life! This whole process moves fast, which is why I insist on having everything measured out before I even turn on the heat. First thing: grab your saucepan and whisk together the sugar, cocoa, and salt until they are totally integrated. You don’t want any dry pockets hiding when the liquid goes in! Then, slowly pour in the water while whisking constantly until you have a beautiful, smooth base. Now, place that pan over medium heat and bring it up to a gentle boil—keep stirring like Marco stirring the wine to make sure nothing catches on the bottom and scorches.
Once it hits that gentle boil? Immediately drop your heat down low. This is where we control volume and quality. You only want it to simmer for exactly one minute. Seriously, set a timer! After that minute, kill the heat immediately. We aren’t cooking it down to a fudge; we are just marrying the flavors. Finish by stirring in the vanilla extract, and then pour this divine mixture into a clean jar. You’ll be shocked at how thin it looks, but trust the process!
Mastering the Simmer for Perfect Chocolate Syrup Consistency
That one quick minute of simmering is the absolute pivot point of this quick chocolate syrup recipe. If you let it go longer, you risk boiling off too much water, and when it cools, you won’t have a drizzle—you’ll have a brownie square! I stand right over the stove during that sixty seconds, watching for those first few lazy bubbles. It’s my little ritual for making sure we get that perfect, flowy texture that feels so much more luxurious than anything from a big bottle. Watch it closely; this step earns you the right to ladle it all over your next bowl of ice cream.
Cooling and Storing Your Homemade Chocolate Syrup
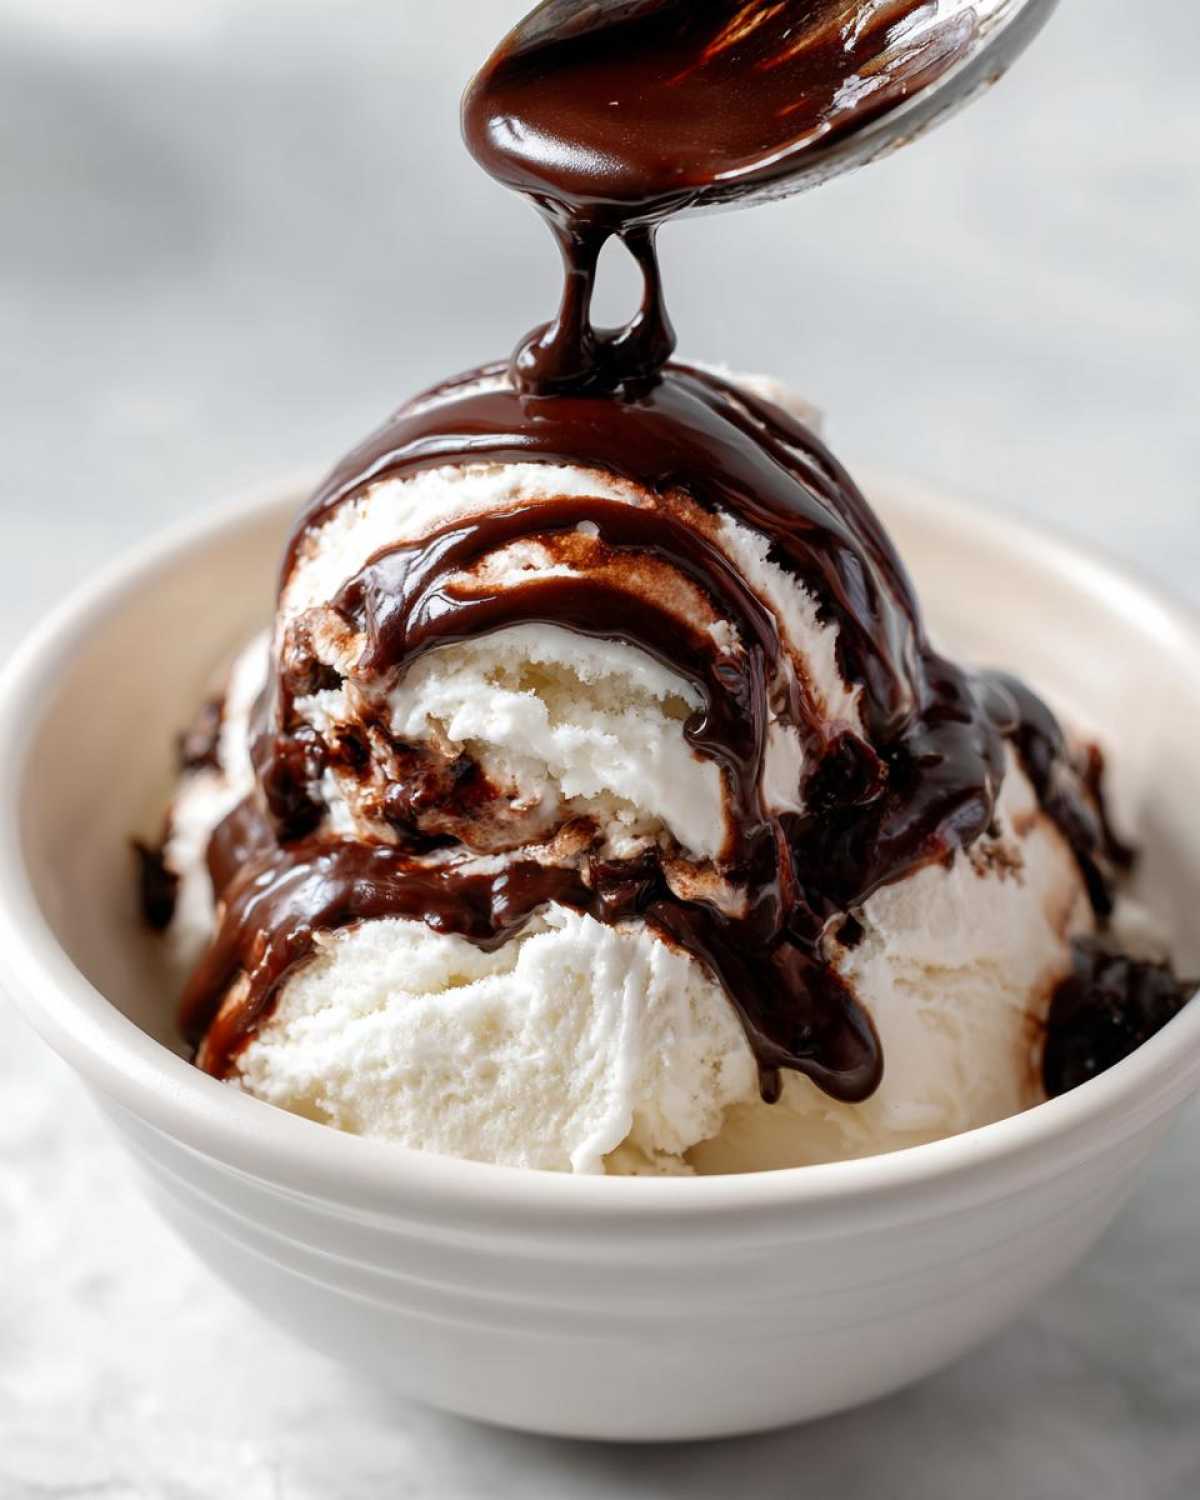
Once you’ve poured the hot sauce into your jar, the transformation begins! You must let it cool completely before deciding if the thickness is right. I know you’ll want to taste it instantly, but patience, Empress! As it chills down to room temperature, that syrup thickens beautifully into that rich consistency we crave. Store it in an airtight container in the fridge. It keeps wonderfully, usually for about three weeks, meaning you have plenty of time to enjoy it on everything, or better yet, use it for a batch of amazing homemade chocolate milk.
Tips for Success Making Chocolate Syrup from Cocoa Powder
I want you to have zero meltdowns over this recipe—it’s meant to be easy! The biggest mistake folks make when cooking with cocoa powder on the stovetop is letting it sit unattended. You absolutely must stir constantly, especially when that sugar is dissolving, or you end up with a dark, scorched patch stuck to the bottom of your pan. That bitter taste will ruin the whole batch, and we certainly don’t accept that level of disappointment in our royal kitchen!
If you find that after cooling, your syrup is just a touch too thick for your liking—maybe you were planning on making a big batch of hot cocoa instead of drizzling on shortcake—don’t panic! Remember those notes I mentioned? If you need it thinner for a good chocolate milk mix recipe next time, just add an extra quarter cup of water next time around. Or, if it’s already cooled, you can gently warm a portion on the stove and carefully whisk in a tablespoon of hot water until it loosens up to your perfect consistency. We can make a big batch of homemade hot cocoa mix for later, too!
Versatile Uses for Your Rich Chocolate Drizzle Recipe
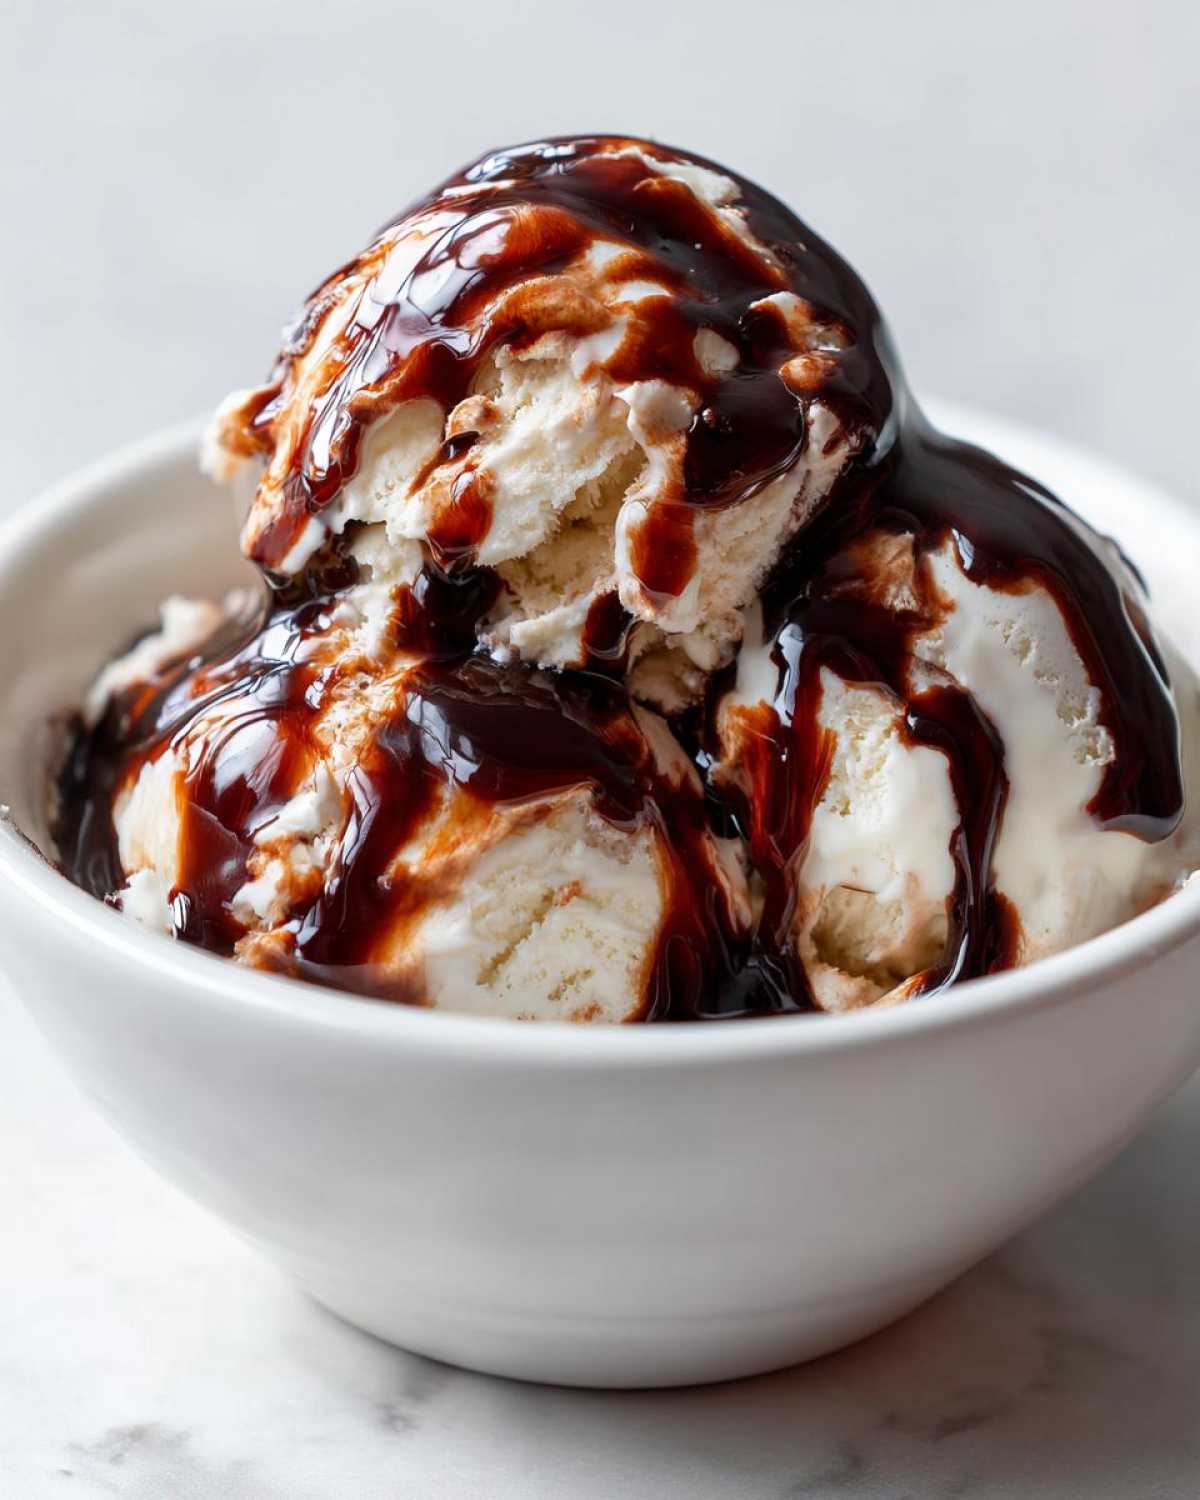
When a recipe is this good, you can’t just use it once! That’s the beauty of making a batch of this rich sauce. It elevates everything, and honestly, it makes even the simplest weeknight dessert feel like a royal occasion. My favorite way to use it is, of course, drizzling it liberally over vanilla ice cream; it’s the perfect dark, cool contrast—truly the chocolate syrup for ice cream dreams are made of.
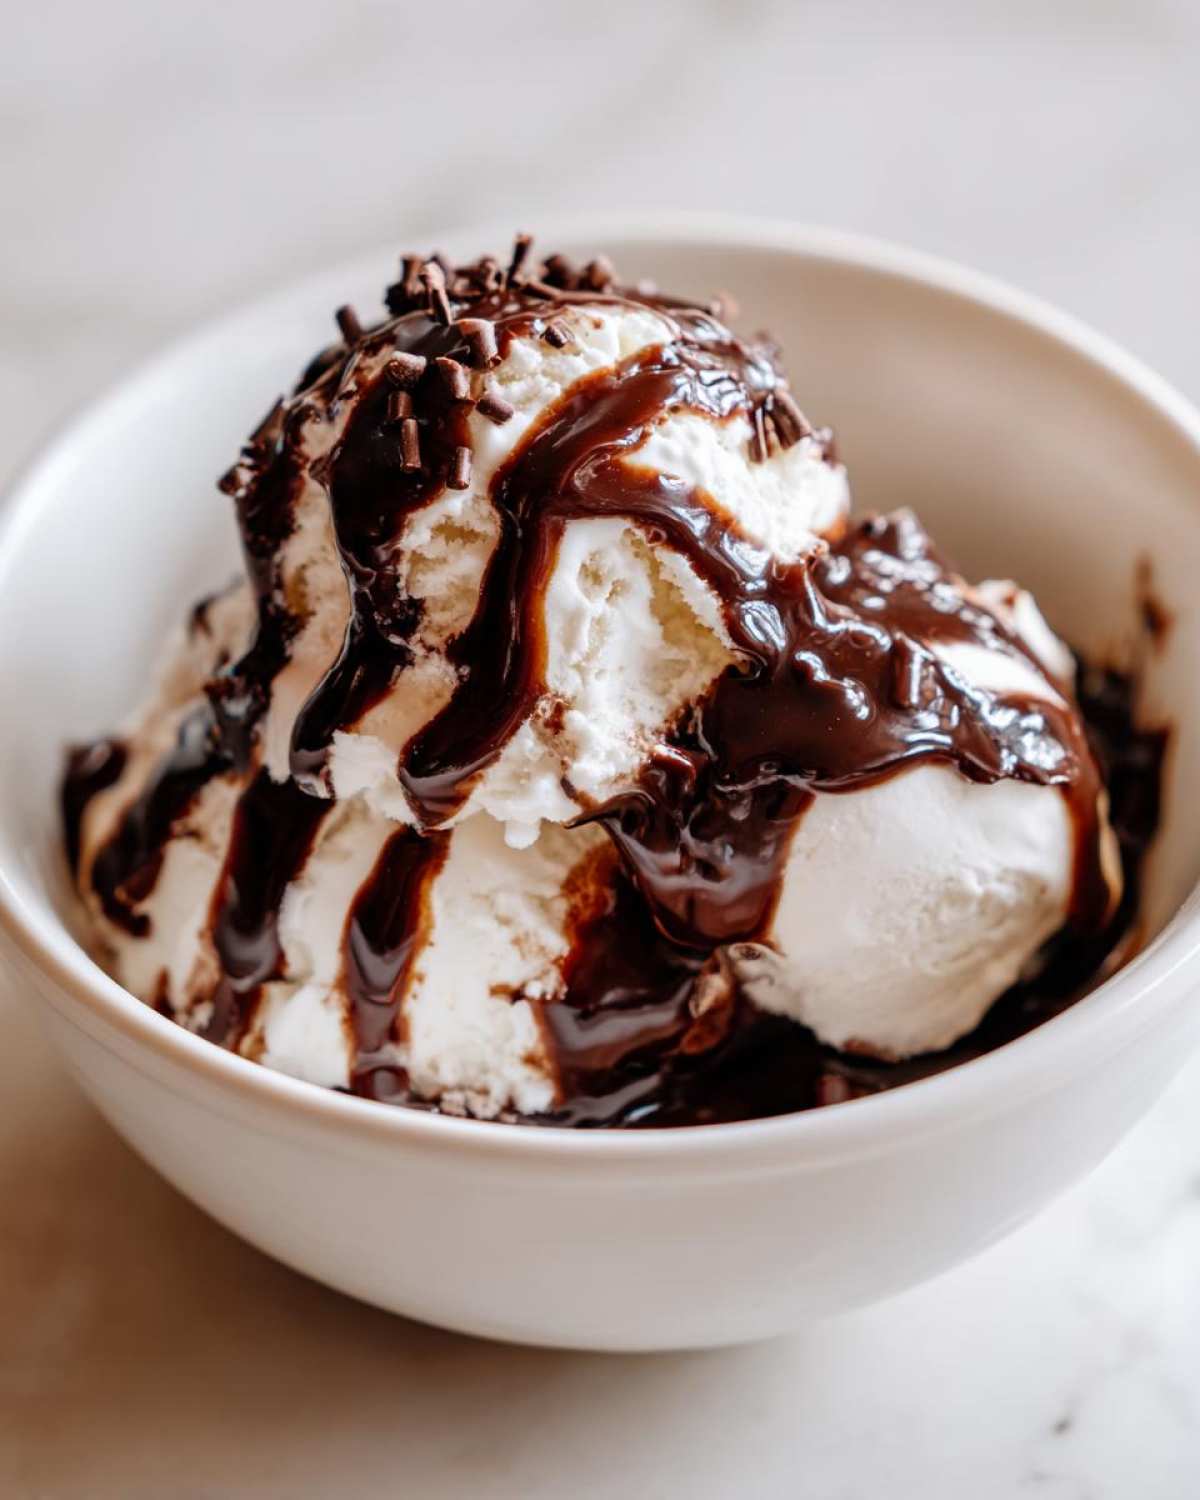
But don’t let it just sit in the fridge waiting for dessert time! I often use this as my secret weapon for my morning routine. Marco loves it when I whip up a quick mocha; I just spoon a dollop right into his espresso, and boom—instant, high-quality homemade coffee syrup flavoring. It’s so much better than those plastic squeezy bottles! And for those hot days when we crave something refreshing, it’s the absolute key to making the best glass of chocolate milk around. It’s honestly why I always try to keep a jar hiding away, just for myself, ready for an unplanned royal indulgence. If you want to see how I turn this same flavor profile into an instant drink, check out my recipe for quick homemade chocolate milk!
Making Chocolate Gift Making Batches of Chocolate Syrup
You know, once you taste this decadent syrup, you immediately think: “Who can I give this to?” It makes such a thoughtful, personalized present! If you plan on making a large batch for holiday baskets or simple hostess gifts—part of our fun, simple chocolate gift making activities—you just need to scale up the recipe evenly. If you decide to triple the recipe, make sure you use a pot large enough so the mixture doesn’t boil over when it bubbles up. It’s much safer to use a wider, lower pot rather than a deep, narrow stockpot; you want ample surface area for that gentle simmer.
For presentation, pour the cooled syrup into small, antique-looking glass bottles or cute mason jars—presentation matters when you’re treating someone else like royalty! A handwritten tag tied with twine that says what it is and maybe suggests serving it over ice cream or coffee is all you need. If you enjoy making things ahead to give away, you have to try my sea salt caramels; they are always a huge hit in gift boxes!
Frequently Asked Questions About Homemade Chocolate Syrup
How long does homemade chocolate syrup last in the fridge?
Since we aren’t loading this up with preservatives like the store-bought kind, you should keep this luscious syrup in a truly airtight container in the refrigerator. It stays fantastic for up to three weeks! If you notice any change in color or smell, toss it, though I bet you’ll use it up way before then!
Can I make this a sugar-free chocolate syrup recipe?
That’s a great question about making a sugar-free version! While this recipe relies on granulated sugar for that classic flavor and smooth texture, you certainly can experiment with your favorite sugar substitute. Just be warned that different sweeteners behave differently when heated, so you might need to adjust your cooking time or add a touch of cornstarch slurry to help it thicken up after cooling.
What if my chocolate syrup is too thick after cooling?
Oh, don’t worry if it gets a little firm! It’s almost always because you simmered it for just a hair too long, or it’s just really happy in a cold fridge. Remember those notes I mentioned? For next time, add a bit more water in the initial cooking stage. If it’s already set firm in the jar, just scoop out a small amount you need and gently warm it on the stove with a teaspoon or two of hot water, whisking until you reach that perfect, easy pour.
Estimated Nutritional Data for Chocolate Syrup
Because we are making this marvelous chocolate syrup right here in our own kitchen, the exact numbers can change based on the brands of cocoa or sugar we choose. These figures are just estimates based on the standard ingredients used in this recipe, serving size being two tablespoons. For the full legal breakdown, you can always check out our official disclaimer page. It’s good to know what you are indulging in, even when it’s royalty-approved!
- Serving Size: 2 Tablespoons
- Calories: 105
- Sugar: 18g
- Sodium: 2mg
- Fat: 1g
- Protein: 1g
Begin Your Reign: Enjoying Your Homemade Feast
Now that you have the tools to create the best dessert topping, please, go make a batch! You deserve this simple, rich indulgence tonight. Drizzle it on whatever you fancy and truly celebrate the fact that you made something exquisite yourself. I’m so excited for you to taste the difference. If you try this, please let me know in the comments below how you used your new, superior syrup—Marco usually goes straight for the ice cream!
Happy feasting,
Sofia
Find more simple recipes to treat yourself on our main blog page!
PrintQuick, Rich Homemade Chocolate Syrup (Better Than Store-Bought)

Stop buying commercial syrup! Make this rich, silky smooth chocolate syrup from cocoa powder in under 10 minutes. It is the best homemade dessert topping for ice cream, coffee, and chocolate milk.
- Prep Time: 5 min
- Cook Time: 5 min
- Total Time: 10 min
- Yield: About 1 1/2 cups
- Category: Dessert Topping
- Method: Stovetop Cooking
- Cuisine: American
- Diet: Vegetarian
Ingredients
- 1 cup granulated sugar
- 1 cup unsweetened cocoa powder
- 1 cup water
- 1 teaspoon vanilla extract
- Pinch of salt
Instructions
- Combine the sugar, cocoa powder, and salt in a small saucepan. Whisk these dry ingredients together well.
- Pour in the water and whisk until the mixture is completely smooth and no lumps remain.
- Place the saucepan over medium heat. Bring the mixture to a gentle boil, stirring constantly to prevent scorching.
- Once boiling, reduce the heat to low and let it simmer for exactly 1 minute, stirring occasionally. Do not overcook, or the syrup will thicken too much upon cooling.
- Remove the saucepan from the heat. Stir in the vanilla extract.
- Pour the hot syrup into a clean jar or heat-safe container. Allow it to cool completely to room temperature before using. The syrup will thicken significantly as it cools, achieving that perfect, rich texture.
Notes
- For a thinner chocolate milk mix, use 1 1/4 cups of water instead of 1 cup.
- If you prefer a recipe without corn syrup, this recipe uses only granulated sugar.
- Store this homemade chocolate syrup in an airtight container in the refrigerator for up to three weeks.
- This recipe is easily adaptable to be vegan by ensuring your sugar source meets your dietary needs.
Nutrition
- Serving Size: 2 Tablespoons
- Calories: 105
- Sugar: 18
- Sodium: 2
- Fat: 1
- Saturated Fat: 1
- Unsaturated Fat: 0
- Trans Fat: 0
- Carbohydrates: 25
- Fiber: 1
- Protein: 1
- Cholesterol: 0