

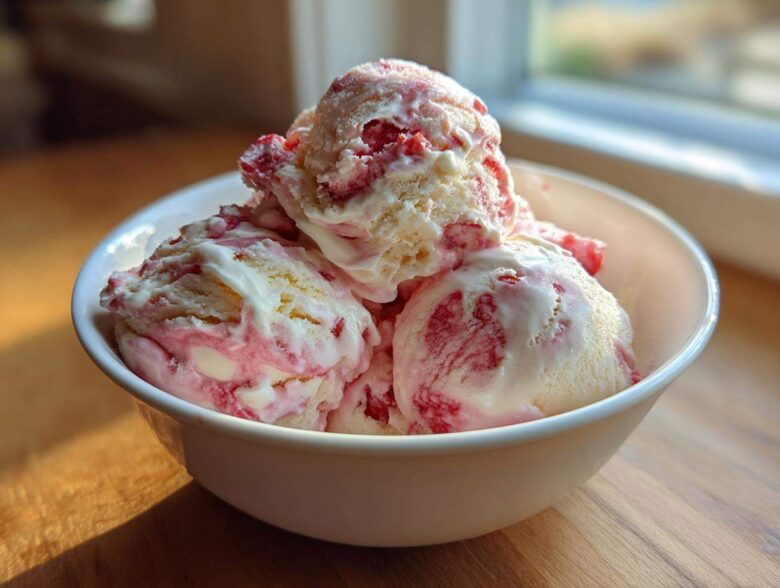
When that scorching summer heat rolls in, seriously, nothing beats sinking a spoon into a perfectly creamy bowl of homemade strawberry banana ice cream, right? It’s the ultimate throwback flavor combo, and trust me, I have absolutely perfected the method here. Forget dragging out the ice cream maker—that’s just an extra machine to clean later! This is my go-to recipe because it’s shockingly easy, ridiculously quick to mix up, and yields the creamiest texture imaginable using just two main ingredients. If you’ve been looking for the easiest way to get scoops on the table fast, you’ve definitely landed in the right spot. I want to share exactly how my kitchen achieves this magic so you can too. If you want to read a little more about my baking philosophy, check out my About Me page!
Why This No-Churn Strawberry Banana Ice Cream Recipe Works
You might be wondering how something this creamy comes out without turning into a rock-solid block of icicles. It’s all about the magic pairing of heavy whipping cream and sweetened condensed milk. Seriously, that’s it for the base! When you whip that heavy cream up to stiff peaks, you are incorporating tons of tiny air bubbles. Then, the condensed milk, which is already super sweet and thick because of its low water content, keeps everything stable in the deep freeze.
This combination means you skip the churning process completely. No churning means no ice crystals forming big crunchy bits in your dessert. That’s why I swear by this **easy no churn strawberry banana ice cream** recipe whenever I need something quick but decadent. It holds its scoopable shape perfectly! Honestly, if you thought making ice cream was only for fancy machines, get ready to be amazed.
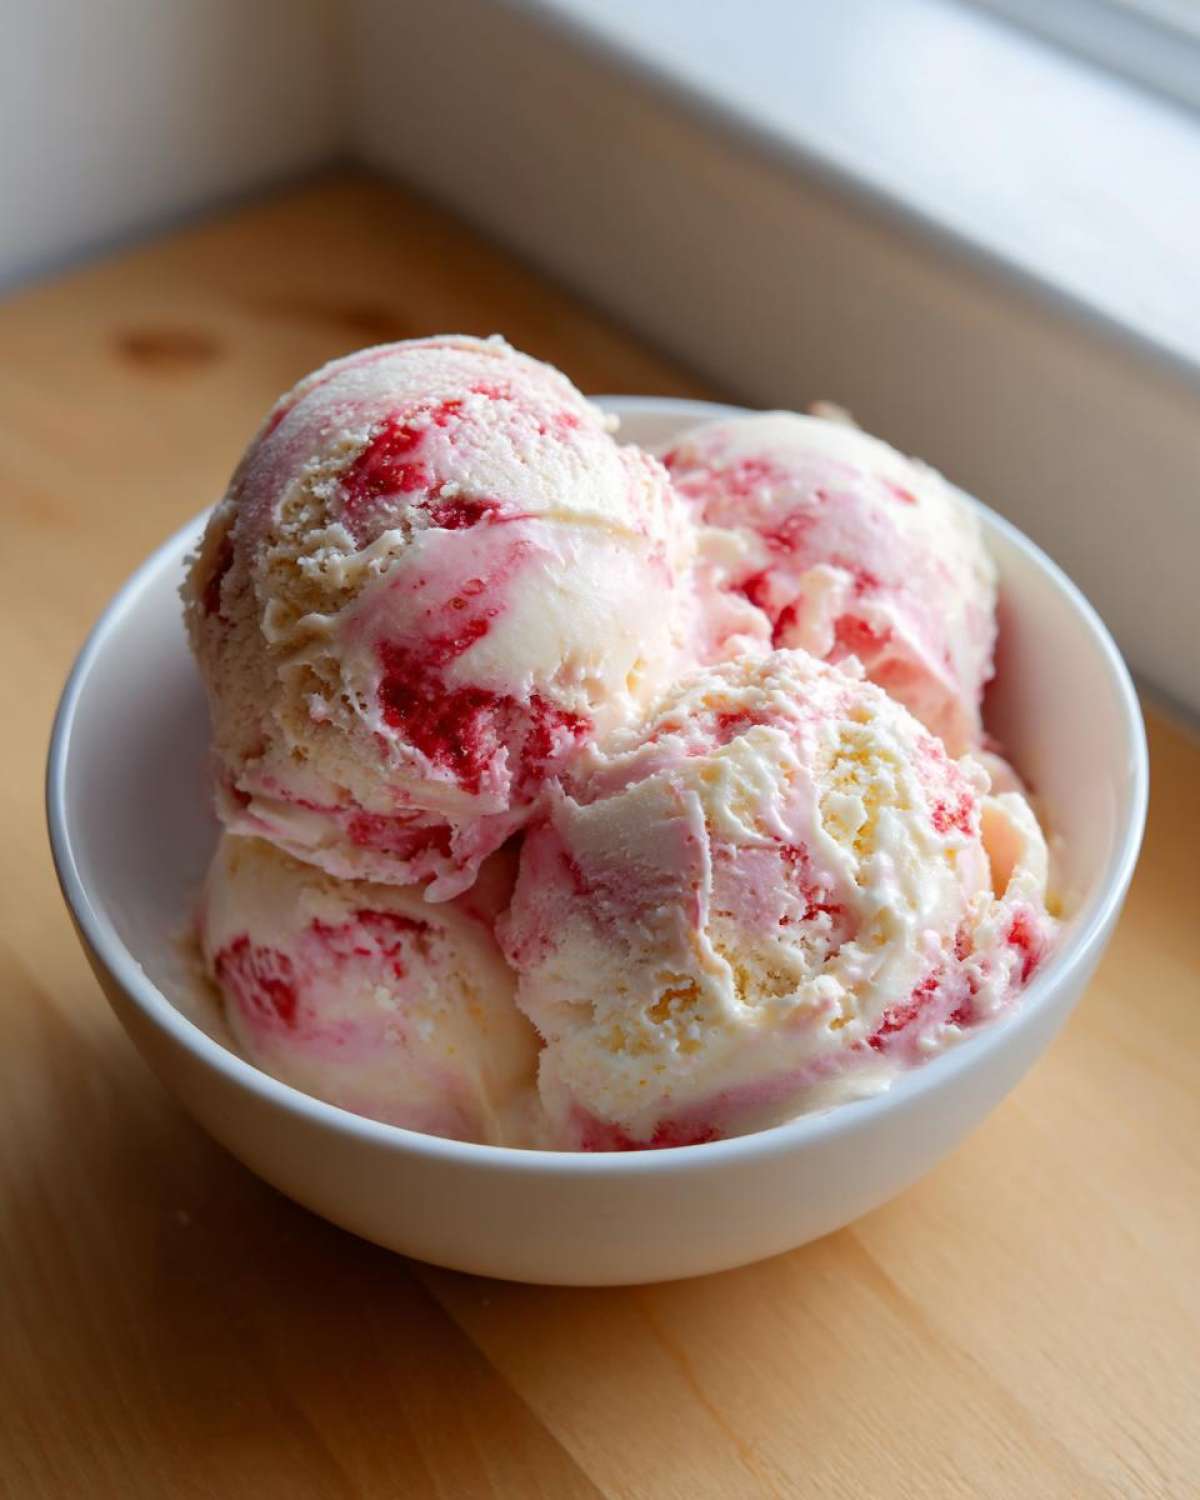
Prep and Freeze Times for Your Strawberry Banana Ice Cream
The beauty of this recipe is how fast the hands-on time is. You really only need about 20 minutes to whip the cream and fold everything together. That’s faster than deciding what movie to watch!
After that quick prep work, we let the freezer do the heavy lifting. You need to stash it away for a minimum of 6 hours, but honestly, overnight works even better. It’s that perfect summer dessert—minimal effort now, maximum chill later.
Essential Ingredients for Creamy Strawberry Banana Ice Cream
Okay, let’s talk about what actually goes into this glorious frozen treat because the quality of these few components really makes or breaks your **Strawberry Banana Ice Cream**. You only need that heavy whipping cream and the cold sweetened condensed milk for the base, plus a splash of good vanilla. But the real stars? The fruit!
You absolutely must use very ripe bananas. I mean, brown spots are your friend here! Ripe bananas pack way more natural sugar, which helps keep the final result soft instead of icy. For the strawberries, make sure they’re hulled and chopped nicely. They should taste sweet when you taste-test them; mushy, faintly colored strawberries just won’t cut it!
Ingredient Notes and Substitutions for Strawberry Banana Ice Cream
Keep that heavy cream and condensed milk seriously cold before you start whipping and mixing; it helps everything come together much faster. If you’re trying to keep this dairy-free—which, good for you!—you can swap the heavy cream for chilled, full-fat coconut cream. You’ll need to find a good dairy-free condensed milk option as well, which are popping up everywhere now!
Also, you’ll notice I added an optional splash of lemon juice with the fruit. Don’t skip this if your strawberries are very deep red. It’s a little kitchen trick; that tiny bit of acid helps keep the fruit from turning an unappetizing grayish-brown color once it hits the cold base. It just keeps that vibrant pink color shining through!
How to Prepare Your Homemade Strawberry Banana Ice Cream Recipe
Ready to turn simple ingredients into scoops of frosty bliss? I’m going to run you through the whole process. This is where you need to pay attention to your mixing—going too fast or too hard at the wrong moment can deflate all the air we worked so hard to incorporate! Remember, we are mixing, not scrambling eggs!
Before we dive in, if you ever need a little refresher on general mixing techniques for baking, you can always check out my main baking blog for general kitchen tips!
Whipping Cream Technique for Perfect Strawberry Banana Ice Cream
This is Step One, and honestly, the most physical part! You need your heavy cream to be ice cold. For a real pro move that makes whipping so much faster, I always pop my large mixing bowl and the whisk attachment into the freezer for about 15 minutes beforehand. Seriously, use cold tools—it makes all the difference.
Start mixing on medium speed and gradually work your way up to high. You are waiting for what we call “stiff peaks.” That just means when you pull the whisk out, the cream stands up straight on its own without flopping over. It should look glossy but firm. This usually takes about five minutes with an electric mixer. Over-whipping turns it into butter, so watch it closely!
Folding the Base and Fruit for the Best Strawberry Banana Ice Cream
Once your cream is whipped, grab your cold, pre-mixed condensed milk and vanilla in a separate bowl. Now comes the really crucial part: folding. You are not stirring! You’re using a spatula to gently cut down the middle of the mixture and sweep up the sides, turning the batter over itself. This keeps that precious air we just whipped in.
Do this until the milk mixture is just barely incorporated into the cream base. Then, take your prepared fruit mixture—that sweet, juicy blend of berries and banana—and gently swirl it in. I mean *swirl*! You want big streaks of pink and yellow running through the white base. If you mix it until it’s one color, you’ll lose that beautiful marbling that makes this **Strawberry Banana Ice Cream** look so professional.
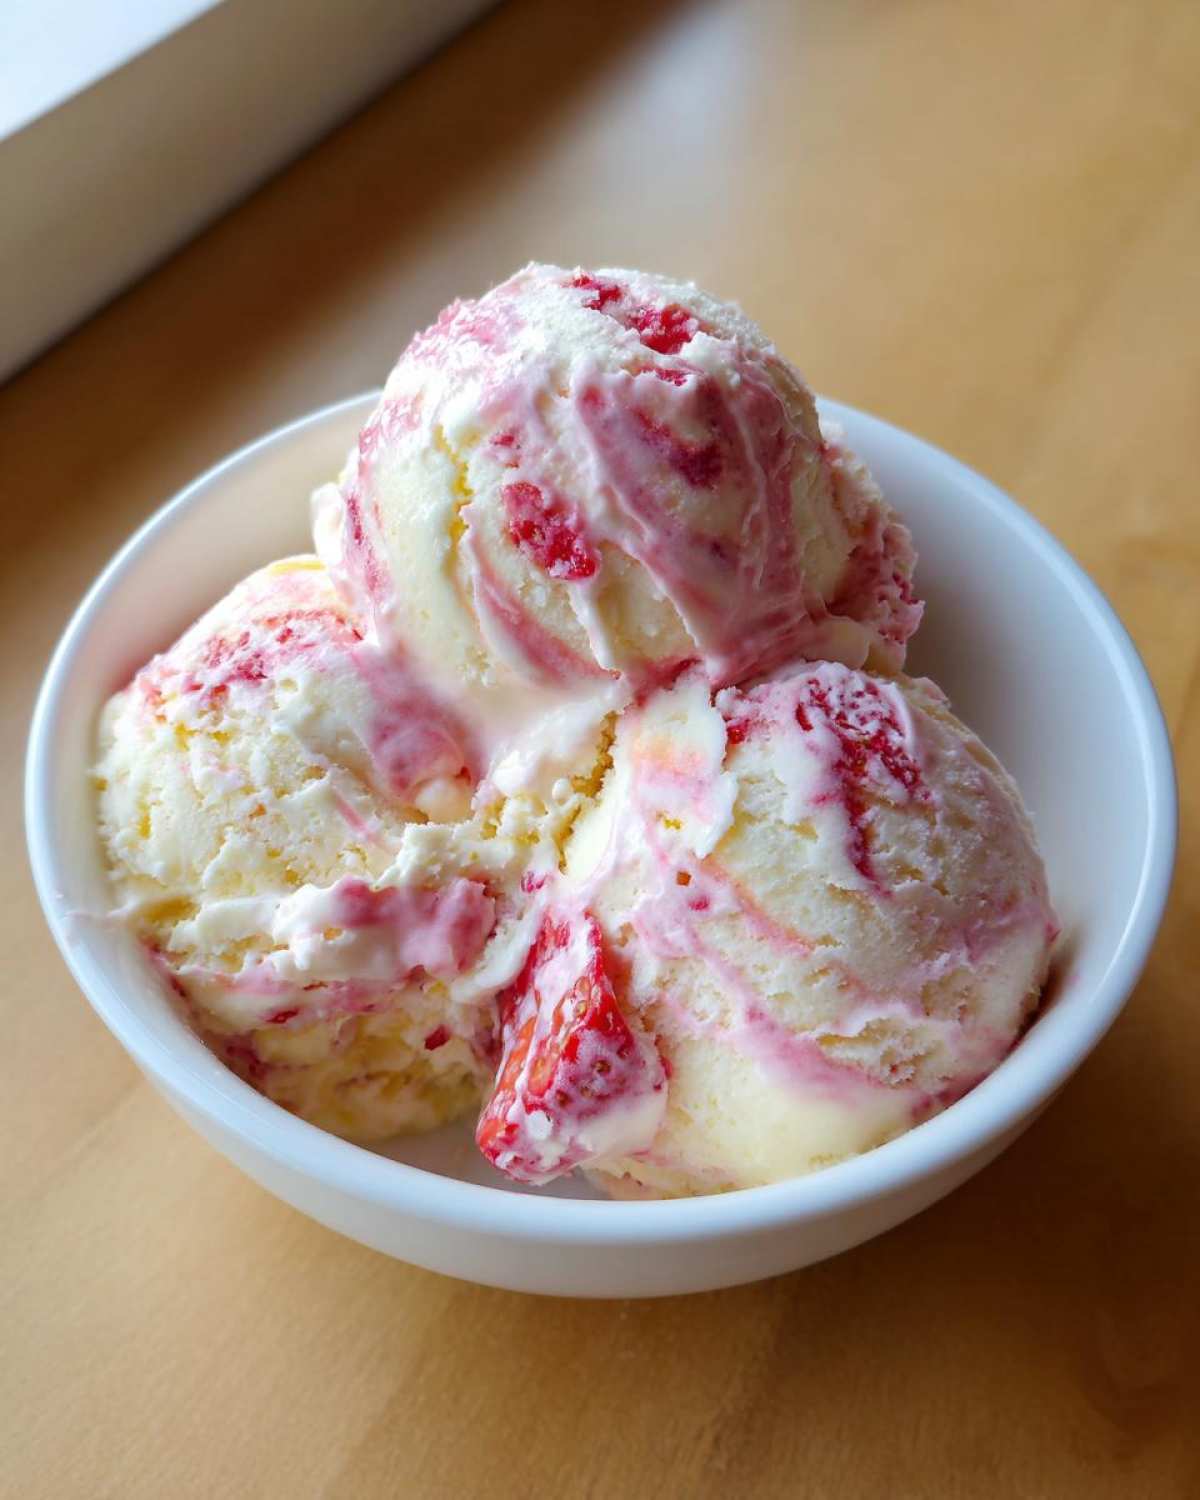
Tips for Success Making Strawberry Banana Ice Cream Without Machine
So, you’ve folded your swirls and poured the batter into the pan. Now what? Getting that perfect scoopable texture when you try making **strawberry banana ice cream without machine** relies on a couple of tiny details!
First, container choice matters. Don’t use a huge, wide glass dish because the surface area is too big, and it freezes unevenly. I swear by a standard metal loaf pan—it’s the perfect depth. Better yet, use a freezer-safe container with a truly tight-fitting lid. This is your absolute best defense against freezer burn and getting those nasty ice crystals.
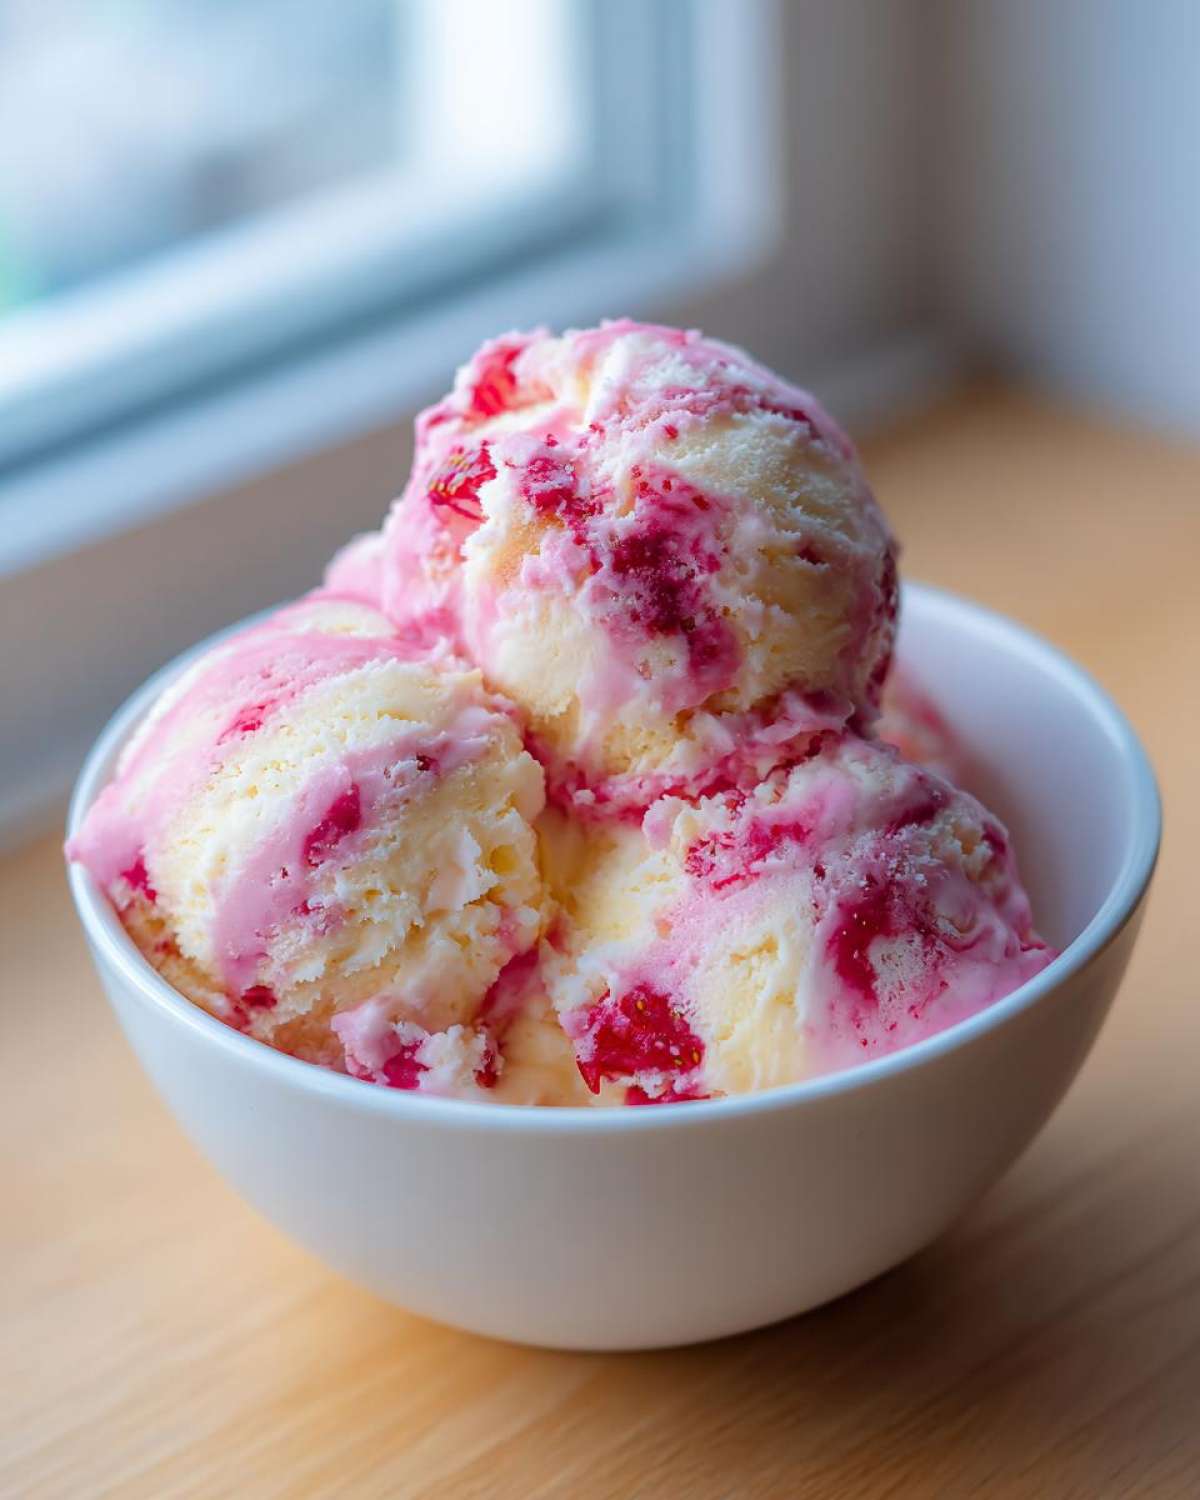
And here’s my top trick for smoothness: covering the surface! Before you seal the lid, place a sheet of plastic wrap directly onto the surface of the ice cream base itself before putting the lid on. This stops any condensation from dripping onto your dessert, keeping it perfectly shiny and creamy.
Variations on this Strawberry Banana Ice Cream
While this classic recipe is everything good and rich, sometimes I just want something a little lighter, especially after hitting the gym! You can totally riff on this base, too. If you are trying to make a **healthy banana strawberry frozen dessert**, I suggest swapping out some of the heavy cream for plain Greek yogurt.
It won’t be quite as rich as going full condensed milk, but it adds a wonderful tang and cuts the fat significantly. Or, if you’re feeling fun, fold in some mini dark chocolate chips right at the very end—they stay firm against the fruit and give you a nice little snap when you eat it!
For those who love adding extra texture, I’ve also successfully used frozen blueberries instead of strawberries sometimes. It changes the color completely, making it look more like a vibrant lavender swirl, which is honestly so pretty! If you’re looking for other ways to use bananas in simple desserts, you should check out my recipe for no-bake peanut butter protein balls; they are amazing for quick energy!
Serving Suggestions for Your Strawberry Banana Ice Cream
Congratulations! Your **Strawberry Banana Ice Cream** is firm and ready, and honestly, it’s delicious straight out of the container. But why stop there when you’ve done all that hard work, right?
When I serve this up, I like to keep the toppings light so the fruit flavor really shines through. A light drizzle of local honey, warmed up just slightly so it drizzles beautifully over the scoop, adds a wonderful layer of natural sweetness that just sings against the banana.
If you need a little crunch—because a great frozen dessert always needs some textural play—crushed toasted pecans or walnuts are my absolute favorite. Toasting them first wakes up their flavor so much! For something truly special, especially on a chilly evening (yes, I eat ice cream year-round, don’t judge!), serving a scoop alongside a warm, gooey slice of baked goodness is heaven. My apple brownies with maple glaze are the perfect companion if you have a batch ready!
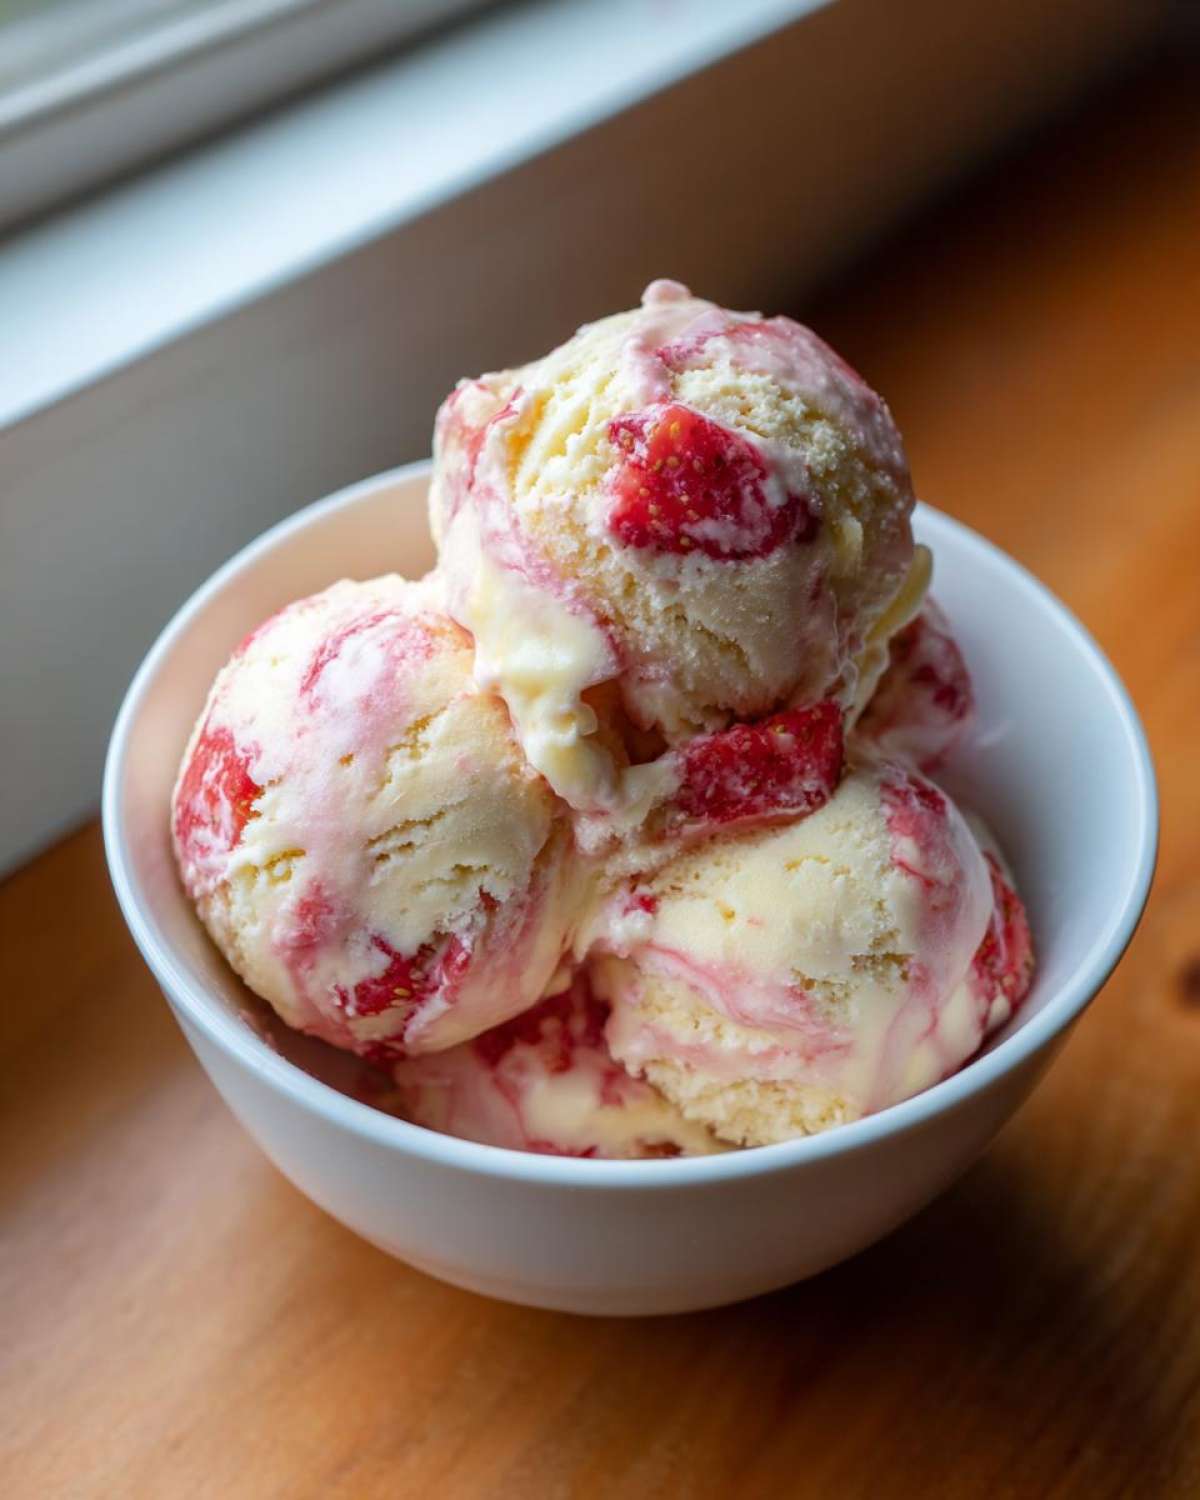
Remember, presentation is half the fun. Scoop it high into a chilled bowl or, for a fun look, use a waffle cone and place just one perfect strawberry half right on top before serving!
Storing Leftovers of Your Strawberry Banana Ice Cream
Don’t panic if you don’t finish the whole pan in one sitting—this fantastic **Strawberry Banana Ice Cream** keeps really well! The key is truly airtight storage. You must use that plastic wrap trick we talked about before, pressing it right down on the surface of the ice cream before you seal the lid tight. That prevents those frustrating hard ice pockets from forming.
When you want to serve up seconds, pull it out of the deep freeze about five or ten minutes before you plan to scoop. This little rest time at room temperature softens the edges just enough so you can get those gorgeous scoops without pulling a muscle!
Frequently Asked Questions About Strawberry Banana Ice Cream
I know sometimes you need a quick answer before diving back into the kitchen, so here are the things folks always ask me about this fantastic frozen dessert. Don’t worry if your first batch isn’t 100% perfect; we all had to learn the secrets!
Can I make this Strawberry Banana Ice Cream vegan?
Yes, absolutely! We talked about this briefly in the variations section, but it’s worth repeating since so many people ask about keeping things plant-based. To make a lovely **dairy free chocolate covered strawberry banana ice cream** that still feels rich, you need to swap out the heavy cream with chilled coconut cream, which you scoop off the top of a refrigerated can of full-fat coconut milk. And of course, make sure your sweetened condensed milk is a plant-based alternative you love. If you’re careful with those swaps, it comes out just as dreamy!
Why is my homemade strawberry banana ice cream icy?
Ugh, the dreaded ice crystals! That usually happens for one of two reasons, and neither has anything to do with needing a machine. The first is too much water, which usually means your fruit wasn’t ripe enough and was too juicy, or maybe you used low-fat dairy. Too much water just freezes hard!
The second reason, which is super common with this recipe, is deflating the air. If you mixed the condensed milk into the whipped cream too vigorously, or if you folded the fruit in with too much force, you knocked out all that lovely air we folded in. That air is what keeps the texture light like a **creamy strawberry banana frozen yogurt** rather than a solid cube. Next time, be super gentle when folding!
Is this mixture good for a healthy banana strawberry frozen dessert?
It depends on what you mean by ‘healthy,’ honey! Because this recipe relies on heavy cream and full-fat sweetened condensed milk for its incredible texture, it’s definitely more of a treat than a daily health food. If you’re looking for truly light, you’d be better off using frozen bananas only and blending them—that’s the ‘nice cream’ route! But for a homemade ice cream that tastes incredibly decadent, this is your best bet. Before you try anything else, don’t forget to check out my general site disclaimer regarding nutrition guidelines!
Nutritional Estimates for Strawberry Banana Ice Cream
I always get asked about how this delicious **Strawberry Banana Ice Cream** fits into a balanced diet. I want to be super clear here: because this is a decadent, full-fat, real cream recipe, it’s definitely best as a special treat! The numbers I’m sharing below are just estimates based on the ingredients laid out in the recipe card, so they can change depending on the exact brand of cream or ripeness of your fruit.
These figures are based on a serving size of about 2/3 cup. If you manage to stick to just one scoop, you are doing great! Remember, a little bit of this creamy goodness goes a long way.
- Calories: Approximately 350 per serving
- Total Fat: Around 21 grams (with about 13 grams of saturated fat)
- Carbohydrates: Roughly 38 grams
- Sugar: About 35 grams (remember, a good chunk of this is natural sugar from the ripe fruit and lactose from the milk products)
- Protein: About 5 grams
Since this recipe relies on whole dairy, you get that nice cholesterol number in there too. If you are watching anything super strictly, these numbers should help you plan! But honestly, when it tastes this good, sometimes you just have to enjoy it worry-free!
PrintEasy No-Churn Strawberry Banana Ice Cream
Make creamy strawberry banana ice cream without an ice cream maker using this simple, no-churn recipe.
- Prep Time: 20 min
- Cook Time: 0 min
- Total Time: 6 hr 20 min
- Yield: 6 servings
- Category: Dessert
- Method: No-Churn Freezing
- Cuisine: American
- Diet: Vegetarian
Ingredients
- 2 cups heavy whipping cream, cold
- 1 (14 ounce) can sweetened condensed milk, cold
- 1 teaspoon vanilla extract
- 1 cup ripe strawberries, hulled and chopped
- 2 ripe bananas, mashed
- 1 tablespoon lemon juice (optional, for color)
Instructions
- In a large bowl, whip the cold heavy cream with an electric mixer until stiff peaks form. This takes about 3 to 5 minutes.
- In a separate bowl, gently fold together the cold sweetened condensed milk and vanilla extract.
- Gently fold the whipped cream into the condensed milk mixture until just combined. Do not overmix.
- In a small bowl, combine the chopped strawberries, mashed bananas, and lemon juice if using. Lightly mash the fruit mixture further to release some juices.
- Gently swirl the fruit mixture into the ice cream base. You want streaks of fruit, not a uniform color.
- Pour the mixture into a freezer-safe container, such as a loaf pan or an airtight container. Cover the surface directly with plastic wrap to prevent ice crystals.
- Freeze for at least 6 hours, or until firm enough to scoop.
- Let the ice cream sit at room temperature for 5 to 10 minutes before serving for easier scooping.
Notes
- Use very ripe bananas for the best sweetness and texture.
- For a dairy-free version, substitute the heavy cream with chilled full-fat coconut cream and use a dairy-free condensed milk alternative.
- If you prefer a smoother texture without large fruit chunks, blend the fruit slightly before folding it in.
Nutrition
- Serving Size: 2/3 cup
- Calories: 350
- Sugar: 35
- Sodium: 60
- Fat: 21
- Saturated Fat: 13
- Unsaturated Fat: 8
- Trans Fat: 0
- Carbohydrates: 38
- Fiber: 2
- Protein: 5
- Cholesterol: 75