

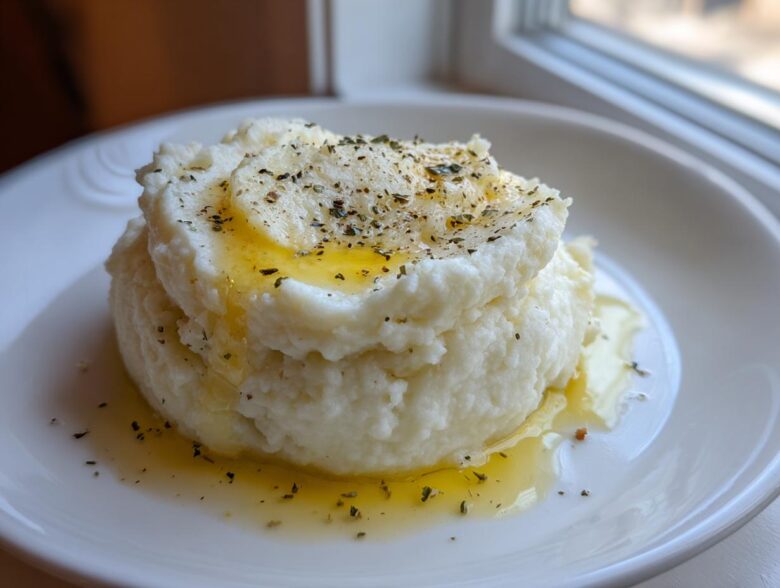
Oh, I totally get it. When you’re trying to keep things low-carb or keto, sometimes you just *crave* that rich, buttery comfort food we all grew up on, right? Mashed potatoes are a tough habit to break! But listen, stop settling for that sad, watery vegetable mash you sometimes see online. I spent years messing with cauliflower until I cracked the code. This is it. This is the ultimate Creamy Garlic Mashed Cauliflower recipe that genuinely mimics the texture of smooth, fluffy potatoes. The secret isn’t just the cream—it’s how you treat the vegetable before it even hits the blender. Trust me, after you try my method, you won’t miss the spuds one bit. You can enjoy this comforting side dish guilt-free! If you’re looking for the potato version, check out my recipe for Slow Cooker Mashed Potatoes, but for now, let’s get this cauliflower silky smooth!
Why This Creamy Garlic Mashed Cauliflower Recipe Works (The Secret to Smoothness)
Okay, let’s get down to the real challenge people face with this dish. The single biggest mistake everyone makes is skipping the draining step—and I mean *really* draining it. If you want this to taste like real comfort food and not like soup, you have to understand how to make cauliflower creamy not watery. Cauliflower is mostly water, guys! If you don’t let that steam escape after boiling, all that liquid goes right into your final mash, resulting in sad, soupy disaster.
We boil them until they are absolutely fork-tender, then we let them sit and weep out their extra moisture in the colander. It’s non-negotiable! This simple waiting period is what separates my garlic cauliflower mash low carb side dish from every other attempt you’ve ever made.
Achieving the Best Creamy Cauliflower Mash Texture
This method is all about speed and power once the cauliflower is dry. Forget your hand masher—it’s just not going to give us that luxurious final result we’re aiming for. For the absolute best texture, you need a food processor. It blitzes everything right down into a perfect smooth garlic cauliflower puree, incorporating the butter and cream beautifully.
But you have to be careful! It moves so fast. You need to pulse it until it looks homogeneous and perfectly smooth, but stop right there. If you run that processor for too long, the starches can release in a weird way, and suddenly, you’ve turned perfectly good cauliflower into something resembling glue. A little pulse, scrape the sides, another pulse—that’s the ticket to the best creamy cauliflower mash!
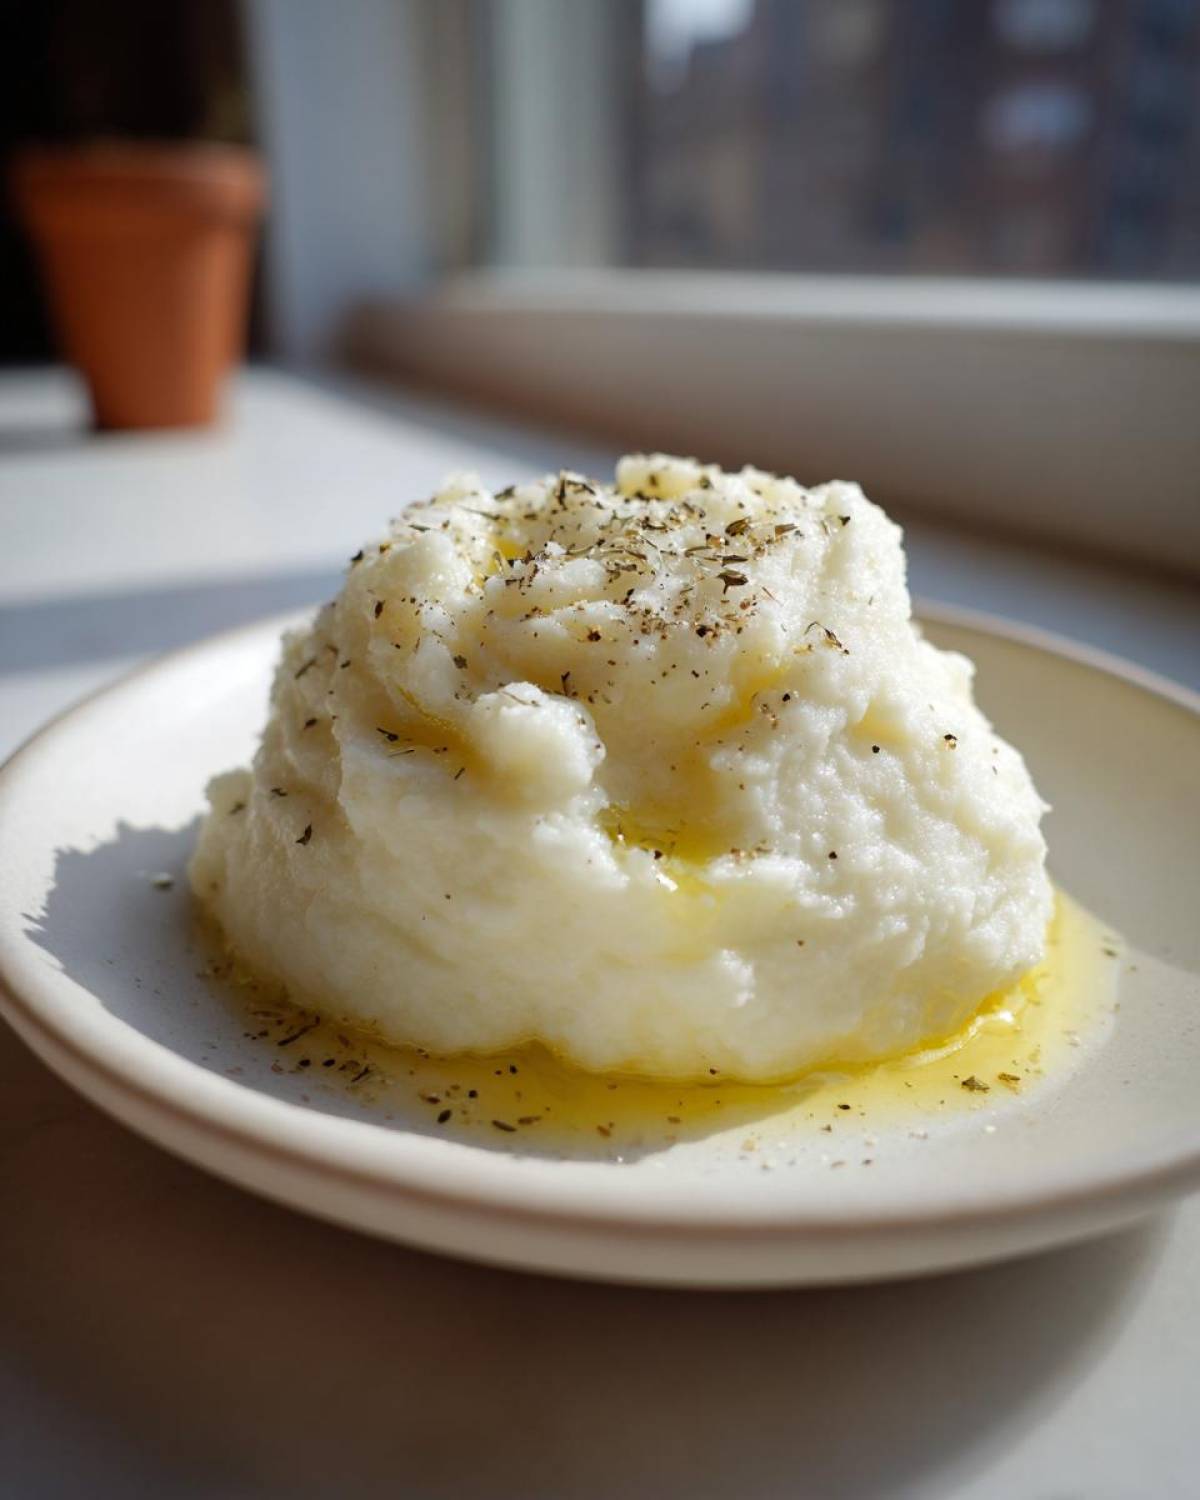
Ingredients for Your Creamy Garlic Mashed Cauliflower
If you’ve successfully conquered the moisture battle, getting the right flavor is the easy part! I always lay out my ingredients before I even start chopping the cauliflower, just to make sure I have everything ready to go. Because texture matters so much, the fat content here is also crucial for that ‘comfort food’ mouthfeel. I’ve included Parmesan in the main list because honestly, it adds a little salty tang that brings out the garlic so nicely, but don’t stress if you can’t do dairy!
We are using a full head of cauliflower—don’t skimp here, because it shrinks down dramatically! We need the garlic to be soft and mellow, not harsh, so make sure you plan ahead to either roast or sauté yours until it smells sweet. If you want to check out a great buttery base to pair with this, I have a fantastic recipe for Garlic Butter that you could easily incorporate here!
- 1 large head cauliflower (about 2 lbs) – chopped into small florets
- 4 cloves garlic – you must prep these—either wrapped and roasted or lightly sautéed until soft!
- 4 tablespoons butter or ghee – gotta have the fat for that richness
- 1/4 cup heavy cream or full-fat coconut milk – this is where the magic happens
- 1/4 cup grated Parmesan cheese (optional) – adds a lovely savory kick
- 1/2 teaspoon salt (plus more for boiling water)
- 1/4 teaspoon black pepper
Ingredient Substitutions for Dietary Needs
I know so many of you are cooking for all sorts of dietary needs, and this cauliflower mash is incredibly flexible! If you are keeping it low-carb, you are golden already. If you need to skip the dairy, this recipe handles it beautifully, proving it can be an amazing easy vegan creamy cauliflower side dish.
When that happens, just swap out that heavy cream for full-fat canned coconut milk. Seriously, it makes it incredibly rich! And of course, if you skip dairy, you just leave off the Parmesan cheese. You won’t miss it much because that roasted garlic flavor is so powerful anyway. No worries at all!
Step-by-Step Instructions for Perfect Creamy Garlic Mashed Cauliflower
Alright, now that you know the secret to silky texture, here are the exact steps I take every single time to ensure this simple garlic cauliflower recipe comes out perfect. It’s straightforward, but timing is everything, especially when it comes to that simmering time and the draining rest. If you’ve ever tried my roasted garlic mashed potatoes, you know I love that mellow garlic flavor, and we achieve that same richness here.
- First thing, get that cauliflower into small, even florets. Trust me, uniform size means they all cook at the same time, so you don’t end up with some mushy and some crunchy bits. Put them in a big pot, cover them with water, and toss in about half a teaspoon of salt right into the water.
- Bring the whole thing to a rolling boil, then immediately dial it back down to a steady simmer. Let those florets cook until they are completely soft—we’re talking 15 to 20 minutes here. You should be able to mash them easily with a fork right in the pot.
- While that’s happening, we need to tame our garlic! This is where the flavor gets deep.
Preparing the Garlic for Maximum Flavor
You have two fantastic options for your garlic. If you want that deep, sweet, almost nutty explosion of flavor (which pairs perfectly if you’re going for a roasted garlic mashed cauliflower vibe), wrap those cloves loosely in a little foil packet with a drizzle of oil and pop them into a 400°F oven for about 15 minutes while the cauliflower simmers. They should be soft when you squeeze them.
If you’re short on time, you can gently sauté them in a tiny bit of butter until they are fragrant and soft—just be careful not to burn them! We want them mellow and sweet, not sharp and spicy. Getting that garlic right makes all the difference in this side dish.
Once your garlic is done, move on to the next crucial stage!
- Drain your cooked cauliflower in a good colander. Don’t rush this part! Let it sit there for a good five minutes. I mean it—let it steam off all that excess water that it soaks up like a sponge.
The Critical Moisture Removal Process
This is what everyone skips, and it’s why their mash fails! After those five minutes of resting, take a sturdy spoon (or the back of your masher) and very gently press down on the cauliflower mass in the colander. You’ll be shocked how much more water drips out! This simple step is absolutely essential if you are aiming for that perfect buttery smooth keto side dish. We need dry cauliflower so the heavy cream and butter can actually enrich the texture instead of just watering down your final product.
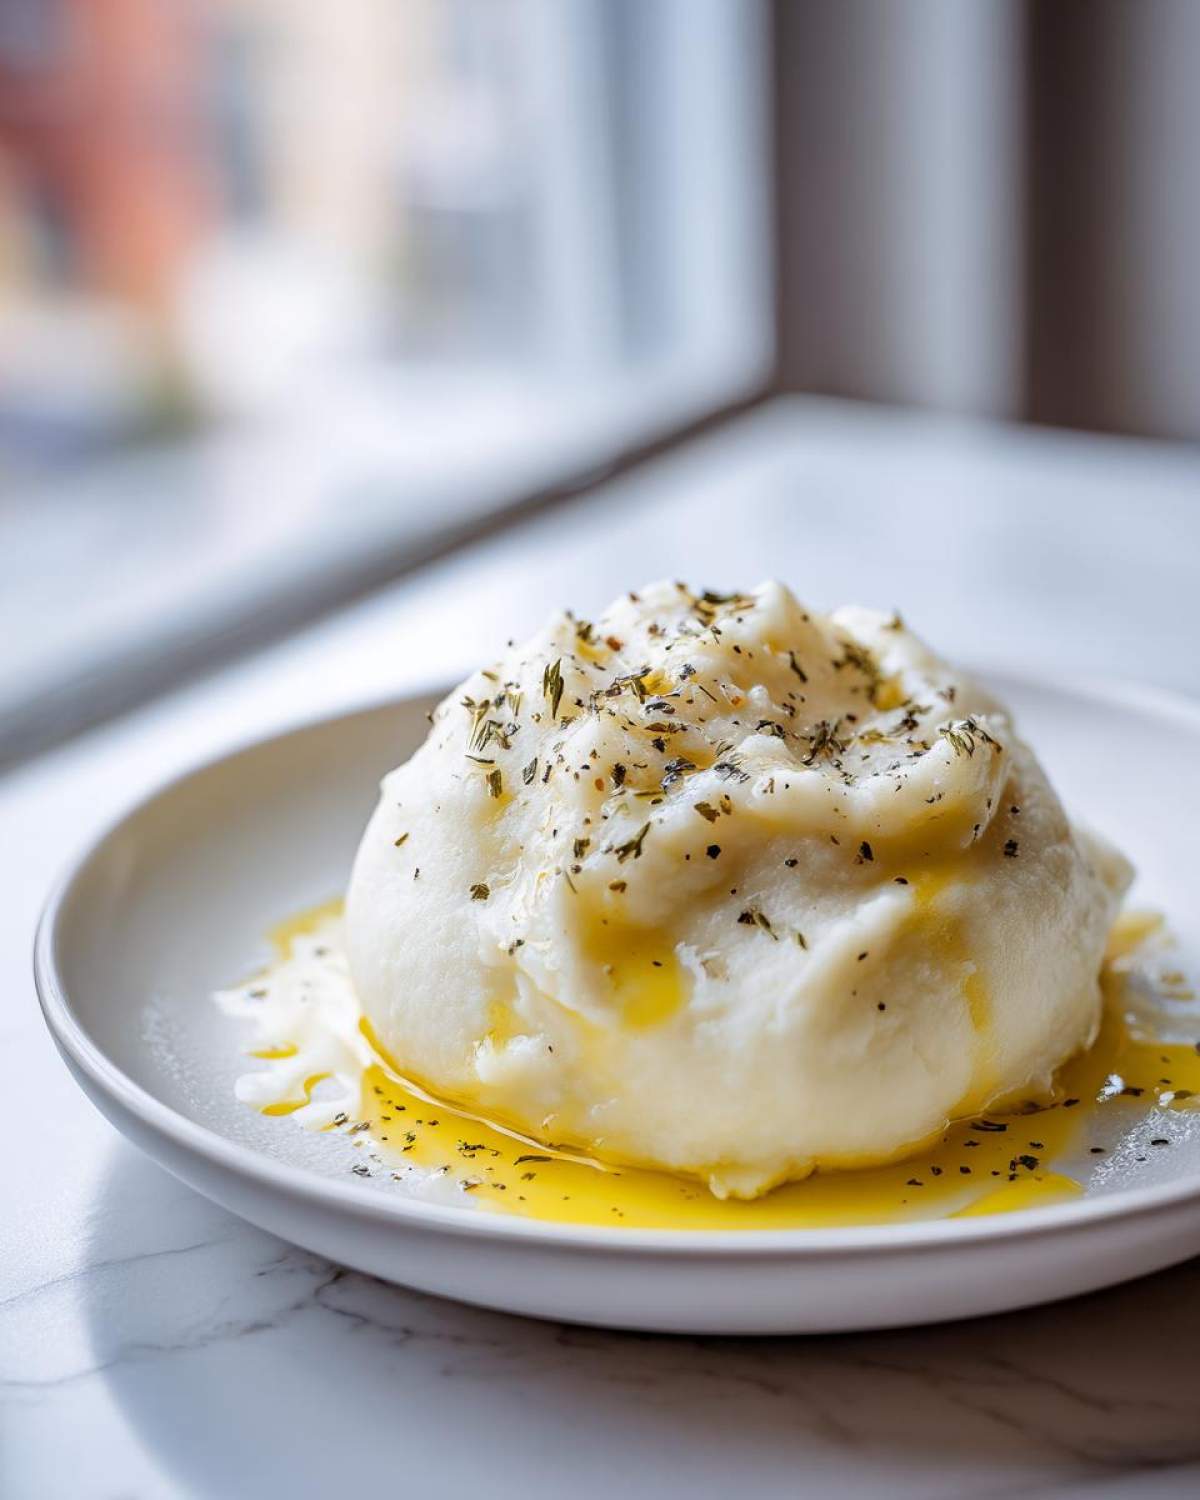
- Now, transfer that nicely drained cauliflower and all your soft, glorious garlic into your food processor—this is key for that silky result!
- Toss in your butter, your heavy cream (or plant-based swap!), the Parmesan if you’re using it, salt, and pepper.
- Pulse it all together. Stop every 15 seconds to scrape down the sides. Keep pulsing until everything looks perfectly blended and incredibly smooth. Keep an eye on it—we want smooth, not gluey!
- Taste it! Does it need more salt? Maybe another little grind of pepper? Adjust your flavors, and serve it up piping hot!
Tips for the Ultimate Creamy Garlic Mashed Cauliflower
So, you’ve mastered the drain and the pulse, fantastic! But if you want to take this beyond just good and make it truly legendary—I mean, the best creamy cauliflower mash anyone has ever tasted—I have a few little tricks! Instead of just throwing in cream, try incorporating a little bit of something extra rich. If you have some homemade Alfredo sauce on hand, a couple of tablespoons will give it an unbelievably silky coating that fries up the inside of your mouth in the best way!
Secondly, don’t be afraid of a little zest! A tiny grate of fresh nutmeg into the mixture (I mean just a pinch!) really deepens the savory vegetable notes and cuts through the butter. It’s a classic trick my aunt taught me for all vegetable purees. Serve it immediately, piping hot, so that butter and cream are perfectly emulsified while you’re enjoying your homemade Alfredo sauce recipe later in the week!
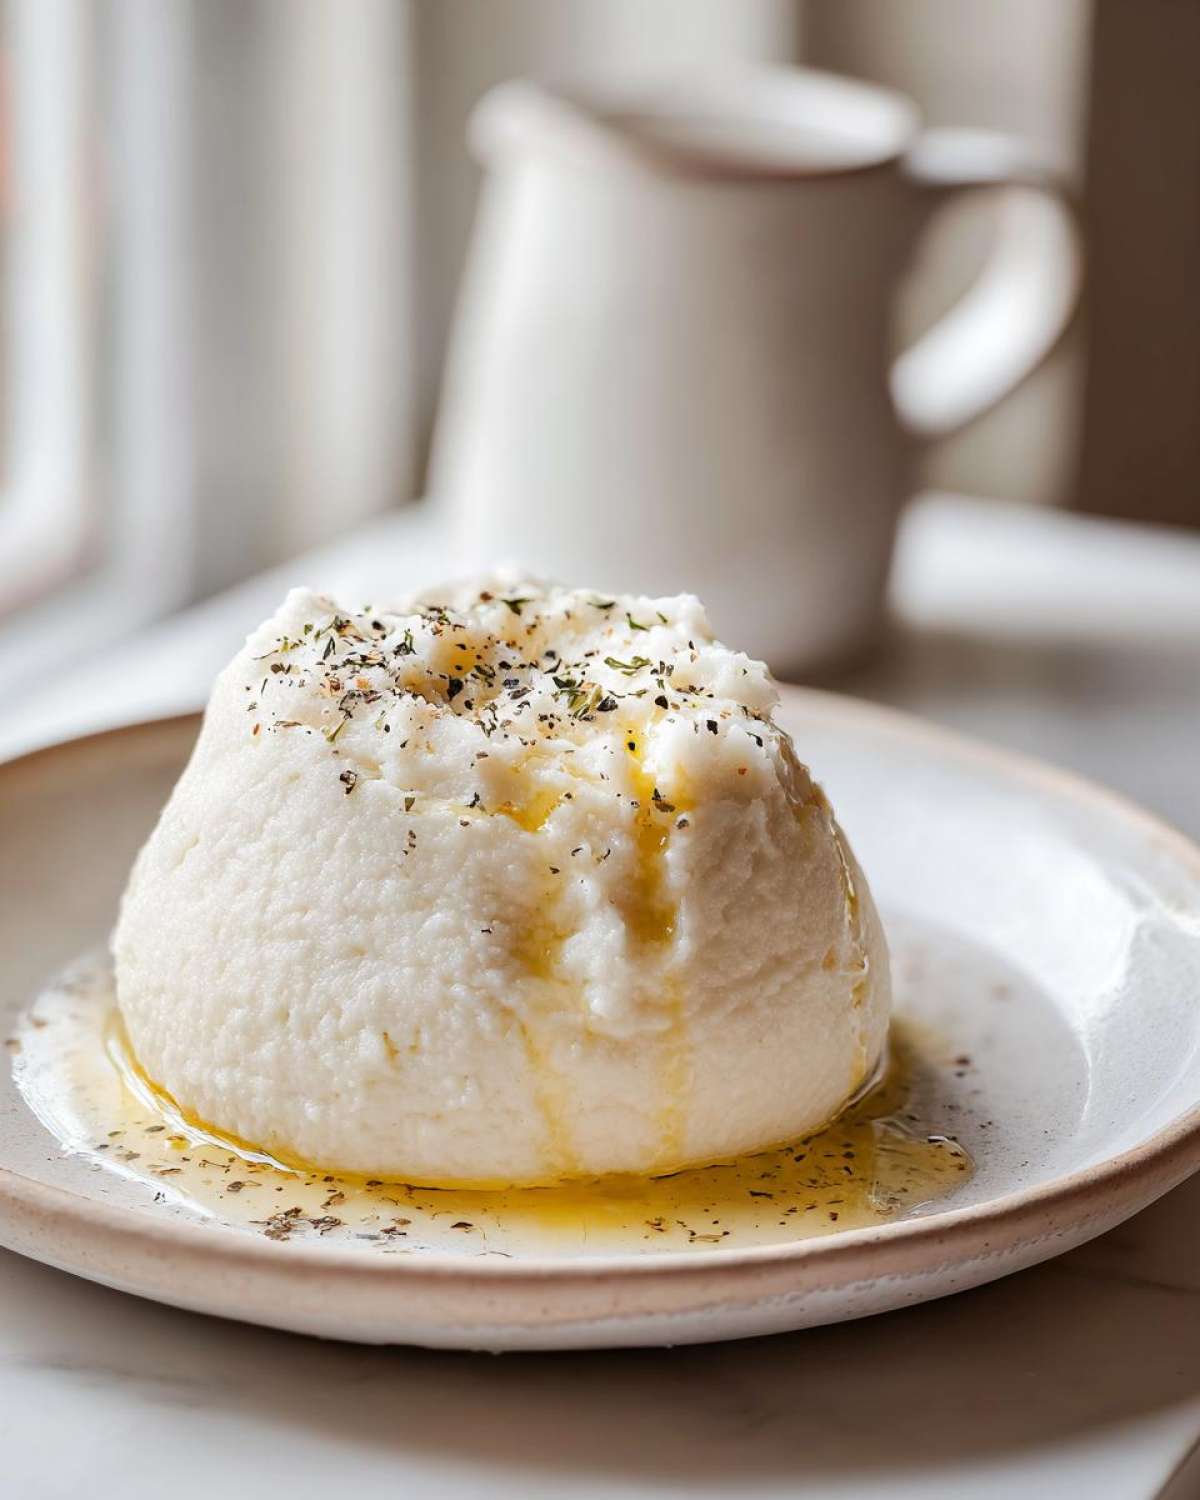
Remember, the key to this success as a healthy mashed potato substitute is treating the cauliflower like a delicate dairy product—keep it warm, keep it dry, and keep it rich!
Dietary Benefits: A Great Garlic Cauliflower Mash Low Carb Option
One of the best things about perfecting this Creamy Garlic Mashed Cauliflower is knowing that you’ve just created a powerhouse side dish that fits right into almost any restrictive diet. If you’re keeping it keto, or just trying to watch your carb intake, this shines! It’s a fantastic, savory, and deeply satisfying healthy mashed potato substitute without all the starch.
Because we swap out the potatoes for cauliflower, the carb count drops significantly, making it perfect for sticking to your macros. But the flavor? Oh, the flavor stays high! We keep the richness using butter and heavy cream (or the coconut milk alternative), so you still get that savory, comforting feeling. It hits that spot every single time.
It’s brilliant paired with heavier proteins because it’s so flavorful on its own—you definitely won’t feel like you’re missing out on anything! If you need a main dish idea to go with this, my Keto Chicken Parmesan is incredible alongside this creamy mash. It proves that eating lighter doesn’t mean giving up on that delicious, rich flavor profile we all love!
Serving Suggestions for Your Comfort Food Vegetable Mash
Now that you have this gloriously smooth, pungent, and rich side dish ready to go, the question is: what are we supposed to eat it with? Honestly, because this is such an intense and flavorful comfort food vegetable mash, it stands up beautifully to big, bold flavors. It gets so creamy and rich that it really acts like the perfect gravy-soaker upper!
My absolute number one go-to pairing has to be perfectly roasted chicken or perhaps a really great grilled steak. Something simple lets the garlic flavor of the mash truly shine through as the star of the plate. That buttery texture just melts against a slightly crusty piece of meat—it is heaven!
But if you’re leaning into the full comfort zone, you have to try it with something slow-cooked and saucy. Imagine smothering this over the top of my Best Classic Juicy Meatloaf Recipe! The mash holds up to the tomato glaze so well, and that strong garlic flavor cuts right through the richness of the beef. It’s hearty, it’s low-carb, and it makes you feel instantly cozy. Don’t be afraid to serve this alongside stews or pot roasts, either—it’s amazing for soaking up those rich pan juices!
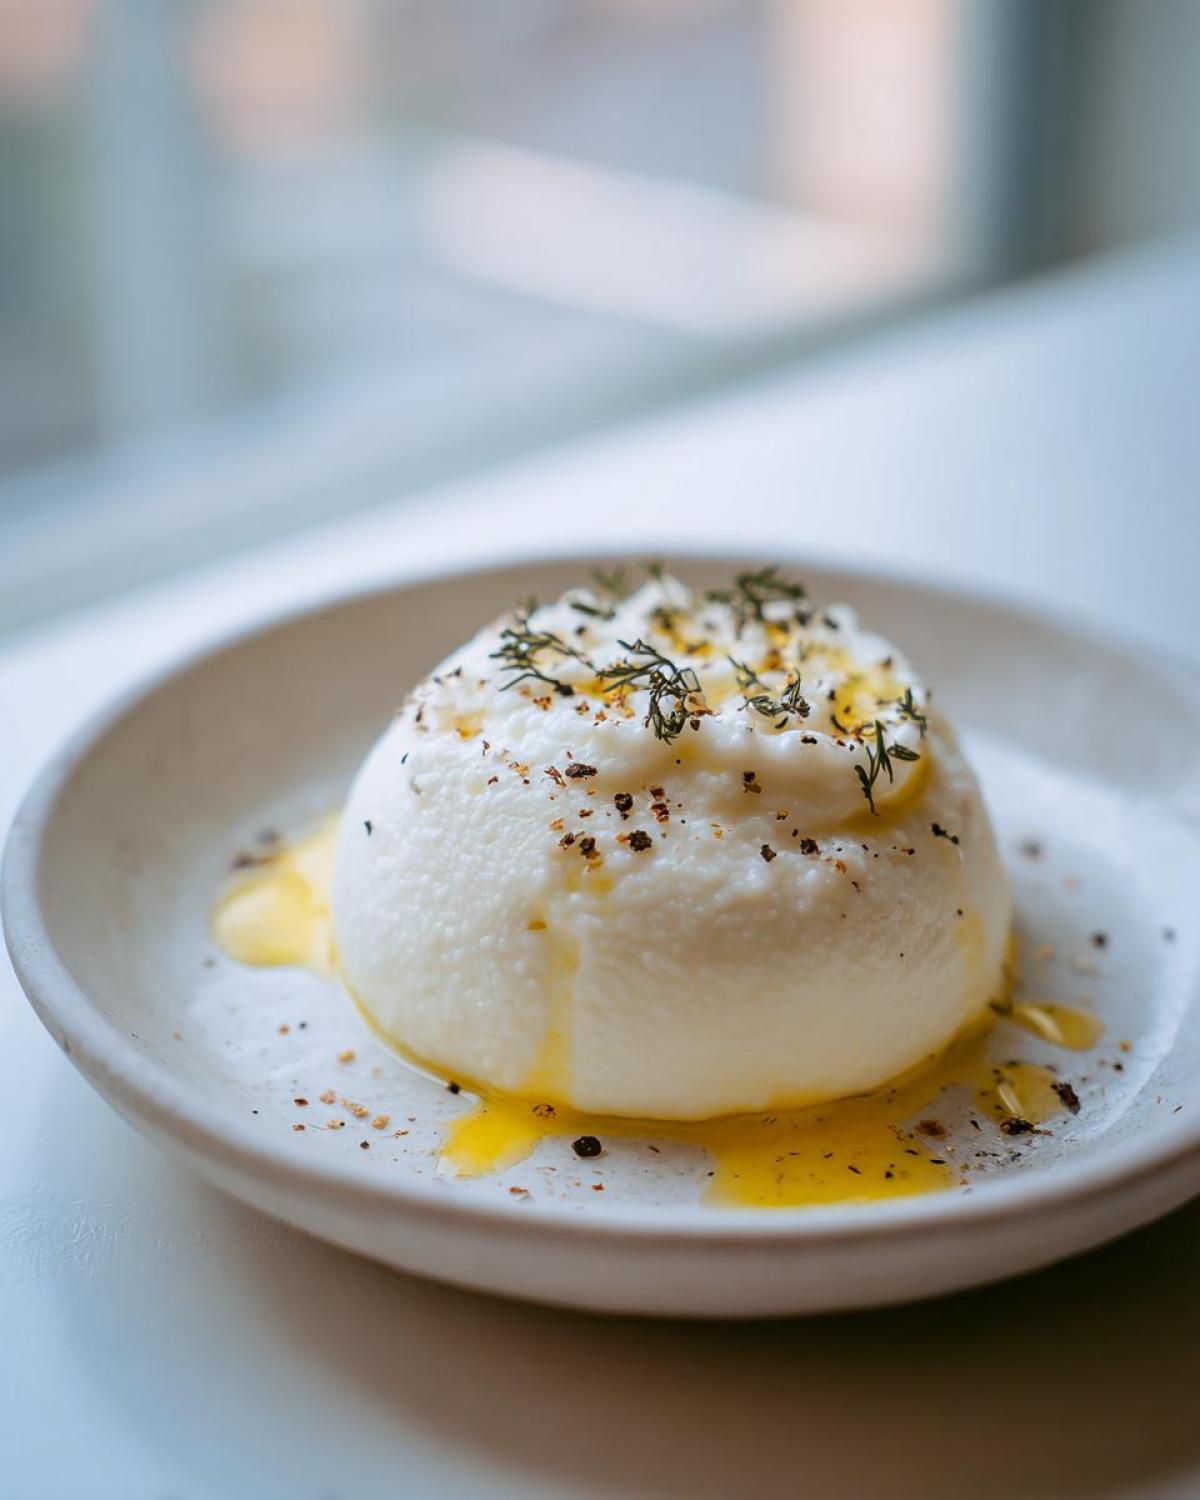
Storage and Reheating Instructions for Creamy Garlic Mashed Cauliflower
You know how it is—sometimes you make a huge batch because that smell is just too tempting, and you end up with leftovers! Don’t panic when you see this mash in the fridge the next day. While you absolutely can store this lovely garlic cauliflower mash low carb, you need to treat it gently when reheating. Unlike potatoes, cauliflower mash can sometimes get a little sad or stiff after chilling overnight.
The best way to store any leftovers is to tuck them into an airtight container right away. Try to get them into the fridge within two hours of making them. They should keep happily for about three to four days. But here’s the key: you can’t just blast this in the microwave and hope for the best, or you’ll end up with a tough texture.
When you’re ready to serve, you’ll want to add just a little bit of liquid back in. This is essential for bringing back that wonderful smoothness we worked so hard to achieve. I keep a small carton of heavy cream right in the fridge just for this purpose, but any milk or even a little broth works in a pinch.
Gently warm the mash either on the stovetop over very low heat, stirring frequently, or in short bursts in the microwave (like 30-second intervals). Each time you stir it, add just a tiny splash of your chosen liquid. You’re slowly coaxing the texture back to life. If you add too much liquid at once, you’ve instantly defeated the purpose of draining it all out in the first place, right?
Slow and low stirring is the secret weapon for keeping this dish tasting truly fresh, even on day two. It brings back the beautiful velvety mouthfeel of the simple garlic cauliflower recipe you made fresh!
Frequently Asked Questions About Garlic Cauliflower Mash Low Carb
I always get these questions after people try this recipe for the first time—usually because they are wondering how I got it so unbelievably smooth! It happens to the best of us when we first start cooking with cauliflower instead of potatoes. Here are the things I get asked the most about making this garlic cauliflower mash low carb option a success!
Can I use frozen cauliflower for this Creamy Garlic Mashed Cauliflower recipe?
Oh, I have to be honest with you here: I really, strongly advise against it if you want that supreme creaminess. Frozen cauliflower is already full of extra frozen water, and even after you boil it, it seems to release more liquid than fresh cauliflower. If you absolutely must use frozen, you need to thaw it first, spread it out on baking sheets lined with paper towels, and then let it sit for at least an hour before you even think about cooking it!
You’ll have to press out the moisture much harder than you think you need to. If you skip that really intense pressing, you’ll end up back at square one with that soupy texture we are desperately trying to avoid in our simple garlic cauliflower recipe. Stick to fresh if you can; it’s worth the five extra minutes of chopping!
What if I don’t have a food processor? Can I still get a creamy result?
You totally can, but it takes way more arm work, and you’re probably not going to get quite that ‘puree’ texture—it’ll be more of a rustic mash. If you only have a hand masher, make absolutely sure your cauliflower is cooked until it’s mushy soft. And please, use the full-fat cream and butter ratio! Your best bet is to skip the Parmesan cheese for this method because it can sometimes get a little gritty when mashed by hand and not fully pureed.
If you have an immersion blender, that’s your next best option! Use a deeper pot, add all the ingredients in, and blend it right there on the stove over very low heat. Don’t let the blade sit in one spot for too long, or you risk heating it up too fast! We just want everything homogenous.
Can I make this ahead of time?
Yes, you certainly can make this ahead of time! It’s a great keto mashed cauliflower side dish to prep the day before a big meal. Just follow all the steps, including the pulsing in the food processor, but when you stir in the butter and cream, maybe use just a tiny bit less liquid than the recipe calls for. You want it slightly firmer when you put it into your storage container.
When reheating, remember what I said earlier: go slow and add that little splash of cream or milk back in slowly. This helps bring back the velvety consistency. It reheats beautifully, and that garlic flavor only gets deeper overnight, which I love! It’s a great dish to serve alongside my Chicken Vegetable Soup.
Is the roasted garlic essential for this recipe?
It’s not technically *required*, but honestly, it’s what makes this the *best* side dish! If you just toss in raw, crushed garlic, it’s going to be sharp, spicy, and aggressive. Roasting or gently sautéing the garlic transforms those pungent sulfur compounds into something sweet, nutty, and deeply savory. That mellow flavor is what allows the garlic essence to blend into the cream and butter so nicely.
If you don’t roast it, you’re looking at a much harsher flavor profile. I promise, roasting the garlic takes next to no extra effort, and it instantly upgrades this from a simple veggie side to a true indulgence!
Estimated Nutritional Data for This Keto Mashed Cauliflower Side Dish
It’s always helpful to have a ballpark idea of what’s going into your body, especially when you’re making specific dietary choices like keto or low-carb. Since we swapped out the potato starch for cauliflower fiber, the numbers look really great for a keto mashed cauliflower side dish. Here is what you can expect from one serving, keeping in mind that brands of cream and butter can make a small difference in the final tally!
These numbers are based on the recipe yielding four generous servings and using the full amounts of butter and heavy cream listed. Everything tastes better when you know it fits your goals, right?
- Serving Size: 1/4 recipe
- Calories: 150
- Fat: 12g
- Carbohydrates: 8g
- Fiber: 3g
- Protein: 5g
- Sugar: 5g
- Sodium: 350mg
- Cholesterol: 30mg
Notice how the net carbs are quite low! That’s why this is such a wonderful, guilt-free way to enjoy that rich, savory side dish feeling without impacting your blood sugar the way potatoes would. It’s satisfying because the fat keeps you full, and the flavor is all there!
PrintCreamy Garlic Mashed Cauliflower
A smooth, low-carb alternative to mashed potatoes featuring a strong, rich garlic flavor for a satisfying side dish.
- Prep Time: 15 min
- Cook Time: 25 min
- Total Time: 40 min
- Yield: 4 servings
- Category: Side Dish
- Method: Boiling and Processing
- Cuisine: American
- Diet: Low Calorie
Ingredients
- 1 large head cauliflower (about 2 lbs)
- 4 cloves garlic
- 4 tablespoons butter or ghee
- 1/4 cup heavy cream or full-fat coconut milk
- 1/4 cup grated Parmesan cheese (optional)
- 1/2 teaspoon salt
- 1/4 teaspoon black pepper
Instructions
- Cut the cauliflower into small, uniform florets. Place the florets in a large pot and cover with water. Add 1/2 teaspoon of salt to the water.
- Bring the water to a boil, then reduce heat and simmer until the cauliflower is very tender, about 15 to 20 minutes.
- While the cauliflower cooks, roast or sauté the garlic cloves until soft and fragrant. If roasting, wrap them in foil with a small amount of oil and roast at 400F (200C) for 15 minutes.
- Drain the cooked cauliflower thoroughly in a colander. Let it sit for 5 minutes to allow excess steam and water to escape. Press gently with a spoon to remove more moisture. This step is key for creaminess.
- Transfer the drained cauliflower and the cooked garlic to a food processor or a large bowl if using a hand masher.
- Add the butter, heavy cream, Parmesan cheese (if using), salt, and pepper to the processor.
- Process until the mixture is completely smooth and creamy. Stop occasionally to scrape down the sides. Do not over-process, or it may become gluey.
- Taste and adjust seasoning as needed. Serve immediately.
Notes
- For the creamiest texture, use a food processor instead of a hand masher.
- If you prefer a stronger garlic flavor, use roasted garlic instead of raw or lightly sautéed garlic.
- To achieve a low-lactose version, substitute the heavy cream with full-fat coconut milk or unsweetened almond milk, and omit the Parmesan cheese.
Nutrition
- Serving Size: 1/4 recipe
- Calories: 150
- Sugar: 5
- Sodium: 350
- Fat: 12
- Saturated Fat: 7
- Unsaturated Fat: 5
- Trans Fat: 0
- Carbohydrates: 8
- Fiber: 3
- Protein: 5
- Cholesterol: 30