

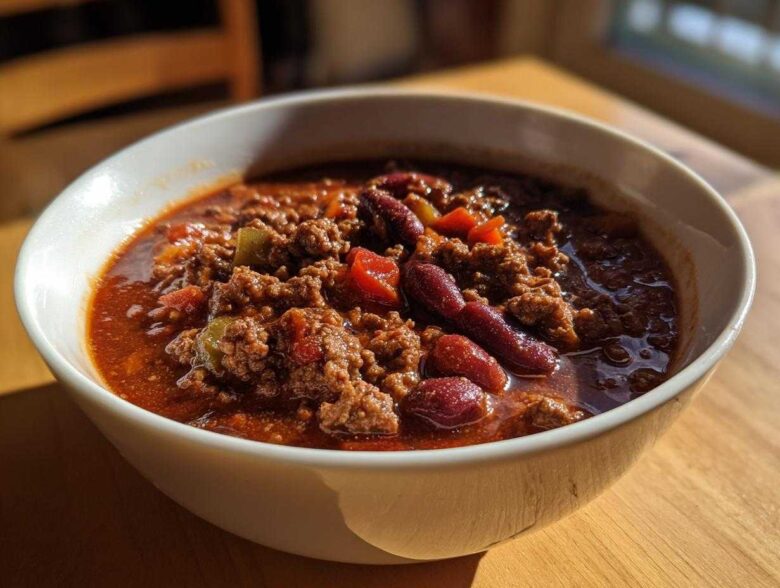
If there’s one dish that screams cozy, fireside indulgence, it’s a big, steaming bowl of rich homemade chili. Marco and I used to think cooking had to be a performance—endless complicated steps just to impress people we barely knew. Now? I save that energy for us. That’s why I’m obsessed with this specific ground beef and bean chili. It’s the ultimate comfort feast, incredibly flavorful, and simple enough for a Wednesday night because we deserve that regal feeling every single night.
This recipe is my answer to effortless dining, far from the fussy plating of my past hosting days. It truly embodies the Eatable Empress way: making extraordinary food for the people who matter most—you and yours. Seriously, you won’t need complicated techniques to achieve depth here, just good ingredients and a little bit of time on the stovetop.
Why This Is The Best Classic Chili Recipe You Will Ever Make
When you need a truly hearty dinner idea that warms you from the inside out, this is the bowl you reach for. Forget recipes that taste flat after just an hour; this is the best ground beef chili that builds unbelievable flavor fast. It’s everything you want in comfort food recipes—thick, rich, and ready for a crowd or just Marco and me watching the game.
We call these dishes ‘royalty-worthy weeknights’ because you deserve this kind of satisfaction without all the fuss. I’ve got a little trick hiding in the spice list that elevates this dish into something closer to award winning chili status.
Flavor Secrets for the Ultimate Chili
It all comes down to layering, darling. We aren’t just dumping things in. We brown the beef aggressively to get all those crispy brown bits—that’s pure flavor gold. Then we make sure to truly wake up our ground cumin and chili powder right after the garlic. But the real showstopper? A tiny teaspoon of unsweetened cocoa powder. Trust me, it doesn’t make it taste sweet, but it adds this incredible dark, earthy complexity that just screams depth. Just look at how simple the list is here: find out more!
Gathering Ingredients for Your Hearty Chili
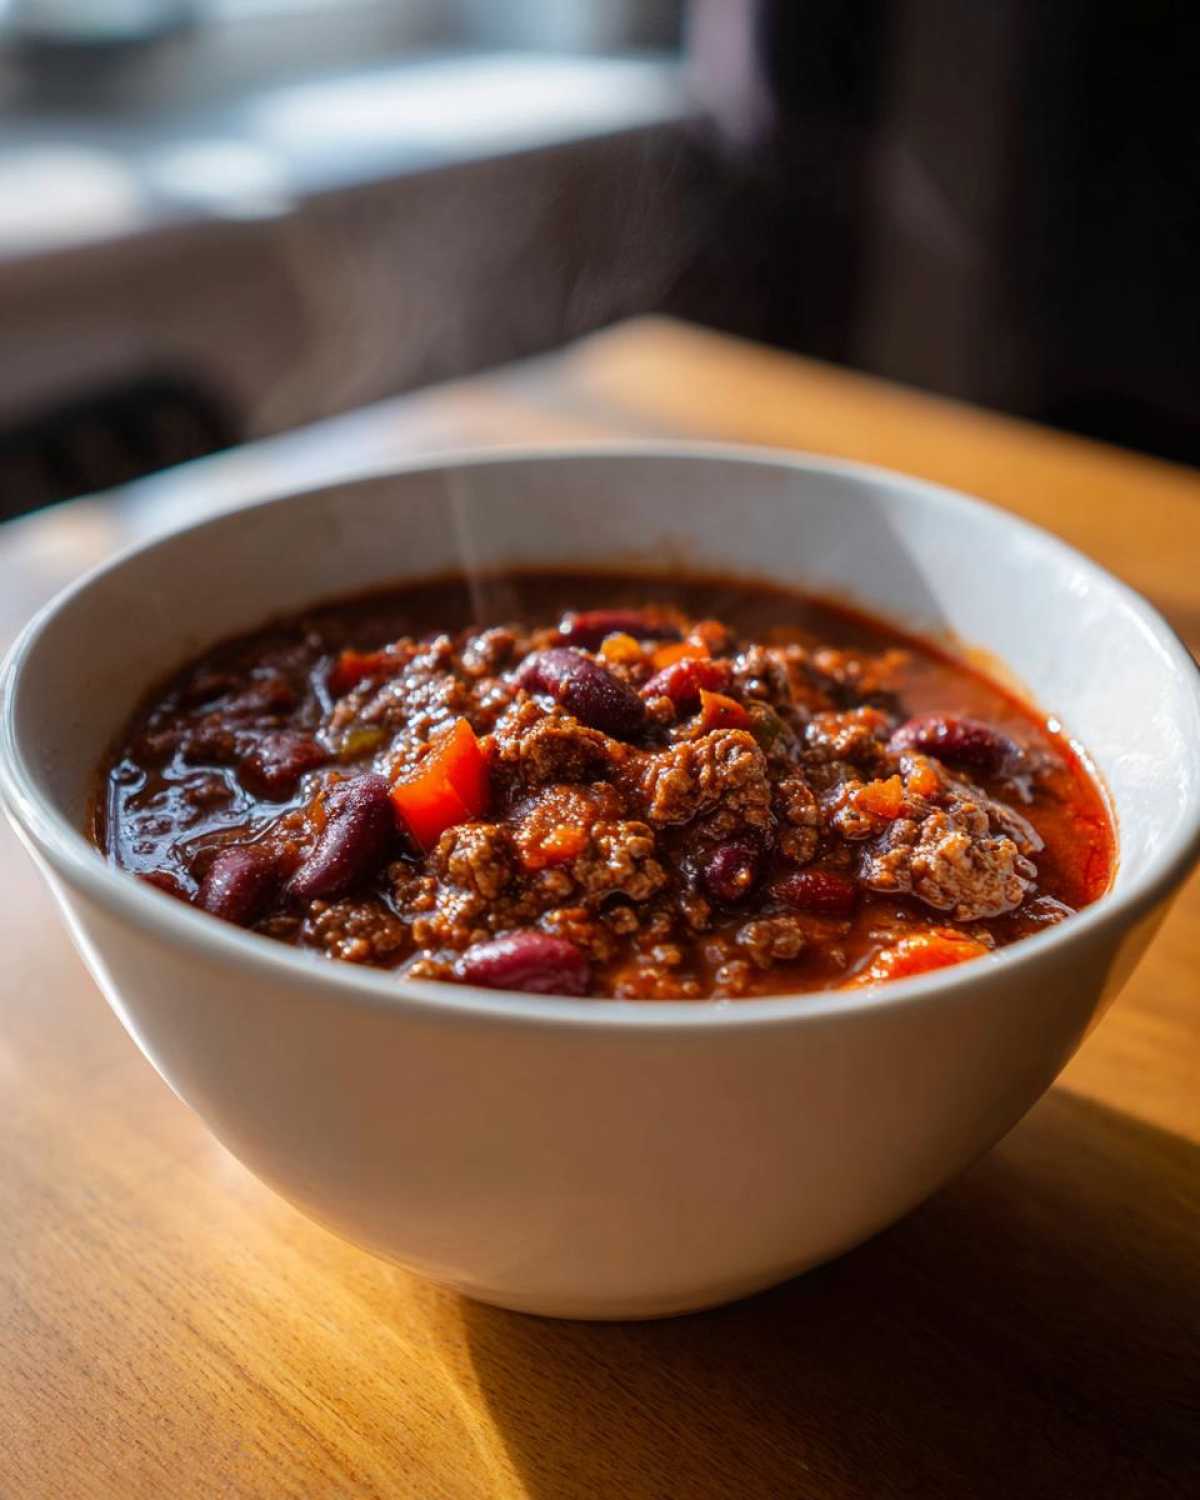
Okay, now that we’ve talked flavor, let’s look at what you actually need to gather from your pantry and fridge. Since this is a substantial, hearty dinner, we’re using two pounds of beef to make sure everyone gets a serious bowl. I always recommend 80/20 ground beef; it gives you the best texture when we brown it down.
The fresh stuff is simple: one big yellow onion and one green pepper, both chopped nicely. And please, mince your garlic fresh—that jarred stuff just doesn’t cut it for a truly magnificent pot of chili with beans. For the beans, I’m using kidney, pinto, and black beans, but make sure you rinse and drain them well before they even think about hitting the pot!
Simple Steps for the Easiest Chili Recipe Preparation
Ready to see how quickly this incredible, rich chili comes together? Since this is my go-to stovetop method, it makes for a fantastic, quick chili recipe when you need a filling easy weeknight dinner on the table without sacrificing flavor. We are maximizing every single minute here, so grab that big Dutch oven!
Browning the Meat and Sautéing Aromatics
First thing’s first: Heat that olive oil over medium heat. Get that two pounds of beef in there and break it up. You need to cook it until it’s totally browned—no pink showing! When it’s done, don’t skip draining off that excess grease. Seriously, that step is key to avoiding a watery bottom on your bowl later. Once drained, toss in your chopped onions and peppers. You want those vegetables to soften beautifully, which usually takes about five to seven minutes of gentle stirring over that medium heat.
Building the Flavor Base for Your Chili
This is where the magic really starts to bubble! Once those veggies are tender, toss in your four cloves of minced garlic. You only want one minute here; just until you can really smell that beautiful garlic aroma filling your kitchen. If you cook it too long, it gets bitter, and we absolutely cannot have that in our homemade chili!
Next, dump in the tomato sauce, undrained diced tomatoes, broth, and—the big flavor stars—your chili powder, cumin, oregano, salt, pepper, cayenne (if you like a little smoke!), and that secret cocoa powder. Stir everything until it’s beautifully married together. See how straightforward that is? You’re already building layers! For more on simple flavor construction, check out this easy chili recipe link.
Simmering for Deep Chili Flavor
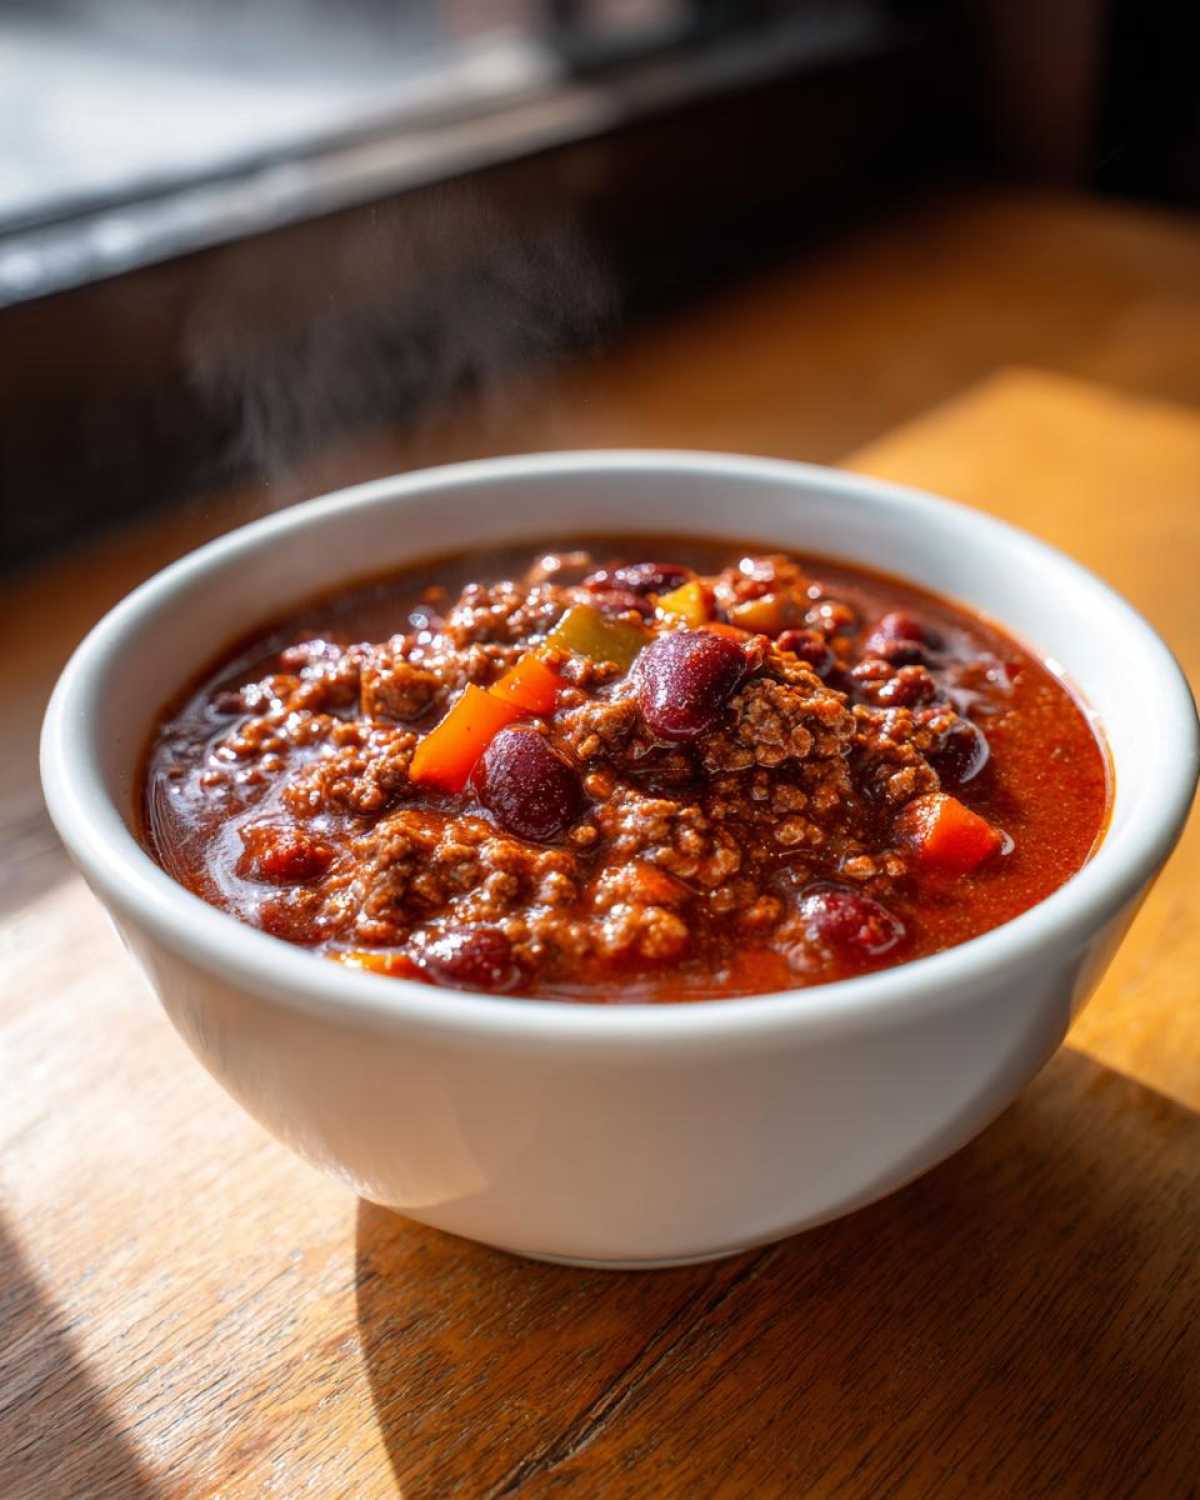
Now we let the stovetop do the heavy lifting! Bring the whole pot up to a good, rolling simmer. Once it’s bubbling gently, turn that heat way down low, cover it partially, and let it go. I tell everyone to aim for at least 30 minutes, but if you can let this simmer for a full hour, your reward will be so much deeper! Remember to stir it occasionally so nothing sticks to the bottom before you stir in those glorious rinsed beans for the final ten minutes.
Making This Chili Recipe Crockpot Friendly
I know, I know! Some days you just need to assemble and walk away, which is why I always include notes for the slow cooker. We want our chili to be easy, whether it’s a weeknight chili dinner or game day fuel. The most important thing? Still brown that beef and sauté those onions on the stove first! That step is just non-negotiable for the best flavor base, even in the crockpot.
Once everything is glorious and browned, transfer it all—except those lovely beans—to your slow cooker. Set it to low for about six to eight hours, or high for four. You’ll add the rinsed cans of beans back in during the last hour so they don’t get too mushy. Honestly, Marco loves throwing this together in the morning before work! For more slow cooker inspiration, you can peek at this guide for a quick chili recipe.
Tips for the Perfect Thick Chili Recipe
When I say this is my favorite winter comfort meal, I mean it! A great bowl shouldn’t be soupy; it needs just the right amount of heft. If you find your chili is a little thinner than you’d like after the initial simmer, don’t panic! This is easily fixed.
Just remove the lid for the last 20 minutes of cooking time. Letting it simmer uncovered allows that extra liquid to evaporate slowly, concentrating all those incredible spice flavors and making the sauce perfectly thick and clingy. You’ll know it’s ready when you drag a spoon across the bottom, and it takes just a moment for the mixture to flow back together.
And here’s a royal secret: This recipe tastes even more regal the next day. Seriously, make it today, chill it overnight, and reheat it tomorrow. The flavors marry up so beautifully!
Serving Suggestions for Your Homemade Chili
Now that you have this deep, rich, and hearty blend simmering away, we need to talk about the coronation—the toppings! Treating yourself like royalty means not settling for just a plain bowl. Even the simplest weeknight meal deserves accessories that make it feel luxurious. This is where we elevate that bowl of beef and beans into something truly special.
For me, toppings are essential because they add texture and temperature contrast. Think about it: you have this wonderfully warm, thick base, so we need something cool and creamy to balance it out. A dollop of real sour cream, warmed slightly on the side, is divine. A shower of sharp cheddar cheese that melts right into those grooves? Perfection!
Don’t forget the fresh crunch! I always insist on finely diced white onions sprinkled right on top. If we are serving this chunky dinner, we need bread nearby for scooping up every last drop. Marco insists on having my maple bacon cornbread on the side. It’s the perfect sweet and salty companion to soak up all that delicious, savory sauce. See? It’s not just dinner; it’s an experience fit for an Empress.
Variations: Creating Your Own Pioneer Woman Chili Style Dish
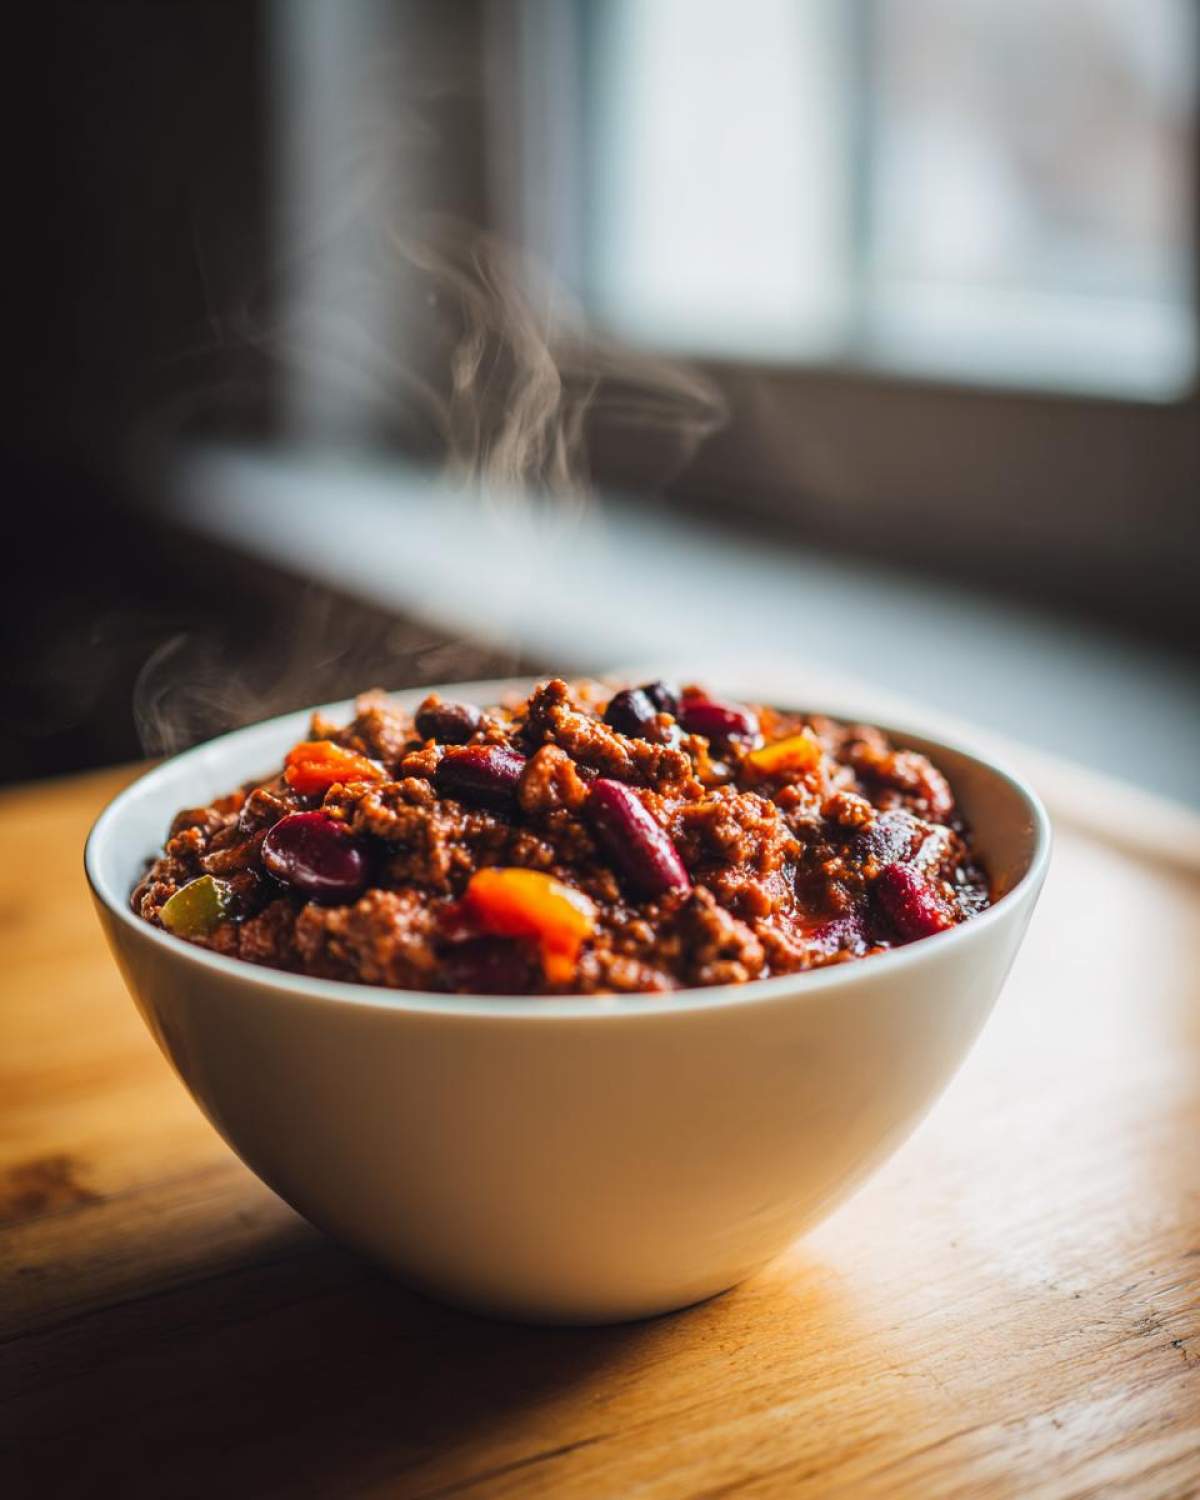
I know so many of you love that rich, hearty, just-like-grandma-used-to-make feeling, and that’s exactly what the Pioneer Woman style chili trend is all about. If you want to lean into that deeper, classic American flavor for your next batch of chili, I have a couple of simple swaps you can make.
First, skip the standard 80/20 beef and use a mix of ground chuck and maybe even a little bit of mild Italian sausage—that adds an extra layer of savory richness! Also, beef broth is great, but swap a cup of it out for dark beer, like a stout, for unbelievable depth. It cooks right off, leaving behind this warm, slightly bitter note that balances everything so beautifully. For more ideas on creating a deeply satisfying dish, check out how they do it over here!
For spices, toss out the regular chili powder and use a mix that includes some smoked paprika. That’s the smoky kick I always associate with those big, beautiful comfort meals. It really takes this recipe up a notch!
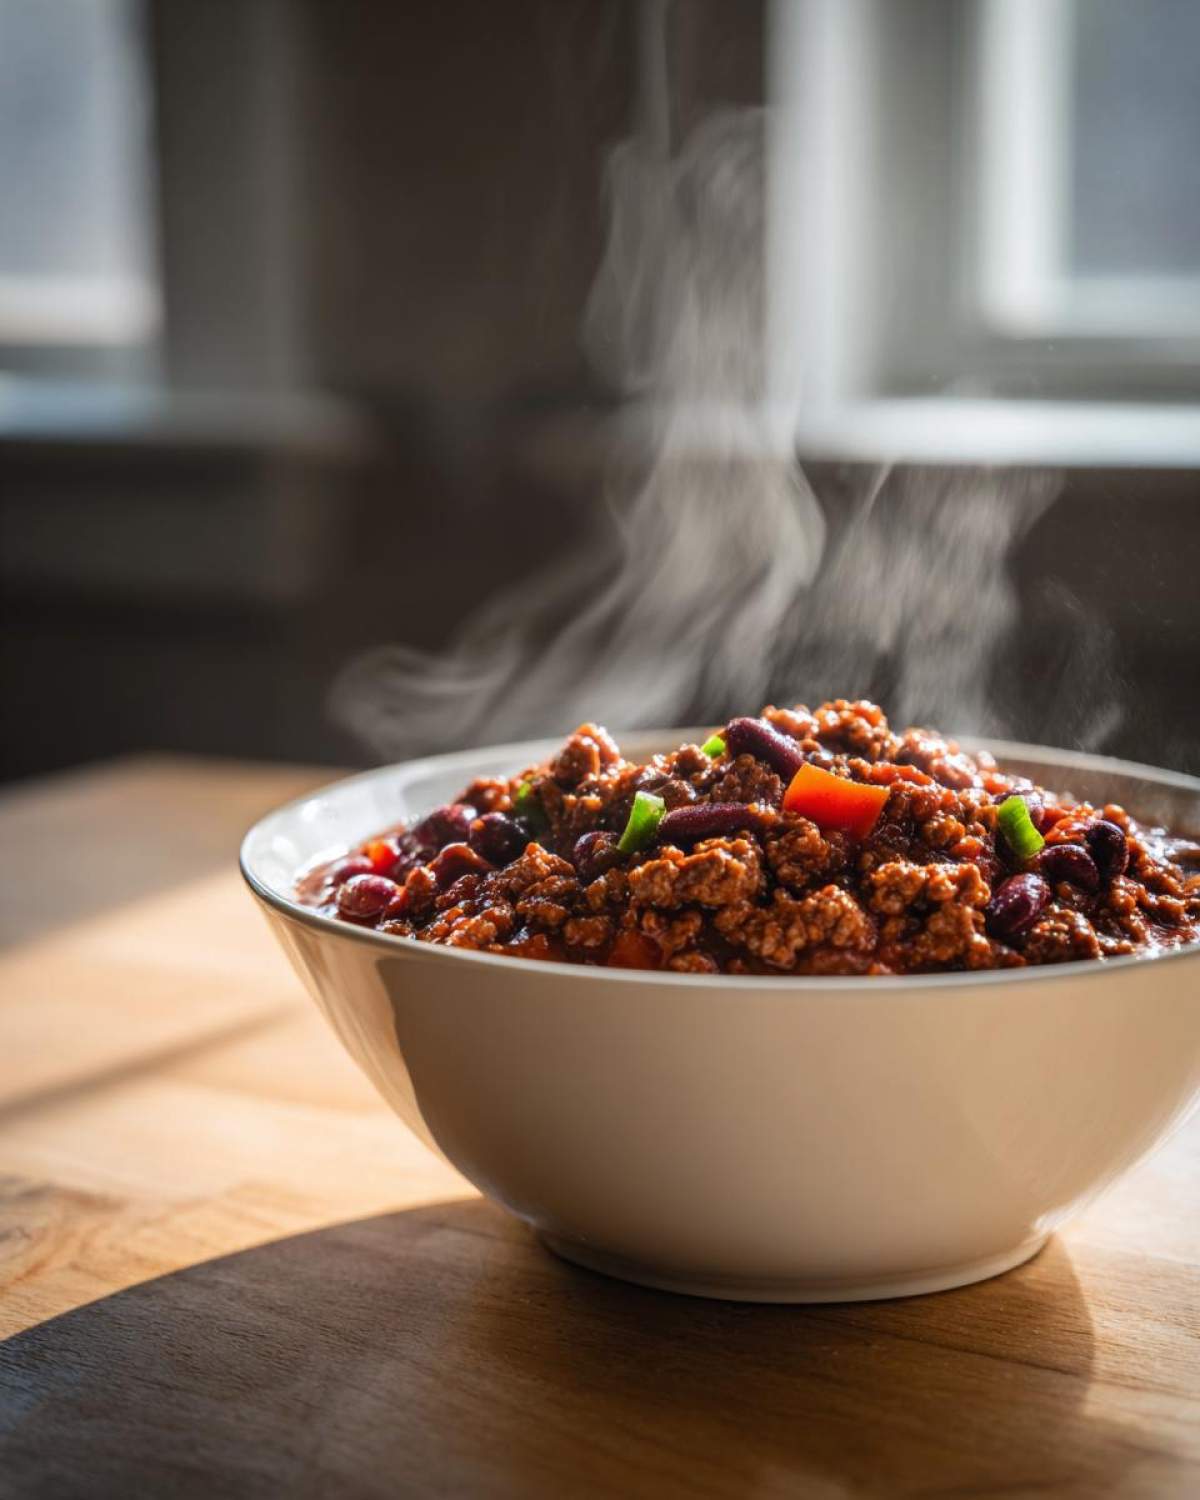
Storing and Reheating Your Flavorful Chili
You know that I always say our meals should serve us, not the other way around, right? That means leftovers are absolutely part of the plan! The best part about this hearty dish is that it stores like a dream and actually tastes even better the next day, which is perfect for those busy days when you need a cozy dinner waiting for you.
If you’re just chilling it in the fridge, let the chili cool down completely on the counter first—don’t rush shoving hot food straight into the cold! Once cool, transfer it into airtight containers. It should stay perfectly delicious for about three to four days. Marco and I rely on leftovers for lunch all the time!
Now, if you want to make a huge batch for a future game day or just because, freezing is your best friend. I prefer plastic freezer bags laid flat, or stackable glass containers. When freezing, leave about an inch of space at the top if you use mugs or rigid containers because liquids expand, and we don’t want any frozen explosions!
Reheating Simmered Chili
Reheating on the stovetop is always my preferred method because you can control the moisture. Transfer the chili to a pot over medium-low heat. Stir it gently every few minutes until it’s heated all the way through. If it seems a little thick after thawing, just splash in a tiny bit of beef broth or even just water while it heats up. It thins out beautifully!
Microwave Tactics for Single Servings
For a quick royal reheat, the microwave works just fine, especially for one portion. Pop it in a microwave-safe bowl. Cover it loosely with a paper towel to catch any splatter, and heat in 60-second intervals, stirring in between. This helps it heat evenly so you don’t end up with lava-hot edges and a cold center—nobody wants that kind of chaotic temperature situation in their bowl!
Frequently Asked Questions About This Chili Recipe
I know sometimes the simplest dishes spark the biggest questions! If you’re aiming for the best chili imaginable, you might be wondering about a few tweaks. Don’t worry, we’ve got you covered so you can serve up a truly magnificent bowl every single time. This recipe is so flexible, which is part of why it’s such a perfect comfort food recipe for any gathering!
Can I use ground turkey instead of beef in this chili?
Oh, absolutely! You can definitely swap the ground beef for ground turkey or even ground chicken if you prefer a slightly lighter meal. Just remember that beef (especially 80/20) brings a lot of rich flavor and glorious fat that helps carry those spices. If you use leaner poultry, you might want to add an extra half-tablespoon of olive oil when you start cooking, otherwise, you might need to dial back the simmering time just a tiny bit. It’s still going to be delicious!
How do I make this chili recipe without beans?
That’s a great question for those of you who prefer a pure meat chili! You can skip the rinsing and draining of those three cans of beans entirely. To keep that wonderful, thick texture—otherwise, you’ll end up with soup—you need to make up the difference in volume. I would suggest bumping up your ground beef by about a half pound, or sautéing a cup of finely diced mushrooms with your onions to replace that body. It still makes for a fantastic, hearty flavor bomb!
Is this chili spicy enough for game day?
For a true crowd-pleaser, this standard recipe hits right around a nice medium warmth, thanks to that tiny hit of cayenne. If you’re serving true spice lovers for a big Super Bowl chili feast, you might want to punch it up! That optional cayenne is just a starting point. I always recommend adding a teaspoon of chipotle chili powder along with your regular spices for a smoky heat, or better yet, stir in one minced jalapeño right when you add the garlic. That gives you fresh, vibrant heat!
To explore more of our favorite easy meals, check out the Eatable Empress blog anytime!
PrintThe Best Classic Ground Beef Chili: Your Ultimate Comfort Feast

This is the ultimate, hearty ground beef and bean chili recipe. It builds deep flavor easily on the stovetop, making it perfect for a cozy weeknight dinner or game day gathering.
- Prep Time: 15 min
- Cook Time: 45 min
- Total Time: 60 min
- Yield: 6 servings
- Category: Dinner
- Method: Stovetop
- Cuisine: American
- Diet: Vegetarian
Ingredients
- 2 tablespoons olive oil
- 2 pounds ground beef (80/20 recommended)
- 1 large yellow onion, chopped
- 1 green bell pepper, chopped
- 4 cloves garlic, minced
- 1 (15 ounce) can tomato sauce
- 1 (14.5 ounce) can diced tomatoes, undrained
- 1 (15 ounce) can kidney beans, rinsed and drained
- 1 (15 ounce) can pinto beans, rinsed and drained
- 1 (15 ounce) can black beans, rinsed and drained
- 1 cup beef broth
- 3 tablespoons chili powder
- 1 tablespoon ground cumin
- 1 teaspoon dried oregano
- 1 teaspoon salt
- 1/2 teaspoon black pepper
- 1/4 teaspoon cayenne pepper (optional, for heat)
- 1 teaspoon unsweetened cocoa powder (secret ingredient for depth)
Instructions
- Heat the olive oil in a large Dutch oven or heavy-bottomed pot over medium heat.
- Add the ground beef to the pot. Cook, breaking it up with a spoon, until fully browned. Drain off any excess grease.
- Add the chopped onion and bell pepper to the pot with the beef. Cook until the vegetables soften, about 5 to 7 minutes.
- Stir in the minced garlic and cook for 1 minute until fragrant.
- Add the tomato sauce, diced tomatoes (with their juice), beef broth, chili powder, cumin, oregano, salt, pepper, cayenne pepper (if using), and the cocoa powder. Stir well to combine all the spices.
- Bring the mixture to a simmer. Reduce the heat to low, cover the pot partially, and let it simmer for at least 30 minutes, stirring occasionally. Longer simmering (up to 1 hour) deepens the flavor.
- Stir in the rinsed and drained kidney beans, pinto beans, and black beans. Cook for another 10 minutes, uncovered, until the beans are heated through and the chili has thickened to your liking.
- Taste and adjust seasonings as needed before serving. Serve hot with your favorite toppings.
Notes
- For a Pioneer Woman style richness, use a mix of ground beef and ground chuck.
- If you prefer a thicker chili, remove the lid during the last 20 minutes of simmering to allow more liquid to evaporate.
- This chili tastes even better the next day; plan for leftovers!
- For a crockpot option, brown the meat and sauté the vegetables on the stove first, then transfer everything (except the beans) to the slow cooker. Cook on low for 6-8 hours or high for 3-4 hours. Add beans during the last hour of cooking.
Nutrition
- Serving Size: 1.5 cups
- Calories: 450
- Sugar: 10
- Sodium: 650
- Fat: 22
- Saturated Fat: 9
- Unsaturated Fat: 13
- Trans Fat: 0.5
- Carbohydrates: 35
- Fiber: 10
- Protein: 32
- Cholesterol: 75