

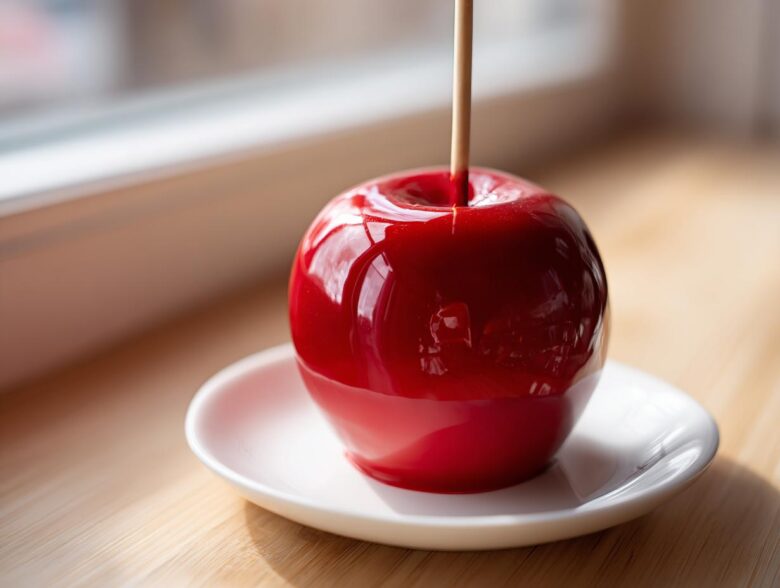
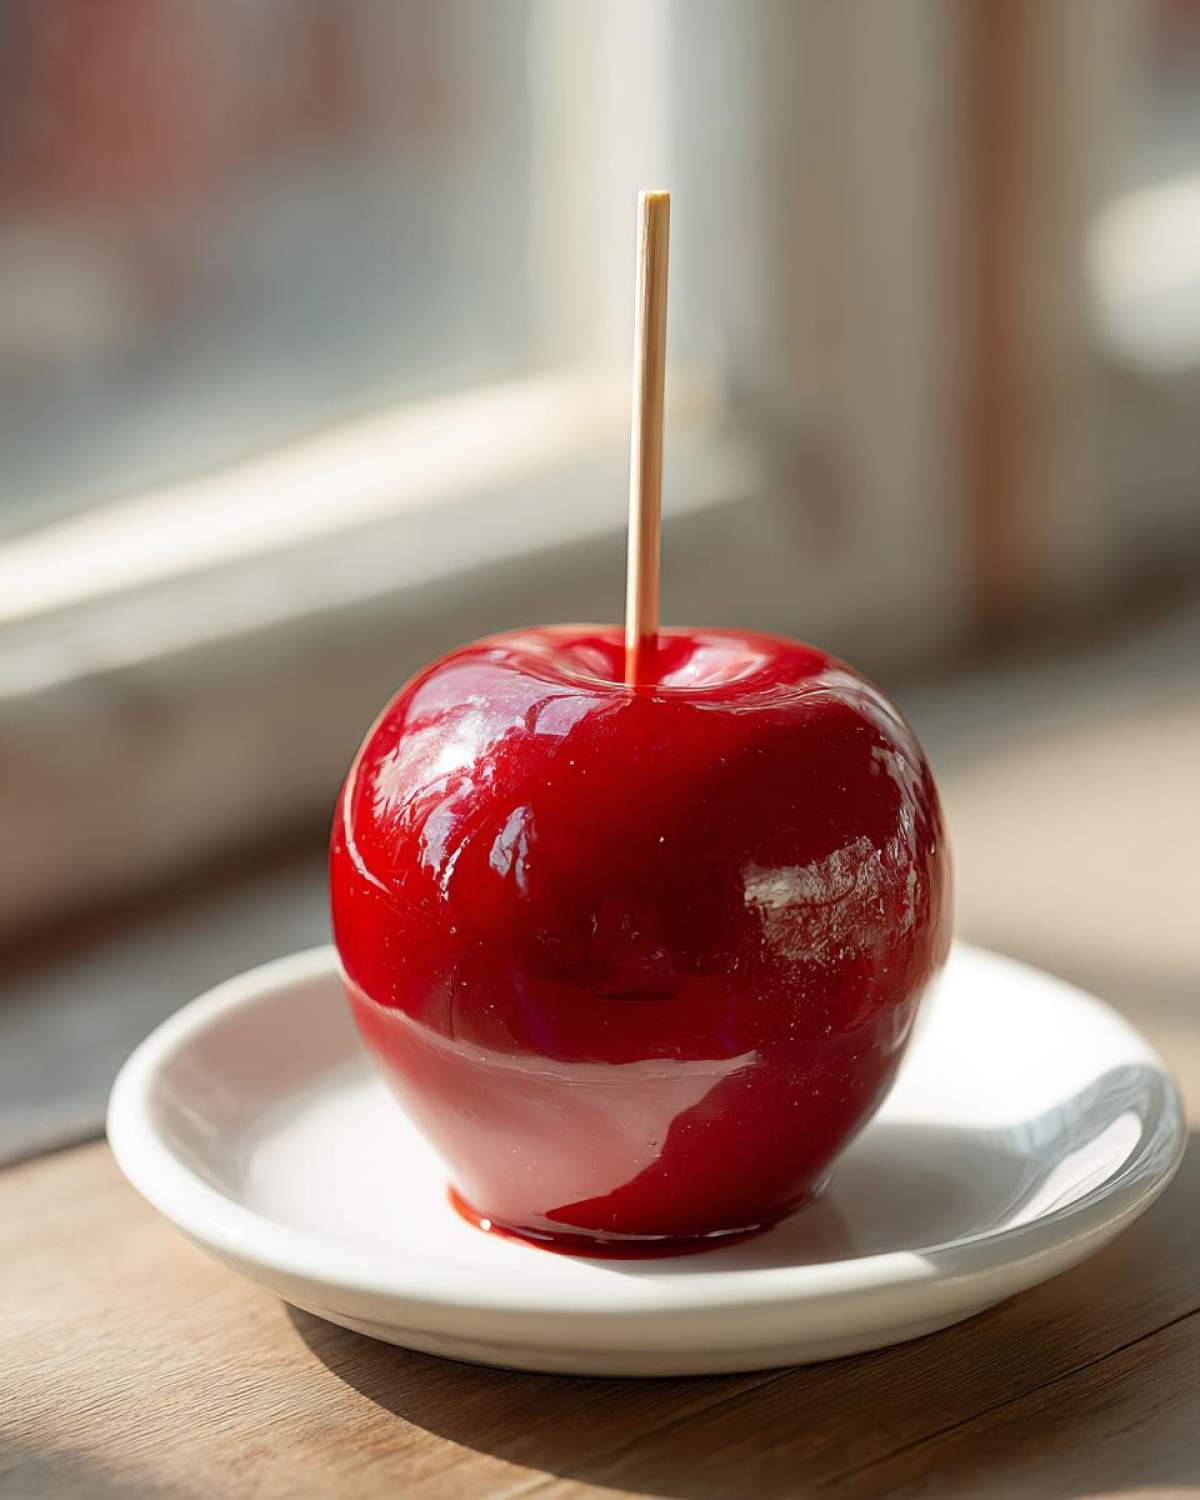
Oh, those nostalgic days at the fair! Nothing screams autumn fun like that brilliant, shimmering red shell around a crisp apple. I swear, when I was little, half the magic was just trying to get a clean bite without shattering the whole thing! For years, I fought with crystallization and those tiny, annoying air bubbles that ruin the smooth look. But trust me, I cracked the code on the hard crack stage after far too many failed batches. If you want truly classic, glossy **candy apples** with that perfect, crackle-free finish, this is the *easy candy apple recipe* you need. Forget complicated steps, we are going straight for that professional shine! If you want to know more about my cooking journey, swing by my About Me page.
Why This Is the Best Easy Candy Apple Recipe
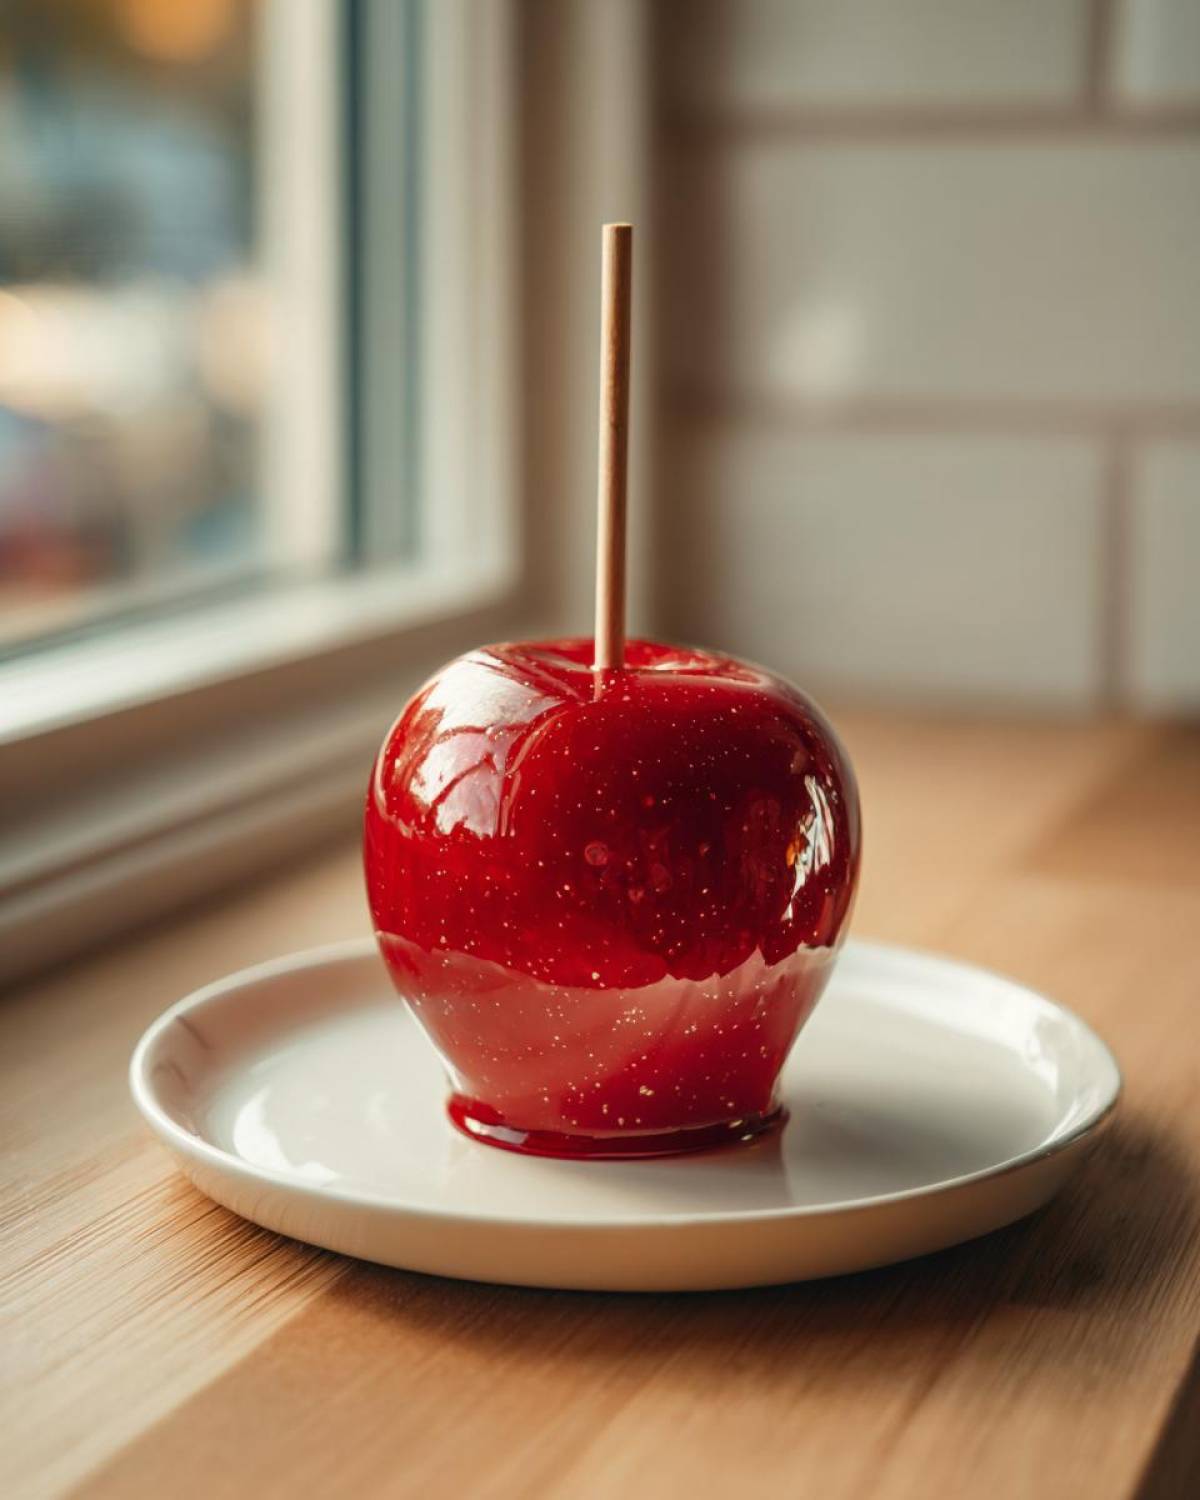
What makes this recipe the winner? It’s all about the finish! This isn’t some cloudy, grainy mess; we are aiming for that high-gloss, perfect mirror shine that you see at the sweetest carnival stalls. This **easy candy apple recipe** strips away the things that usually cause trouble—primarily crystallization. We keep the ingredient list short and focus heavily on technique, which is the real secret to a stunning **shiny candy coating**.
The real star here is the light corn syrup. It’s not just filler! Corn syrup is an invert sugar, and it actively stops the sugar from rearranging itself into sharp crystals. That allows us to get that smooth, deep-red shine every single time. You need that reliable result, especially when making **homemade candy apples** for a party where presentation matters!
Achieving a Perfect No Bubble Candy Apples Coating
Bubbles turn a gorgeous candy shell into something that looks like a broken window, right? The key to **no bubble candy apples** is respecting the boil. Once that sugar, water, and corn syrup mixture hits a rolling boil, resist the urge to stir it! Stirring introduces tiny air pockets that turn into those awful bubbles during cooling.
Once you hit that magical 300°F mark, yank that pan off the heat immediately. Then, the real pro move: let it sit, undisturbed, for two or three minutes. This lets those big, noisy surface bubbles pop on their own steam without you interfering! That resting time gives you the cleanest possible coat.
Essential Ingredients for Classic Candy Apples
You don’t need a massive grocery list to make these stunners; you just need the *right* things. The foundation of great **classic candy apples** is simple: sugar, water, corn syrup, and the apples themselves. Pay close attention to that thermometer, though—it’s holding all the power here! If you miss the temperature, you won’t get that perfect, hard shell.
I’ve always used firm, crisp apples. They need to handle being dipped into molten sugar without getting bruised or falling apart. The combination of sugar and corn syrup is non-negotiable for coating stability—it’s what separates a gooey mess from a beautiful, firm shell.
Ingredient Notes and Apple Selection
When choosing your fruit, skip the soft, sweet varieties. Granny Smith apples are my go-to because they are tart, which balances the intense sweetness of the candy, and they hold their shape beautifully. Fuji apples are another fantastic, firm choice.
The corn syrup is crucial for preventing crystallization—it acts like a security guard for your sugar structure! Also, and I can’t stress this enough for **homemade candy apples**: those apples must be bone dry. Any residual water or wax will instantly repel the candy coating, leaving you with sad, patchy spots. Give them a good scrub and dry them like you mean it!
Step-by-Step Guide to Making Shiny Candy Apples
Alright, let’s get down to business! This is where we turn simple ingredients into show-stopping **candy apples**. You’ll need your sturdy pot, your thermometer clipped on tightly, and your prep station ready to go. Remember, once the candy starts cooking, things move quickly, so preparation is everything. Follow these steps closely, and you’ll be dipping perfect fruit in no time. You can even check out my Apple Cider Cupcakes while you wait for the syrup to cool down a touch!
Prep Work: Preparing Apples for the Candy Coating
This might seem boring, but honestly, this prep work is 80% of the success for your **homemade candy apples**. We need every bit of that candy coating to stick solid! First, scrub those apples well. If you suspect they have that waxy coating they sell in the store—and you usually can tell because they look a little too shiny—give them a quick 5-second dip in boiling water and then dry them immediately. Moisture is the enemy!
Crucially, dry them until you think they are dry, and then dry them one more time. Seriously, no water residue allowed. Once they are absolutely dry, firmly jam those wooden skewers right into the stem end. They should go in about halfway so you have a nice handle.
Cooking the Syrup to Hard Crack Stage for Candy Apples
Now for the heat! Combine your sugar, water, and corn syrup in a heavy-bottomed pot. Stir it on medium heat *only* until the sugar dissolves completely. The second it starts bubbling vigorously, stop stirring! I mean it—put the spoon down and walk away from the pot.
Clip that candy thermometer in place, and let it cook until it screams 300 degrees Fahrenheit. That specific temperature is the Hard Crack Stage, and it’s essential for a shell that shatters instead of stretching. Keep an eye on it; it usually takes about 15 to 20 minutes to get there. The moment you hit 300°F, yank that thing off the burner!
Dipping Technique for Smooth Candy Apples
This is the moment of truth! If you’re adding red coloring or vanilla/cinnamon extract, stir it in quickly right after removing it from the heat. Then, you must let the syrup rest for about two to three minutes. This is my secret for those **no bubble candy apples**; it allows the surface turbulence to settle down. Tilt the pot slightly to pool the candy.
Dip your apple, rolling it quickly but deliberately to make sure the whole thing gets coated in that beautiful, clear gloss. Let the excess drip back in. If you’re fast, the candy will set beautifully. If you notice the candy getting sluggish in the pan before you’re done dipping? Place it back on super low heat just until the edges melt slightly—but for goodness sake, *do not* let it boil again!
Tips for Success with Homemade Candy Apples
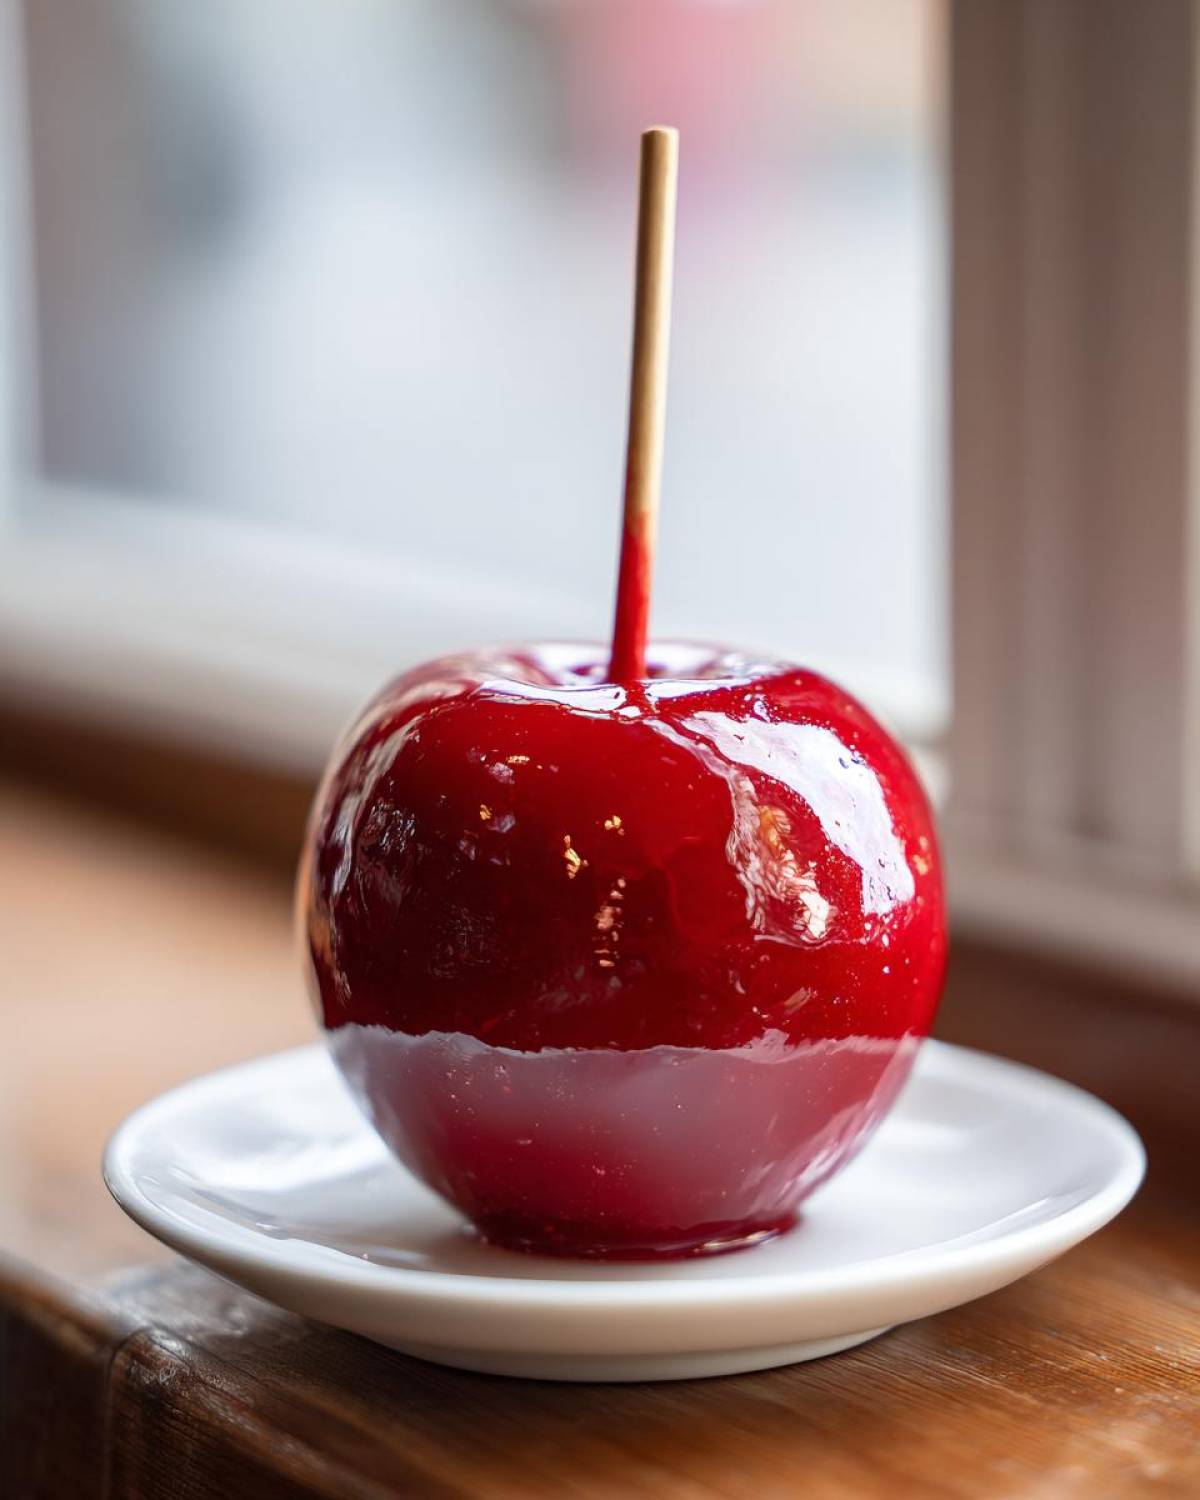
Even with the best recipe, sometimes things go a little sideways, especially when dealing with hot sugar! Getting those beautiful **homemade candy apples** to look perfect is 90% about speed and environment. You have to move fast once that candy comes off the heat, but you can’t rush the dipping itself.
My biggest piece of advice, which I swear saved my first batch of **candied fruit recipe** attempts, is to watch the weather report! Humidity is sugar’s worst enemy. If it’s a rainy or super muggy day, the candy will absorb moisture from the air faster, making it sticky and soft instead of crisp. Try to make these on dry days if you can.
Also, make sure your cooling surface is ready *before* you even start cooking the syrup. Have that parchment paper or silicone mat set up on a sheet pan nearby. You don’t want to be scrambling for a place to set the apple while your 300-degree candy is hardening in the pot!
If you love maple flavors with your apples, you absolutely have to try the filling in my Apple Brownies with Maple Glaze and Pecans recipe—it’s next level!
Variations for Gourmet Candy Apples
Once you nail the classic red shell, the candy coating world opens right up! You don’t have to stick to basic red, though I’ll always have a soft spot for that traditional look. Creating **gourmet candy apples** really just comes down to playing with color and a tiny hint of extract flavor. You can easily make **colorful candy apples** by using gel food coloring instead of the liquid kind—gel gives you a deeper tint without adding extra, unnecessary liquid to your pristine syrup.
The beauty of this *simple candy apple coating* is how well it takes on other flavors. A dash of peppermint extract makes for amazing holiday treats, or a little toasted almond can make them feel super fancy!
Seasonal Candy Apples for Fall and Halloween
When the leaves start changing, I immediately start thinking about color palettes! For easy **fall candy apples**, try upping the color just slightly to a deep, burnt orange instead of bright red. If you want to get spooky for **Halloween candy apples**, black food coloring is dramatic and super fun over a crisp Granny Smith.
Flavor-wise, a tiny bit of pure cinnamon extract—and I mean *tiny*—blends so perfectly with the hard sugar. It leans into that nice cozy spice note without overpowering the apple. Remember, use extracts sparingly; they are potent when dealing with pure sugar!
Storage and Serving Suggestions for Candy Apples
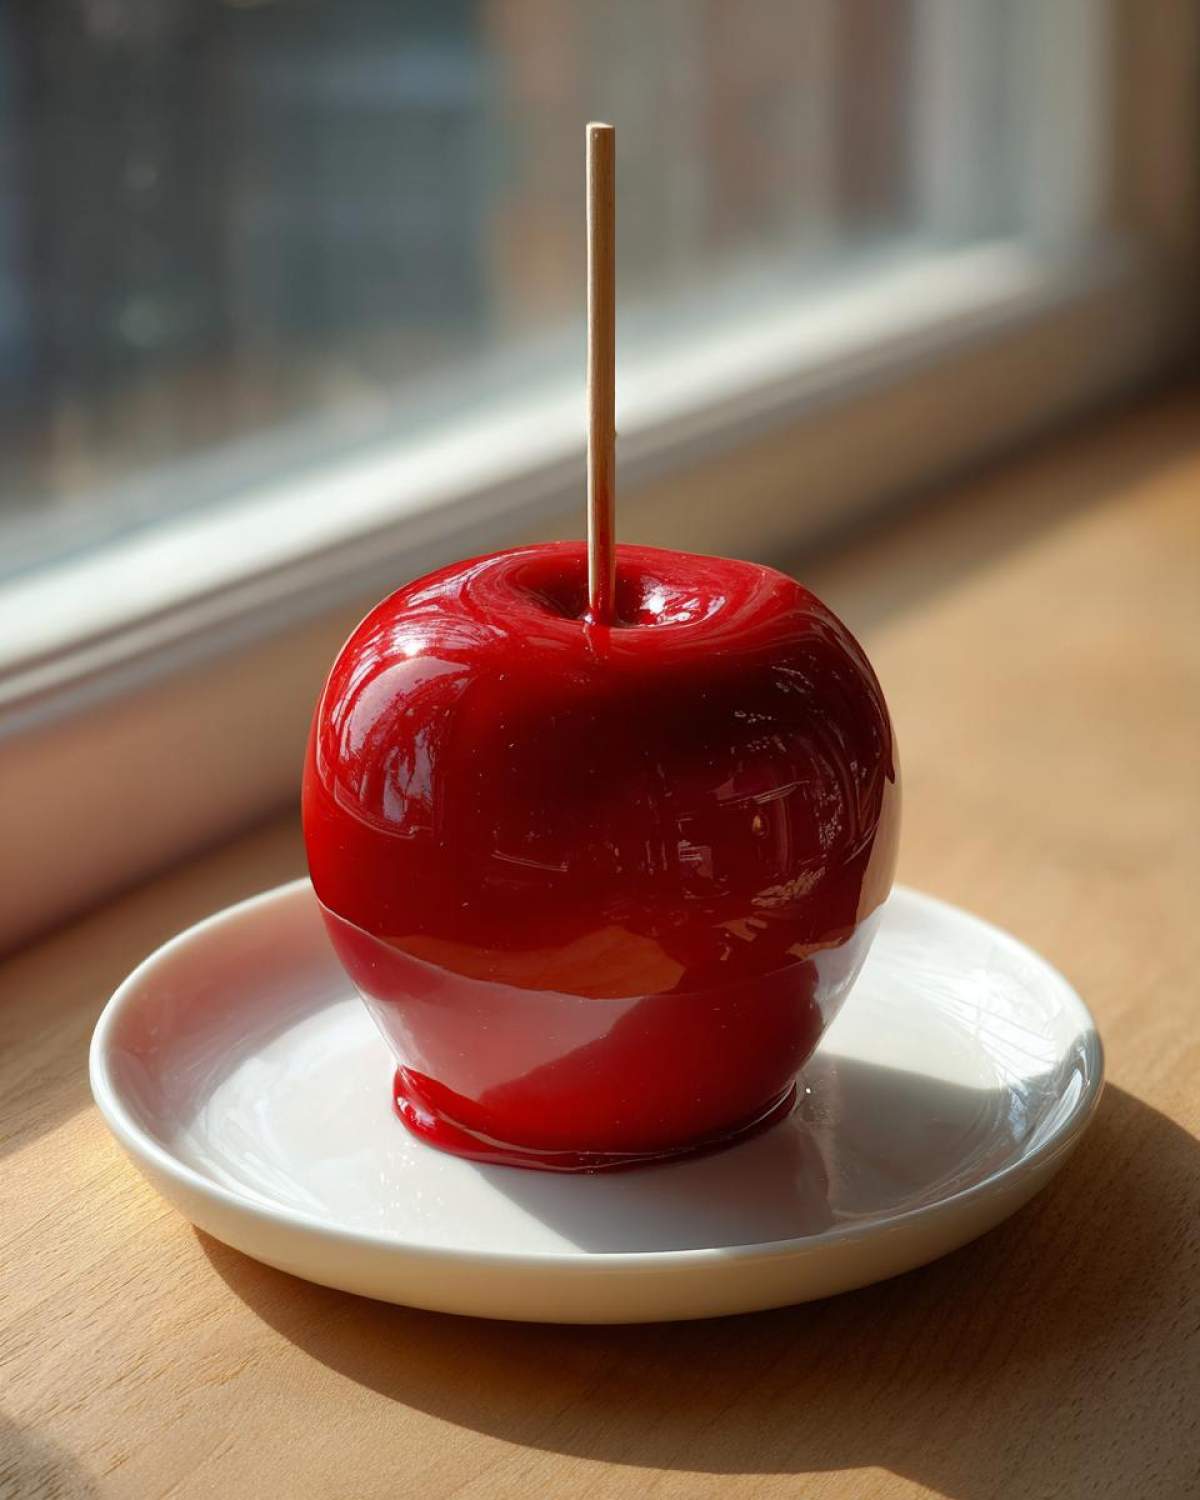
So, you’ve made these gorgeous, glossy beauties! Congratulations, you’re officially a carnival pro! Now, how do you keep that perfect, hard shell intact? The thing about pure sugar candy is that it *loves* moisture. Any hint of humidity, and you’ll wake up finding your perfect **candy apples** have turned into sticky lollipops.
Do not, under any circumstances, put these in the refrigerator! Refrigerators are humid environments, and putting the candy in there guarantees your hard shell will weep and get tacky. You need to store them at cool room temperature, and the absolute best way is to wrap each one loosely in plastic wrap, almost like a little candy mummy. This keeps the outside dry!
They are definitely best eaten the day they are made, but if wrapped correctly, they should hold up well for two or three days. After that, they start losing that wonderful *snap*.
When it comes time to serve these amazing **sweet apple treats**, think about balancing that intense sugar rush! We made these for pure indulgence, but cutting the sweetness is so satisfying. If you’re serving them after a big meal, having a side of strong black coffee or even a slightly tart crème fraîche dip on the side can be amazing. It cuts through the sweetness beautifully.
If you’re looking for something sweet but maybe a little less intense for breakfast the next morning, you have to try my Apple Cinnamon Overnight Oats recipe—a great, comforting contrast to today’s candy masterpiece!
Frequently Asked Questions About Candy Apples
I get so many questions after people try this recipe! Honestly, sugar work can be intimidating, but most of the problems people run into are super easy to fix once you know the magic trick. Since this is the best way to make **homemade candy apples**, I wanted to tackle the most common issues right here so you don’t have to fret!
Why is my candy coating grainy or crystallized?
Ugh, the grainy texture is the absolute worst, isn’t it? That happens when the sugar decides it wants to turn back into solid crystals instead of staying beautifully glossy. The main culprit is usually stirring the syrup after it starts boiling hard. Once that action starts, touching it lets stray sugar crystals clinging to the side of the pot fall back in and start the whole crystallization chain reaction. If you see crystals forming on the sides of your pot while it’s cooking, carefully take a pastry brush dipped in hot water and gently wash the sides down.
Can I use brown sugar in my simple candy apple coating?
For this specific recipe, no, my dear! Stick to that good old granulated sugar for that vibrant red, super hard shell. While I love the depth brown sugar brings to baking, the molasses in it completely messes up the chemistry needed to hit that precise Hard Crack Stage you need for a perfect **simple candy apple coating**. It just won’t set up quite right for the classic look.
How do I prevent the candy from cracking when I bite into the candy apples?
If you’re getting satisfying little *cracks* instead of a full shatter, it usually means your syrup didn’t quite make it to the right temperature. For that satisfying crunch that feels just like the fair, you must hit 300°F—that’s the Hard Crack Stage. If you pull it off the heat at, say, 290°F, it will still harden, but it will be slightly softer and more prone to cracking or smushing instead of cleanly breaking when you bite down. Don’t be scared of the heat; use that thermometer and aim for that 300 degrees!
If you have any other burning questions about making your **sweet apple treats**, feel free to drop me a line on my contact page!
Nutritional Estimate for Sweet Apple Treats
Okay, let’s talk turkey about what goes into these beautiful **sweet apple treats**! I always feel a little guilty eating something this sugary, but hey, it’s got fruit in it, right? I pulled the estimates directly from my recipe breakdown so you can see what you’re working with. This is using medium-sized apples as the baseline, so keep in mind this is a general guide.
Here’s the breakdown per apple, based on the recipe yielding six servings:
- Serving Size: 1 apple
- Calories: 350
- Sugar: 85g (Yep, it’s a sugar bomb, but oh so worth it!)
- Sodium: 1mg
- Fat: 0g
- Carbohydrates: 90g
- Protein: 0g
Now, please take this information with a grain of salt—or maybe a grain of slightly uneven sugar! Since apple sizes vary wildly, and whether you use extract or food coloring changes the weight infinitesimally, these figures are just general estimates. Basically, these **candy apples** are pure indulgence, and that’s okay! These treats are for special occasions, not Tuesday night snacks!
Share Your Perfect Candy Apples Experience
Wow, you made it! You tackled the hard crack stage and have dazzling, **shiny candy coating** perfection sitting on your counter. I am so excited for you!
Now for the fun part! I absolutely *need* to see your results. Did you stick to the classic red, or did you get adventurous with those **colorful candy apples**? Snap a picture and tag me! Seeing your success with this **easy candy apple recipe** makes all my testing worth it. You can see some other fun projects happening over on my main blog page for more inspiration.
If you loved how these came out, please leave a rating right below! It helps other bakers know they can trust this technique for their **fall candy apples** or **Halloween candy apples**. And if you ran into a snag—maybe your stick slipped, or you’re still curious about those gourmet variations—drop your questions in the comments too. Let’s chat about your **sweet apple treats**!
PrintEasy Classic Shiny Candy Apples

Make glossy, hard candy apples with this simple recipe that focuses on achieving a smooth, bubble-free coating.
- Prep Time: 15 min
- Cook Time: 20 min
- Total Time: 35 min
- Yield: 6 servings
- Category: Dessert
- Method: Stovetop Cooking
- Cuisine: American
- Diet: Vegetarian
Ingredients
- 6 medium apples, firm and washed
- 6 wooden skewers or sticks
- 2 cups granulated sugar
- 1 cup water
- 1/2 cup light corn syrup
- 1/2 teaspoon red food coloring (optional)
- 1/4 teaspoon cinnamon extract or vanilla extract (optional)
Instructions
- Wash apples thoroughly and remove any wax by briefly dipping them in boiling water for 5 seconds, then dry them completely. Insert a skewer firmly into the stem end of each apple.
- Combine sugar, water, and corn syrup in a heavy-bottomed saucepan. Stir over medium heat until the sugar dissolves.
- Stop stirring once the mixture boils. Insert a candy thermometer.
- Cook the syrup without stirring until it reaches 300 degrees Fahrenheit (Hard Crack Stage). This usually takes 15 to 20 minutes.
- Remove the pan from the heat immediately when it reaches 300 degrees Fahrenheit. If using, stir in the food coloring and extract quickly.
- Let the syrup stand for 2 to 3 minutes to allow large bubbles to subside. Tilt the pan slightly.
- Dip and rotate each apple into the hot syrup, ensuring an even coat. Lift the apple and let excess syrup drip off back into the pan.
- Place the coated apples on a baking sheet lined with parchment paper or a silicone mat.
- Allow the candy coating to cool and harden completely, about 30 minutes, before serving.
Notes
- Dry apples completely; moisture prevents the candy from sticking properly.
- Do not stir the syrup after it begins to boil; this causes crystallization and bubbles.
- If the candy starts to set in the pan before you finish dipping, return the pan to low heat briefly to re-melt the edges, but do not let it boil again.
Nutrition
- Serving Size: 1 apple
- Calories: 350
- Sugar: 85g
- Sodium: 1mg
- Fat: 0g
- Saturated Fat: 0g
- Unsaturated Fat: 0g
- Trans Fat: 0g
- Carbohydrates: 90g
- Fiber: 1g
- Protein: 0g
- Cholesterol: 0mg