

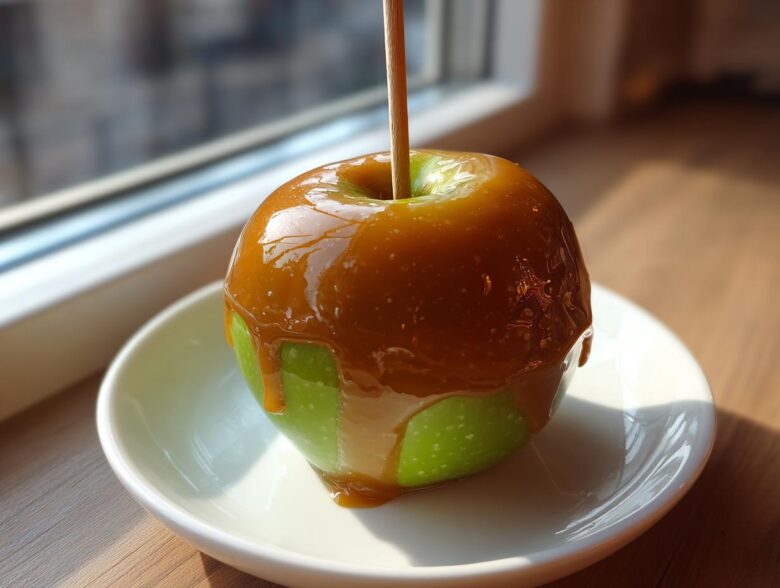
Oh, when that crisp autumn air starts hitting, my mind immediately jumps to all the things we need to bake—and let’s be honest, nothing screams cozy season quite like a perfectly made treat built around apples. Marco and I used to save these kinds of showstoppers for when we had a big crowd, but we learned the hard way that the best feasts are the ones we make just for each other. That’s why I’m giving you our absolute, 100% foolproof recipe for caramel apples. Forget those sad, sliding messes you see sometimes! This tutorial gets you that rich, gorgeously chewy caramel coating that doesn’t run away the second it hits the apple. Welcome to owning your kitchen; we’re teaching you how to make treats worthy of royalty, even if the only guest is Marco. Knowing how we got here is half the fun, so if you want to hear more about our kitchen revolution, check out our story!
Why This is the Best Easy Caramel Apple Recipe
I know, I know, everyone promises the best recipe, but trust me when I say this easy caramel apple recipe became a staple for us because it just *works*. We ditched hours of worry over runny messes for something truly regal and simple. Marco keeps asking why we didn’t figure this out sooner!
Here’s what you can expect when you try this method:
- It delivers that deeply satisfying, chewy caramel coating—none of that sticky, super-hard candy stuff!
- It’s remarkably easy; just a few simple ingredients and smart technique means nearly no fail time.
- The coating is guaranteed not to slide off. That’s the magic part, and I’ll show you exactly how we conquer that waxy apple problem.
Getting this perfect result means you can spend less time stressing and more time enjoying the fall season, maybe even starting with a little taste test right after we finish making the caramel apples that stick.
Gathering Supplies for Perfect Caramel Apples
Before we jump into the actual cooking party, we need to make sure the court is properly equipped, right? Making these caramel apples requires just a little bit more precision than, say, throwing a soup together, but it’s totally worth it for that perfect, regal coating. If you skip setting up first, you’ll end up rushing the most critical steps. We learned that lesson the hard way when Marco tried to wing the temperature once—let’s just say we ended up with sticky puddles instead of perfect apples!
Equipment You Need for Homemade Caramel Apples
The most important hero in this list is the thermometer. If you want that chewy texture that truly adheres, you absolutely must nail the temperature. Don’t try to guess this part; it’s the main difference between a great apple and a sliding disaster.
- Candy Thermometer (Seriously, don’t skip this! It’s the key to the no slide caramel apples magic).
- A heavy-bottomed saucepan (Keeps the heat even, which prevents scorching).
- Plenty of parchment paper or silicone mats for setting up your cooling station.
- Sturdy sticks—wooden skewers work great, or you can flatten the bottoms of lollipop sticks if you prefer.
Ingredient Notes and Apple Selection
The quality of your ingredients tells the whole story here. We don’t just grab anything off the shelf for our feasts, and your caramel apples deserve the best too! For the apple itself, you need something crisp that can stand up to that rich caramel without getting mushy. Granny Smith apples are my absolute go-to because their tartness cuts through the sugar beautifully. It’s the perfect sweet-tart balance that makes these feel truly gourmet.
A quick note on the caramel: Make absolutely sure you are buying those soft, individually wrapped caramel candies. If you use hard caramels meant for smashing or baking, you’ll just end up with rock-hard apples. We are aiming for rich, buttery softness, just like the filling in my soft chewy sea salt caramels recipe.
Step-by-Step Tutorial: How to Make Caramel Apples From Scratch
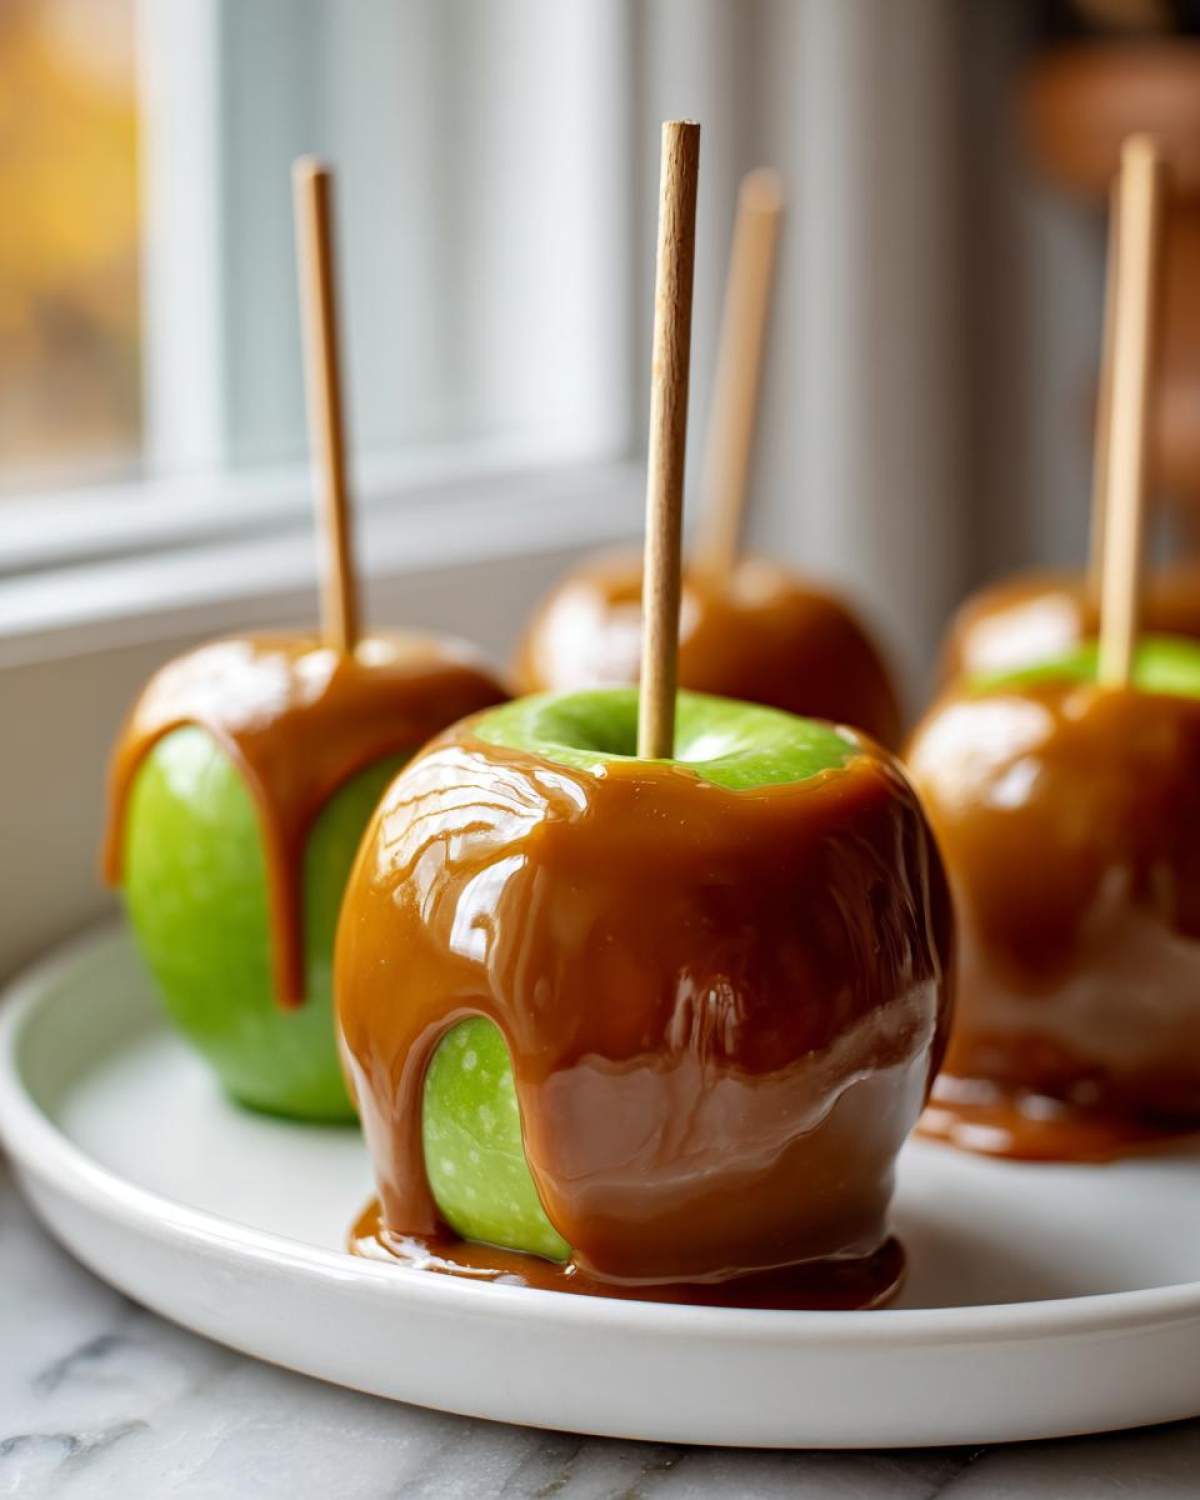
Alright Empress, this is the moment. We are finally diving into how to make caramel apples from scratch—the right way! I remember the first time we tried this; we were so focused on getting the caramel cooked perfectly that we completely forgot about the apples themselves. We dipped them, set them aside, and thirty minutes later, we found this sad, soupy mess where the caramel had just slid right off the waxy fruit. Marco actually joked that we’d made ‘caramel-flavored apples’ instead! Never again! The adhesion step is non-negotiable, so pay close attention to the first part here. If you skip steps, you might end up needing ideas on what to bake instead, perhaps my apple cider cupcakes!
Preparing the Apples for Maximum Caramel Adhesion
This step is why our coating sticks flawlessly. You can’t skimp here, trust me. First, wash those apples really well to get off any natural coating or wax. Then, remove the stems and push your stick right into the center.
Here is the secret sauce: you must dry them until they feel positively bone-dry. I mean, use a fresh paper towel for *every single apple*. You should feel zero dampness. If you rush this, the caramel will separate right off in the pan—it’s chemistry, darling! After drying, I always pop mine in the fridge for about ten minutes. A little chill is fantastic because it helps solidify the caramel on contact later, making these the ultimate no slide caramel apples.
Cooking the Chewy Caramel Coating to 245°F
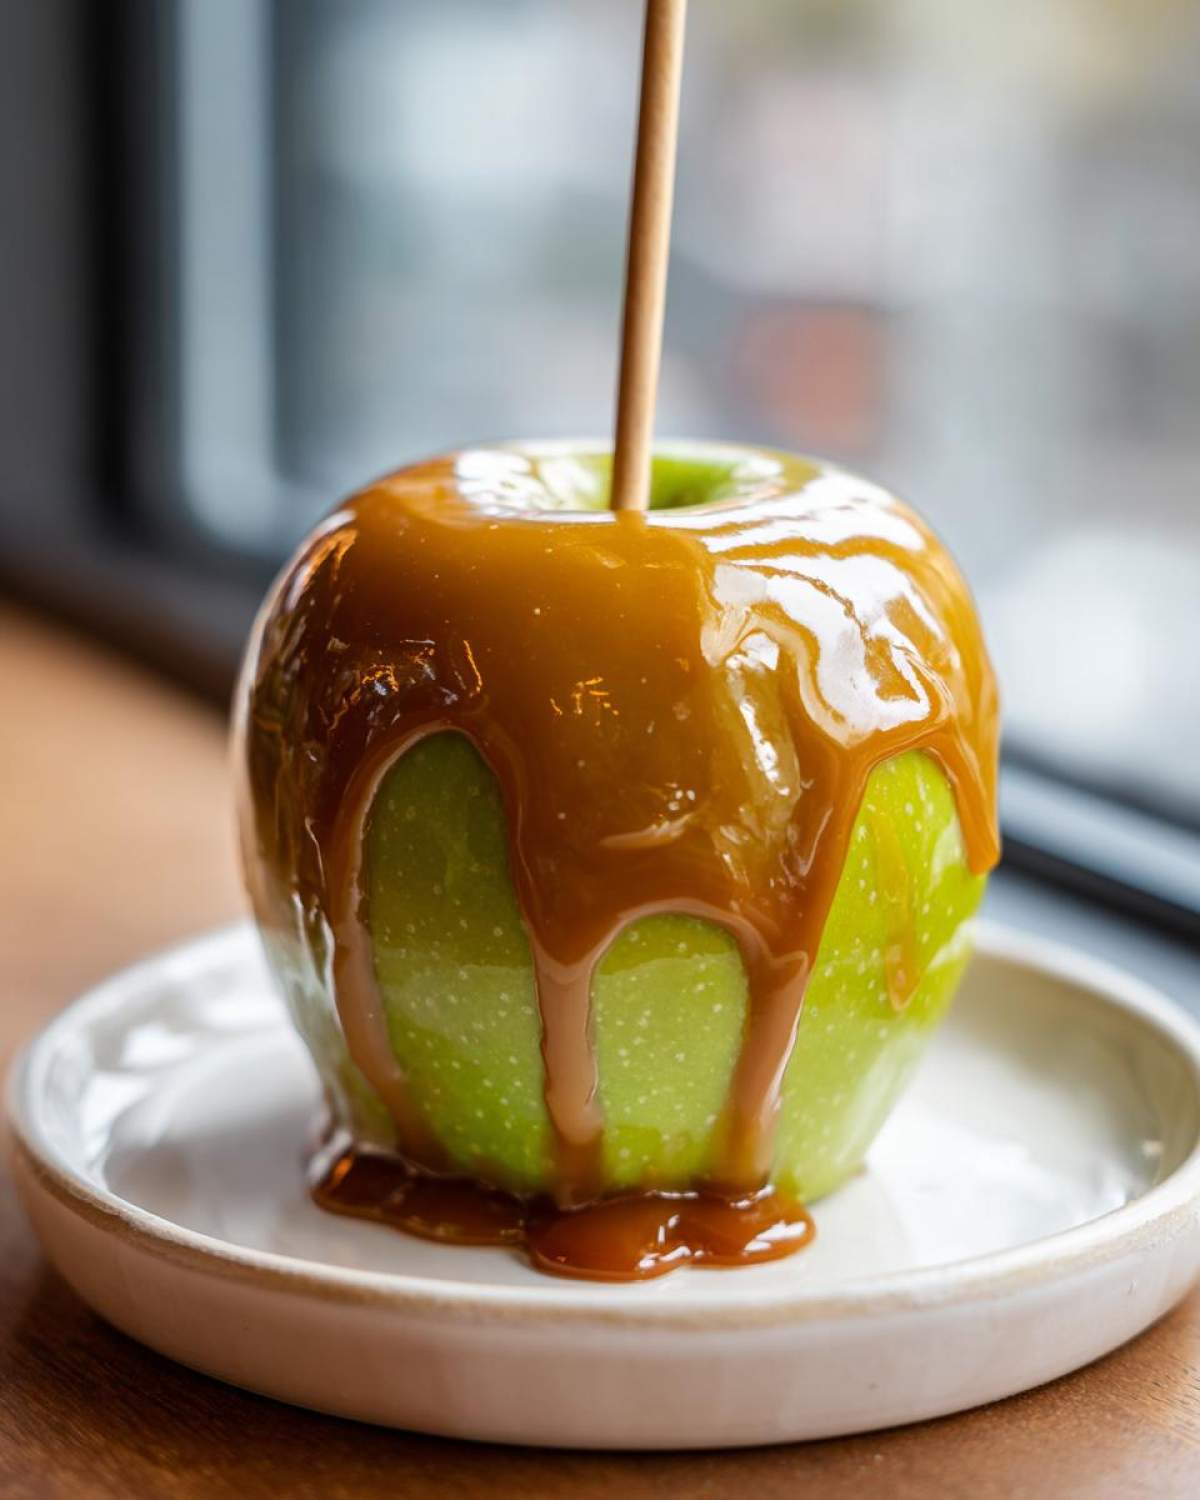
Now for the caramel itself. We use a medium-low heat here because we want to coax the mixture, not scorch it. Toss your soft caramels, butter, and heavy cream into that heavy saucepan—yes, this is when that rich, buttery perfume starts filling your kitchen! You have to stir constantly as it melts, but once it’s smooth, you switch to watching that candy thermometer like a hawk.
We are aiming squarely for 245 degrees Fahrenheit. Hitting this temperature is the literal secret to that glorious, chewy caramel coating mentioned in the recipe card. If you stop too soon, it drips; if you go too far, it becomes brittle old-fashioned candy. Don’t let it boil super aggressively—we are gently coaxing it up to temperature. For more behind-the-scenes insights into getting temperatures just right, you can peek at this foolproof guide.
Dipping Technique for Perfect Caramel Apples
Once that thermometer hits the magic 245°F line, pull the pan OFF the heat *immediately*. Now, let the caramel sit—give it about five quiet minutes. If you dip now, it’ll be too runny and you’ll lose that substantial, beautiful coat.
When you’re ready, tilt the pan slightly towards you. Hold the apple by the stick and dip it down, rotating slowly as you go. You want an even layer, not a huge blob. Once you pull it out, let the excess drip back into the pan for just a few seconds. If you use toppings, this is your one brief window to roll or sprinkle them on! Then, they need to go onto that prepared parchment sheet to set up for at least an hour. Don’t mess with them while they set, or you’ll ruin your beautiful job!
Caramel Apple Decorating Ideas for Gourmet Caramel Apples
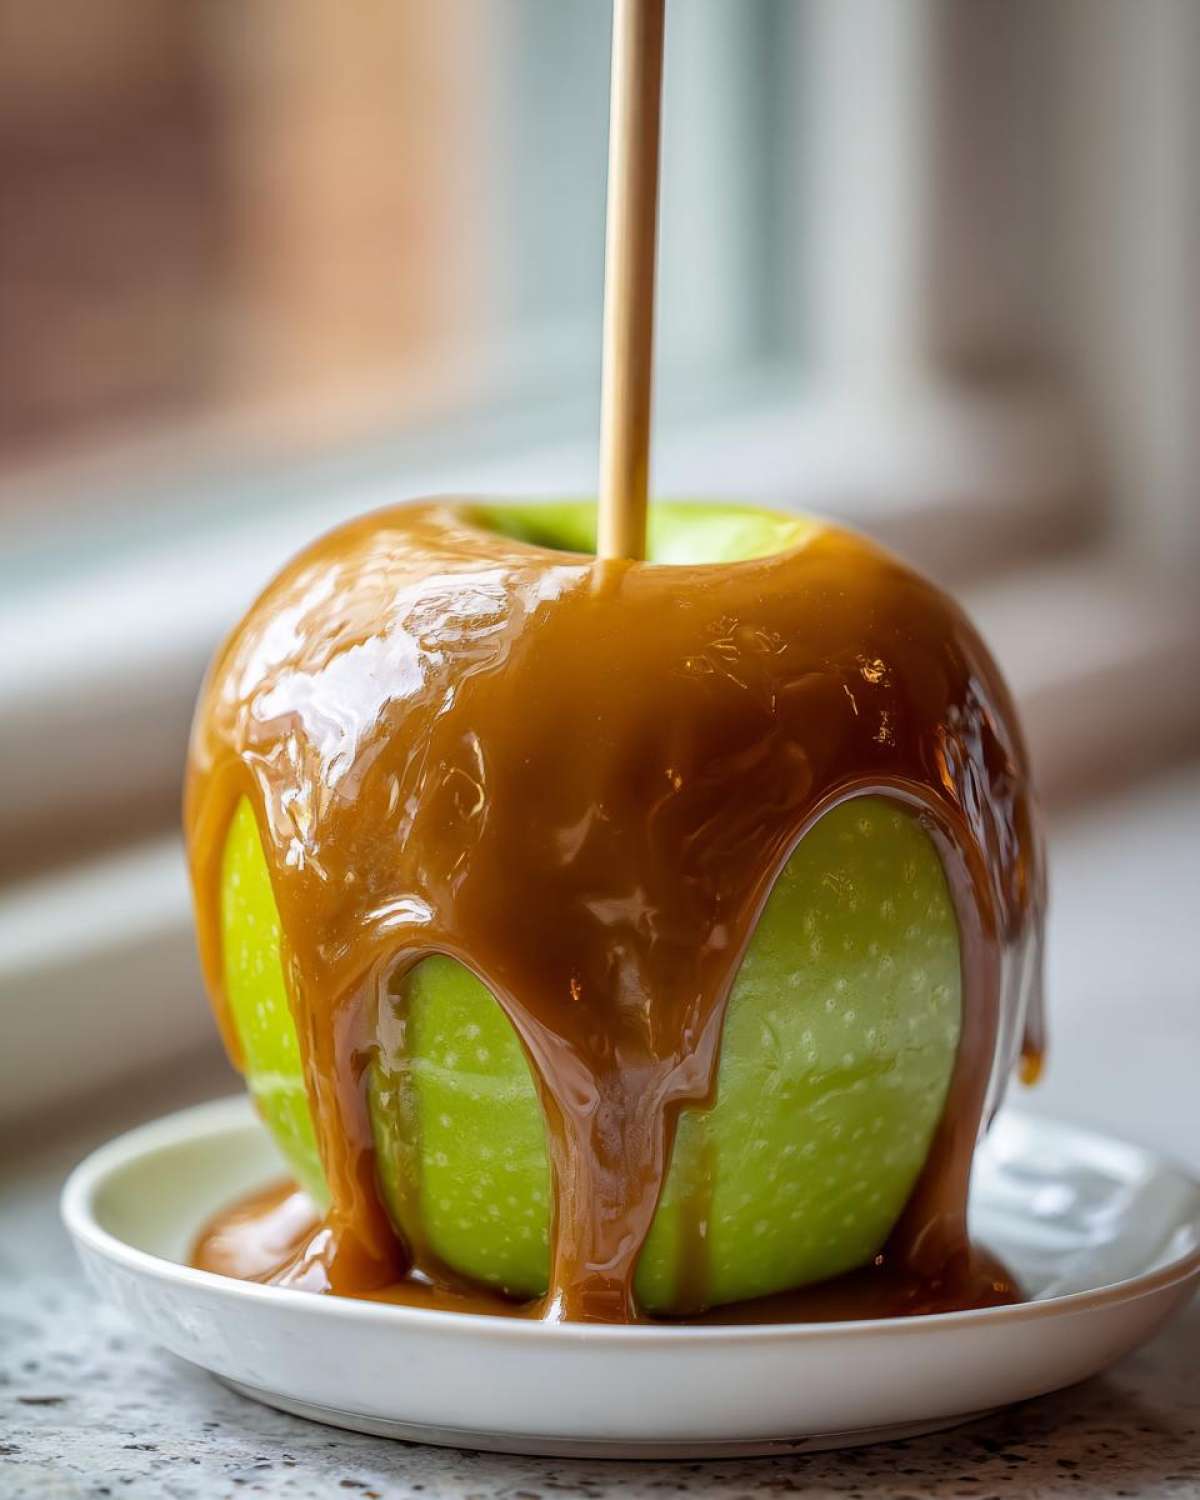
This is where we really let our inner Empress shine! Making a basic caramel apple is one thing, but turning it into a showstopper worthy of a full coronation table? That’s where the fun begins. We love getting creative with caramel apple decorating ideas; it brings that gourmet feeling right into our kitchen without any extra fuss. Since we’ve already nailed the perfect, non-sliding base, we have a dependable canvas for adding flair. Marco is usually hovering, ready to judge the final presentation, but honestly, you cannot go wrong here!
Topping List for Classic Caramel Apples
The key to a wonderful topping experience is speed! You must get the toppings on immediately after the apple comes out of the caramel bath, while that gorgeous coating is still beautifully tacky. Think about texture contrast—you want crunch against that chewy coating.
- Chopped pecans or walnuts are classic; they look so sophisticated.
- Mini chocolate chips—they melt just enough to stick perfectly.
- Crushed pretzels or shortbread cookies—saltiness and crunch, yes please!
- Rainbow or metallic sprinkles for a festive pop, especially before Halloween.
If you need a huge list of inspiration for what to roll your sticky delights into, I found an amazing roundup of topping ideas.
Creating White Chocolate Caramel Apples
Now, if you really want to elevate these, we need to talk about adding chocolate. This is a major glow-up! You can easily make fantastic chocolate dipped caramel apples by adding a second layer of decadence. But here’s the expert tip from personal failure: you *must* wait until the initial caramel coating is completely firm and set—at least an hour, maybe longer depending on how humid it is.
If you drizzle melted chocolate over soft caramel, you’ll just end up with a huge, sloppy mess. Once the caramel is firm, melt your white chocolate (or dark!), thin it slightly with a tiny bit of coconut oil if needed, and drizzle artistic zigzags over the top. It looks stunning. Sometimes, I even swirl melted dark chocolate and white chocolate together for a beautiful contrast, much like the layers in my chocolate caramel toffee crunch cake! We can even use that vanilla buttercream recipe base for other fun drizzle colors.
Tips for Success with Your Caramel Apple Party Food
The best part about making these glorious caramel apples is watching people’s faces when they take that first bite, but serving them at a party can sometimes feel like a logistical nightmare. Who wants sticky fingers everywhere? Don’t worry, Empress, we’ve solved that too! We’ve learned a few tricks over the years to make this caramel apple party food truly easy on the host and the guests.
My biggest tip, besides making sure those apples are totally dry, is setting up a dedicated “setting station.” Once dipped, the apples need to sit undisturbed on parchment paper for at least an hour at room temperature until that caramel is firm. Resist the urge to touch them! You can get great advice on handling tricky coatings from other seasoned bakers.
If you are serving them immediately and worried about mess, consider serving them alongside little napkins or even having a bowl of wet wipes nearby. Or, if you want something foolproof when your guests are hungry, try my recipe for cranberry brie bites instead—they are much easier to manage on a platter!
Storage & Reheating Instructions for Caramel Apples
Once your magnificent caramel apples are set, the next question is always, “How do I keep them perfect until the party?” This is tricky terrain, darling, because caramel and cold air don’t always get along! If you have leftover treats, you want to keep that beautiful, chewy coating glossy.
My biggest advice is to try and keep them at room temperature if you can. If your house isn’t too hot, setting them on parchment paper in a single layer on the counter, away from direct sunlight, is ideal. They should stay fantastic this way for a couple of days, which is usually fast enough for us spoiled princesses before they disappear!
If you absolutely must refrigerate—maybe it’s sweltering outside—you can, but you have to prepare for the consequences. Cold temperatures cause condensation when the apple warms up again, and condensation is the sworn enemy of a shiny caramel coat! If you are chilling them, wrap each apple loosely in plastic wrap or parchment paper—don’t seal them tight—and place them in an airtight container.
When you take them out later to serve, let them sit on the counter for at least an hour before anyone touches them. This lets them come back to room temperature slowly. If they sweat a little bit, don’t panic! You can gently blot the stray moisture with a dry paper towel before serving. We really want to avoid reheating them at all costs, especially if they are topped with chocolate, because that usually results in an Empress-sized mess!
Variations: Caramel Apple Slices Recipe and Other Fun Ideas
While I absolutely adore the drama of a full, stick-in-the-air caramel apple, sometimes, especially when we’re having a casual movie night, I don’t want to commit to an entire apple! Serving up the same incredible flavor without the sticky fallout is a total game-changer for comfort food nights. We’ve adapted this amazing caramel base to give you alternatives that are just as delicious but maybe a bit more convenient for quick snacking or smaller gatherings.
If you have some leftover caramel because you just *had* to try making a double batch (which I totally support!), these variations are perfect for using it up. They deliver the same rich flavor profile as the main recipe without requiring you to eat an entire fruit in one sitting!
Speaking of other delicious apple things, if you find yourself with extra apples and want something baked instead of dipped, you should absolutely bookmark my recipe for apple brownies with maple glaze and pecans. It’s pure warmth!
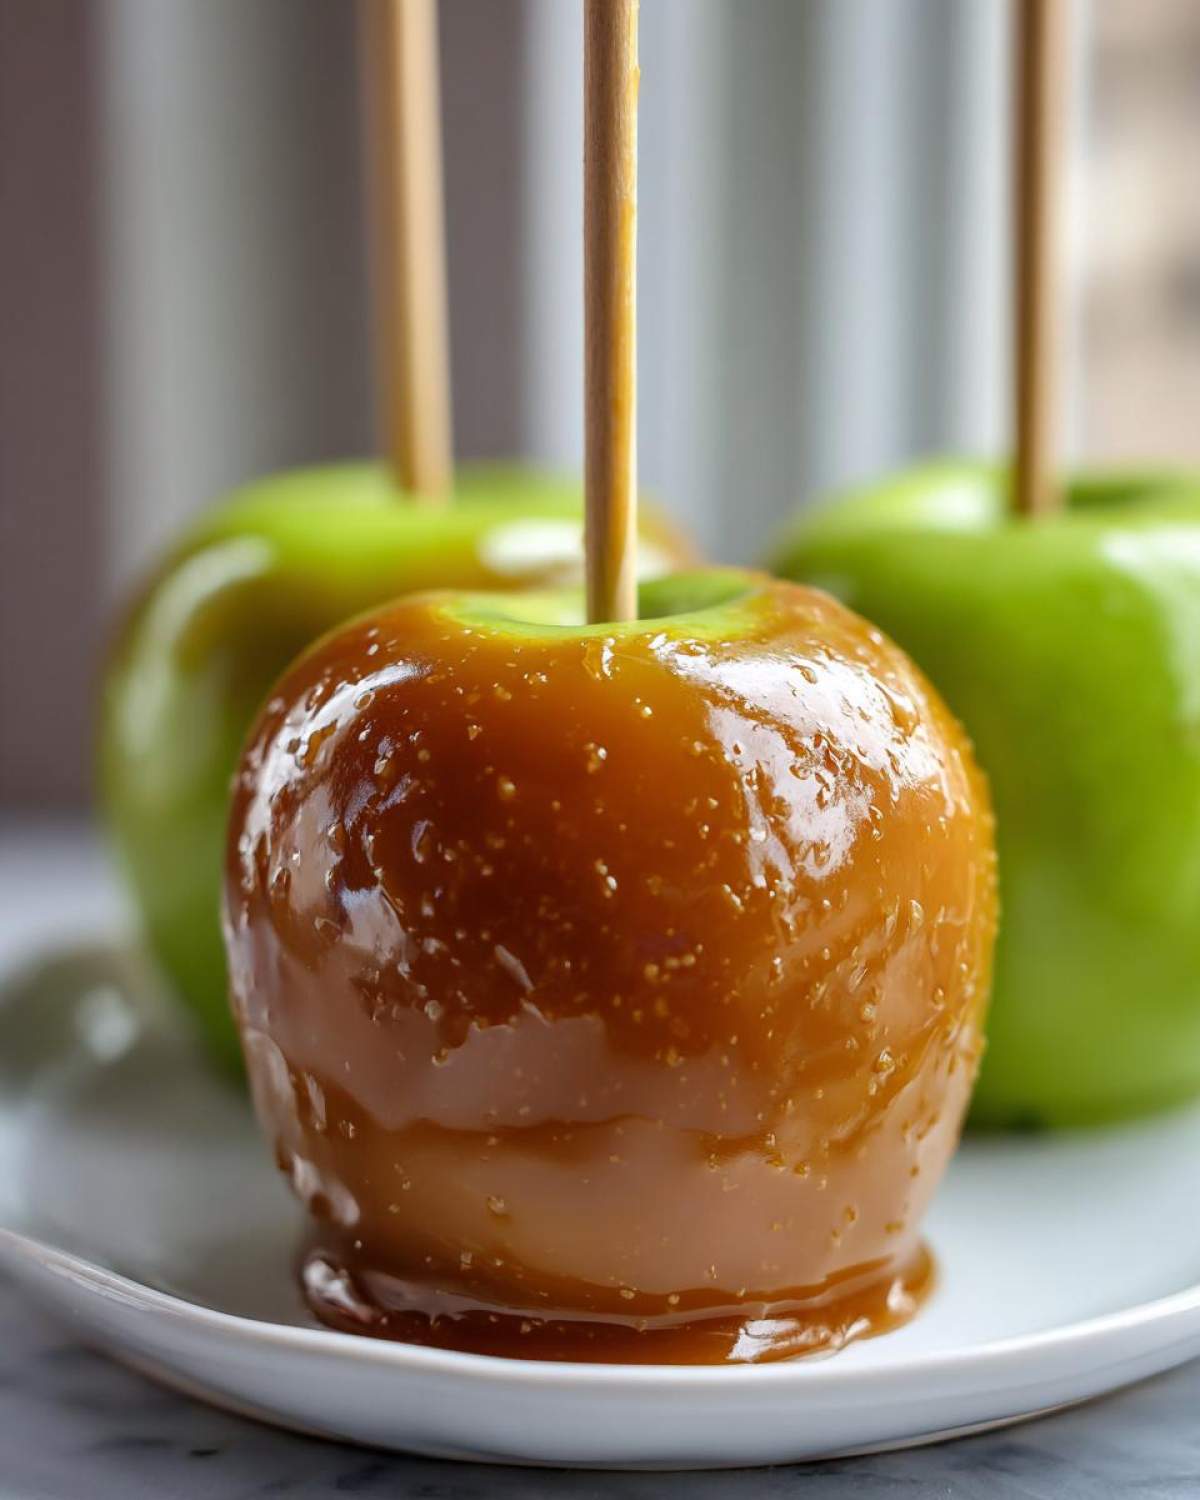
The Easy Caramel Apple Slices Recipe
This is one of my favorite ways to serve this flavor profile casually. When you make caramel apple slices, the caramel sets up beautifully, and you get that perfect chewiness without the dipping hassle. Plus, they are far easier to cover in gourmet toppings!
Instead of washing and sticking the whole apple, just core it first. Then, slice the apple into thick wedges—aim for about eight slices per apple. Make sure you dry those cut surfaces really well, just like we did with the whole apples! Then, instead of dipping and twirling, you can gently lay the slices flat on your parchment paper and spoon a little caramel onto each surface. You can drizzle it heavily or gently smooth a bit on top. These are wonderful served on a grazing board!
If you want to see how they handle toppings, this approach makes applying crushed nuts or chocolate drizzles incredibly simple. They set up fast, and you can snag all the flavor you love. You can find a great method for keeping the slices nicely coated over at Chop Notch.
The ‘Caramel Apple in a Cup’ Concept
This idea is pure convenience—Marco loves this version when he’s just grazing while doing paperwork! It’s basically deconstructed perfection. You use the exact same cooked caramel base, but instead of bothering with sticks or slices, you chop your crisp apples into bite-sized cubes.
You put the warm, slightly cooled caramel right into small, elegant little serving cups—think espresso cups or tiny mason jars. Top that warm caramel layer instantly with the apple cubes. They sink in just enough to get totally coated, and guests can just use a tiny cocktail fork to enjoy. It captures the essence of the season’s best flavor without any of the mess associated with traditional caramel apples. It’s sophisticated, simple, and completely Empress-approved for a relaxed evening.
Frequently Asked Questions About Caramel Apples
I know you’ve got questions running through your mind now that you see just how easy this all is! We’ve covered a lot of ground, from making the perfect chewy caramel coating to decorating them like a champion gourmet chef. But there’s always that little voice of doubt, isn’t there? Like, “Will my caramel slide off for sure?” Here are the ones I get asked most often when people start making these for their own family feasts.
Can I skip the candy thermometer when making caramel apples?
Oh, sweetheart, please don’t! I want you to succeed, and skipping the thermometer is where most people sabotage their beautiful work. Remember how we talked about nailing that 245°F mark? That specific temperature is what sets the sugar structure perfectly so you get that satisfying chewiness that actually holds its shape against the apple. If you guess, you risk getting caramel that’s too soft and drips everywhere, or worse, caramel that cracks and crumbles when you bite into it. For truly reliable, no slide caramel apples, the thermometer is your non-negotiable tool. Think of it as the crown jewel of your caramel-making station!
What is the secret to getting the caramel to stick to the apples?
If you follow nothing else from this entire recipe, please remember this: dryness is divine! The number one failure point for caramel apples is moisture on the skin. Apples have a natural waxy finish that repels everything, including delicious caramel. You need to scrub them gently, dry them one by one until they feel like velvet—no dampness anywhere! And don’t forget our bonus ace in the hole: chilling them for just ten minutes in the fridge right before dipping. That slight chill helps the hot caramel firm up instantly upon contact. It’s the duo work of a super-dry surface plus a rapid temperature drop that guarantees sticking power.
We also have some wonderful, less traditional ways to enjoy these flavors, like my recipe for apple cinnamon overnight oats if you want a breakfast version of fall flavor!
Estimated Nutritional Data for Classic Caramel Apples
Now, I have to give you a little disclaimer here, Empress. Marco always reminds me that as much as we love beautiful food, we aren’t registered dietitians! So, please take these numbers as a general guideline for what you can expect in one of our classic caramel apples.
We calculated this based on the ingredients in the main recipe—one standard apple dipped in the caramel base, assuming typical medium-sized apples and the standard amount of soft caramel used. If you go wild with the toppings or add extra chocolate drizzles, that number is certainly going up, so proceed with happy indulgence!
This is our most honest estimation to guide you:
- Serving Size: 1 apple
- Calories: Approximately 350
- Fat: 18g (with about 11g saturated fat from the butter and cream)
- Carbohydrates: About 48g
- Protein: 3g
- Sugar: Roughly 45g (that’s where all the amazing chewy flavor lives!)
We’re sharing this information to be thorough—part of true, conscious feasting is knowing what you’re enjoying! But honestly, when something tastes this good and brings this much joy to the table, I try not to dwell too much on the exact count. It’s a celebration treat, after all!
Share Your Royal Feast
Now that you’ve mastered the art of making caramel apples that stick and taste truly regal, it’s time to celebrate your success! We poured all of our best secrets into this—from the careful drying of the apples to hitting that perfect 245°F—so I truly hope you feel like an Empress in your kitchen right now. Marco and I live for seeing how our readers make these recipes their own, turning simple ingredients into something spectacular for their own personal feasts!
We want to see the creations destined for your tables! Did you stick to the classic sprinkle topping, or did you go absolutely wild with something gourmet? The best way to connect with the court is to let us know how it went. You can see what we’re cooking up next on our main blog as well.
- Please leave a star rating and a comment below! Tell me which step was your must-try favorite (mine is always tasting the warm caramel before the dip!).
- If you snapped a picture of your gorgeous, non-sliding caramel apples, tag us on social media! We love sharing your work on our feed, showing everyone what happens when you treat yourself like royalty.
Thank you for joining us not just for a recipe, but for a ritual. Happy feasting, and long live your delicious reign!
PrintFoolproof Homemade Caramel Apples: The Best Chewy, No-Slide Recipe
Create perfect homemade caramel apples with this easy recipe. You get a rich, chewy caramel coating that sticks every time, making these ideal for fall parties and Halloween treats.
- Prep Time: 20 min
- Cook Time: 15 min
- Total Time: 35 min
- Yield: 12 servings
- Category: Dessert
- Method: Stovetop Cooking
- Cuisine: American
- Diet: Vegetarian
Ingredients
- 12 medium tart apples (like Granny Smith)
- 12 wooden or parchment-lined lollipop sticks
- 1 (14-ounce) bag soft caramel candies, unwrapped
- 1/4 cup heavy cream
- 1 tablespoon unsalted butter
- Optional Toppings: 1 cup chopped nuts, 1 cup mini chocolate chips, 1/2 cup white chocolate, melted
Instructions
- Prepare the apples: Wash the apples well. Remove the stems and insert the sticks firmly into the top center of each apple.
- Dry the apples completely: This step is crucial for the caramel to stick. Wipe each apple thoroughly with a paper towel to remove all moisture and any waxy residue. You can briefly place them in the refrigerator for 10 minutes to chill, which also helps the caramel adhere.
- Make the caramel: In a medium saucepan over medium-low heat, combine the unwrapped caramel candies, heavy cream, and butter. Stir constantly until the caramel is completely melted and smooth. Do not let the mixture boil rapidly.
- Cook the caramel: Continue to cook the mixture gently, stirring often, until it reaches 245 degrees Fahrenheit on a candy thermometer. This temperature ensures a chewy, no-slide coating. This usually takes about 8 to 10 minutes after melting.
- Cool the caramel slightly: Remove the saucepan from the heat and let the caramel cool for 5 minutes. This prevents the caramel from being too runny when dipping.
- Dip the apples: Hold an apple by the stick and tilt the saucepan slightly. Dip the apple into the caramel, rotating it to coat evenly. Lift the apple out and allow excess caramel to drip back into the pan.
- Add toppings (optional): Immediately after dipping, roll the caramel-coated apple in your chosen toppings, or drizzle with melted chocolate.
- Set the apples: Place the finished caramel apples on a baking sheet lined with parchment paper or a silicone mat. Let them set at room temperature for at least 1 hour, or until the caramel is firm.
Notes
- For the chewiest caramel, use a candy thermometer and hit the 245°F mark.
- If you skip drying the apples, the caramel will slide off. Wipe them down until they feel completely dry.
- For an easy serving method at parties, you can make caramel apple slices and serve them with toothpicks for dipping.
- To make chocolate-dipped caramel apples, wait until the caramel is fully set before dipping them in melted chocolate.
Nutrition
- Serving Size: 1 apple
- Calories: 350
- Sugar: 45g
- Sodium: 120mg
- Fat: 18g
- Saturated Fat: 11g
- Unsaturated Fat: 7g
- Trans Fat: 0g
- Carbohydrates: 48g
- Fiber: 1g
- Protein: 3g
- Cholesterol: 35mg