

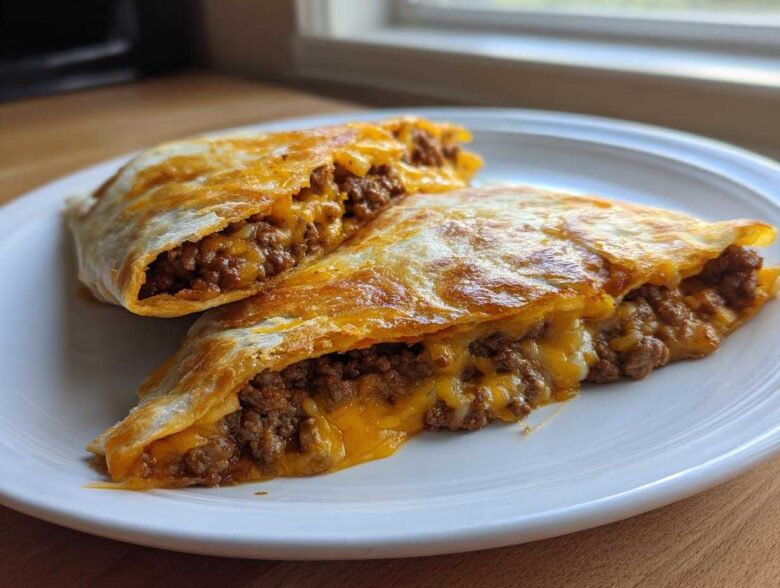
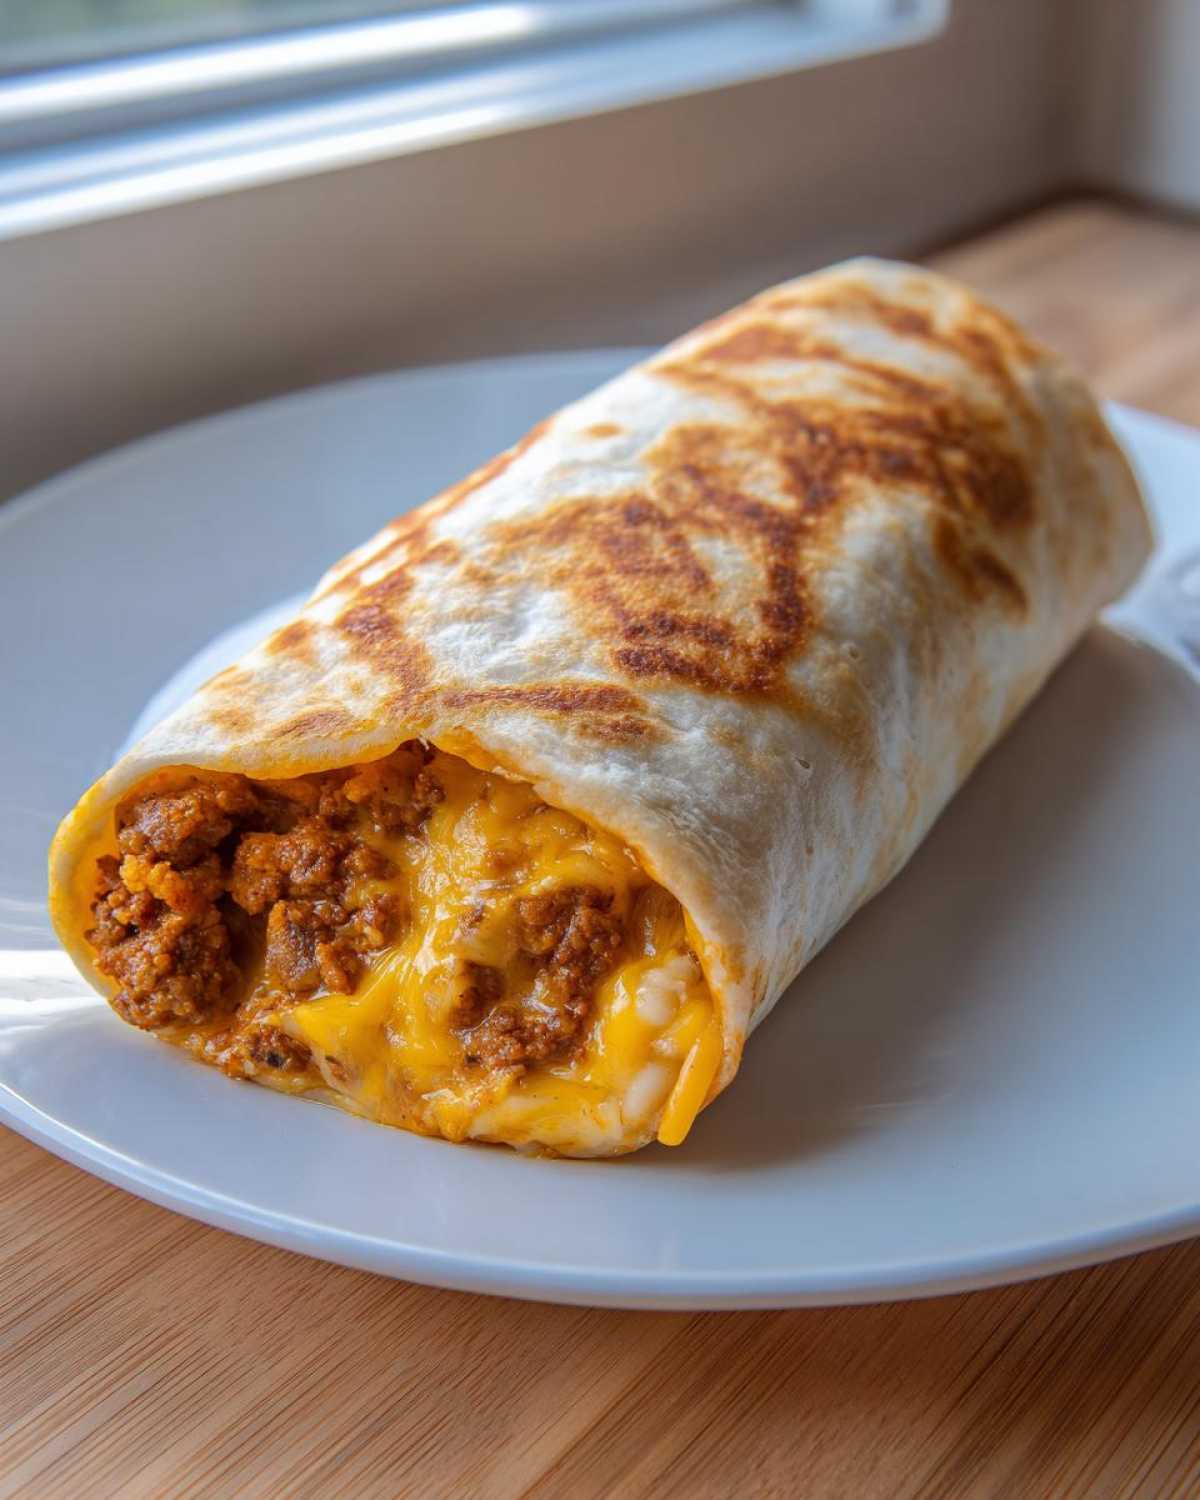
Oh, sometimes you just need that perfect bite of comforting, slightly naughty food, right? Marco and I used to spend hours making things *for* people, but now, my favorite reservation is right here at our own table. If you’re craving that savory, cheesy crunch that screams incredible Tex-Mex but don’t want the deep-fry mess, I have found our weeknight salvation: the Crispy Air Fryer Beef and Cheese Chimichangas. These amazing Chimichangas are ready in about 30 minutes total, giving you the royal treatment without any of the usual fuss. It’s about honoring ourselves with flavor, and trust me, this is worth featuring!
Why Our Crispy Cheesy Beef Chimichangas Recipe Reigns Supreme
I truly believe that treating ourselves doesn’t need to be complicated. This recipe is crowned the favorite because it delivers maximum satisfaction for minimum effort. We aren’t saving this for some far-off party; this is for Wednesday night royalty!
- Under 30 Minutes: Seriously, we make this when we’re starving! It’s faster than ordering takeout.
- Maximum Crunch, Minimum Oil: We use the air fryer, giving you that glorious, shatteringly crispy chimichangas texture without drowning them in oil. It’s the best of both worlds.
- The Classic Filling: You can’t beat the classic combo of spicy seasoned ground beef and gooey, melted cheese. It’s pure comfort food magic.
- It’s So Easy: The steps are straightforward, which means even if you’ve never made homemade chimichangas before, you’ll feel like a Tex Mex pro.
Want to see how other people are enjoying this amazing flavor combination? Check out how others are making their savory beef and cheese delights!
Gathering Supplies for Perfect Homemade Chimichangas
Okay, setting the scene for a royal feast at home starts with having the right tools. Marco always says, “If you want that perfect, flaky golden tortilla wrap, you need to respect the vessel!” I totally agree. When we started making lighter versions, like these baked chimichangas, we cut out the deep fryer, but we still needed some dedicated gear to get that gorgeous, crispy finish.
It’s not about collecting fancy gadgets, though. Honestly, for these easy chimichangas, you probably have most of what you need sitting right in your cabinets already. We’re talking about simple assembly and the cooking appliance of your choice!
Essential Equipment for Your Chimichanga Assembly
Here is what I pull out when I make my filling and get ready to roll. These tools make the process smooth so you can get these quick Mexican meals on the table fast.
- A sturdy, deep skillet: You need this for browning the ground beef properly and getting that taco seasoning nice and happy.
- Your main cooking appliance: This is either your air fryer basket (our favorite way!) or a sturdy metal baking sheet if you’re going the oven route.
- Tongs and a pastry brush: Essential for flipping and getting that cooking spray or oil evenly distributed so every side turns golden brown.
- Toothpicks: Don’t skip these! They are the royal guard holding your tightly wrapped chimichangas secure while they cook.
My one big tip here? Don’t skimp on the tortillas themselves! If you get thicker, quality flour tortillas, they hold up so much better when you roll them tight and crisp them up. Thin, flimsy ones tend to tear when you try to fold them in for that perfect package.
Ingredients for the Best Beef and Cheese Chimichangas
Marco would stage a small protest if I ever tried to shortchange the filling ingredients. He says the secret to world-class cheesy chimichangas lies right here—using quality components that deliver massive flavor. Since this is a quick Tex Mex Dinner solution, we rely on pantry staples that pack a punch!
For eight beautiful servings, here is what you’ll need for this incredible Beef Chimichanga Recipe:
- 8 large flour tortillas (These are your golden wrappers!)
- 1 tablespoon olive oil (Just a touch for searing the meat)
- 1 pound ground beef (I prefer 85/15 for the best flavor)
- 1 packet taco seasoning mix (Don’t you dare try to make your own blend for a 30-minute meal!)
- 1 cup water
- 1 cup shredded cheddar cheese (Sharp is my pick!)
- 1 cup shredded Monterey Jack cheese (For ultimate meltiness)
- 1 cup refried beans (Optional, but highly recommended for that creamy layer)
When you check out Ellie’s great recipe, you’ll see they focus on that savory filling too. Remember, we’re not just making dinner; we’re crafting a tiny, crispy monument to comfort!
Step-by-Step Instructions for Crispy Air Fryer Chimichangas
This is where the magic happens, and honestly, it’s so fun! We’re taking basic ground beef and turning it into a luxurious filling fit for royalty. You’ll want to stick to the packet instructions for the seasoning, because that’s the quick trick for authentic flavor for these weeknight gems. If you want to see exactly how others tackle this crunch-factor, check out this great Air Fryer Chimichangas guide!
Creating the Savory Ground Beef Filling
First things first: we need that hearty base. Get your ground beef sizzling in that skillet over medium heat until it’s beautifully browned. Don’t leave it sitting in grease, though! Drain off every bit of excess fat—that’s crucial for a non-soggy filling. Once drained, toss in the taco seasoning and the cup of water. Let it simmer gently until that liquid is almost all gone. We want it thick, not soupy! Finally, turn off the heat and stir in *half* of your combined cheese blend. Watch it melt in there; it makes the filling so creamy and delicious.
Assembling and Sealing Your Chimichangas
Time to roll! Lay out your first tortilla—remember, respect the wrapper! If you’re using the refried beans, spread a thin line down the center. Next, spoon some of that gorgeous beef mixture right on top, and then shower it with the remaining shredded cheddar and Jack cheese. This is where you need to be firm but gentle. Fold the two opposite sides inward first, like you’re tucking in a baby blanket. Then, start rolling tightly from the bottom edge up. Marco insists that the tighter you roll, the better these act like fried burritos when they crisp up. Use those toothpicks to pin the seam shut so there are absolutely no leaks!
Achieving Golden Perfection: Cooking the Chimichangas
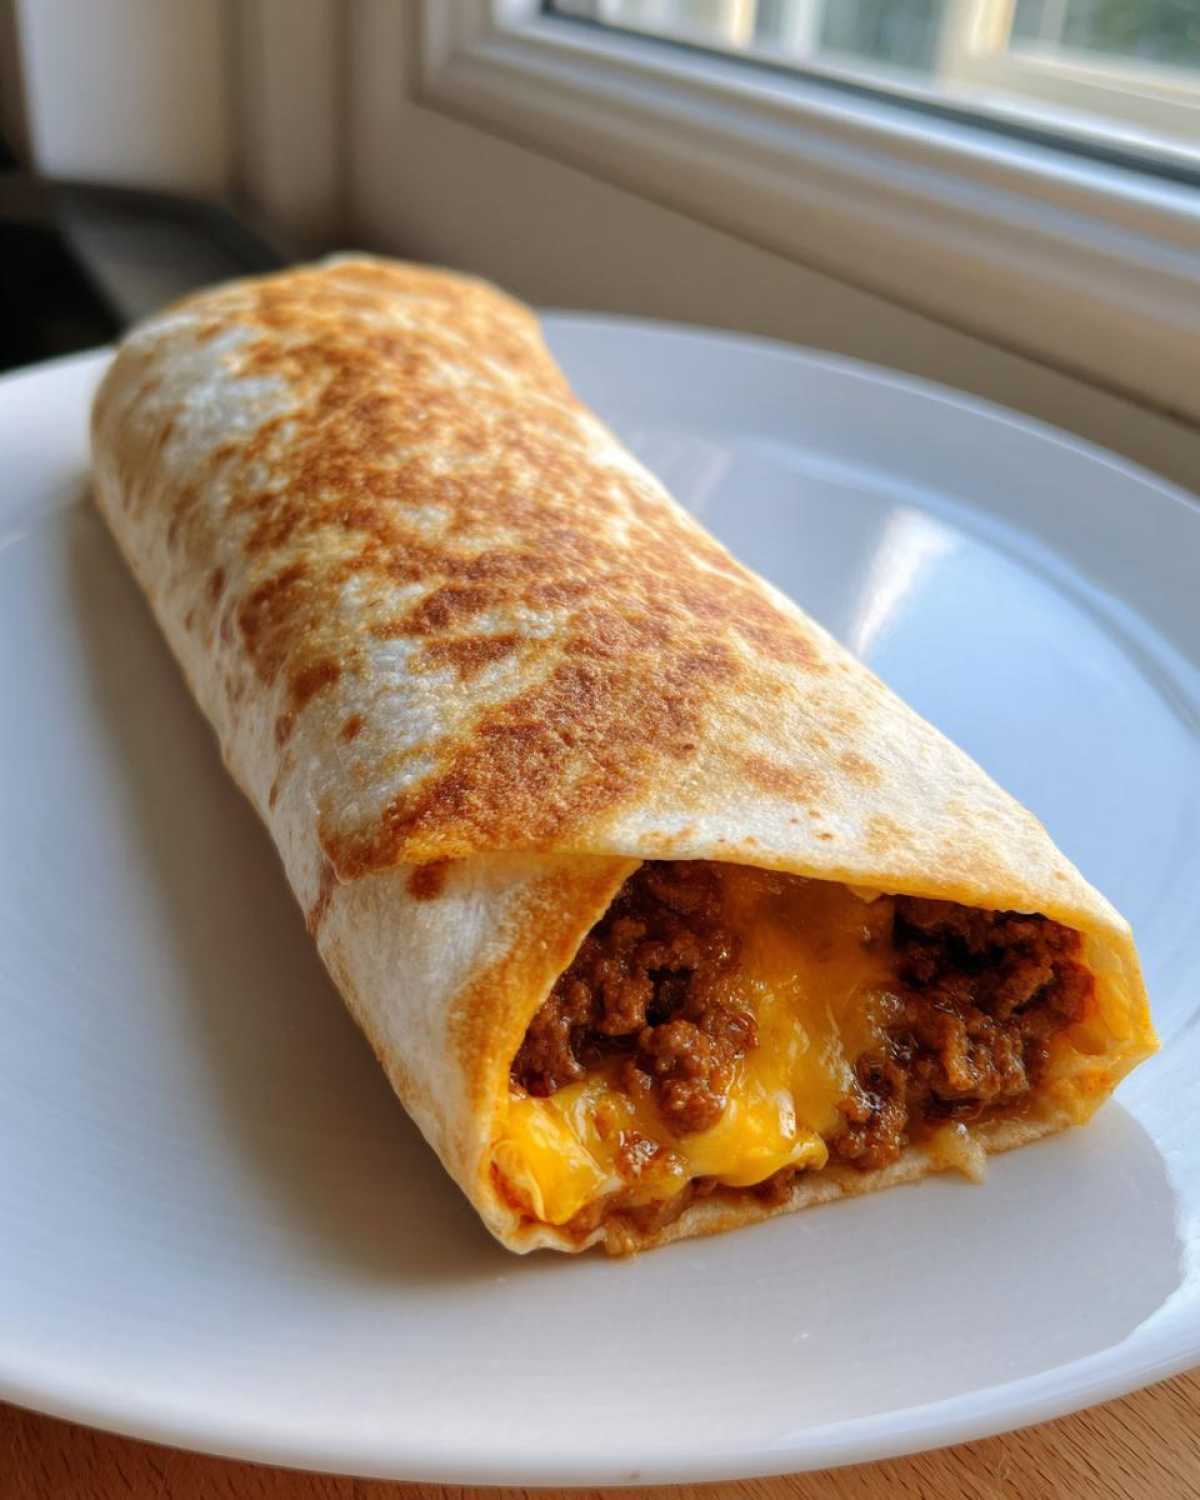
Now for the satisfying part! Whether you’re using the oven or the air fryer, the secret to that golden shine is the oil spray. Give those exterior tortilla folds a good, even misting, or brush on a little melted butter if you’re feeling extra generous. If you’re air frying, set it to 375°F and cook for 8 to 10 minutes, making sure to flip them halfway so they get crunchy on all sides. If you’re relying on the oven, crank it up to 400°F and bake for 15 to 20 minutes, flipping halfway through as well. We’re looking for deep golden brown, not light tan!
Tips for Making Healthier Chimichanga Recipe Versions
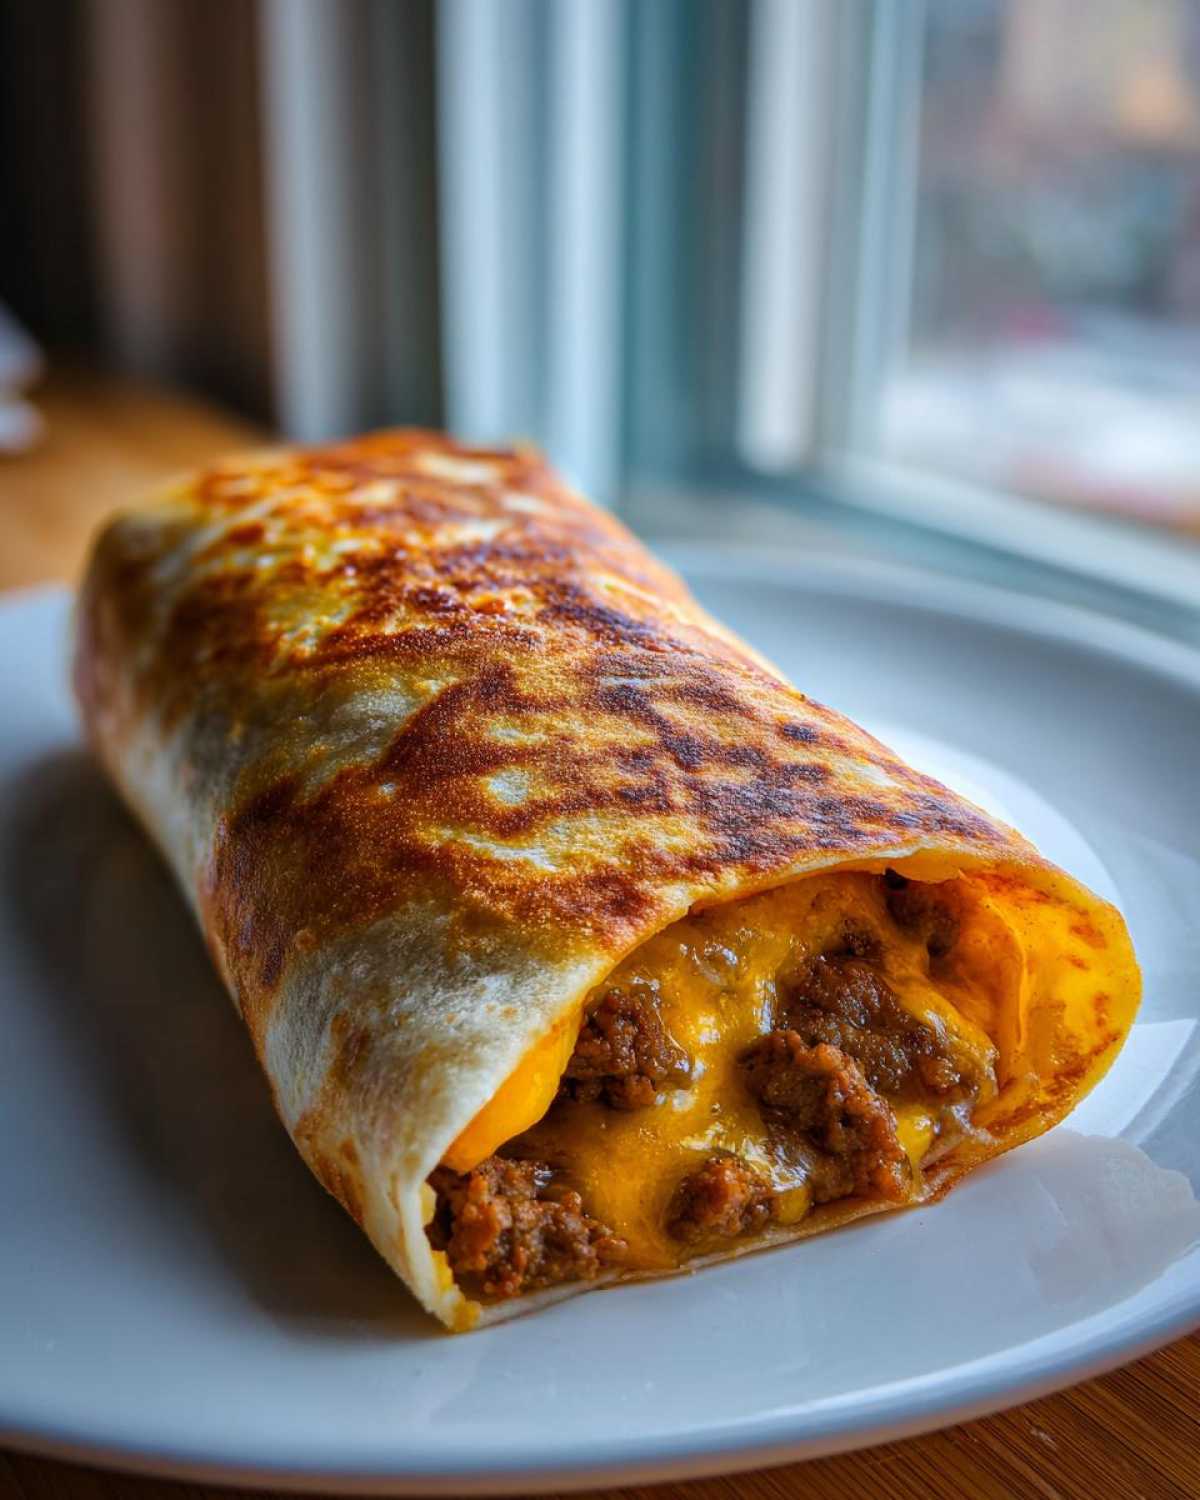
Marco and I always talk about how we don’t want to feel weighed down after a terrific meal. We love the indulgence of Mexican food, but we also deserve to feel regal and energized afterward, not sluggish! That’s why sticking to an Air Fryer Chimichanga Recipe or baking them completely changes the game. You get that coveted crunch that makes a great chimichanga experience, but without needing gallons of hot oil. If you’re aiming for a lighter plate, know that this recipe is totally adaptable.
Switching up your cooking method is the biggest upgrade you can make. We’ve mentioned air frying, but if you don’t have one, baking on a sheet tray works beautifully for achieving those lovely baked chimichangas. See how some folks get a lighter version happening with this great baked recipe that swaps out the frying pan entirely.
Another simple fix is leaning into leaner proteins. If you’re not into ground beef, this filling takes wonderfully to alternatives. We often swap the beef for shredded chicken chimichanga filling. Just make sure whatever you use—lean beef or chicken—is seasoned well! You can even find some interesting lighter takes, like this older recipe that focuses on a lighter approach to the whole thing: Skinny Chimichangas.
Honestly, if you just use a light spray of avocado oil, either method results in a fantastic, savory dish that still feels like a treat without being overly heavy. It’s about making those small, conscious swaps so we can enjoy these wonderful Tex Mex Dinner Ideas often!
Storage and Make-Ahead Options for Freezer Friendly Mexican Food
This is one of my favorite things about this recipe—it understands that sometimes we need a feast ready *before* we’re even hungry! These Beef and Cheese Chimichangas are absolutely amazing when made ahead of time, which makes them perfect Freezer Friendly Mexican Food for those crazy weeks.
Once you’ve rolled up your assembled chimichangas, secure them tightly with those toothpicks, and then wrap each one individually in plastic wrap. Don’t rush this part; a tight wrap keeps the air out! Pop the wrapped bundles into a freezer-safe bag to keep them safe.
When the craving strikes later, don’t even bother thawing them completely. Just pull them out, unwrap, and add about 3 to 5 extra minutes to your air fryer or oven cooking time. You still want that beautiful crispy finish, so make sure you spray them with oil before cooking! Check out the original assembly tips on Fervent Mama’s site for guaranteed sealing success.
Serving Suggestions for Your Tex Mex Dinner Ideas
You’ve put in the work! You have golden, crispy, cheese-filled wonders cooling on the rack. Congratulations, Empress! A dish this hearty deserves the perfect supporting cast. Marco always says that the dips are half the fun of our Tex Mex Dinner Ideas. We never serve these without some fresh, cool contrast to cut through that savory beef and cheese.
Think about the textures, too. You have the satisfying crunch from the crisping process, so now we want creamy, bright, and zesty elements to balance everything out. This is how we elevate a simple meal into a true culinary event, even on a Tuesday night!
Here are the non-negotiables we always have ready for our chimichanga feast. You can find some gorgeous complementary inspiration over at Olivia’s Kitchen, too!
- Cool & Creamy: Full-fat sour cream is essential for cooling down the heat. Don’t skip it! We also have to have fresh guacamole—I make mine loaded with lime juice and cilantro.
- Bright & Zingy Toppings: A fresh pico de gallo or a vibrant green salsa verde drizzled over the top adds that necessary acidity. If you like spice, a dash of your favorite hot sauce works wonders here.
- The Simple Side Salad: Sometimes, Marco feels like he needs a little color on his plate that isn’t cheese! A super simple side of shredded lettuce, a dash of olive oil, and lime juice keeps things light and offsets the richness of the Cheesy Chimichangas perfectly.
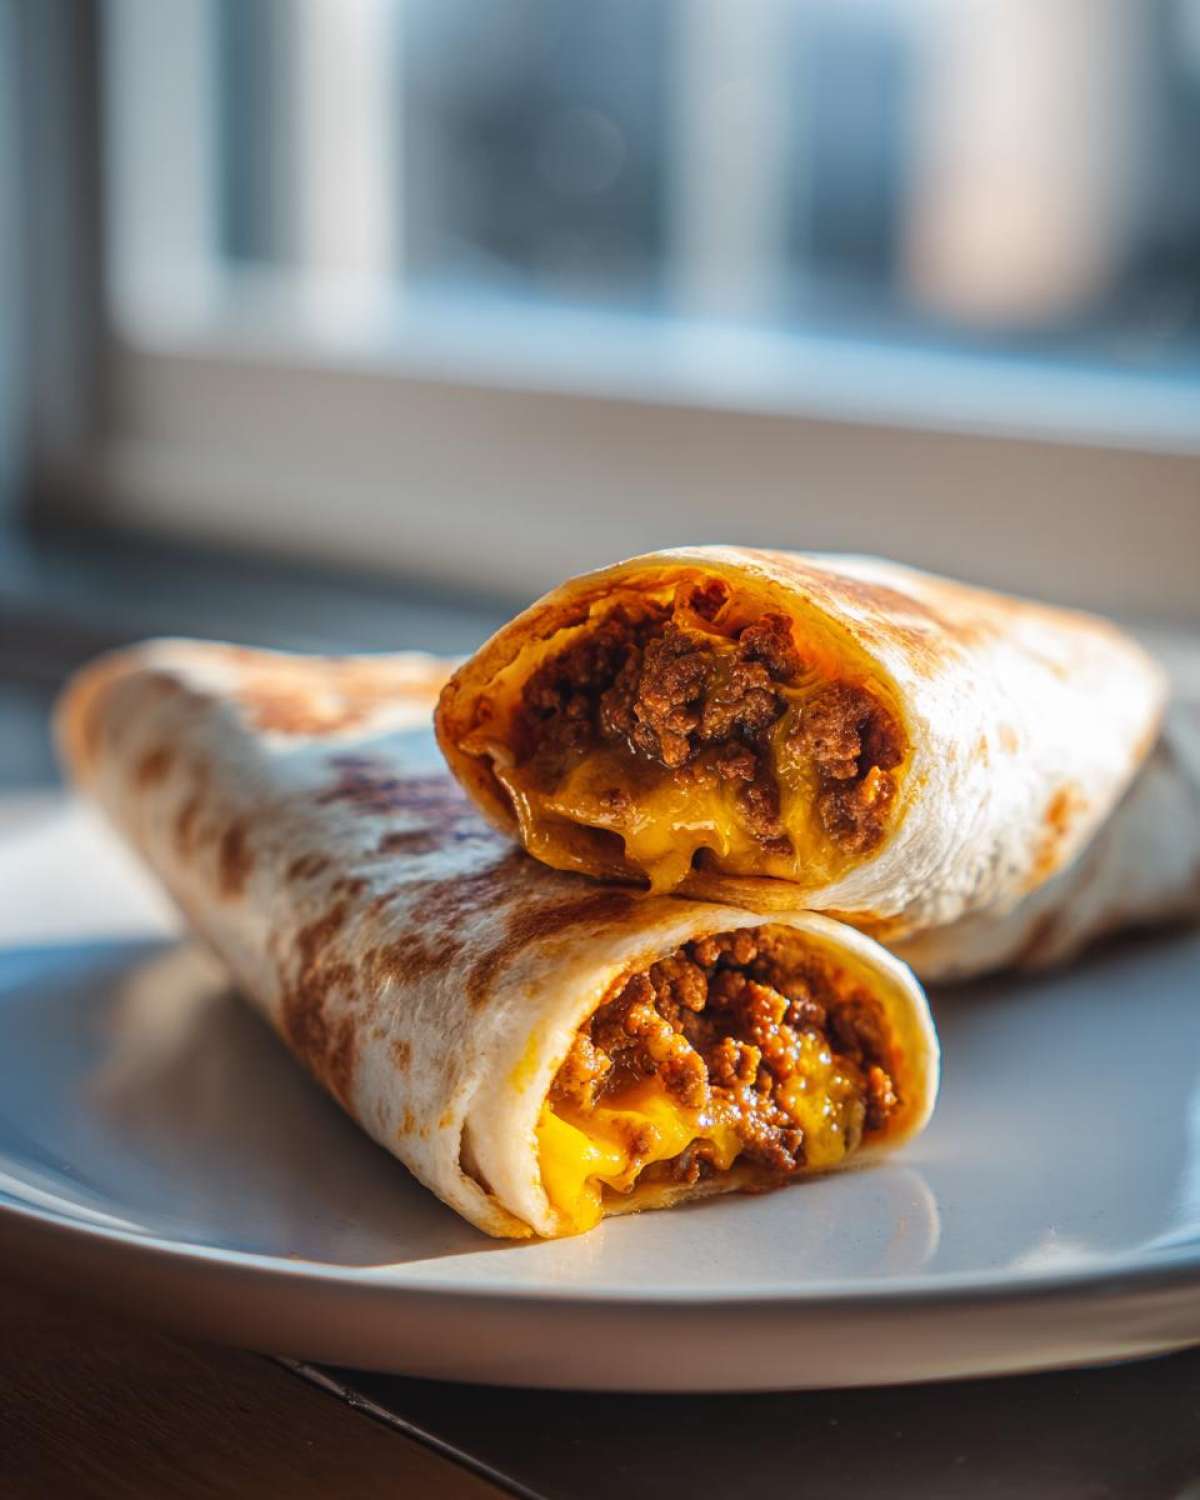
When you load it up this way, suddenly that quick, easy recipe turns into a full-blown, satisfying meal that feels earned. Enjoy your royal spread!
Frequently Asked Questions About Making Chimichangas
I totally get it! When you’re bringing a new recipe into your rotation, you always have those little nagging questions. We’ve answered the big ones that always pop up when Marco and I are trying out something new. Having these answers tucked away makes cooking less stressful and lets you focus more on enjoying that perfect crunch!
If you’ve already made these and are looking for that next amazing comfort dish, you should definitely check out Mira’s take on crispy, cheesy beef—she always has a great spin on things.
What is the difference between a burrito and a chimichanga?
This is the simplest distinction to make! Think of a chimichanga as coming from the same family as a burrito, but it’s definitely the dressy, slightly cooler sibling. A burrito is soft, easily portable, and meant to be eaten as is. The chimichanga, though? It starts life as a burrito, but then we give it a glorious finish—either by deep frying (the traditional way) or using our healthier air fryer/baking method—until it achieves that amazing, shatteringly crispy, golden exterior. So, really, a chimichanga is just a crispy, baked or fried burrito!
Can I use pre-cooked chicken for a Chicken Chimichanga?
Yes, absolutely! If you are aiming for super quick Mexican meals, using leftover or rotisserie shredded chicken is a genius move. The key here is that you still need to give that plain cooked chicken some personality! Since the chicken isn’t being simmered with the taco seasoning and water like the ground beef, you’ll want to toss your shredded chicken in a bowl with just the dry taco seasoning packet (or about 2 tablespoons of your favorite blend) and maybe a tiny splash of water or chicken broth just to help the seasoning stick really well. It prevents the filling from tasting dry, and you still get all those great flavors!
How do I keep my chimichangas from getting soggy?
Sogginess is the sworn enemy of the crispy chimichangas experience, and I will not stand for it! There are two main culprits: too much liquid in the filling, or improper crisping. For the filling, make sure you let that beef simmer down completely in Step 1 so you don’t have watery meat. For the cooking part, the oil spray (or light brush of butter) is non-negotiable. It creates a barrier that helps the tortilla crisp up beautifully in the air fryer or oven, locking in that satisfying crunch every single time.
Do I have to use ground beef? Can I try other fillings?
Oh, the glorious freedom of the kitchen! While this recipe shines with seasoned ground beef, you definitely don’t have to stick to it. We mentioned using shredded chicken above, which is fantastic. You can also easily make a veggie-friendly version using black beans mixed with corn and maybe some crumbled cotija cheese instead of the cheddar. If you’re making a Chicken Chimichanga, just make sure the mixture isn’t too wet before rolling!
Understanding the Nutrition of These Cheesy Chimichangas
Now, look, Marco and I are focused on making our meals feel regal and enjoyable, but that doesn’t mean we ignore what we’re putting into our bodies. Because we are focusing on achieving those crispy chimichangas through baking or air frying instead of deep frying, we’ve already made a huge step toward a lighter meal!
I want to be super clear here, though. When I list out the numbers below, these are estimates only. The actual nutrition—especially your fat and calorie count—is going to shift depending on what brand of taco seasoning you grab, whether you use 80/20 beef or lean ground turkey, and most importantly, whether you completely skip the optional refried beans. If you use the air fryer, you’ll naturally have lower fat content than if you baked them using more oil!
Here is the nutritional snapshot based on one serving (one Beef Chimichanga) using the core ingredients listed for this recipe:
- Serving Size: 1 chimichanga
- Calories: 450
- Fat: 22g (How much of that is saturated fat? About 10g)
- Carbohydrates: 40g
- Protein: 25g
- Sugar: Only 3g! See? Simple ingredients mean simple nutrition.
- Sodium: 650mg
Since we are focused on making food that serves *us*, remember that this is just a guide. If you load yours up with extra sour cream and guacamole, you’ll obviously change the numbers. Enjoy the delicious flavor, and know that you’re already miles ahead by skipping that deep fryer!
PrintCrispy Cheesy Beef Chimichangas: Your New Weeknight Tex Mex Favorite
Make satisfying, crispy beef and cheese chimichangas at home. This easy recipe delivers the savory, cheesy crunch you crave, perfect for a quick weeknight Tex Mex dinner.
- Prep Time: 15 min
- Cook Time: 15 min
- Total Time: 30 min
- Yield: 8 servings
- Category: Dinner
- Method: Air Frying or Baking
- Cuisine: Tex-Mex
- Diet: Vegetarian
Ingredients
- 8 large flour tortillas
- 1 tablespoon olive oil
- 1 pound ground beef
- 1 packet taco seasoning mix
- 1 cup water
- 1 cup shredded cheddar cheese
- 1 cup shredded Monterey Jack cheese
- 1 cup refried beans (optional)
- Cooking spray or oil for crisping
Instructions
- Prepare the filling: Brown the ground beef in a skillet over medium heat. Drain any excess fat.
- Stir in the taco seasoning and water according to the packet directions. Simmer until the liquid reduces and the beef is well seasoned. Remove from heat and stir in half of the shredded cheese until melted.
- Assemble the chimichangas: Lay a tortilla flat. Spread a thin layer of refried beans down the center, if using. Spoon about 1/4 cup of the seasoned beef mixture over the beans. Sprinkle with a mix of the remaining cheddar and Monterey Jack cheese.
- Fold the tortilla tightly like a burrito, tucking in the sides first, then rolling from the bottom up to seal the filling. Secure with toothpicks if necessary.
- Cook the chimichangas: Preheat your air fryer to 375°F (190°C) or preheat your oven to 400°F (200°C). Lightly spray the chimichangas with cooking spray or brush with oil for crisping.
- For Air Fryer: Cook for 8 to 10 minutes, flipping halfway through, until golden brown and crispy.
- For Oven Baking: Place on a baking sheet and bake for 15 to 20 minutes, flipping halfway, until golden brown.
- Serve immediately with your favorite toppings like sour cream, salsa, or guacamole.
Notes
- For an extra crispy texture, you can lightly brush the rolled chimichangas with melted butter before air frying or baking.
- Make this recipe freezer friendly: Assemble the chimichangas, wrap them tightly in plastic wrap, and freeze. When ready to cook, thaw slightly and cook using the air fryer or oven method, adding a few extra minutes to the cook time.
- If you prefer a lighter version, use lean ground beef or shredded chicken as your filling base.
Nutrition
- Serving Size: 1 chimichanga
- Calories: 450
- Sugar: 3
- Sodium: 650
- Fat: 22
- Saturated Fat: 10
- Unsaturated Fat: 12
- Trans Fat: 0.5
- Carbohydrates: 40
- Fiber: 3
- Protein: 25
- Cholesterol: 75