

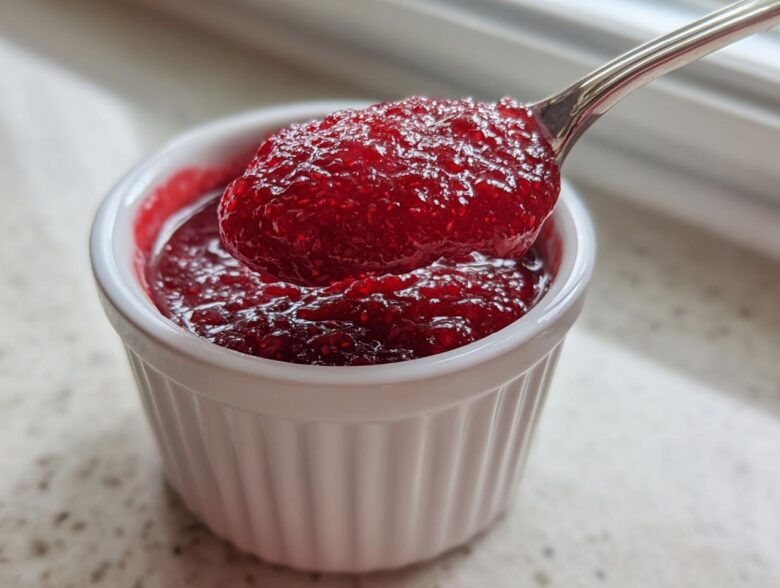
We spent years perfecting dishes just so we could hear other people say, “Wow, this is incredible!” But Sofia and I realized that the best audience we could ever cook for was us. You deserve that same royal treatment, even on a Tuesday night when all you really want is something uncomplicated and bright. That’s why I, Marco, the Taster-in-Chief here at the Empress court, am so excited to share this recipe. Forget fancy steps or exotic ingredients; we are making the most vibrant homemade raspberry jam using just three things, and absolutely no added pectin! Trust me, this simple fruit spread is going to change how you see preserves forever.
Why This Easy 3-Ingredient raspberry jam Recipe is Your New Favorite
When Sofia and I started reclaiming our kitchen, we needed big flavors without the fuss. This is where this incredible no pectin jam recipe truly shines. It requires just three humble ingredients to yield the best homemade raspberry jam you’ll ever taste. It truly feels regal! I also realized soon after we mastered this that our pastry experiments needed a worthy top layer!
I remember the first time I made this version. I was initially intimidated by canning, but this specific raspberry jam recipe felt so accessible. The deep, sweet-tart flavor we achieved with only sugar, lemon, and berries? It blew me away. It tastes like summer captured in a jar, and frankly, I thought it was too easy to actually set properly!
Quick raspberry preserve: Speed and Simplicity
If you’re looking for a quick raspberry preserve, this is it. From starting the stove to testing the set, you are looking at maybe 20 minutes of active time. Seriously! You can decide on a Wednesday evening you want jam for your Friday breakfast toast, and you’ll have it ready to go. It’s the perfect little weeknight project for treating yourself.
The Magic of a no pectin jam recipe
Lots of recipes demand you buy special thickening agents, but not this one. The secret behind a successful no pectin jam recipe like this lies in the acid you add—that little bit of lemon juice—combined with the natural pectin already in the raspberries and the high concentration of sugar. We are basically heating it just long enough to encourage a perfect gel structure, making it ideal for beginner jam making.
Gathering Ingredients for Your Homemade raspberry jam
The beauty of this recipe is its modesty. We aren’t breaking the bank or raiding some obscure spice cabinet for this 3 ingredient jam. You only need three essentials to capture that perfect sweet and tart jam flavor. Remember, we are aiming for simplicity here so we can focus on savoring the results!
Here’s what you need for one perfect pint of raspberry jam:
- 2 cups fresh or frozen raspberries
- 1 cup granulated sugar
- 1 tablespoon fresh lemon juice
Ingredient Notes and Substitutions for raspberry jam
I want to talk about these few ingredients because they really matter when you aren’t hiding behind pectin. First, whether you use fresh or frozen berries is totally up to you and what’s available. Frozen raspberries are often picked at peak ripeness, so they are fantastic for this application. You don’t even need to thaw them first—just toss them right into the pot with the sugar!
Now, the sugar—it acts as the preservative and helps the gel form, so don’t try to cut back too much unless you want a very loose sauce, not a true preserve. And please, use fresh lemon juice. That little bit of acidity isn’t just for brightness; it’s crucial for waking up the natural pectin in the raspberries so your jam sets nicely without extra additives. This step is vital for that lovely texture we are aiming for!
How to Make raspberry jam: Step-by-Step Instructions
This is where the magic happens, and I promise, it’s incredibly straightforward. Don’t let the idea of making preserves scare you; this is just cooking fruit until it’s perfectly thick. For the best results with your raspberry jam, you need to follow the timing closely, especially toward the end. We are aiming for that sweet spot where the fruit is cooked down but still vibrant.
First order of business: combine your raspberries and sugar in a heavy-bottomed pot. Let that sit for about 15 minutes. This resting period is important! It allows the sugar to start dissolving and pulls out all those glorious juices from the berries. Then, put it over medium heat and stir until that sugar is totally gone. Once it’s smooth, toss in the lemon juice. This acid is our secret weapon that helps it gel perfectly, just like they mention over at Sumara Recipes.
Now, crank that heat up to medium-high and bring the whole thing to a hard, rolling boil—one that won’t quit when you stir it. You need to boil hard for about 10 to 15 minutes. Keep stirring so it doesn’t scorch the bottom! If you’re dreaming of topping your next batch of fluffy scones with this, you must check for the set.
Mastering the Set: The Plate Test for perfect raspberry jam
We are not messing around with temperature gauges here; we are using the classic method that works every time. Once you think it’s close, remove the pot from the heat immediately. Grab a small plate that you’ve kept in the freezer—it must be chilled! Spoon a tiny bit of hot jam onto that cold plate and pop it back in the freezer for just sixty seconds.
When you pull it out, nudge the jam with your finger. If the surface wrinkles, congratulations, your raspberry jam has set! It’s done! If it just slides around like syrup, don’t panic. Return the pot to the heat and boil for 2 or 3 more minutes, then test again. That wrinkle is the signal that you have made incredible, naturally thickened jam!
Canning raspberries: Preservation for long-term storage
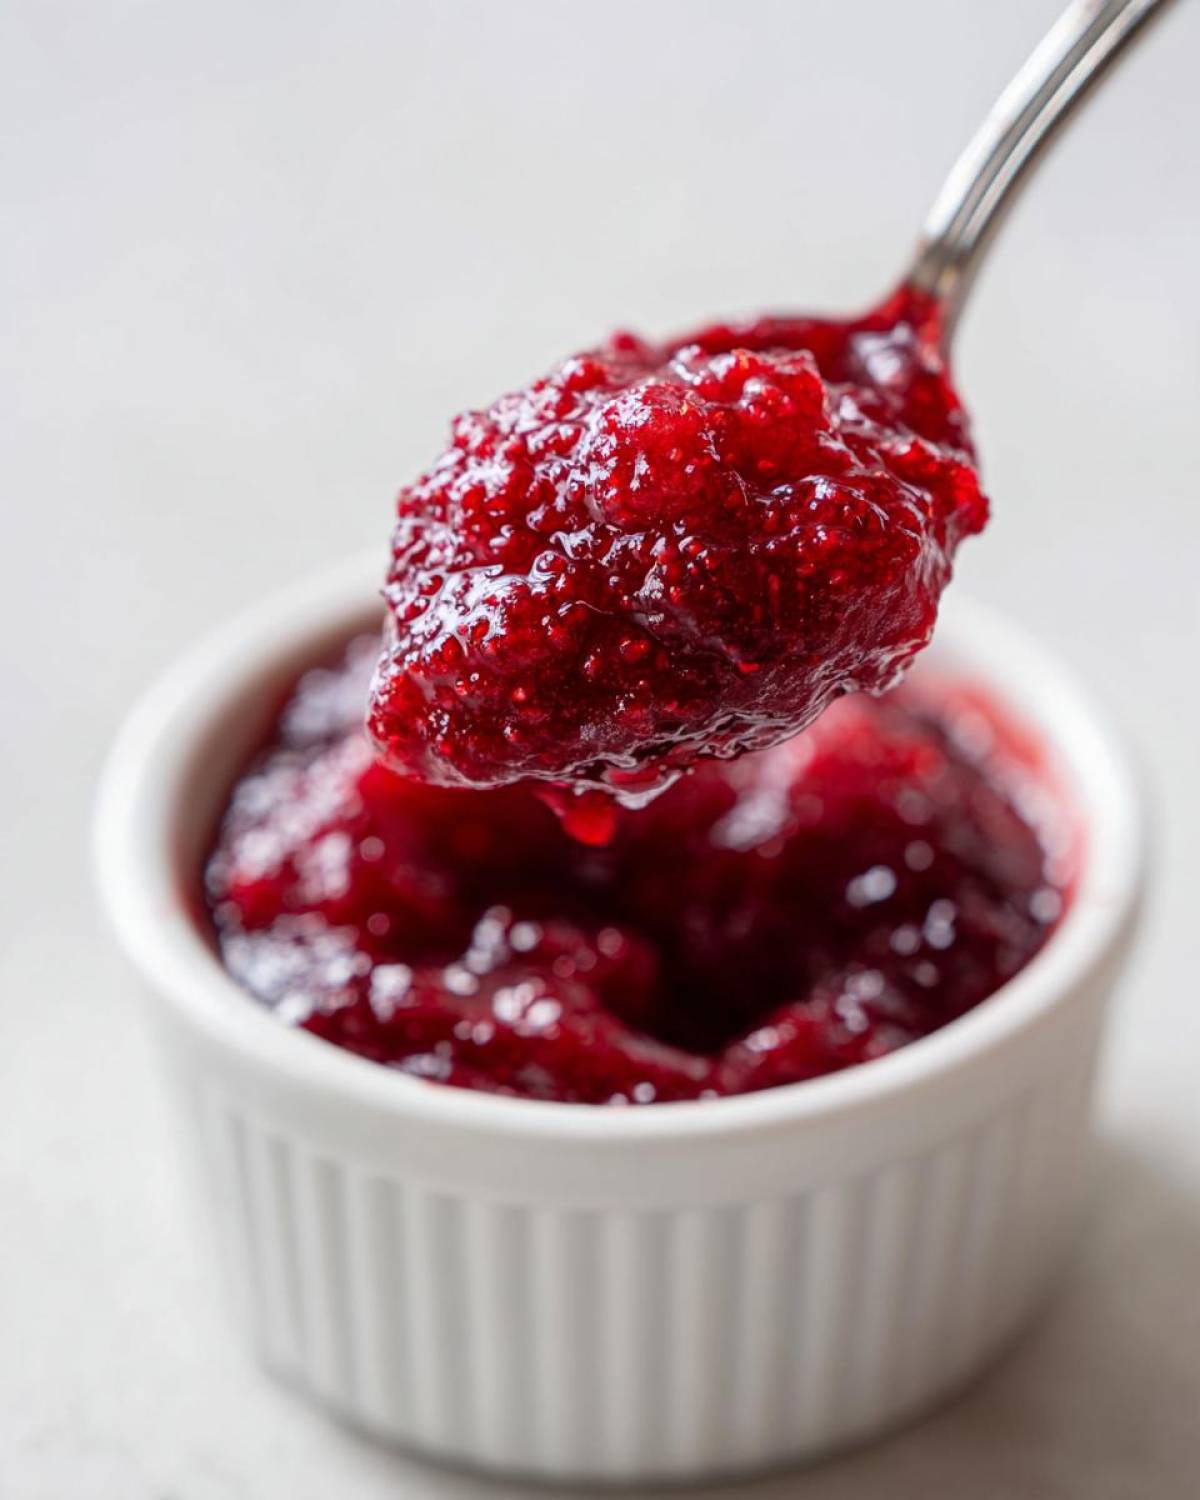
If you plan on keeping this gorgeous spread past a few weeks in the fridge, you’ll want to preserve it for the long haul. Once you’ve completed the set test and skimmed off any foam, ladle that hot jam into sterilized jars, leaving 1/4 inch of headspace at the top. Seal them up tight.
For proper storage, the next step is canning raspberries via a water bath. Place the sealed jars into a rolling boil canner—make sure the water covers the lids by at least an inch—and process them for exactly 10 minutes. After taking them out, let them cool completely on the counter. That ‘ping’ sound means you’ve successfully preserved your beautiful homemade raspberry jam to enjoy all year long!
Tips for Success with Your small batch jam recipe
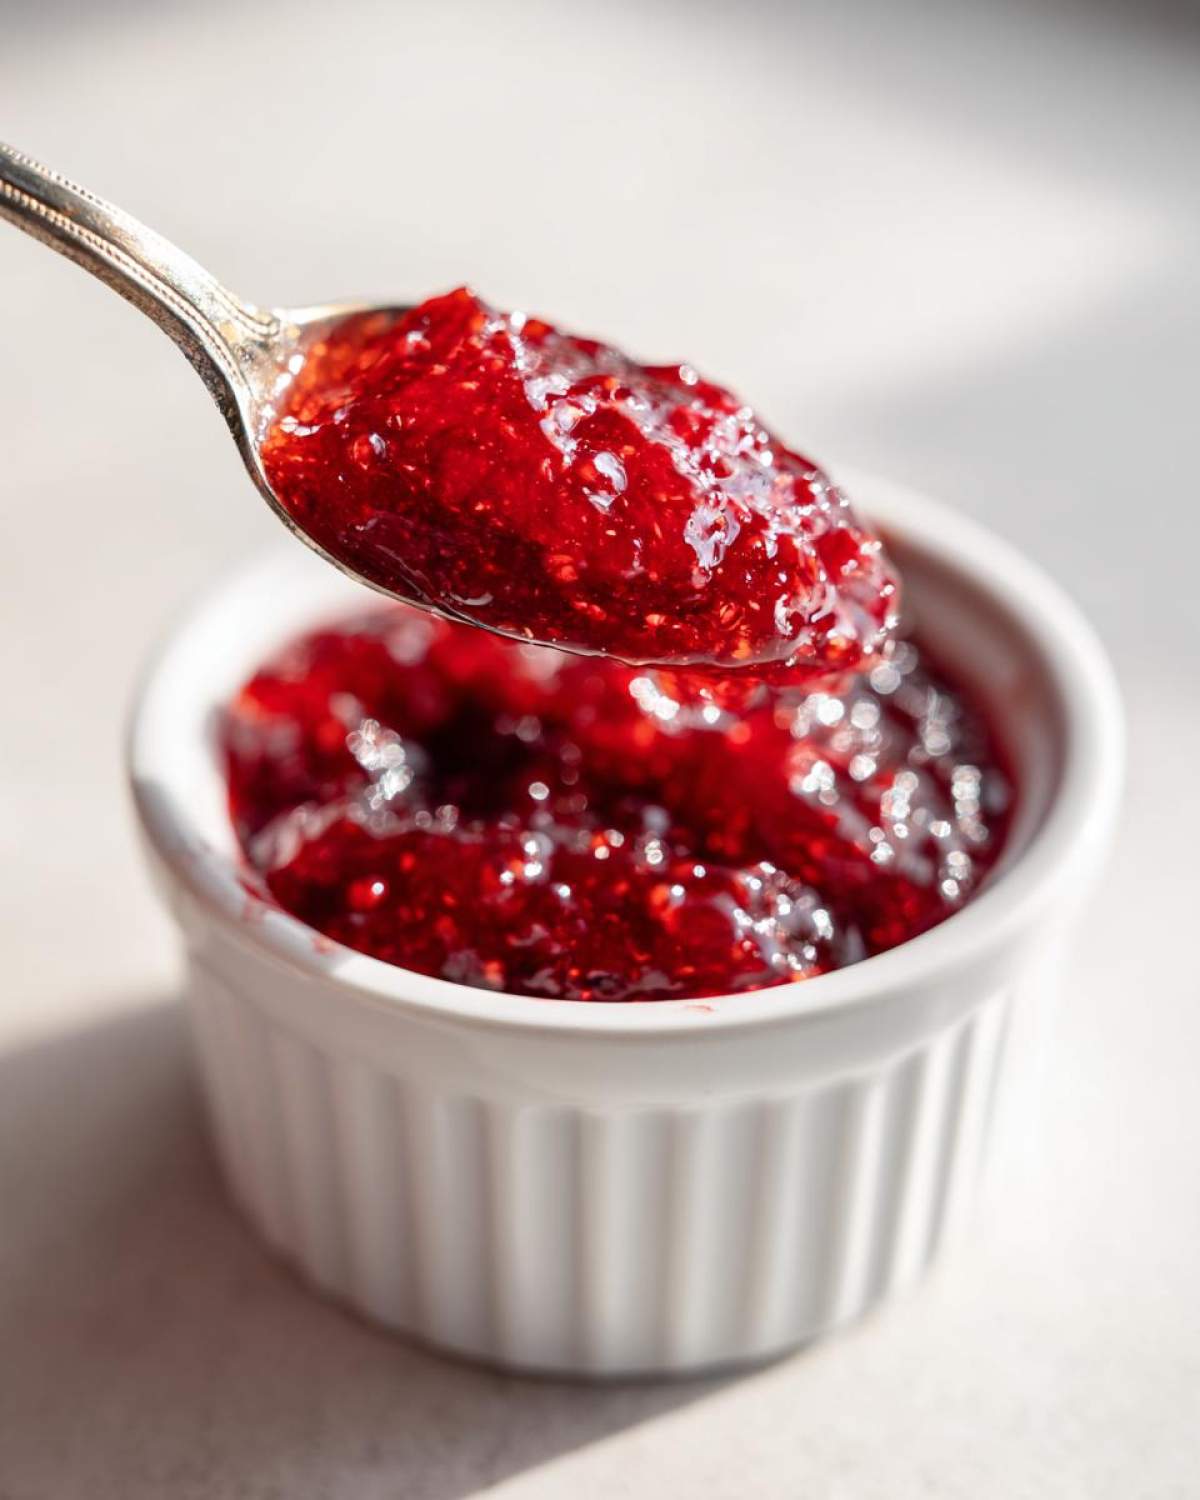
Even though this is marketed as an easy jam recipe, knowing a couple of tricks will guarantee that your small batch jam recipe turns out spectacularly uniform every single time. We strive for regal results here, so let me share the insider knowledge I’ve accumulated over countless jars of this beautiful preserve. If you’re practicing up before whipping up softer treats, like my lemon cookies, these techniques will serve you well!
First thing first: the seeds! If you are sensitive to seeds, or if you are making this jam intended for a super-smooth cake filling, you absolutely must strain it. After the jam has cooked but right before you test it for the set, pour the jam slowly through a fine-mesh sieve set over a clean bowl.
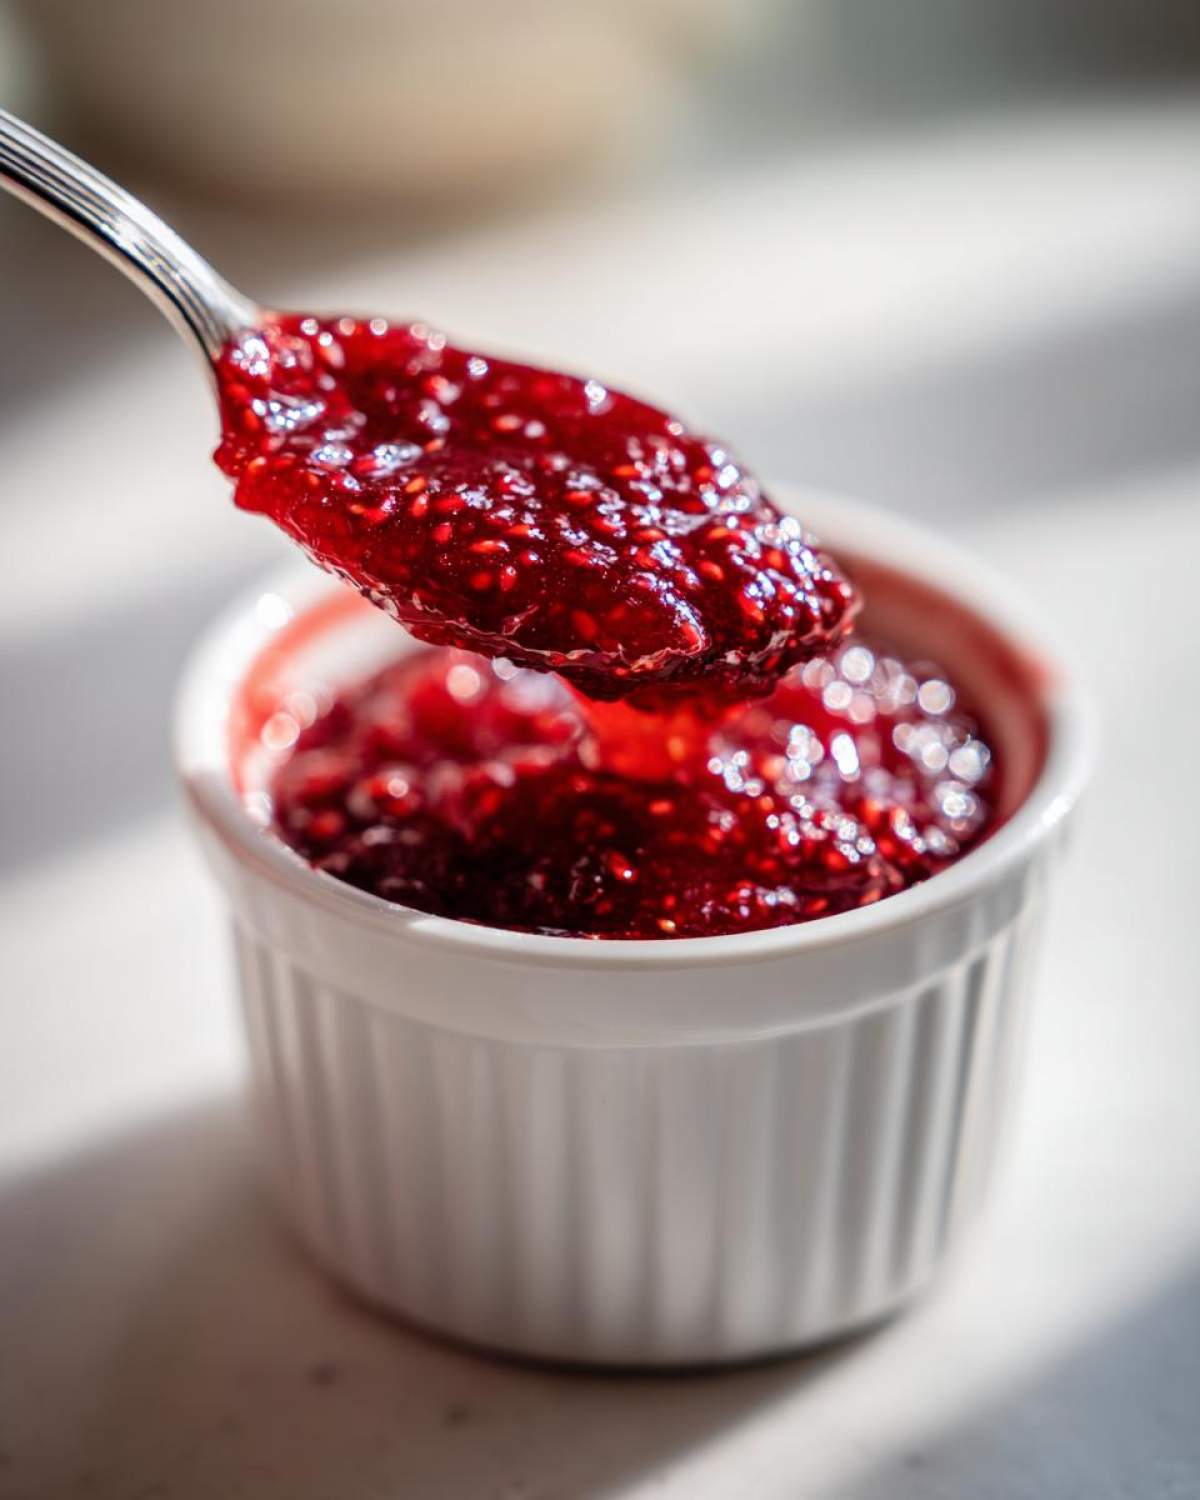
It takes a little patience, you might need to use a rubber spatula to gently press the pulp through. But what you get back is pure, seedless velvet! Once strained, you just return that glossy pulp back to the pot for the final boiling and testing stage. It’s an extra step, but it creates a truly high-end, perfect raspberry jam.
Also, don’t forget to scrub down that foam! That frothy layer that bubbles up on top while it’s boiling isn’t just ugly; it can cause your jam to look cloudy later. Skim it off quickly with a clean metal spoon or a wide, flat scoop before jarring. It’s a small detail, but it makes your finished jars look polished and professionally made. Trust me, these little touches elevate a simple spread into something worthy of a royal gift!
Storage and Enjoying Your homemade raspberry jam
So, you’ve successfully made this stunning homemade raspberry jam! Now, how do we keep this liquid gold safe until we devour it? Since this is a simplified recipe, storage depends entirely on whether you went through the water bath canning process or just jarred it up straight from the stove.
If you sealed those jars properly and processed them for the full 10 minutes in the canner, those jars are shelf-stable for up to a year! Store your sealed jars in a cool, dark pantry. Don’t jostle them too much, and when you hear that satisfying ‘pop’ as they seal, you know you’ve created wonderful holiday food gifts that will hold their flavor beautifully.
If you skipped the canning step—maybe you just made a tiny batch for immediate enjoyment—that’s perfectly fine too! Just ladle the jam into a clean, airtight container. This refrigerator jam needs to stay cold, but you can usually keep the vibrant flavor going for three to four weeks. That’s plenty of time to keep it handy for quick breakfasts!
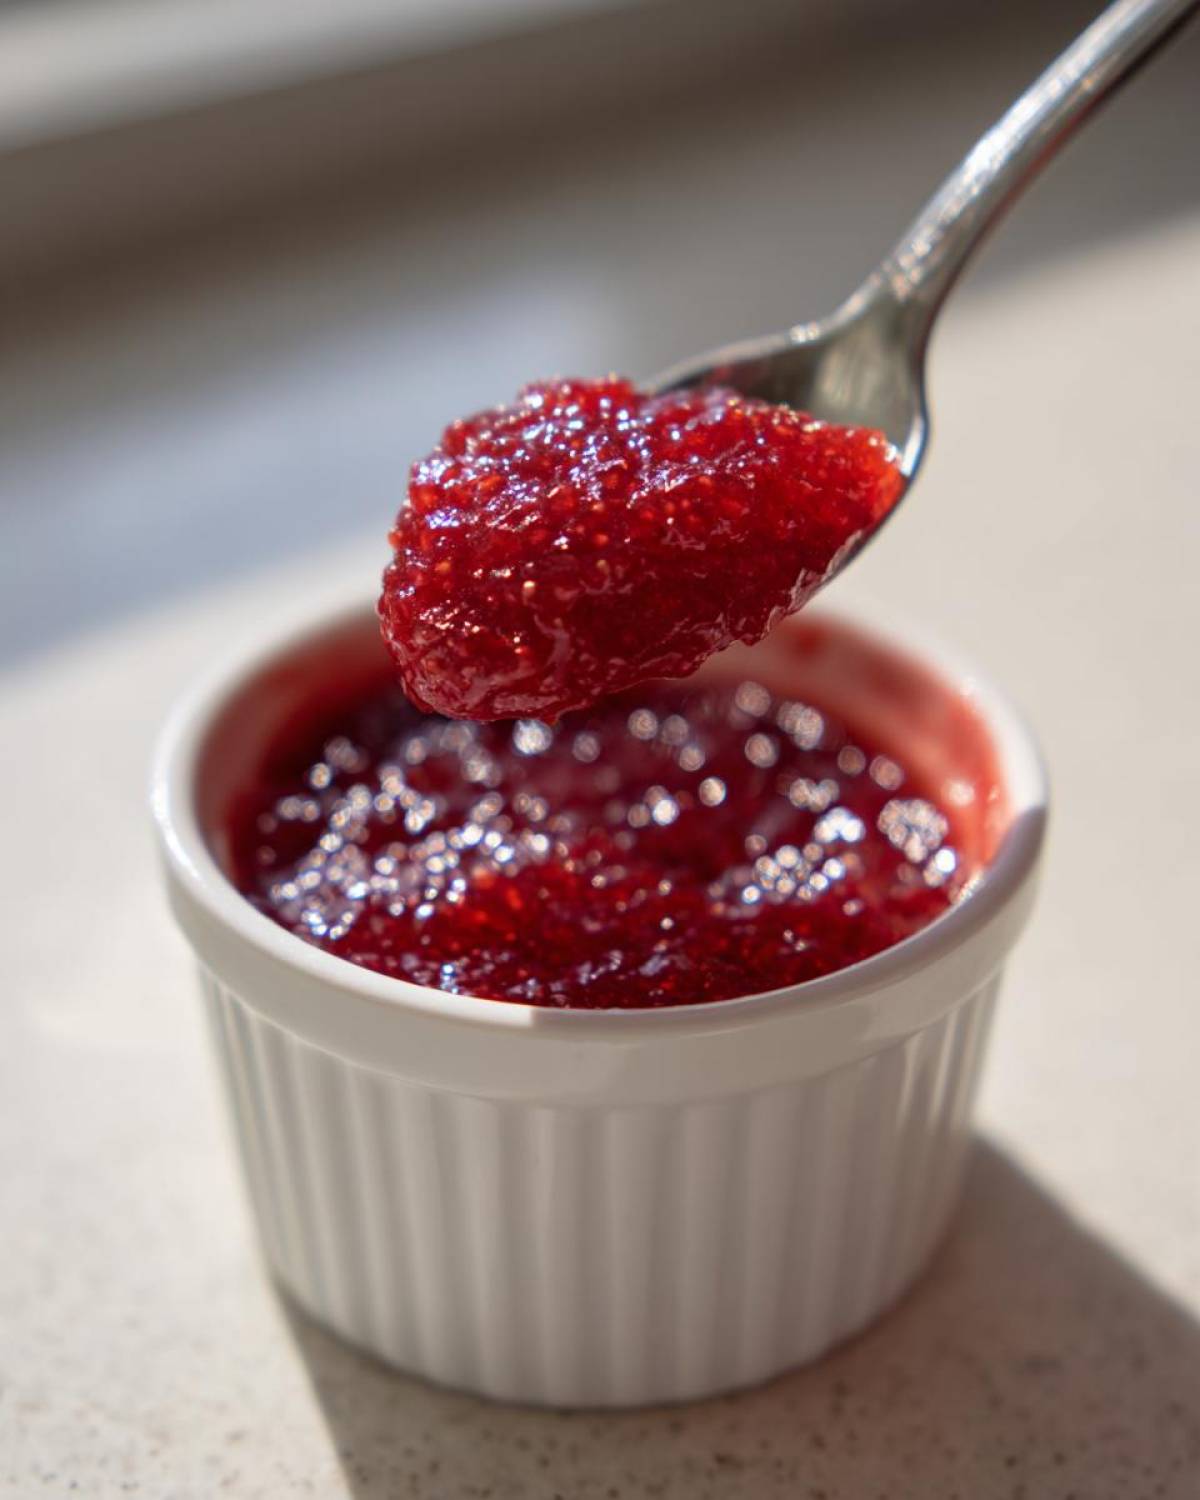
And oh, the ways to enjoy it! This sweet and tart jam is incredible, of course, on hot buttered toast—the simple pleasure Marco and I treasure most. But don’t stop there! This jam works wonders swirled into plain yogurt or cottage cheese for a mid-morning treat. It’s also spectacular as an extra layer drizzled over my rich apple brownies. Think beyond the breakfast bread; use it as a bright contrast in savory dishes or even as a filling for thumbprint cookies next to my famous coffee cake cookies. It just tastes like summer, no matter how you serve it!
Frequently Asked Questions about raspberry jam
Can I use less sugar than the recipe calls for in this raspberry jam?
This is a tough one, and I totally get wanting to cut back! Remember, sugar isn’t just for sweetness here; it’s a crucial component for texture and safety, especially in a no pectin jam recipe. Reducing the sugar too much means the jam might not set properly, leaving you with a runny sauce instead of a beautiful preserve. If you absolutely must lower it, I’d only shave off about 1/4 cup at most, but know that you’ll need to watch your set time very closely. If you drastically reduce the sugar, you need to treat it like a fruit sauce and keep it refrigerated, as it won’t be shelf-stable for canning.
How long does refrigerator jam last once I’ve made it?
If you follow the simple process of ladling the hot jam into clean jars but decide *not* to process them in the water bath, you’ve made refrigerator jam! Because these jars are sealed without commercial sterilization, they rely only on the sugar content for preservation. Stored tightly sealed in the coldest part of your fridge, it should stay vibrant and delicious for about 3 to 4 weeks. Once you open a jar, try to finish it up within 2–3 weeks for the best texture.
Can I use this recipe for freezer jam raspberry? Does it work?
Yes, you absolutely can adapt this recipe for freezer jam raspberry! The good news is that since this jam sets up so beautifully without added pectin due to the cooking process, freezing works wonderfully. The texture holds up really well when thawed. Simply follow the cooking instructions to achieve your desired set using the plate test. Then, ladle the jam into freezer-safe containers, leaving about 1/2 inch of headspace at the top, as the jam will expand slightly when frozen. It stays fantastic in the freezer for up to 6 months. If you’re ever looking for more inspiration on our simple kitchen philosophy, check out our latest posts!
I prefer seedless jam. How should I adjust the process?
That is an easy fix, and I detail it more in the tips section! If you’re aiming for a super smooth experience, after you cook the berries and sugar down initially (before adding the lemon juice is a good time), strain the whole mixture through a fine-mesh sieve set over a clean bowl. Use a silicone spatula to push all that gorgeous fruit pulp through. Then, return the strained liquid back to the pot, add your lemon juice, and continue boiling until it sets. It takes a little more work, but the result is liquid silk! For a deep dive into how others master this style of jam, check out this guide on canning magic.
Estimated Nutritional Information for raspberry jam
Now, before you start spreading this glorious raspberry jam guilt-free all over your morning toast, I always like to give you the honest rundown on what’s in our royal creation. Remember, since this is a homemade recipe using just fruit, sugar, and lemon juice, these numbers are a very solid estimate, but they can shift slightly based on how sweet your berries were!
We made this batch yield about one pint, and we are looking at the information based on a standard serving size. When you’re cooking for yourself, knowing what you’re eating is part of that regal control, right? It’s transparency, Empress style!
Here are the estimated numbers based on a serving size of two tablespoons:
- Serving Size: 2 tablespoons
- Calories: 100
- Sugar: 25g (Yes, sugar is key to preservation, but remember it’s balanced by the fruit!)
- Sodium: 1mg
- Fat: 0g
- Protein: 0g
- Fiber: 1g
Because this is an all-natural, three-ingredient recipe relying on fruit and sugar for structure and shelf stability, you’ll notice the fat content is zero, which is lovely! Just know that sugar plays a dual role—flavor and preservation—so tracking that amount is useful. This information is just a guide, but it helps you appreciate the wonderful, simple ingredients Marco and I used to create this perfect spread.
Share Your Royal Feast
Now that you’ve mastered this simple yet magnificent raspberry jam, it’s your turn to take the throne! Turning simple ingredients into something that tastes this artisanal is a moment worth celebrating. We truly want to know how your first batch turned out.
Did you manage to get that perfect wrinkle on the plate test on the first try? Did you use frozen berries, or did you have a glorious haul of fresh summer fruit? Jump down to the comments below and let Marco and me know! Seeing your jars lined up on the counter makes us feel like we’re dining with all of you.
Don’t be shy about sharing photos of how you are enjoying your preserves, either! Are you topping your morning scones, or is it destined for a fancy pound cake filling? Tag us on social media! We love watching our readers treat themselves like royalty. Your experience helps build this community where we all learn to honor our own hunger for beautiful, delicious life. We can’t wait to read about your success!
If you have any lingering questions about the process—maybe about altitude adjustments for canning or storage tricks—feel free to ask in the comments or reach out to us directly through our contact page. Long live the simple feast, and enjoy your beautiful new jam!
PrintEasy 3-Ingredient Raspberry Jam Recipe (No Pectin Needed)
Learn how to make this simple, homemade raspberry jam using just three ingredients. This recipe requires no added pectin and sets beautifully, making it perfect for beginners, small batches, or water bath canning.
- Prep Time: 5 min
- Cook Time: 20 min
- Total Time: 25 min
- Yield: About 1 pint
- Category: Preserves
- Method: Stovetop Cooking
- Cuisine: American
- Diet: Vegetarian
Ingredients
- 2 cups fresh or frozen raspberries
- 1 cup granulated sugar
- 1 tablespoon fresh lemon juice
Instructions
- Prepare your jars and lids if you plan to can the jam. If making refrigerator jam, ensure your container is clean.
- Combine the raspberries and sugar in a medium, heavy-bottomed saucepan. Let this mixture sit for 15 minutes to allow the sugar to start drawing out the juices from the berries.
- Place the saucepan over medium heat. Stir constantly until the sugar dissolves completely and the mixture begins to simmer. Do not let it boil rapidly yet.
- Once simmering, add the lemon juice. This acid helps the jam set and brightens the flavor.
- Increase the heat to medium-high and bring the mixture to a full, rolling boil that cannot be stirred down. Boil hard, stirring frequently to prevent scorching, for about 10 to 15 minutes. Watch the jam closely.
- Test for the set: To check if the jam is ready, remove the pan from the heat. Spoon a small amount onto a chilled plate. Return the plate to the freezer for one minute. Push the jam with your finger; if it wrinkles, it has reached the setting point. If it is still runny, return the pan to the heat and boil for another 2-3 minutes, then test again.
- Remove the jam from the heat. Skim off any foam that has formed on the surface using a spoon.
- For refrigerator jam, carefully ladle the hot jam into clean jars, leaving 1/4 inch headspace. Seal and cool on the counter before refrigerating.
- For water bath canning, process the filled and sealed jars in a boiling water bath canner for 10 minutes, adjusting for altitude. Remove jars and let them cool completely to check the seals.
Notes
- You can use frozen raspberries directly in this recipe; no need to thaw them first.
- If you prefer seedless jam, press the cooked jam through a fine-mesh sieve before the final boiling stage, then return the pulp to the pot to finish cooking.
- This small batch recipe is excellent for gifting preserves for the holidays.
Nutrition
- Serving Size: 2 tablespoons
- Calories: 100
- Sugar: 25g
- Sodium: 1mg
- Fat: 0g
- Saturated Fat: 0g
- Unsaturated Fat: 0g
- Trans Fat: 0g
- Carbohydrates: 26g
- Fiber: 1g
- Protein: 0g
- Cholesterol: 0mg