

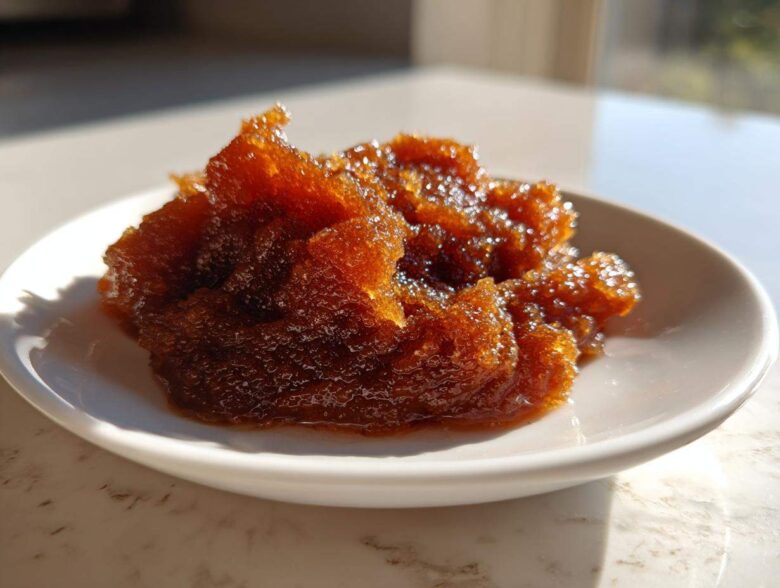
When fall hits and the scent of cinnamon starts clinging to the air, I immediately think of preserving that magic. Marco and I used to chase complicated recipes, but now I realize the best feasts are the most simple ones—the ones we make just for us. That’s why I insist on this Eatable Empress secret: making luscious, spiced pear butter in the slow cooker. It requires almost zero effort, yet it yields a spread so rich and fragrant it feels like a special occasion. This recipe is proof that you deserve the best on a quiet Wednesday, not just when company arrives.
Why This Slow Cooker Pear Butter is Your New Autumn Staple
If you’ve been looking for an Easy Pear Butter Recipe that doesn’t demand half your day over a hot stove, welcome home. This is the kind of preservation that lets you set it and forget it—the very definition of a simple feast! The low, slow heat in the Slow Cooker Pear Butter method coaxes out an incredible depth of flavor from those pears and spices. Marco, bless his heart, has decided this is the only way he’ll eat fall spreads now; if he gives it his Royal Seal of Approval, you know it’s good. I’m already planning to swirl the extra batches into my apple cinnamon overnight oats next week!
The Magic of Making Pear Butter in the Crockpot
Honestly, the Crockpot Pear Butter technique is foolproof. You just chop, dump, and walk away. The long cooking time deepens the sweetness naturally, meaning we don’t have to drown the beautiful fruit in sugar. It gently concentrates the flavor and aromas—cloves, cinnamon, the works—until your entire house smells like autumn heaven. It’s completely hands-off, leaving you more time to light those candles for your weeknight ritual!
Gathering Ingredients for Aromatic Pear Spread
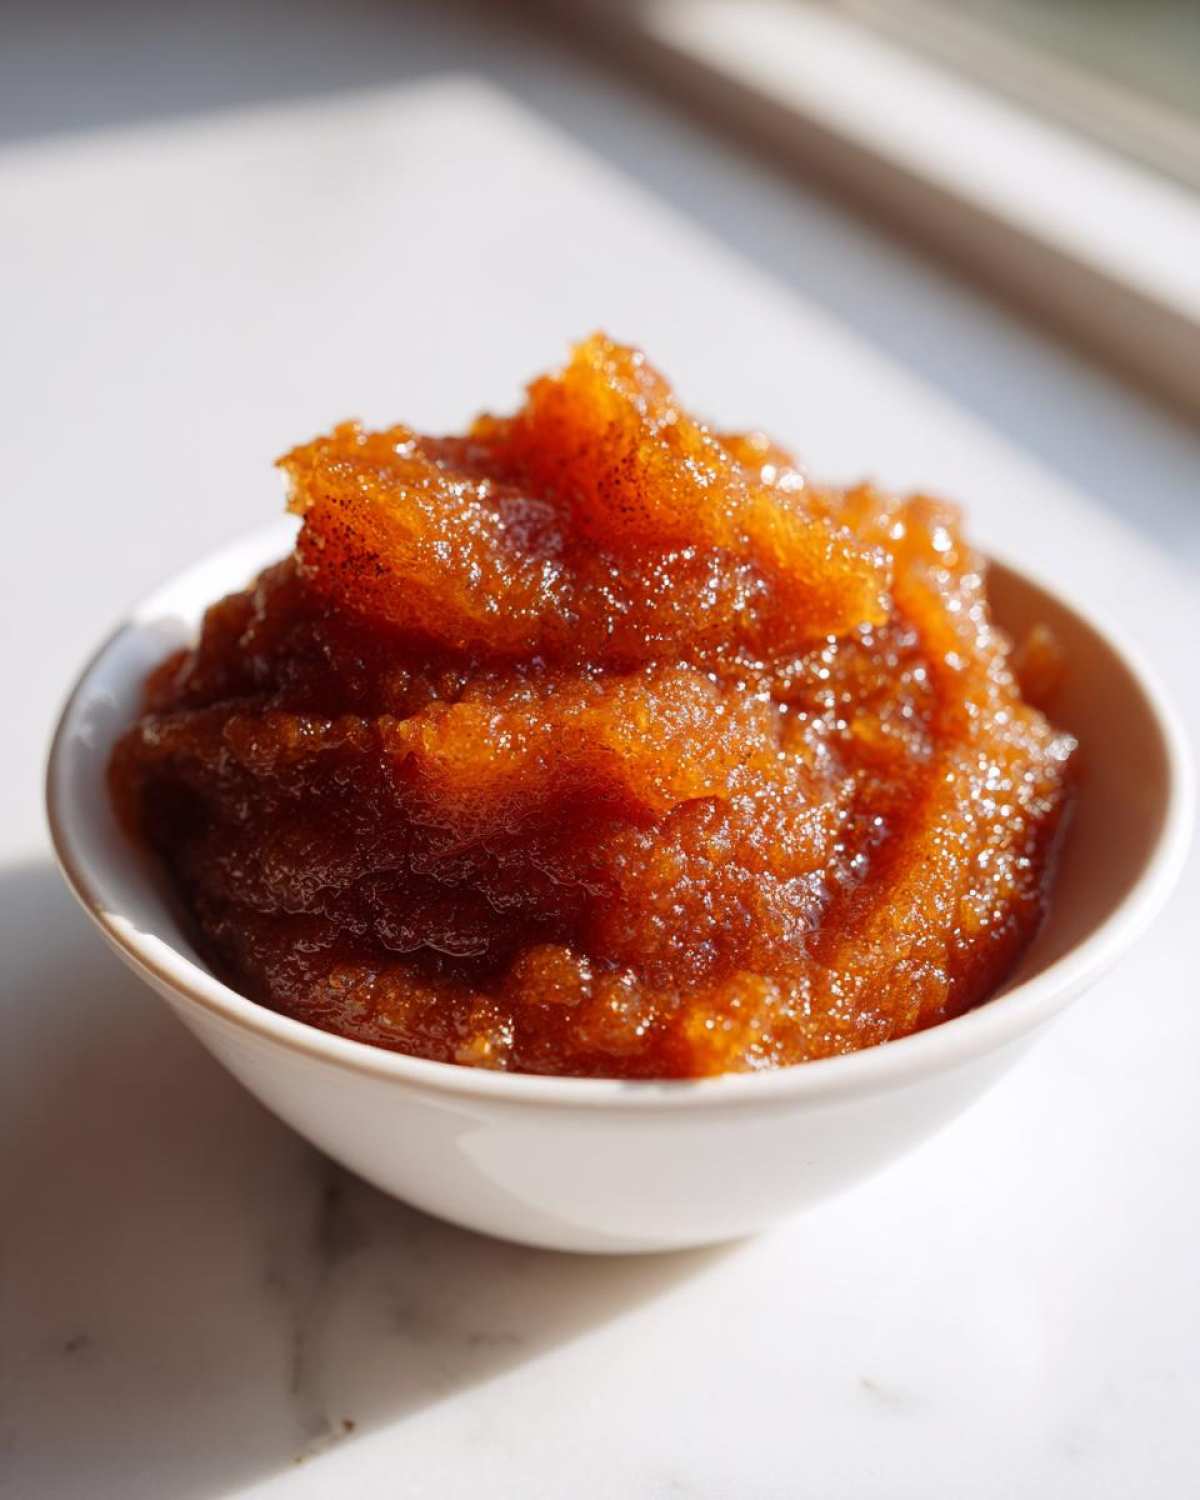
When we make our Homemade Pear Butter, I like to have everything ready to go before the slow cooker turns on. You don’t want to be scrambling for spices while the pears are softening! Because this recipe is so wonderfully simple, the quality of your fruit really shines through. We’re relying on the natural sugars of ripe pears, enhanced by classic warming spices. Here is exactly what you’ll need to create this gorgeous, thick spread:
- 3 lbs ripe pears (peeled, cored, and quartered)
- 1 cup brown sugar (packed)
- 1 teaspoon ground cinnamon
- 1/2 teaspoon ground cloves
- 1/4 teaspoon ground nutmeg
- 1/4 cup water
Ingredient Notes and Substitutions for Pear Butter
Seriously, focus on those pears! They need to be ripe—soft to the touch—otherwise, they won’t break down properly, and you’ll end up with stubborn chunks instead of that velvety texture you’re aiming for. If you want to shift away from brown sugar, go ahead and try maple syrup; you can swap it cup-for-cup if you prefer that deeper, woodsy sweetness. But if you nail the ripeness, this Spiced Pear Butter will already be a huge success. Remember, this is your feast, so feel free to nudge the spice measurements slightly if you love ginger or allspice!
Step-by-Step Instructions for Perfect Pear Butter
Putting this masterpiece together is deceptively easy since the slow cooker does all the heavy lifting. Once your ingredients are prepped—and please, make sure those pears are actually peeled—we just layer everything up. Get your pears, then sprinkle over that brown sugar, the cinnamon, cloves, and nutmeg. Don’t forget to add that little splash of water so nothing sticks right at the bottom before the juices release! Then, cap it and forget it for either 6 to 8 hours on low, or flip it to high for about 3 to 4 hours. We’re aiming for total softness here; you want those pears to practically melt when you poke them. I always check them right around the 6-hour mark on low, just to make sure the magic is happening!
Blending for Smooth Pear Butter Consistency
Now comes the transformation! Once the pears are tender, you have two ways to make this truly luscious. You can carefully transfer the hot mixture to a regular blender, but listen, be cautious—blending hot liquids can be messy! Remember how I told you we like to keep things simple? I highly recommend using an immersion blender right in the crockpot insert. Blend it until you cannot see a single chunk. That lovely, rich pear butter needs to be completely smooth and creamy for that perfect mouthfeel. Don’t stop blending until you feel like you could frost a cake with it!
Thickening Your Spiced Pear Butter
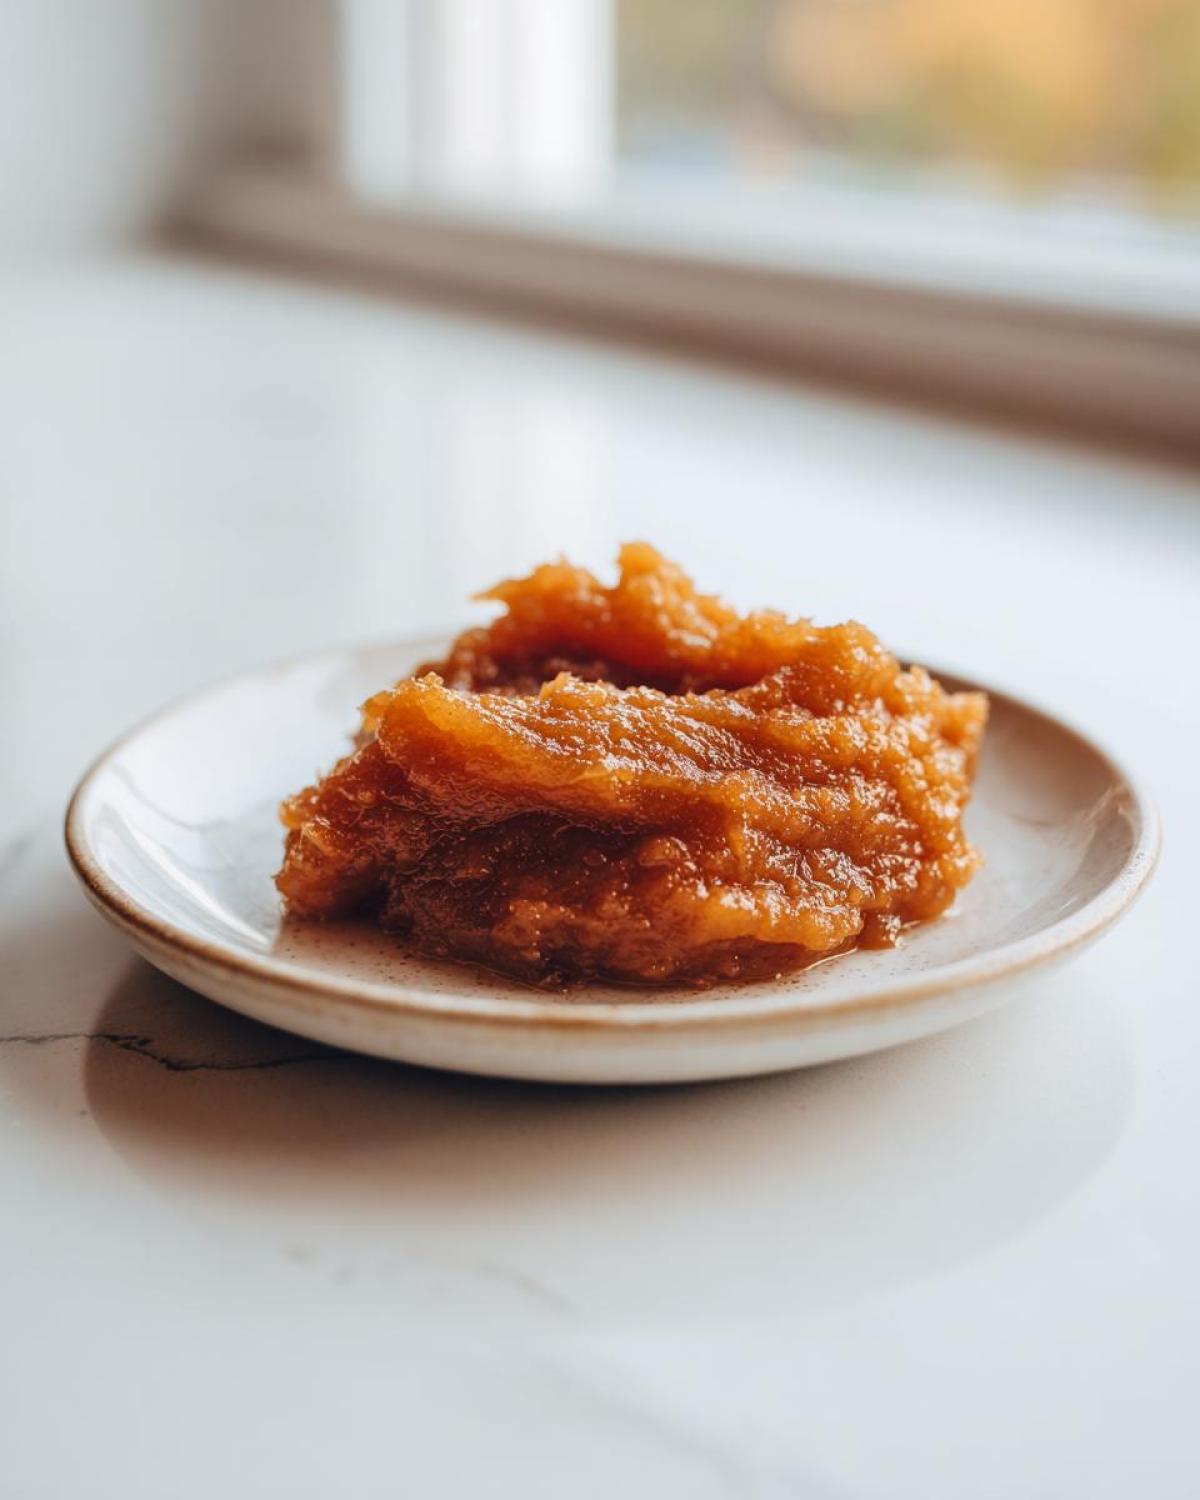
Sometimes, depending on how juicy your pears were, the butter might look a bit thinner than you hoped once it’s blended. That’s okay; we fix it! If it’s too runny for spreading—and you definitely want that perfect, thick consistency—just pop the lid off the slow cooker. Leave it uncovered on the high setting for another 30 minutes to an hour. You need to stir it every so often. You’ll know it’s ready when it coats the back of a spoon perfectly. Don’t worry about baking it further; just let that excess moisture cook off slowly. You’re looking for a gorgeous, spreadable texture, fit for any royalty. You can always find more tips over at our blog!
How to Can Pear Butter for Long-Term Storage
If you made as much of this glorious stuff as Marco and I did, you’re probably wondering how to keep it tucked away for those cold winter months. Since this is an ‘Old Fashioned Pear Butter‘ style recipe, we’re going through the water bath process! This is how we ensure our beautiful Spiced Pear Butter stays safe and sound on the pantry shelf all season. Trust me, having a jar pop open in January is like finding treasure.
First, make sure your jars are hot and ready to go. Once your pear butter is thickened to that perfect, glossy state, ladle it into your hot, sterilized half-pint jars, leaving about a quarter-inch of headspace at the top—that’s the gap between the food and the lid rim. Wipe down those rims well, affix the flat lids and screw bands on until they are ‘fingertip tight.’ Now for the important part: you need to process those jars in a boiling water bath for exactly 10 minutes. If you live somewhere with really high elevation, you might need to adjust that time, so always double-check local guidelines!
After the 10 minutes are up, carefully remove the jars and let them cool undisturbed on a towel overnight. You’ll hear those magical little *pings* as the lids seal. For more guidance on safe preservation methods, you can see wonderful steps over at this resource. Enjoy knowing you’ve preserved the taste of autumn!
Tips for the Best Pear Butter Success
We’ve covered the how-to, but achieving absolute perfection with this Old Fashioned Pear Butter requires a few little secrets I’ve picked up over the years. The goal here isn’t just making fruit sauce; it’s achieving that thick, glossy, spreadable texture that tastes like concentrated fall sunshine. Because the slow cooker does most of the work, your success really hinges on prep and patience during the final thickening stage.
First, let’s talk about peeling. I learned this the hard way during one of our first attempts to speed through something—I thought, “Surely, the blender can handle the skin, right?” Wrong! Even after 8 hours in the slow cooker, the skin just turns into chewy, slightly bitter specks that ruin the silky experience. Always peel your pears thoroughly. It’s an extra 10 minutes of work, but it guarantees that luxurious texture. You can read more about treating yourself right in the kitchen over at my post on the best cheesecake recipe.
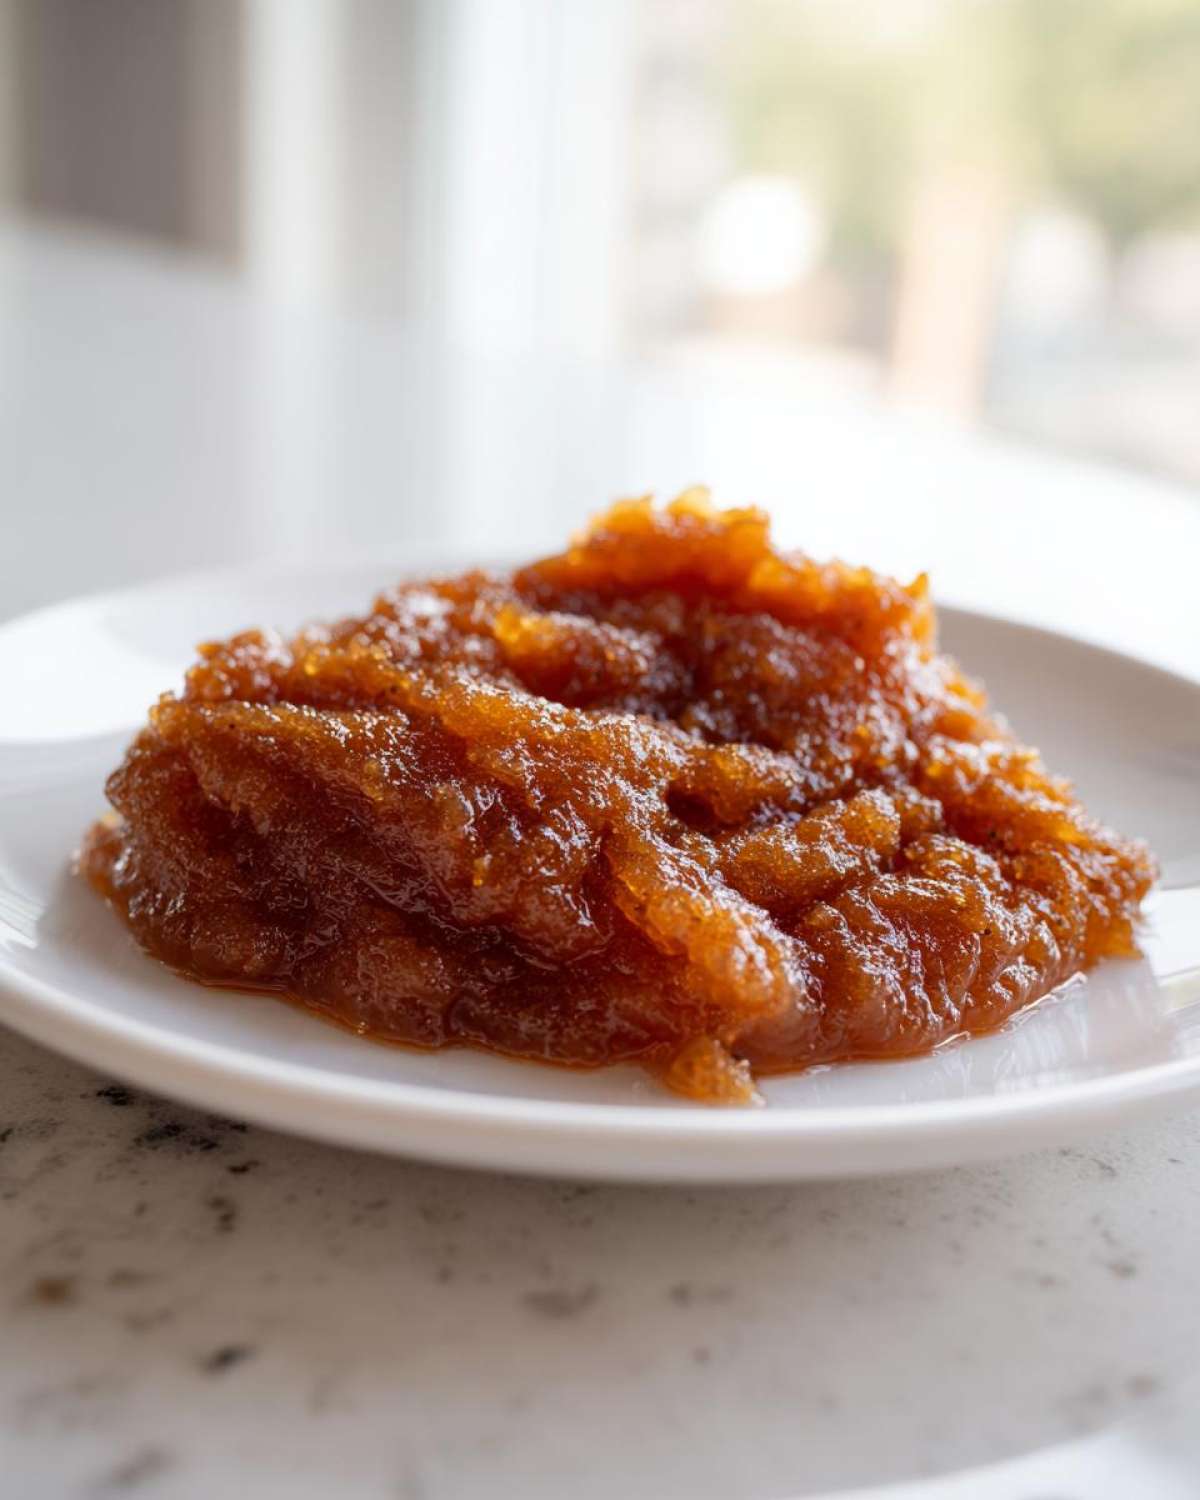
When it comes to flavor infusion, resist the urge to rush the blending. That smoothness comes from giving the immersion blender plenty of time to work its magic, smoothing out everything completely before you even think about thickening it up. If you want to lean into that truly classic, deep flavor profile like the recipe shared on this resource, don’t stir in any liquid after you start the final thickening stage. Just let the water evaporate naturally over that low heat. A little patience now means an incredibly rich flavor later!
Serving Suggestions for Your Homemade Pear Butter
Now that you’ve created this stunning, aromatic spread—the best homemade version of Spiced Pear Butter you’ve ever tasted—the real question is: what do we put it on first? Since Marco and I decided we’re worthy of the good things every day, we refuse to let this sit around waiting for company!
Of course, the classic move is slathering it generously on thick slices of toasted artisan bread, maybe a perfectly grilled biscuit. Yep, Pear Butter for Toast is a non-negotiable ritual in our kitchen. But let’s explore some other royalty-worthy ways to use it up:
- The Oatmeal Swirl: This is my favorite way to start the day. Stir a large dollop right into your hot oatmeal, or get fancy and swirl it through your overnight oats—you can check out my apple cinnamon overnight oats recipe for inspiration! The pear butter melts slightly and distributes that spice beautifully.
- Cheese Board Glamour: Seriously, try this! A dollop of this thick fruit butter next to sharp cheddar, creamy Brie, or even a salty blue cheese on a cracker is pure decadence. It’s sophisticated without being fussy, which is very Eatable Empress, if you ask me.
- Baking Layer: Use it anywhere you would use a jam binder. A thin layer between cake layers (especially spice cake or vanilla cake!) adds unbelievable moisture and flavor.
- Dairy Delight: Mix it into plain Greek yogurt or vanilla ice cream for an instant gourmet dessert. It adds just the right amount of natural sweetness.
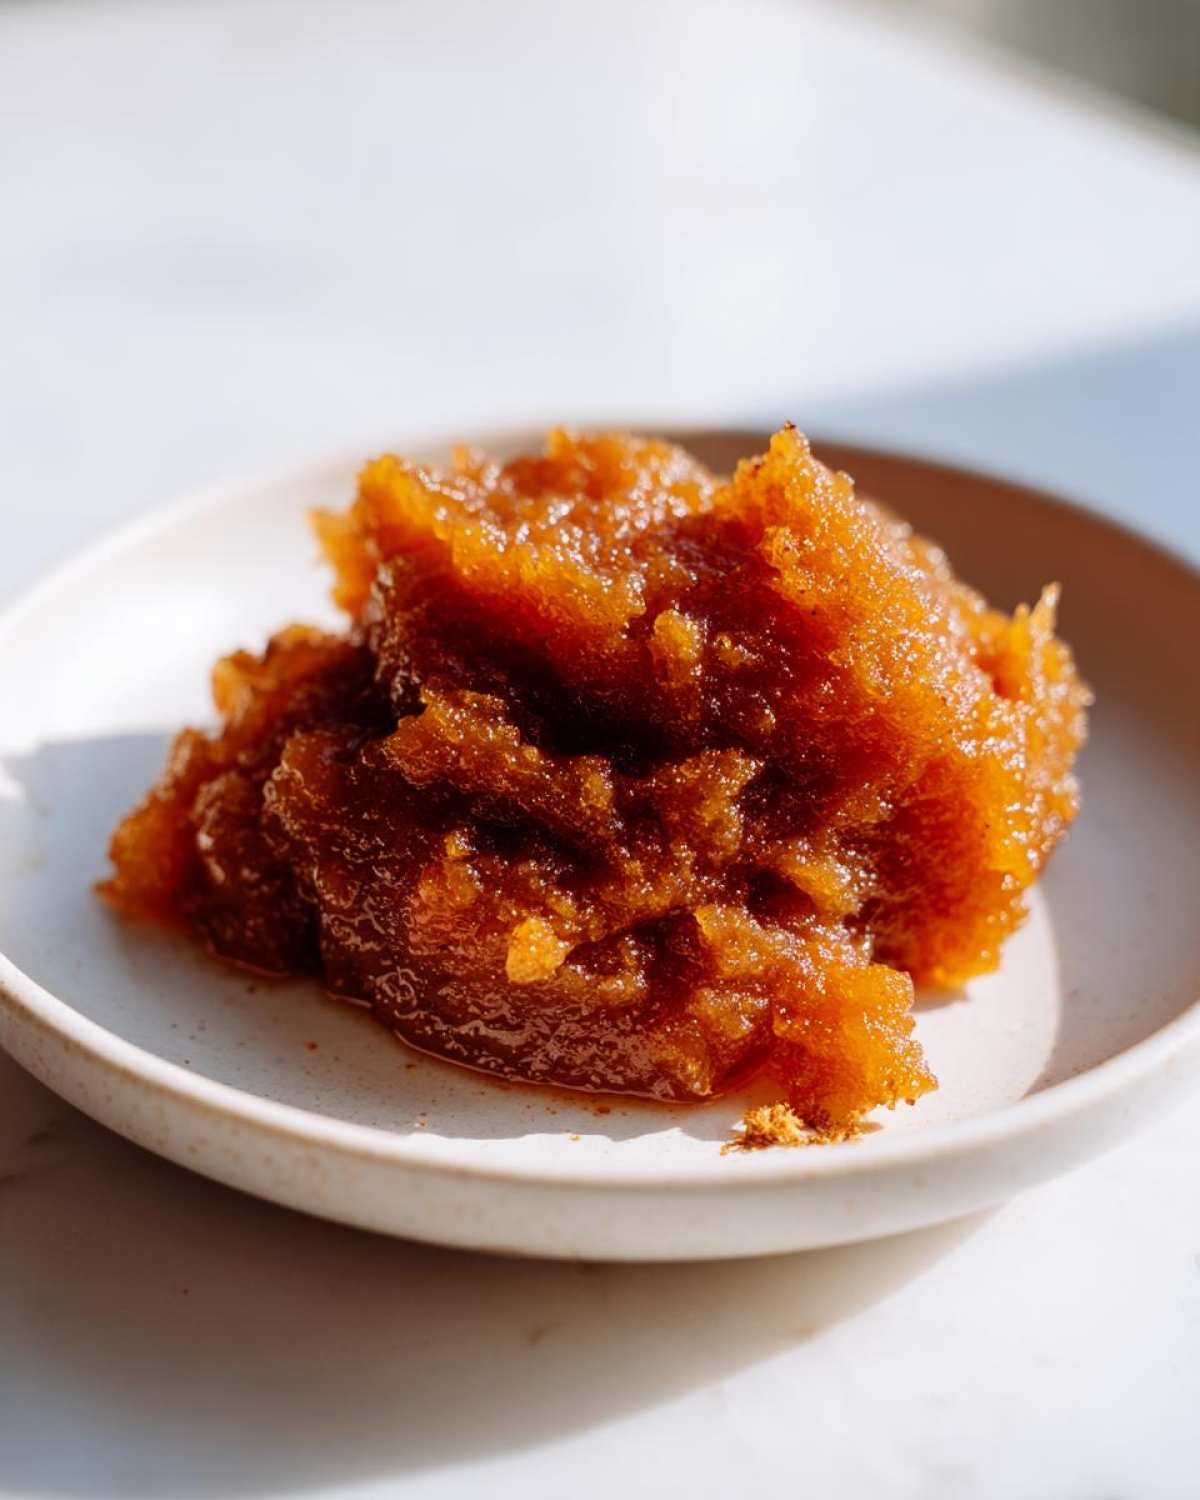
Don’t feel like you have to ration this batch! It’s meant to be enjoyed liberally, so please, be generous with your servings!
Storing Your Finished Pear Butter
Now that you’ve got jars of gorgeous, fragrant pear butter, we need a plan for keeping them safe and delicious! Whether you’re planning a huge stock for the winter pantry or just making a little batch for immediate enjoyment, storage is crucial. Since we went through the preserving steps earlier, let’s quickly recap how to keep this good thing going.
If you successfully finished the water bath canning process—and I hope you did, because that’s true pantry royalty—your beautiful jars of Homemade Pear Butter are shelf-stable! Once they’ve cooled and sealed overnight, you can store them just like any store-bought jam, in a cool, dark place like a cellar or pantry shelf. You don’t need to worry about refrigerating them until you’ve actually cracked that seal open. I always make sure to check the seals the next day; if a lid hasn’t sucked down firmly, that jar should go right into the fridge for us to eat within the next couple of weeks.
For any unsealed jars—maybe you just saved a small amount or the seal didn’t take—keep those tightly closed with a regular lid and store them in the refrigerator. Even though this Spiced Pear Butter is thick and low-sugar, we still only want to keep it chilled for about three to four weeks to maintain that absolute fresh-from-the-crockpot flavor. Trust me, you won’t have leftovers that long anyway, especially if you’re swirling it into things like Marco does!
Frequently Asked Questions About Pear Butter
I know when you’re creating something new for your winter pantry, you usually have a few lingering questions. Making fruit butters can feel intimidating, but remember, this is supposed to be a simple feast we’re creating here! We want delicious results without the fuss. We’ve compiled answers to the questions I get most often about achieving that perfect, glossy Spiced Pear Butter consistency.
What is the best type of pear for pear butter?
This is such a good question, and it really impacts the final texture! You want pears that break down beautifully into that smooth purée we’re aiming for. Don’t bother with rock-hard pears; they just won’t soften enough in the slow cooker time we have. The absolute best workhorses here are Bartlett pears—they have a wonderful sweetness and break down into almost nothingness. Bosc pears are also excellent; they hold their shape slightly better but still yield beautifully creamy results. Honestly, using a mix of both gives you a really complex flavor profile for your Homemade Pear Butter!
Can I make this a Vanilla Pear Butter?
Oh my goodness, yes, you absolutely should! If you want to elevate this just one more level toward creamy dessert perfection, adding vanilla is the way to go. If you are working with extract, use about 1 teaspoon, added right at the blending stage. If you happen to have a vanilla bean, split it open and scrape those lovely seeds in when you add the other spices to the slow cooker. The long cooking time lets that gorgeous vanilla flavor really bloom and mingle with the cloves and nutmeg. A Vanilla Pear Butter makes an incredible gift, too, by the way!
If you’re curious about fantastic flavor combinations for homemade gifts, you can see some inspiration over at Good Life Eats. Do you have another favorite flavor addition? Let me know when you drop a comment below!
Savoring Your Simple Feast
Now that you have jars of this gorgeous, slow-simmered pear butter, I hope you’re already planning which Wednesday night you’ll treat yourselves like royalty. Don’t save the good stuff for guests! I’d love to hear how you’re enjoying your batch—is it on a freshly baked biscuit or perhaps swirled into a decadent breakfast? Drop a comment below or reach out via our contact page and tell me how you’re using yours. Happy feasting!
PrintEasy Slow Cooker Spiced Pear Butter for Your Pantry
Learn how to make luscious, naturally sweet pear butter using your slow cooker. This easy recipe infuses ripe pears with warm spices for a perfect spread, ideal for toast or gifting.
- Prep Time: 20 min
- Cook Time: 8 hours
- Total Time: 8 hours 20 min
- Yield: About 4 half-pint jars
- Category: Preserves
- Method: Slow Cooking
- Cuisine: American
- Diet: Vegetarian
Ingredients
- 3 lbs ripe pears (peeled, cored, and quartered)
- 1 cup brown sugar (packed)
- 1 teaspoon ground cinnamon
- 1/2 teaspoon ground cloves
- 1/4 teaspoon ground nutmeg
- 1/4 cup water
Instructions
- Place the peeled, cored, and quartered pears into your slow cooker.
- Add the brown sugar, cinnamon, cloves, nutmeg, and water to the slow cooker. Stir gently to combine the ingredients with the pears.
- Cover the slow cooker and cook on low for 6 to 8 hours, or on high for 3 to 4 hours, until the pears are very soft.
- Carefully transfer the cooked pear mixture to a blender or use an immersion blender directly in the slow cooker. Blend until the mixture is completely smooth and creamy.
- If the butter seems too thin, return it to the slow cooker (uncovered) and cook on high for 30 to 60 minutes, stirring occasionally, until it thickens to your desired spreadable consistency.
- For immediate use, let the pear butter cool completely. For canning, proceed to the water bath canning instructions.
Notes
- You can substitute maple syrup for some or all of the brown sugar for a different natural sweetness profile.
- For the best texture, ensure you use very ripe pears; they break down more easily.
- If you are canning this pear butter, process half-pint jars in a boiling water bath for 10 minutes after sealing for shelf stability.
- This spread is excellent swirled into oatmeal or served alongside cheese and crackers.
Nutrition
- Serving Size: 2 Tablespoons
- Calories: 75
- Sugar: 18g
- Sodium: 1mg
- Fat: 0g
- Saturated Fat: 0g
- Unsaturated Fat: 0g
- Trans Fat: 0g
- Carbohydrates: 19g
- Fiber: 1g
- Protein: 0g
- Cholesterol: 0mg