

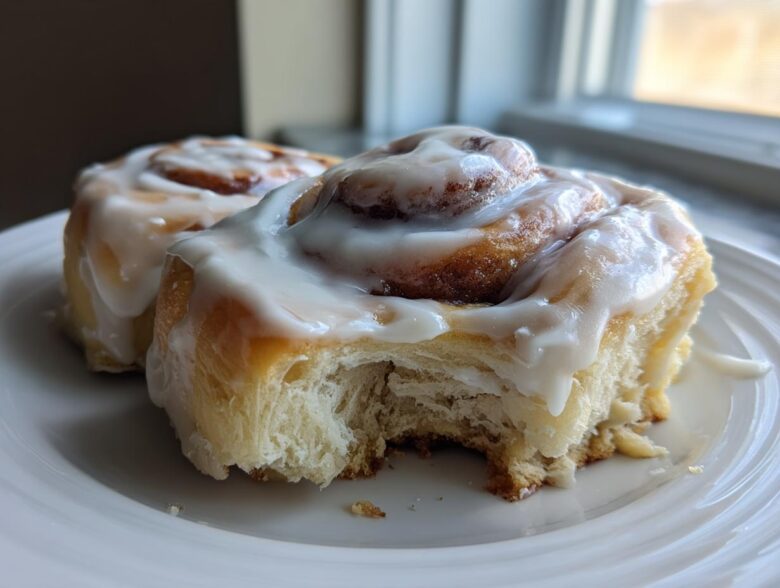
Oh, you know that craving. That deep, aching need for something warm, gooey, and absolutely smothered in cream cheese frosting that tastes exactly like childhood? For years, getting that perfect roll texture without gluten felt impossible. Everything I tried came out dry or crumbly, honestly! But stop the presses, because after years of dry, crumbly attempts, I finally perfected these Gluten-Free Cinnamon Rolls. I cracked the code to making them just as soft and fluffy as the traditional ones. Trust me, you are never going back to the sad, pre-packaged stuff once you try this recipe!
Why These Are the Best Gluten Free Cinnamon Rolls You Will Ever Make
Seriously, forget everything you thought you knew about gluten-free baking being inherently disappointing. These rolls rewrite the rulebook! I’ve poured so much frustration (and, let’s be honest, sugar) into perfecting this, and what we have now is pure magic. They’re rich, they’re sticky, and they are unbelievably soft. I even feel comfortable sharing these with my wheat-eating friends now, and they have no idea they aren’t the ‘real deal’!
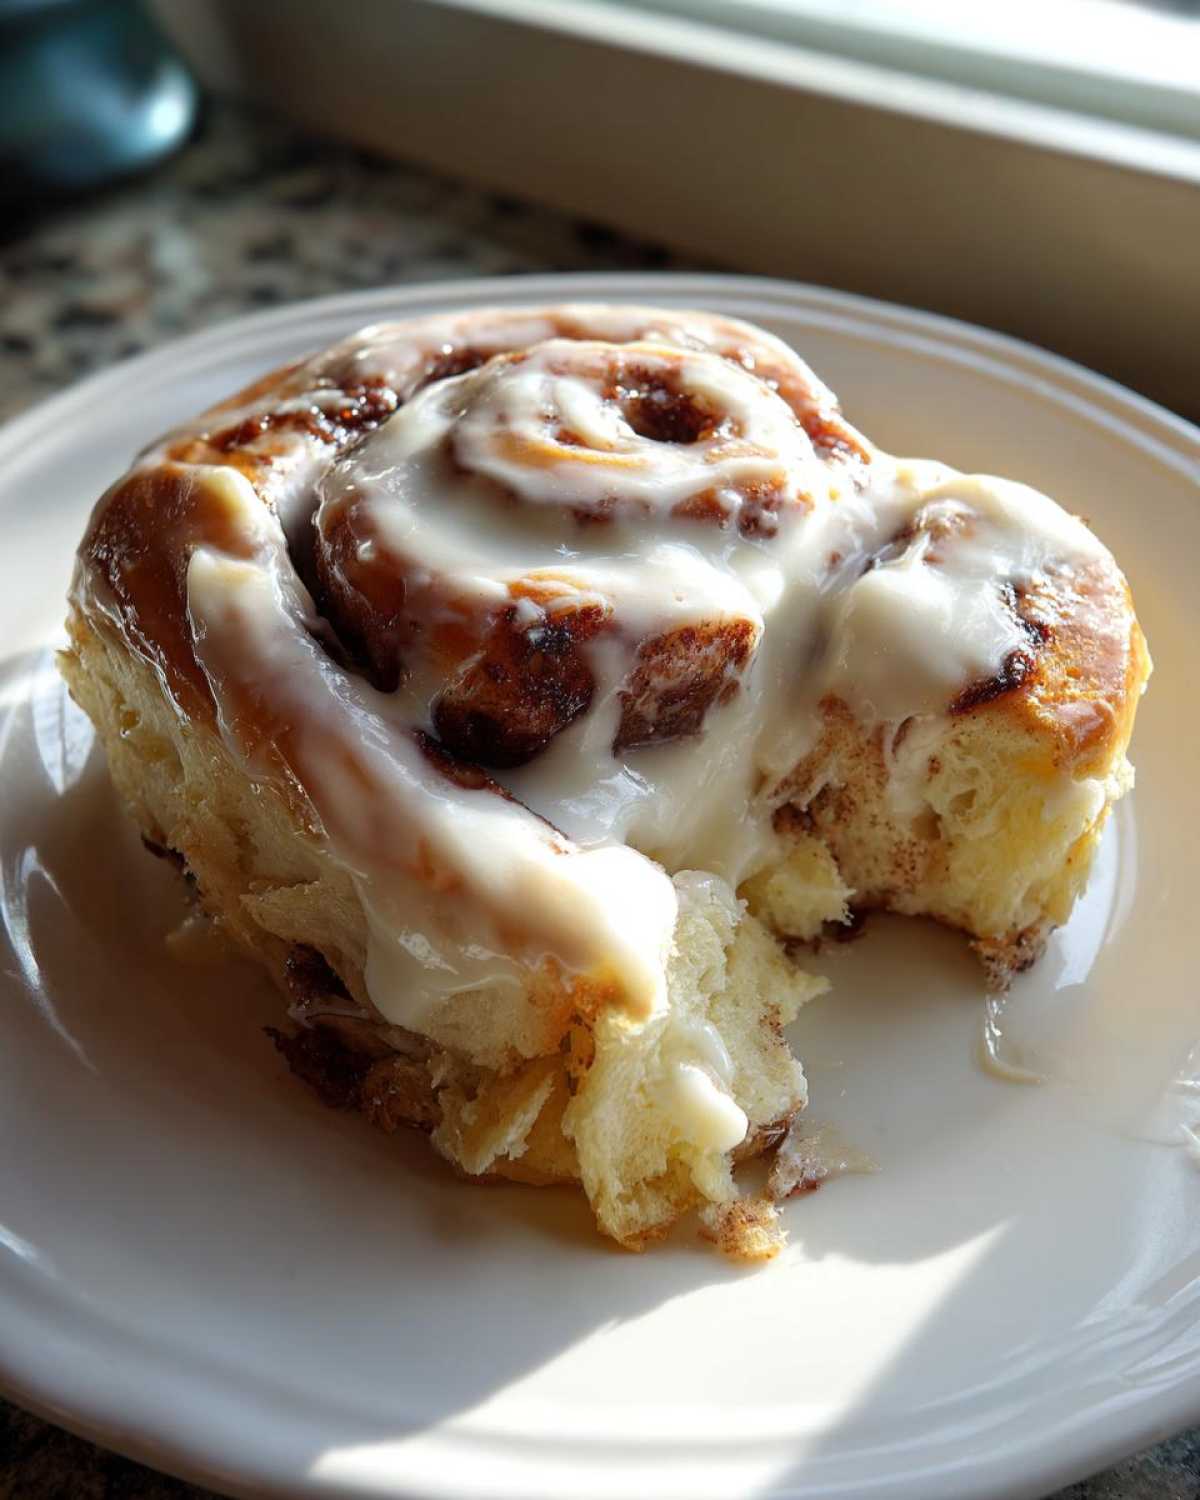
- They actually hold together! No crumbling when you pick them up.
- The filling-to-dough ratio is perfectly balanced—gooey in the middle, structured on the edges.
- They smell like a bakery exploded in your kitchen.
When you’re looking for the best gluten free cinnamon rolls, you need patience and the right technique, which I’ll show you below. If you’re looking for more weekend brunch ideas after you devour these, check out my other posts in the breakfast category!
Achieving True Fluffiness in Gluten Free Yeast Rolls Gluten Free
The secret to avoiding that dense, heavy GF brick is paying close attention to our wet ingredients. We have to mimic the structure gluten usually gives us, and that starts with temperature!
First, your milk absolutely must be warm—think baby bath water, about 105 to 115°F. Too hot, and you kill the yeast, and then you’re stuck with flat dough. Also, make sure those eggs are at room temperature before you whip them in with the butter. Cold eggs shock the mixture, resulting in a tough dough. For these fluffy yeast rolls gluten free, we need everything happy and cooperative before we add the flour!
Essential Ingredients for Perfect Gluten-Free Cinnamon Rolls
Okay, gathering your ingredients is just as important as the mixing! Since we aren’t using traditional wheat flour to provide the chew, every single component here has to pull its weight. I’ve listed everything you need for the dough and the filling, so make sure you check off every box before you start the machine.
Don’t try to eyeball the milk temperature—seriously! It needs to be just right for that yeast to wake up and do its job so we get those soft gluten free rolls. And for the butter? Make sure half is softened for creaming and the other half is totally melted for brushing on the dough layer. Little details like that absolutely make or break these sweet treats!
If you’re new to baking, shoot me a quick email via my About Us page if you have any questions about substitutions—I’m happy to help!
Notes on Gluten Free Flour Blend for Yeast Doughs
This is probably the most critical part if you want fluffy gluten free rolls. You absolutely have to use a quality, all-purpose gluten-free flour blend, and here’s the kicker: it *must* contain xanthan gum!
Xanthan gum is what replaces the elasticity that gluten gives us. Without it, your dough will just crumble apart when you try to roll it. If you happen to have a blend that doesn’t include it, please add 1 teaspoon of xanthan gum right into your dry ingredients before mixing. It’s non-negotiable for structure here. Don’t worry about adding too much; these yeast doughs soak up every bit we give them!
Step-by-Step Guide: How to Make Soft Gluten Free Cinnamon Rolls
Alright, let’s get rolling! This recipe looks long, but trust me, it flows smoothly once you get into the rhythm. The first step is always rousing that yeast—you need that foamy cap as proof that it’s ready to work its magic and give us those fluffy yeast rolls. Give it five or ten minutes while you measure out your other items.
Once that yeast is happy, we mix the wet ingredients, and then slowly introduce the dry. The resulting gluten-free dough will be soft, slightly sticky, and just a little bit different than what you might be used to. Don’t panic! This sticky texture is exactly what we want so that when we get to rolling, we are creating those beautiful layers that lead to the best gluten free cinnamon rolls.
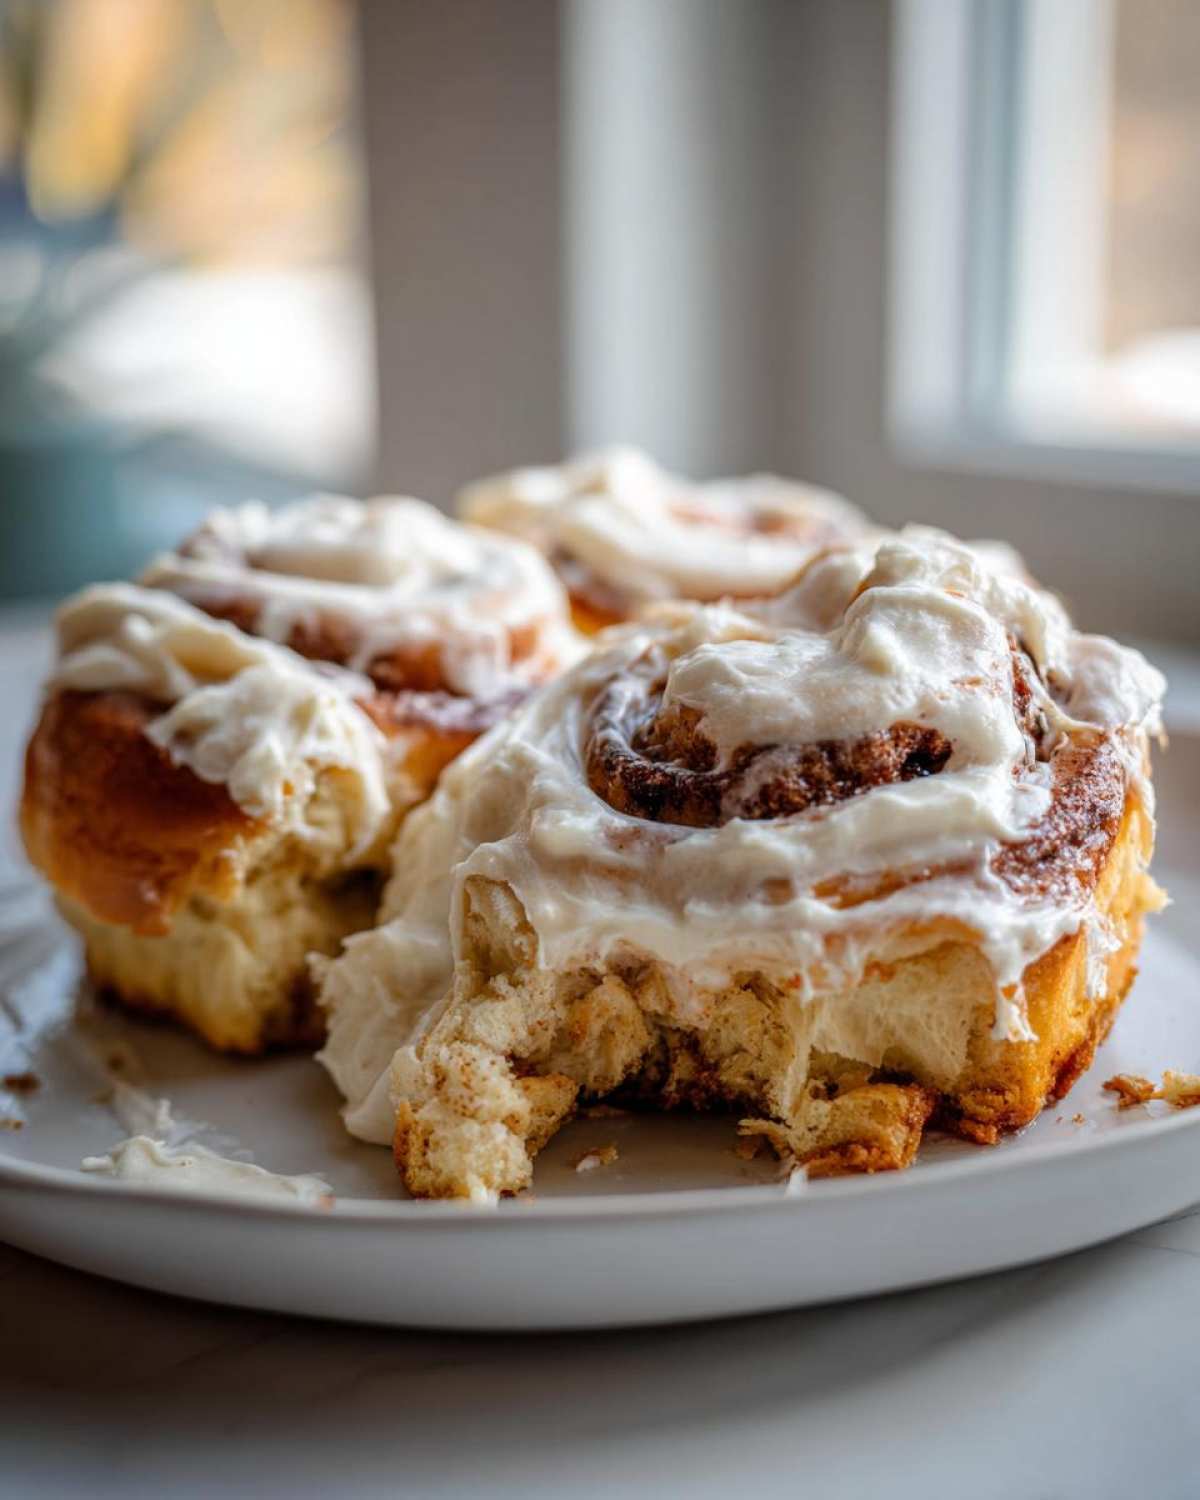
After the first rise, which takes about an hour to an hour and a half, it’s time to prep the filling. Make sure your brown sugar and cinnamon are thoroughly mixed before you brush on that melted butter. If you need help figuring out where to send questions about the recipe itself, my contact page is the best spot!
Gluten Free Dough Handling Tips for Success
This is where we ditch the traditional method! Since there’s no gluten network to keep things strong, we can’t just manhandle this dough. You’ll notice I suggested rolling it out on a surface dusted lightly with gluten-free flour, but if it’s still sticking hard, throw down a large sheet of plastic wrap and roll right on top of that! It makes cleanup easier too.
When you roll it into that log, make sure you pinch that seam shut really well. For cutting the actual rolls, please, please use unflavored dental floss or a very sharp, non-serrated knife. A regular serrated knife tends to tear and squish the beautiful layers we just made. You want clean cuts for those gorgeous spirals when they bake!
Proofing and Baking Gluten-Free Cinnamon Rolls
After you place your cut rolls snuggly into the greased pan, we give them one last short rest—about 30 minutes is perfect. Now, listen carefully about the proofing. Traditional yeast doughs often double in size, but gluten-free dough doesn’t always follow those rules strictly. Don’t watch the volume; watch the texture. You want them to look a little puffier, mostly relaxed, and slightly integrated with their neighbors.
Preheat your oven to 375°F (190°C). They bake pretty quickly too—about 20 to 25 minutes. You’re looking for a light golden brown on top. If you bake them too long trying to get them super dark, they’ll dry out! We want them just set through in the middle because they’re going to steam themselves soft while they cool.
The Best Cream Cheese Frosting Recipe for Gluten Free
You simply cannot talk about perfect cinnamon rolls without talking about the frosting—and this one is the absolute crown jewel for our gluten free cinnamon rolls! Honestly, if I’m making these for a weekend brunch, I sometimes make this frosting just to eat with a spoon. It’s rich, it’s tangy, and it spreads like a dream, which is crucial when you want that picture-perfect look for your homemade gluten free breakfast pastry.
The trick to getting that professional, smooth texture is the temperature of your fats. Both the cream cheese and the half cup of butter *must* be properly softened. I let mine sit out for a good hour until I can press a finger into them and leave a dent without any resistance. If they are too cold, you end up with lumps, and nobody wants a lumpy frosting moment, right?
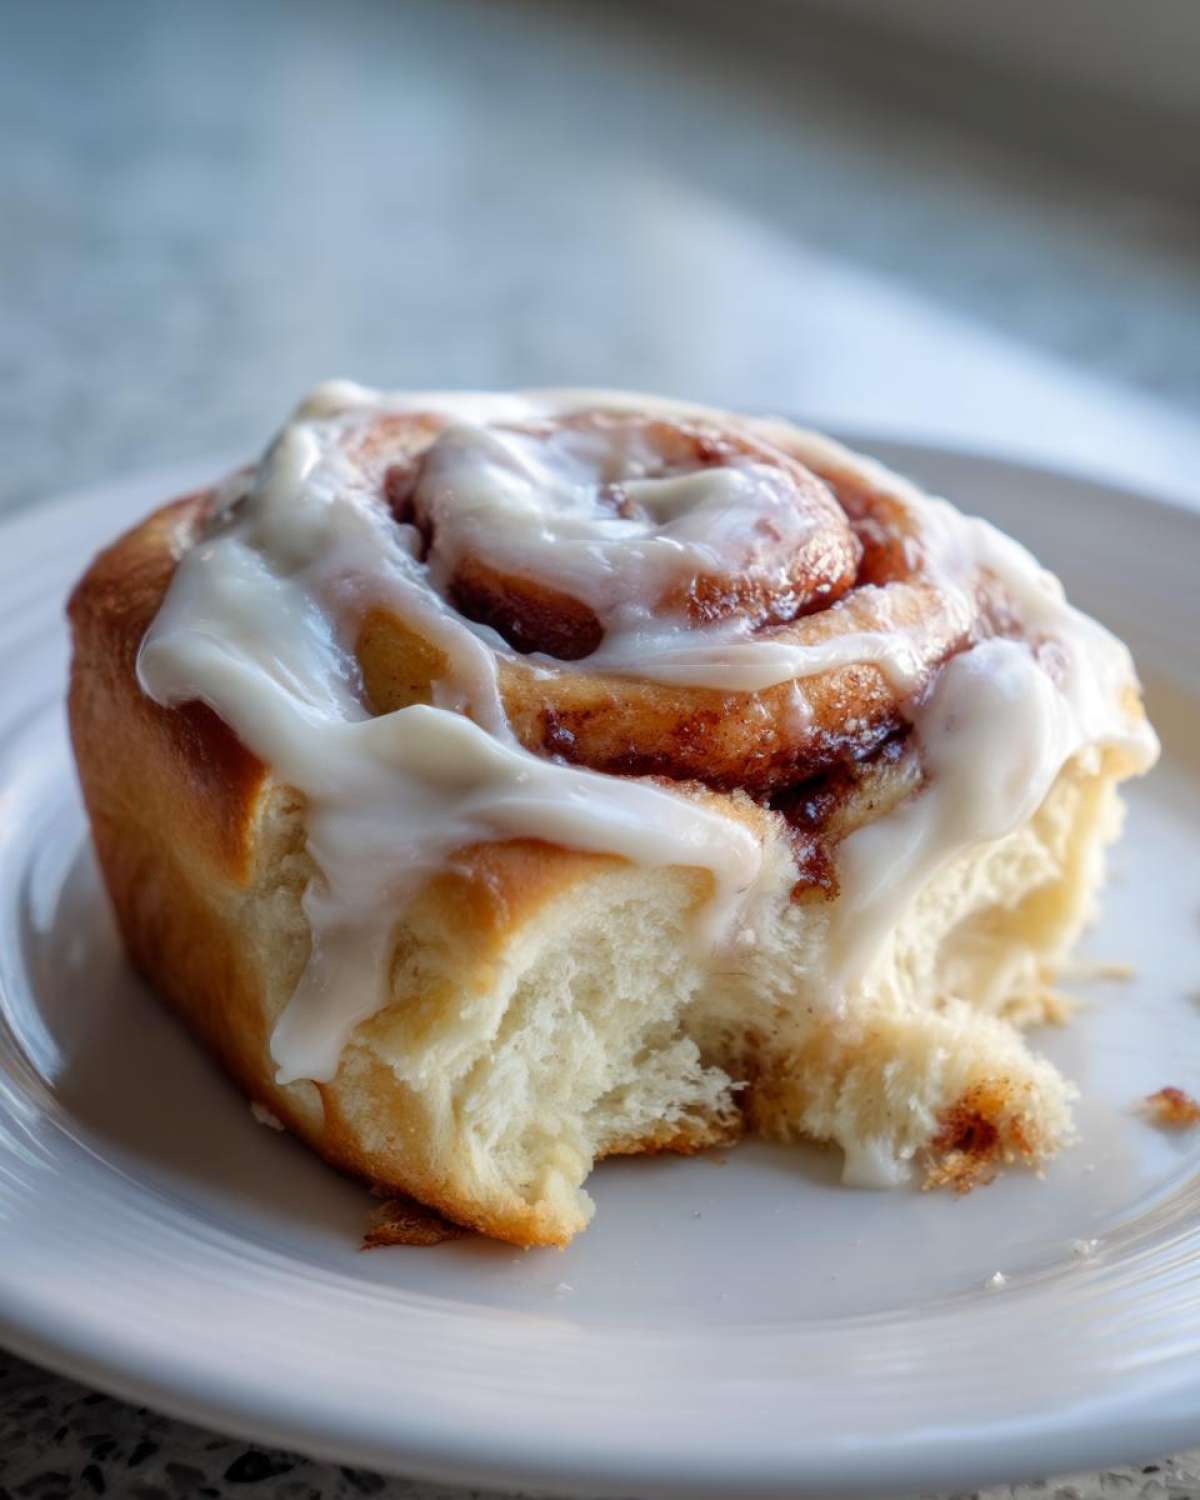
Start by whipping those two softened ingredients until they are light and totally combined. Then, you add your three cups of powdered sugar gradually. I always do this slowly because powdered sugar loves to escape the bowl and fly everywhere! Add the vanilla and that tablespoon of milk last, just until it reaches that perfect, slightly thick but easily spreadable consistency. If you’re looking for other fabulous toppings, I shared my recipe for the best creamy vanilla buttercream, but for these rolls, cream cheese is non-negotiable!
When the rolls come out of the oven and cool for about ten minutes, that’s when you slather this beautiful glaze on generously. The slight warmth softens the frosting just enough so it melts slightly into those swirls, making those truly sticky cinnamon buns gluten free perfection!
Tips for Truly Sticky Cinnamon Buns Gluten Free Success
We’ve got the recipe down, but if you want these to transition from ‘really good’ to ‘I can’t believe this is gluten-free’ status, we need to talk about post-bake moisture retention. Gluten-free dough starts drying out the second it leaves the oven, so we have to trick it into staying soft and gooey for as long as possible, especially if you want those truly sticky cinnamon buns gluten free results!
My absolute favorite trick—and this is probably why mine always look professionally gooey—is the foil tent. As soon as the 20 minutes of baking are up and you pull the pan out, you need to tent that entire pan tightly with aluminum foil. Don’t frost them yet! Let them steam under that foil cover for a good 10 to 15 minutes while they cool down slightly.
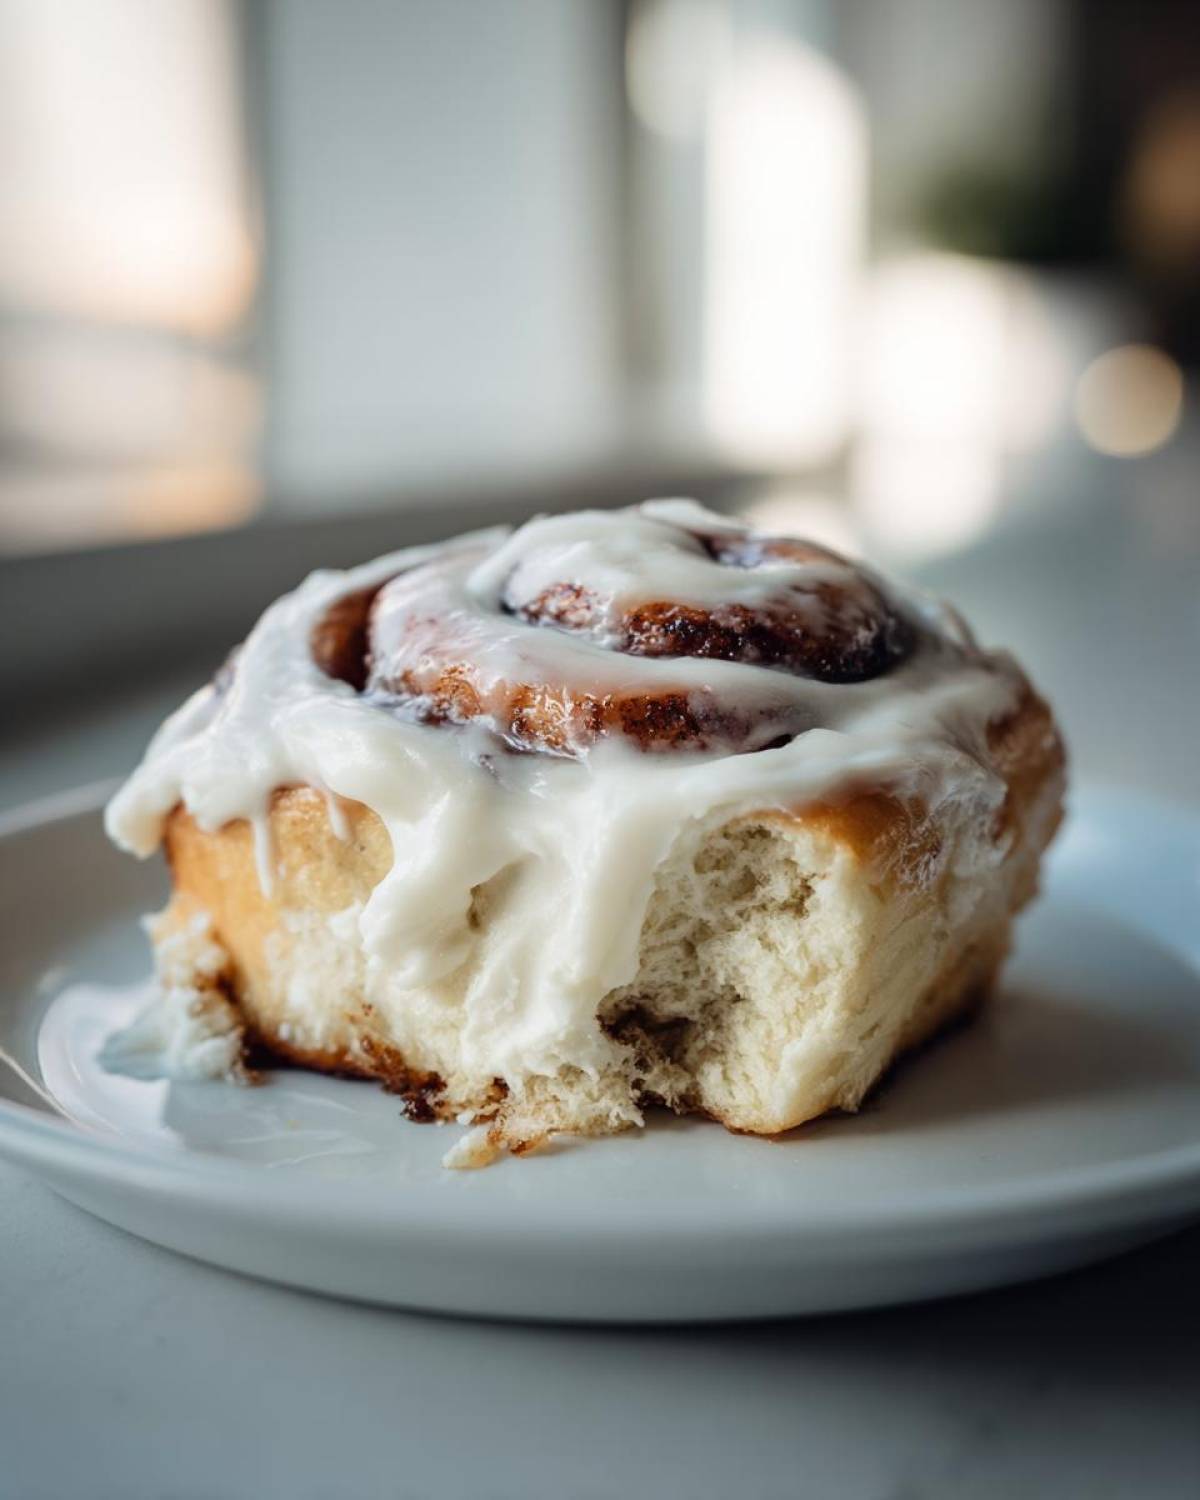
This trapped steam melts the butter and sugar filling just enough and forces moisture back into the crumb. It keeps them incredibly tender! When you lift that foil, the warmth will be perfect for quickly spreading that thick cream cheese frosting over the top so it melts right into those beautiful cinnamon swirls.
Also, don’t be afraid of slightly under-baking just until the centers look set. They finish cooking as they cool down under the foil. If you’ve got leftovers (which I doubt, but just in case!), stick them in the fridge, and when you reheat them the next morning, microwave them for just 15 seconds covered with a damp paper towel. That little bit of steam revives the entire roll so it tastes straight from the oven. If you are looking for more baking wisdom, come check out my main blog!
Storage and Reheating Instructions for Leftover Gluten-Free Cinnamon Rolls
If you manage to have any leftovers of these amazing gluten free cinnamon rolls—which feels like a monumental achievement in my house—storage is straightforward! We want to keep that moisture locked in, so don’t leave them uncovered on the counter. At room temperature, sealed tightly in an airtight container, they’re great for about two days.
If you need them to last longer, pop them in the fridge, but always bring them back to life before serving. To reheat and restore that fresh-baked tenderness, I swear by the microwave. Place one or two rolls on a plate, cover them with a slightly damp paper towel (this creates steam!), and microwave for about 15 to 20 seconds. They come out perfectly soft and ready for a second dose of frosting!
Frequently Asked Questions About Gluten-Free Cinnamon Rolls
I know you might still have a few lingering questions, especially if you’re new to baking with yeast and gluten-free flour! It’s totally normal. I’ve gathered the questions I get asked most often about texture, substitutions, and making these ahead of time. You’ve got this!
Can I make dairy free gluten free cinnamon rolls?
Yes, absolutely, you can tweak these for a dairy free gluten free cinnamon rolls version, and it’s actually super simple! You’ll just need to swap out the three main dairy components in the recipe.
For the warm milk, use unsweetened almond milk or oat milk—oat milk tends to give the best richness, almost mimicking whole milk. Swap the 1/2 cup softened butter, the melted butter for the filling, and the butter in the frosting for a good quality vegan butter stick. Finally, use a quality dairy-free cream cheese alternative for the frosting. Most brands work beautifully, but usually, the ones based on coconut oil give the firmest result for that amazing frosting!
What is the best way to serve these homemade gluten free breakfast pastry?
Listen, these are incredible right out of the oven, covered in frosting while still warm—that’s peak experience territory for any homemade gluten free breakfast pastry! But they also hold up really well.
If you’re serving them later on a weekend morning, let them cool slightly, frost them, and just leave them on the counter, covered loosely. They stay so soft! If you’re making these as a show-stopping item for a big holiday breakfast ideas gluten free gathering, I always serve them alongside a fresh fruit platter to cut through the richness. And remember that reheating trick I mentioned? That’s your secret weapon for making them taste freshly baked hours later!
You can find more inspiration for those special mornings over in my privacy policy section, though honestly, I think these rolls might become the star of every brunch you host from now on!
Estimated Nutritional Data for Gluten-Free Cinnamon Rolls
Okay, now we have to talk about the grown-up stuff. Since these are rich, buttery, and jammed full of brown sugar and glorious cream cheese frosting, they definitely fall on the indulgent side of life! Please remember that these numbers are just estimates. I’m a baker, not a registered dietitian, but based on the ingredients we use—especially all that butter and sugar—you can get a rough idea of what you’re working with per roll.
This data is based on 12 rolls in the recipe, which seems pretty reasonable for sharing! When you look at the numbers, just remember that every glorious bite of these soft, fluffy beauties is worth it, especially since we’re eating them as an occasional weekend splurge or maybe a holiday celebration treat!
For the full breakdown, take a peek below. And hey, if you have any formal nutrition questions, you can always reference the site disclaimer page for more context on using recipe estimates, okay?
- Serving Size: 1 roll
- Calories: Approximately 450
- Fat: Approximately 25g (A good chunk of that is the lovely butter in the dough AND the frosting!)
- Saturated Fat: Approximately 15g
- Carbohydrates: Approximately 55g
- Sugar: Approximately 45g (Yep, that frosting is doing some heavy lifting!)
- Protein: Approximately 5g
- Sodium: Approximately 300mg
See? High in sugar, high in fat, and totally irresistible! That’s why we only make these on special occasions, right? They’re truly a weekend brunch recipe that screams “I deserve this!”
Share Your Experience Making These Gluten-Free Cinnamon Rolls
Seriously, now that you’ve made the best gluten free cinnamon rolls ever, I need to know everything! Did they turn out soft? Did your family even believe they were gluten-free? Don’t be shy!
Hop down to the comments below and give the recipe a rating—it really helps other bakers know they can trust this recipe (it works, I promise!). Snap a picture and tag me on social media! Seeing your sticky, glorious creations is genuinely the best part of my week. If you have any policy questions about site usage, you can peek at the cookie policy, but most importantly, tell me how much you loved these rolls!
PrintSoft Gluten-Free Cinnamon Rolls with Cream Cheese Frosting
A recipe for making soft, fluffy, and moist cinnamon rolls using a gluten-free flour blend, complete with a rich cream cheese frosting.
- Prep Time: 30 min
- Cook Time: 25 min
- Total Time: 165 min
- Yield: 12 servings
- Category: Breakfast
- Method: Baking
- Cuisine: American
- Diet: Gluten Free
Ingredients
- 1 cup warm milk (105-115°F)
- 2 1/4 teaspoons active dry yeast
- 1/4 cup granulated sugar plus 1 teaspoon for yeast
- 1/2 cup unsalted butter, softened
- 2 large eggs, room temperature
- 3 1/2 cups all-purpose gluten-free flour blend (with xanthan gum)
- 1 teaspoon salt
- 1/2 teaspoon baking powder
- 1/4 cup packed light brown sugar for filling
- 2 tablespoons ground cinnamon for filling
- 1/4 cup unsalted butter, melted for filling
- 8 ounces cream cheese, softened
- 1/2 cup unsalted butter, softened for frosting
- 3 cups powdered sugar
- 1 teaspoon vanilla extract
- 1 tablespoon milk for frosting
Instructions
- Activate the yeast: In a small bowl, combine the warm milk, 1 teaspoon of sugar, and yeast. Let stand for 5 to 10 minutes until foamy.
- In a large bowl, cream together the 1/2 cup softened butter and 1/4 cup granulated sugar until light and fluffy. Beat in the eggs one at a time.
- Mix the activated yeast mixture into the butter mixture.
- In a separate bowl, whisk together the gluten-free flour blend, salt, and baking powder. Gradually add the dry ingredients to the wet ingredients, mixing until a soft, slightly sticky dough forms. Do not overmix.
- Cover the bowl with plastic wrap and place it in a warm spot to rise for 60 to 90 minutes, or until the dough has visibly increased in size. Gluten-free dough may not double like wheat dough.
- Prepare the filling: In a small bowl, mix the brown sugar and cinnamon.
- On a surface lightly dusted with gluten-free flour, gently roll the dough into a 12×16 inch rectangle. The dough will be softer than traditional dough.
- Brush the surface of the dough evenly with the 1/4 cup melted butter. Sprinkle the cinnamon-sugar mixture over the butter.
- Starting from the long edge, tightly roll the dough into a log. Pinch the seam closed.
- Cut the log into 12 equal rolls using unflavored dental floss or a sharp, un-serrated knife.
- Place the rolls into a greased 9×13 inch baking pan. Cover loosely and let them rest in a warm place for 30 minutes.
- Preheat your oven to 375°F (190°C).
- Bake for 20 to 25 minutes, or until the tops are lightly golden brown.
- Prepare the frosting while the rolls bake: Beat the softened cream cheese and 1/2 cup softened butter until smooth. Gradually add the powdered sugar, vanilla extract, and 1 tablespoon of milk until the frosting is creamy.
- Remove the rolls from the oven and let them cool in the pan for 10 minutes before spreading the cream cheese frosting generously over the warm rolls.
Notes
- Use a gluten-free flour blend that contains xanthan gum for best structure. If your blend does not include it, add 1 teaspoon of xanthan gum to the dry ingredients.
- Handling GF dough: Gluten-free yeast dough is sticky. Use lightly floured hands or plastic wrap when rolling and shaping instead of excessive flour.
- For extra soft rolls, cover the baked rolls with foil for the first 10 minutes of cooling before frosting.
Nutrition
- Serving Size: 1 roll
- Calories: 450
- Sugar: 45
- Sodium: 300
- Fat: 25
- Saturated Fat: 15
- Unsaturated Fat: 10
- Trans Fat: 0
- Carbohydrates: 55
- Fiber: 2
- Protein: 5
- Cholesterol: 75