

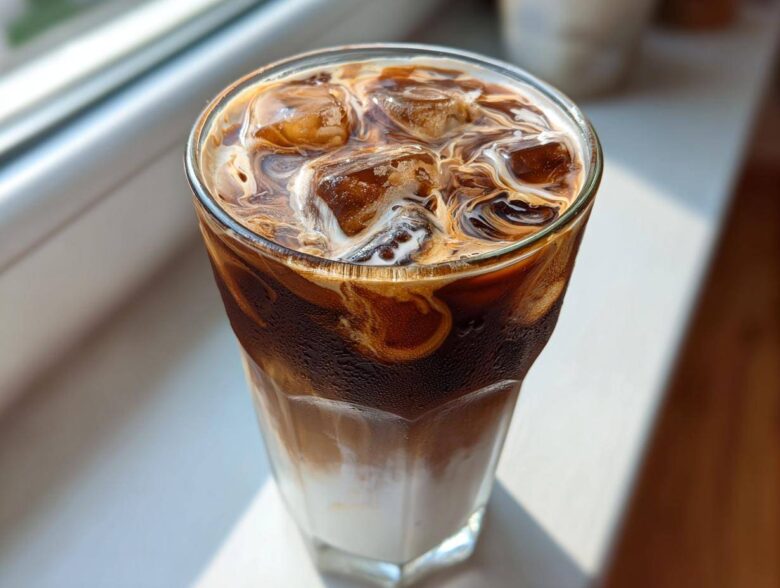
Oh my gosh, when the summer heat hits, there’s nothing quite like crashing on the couch with a giant, sweating glass of rich, chocolatey coffee, right? I spent what felt like years trying to replicate those coffee shop **Iced Mocha** drinks at home. Honestly, I was ending up with weak, watery messes or gritty hot chocolate poured over ice. It was depressing! But I finally cracked the code for the absolute easiest, quickest way to get that gorgeous, deeply flavored drink without spending a fortune.
This isn’t some complicated, four-step syrup-making process. Nope. This is the recipe I turn to when I need my caffeine and chocolate fix in about five minutes flat. Trust me, once you nail the chocolate-to-coffee ratio here, you won’t ever look back. You can even whip up a quick batch of homemade chocolate milk as a sweet base if you want to get really wild!
Why This Easy Iced Mocha Recipe Works So Well
Look, I know you want that fancy coffee shop flavor, but you don’t want to spend half your morning making it, right? That’s why this **Iced Mocha** recipe is my go-to. It’s unbelievably fast, uses ingredients you probably already have floating around, and the flavor payoff is huge. You get that deeply satisfying, rich chocolate note mixed perfectly with strong coffee.
- Speed is the name of the game here—seriously, it’s lightning fast.
- We keep the ingredient list super tight; no need for weird specialty items.
- The high-quality flavor punches way above the effort level.
Quick Iced Mocha at Home Preparation Times
This is the best part! You seriously cannot beat these numbers. It’s pure instant gratification.
- Prep Time: 5 minutes
- Cook Time: 0 minutes (Unless you count cooling your coffee!)
- Total Time: 5 minutes!
Gathering Your Iced Mocha Ingredients
Okay, before we blitz this thing together, we need to talk about what goes into our perfect **Iced Mocha**. Since this is such a simple recipe, every single ingredient has to pull its weight. We aren’t masking weak flavors under mountains of sugar here; we want clean, bold tastes. The trick is making sure everything is ready to go, especially that coffee!
The main components are super straightforward: strong coffee, your chocolate fix, your milk of choice, and tons of ice. If you wanted to make your own chocolate base, I have a fantastic homemade chocolate milk recipe you could adapt by skipping the milk step and using that rich chocolate base instead. But let’s stick to the quick version for now!
Coffee Choices for Your Iced Mocha Ingredients
This is where you win or lose the coffee flavor battle. You absolutely need something punchy! Two shots of espresso are fantastic if you have a machine, but don’t worry if you don’t. Just make a half-cup of coffee that is brewed *super* strong—think double the grounds you normally use. If you’re using cold brew, that’s great too, but since it’s often brewed colder, just make sure it’s a concentrate or strong enough that dilution from the ice won’t turn your drink into brown water.
Selecting the Best Chocolate Source for Your Iced Mocha
Forget those chalky powders, please! For the best flavor in your **Iced Mocha**, you need a proper chocolate syrup or a good melted chocolate sauce. A higher quality syrup tastes leaps and bounds better and dissolves much smoother. If you’re feeling fancy one weekend, use a small amount of rich chocolate ganache instead—it adds such a velvety texture because it’s made with heavy cream. That extra richness truly elevates it from a simple drink to something gourmet.
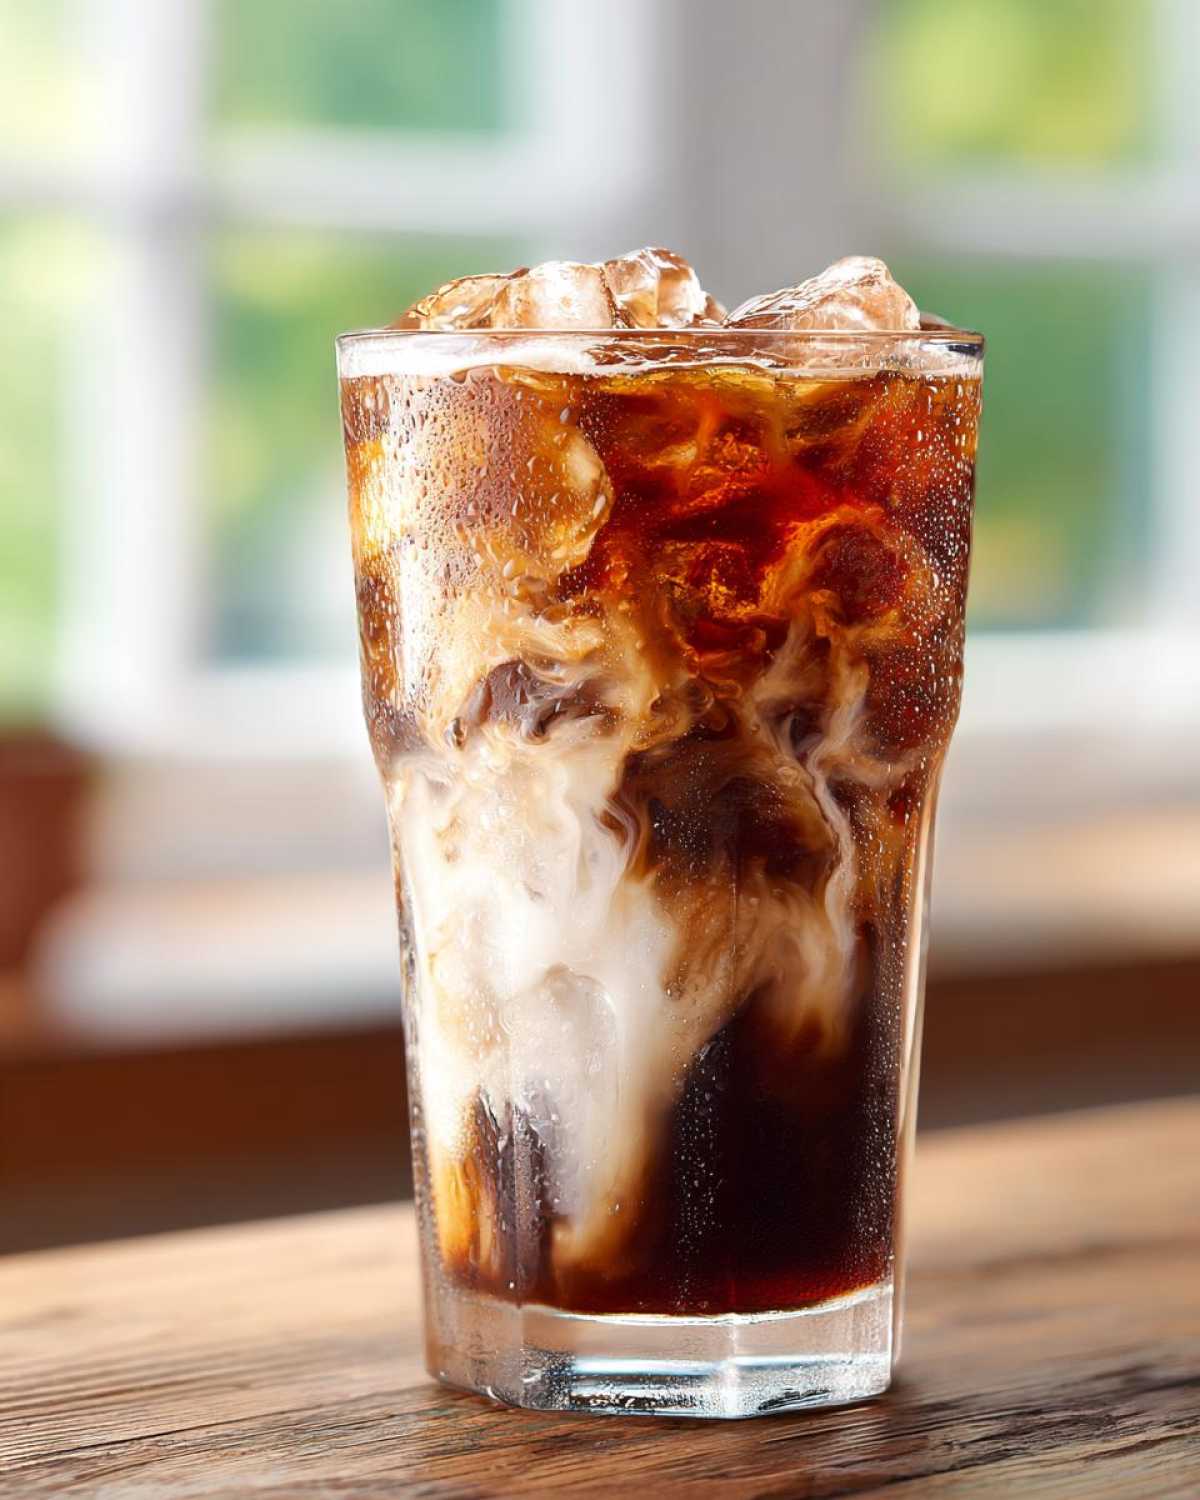
Simple Iced Mocha Preparation Steps
Alright, we have our ingredients ready—the strong, slightly cooled coffee is key! Now for the assembly. This is where we build the flavor base before hitting it with all the cold stuff. The goal here is smooth texture, not chunky chocolate bits floating around. If your coffee is still piping hot, it’ll melt the ice too fast and water things down, so let it sit for just five minutes after brewing.
Start by grabbing your favorite tall glass. We’re going to build this baby up layer by layer for the best result. You’ll add your chocolate syrup and coffee first, mix that until it’s perfectly uniform, and *then* we introduce the ice and milk. It’s simple, but that order makes all the difference in flavor distribution!
Achieving Perfect Chocolate Dissolution in Your Iced Mocha
This is probably the most important moment for that rich texture! In your base glass, drop in your chocolate syrup—I use about 2 tablespoons—and pour that cooled coffee right over it. Now, stir vigorously! You need to make sure that chocolate marries completely with the coffee before it gets diluted by milk or ice. If your syrup is really thick, don’t be afraid to give that mixture a quick 10-second zap in the microwave first. That slight warmth dissolves the chocolate instantly, making your final **Iced Mocha** so much smoother. If you’re sweetening it up, add your optional sugar now, too, so it melts right into that warm coffee base. You can even use that chocolate base idea here if you want an extra boost of cocoa goodness!
Layering for the Best Looking Iced Mocha
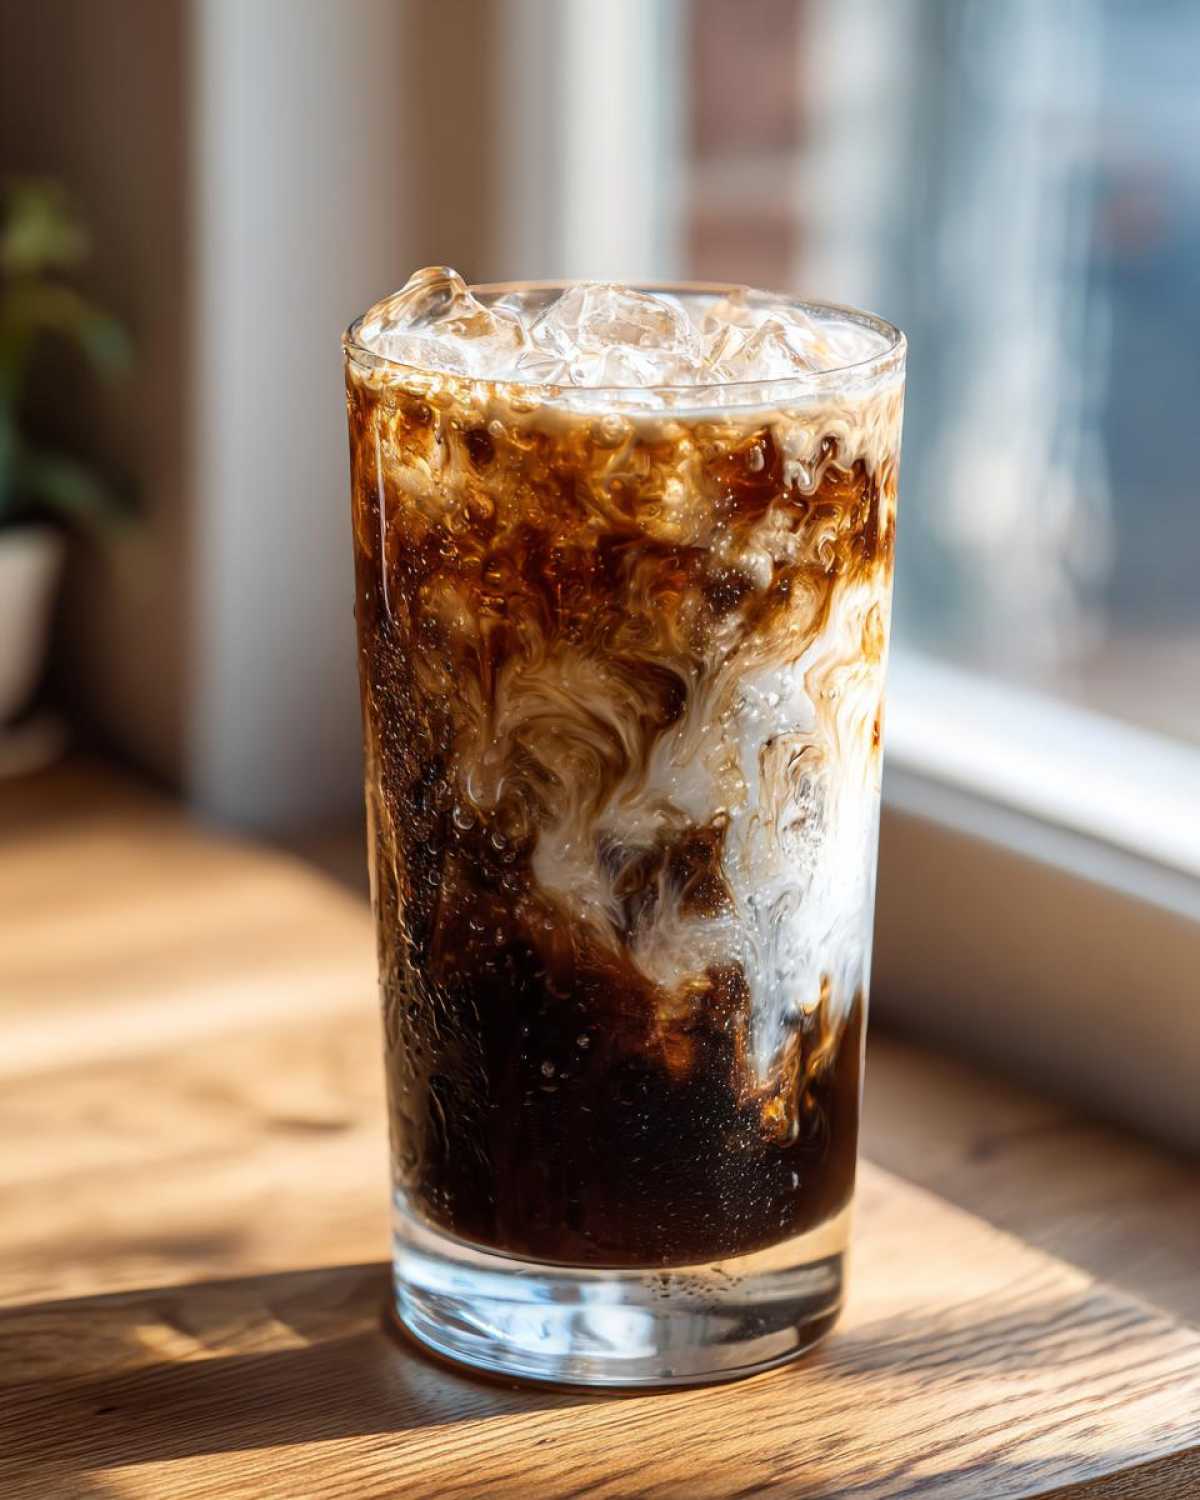
Once your chocolate-coffee potion is perfectly smooth, grab your cup filled to the brim with ice cubes. Pour your milk right over the ice first. Why milk first? Because when you gently pour the chocolate mixture over the milk layer, it creates that beautiful dark swirl effect as it sinks down! It looks so much more professional than just stirring everything together immediately. Give it one final, very gentle stir right before you add your whipped cream, and boom—you’re done serving up gourmet quality goodness.
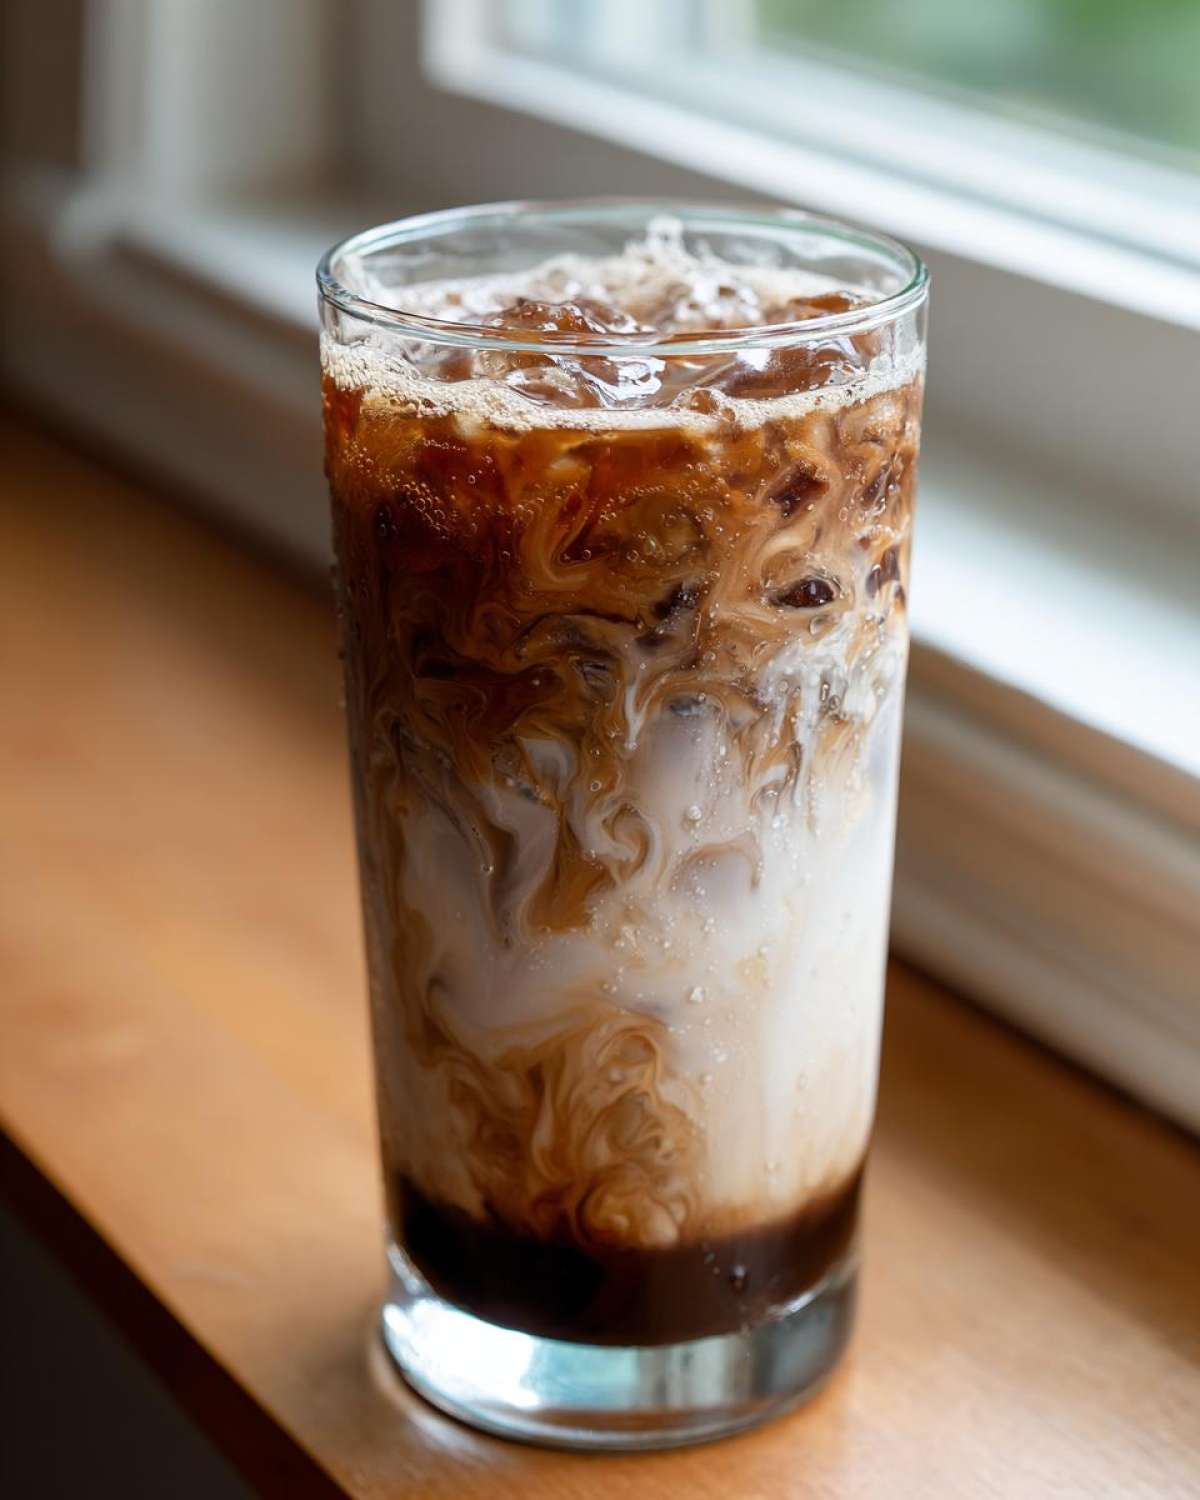
Tips for the Best Homemade Iced Mocha
Okay, we’ve made the perfect cup, but how do we keep it tasting perfect minute after minute? The biggest enemy of any cold coffee drink, especially a yummy **Iced Mocha**, is dilution. Watery coffee is a crime against caffeine, and I won’t stand for it! So here are my non-negotiable tips for keeping that rich flavor locked in until the very last drop.
First up: Ice Quality. Don’t use those tiny, flimsy ice cubes you get from the little tray in the back of the freezer. Those melt instantly. You want big, solid cubes, or even better, use ice made from leftover brewed coffee! If you freeze some of your strong coffee from yesterday, the ice melts, it just adds *more* coffee strength instead of water. It’s genius, really.
Next, let’s talk sweetness adjustment. Now that you’ve got your chocolate syrup mixed into the cooled coffee base—that super rich slurry—taste it before adding the milk. This is your moment to adjust. If you’re worried about sugar, you can always sweeten that base up more than you think you need to! Why? Because when you dump in that cold milk and pile on the ice, the cold temperature dulls the perception of sweetness slightly. You want your base mixture to taste almost too sweet before you chill it down.
Finally, if you end up with leftovers (which, honestly, never happens here), don’t pour the whole mixed drink down the drain. Store the leftover chocolate-coffee mixture in a jar in the fridge. It’s perfect for next time, or maybe you can use it to quickly whip up some homemade chocolate milk later! Keep the milk and whipped cream separate, of course. Nobody wants sad, melted whipped toppings!
Iced Mocha Flavor Variations and Substitutions
Now that you’ve mastered the classic **Iced Mocha**, we can start having some real fun, right? The basic version is unbelievable, but maybe you wake up craving something different, or perhaps you’re catering to a dairy-free friend. This recipe is so flexible, it practically begs you to start experimenting! We can take this simple coffee drink and turn it into something absolutely gourmet with just a couple of swaps or additions. Don’t be shy; think of your glass as a blank canvas!
If you’re looking for something totally different but still chocolatey, I actually have a wonderful white hot chocolate recipe that you can adapt for a white chocolate mocha variation. But for now, let’s look at how to adjust the current formula!
Making a Dairy Free Iced Mocha
Switching this to be dairy-free or vegan is ridiculously easy, thankfully. The key is picking the right substitute milk because that really dictates the mouthfeel. Forget skim milk; you need something creamy to stand up to that strong coffee and chocolate. My top recommendations are always oat milk or canned almond milk—they both froth up nicely if you ever decide to try it hot, and they bring a great richness when served cold.
Just swap out your regular milk for one of those options in the main recipe, and you are golden! You automatically get a vegan iced mocha, and frankly, sometimes I prefer the subtle nutty flavor of oat milk anyway.
Creating a Gourmet Iced Mocha at Home
Want to go next level? This is where you pretend you’re a barista! The easiest way to make a gourmet iced mocha at home is by playing with extracts or salts in that chocolate-coffee base mixture we made earlier. For instance, try adding just a drop or two of peppermint extract right when you dissolve the chocolate—Hello, holiday treat!
Or, you can get salty! Remember note on the salted caramel idea? Add a tiny pinch of flaky sea salt to the chocolate slurry. It brightens up the cocoa flavor immensely and gives it that gourmet edge. You can use flavored syrups in place of some of the standard sweetener too. Vanilla is classic, but hazelnut or even raspberry syrup turns this simple chocolate coffee drink into something special!
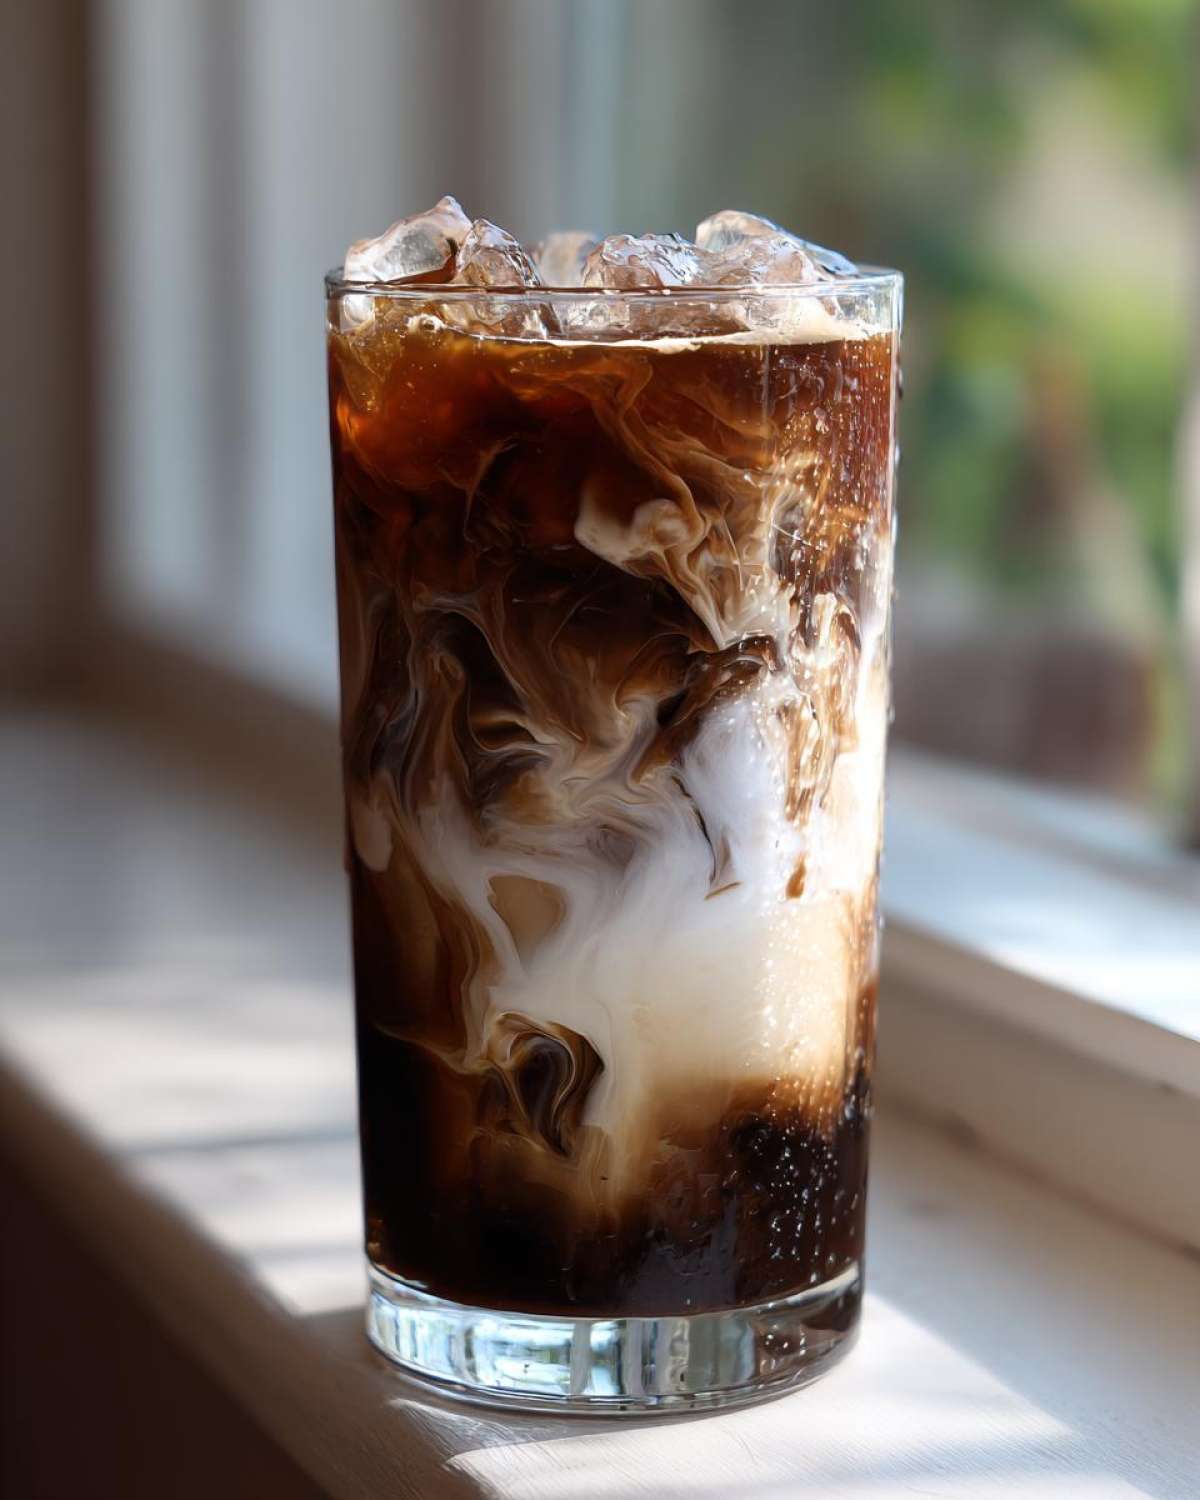
Storage and Reheating Instructions for Your Iced Mocha
So, you made too much! Great problem to have, I guess, though I rarely manage to leave any of my **Iced Mocha** behind! Look, here’s the truth about this glorious, chilled beverage: it’s absolutely at its peak the second you pour that last bit of milk over the ice. Reheating a mixed iced drink? Don’t even try it. You’re just going to end up with lukewarm, sad, separated coffee.
However, the *components*? Those are great for stashing away! If you’ve brewed extra strong coffee, pour the remainder into an airtight container and stick it in the fridge right away. That cold, concentrated coffee is your best friend for making the next day’s batch even faster. You can also keep your homemade chocolate sauce or syrup in a sealed jar on the counter or in the fridge, depending on what you used.
If you used a rich chocolate ganache like I suggested, that needs to be covered and kept refrigerated. You might need to warm it up just a tiny bit next time you go to make your next **Iced Mocha** base so it mixes easily with the coffee, but never microwave the whole assembled drink! That ice melts way too fast, and the texture just collapses. Think of this recipe as designed for immediate enjoyment—it’s too quick to hassle with saving the final product!
If you have extra chocolate base left over? You could totally use that strong chocolate coffee mixture as a base for some quick homemade chocolate milk later in the day—just substitute the coffee for your regular milk in that recipe! But assembling the full mocha? That’s a five-minute job for instant gratification, so make it fresh every time!
Frequently Asked Questions About Making Iced Mocha
I figured we should hash out a few last things here, just in case you’re wondering about slight tweaks to this **Iced Mocha** process. Every time I post this simple iced mocha preparation online, I get a few common questions, especially about the coffee strength. You want it strong enough to taste brilliant, but not so strong that it tastes burnt or bitter, right? Here’s the rundown on those last few details.
It’s important to stress that the quality of your ingredients really shines through when the recipe is this easy. If you are looking for more general inspiration on different drinks, you can always poke around my recipe index for more chocolate coffee drink recipes too!
Can I use cold brew instead of espresso for my Iced Mocha?
Oh, absolutely you can! Cold brew is fantastic for an **iced mocha with cold brew** because it’s naturally smoother and less acidic. The only thing you need to watch out for is strength. If you’re using a really concentrated cold brew, you might want to pull back just a tiny bit from the 1/2 cup measurement listed. Cold brew concentrate packs a punch, and you don’t want your mocha to taste watered down from the ice but also not overwhelmingly strong before you even add the milk. Experiment a little until you find that perfect balance!
How do I make this a Starbucks copycat Iced Mocha?
Ah, the classic comparison! If you’re aiming for that familiar taste of a **Starbucks copycat iced mocha**, the secret usually lies in the chocolate sauce and the sweetness. Their sauces tend to be sweeter than your standard grocery store brand syrup. My tip is always to slightly increase the amount of sugar or sweetener you add to that initial coffee/chocolate mix. Taste that base before the milk goes in! If it tastes slightly sweeter than you normally prefer, you’re probably right on target for that commercial sweetness level. Also, go heavy on the whipped cream; that’s half the fun, isn’t it?
Nutritional Estimates for This Iced Mocha Recipe
I always get curious about what I’m sipping on, even when it’s a quick indulgence like this **Iced Mocha**. Since we are basically using two main components here—coffee and milk/chocolate—the numbers aren’t too scary, especially compared to those drive-thru specialty drinks!
But before you look, please remember this is just a rough guess, okay? Nutritional info really depends on what kind of milk you use (whole dairy versus skim versus oat) and exactly how much chocolate syrup you measure out. I used standard whole milk and regular chocolate syrup for these estimates, just so you have a baseline. I’m definitely not logging this as a health food, but enjoying one of these is totally worth the little treat!
Here’s what you’re generally looking at for one serving of this delicious **Homemade Iced Mocha** drink:
- Calories: About 250
- Fat: Around 8 grams
- Saturated Fat: Pretty low, maybe 4 grams
- Carbohydrates: Roughly 35 grams
- Sugar: Close to 30 grams (That’s the chocolate talking!)
- Protein: About 10 grams
- Cholesterol: Around 25 mg
See? Not terrible for a rich, coffee shop-quality drink you made in five minutes flat! If you use skim milk or unsweetened almond milk, you can shave off a good amount of fat and sugar easily. If you’re watching your intake, that’s the first place I’d suggest making a swap for your next batch of this amazing drink!
Share Your Homemade Iced Mocha Creation
Seriously, that’s it! You’ve now mastered the **Iced Mocha** game! I’ve shared all my little secrets for making sure it comes out perfectly cool, richly chocolatey, and super fast every single time. But now it’s your turn to jump in and let me know how you liked it!
Did you use espresso or did you stick with your favorite strong batch brew? Maybe you experimented with oat milk or added a pinch of salt like I mentioned—I want to hear all about your glorious cold coffee creations!
Please do me a huge favor and leave a rating down below! Pop in those stars so other folks know how much you loved this simple, delicious treat. If you snapped a photo of your tall, sweating glass—and I hope you did!—tag me on social media or send it through my contact page. I absolutely live for seeing your versions of my go-to summer coffee drinks. Happy sipping, friends!
PrintSimple Homemade Iced Mocha
A straightforward recipe for making a rich, coffee shop-style iced mocha at home using espresso or strong coffee.
- Prep Time: 5 min
- Cook Time: 0 min
- Total Time: 5 min
- Yield: 1 serving
- Category: Beverage
- Method: Mixing
- Cuisine: American
- Diet: Vegetarian
Ingredients
- 2 shots espresso or 1/2 cup strong brewed coffee, cooled
- 2 tablespoons chocolate syrup or melted chocolate sauce
- 1 cup milk (dairy or non-dairy)
- 1 teaspoon sugar or sweetener (optional)
- Ice cubes
- Whipped cream (optional, for topping)
Instructions
- Prepare your espresso or strong coffee and let it cool slightly.
- In a glass, combine the chocolate syrup and the cooled coffee. Stir well until the chocolate is fully dissolved into the coffee.
- If using sugar or sweetener, add it now and stir until dissolved.
- Fill a tall glass completely with ice cubes.
- Pour the milk over the ice.
- Gently pour the chocolate-coffee mixture over the milk and ice. Stir briefly to combine.
- Top with whipped cream, if desired.
Notes
- For a richer flavor, use a homemade chocolate ganache instead of syrup.
- If you use cold brew concentrate, reduce the amount of coffee slightly to maintain balance.
- To make this vegan, use oat milk or almond milk.
- For a salted caramel mocha, add a pinch of salt to the chocolate mixture.
Nutrition
- Serving Size: 1 drink
- Calories: 250
- Sugar: 30
- Sodium: 100
- Fat: 8
- Saturated Fat: 4
- Unsaturated Fat: 4
- Trans Fat: 0
- Carbohydrates: 35
- Fiber: 1
- Protein: 10
- Cholesterol: 25