

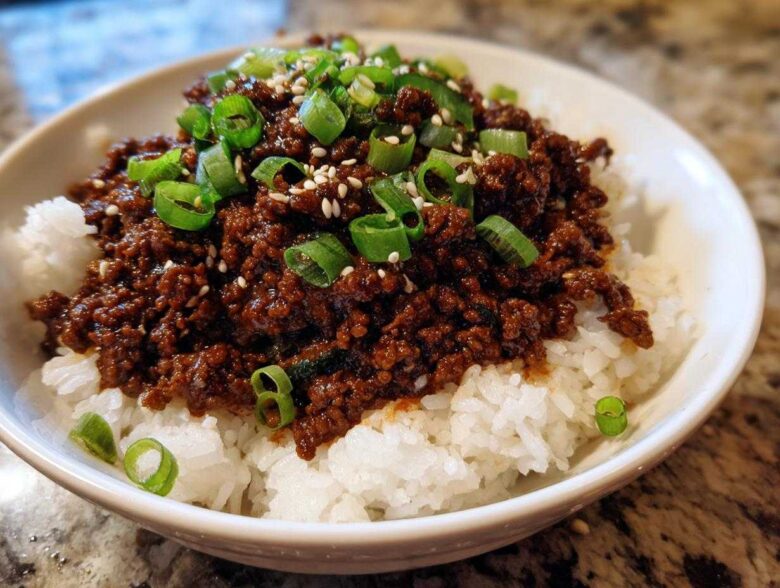
Oh my goodness, are you tired of that mid-week dinner panic? You know the one—it’s 5:30 PM, everyone’s starving, and the thought of standing over a stove flipping something for what feels like an eternity just makes you want to order takeout? Trust me, I’ve been there countless times. That’s exactly why my Instant Pot is my absolute best friend in the kitchen! If you’re craving those sticky, savory, deeply flavorful Korean BBQ tastes but need it done yesterday, you have to try my recipe for Instant Pot Korean Beef and Rice Bowls.
I’ve spent years perfecting quick Asian meals in that magical electric pressure cooker, and this beef is seriously one of the best results. The beauty of using the IP here is that the beef simmers under pressure, giving you incredible tenderness that usually requires an hour on the stovetop. We’re talking fully flavored, perfect ground beef served over fluffy rice in under 30 minutes total. Forget complicated marinades; this is the fast track to a happy family dinner!
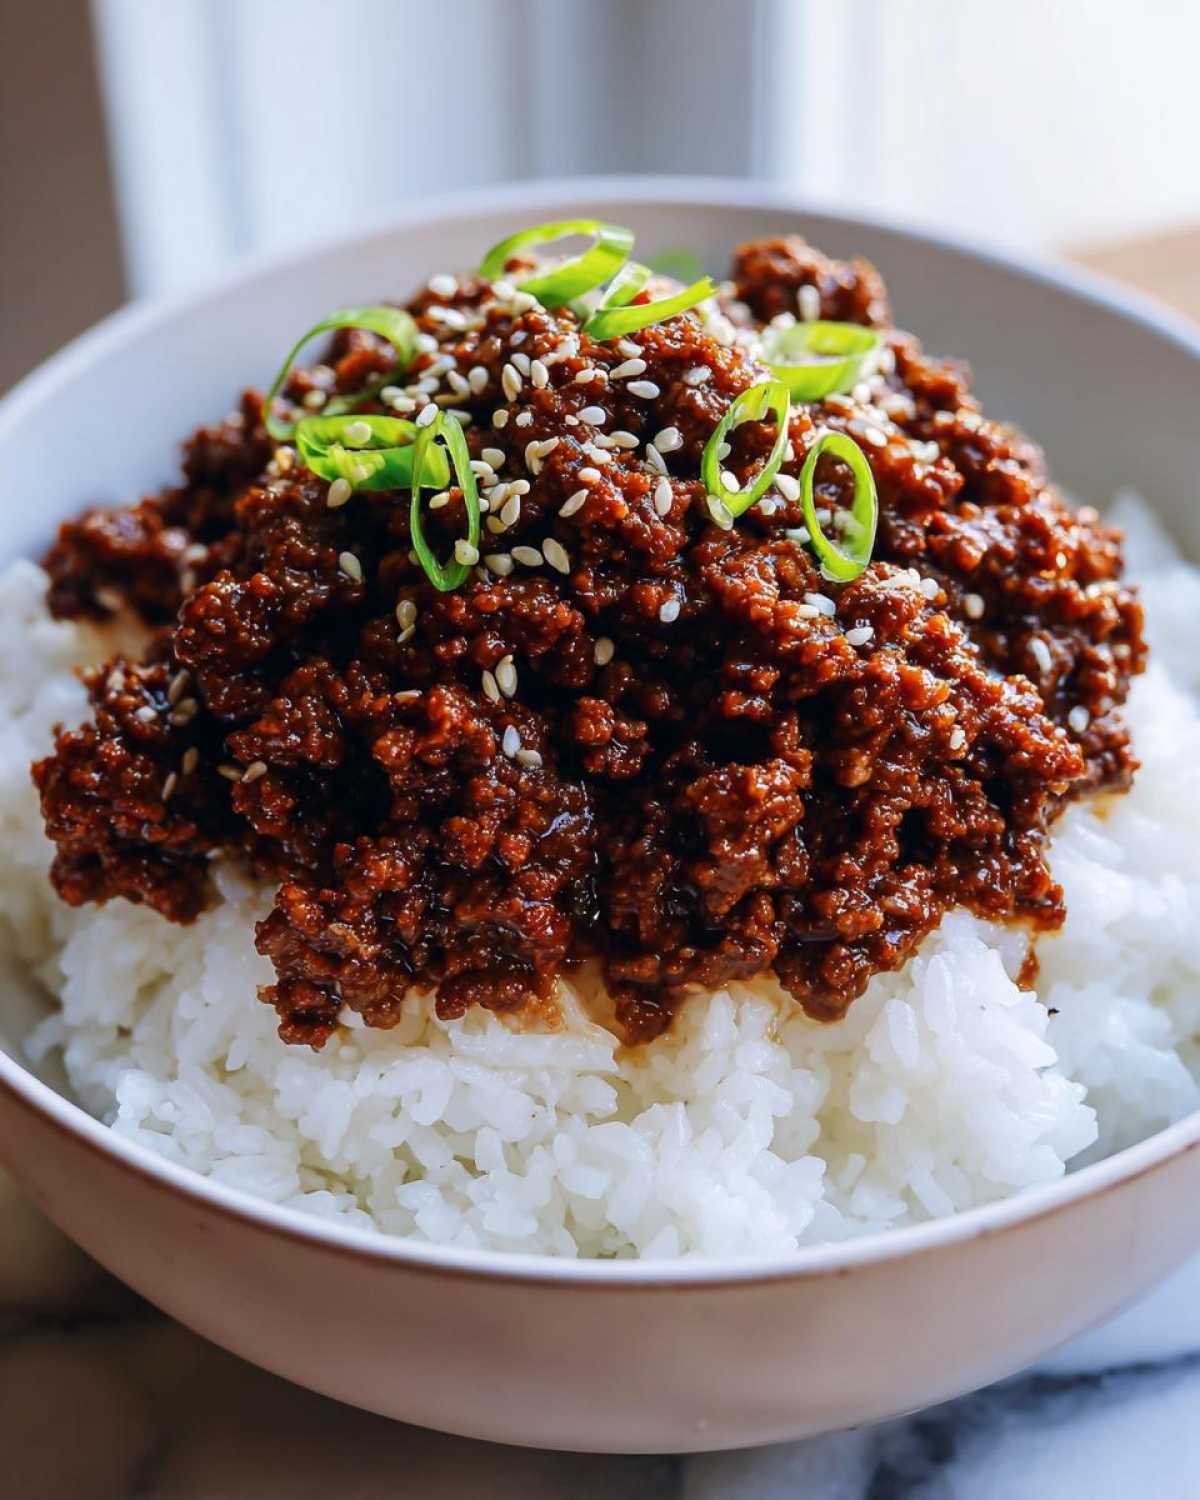
You can find loads of great weeknight dinner inspiration on my main category page, but seriously, bookmark this one!
Why This Instant Pot Korean Beef and Rice Bowls Recipe Works So Well
When I tell people this flavor bomb takes less than 30 minutes start to finish, they never believe me! I’ve tried making similar dishes on the stove, and honestly, you always end up fighting with the sauce or waiting forever for the ground beef to stop releasing water. The pressure cooker just changes everything when it comes to speed and foolproof results.
This system builds immediate confidence, making it a real staple for us. It seriously delivers amazing flavor every single time we whip up these Instant Pot Korean Beef and Rice Bowls.
Speedy Weeknight Korean Dinner Solution
Seriously, that 25-minute total time isn’t an exaggeration. You barely have time to stir your rice before the beef is ready! That’s why this is my go-to recipe whenever I need a proper, satisfying Asian meal on the table on a busy Tuesday. It turns what should be a long-simmer event into a fantastic Weeknight Korean Dinner without sacrificing that rich, deep flavor profile we all love.
Tender Beef Texture Guaranteed
Even though we are using ground beef, the quick blast of high pressure makes the beef shreds almost melt-in-your-mouth tender. It locks all that delicious soy sauce, ginger, and garlic right into the meat instead of letting it evaporate away. Stovetop cooking can sometimes yield slightly chewy beef, but the pressure cooker ensures you get that perfect, soft texture that clings beautifully to the rice.
Gathering Your Ingredients for Instant Pot Korean Beef and Rice Bowls
Okay, so assembly is ridiculously fast here, but you still need to have your components ready to roll! Because this whole thing cooks in the time it takes to pour a glass of water, there’s no lingering around measuring things once the pot starts heating up. I always try to get everything measured out first. This is how we ensure these Instant Pot Korean Beef and Rice Bowls come out tasting amazing every single time we make them.
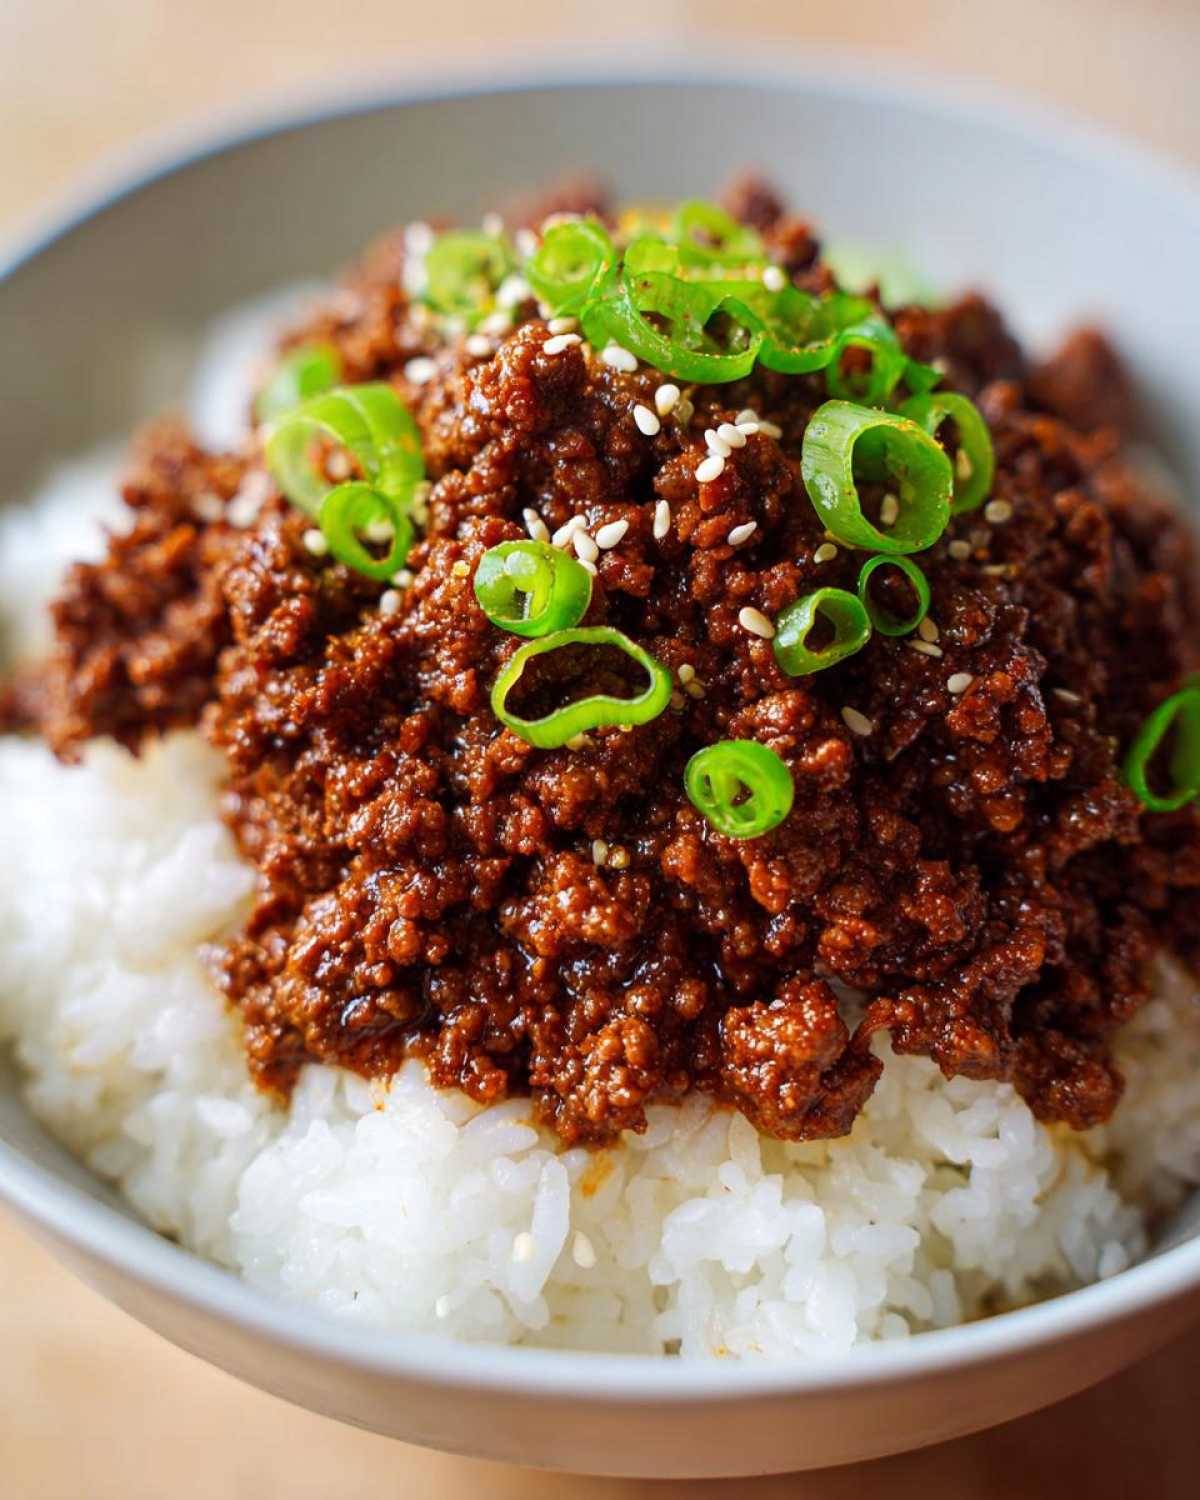
If you are looking for other quick foundational sauce recipes, I’ve got a great option for basic homemade BBQ sauce that shares some structural elements with this marinade!
Essential Components for the Korean Beef Marinade
For the main event, you’ll need 1.5 pounds of ground beef—I usually go for 85/15 because we want a little fat for flavor! The magic happens with the sauce mixture you dump right into the insert. You must have 1/2 cup of soy sauce, 1/4 cup of packed brown sugar (don’t skimp on the ‘packed’ part!), 2 tablespoons of sesame oil, and 2 tablespoons of rice vinegar for that essential tang.
Don’t forget the flavor powerhouses: 1 tablespoon of minced fresh ginger and 4 cloves of garlic, minced super fine. These aromatics are non-negotiable for getting that authentic Korean punch!
Thickening and Serving the Instant Pot Korean Beef
We need a liquid base to help this cook properly under pressure, so you’ll add 1/2 cup of water or beef broth right over the meat mixture. Now, for the crucial finalizing step: we need a slurry to thicken this sauce later. Grab 1 tablespoon of cornstarch and mix it thoroughly with 2 tablespoons of cold water in a tiny separate bowl. That’s it for prep!
Finally, make sure you have your cooked rice ready to go, because as soon as the beef is done, you’re scooping it right on top. Having sliced green onions and sesame seeds near the bowls makes serving look restaurant-worthy, so don’t skip the garnish!
Step-by-Step Guide to Making Instant Pot Korean Beef and Rice Bowls
This is where the magic really happens, and honestly, if you can dump things into a pot, you can nail this recipe. The whole process is so straightforward thanks to the pressure cooker doing all the heavy lifting. The instructions might look simple, but paying attention to the sequence around the liquid is what guarantees you won’t get that dreaded ‘BURN’ notice halfway through dinner prep!
We are aiming for maximum flavor extraction in minimum time for these fantastic Instant Pot Korean Beef and Rice Bowls.
Combining Ingredients and Pressure Cooking the Instant Pot Korean Beef
First things first, get all that gorgeous ground beef and your sauce ingredients—the soy sauce, brown sugar, sesame oil, vinegar, garlic, and ginger—directly into the inner pot. Use a spoon or spatula to mix everything up really well until that beef is coated in the marinade. Now, here’s the secret tip I learned the hard way: gently pour that 1/2 cup of water or broth over the top of the mixture. Do NOT stir this top layer! Keeping the liquid underneath the meat prevents the Instant Pot sensors from triggering a burn warning when you seal it up.
Once your toppings are sitting nicely on top, secure the lid, make darn sure that valve is set to sealing, and then set your machine to Manual or Pressure Cook on High for exactly 8 minutes. Set a timer for the pressure release too! We let it do a Natural Pressure Release (NPR) for 5 minutes. Once that timer goes off, carefully flip the valve for a Quick Release (QR) to vent the rest of the steam. Whew, we’re cooked!
Thickening the Sauce for Perfect Easy Korean Rice Bowls
Open that lid carefully—stand back, it’s steamy! Now, turn the heat setting on your Instant Pot to Sauté and select the Normal setting. Remember that cornstarch slurry you made? Whisk it one last time so the cornstarch is suspended, and pour it right into the bubbling beef mixture. You have to stir constantly now, just like you would making gravy, because the sauce will go from thin to thick super fast. It only takes about 1 to 2 minutes for it to become glossy and perfectly coat the back of your spoon.
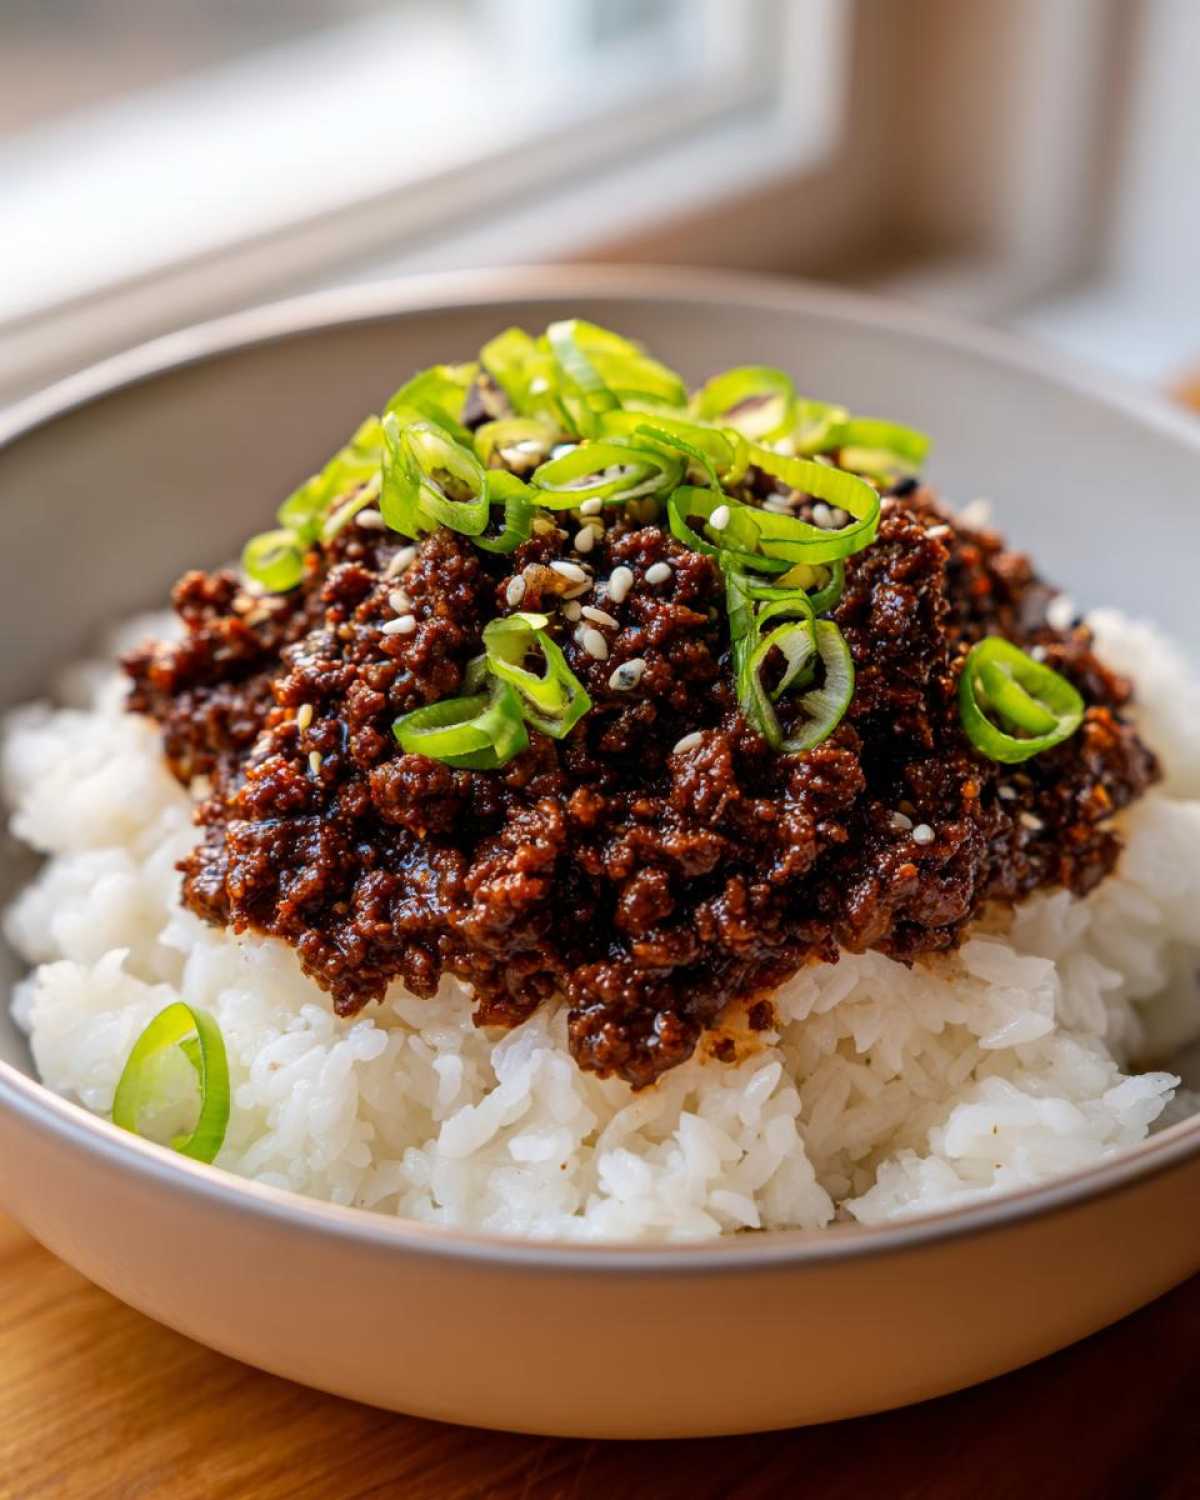
That simmering action gets rid of any raw cornstarch flavor and creates the most gorgeous, thick sauce ideal for pouring over rice. Once it’s perfectly thickened, hit ‘Cancel’ on your machine. Voila! You’ve got the most satisfying Easy Korean Rice Bowls ready for topping and eating!
If you want to see how I handle quick cooking with liquid absorption in a different meal, check out my tips for making shredded chicken tacos—same principle of speed!
Expert Tips for the Best Pressure Cooker Asian Recipes
Look, cooking with a pressure cooker saves time, but you still have to cook smart to get restaurant-level results. Honestly, after making dozens of these **Pressure Cooker Asian Recipes**, I’ve learned a few tricks that make the difference between a good meal and a ‘make-this-again-tomorrow’ meal. These aren’t in every recipe card, but they came straight from my own kitchen failures and successes!
I’ve compiled some of my favorite nuggets of wisdom over at my guide on Pressure Cooker Asian Recipes, but here are the heavy hitters specifically for this beef.
Adjusting Sweetness and Richness
The recipe calls for 1/4 cup of brown sugar, which gives it that perfect sticky glaze consistency, but sometimes I find it a little too sweet, especially if I’m serving it to my pickier niece. If you feel that way too, don’t be afraid to knock that sugar down to just three tablespoons. Start small; you can always add more later if you’re simmering it down at the end, but you can’t take it out!
Also, remember that note about using beef broth instead of water? Please, try that next time! If you have a can of broth lying around, use it. The broth adds a deeper, almost caramelized note to the final sauce that water just can’t replicate. It makes the whole dish taste like it simmered all day, even though it only took 8 minutes.
Achieving Quick Assembly
The biggest time-saver isn’t even in the beef portion—it’s in staging your rice! If you wait until the meat is done pressure releasing to start your rice cooker, you’re adding another 15 to 20 minutes before anyone is eating. That defeats the whole purpose of a fast dinner, right?
My rule is this: start your rice the second you’ve sealed the lid on the Instant Pot for the pressure cook cycle. Once the beef is done and you’ve started that 5-minute Natural Pressure Release, your rice should be just about ready or already finished warming. That way, the moment your beef sauce is thickened and ready to serve, you just scoop the hot beef over the hot rice, and boom—**Fast Family Dinner Ideas** achieved!
Serving and Customizing Your Instant Pot Bulgogi Recipe
Once that glossy, thick sauce hugs the beef and you’ve got it scooped piping hot over rice, you need to make it yours! Presentation matters, even for a quick weeknight meal, and these toppings really wake up the flavor profile of the Instant Pot Korean Beef and Rice Bowls. Don’t skip the simple stuff; it pulls everything together beautifully.
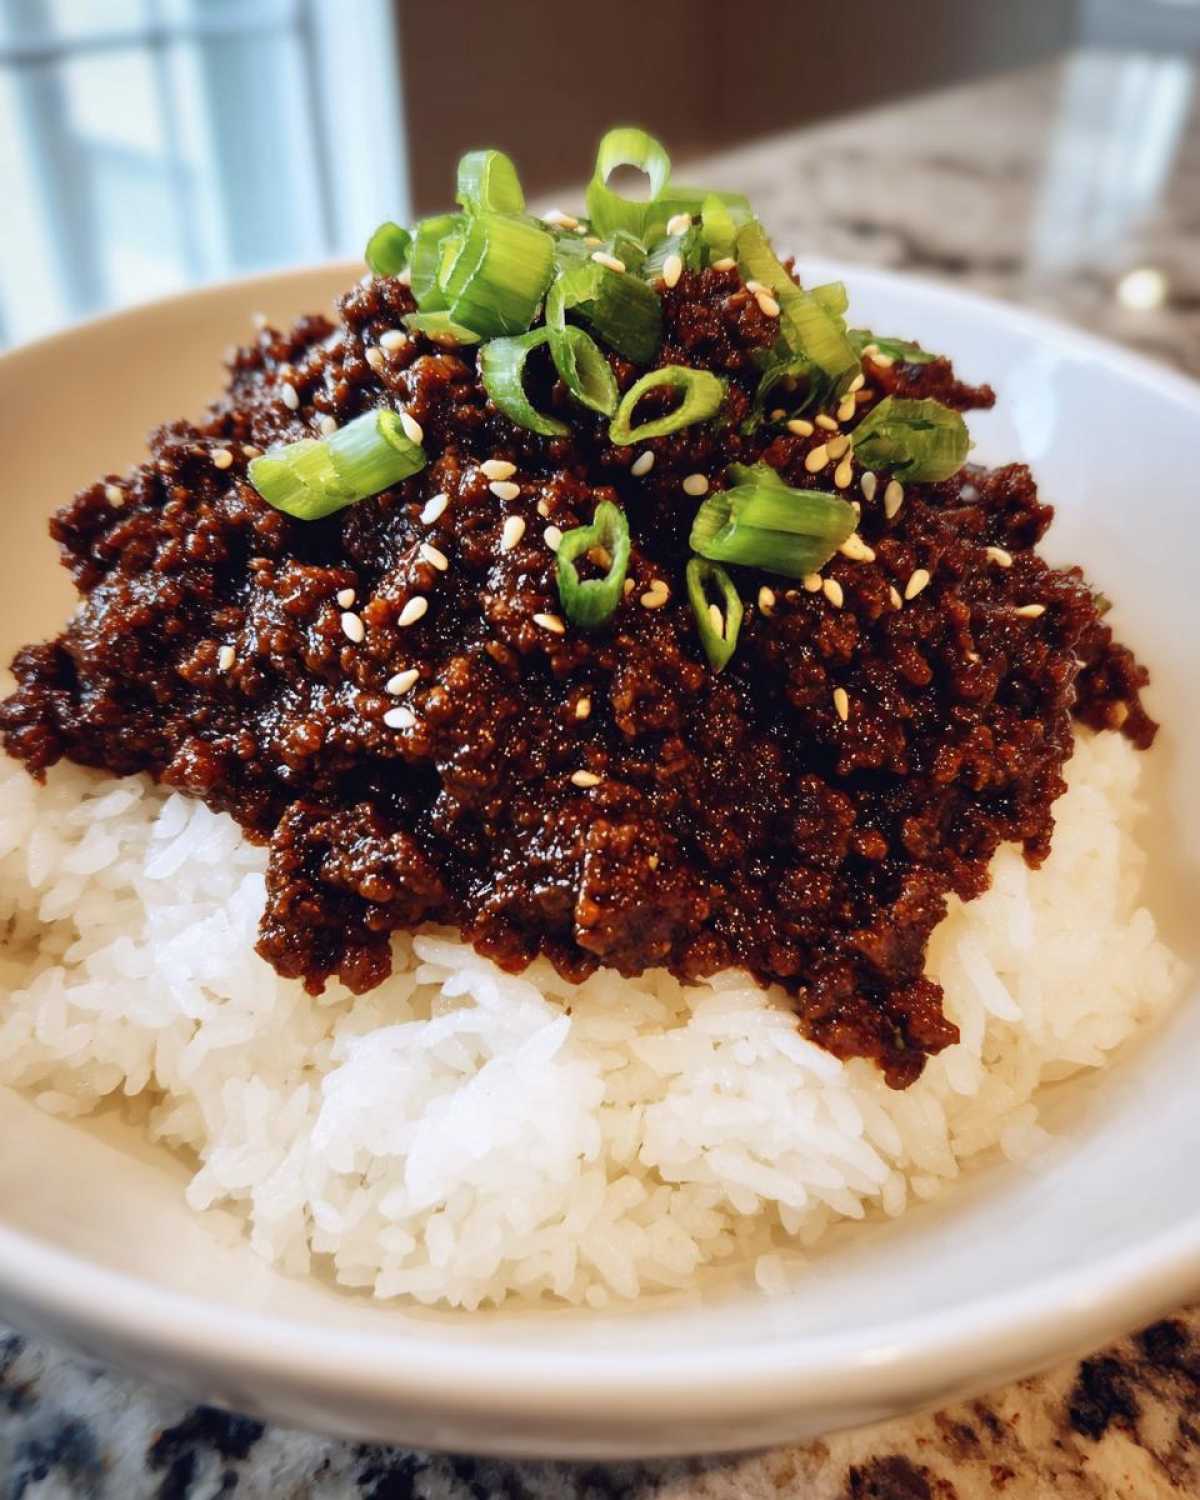
I always direct people to my main Instant Pot Bulgogi Recipe guide for more variations, but here’s what I do for serving this version.
Simple Topping Ideas for Flavor Contrast
That little bit of green from sliced green onions sprinkled liberally right on top gives such a fresh, sharp contrast to the rich, sweet beef. Then, a sprinkle of toasted sesame seeds adds that nutty crunch we all love! If you want another layer of flavor, trust me on this: a small spoonful of kimchi or maybe even some quick-pickled radish alongside the bowl adds a bright, sour element that cuts through the richness perfectly.
Making This a Complete One Pot Korean Meal
While the beef cooks in the pot, the rice is handled separately (unless you’re feeling brave!), making this technically a two-pot meal. But if you want to bulk it up with veggies right in the pot, here’s a trick: during that last **Sauté** step when you’re thickening the sauce, toss in some thinly sliced carrots or some fresh broccoli florets. They’ll cook rapidly in that simmering sauce and become nicely tender-crisp. It keeps the clean-up down while making sure you get your greens in!
Storage and Reheating Instructions for Leftover Instant Pot Korean Beef
Let’s be honest, sometimes these quick weeknight dinners result in leftovers, and that’s absolutely fine! This beef is fantastic the next day, but you have to store it correctly if you want that sauce to stay glossy and that beef to stay tender. The biggest mistake people make is tossing the sauce-covered beef right back into the same container as leftover rice.
When you mix the sauce with the rice immediately, the rice soaks up all that delicious liquid and turns mushy and gummy by morning. Trust me on this one—don’t do it!
For the best results later, always store the beef mixture and the rice in completely separate airtight containers. The beef will keep beautifully in the fridge for three to four days because the soy sauce acts as a great preservative. The rice is best within two days, but you can freeze it if you need longer storage.
Reheating the Beef Mixture
When you are ready to eat leftovers, I always recommend reheating the beef on the stovetop if you can. Pop the beef into a small saucepan over medium heat. You’re just warming it through, so it only takes about five minutes. Keep it moving so the sugars don’t scorch!
If you are in a rush and need to use the microwave, that works too! Put the beef in a microwave-safe bowl and heat it in 30-second bursts, stirring well between each time, until it’s thoroughly warmed. You might notice the sauce looks a little tighter after refrigeration; if it has gotten too thick for your liking, just stir in a splash of water or broth while reheating to loosen it back up to that perfect, clingy sauce consistency.
Reheating the Rice
Reheating rice is simple, but different methods give different textures. For one serving, I usually splash just a teaspoon of water over the rice in a bowl before microwaving it for 60 to 90 seconds. The water turns to steam and prevents the rice from drying out and getting hard.
If you’re doing a bigger batch on the stovetop, treat it like steaming! Put the rice in a pot with just a tablespoon or two of water, cover it tightly, and warm it over very low heat until it’s fluffy again. Then, simply top with your reheated, saucy beef, add fresh green onions, and you’ve got a nearly brand-new meal!
Troubleshooting Common Issues with Your Quick Pressure Cooker Beef
Okay, I know I said this recipe is foolproof, but sometimes appliances act up, or maybe we just get distracted when we’re trying to juggle three things at once—it happens to the best of us! Even though this is a super simple pressure cooker recipe, there are two main hiccups I see people run into when making this amazing beef.
Don’t panic if things don’t go exactly as planned the first time; troubleshooting is just part of the cooking journey! These little speed bumps won’t ruin your dinner, I promise.
Why Did My Instant Pot Give Me a Burn Notice?
This is the number one fear everyone has when using an Instant Pot with sauces, especially ones that have sugar like this one! That scary, loud beep and the word ‘BURN’ popping up means the sensor detected food sticking to the bottom and overheating. In this specific recipe, it almost always comes down to two things happening right before you hit ‘Start.’
Did you stir that liquid (the 1/2 cup of water or broth) into the meat mixture before sealing and starting the timer? If you did, that’s probably your culprit! The sensor needs that layer of clear liquid on the bottom to prevent the sauce from touching the heating element directly. The second potential cause is if you used way too little liquid overall. Always stick to that minimum 1/2 cup; it’s essential for building proper pressure!
What If My Sauce Isn’t Thick Enough After Sautéing?
So, you’ve vented, opened the lid, and everything smells amazing, but the sauce is still watery and looks more like broth than a sticky glaze? Bummer! This usually means you didn’t give the cornstarch slurry enough time to work its magic during the Sauté phase. When you turn the setting to Sauté, you have to keep stirring that mixture constantly until it visibly bubbles and thickens.
If it still seems loose after a full two minutes of stirring, turn the Sauté setting to LOW for another minute and keep stirring vigorously. Cornstarch needs that heat and agitation to fully activate. Don’t worry if it takes three full minutes; just keep stirring until it coats everything nicely. If it’s still too thin after that, you can always mix up another *tiny* slurry (half a teaspoon of cornstarch with a tablespoon of cold water) and whisk that in for another minute of cooking.
My Beef Turned Out Rubbery or Soggy–What Went Wrong?
Since we are using ground beef, this isn’t as common as it would be if you used steak strips, but it can still happen if you mess with the cooking time too much. If the beef feels soft and mushy instead of holding its texture slightly, you might have overcooked it. Remember, we set it for *8 minutes* on High Pressure. Anything over 10 minutes with ground beef, even with a Natural Release, can start to break it down too much.
Alternatively, if you feel like the beef is slightly tough or squeaky (which is rare with ground meat but happens!), it means you might have released the pressure too quickly, or maybe your machine didn’t quite hit full pressure. When releasing, always stick to that 5-minute NPR before switching to QR. That initial slow release lets the meat fibers relax back onto themselves, ensuring a tender bite every time.
Frequently Asked Questions About Instant Pot Korean Beef and Rice Bowls
I know when you’re looking for a new recipe, you always have a few sticking points. Sometimes the ingredients aren’t exactly what you have on hand, or maybe you’re wondering how to tweak it for lunch the next day! I put together the most common questions I get about this fantastic recipe. Don’t forget you can find more detailed info on my main guide for Instant Pot Korean Beef if you need even more depth!
Can I use thinly sliced steak instead of ground beef in this Instant Pot Korean Beef Recipe?
Oh, that’s a great question! You absolutely *can* use thinly sliced steak—that moves you toward a traditional Bulgogi style, which is heavenly. However, because steak is denser than ground beef, you need to treat it differently in the pressure cooker. If you substitute steak, you’ll need to increase the pressure time a bit, probably aiming for 10 to 12 minutes on High Pressure, followed by a Quick Release (QR) to keep that beautiful chewiness.
If you use steak, you might want to incorporate the technique I use for my Instant Pot Marinated Beef, which ensures the meat doesn’t dry out when pressure cooking longer slices. Just make sure your marinade coats everything well before you seal the lid!
How can I make these Korean Beef Bowls under 30 minutes?
The great news is that these Korean Beef Bowls are designed to be done in about 25 minutes total, but only if you multitask efficiently! The key is timing your rice. Don’t wait for the beef to finish pressure cooking to start the rice. As soon as you seal the lid on the Instant Pot and walk away to let it cook for those 8 minutes, get your rice cooker running or start the rice on your stovetop.
If your rice is ready right when the beef finishes its 5-minute Natural Release, you can have the sauce thickened (which takes maybe 2 minutes of Sauté time) and be serving bowls immediately. It’s all about parallel processing!
Is this recipe suitable for a Healthy Korean Ground Beef version?
I love that you’re thinking about making this a healthier option! Since the base is just ground beef and sauce, it’s already pretty straightforward. To make it a more Healthy Korean Ground Beef meal, I highly recommend grabbing 93/7 lean ground beef instead of the standard 80/20 mix. You’ll be cutting down significantly on the overall fat content.
Also, since the flavor profile is so strong already, you can comfortably reduce that brown sugar down to just 3 tablespoons, or even swap half of it for a zero-calorie sweetener blend if you need to watch sugar intake. You still get that sticky glaze, just with less sugar overall!
Final Thoughts on Making Fantastic Instant Pot Korean Beef and Rice Bowls
Honestly, if you still feel intimidated by pressure cooking, this is where you need to start! This recipe proves you can get all the deep satisfaction of a slow-cooked meal in the time it takes to watch the news. These Instant Pot Korean Beef and Rice Bowls are messy, flavorful, and exactly what you need when you’re crashing after a long day.
It’s just so much better than takeout, and it comes together faster! I hope you try this soon and see why this has become my ultimate go-to for a satisfying meal.
Share Your Weeknight Korean Dinner Success
When you try this out, please come back and let me know! Rate the recipe down below, and tell me if you made any of the variations we talked about, like swapping the liquid or adding extra veggies. I absolutely love seeing your creations! Tag me on social media when you post photos of your finished Weeknight Korean Dinner so I can see how amazing your bowls turned out!
Final Thoughts on Making Fantastic Instant Pot Korean Beef and Rice Bowls
Honestly, if you still feel intimidated by pressure cooking, this is where you need to start! This recipe proves you can get all the deep satisfaction of a slow-cooked meal in the time it takes to watch the news. These Instant Pot Korean Beef and Rice Bowls are messy, flavorful, and exactly what you need when you’re crashing after a long day.
It’s just so much better than takeout, and it comes together faster! I hope you try this soon and see why this has become my ultimate go-to for a satisfying meal. Find even more quick inspiration over on my main blog page!
Share Your Weeknight Korean Dinner Success
When you try this out, please come back and let me know! Rate the recipe down below, and tell me if you made any of the variations we talked about, like swapping the liquid or adding extra veggies. I absolutely love seeing your creations! Tag me on social media when you post photos of your finished Weeknight Korean Dinner so I can see how amazing your bowls turned out!
PrintInstant Pot Korean Beef and Rice Bowls
Prepare tender, flavorful Korean-style beef quickly using your Instant Pot, served over rice for a complete weeknight meal.
- Prep Time: 10 min
- Cook Time: 15 min
- Total Time: 25 min
- Yield: 4 servings
- Category: Dinner
- Method: Pressure Cooking
- Cuisine: Korean
- Diet: Low Fat
Ingredients
- 1.5 lbs ground beef
- 1/2 cup soy sauce
- 1/4 cup brown sugar, packed
- 2 tablespoons sesame oil
- 2 tablespoons rice vinegar
- 1 tablespoon minced fresh ginger
- 4 cloves garlic, minced
- 1/2 cup water or beef broth
- 1 tablespoon cornstarch
- 2 tablespoons cold water (for slurry)
- Cooked white or brown rice, for serving
- Optional toppings: Sliced green onions, sesame seeds
Instructions
- In the inner pot of your Instant Pot, combine the ground beef, soy sauce, brown sugar, sesame oil, rice vinegar, ginger, and garlic. Stir well until the beef is coated with the sauce mixture.
- Pour the 1/2 cup of water or beef broth over the mixture. Do not stir after adding the liquid.
- Secure the lid on the Instant Pot and set the vent to sealing.
- Select the Manual or Pressure Cook setting and set the time for 8 minutes on High Pressure.
- When the cooking cycle finishes, allow for a Natural Pressure Release (NPR) for 5 minutes, then carefully perform a Quick Release (QR) for any remaining pressure.
- Open the lid. In a small bowl, whisk together the cornstarch and 2 tablespoons of cold water to create a slurry.
- Turn the Instant Pot to the Sauté function (Normal setting). Stir the slurry into the beef mixture. Cook, stirring constantly, until the sauce thickens, about 1 to 2 minutes.
- Serve the Korean beef immediately over bowls of cooked rice. Garnish with green onions and sesame seeds if desired.
Notes
- If you prefer a less sweet flavor, reduce the brown sugar to 3 tablespoons.
- For a richer flavor, substitute the water with beef broth when adding the liquid.
- You can cook your rice separately while the beef is pressure cooking for faster assembly.
Nutrition
- Serving Size: 1 bowl (approx. 1/4 beef mixture + 1 cup rice)
- Calories: 450
- Sugar: 12
- Sodium: 850
- Fat: 18
- Saturated Fat: 7
- Unsaturated Fat: 11
- Trans Fat: 0
- Carbohydrates: 45
- Fiber: 2
- Protein: 30
- Cholesterol: 85