

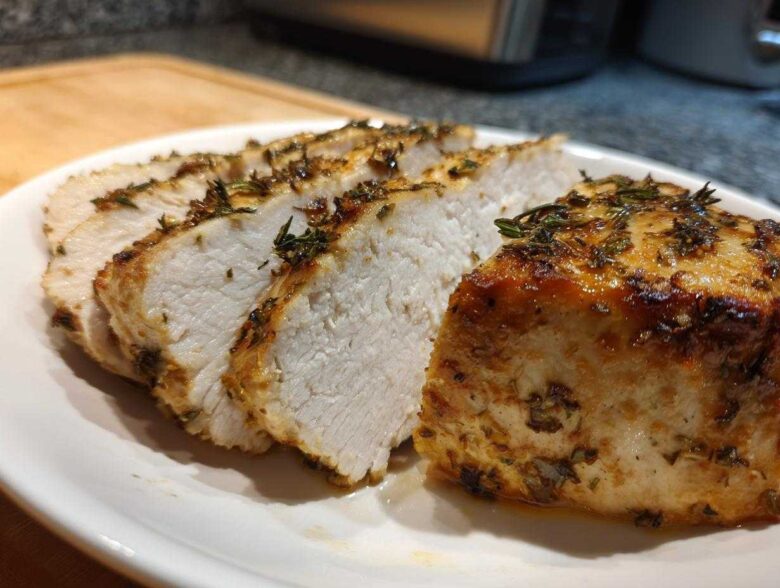
Let’s be honest, is there anything sadder than looking forward to a supposedly healthy dinner only to find your baked chicken breast has the texture of shoe leather? I’ve been there, staring down a sad piece of poultry while Marco patiently waited because that was the designated ‘simple Tuesday night meal.’ We both agreed that if we were going to cook for ourselves—to honor our own hunger—it couldn’t taste like an afterthought. So, Marco took it upon himself to develop what I now call the ultimate defense against dry poultry: the Foolproof Juicy Oven Baked Chicken Breast. This isn’t about complicated marinades or equipment; it’s about nailing the basics so you get tender, flavorful, restaurant-style results, even on the busiest weeknights. This recipe is the result of Marco’s dedication to reclaiming our kitchen, making simple meals worthy of a Royal invitation. You can read more about our philosophy and why we think you deserve this perfectly cooked bird over at our story. Trust me, this recipe changed our relationship with weeknight protein!
Why This Foolproof Juicy Baked Chicken Breast Recipe Reigns Supreme
We spent far too long cooking chicken just because we felt we *should*. Now, we cook because we’re craving something delicious that doesn’t take an hour, and this recipe is the champion of that movement! It serves both as the best baked chicken breast foundation and a genuinely quick weeknight chicken solution.
- It’s incredibly hands-off, letting you focus on the side dishes or just pour yourself a glass of wine.
- We get that coveted, melt-in-your-mouth texture every single time—no guesswork involved!
Guaranteed Tender Baked Chicken Every Time
The secret to getting truly tender baked chicken lies in two small, fast steps: making sure the meat is uniform in thickness and actually paying attention to the thermometer. When the chicken is the same thickness all the way across, it cooks evenly, stopping that awful situation where the edges are dry and crispy while the center is still suspicious.
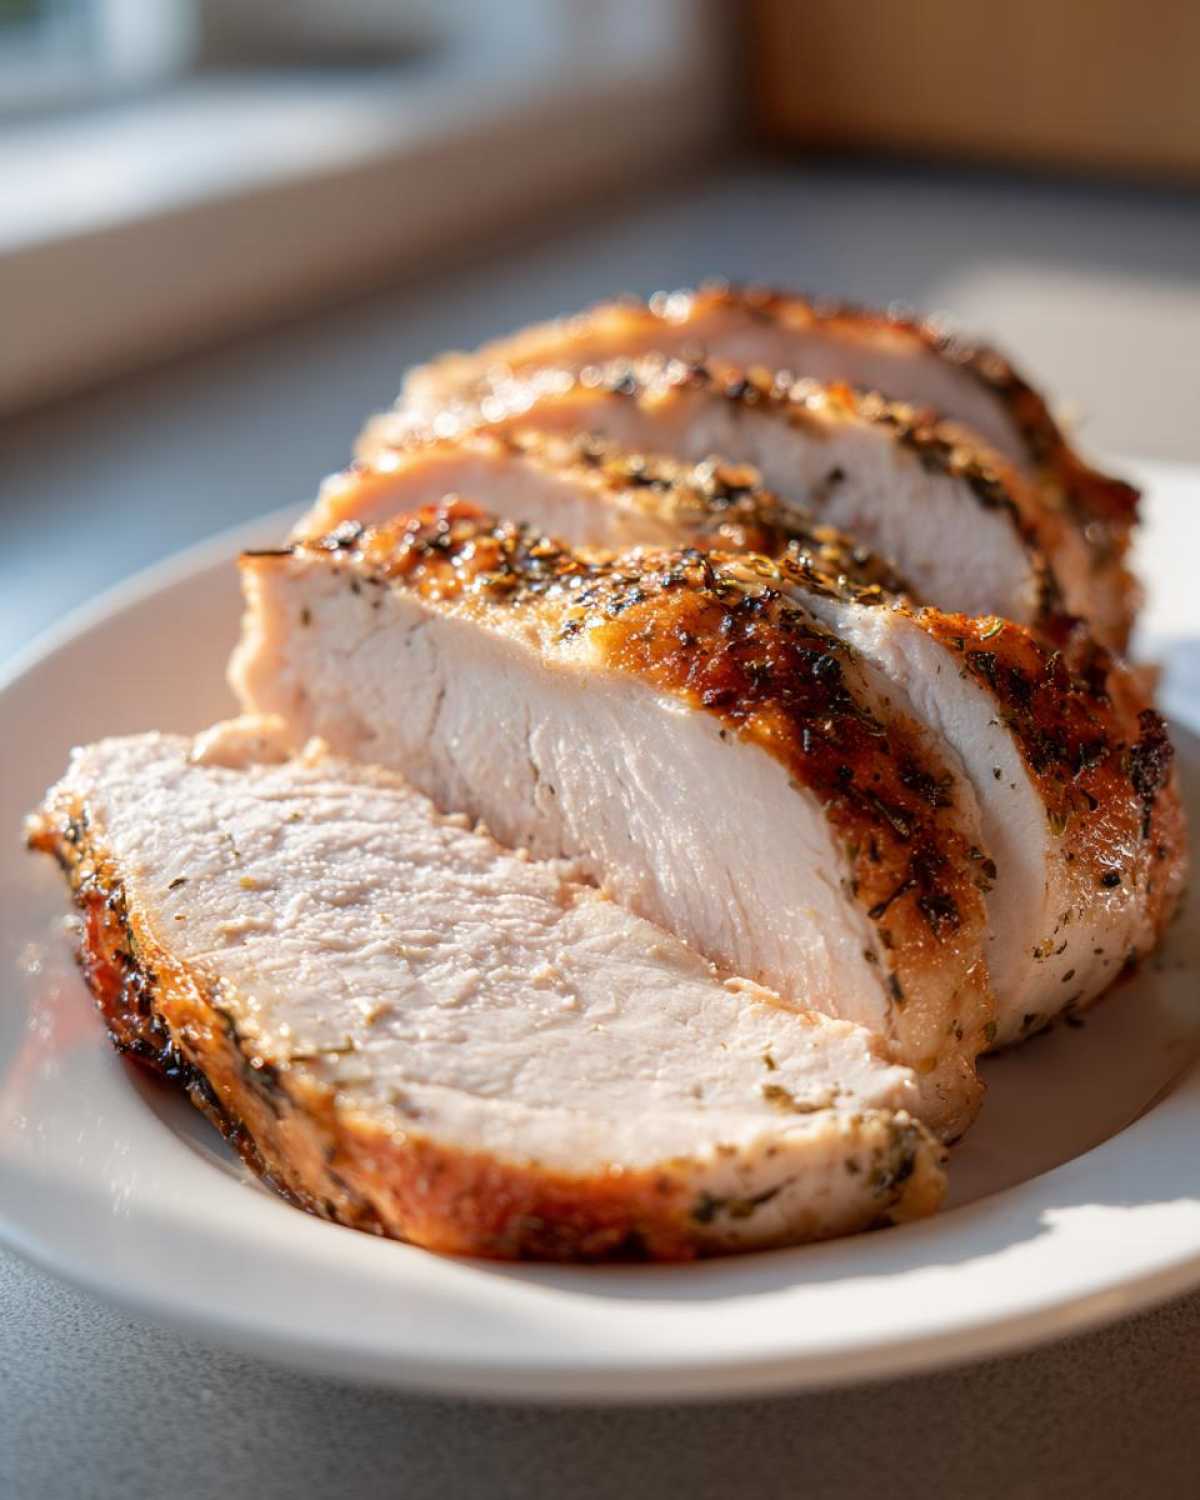
Simple Seasoned Chicken: Maximum Flavor, Low Effort
Marco designed the garlic herb rub to use only pantry staples, which keeps our prep time down to practically nothing. You don’t need fancy marinades; you just need the right blend of aromatics pressed right into the meat. It’s our go-to simple chicken recipe when we know we have zero energy left after a long day.
Essential Ingredients for Perfect Baked Chicken Breast
When we’re keeping things simple—which is most of the time these days—the quality and type of ingredients really shine through. For this baked chicken breast recipe, Marco insists on using a few specific things to make sure the flavors pop without adding complexity to the process itself. You probably have most of this stuff sitting in your spice drawer already!
The Garlic Herb Dry Rub Components
This rub is where the primary flavor comes from. Don’t skip mixing these together first, otherwise, you might end up with four chicken breasts that taste only like salt! We always use kosher salt because I like the way it adheres to the meat slightly better than fine table salt.
- 1 teaspoon kosher salt
- 1 teaspoon garlic powder (Don’t use garlic salt here!)
- 1 teaspoon dried oregano
- 1/2 teaspoon dried thyme
- 1/2 teaspoon paprika
- 1/4 teaspoon black pepper
- 1/4 teaspoon onion powder
Chicken and Coating Details
The cut of the chicken matters a lot for how successfully you achieve that moist chicken breast texture we are aiming for. Make sure you grab the right size!
- 4 (6 ounce) boneless, skinless chicken breasts
- 1 tablespoon olive oil
Quick tip from the kitchen: Give those chicken breasts a good pat down with a paper towel before you introduce the oil. Getting the surface dry helps the oil stick, and the oil helps the dry rub stick. It’s a simple trick, but it makes for better seasoning coverage!
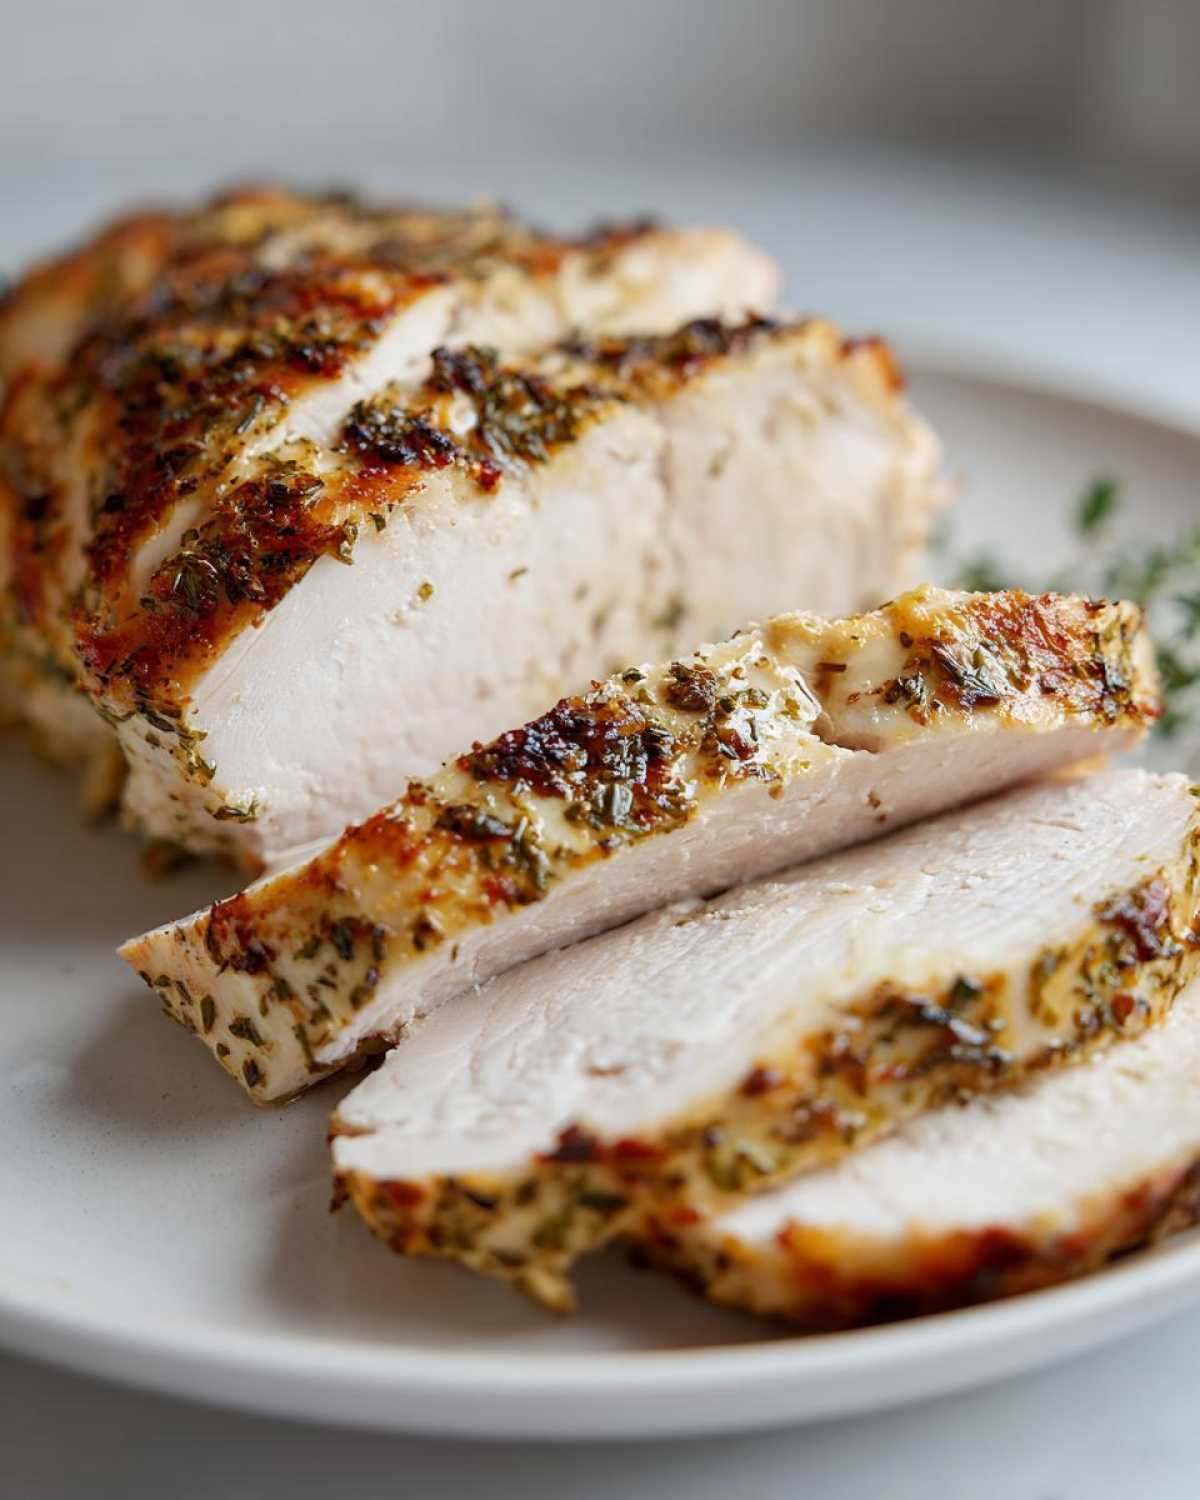
How to Prepare Your Juicy Baked Chicken Breast
Now we get to the actual cooking, and this is where Marco’s fussy attention to detail finally pays off! If you follow these steps exactly, you are officially saying goodbye to dry cuts forever. This ensures that every single part of your baked chicken breast gets the same attention, which is how we guarantee a perfect internal temperature.
Prep Work: Setting Up for Even Baked Chicken Breast
First things first: get that oven hot. We set the temperature high—425 degrees Fahrenheit—to start. This flash of heat helps sear the outside quickly and locks in the juices right away. While it’s heating up, pull out your baking dish (I use parchment paper underneath because I’m a rebel against scrubbing pans!).
Here is the most important thing you’ll do before seasoning: achieving even thickness. Look at your breasts; they always have a thick end and a thinner tail end. Grab a piece of plastic wrap and place it over the whole thing. Use the flat side of a meat mallet—or even a heavy rolling pin—to gently tap the thickest part until the entire breast is about 3/4 of an inch thick. It sounds like extra work, but it’s the cornerstone of how to bake chicken breast perfectly. Trust me on this one!
Seasoning and Coating the Chicken Breast
By now your dry rub should be mixed thoroughly. Take those beautifully flattened pieces of chicken and rub them all over with the olive oil. Don’t be shy; you want a nice coat. Then, grab your spice blend and coat both sides heavily. Don’t just sprinkle it on! I mean it: really press that seasoning into the meat with your hands. Marco says if you can still see meat color through the spices, you haven’t used enough simple seasoned chicken mix.
Baking and The Crucial Rest for Moist Chicken Breast
Lay the seasoned chicken breasts in a single layer in your prepared dish. Pop them into that screaming hot oven and set a timer for 18 minutes. They might take up to 22 minutes if they are particularly thick, but here is the number one rule for moist chicken breast: use an instant-read thermometer. Pull them out the instant they hit 165 degrees Fahrenheit in the thickest spot. Pull them out right at 165°F! If you want more flavor ideas for rubs, you can check out Marco’s great thoughts on garlic butter creations.
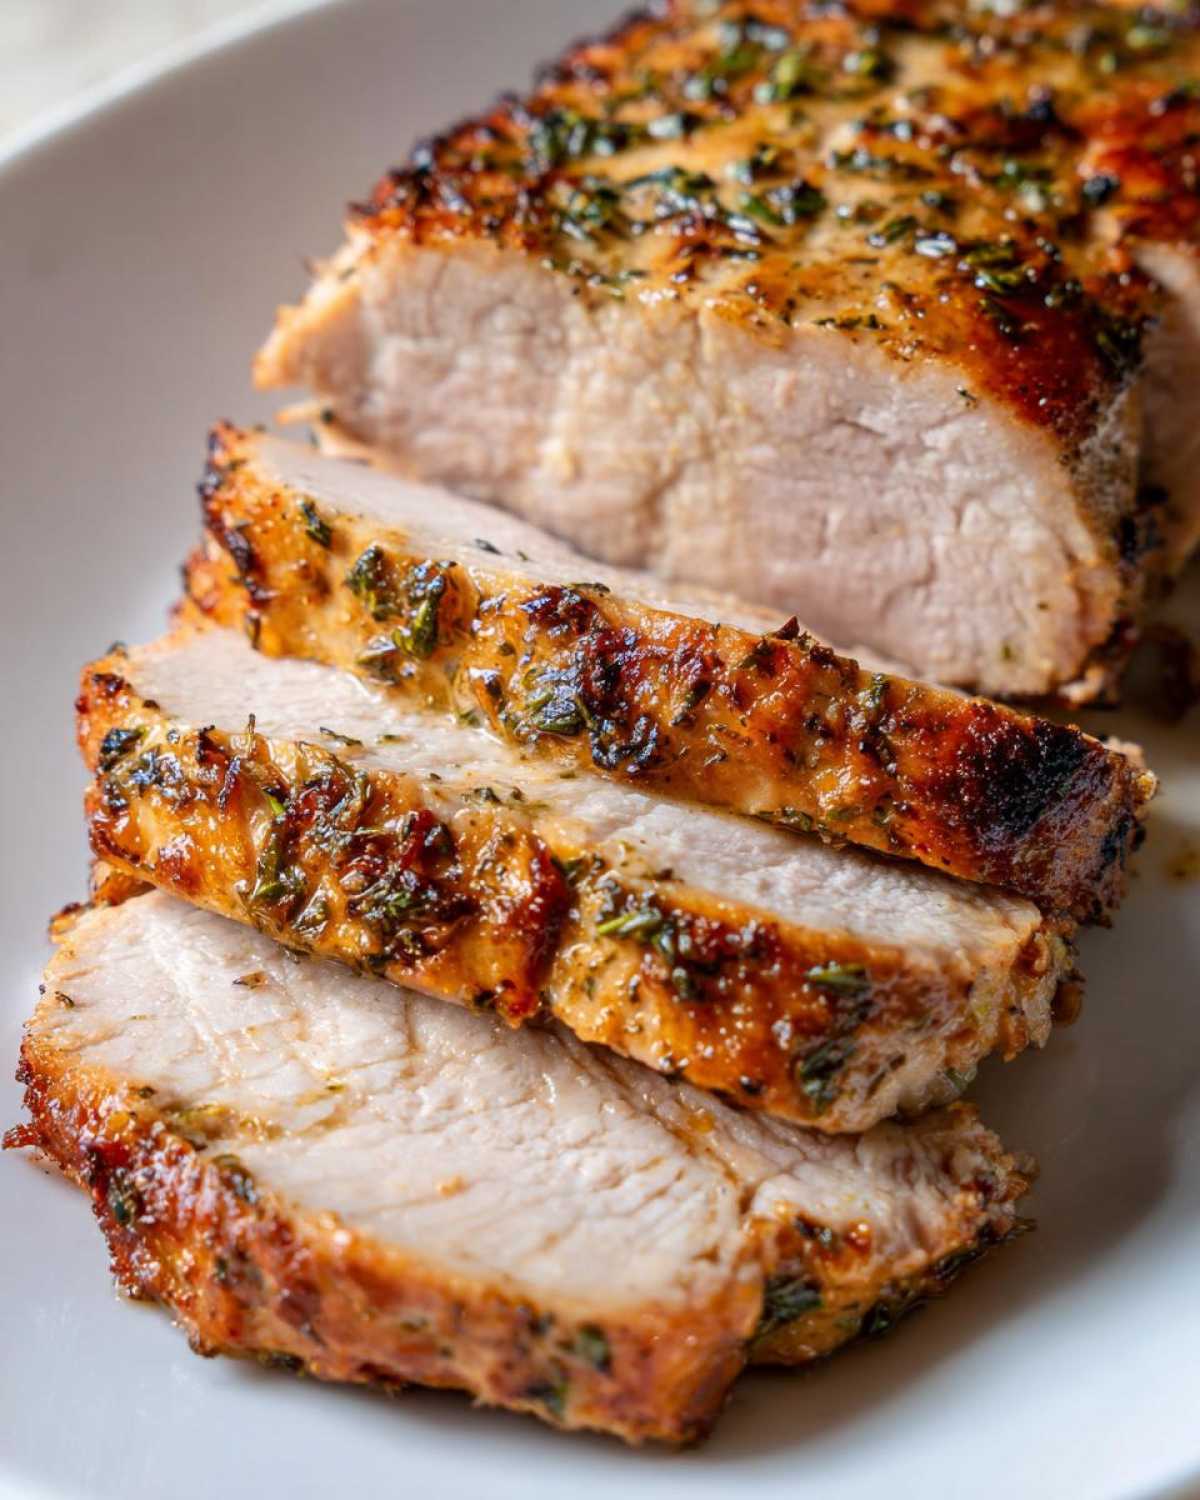
Now, this final step is non-negotiable: let the chicken rest! Take the dish out, cover it loosely with foil, and walk away for a solid 5 to 10 minutes. If you skip this resting period, all those delicious juices you fought so hard to keep inside will just spill out onto your cutting board. We need those juices to redistribute back into the meat fibers for ultimate tenderness.
Expert Tips for Restaurant Style Chicken Breast Success
Marco swears that everyone who complains about dry chicken just hasn’t learned to trust their tools yet. Seriously, mastering the baked chicken breast is more about knowing the internal temperature of your meat than timing it perfectly, although timing helps! We’ve been ruling our small table for years now, and these little tricks are what elevate it from simple home cooking to that satisfying, restaurant style chicken breast you actually crave. If you want to see what other great tips we’ve uncovered for weeknight victories, check out the rest of our royal journal.
The Thermometer is Your Best Friend for Baked Chicken Breast
I’m putting this first because it’s the biggest game-changer. If you don’t own an instant-read thermometer, go get one right now! I’m not kidding. Timing seems reliable, but honestly, the thickness of chicken breasts varies so much that 20 minutes might be perfect for one and totally overdone for the next. Sticking that probe into the thickest part and pulling it the second it reads 165°F is what guarantees you have foolproof chicken cooking every time. Otherwise, you are just guessing!
Flavor Boosts and Moisture Insurance
If you are planning ahead and want to go the extra royal mile, try a quick brine. It sounds fancy, but it’s just soaking the chicken in salted water for about 30 minutes before you season it up. It plumps the meat fibers and gives you even more insurance against dryness. If you skipped that step or are having a super busy day, try swapping half of the olive oil for melted butter when you rub the seasoning on. That bit of extra fat adds such a wonderful richness when it bakes. It really ups your healthy baked chicken game into something truly decadent!
Using Your Baked Chicken Breast for Chicken Breast Meal Prep
Once you’ve mastered getting your baked chicken breast perfectly juicy, you absolutely should make extra! This recipe is honestly better the next day, and it’s such a fantastic base for quick lunches. Making a big batch means you have ready-to-go protein for salads, tossing into pasta, or slicing over rice throughout the week. This keeps your commitment to easy, healthy baked chicken alive even when the schedule gets hectic.
Once they are fully cooked (check that 165°F!), the key to successful meal prepping is letting them cool completely on the counter before you ever wrap them up. Putting hot chicken straight into a sealed container creates steam, and that steam is your enemy because it makes the meat soggy. Let them chill out completely first! I usually shred or slice mine right before I store them in airtight containers, or I keep them whole if I know I’ll want them as a whole piece later. If you are looking for other quick grab-and-go ideas, Marco makes these amazing little egg muffins you should try!
Serving Suggestions for Your Oven Chicken Main Course
This oven baked chicken breast is so versatile, it’s like the little black dress of protein! You nailed the main event, now how do you make it look like a complete feast without hours of work? Marco and I keep our weeknight dinners focused on one excellent starch and one vibrant vegetable. Sliced thin, this chicken goes beautifully over a simple bed of whatever grain you have on hand—quinoa, rice, whatever works!
For a truly regal touch that takes minutes, pair this savory, herby flavor with my recipe for roasted garlic mashed potatoes. If you’re keeping it lighter, steamed asparagus or quick-roasted broccoli tossed with lemon zest makes this an absolutely perfect chicken breast dinner idea. It tastes like you tried way harder than you actually did!
Storing and Reheating Your Tender Baked Chicken
We put so much effort into getting that perfect tender baked chicken texture, we sure don’t want to ruin it during storage or reheating! If you made extra, you’re in luck because this is great for leftovers. You can safely keep your cooked chicken breasts in a tightly sealed, airtight container in the refrigerator for about three to four days. Any longer than that, and you start risking texture and quality loss, even if it’s technically safe to eat.
The reheating process is where most people mess up, turning that juicy bird into jerky. My biggest piece of advice is to avoid the microwave if you possibly can, especially if you’re reheating a whole breast. The microwave heats unevenly and zaps moisture fast, which defeats the whole purpose of our careful baking!
If you must use the microwave, only reheat individual slices and only heat them until they are *just* warm, maybe 30 seconds at a time. But the best way to keep the meat soft is low and slow in the oven or even gently on the stove top. Dice or slice your leftover chicken first, place it in a small oven-safe dish—or even a small skillet—and add just a tablespoon or two of liquid. That liquid can be chicken broth, water, or even a little splash of white wine. Cover the dish tightly with foil and warm it on low heat (around 300°F) for about 10 minutes, or until warmed through. That little bit of steam traps moisture and keeps your leftovers tasting surprisingly close to fresh!
Frequently Asked Questions About Baked Chicken Breast
If you’re still thinking about this recipe, I totally get it! Sometimes you just need that final reassurance before walking into the kitchen. Marco and I field so many questions about these simple techniques, so I gathered up the ones we hear the most often. Getting the details right is what separates merely adequate chicken from truly juicy baked chicken!
Can I make this baked chicken breast recipe without pounding them first?
Oh, you absolutely *can*, but I really, really don’t want you to! Pounding the chicken is that little trick that separates the beginners from the pros when learning how to bake chicken breast. If you skip that step, you’ll end up with a thick end that hits 165°F way too late while the thinner tail end is totally dried out. We pound them to get an even 3/4 inch thickness so the entire thing cooks consistently. If you manage without it, the only way to save yourself from dry edges is to pull the whole thing out slightly underdone and finish it later, but that just adds fuss! Don’t skip the mallet work!
What is the best temperature for baked chicken breast to keep it moist?
See, this is tricky! We use a high heat—425°F—to start, which helps create a nice crust and seals in flavor quickly. But Marco always says that oven temperature is just the environment; what matters is what’s happening *inside* the meat. For a truly moist chicken breast, the internal temperature needs to hit 165 degrees Fahrenheit and not a degree more! Use a thermometer! That’s the real secret to ensuring it stays tender. If you want a deeper dive into why temperature trumps time, you can check out how others are mastering melt-in-your-mouth chicken breast.
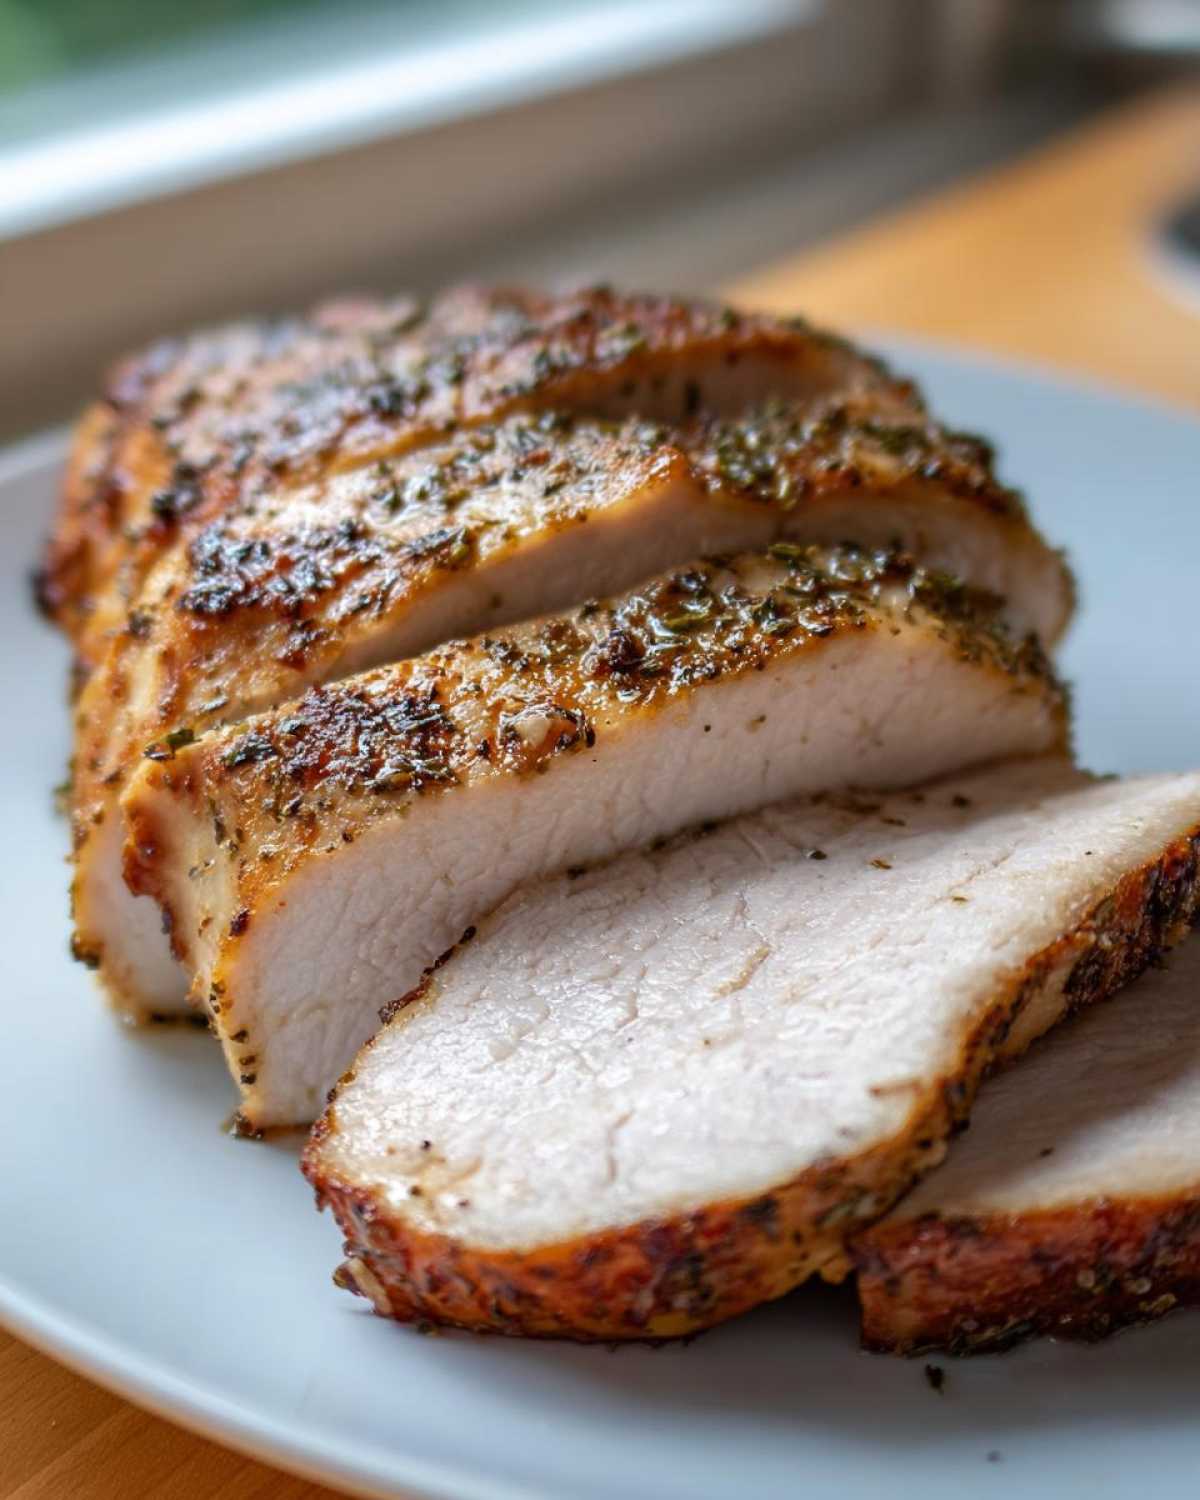
How long can I store leftovers of this baked chicken breast?
Because we have such tender, amazing leftovers, we always make four breasts on Sunday night! For the simple seasoned chicken leftovers, store them in a shallow, air-tight container in the fridge. As long as they are stored properly, they should be perfectly good and safe to eat for three to four days. Honestly, if they last that long, it means we weren’t hungry enough the night before!
Share Your Experience Making This Easy Chicken Breast Recipe
Now that you know Marco’s tricks for mastering the impossibly juicy baked chicken breast, I really want to know how it went for you! Did you finally conquer the dryness monster? Did the 425°F heat start seem scary at first, but then result in that perfect, seasoned crust we love?
We built this whole philosophy around cooking beautiful, delicious food for ourselves—for our own table—without the unnecessary drama. I hope this simple, flavorful recipe helps you do the same, whether this is your first time attempting oven baked chicken breast or if you’re just looking for a reliable weeknight win.
Please leave a rating below and tell us in the comments exactly what you served alongside your perfectly cooked poultry! If you have any questions that we didn’t cover in the FAQ, feel free to send them over through our contact page. We genuinely love hearing from everyone who is ready to treat themselves like royalty at dinner!
PrintFoolproof Juicy Oven Baked Chicken Breast with Garlic Herb Rub
This recipe guarantees you cook tender, moist chicken breasts every time using a simple garlic herb dry rub and the right oven technique. It is quick enough for a weeknight dinner and perfect for meal prepping.
- Prep Time: 10 min
- Cook Time: 20 min
- Total Time: 30 min
- Yield: 4 servings
- Category: Dinner
- Method: Baking
- Cuisine: American
- Diet: Low Fat
Ingredients
- 4 (6 ounce) boneless, skinless chicken breasts
- 1 tablespoon olive oil
- 1 teaspoon kosher salt
- 1 teaspoon garlic powder
- 1 teaspoon dried oregano
- 1/2 teaspoon dried thyme
- 1/2 teaspoon paprika
- 1/4 teaspoon black pepper
- 1/4 teaspoon onion powder
Instructions
- Preheat your oven to 425 degrees Fahrenheit. Lightly grease a baking dish or line it with parchment paper.
- If your chicken breasts are uneven, place them between two sheets of plastic wrap and gently pound the thicker end until the breast is an even thickness, about 3/4 inch thick. This helps them cook evenly.
- In a small bowl, mix together the kosher salt, garlic powder, oregano, thyme, paprika, black pepper, and onion powder to create your dry rub.
- Rub the olive oil over all sides of each chicken breast.
- Generously coat both sides of the chicken breasts with the garlic herb dry rub, pressing the seasoning into the meat.
- Place the seasoned chicken breasts in the prepared baking dish in a single layer.
- Bake for 18 to 22 minutes, or until an instant-read thermometer inserted into the thickest part registers 165 degrees Fahrenheit. Cooking time depends on thickness.
- Remove the chicken from the oven and let it rest on a cutting board for 5 to 10 minutes before slicing. This resting step is crucial for juicy baked chicken.
- Slice against the grain and serve immediately, or cool completely for meal prep.
Notes
- For extra moisture, you can lightly brine the chicken in salted water for 30 minutes before seasoning.
- If you prefer a richer flavor, substitute half of the olive oil with melted butter when coating the chicken.
- Use an instant-read thermometer; this is the best way to avoid overcooking and ensure you have tender baked chicken.
Nutrition
- Serving Size: 1 breast
- Calories: 220
- Sugar: 0
- Sodium: 350
- Fat: 5
- Saturated Fat: 1
- Unsaturated Fat: 4
- Trans Fat: 0
- Carbohydrates: 1
- Fiber: 0
- Protein: 40
- Cholesterol: 110