

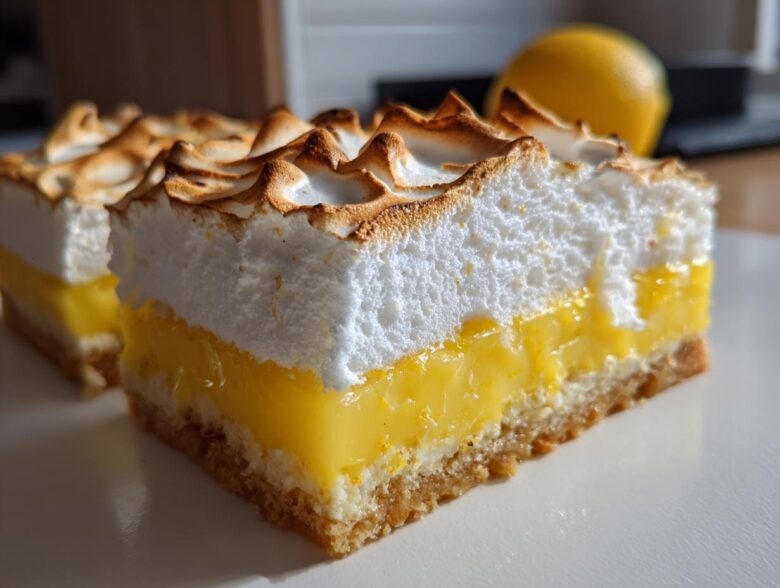
Okay, listen up! If you love that incredible bright, tart flavor of lemon meringue pie but absolutely despise trying to serve those wobbly, sliding slices at a potluck or picnic, I have solved your life. Seriously, the absolute game-changer has been figuring out how to make perfect Lemon Meringue Pie Bars.
I’m not kidding, I spent an entire summer perfecting this because I was so tired of pie crust shards everywhere! This version gives you that buttery shortbread crust, that intensely tangy lemon filling, and—the best part—a gorgeous, stable meringue topping that actually stays put. We are focusing heavily on making sure that meringue seals beautifully onto the filling so you get that classic flavor without any annoying weeping or sliding. Trust me, these bars are the answer to all your easy-to-serve dessert dreams. You’re going to make these over and over again.
If you’re looking for other zesty treats to try once you nail these, check out my recipe for zesty lemon cookies—they hit that tart craving perfectly too!
Why This Is the Best Lemon Meringue Pie Bars Recipe
When you make a dessert that’s intended to travel, you have to prioritize structure. That’s exactly what we did here. These aren’t just folded-up pie pieces; they are full-fledged Sweet and Tart Lemon Squares built for adventure!
- The crust is slightly thicker and uses cold butter, meaning it holds up when you pick it up—no breakage!
- They fit perfectly in containers, making them the ultimate Portable Lemon Meringue Dessert.
- The filling is cooked just right, so the whole bar stays neat.
Portable Format for Any Occasion
Tired of trying to balance a fork and a slice of slippery pie on your lap? Me too! The beauty of using a 9×13 sheet pan is that everyone gets a perfectly cut square. You cut them *after* they cool completely, which means no collapsing crusts or sadly droopy slices. The thick, buttery shortbread base acts like a little edible plate for the bright filling.
Achieving a Stable, Toasted Meringue Topping
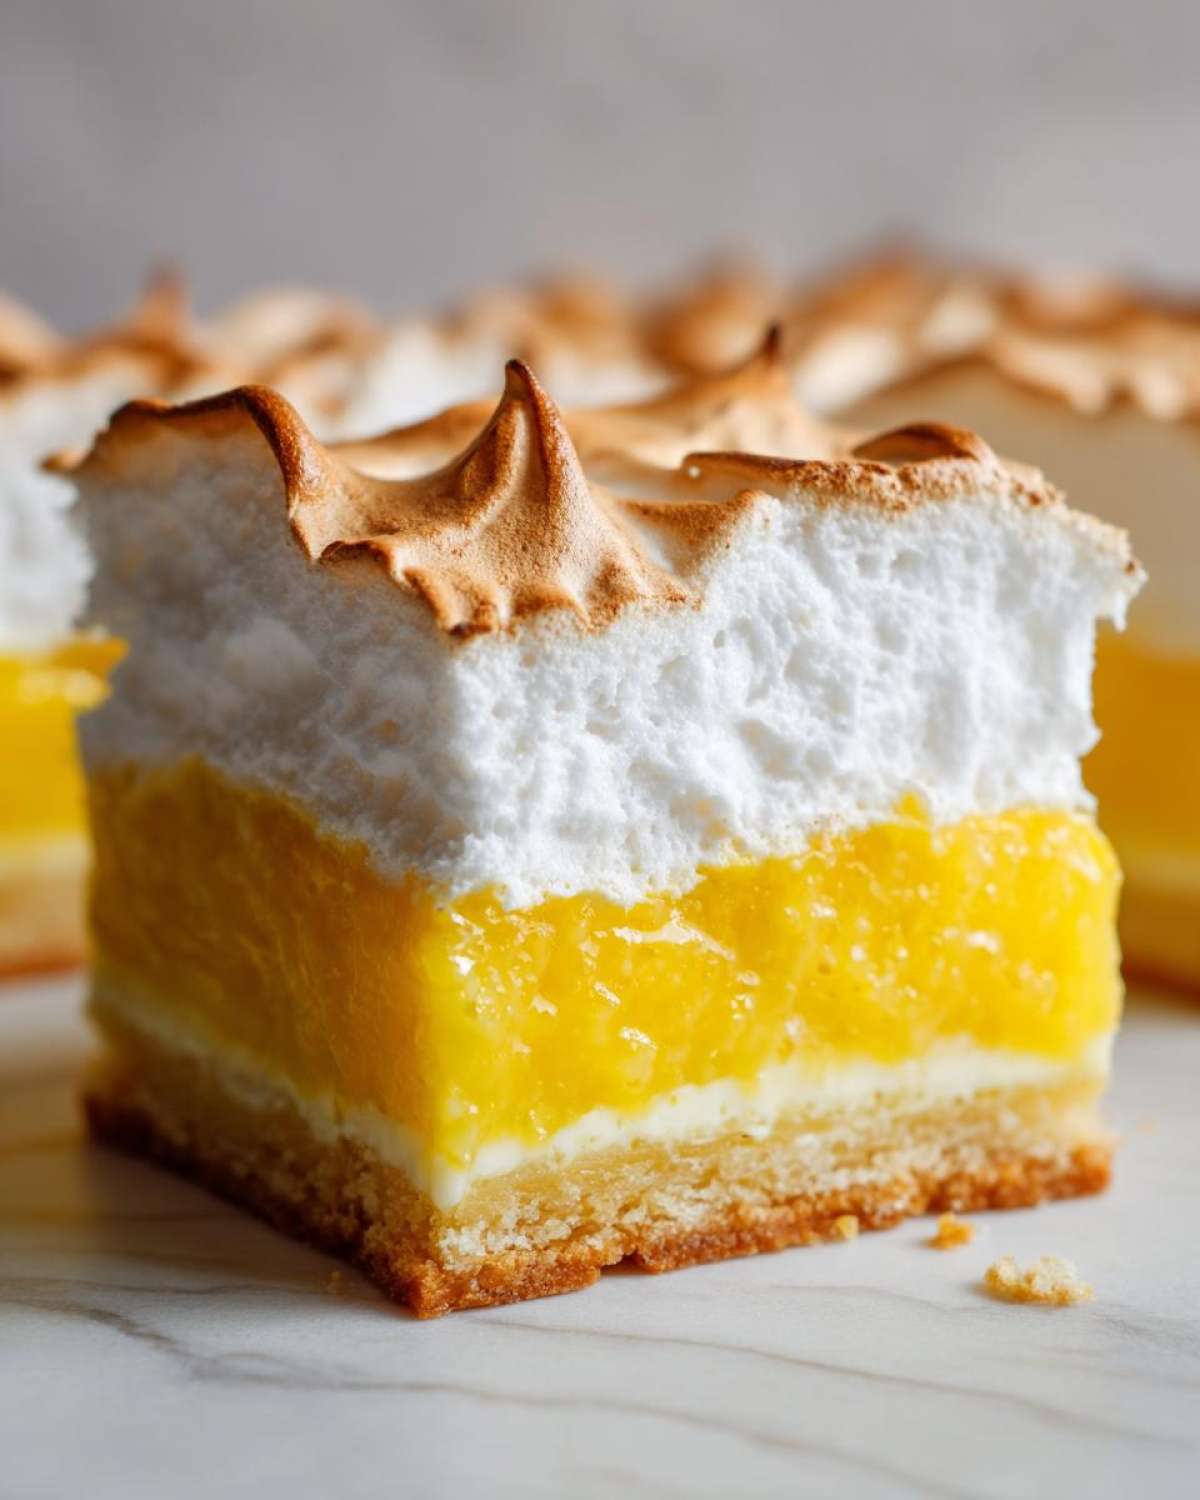
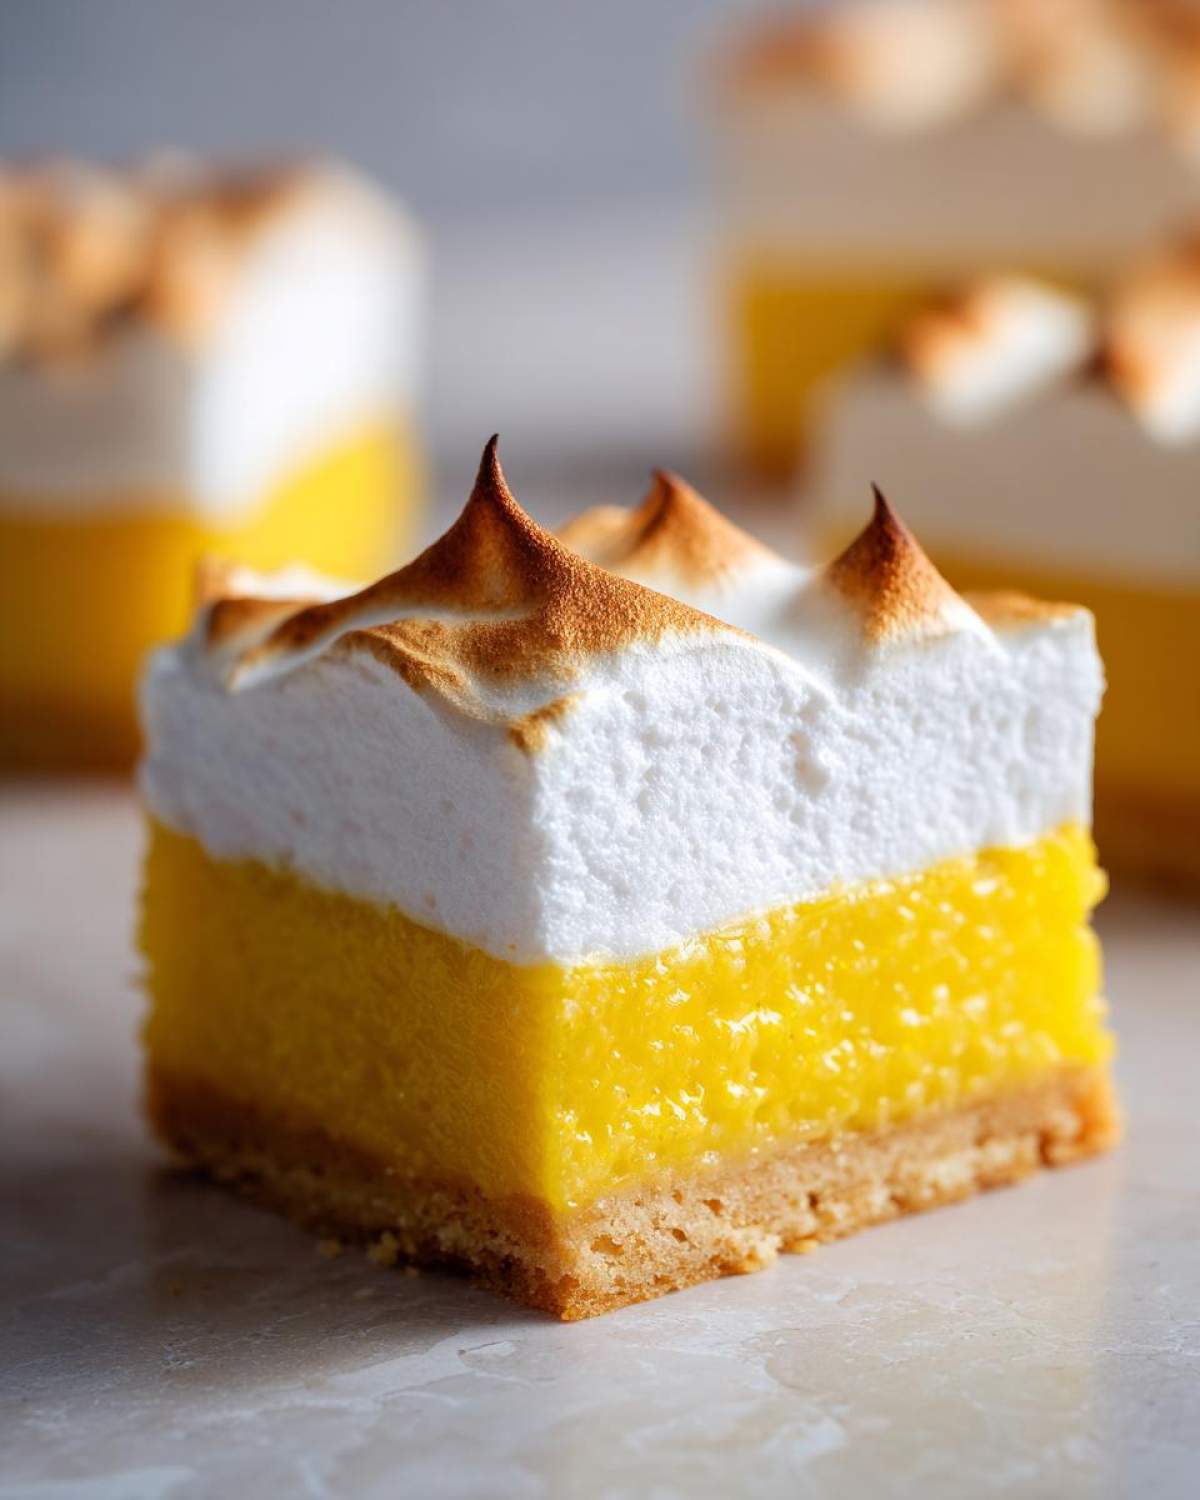
Meringue is scary, I get it! It’s supposed to weep, shrink, or slide right off, right? Not with these! By spreading the meringue over the hot filling and then baking it light brown, or using a torch for that perfect toast, you essentially shrink-wrap the topping to the lemon layer. This technique locks everything in, giving you those tall, gorgeous peaks without the post-baking drama.
Ingredients for Ultimate Lemon Meringue Pie Bars
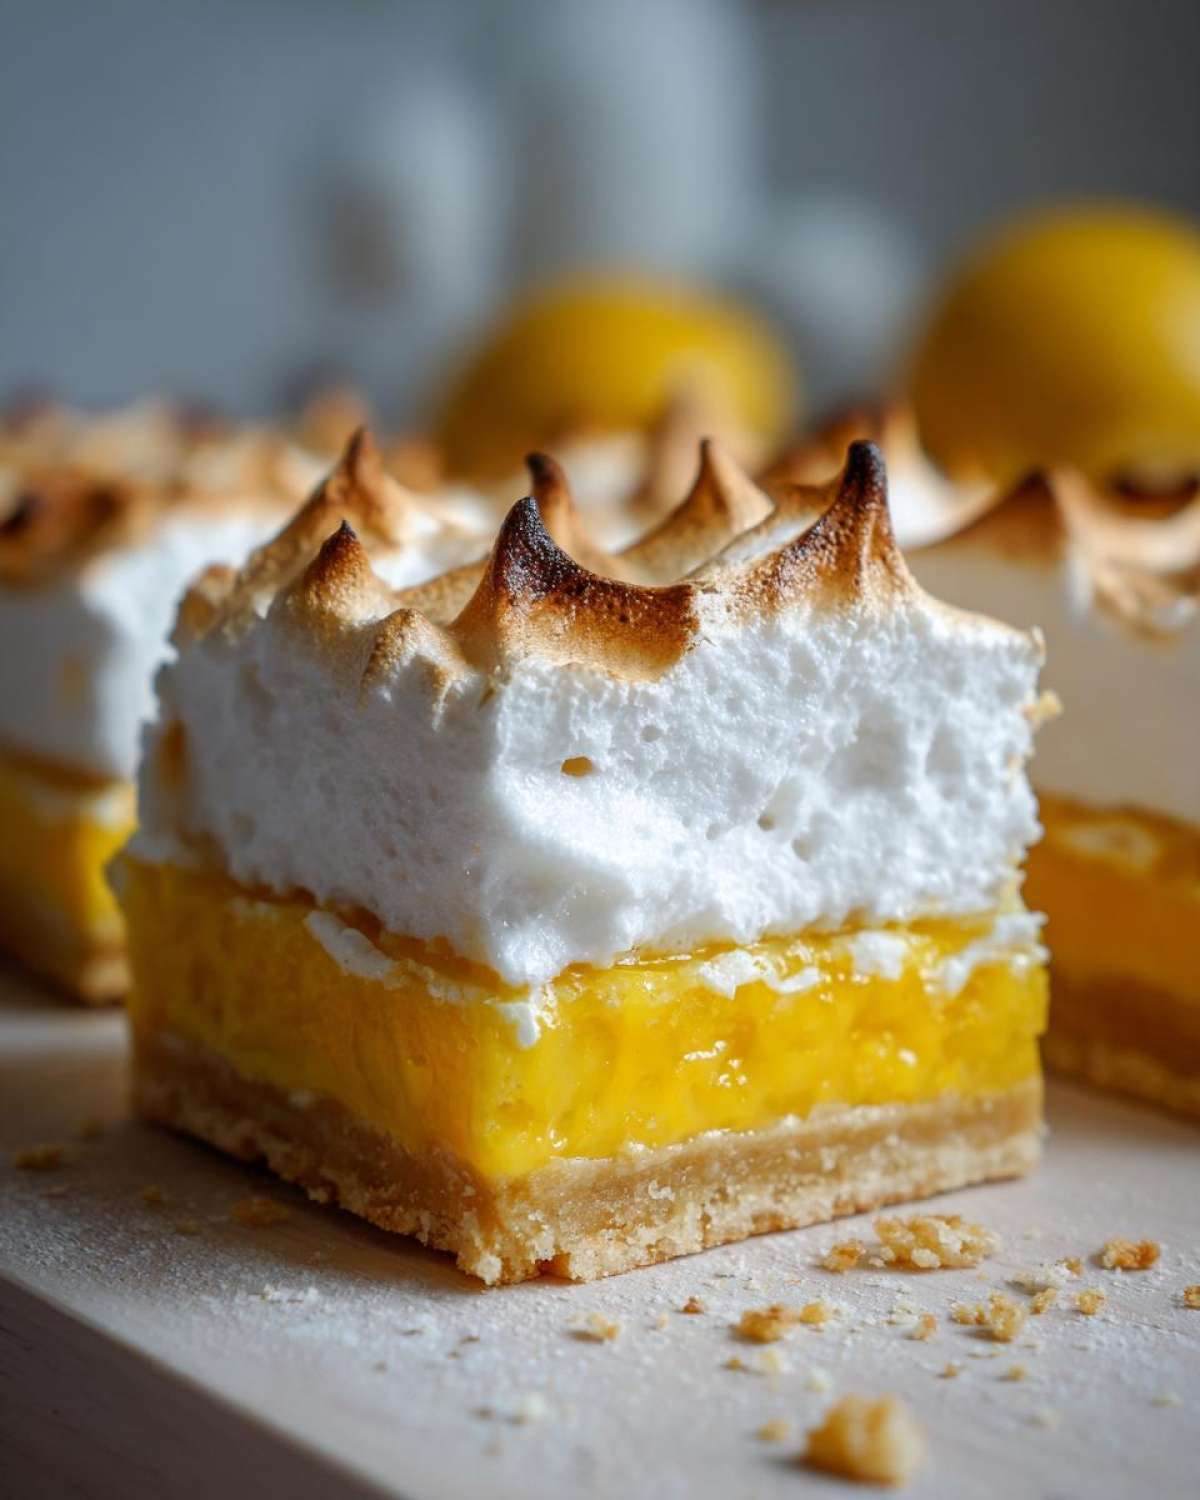
Okay, getting the right texture here is all about the components. You can’t skimp, but the good news is we’re using pantry staples! Remember, we broke this down into three parts: the supportive base, the punchy middle, and the fluffy top. If you’re feeling experimental, checking out my coffee cake cookie recipe shows how simple ingredient swaps can really change things up, but for these bars, precision matters!
For the Buttery Crust Lemon Bars Recipe
This is what holds everything together and gives us that wonderful Buttery Crust Lemon Dessert foundation. Make sure your butter is coming right out of the fridge; we want it cold for that shortbread crumble!
- 1 1/2 cups all-purpose flour
- 1/2 cup powdered sugar
- 1/4 teaspoon salt
- 1/2 cup (1 stick) cold unsalted butter, cubed
- 1 large egg yolk
- 1 tablespoon cold water
For the Bright Lemon Filling Recipe for Bars
This is where you get the zip! Using fresh juice is non-negotiable if you want those truly brilliant, Tangy Lemon Dessert Bars. Don’t even open a bottle unless you absolutely have to.
- 1 1/2 cups granulated sugar (reserve 1/2 cup for the meringue later!)
- 1/4 cup cornstarch
- 1/4 teaspoon salt
- 3 large egg yolks, beaten
- 1/2 cup fresh lemon juice
- 1 tablespoon lemon zest
- 1/2 cup water
For the Toasted Meringue Topping
For the meringue, temperature is your friend. Getting those egg whites to room temperature before you start whipping ensures they incorporate maximum air. It really makes a difference when you’re aiming for stiff peaks!
- 4 large egg whites, room temperature
- 1/4 teaspoon cream of tartar
- The remaining 1/2 cup granulated sugar (yep, that was set aside!)
Step-by-Step Instructions for Lemon Meringue Pie Bars
Alright, let’s get baking! This process is really straightforward if you keep your components separate. You have to handle the crust, filling, and topping individually, but it moves fast once you get going. Having everything measured out beforehand—what I call mise en place—is essential here, especially since we’re moving the pan in and out of the oven!
If you want to see another great example of sequential baking, you should check out how I handle my oatmeal recipes; the layering principle is kind of similar!
Preparing and Baking the Shortbread Crust
First things first: preheat your oven to 350°F (175°C). Grab that 9×13 inch pan and line it with parchment paper, making sure you leave an overhang on the sides—that’s your built-in handle for later removal! For the base of our amazing Shortbread Crust Lemon Bars Recipe, whisk the flour, powdered sugar, and salt together. Then, work in that very cold, cubed butter. You want it to look like coarse sand or large crumbs. Mix in the egg yolk and cold water until it just barely comes together into a shaggy dough. Press it evenly into the bottom of your prepared pan. Pop that in to bake for about 15 to 18 minutes until the edges are kissing golden brown. Pull it out but leave the oven running!
Cooking the Tangy Lemon Filling
While the crust cools a tiny bit, we make the filling. Grab a saucepan and whisk together 1 cup of the sugar with the cornstarch and salt first. This prevents lumps! Then, whisk in the 3 beaten egg yolks, lemon juice, zest, and the water. Now, you have to stir this constantly over medium heat. It will get thick, and once it hits a boil, keep stirring for a full minute—that’s key to locking in the structure for these Baked Lemon Curd Bars. Remove it immediately from the heat and pour that bright, hot filling right over your warm crust. Don’t worry about getting it perfect; just spread it gently.
How to Make Meringue on Bars and Finishing
Time for the clouds! In a totally clean bowl, beat your room temperature egg whites and cream of tartar until you hit soft peaks. Now, add that last half cup of sugar slowly, a spoonful at a time, beating until you get stiff, glossy peaks. This is the secret to How to Make Meringue on Bars that actually holds its shape! Spread this fluffy topping right over the hot lemon filling. Be thorough! Make sure you seal the meringue all the way to the edges of the crust so it doesn’t shrink while baking. Bake for another 10 to 12 minutes until those peaks are toasted and golden, or if you’re feeling brave, just use your kitchen torch! Let these beauties totally cool before you lift them out using those parchment overhangs and cut them into squares. Patience pays off here!
Tips for Perfect Lemon Meringue Pie Bars Success
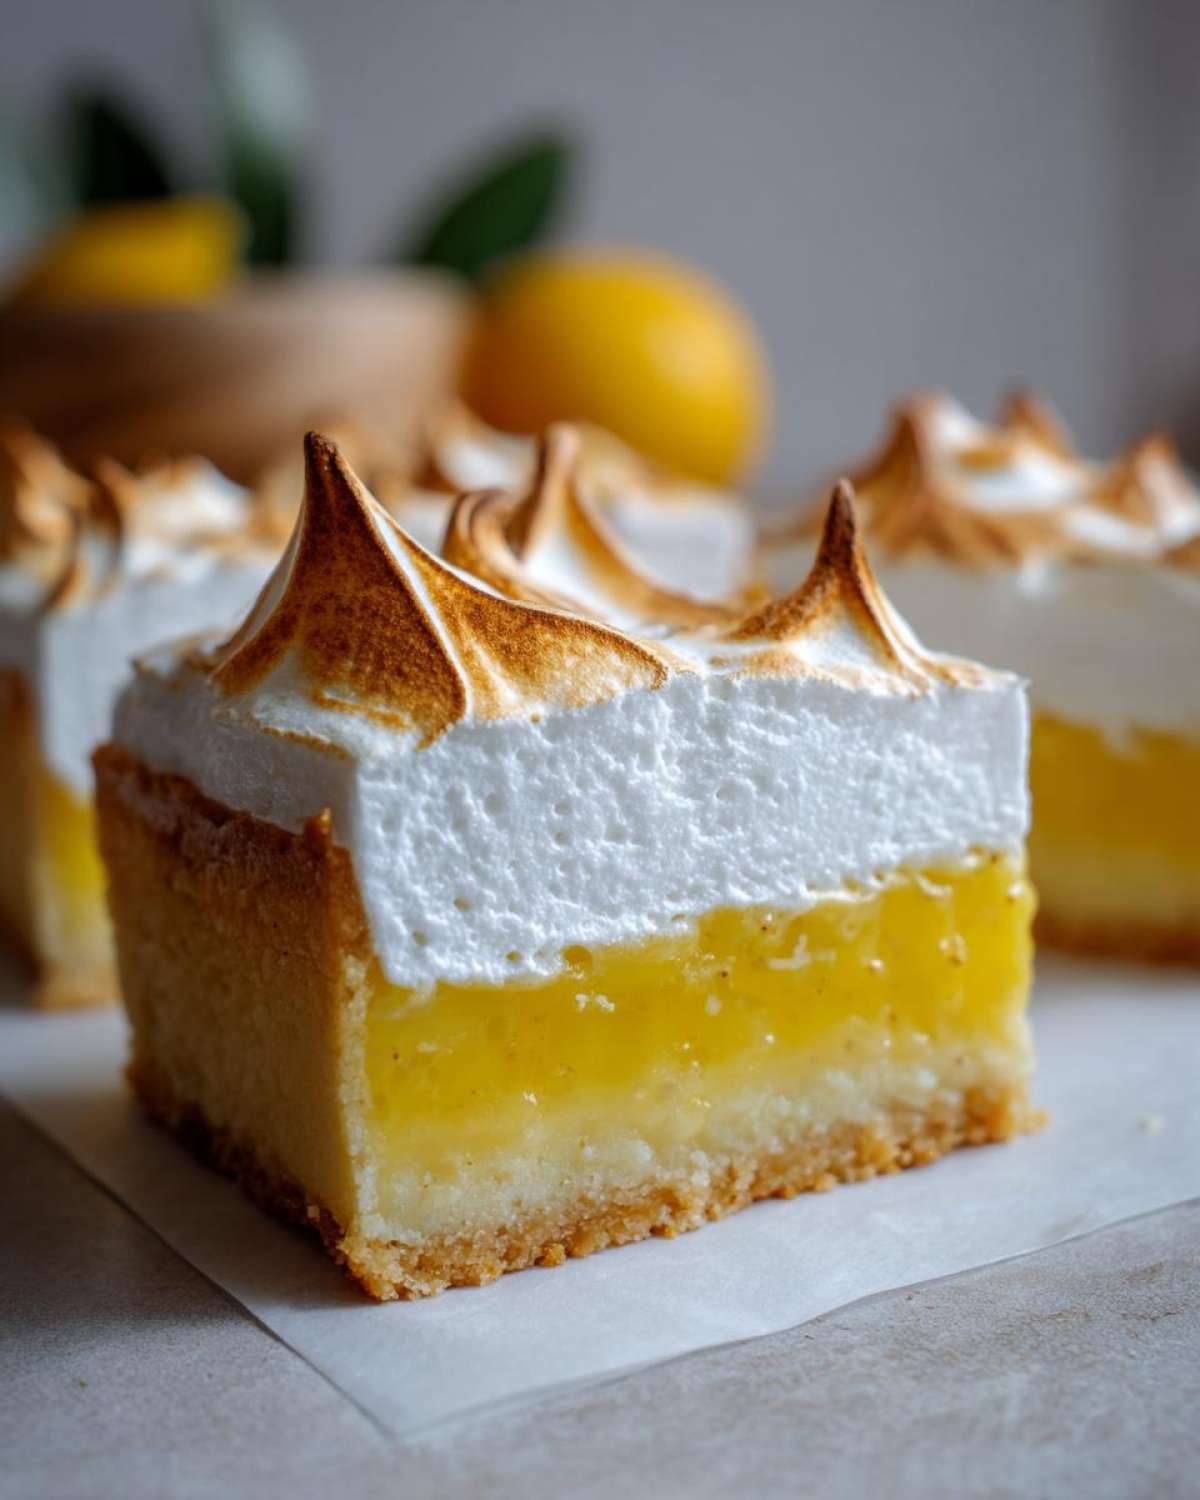
Look, I want these to be your new favorite thing, which means we need to talk about the potential pitfalls. It’s easy to get stressed about meringue, but if you follow a couple of my little rules, you’ll have perfectly neat, No Fuss Lemon Meringue Slices every single time. These little secrets are what separates the good lemon bars from the truly great ones!
Meringue Stability Secrets
This is critical: your bowl, your mixer attachments—they have to be surgically clean. I mean spotless! Any trace of grease or egg yolk residue will stop those egg whites from reaching their full volume. That’s why we use cream of tartar; it helps stabilize them even if your environment isn’t perfect. Another huge tip for stability is making sure that hot lemon filling is sealed completely to the crust edge before topping it with the meringue. If you leave gaps, the moisture escaping from the hot filling below will cause that dreaded weeping or separation. Think of the meringue as a thick, fluffy lid that clamps down on the zestiness underneath!
Achieving the Brightest Lemon Filling Flavor
If you want that mouth-puckering punch that makes a lemon bar worth eating, you simply must use fresh citrus. I know, I know, it takes an extra minute to squeeze a few lemons, but bottled juice just doesn’t have the same vibrant, sharp edge. For the absolute best Bright Lemon Filling Recipe for Bars, use zest from two large lemons, and then juice them until you hit that half-cup mark. The essential oils in the zest carry so much flavor that bottled stuff completely misses out on. While you’re here, if you want to avoid cracking in other baked goods, maybe check out my guide to making crack-free cheesecake—the humidity control tips apply here too!
Make Ahead Lemon Bars and Storage Instructions
One of the biggest reasons I love these Lemon Meringue Pie Bars is how great they are for planning ahead! You absolutely do not have to finish the whole thing in one afternoon, which is a huge win for busy bakers. If you want to make these truly Make Ahead Lemon Bars, here is what you do:
Bake your buttery crust and pour on that hot lemon filling. Let that entire layer cool completely on the counter, then cover it tight with plastic wrap and stick it in the fridge. It’s rock solid the next day—perfect! Store this layer like that for up to three days. Remember, I recommend adding the meringue right before you plan to serve them, or at least within 12 hours, because meringue doesn’t love long-term refrigeration.
The golden rule for cutting? Wait until the whole assembly is chilled through. Once it’s cold, use a long, sharp knife dipped in hot water and wiped clean between each cut. That way, you get those sharp edges every time! If you follow my tips over at my storage guide, these slices keep beautifully!
Variations on These Tangy Lemon Dessert Bars
Part of the fun of having a base recipe like this is getting to mess with it just a little bit! These Tangy Lemon Dessert Bars are fantastic as is, but if you want to switch things up for your next gathering, you don’t have to rework the entire recipe. We’re talking easy substitutions that keep that gorgeous, stable bar shape.
Switching Up the Citrus Flavor Profile
If you’re tired of straight lemon, don’t panic! You can swap out some or all of the lemon juice and zest for other bright flavors. Try using half lemon and half lime juice—you get this amazing key-lime-meets-lemon tango that is unexpected and so refreshing. Or, maybe try using orange zest in the filling instead of lemon zest. It gives the whole bar a warmer, almost Creamsicle-adjacent flavor that’s completely delightful, especially when paired with that buttery crust. Be sure to use your favorite type of glaze technique on top of the meringue when you serve it!
Adding Texture to the Buttery Crust
If you find yourself with a few extra minutes and half a cup of nuts lying around, you can really upgrade that shortbread base. Finely chopped pecans or toasted walnuts blend right into the flour mixture before you add the butter. You handle them exactly like the flour—just mix them in when you do the dry ingredients. It adds a beautiful, sophisticated crunch to the bottom layer of your Lemon Meringue Pie Bars without affecting the setting time of the filling above it. Just make sure they are finely chopped so the crust still presses together evenly!
A Quick Trick for a Different Meringue Look
When it comes to the meringue topping, if you don’t have a torch, that’s fine, but you can change the aesthetic easily while baking. Instead of spreading the meringue smoothly across the top, try using the back of a spoon to create dramatic swoops and peaks before it goes into the oven for the final 10 minutes. Those high peaks brown faster, giving you beautiful contrast between toasted golden brown and snowy white peaks. It looks so fancy, but it’s literally just using a spoon!
Frequently Asked Questions About Lemon Meringue Pie Bars
You’ve got questions, I’ve got answers! It’s totally normal to have a few hang-ups when you deviate from the classic round pie shape. These questions usually come up right when people are prepping their ingredients, especially regarding ensuring their meringue stays put. Let’s clear up any confusion so you can move on to making the best dessert!
Can I use a different pan size for these Lemon Bars with Meringue?
You certainly can, but you have to adjust your expectations and your timing! We designed this recipe around a 9×13 inch pan because that gives us the perfect ratio: a nice, sturdy crust, a thick layer of filling, and enough room for a satisfyingly tall meringue. If you use a smaller pan, like an 8×8 inch, your layers will be much thicker, which means you’ll need to bake the crust longer and the filling may need more time to set up properly. For the standard thickness expected in a great slice of Lemon Meringue Pie Bars, stick to the 9×13. If you go bigger, you risk a thin bar that might fall apart too easily under the meringue.
What causes the meringue topping to weep on my Lemon Meringue Dessert Bars?
Ugh, weeping meringue is the bane of my existence! There are usually two culprits here when we’re talking about these glorious Lemon Meringue Dessert Bars. First, if you don’t beat your sugar in slowly enough, you might have tiny, undissolved sugar grains sitting in the meringue. As it bakes, that sugar melts and separates, causing little beads of liquid to show up. Second, if you don’t seal the meringue completely down to the edges of the hot lemon filling layer, steam escapes unevenly, and you get weeping where the seal broke. Remember what I said about beating until stiff, glossy peaks form? That’s essential for locking out moisture!
How do I get the perfect, crisp Shortbread Crust Lemon Bars Recipe base?
This comes down to managing the gluten development in the flour—you want it barely mixed! For the crispest, most crumbly Shortbread Crust Lemon Bars Recipe base, make sure that butter is genuinely cold, cut into small cubes. Once you add that tiny bit of liquid (the yolk and water), mix it just until you can press it together in your hand. If you overmix it once the fat is broken down, you develop gluten, and that results in a tough, biscuit-like crust instead of a tender crumb. Stop mixing the second it holds together!
Nutritional Estimates for Our Best Lemon Meringue Bar Recipe
Now, I always tell people that diving into the numbers isn’t my favorite part of baking—I prefer eating! But since we want to be completely transparent with all of you wonderful bakers, here are the estimated nutritional facts for our Best Lemon Meringue Bar Recipe. These numbers are calculated based on dividing the recipe into 24 equal squares, so if you cut yours larger (I won’t judge!), these counts will shift slightly!
Remember, these are always going to be estimates, right? The brand of butter you use, how much zest you *really* got from that lemon—it all varies! So treat these figures as a helpful guideline rather than gospel truth. We’ve worked hard to keep that filling bright without overloading on sugar, but come on, it’s meringue and shortbread, so enjoy it!
- Serving Size: 1 bar
- Calories: 210
- Total Fat: 10g
- Saturated Fat: 6g
- Trans Fat: 0g
- Cholesterol: 55mg
- Sodium: 65mg
- Total Carbohydrates: 30g
- Dietary Fiber: 1g
- Total Sugars: 22g
- Protein: 4g
See? Not too bad for a dessert that tastes this incredibly festive! Go ahead and make a batch of these Lemon Meringue Pie Bars, and don’t sweat the small stuff—just enjoy that sweet, tart, cloud-like goodness!
Share Your Ultimate Lemon Meringue Pie Bars Creations
Whew! Now you have the complete roadmap to perfect Lemon Meringue Pie Bars that travel well and taste divine. Seriously, I couldn’t be more excited for you to try this recipe. Getting that perfect contrast between the crisp, buttery crust and the airy, toasted meringue is such a satisfying baking win!
Once you pull those bars out of the oven and you smell that mix of baked sugar and bright lemon filling—that’s magic right there. If you make this Sheet Pan Lemon Meringue Dessert, please, please come back and tell me how it went!
Did the meringue stay perfectly sealed? Did you torch yours or bake it? Drop a rating below so other bakers know you approve! And if you’ve got photos on social media, tag me using the hashtag for this recipe. I absolutely love seeing your creations come to life. If you have any last-minute thoughts or questions about making this portable dessert, the comments section is down below, and I monitor it closely. You can also reach out directly through my contact page if you need anything at all!
PrintUltimate Lemon Meringue Pie Bars with Toasted Meringue Topping

Make portable, tangy lemon meringue pie bars featuring a buttery shortbread crust, bright lemon filling, and a stable, browned meringue topping.
- Prep Time: 25 min
- Cook Time: 35 min
- Total Time: 60 min
- Yield: 24 bars
- Category: Dessert
- Method: Baking
- Cuisine: American
- Diet: Vegetarian
Ingredients
- 1 1/2 cups all-purpose flour
- 1/2 cup powdered sugar
- 1/4 teaspoon salt
- 1/2 cup (1 stick) cold unsalted butter, cubed
- 1 large egg yolk
- 1 tablespoon cold water
- 1 1/2 cups granulated sugar, divided
- 1/4 cup cornstarch
- 1/4 teaspoon salt
- 3 large egg yolks, beaten
- 1/2 cup fresh lemon juice
- 1 tablespoon lemon zest
- 1/2 cup water
- 4 large egg whites, room temperature
- 1/4 teaspoon cream of tartar
Instructions
- Preheat your oven to 350°F (175°C). Line a 9×13 inch baking pan with parchment paper, leaving an overhang on the sides for easy removal.
- Prepare the crust: In a medium bowl, whisk together the flour, powdered sugar, and salt. Cut in the cold butter using a pastry blender or your fingers until the mixture resembles coarse crumbs.
- Mix in the egg yolk and cold water until the dough just comes together. Press the dough evenly into the bottom of the prepared pan.
- Bake the crust for 15 to 18 minutes, or until the edges are lightly golden. Remove from the oven and let it cool slightly while you prepare the filling.
- Prepare the lemon filling: In a medium saucepan, whisk together 1 cup of the granulated sugar, cornstarch, and salt. Whisk in the 3 egg yolks, lemon juice, lemon zest, and 1/2 cup water until smooth.
- Cook the filling over medium heat, stirring constantly, until the mixture thickens significantly and comes to a boil. Boil for 1 minute, stirring constantly. Remove from heat.
- Pour the hot lemon filling evenly over the warm crust. Set aside while you make the meringue.
- Prepare the meringue: In a clean, grease-free bowl, beat the 4 egg whites and cream of tartar with an electric mixer until soft peaks form.
- Gradually add the remaining 1/2 cup of granulated sugar, beating until stiff, glossy peaks form.
- Spread the meringue over the hot lemon filling, making sure to seal the meringue to the edges of the crust to prevent shrinking.
- Bake the bars for 10 to 12 minutes, or until the meringue is lightly golden brown. Alternatively, use a kitchen torch to toast the meringue until browned.
- Cool the bars completely on a wire rack before lifting them out of the pan using the parchment overhang. Cut into squares before serving.
Notes
- For the best meringue stability, ensure your mixing bowl and beaters are completely free of any grease or egg yolk residue.
- To make these bars ahead of time, bake the crust and filling, cool completely, and store them covered in the refrigerator. Add the meringue just before serving or baking.
- Use fresh lemon juice for the brightest flavor in your filling.
Nutrition
- Serving Size: 1 bar
- Calories: 210
- Sugar: 22
- Sodium: 65
- Fat: 10
- Saturated Fat: 6
- Unsaturated Fat: 4
- Trans Fat: 0
- Carbohydrates: 30
- Fiber: 1
- Protein: 4
- Cholesterol: 55