

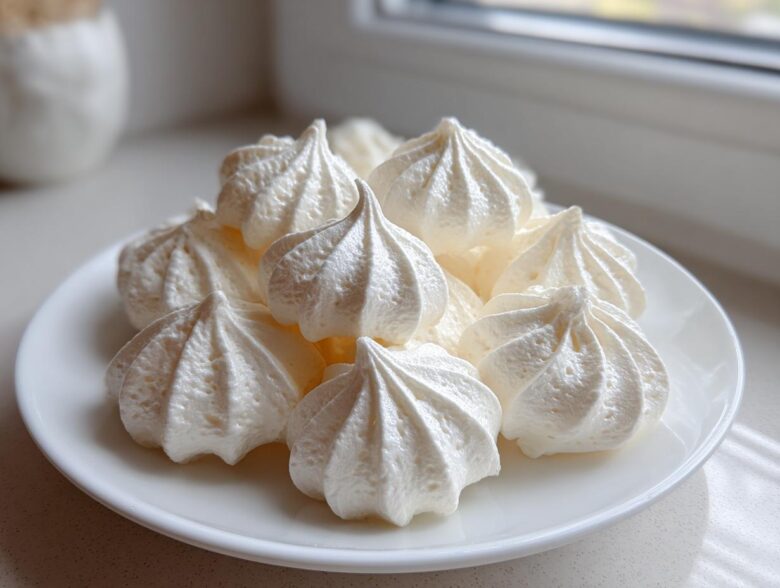
If you think making something truly elegant in the kitchen requires hours of stressful labor and a mountain of specialty ingredients, I have a sweet surprise for you! We are overthrowing the idea that delicate desserts have to be complicated. Marco and I developed this Foolproof & Easy French Meringue Cookies Recipe because sometimes, treating ourselves like royalty means indulging without the fuss. These classic meringue cookies bake up with the most breathtakingly crisp exterior, yet they dissolve the second they touch your tongue—pure magic that melts in your mouth. This is the essence of the Eatable Empress philosophy: deserving a beautiful, simple feast anytime you want it. We share more about how we got here on our About Us page. Welcome to your reign over these delightful little kisses!
Why This Easy Meringue Cookies Recipe is Your New Favorite
Forget everything you thought you knew about tricky French pastries! This recipe strips away the complexity so you can focus on the joy of baking. Trust me, if you can whisk, you can master these. We created this recipe specifically to be utterly beginner-friendly, but the results look like they came from a fancy Parisian bakery. You’ll feel like such a queen making these!
- They boast that absolutely essential **crispy exterior** that snaps perfectly when you bite it. Plus, they are naturally gluten-free, which is just wonderful for sharing with everyone, or keeping them just for you!
- This recipe provides the blueprint for easy meringue cookies that actually work. We tested this recipe until we felt confident calling it foolproof.
Achieving the Perfect Melt In Your Mouth Cookies Texture
The secret to that ethereal texture—that light, airy interior—is entirely in the French method we’re using here. We whip the egg whites to a very specific point before adding sugar slowly. This creates a stable foam structure that actually dries out in the oven rather than baking. That slow drying process is what gives you those divine Melt In Your Mouth Cookies that shatter beautifully when you eat them. No chewiness here, promise!
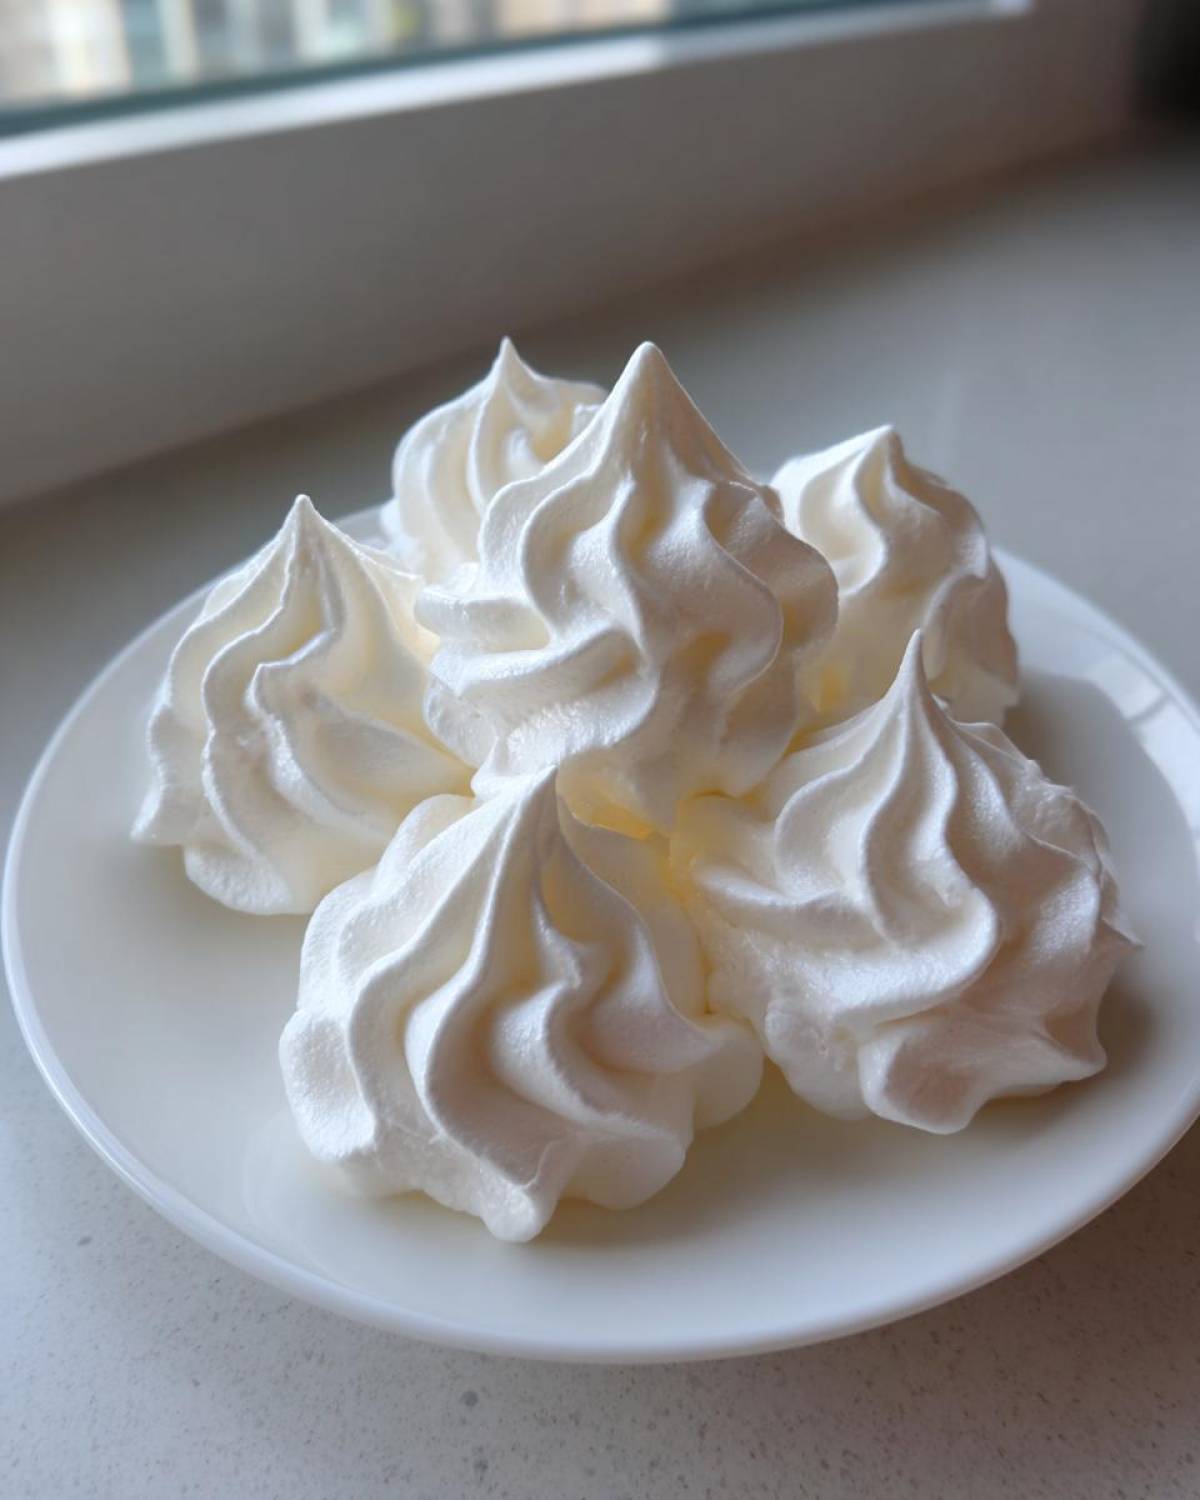
Gluten Free Meringue Treats for Everyone
Isn’t it lovely when a treat is naturally accommodating? Because these beauties are just egg whites and sugar, they skip all the flour, making them safe for our friends avoiding gluten. They truly are the ultimate Simple Sweet Treats that look elegant but require zero fuss with specialty flours or complicated measuring. We love adding this no-bake pumpkin pie to the menu when we want a quick dessert, and these meringues fit right into that low-stress, high-reward category!
Essential Ingredients for Perfect Meringue Cookies
Okay, darling, let’s talk about what you absolutely need for these airy little miracles. Since meringue is basically just sugar and air, the quality and temperature of what you use matter more than you might think. We’re keeping this short and sweet—just four main players, plus a pinch of salt to wake everything up! You’ll need four large egg whites, exactly one cup of granulated sugar, a teaspoon of vanilla extract, and a quarter teaspoon of cream of tartar when you make these meringue cookies. I always have Marco check my measuring spoons because precision is queen here!
If you’re looking for an excellent complementary treat, you must try my creamy white hot chocolate recipe. It pairs beautifully with these light desserts!
Now, I have to insist on one thing before we move on: those egg whites must be at room temperature. Please tell me you’re not grabbing them straight from the fridge! Room temperature egg whites whip up faster and hold significantly more air, which is non-negotiable for achieving those stunning, firm peaks we crave. It’s a small step, but it makes the whole magic show happen!
Ingredient Notes and Substitutions for Meringue Cookies
Let’s dive into why *these* specific ingredients work so well in our Easy Meringue Cookies recipe. First, the egg whites: separate them carefully! Not a speck of yolk can sneak in, and remember, room temperature is the vibe.
For the sweetness, you must use standard granulated sugar, not the powdered kind. Powdered sugar has cornstarch to prevent clumping, but that starch messes with the meringue structure drastically. We need that nice, pure granulated texture to dissolve slowly into the protein!
The little secret weapon here is the cream of tartar. It’s crucial for stabilizing your foam. It keeps those delicate air bubbles locked down tight, ensuring you get those beautiful, firm, and glossy peaks that actually look like they belong on a chef’s plate. Seriously, don’t skip the cream of tartar if you are aiming for a No Fail Meringue Cookies experience.
How To Make Meringue Cookies: Step-by-Step Instructions
Alright, let’s transform those simple ingredients into actual works of art! I know the idea of making meringue can feel intimidating, but that’s why we’re focusing on this simple, Beginner Meringue Recipe. The oven needs to be set to its absolute lowest temperature—think drying, not baking. Line those sheets with parchment paper first, because we don’t want any royal messes!
And here is your absolute non-negotiable first move for the best meringue cookies ever: you must grab a mixing bowl and whisk that is surgically clean. I mean spotless. Any hint of grease or fat will stop your egg whites from ever getting those beautiful, fluffy walls we need. Don’t skip this housekeeping step!
Whipping the Egg Whites to Perfect Stiff Peaks Guide
Put your room temperature egg whites and that tiny pinch of salt into that clean mixer bowl. Start beating it on medium speed until you see what looks like soapsuds—those are soft peaks. They hold their shape for a second, then slump over. Now, if you’re aiming for that Perfect Stiff Peaks Guide result, this next part is where you slow down and show some respect for the process.
Incorporating Sugar Slowly for Crispy Meringue Recipe
With the mixer still going on medium-high, start adding your cup of sugar one tiny tablespoon at a time. Seriously, wait about 30 seconds between each spoonful! This patient approach is what builds the strong foundation for a truly Crispy Meringue Recipe. Keep mixing after the last bit of sugar goes in, adding your cream of tartar and vanilla. You’ll know you’ve hit perfection when the meringue is intensely glossy, holds its shape straight up when you lift the whisk, and feels completely smooth, not gritty, when you rub a tiny bit between your fingers. Wow!
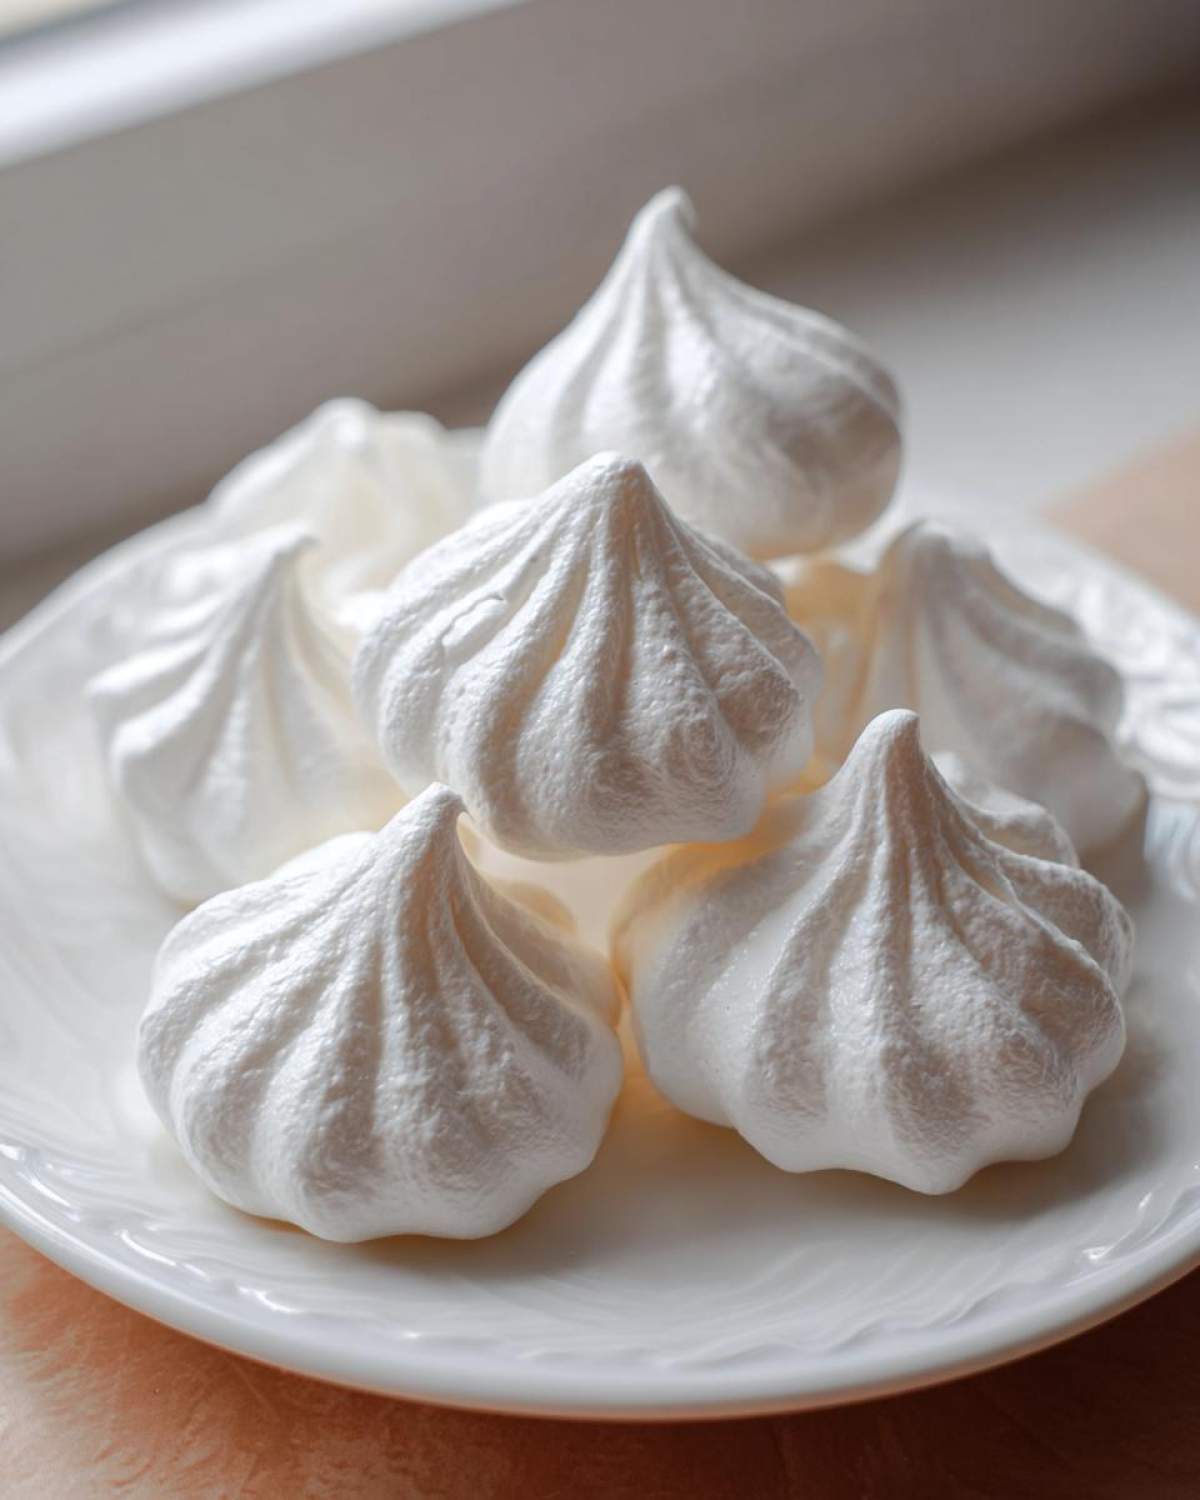
Piping and Baking Your Meringue Cookies
Time to pipe! Fill your pastry bag—I love using a big star tip for that classic look—and gently pipe little kisses onto your parchment. Try to keep them all the same size so they dry evenly. Now, these go into that super low oven for about 90 minutes to dry out completely. We are not trying to brown them; we want pale, beautiful domes. Think of them as Visually Stunning Cookies that are slowly transforming.
I always send a link to my general kitchen tips over on the blog if you ever need more general advice!
Tips for Success: Mastering Your Meringue Cookies
Even with the best recipe, sometimes the kitchen environment tries to sabotage our best efforts, right? Humidity is truly the arch-nemesis of any baker working with meringue. If it’s raining outside, your cookies might stick to the tray or feel a little soft instead of satisfyingly crisp. But don’t you fret! We’ve got a few tricks up our sleeves to ensure you get those dependable, crunchy results every single time. This is how we turn this into a truly No Fail Meringue Cookies operation.
First, let’s address the oven. If you look at the instructions, we ask for the absolute lowest temperature, usually around 200°F or 225°F. If your oven dips lower than that, your meringues won’t dry; they’ll just sit there sadly. If your oven runs hot, however, you risk browning them too much, and we want white, pillowy clouds, not beige ones! Trust your gut and watch them closely after the first hour.
The Critical Cooling Phase for Light and Airy Desserts
Okay, listen closely, because this is the single most important step to guarantee those stunning, crack-free results that make these Light and Airy Desserts look so professional. When your total baking time is up—when they feel totally dry to the touch—you MUST turn the oven OFF. Do not open the door!
This is what I do: I gently prop the oven door open using the handle of a wooden spoon. That slight gap allows the intense heat to escape slowly while the residual warmth continues to gently dry the cookies for hours. If you rush them out into the cooler kitchen air immediately, the quick temperature change shocks the delicate structure, and BAM! You get cracking, or worse, the tops deflate and get sticky.
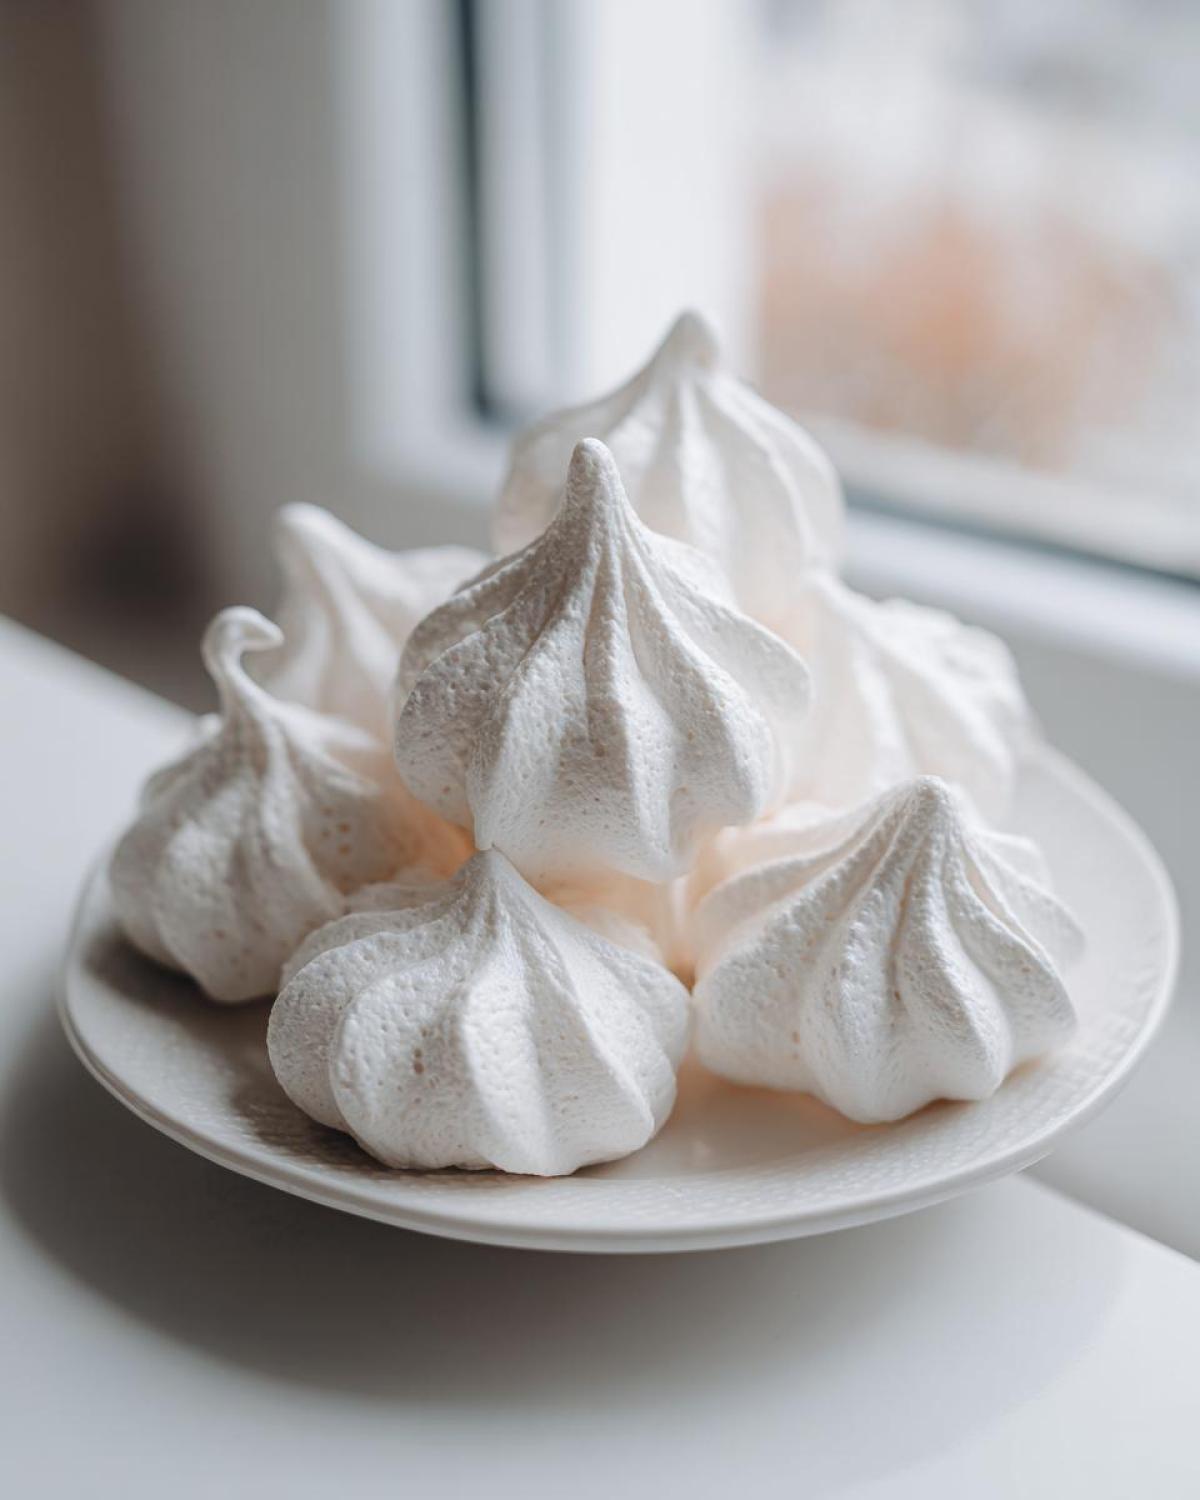
I often leave mine in overnight. Seriously! I just let them hang out in that cooling environment until the next morning. Honestly, these meringue cookies are often even better the next day once they’ve fully stabilized. It’s worth the patience, I promise you that!
If you are looking for a frosting to go alongside these light delights, check out my recipe for the best creamy vanilla buttercream—though these are fantastic all on their own!
Storage and Keeping Your Meringue Cookies Crisp
You’ve done it! You’ve mastered the whip, you’ve dried them low and slow, and now you have these ephemeral, perfect little jewels. The final act in becoming an Eatable Empress of meringue is learning how to protect your masterpiece. Because these treats are mostly air and sugar, they are natural sponges for moisture. Humidity is their mortal enemy, my friend, so listen up!
You absolutely must protect your finished meringue cookies from any damp air. The moment they feel sticky, all our hard work in the oven goes downhill fast. That means airtight containers are not optional; they are mandatory! I use large, sturdy cookie tins or even big glass jars with really tight-sealing lids. If your kitchen tends to be humid, try placing a large, unscented silica gel packet (the ones that come in shoe boxes work great!) in the bottom of your container. That little packet acts like a tiny, invisible bodyguard against stickiness.
I generally store mine right on the counter at room temperature. Do not put them in the refrigerator! Refrigerators are moist environments, and putting these delicate beauties in there will turn your crisp shells soft and tacky in hours. I know, I know, it feels wrong to store cookies outside the fridge, but trust me on this one.
If you make a huge batch—and you totally should—they hold up beautifully for about a week in that airtight container, provided your weather is cooperative. If you’re making them even farther in advance, say for a big holiday spread, you can use my favorite trick for a cozy night in: a big batch of easy homemade hot cocoa mix. Whip up a batch of meringues the day before serving, and enjoy them with warm cocoa!
If you discover a batch that has gotten just a *little* soft after a few days, don’t toss them! Just pop them back into your barely-warm (like 175°F) oven for about 20 minutes. This gentle warmth will coax out any absorbed moisture and bring back their signature snap. It’s like a little spa treatment for your Simple Sweet Treats!
Variations on Classic Meringue
While the pure white, classic French meringue kiss is just about perfect as is—so elegant and light!—I absolutely love playing with color and flavor when the mood strikes. It gives you a chance to truly personalize these beautiful little treats for your table or for a special gathering. Remember, an Empress commands the décor, and that includes her desserts!
If you are serving these during the colder months, definitely think about turning them into festive Holiday Meringue Cookies. A tiny drop of red or green food coloring folded in gently right before piping makes them look instantly seasonal. I often pair mine with a strong, cozy coffee when I make my coffee cake cookies, and a hint of green meringue adds such a lovely contrast.
My favorite flavor twist, however, involves chocolate. You can create amazing chocolate chip meringue kisses! Once you have those beautiful, stiff peaks formed in the mixer (right after step 4 in the main guide), simply fold in about a half cup of mini chocolate chips very gently. You want just enough mixing so they are suspended throughout the batter without deflating your air.
For something brighter and more springtime-y, think about strawberry or lemon! Instead of folding in chips, try folding in a *teaspoon* of freeze-dried strawberry powder or a half-teaspoon of super concentrated lemon extract. You have to be careful not to add too much liquid, but a little concentrated flavor works wonders.
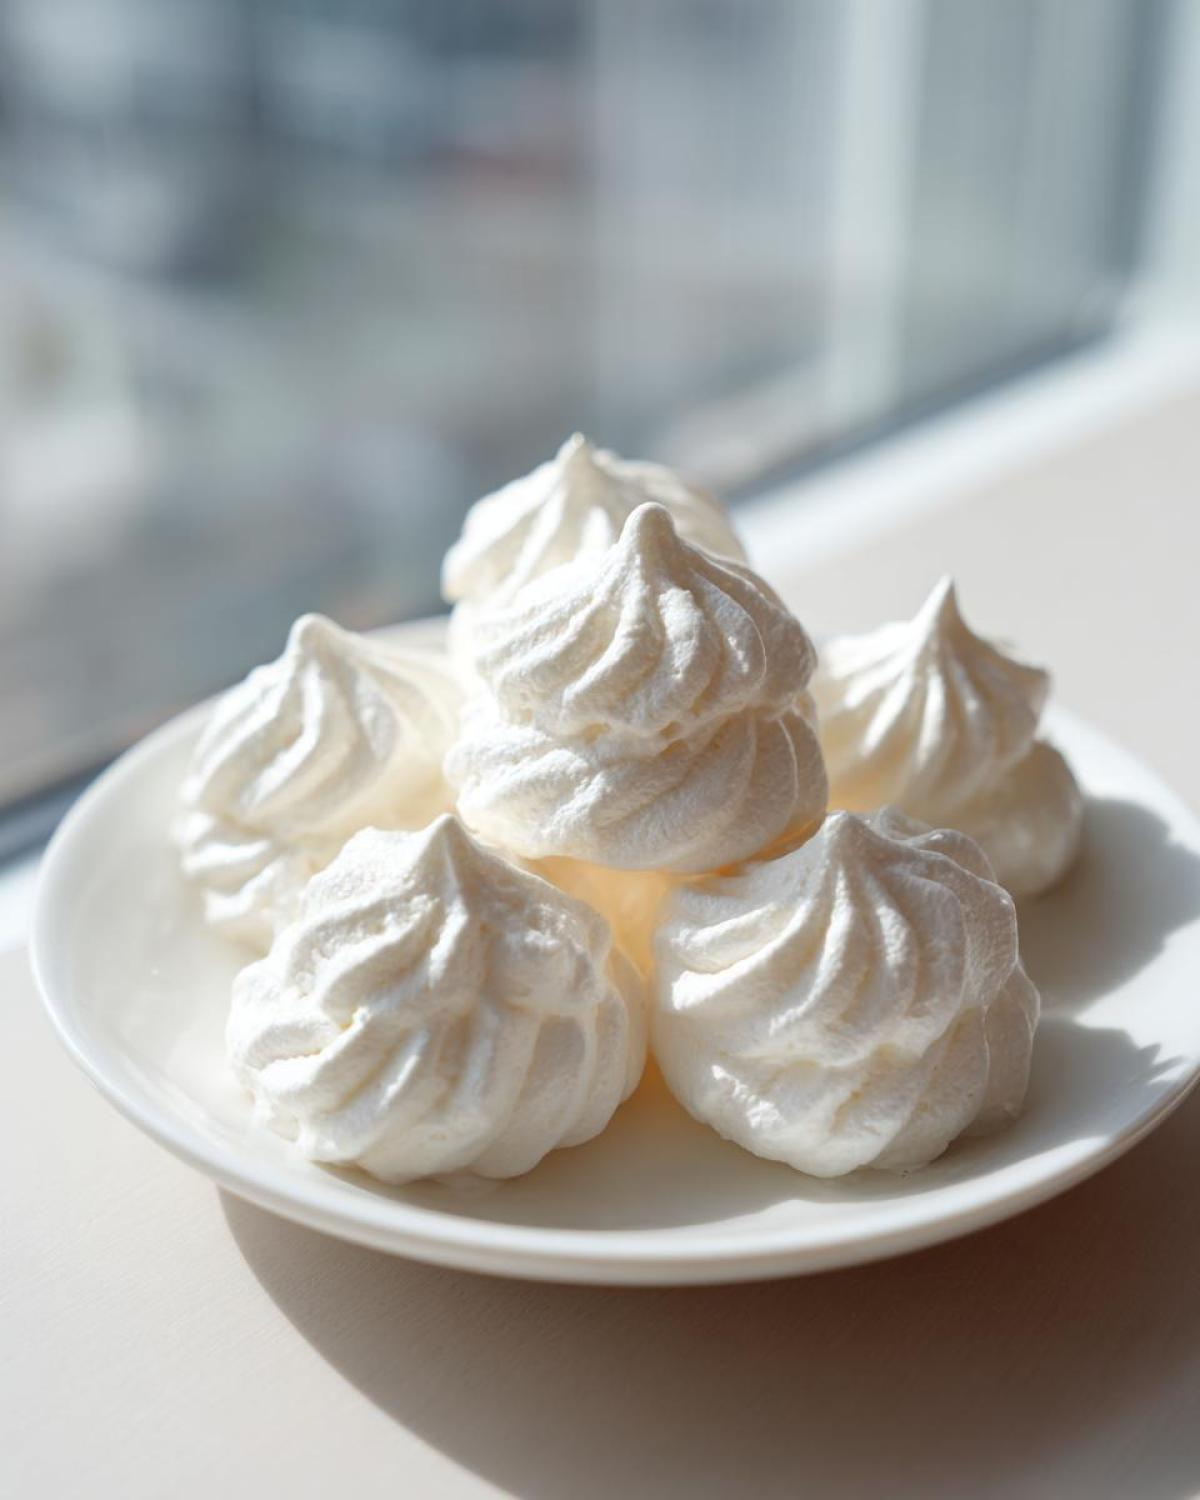
If you want more inspiration on taking basic recipes and leveling them up for visual appeal, this article on other delightful recipes shared by others is a wonderful peek into what’s possible with simple ingredients: Easy Crisp Light Meringue Ideas.
The key with any variation is the very last step: being incredibly gentle when folding in those flavor additions. We’ve done all the hard work building that air structure, and the last thing we want to do is crush it by overmixing now. Happy experimenting, my dear!
Frequently Asked Questions About Meringue Cookies
I know you might have a few lingering thoughts after reading through all those steps for achieving the prettiest, crispiest little clouds! That’s perfectly normal whenever you tackle something as delicate as meringue cookies. We want to make sure you feel completely armed and ready for success, so here are the questions that popped up most often when Marco and I were first setting our own royal kitchen standards.
If you ever have questions about getting that perfect glaze for your next batch of lemon cookies, feel free to drop a line in the comments below too!
Can I make meringue cookies without a stand mixer?
Oh, absolutely yes! I totally understand that not everyone has a big stand mixer kicking around the kitchen yet. While I adore mine because it saves my arm during that crucial sugar incorporation stage, you can certainly use a solid electric hand mixer for this Easy Meringue Cookies Recipe. Just be prepared to work a little harder for yourself! You’ll need to beat those egg whites quite vigorously to get them to soft peaks, and then keep mixing steadily when adding the sugar. It might take you 5 or 6 minutes longer than the electronic version, but those melt in your mouth cookies are worth the small workout. Just make sure you stop and check that the bowl isn’t slipping off the counter!
Why did my meringue cookies weep or become sticky?
This is honestly the number one disaster scenario, and it almost always comes down to two main culprits: outside humidity or rushing the cooling process. Meringue hates damp air! If kitchen humidity is high, or if you didn’t bake them long enough to fully dry out, they will start to ‘weep’—producing those tiny, clear droplets of sugar syrup on the surface. It means the sugar is pulling surrounding moisture in.
If they start feeling tacky after they’ve come out of the oven, it usually means you pulled them from the oven too soon, or you let them cool too quickly outside the oven door. Remember my big tip? Turn the oven off and leave them in there overnight for a slow, gentle dry-out. That slow cooling process is essential for a truly No Fail Meringue Cookies result!
What is the difference between French and Italian meringue?
That’s a great question for understanding your Classic Meringue options! The main difference is how you heat the sugar. In the recipe we’re making today, the French method, we add raw granulated sugar directly to cold egg whites and whip them cold. It’s simpler, faster, and perfect for cookies like these because we bake them very low and slow afterward anyway.
Italian meringue, which is often used for softer things like mousse or filling cakes, involves pouring hot sugar syrup into already whipped egg whites while the mixer is running. This cooks the sugar, making a super stable, smooth meringue that can technically be eaten raw. But for these adorable, crisp sugar kisses, the French method here is definitely your simplest path to success!
Nutritional Estimate for These Delicate Dessert Recipes
Now, while Marco will tell you that anything this light and ethereal shouldn’t be counted—because it’s practically just sweetened air!—I know some of you lovely people appreciate knowing the facts. Since we are treating ourselves like royalty, we like to focus on the joy, but here is a very rough, estimated breakdown for these meringue cookies. Please remember this is the estimate for a serving size of two cookies, based purely on the sugar and egg whites we used. It changes wildly if you add flavorings or mix-ins, so consider this your baseline for enjoying these Simple Sweet Treats!
You can check out my ridiculously easy 3-ingredient chocolate mousse if you need another low-effort, high-reward dessert that feels over-the-top!
- Calories: Around 60 per two cookies
- Sugar: Approximately 15 grams (Yes, it’s mostly sugar, that’s how meringue works!)
- Protein: About 1 gram
Look at that fat content—zero! That’s what happens when you skip the butter and flour and rely solely on science and sunshine-colored egg whites. Enjoy these feeling guilt-free about the richness, but maybe keep an eye on that sugar count if you’re having more than a few kisses. They really do melt away that fast!
Share Your Royal Feast of Meringue Cookies
Now that you have successfully mastered the French technique, achieved those gorgeous, perfect stiff peaks, and baked these cloud-like works of art, I need to see them! Part of the joy of cooking for yourself is basking in that satisfaction, and I absolutely want to celebrate with you.
Please, please, please leave a rating and a comment below telling me how your first batch of meringue cookies turned out. Did they snap properly? Did they melt right on your tongue? Was the slow sugar addition worth the patience? Hearing your success stories makes my day and reassures me that these tips for creating light and airy desserts are working for everyone in our royal kitchen!
If you snapped a gorgeous photo of your finished cookies—maybe you dyed them red for a holiday treat or piped them into towering swirls—tag me on social media! Seeing your beautifully plated meringue kisses always inspires Marco and me to light some candles and treat ourselves to a magnificent, yet simple, feast right then and there. We love seeing how you make these gorgeous Visually Stunning Cookies your own. We’ve built this space to honor your own hunger for a beautiful life, and sharing your baking wins is the best way to participate in that!
If you ever have a burning question or an idea you want to run past me personally, don’t hesitate to reach out via the Contact page. Happy feasting, dear Empress!
PrintFoolproof & Easy French Meringue Cookies: Crisp, Light, and Melt-in-Your-Mouth

You deserve a treat that feels elegant but is simple to make. This easy meringue cookies recipe delivers a perfectly crisp exterior and a light, airy center that melts in your mouth. It is naturally gluten free and a no-fail way to master classic meringue.
- Prep Time: 20 min
- Cook Time: 90 min
- Total Time: 110 min
- Yield: About 3 dozen
- Category: Dessert
- Method: Baking
- Cuisine: American
- Diet: Gluten Free
Ingredients
- 4 large egg whites, room temperature
- 1 cup granulated sugar
- 1 teaspoon vanilla extract
- 1/4 teaspoon cream of tartar
- Pinch of salt
Instructions
- Preheat your oven to the lowest setting, usually between 200°F and 225°F (95°C to 107°C). Line two baking sheets with parchment paper.
- In a clean, grease-free bowl of a stand mixer fitted with the whisk attachment, combine the egg whites and salt. Beat on medium speed until soft peaks form.
- Slowly add the granulated sugar, about one tablespoon at a time, while the mixer runs on medium-high speed. Wait about 30 seconds between additions. This slow addition is key to achieving stiff, glossy peaks.
- Once all the sugar is incorporated, add the cream of tartar and vanilla extract. Increase the speed to high and beat until the meringue is very stiff, glossy, and holds a firm peak when you lift the whisk. Rub a small amount between your fingers; it should feel completely smooth, not gritty.
- Transfer the meringue to a piping bag fitted with a large star tip (or use a zip-top bag with the corner snipped off).
- Pipe small kisses or swirls onto the prepared baking sheets. Keep them uniform in size for even baking.
- Place the baking sheets in the preheated oven. Bake for 1 to 1.5 hours, depending on the size of your cookies and your oven’s actual temperature. The goal is to dry them out, not brown them.
- Turn off the oven, prop the door open slightly with a wooden spoon, and let the meringue cookies cool completely inside the oven for at least 1 hour, or even overnight. This slow cooling prevents cracking and ensures a crisp texture.
- Once completely cool and dry, remove them from the oven. Store in an airtight container at room temperature.
Notes
- Make sure your mixing bowl and whisk attachment are perfectly clean and dry. Any trace of fat will prevent your egg whites from whipping properly.
- For the best results, use egg whites that have been separated and allowed to come to room temperature for about 30 minutes before starting.
- If you want to add color or flavor (like strawberry or chocolate chip), gently fold in the additions after you have achieved stiff, glossy peaks.
- If your kitchen is humid, baking time may be longer, and you may need to leave them in the oven longer during the cooling phase.
Nutrition
- Serving Size: 2 cookies
- Calories: 60
- Sugar: 15
- Sodium: 5
- Fat: 0
- Saturated Fat: 0
- Unsaturated Fat: 0
- Trans Fat: 0
- Carbohydrates: 15
- Fiber: 0
- Protein: 1
- Cholesterol: 0