

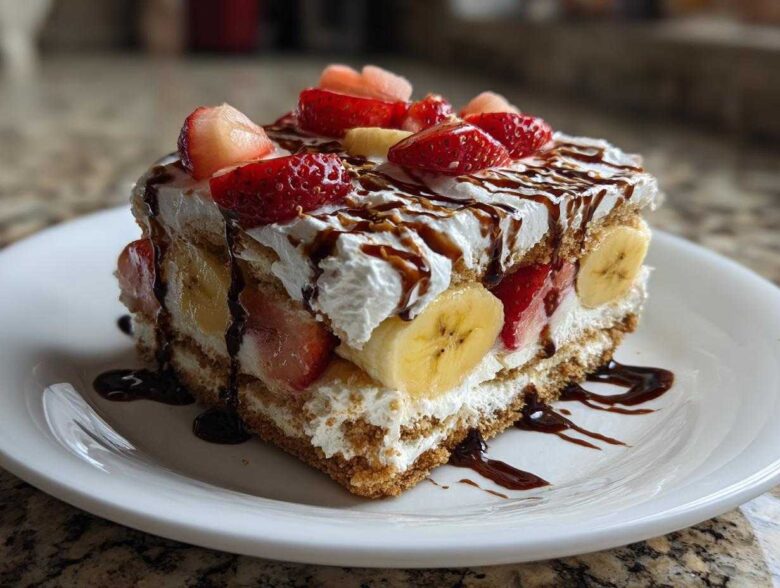
Summer is here, throwing open the doors to the patio, firing up the grill, and making us sweat just thinking about turning on the oven. When the heat hits, the last thing I want is a heavy, complicated bake that keeps me trapped in a hot kitchen. Honestly, those big, ambitious desserts we used to make for company? They just don’t fit the bill anymore. We decided, right here in our court, that we are worthy of a spectacular treat even when it is 90 degrees outside. That’s why this **banana split cake** became an instant favorite. It’s the ultimate dessert for the queen who deserves the best, without the fuss. It’s entirely no-bake, shockingly easy, and captures every wonderful flavor you love from the ice cream parlor.
This recipe is pure royalty because it lets us reclaim our time. You just layer, chill, and serve! It’s the perfect example of treating ourselves right, just as Sofia champions over on our About Us page. Forget the performance; this cake is for savoring.
Why This No-Bake Banana Split Cake is Your New Summer Staple
Honestly, the brilliance of this dessert is that it refuses to make you sweat for your supper. It’s the ultimate creamy chilled dessert, perfect for those sweltering afternoons when the thought of preheating the oven makes you want to quit baking forever. This is one of those summer party cakes that transports everyone right back to that wonderful, classic ice cream parlor vibe. Marco, my Master of Ceremonies and Taster-in-Chief, gave this recipe his royal seal of approval instantly. It’s just that good!
The Magic of a No Oven Dessert Recipe
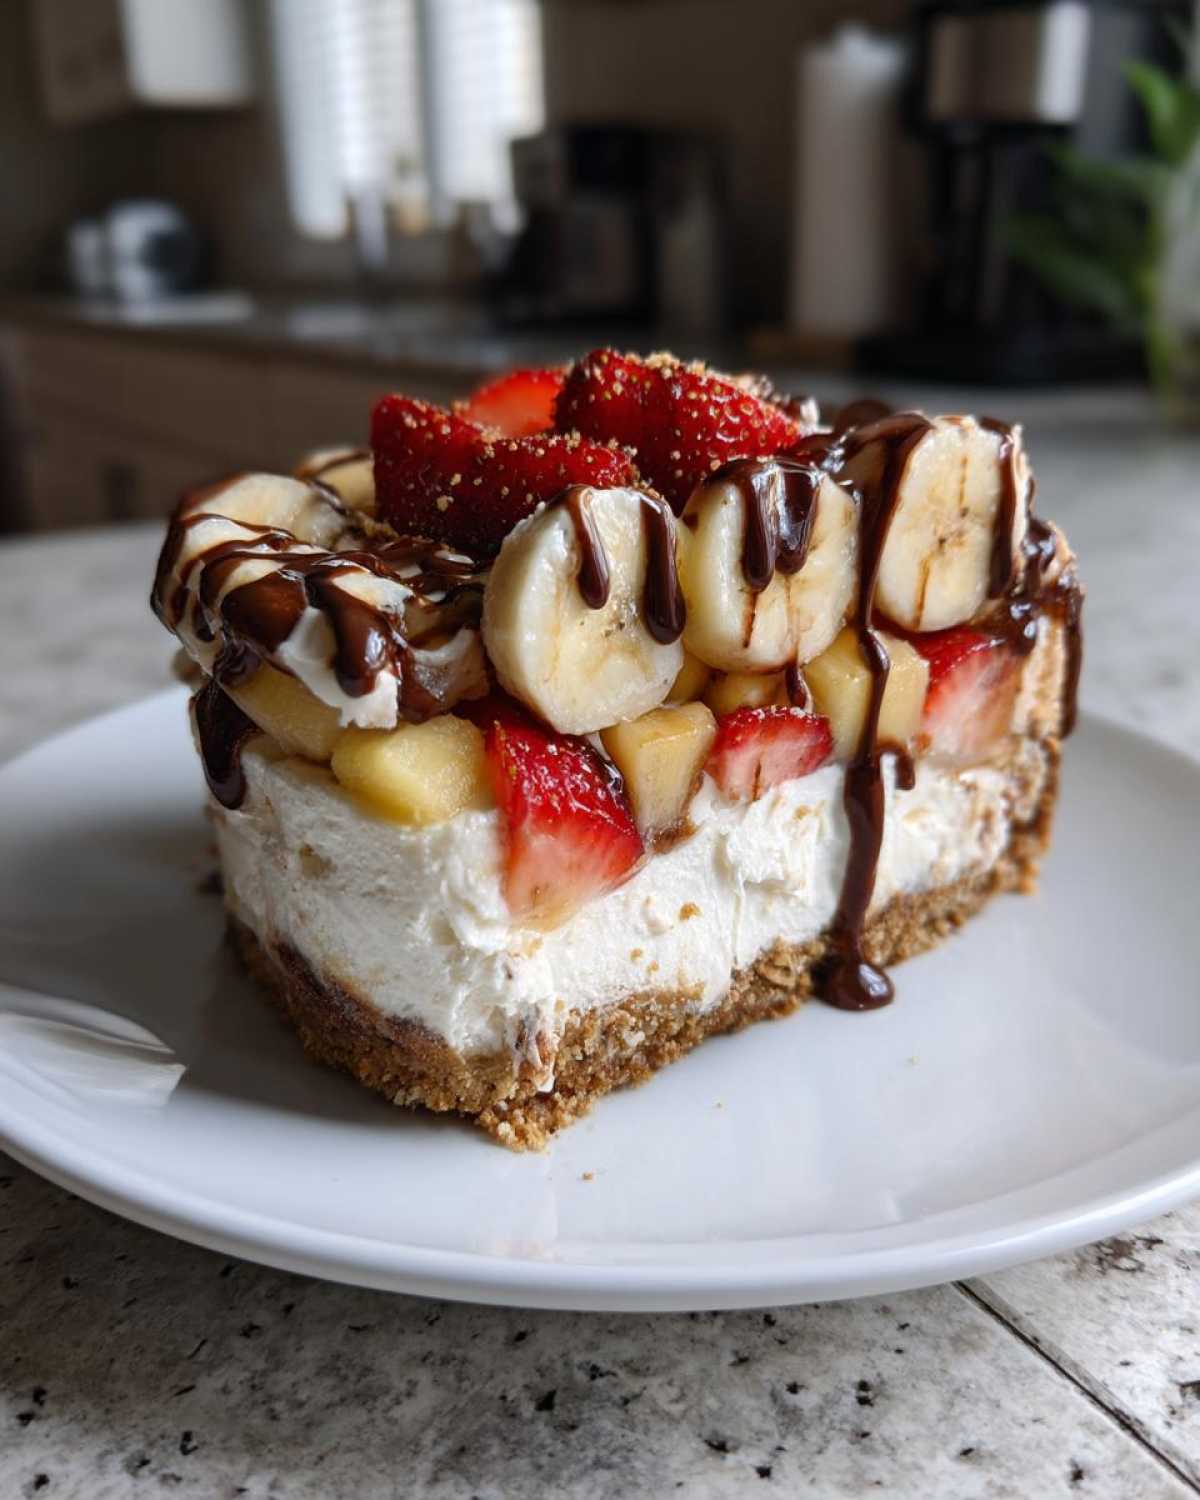
This is truly a fantastic no oven dessert recipe. When the air outside is thick and heavy, the last place you want to be is hovering over a hot stove, right? Keeping the oven off means your kitchen stays cool and serene, matching the chill that this dessert brings straight from the fridge. It cuts down on cooking time dramatically, which means more time for you to relax!
Capturing Classic Banana Split Flavors in a Layered Fruit Cake
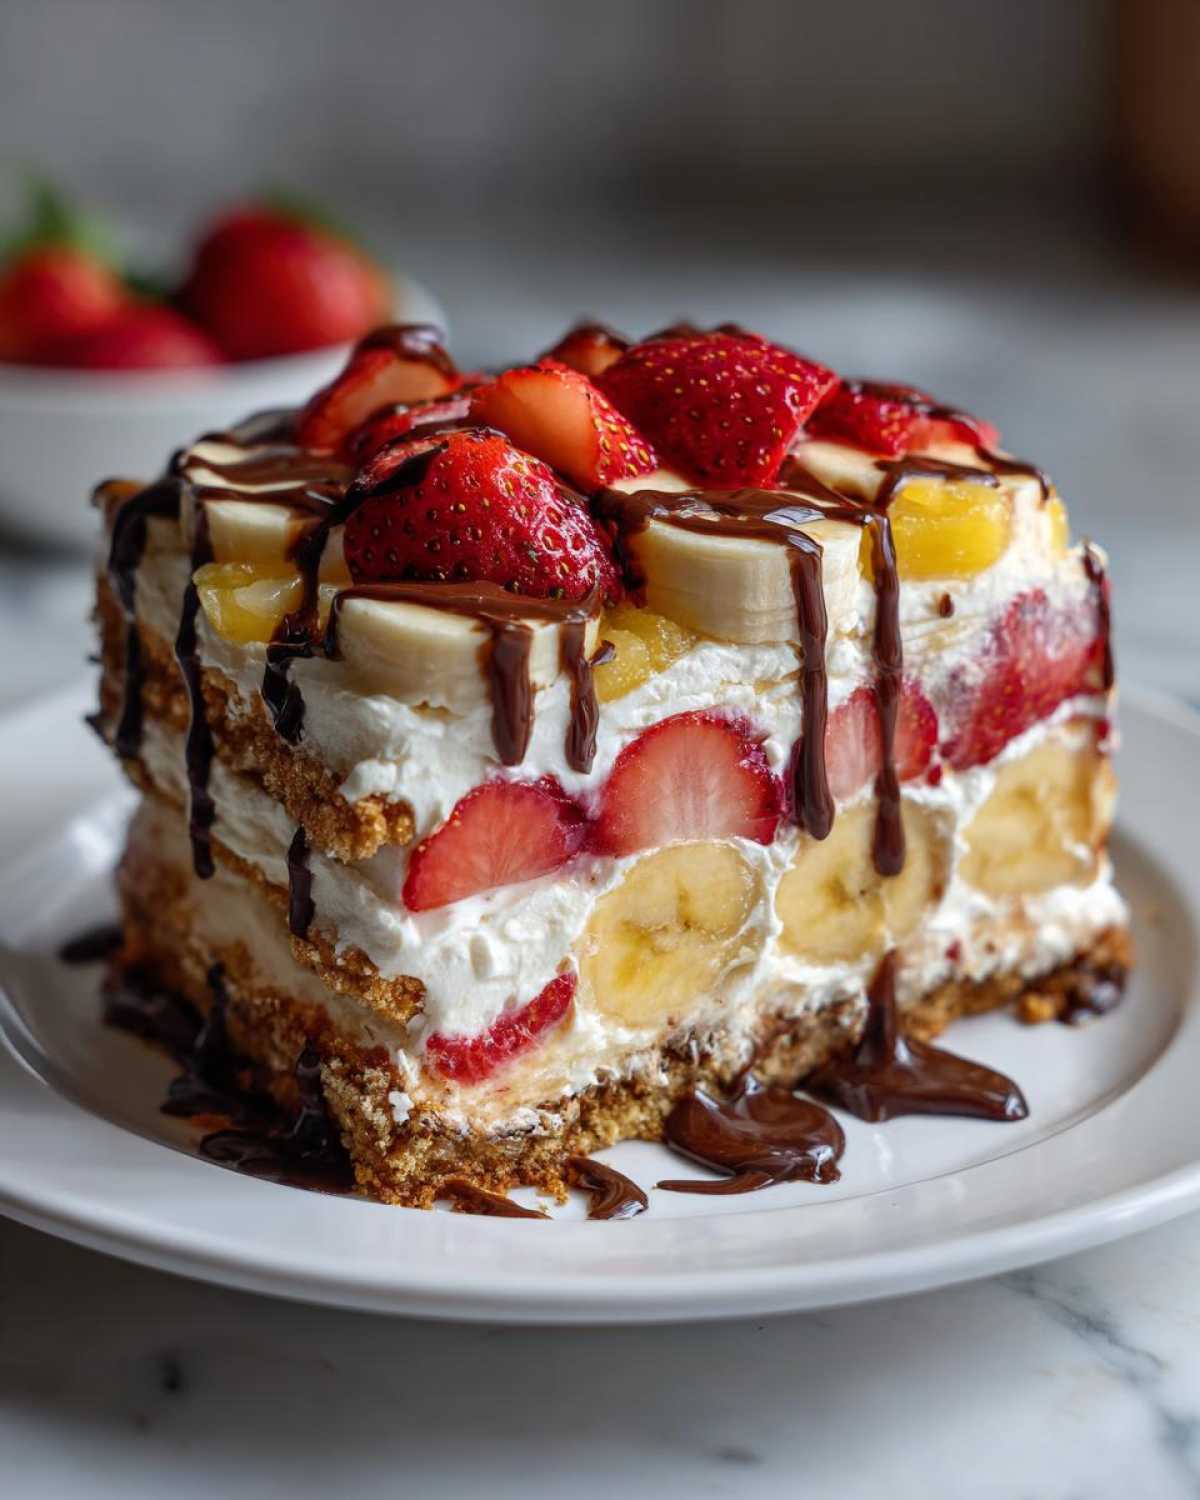
We managed to fit every single incredible element of that iconic dessert into this structure. We’re talking creamy, sweet, tangy, and crunchy! This isn’t just any dessert; it’s a full-on nostalgic trip. It’s a retro layered dessert experience thanks to the perfect marriage of banana, pineapple, and strawberry. The classic banana split flavors are all there, just in a perfectly sliceable format. It’s the best of both worlds!
Gathering Ingredients for Your Banana Split Cake
Before we assemble this masterpiece, we need to gather our royal supplies! Since this is a no-bake deal, the quality of what goes into the layers matters a lot, especially since we aren’t hiding anything under a bake cycle. We want that vibrant, fresh flavor to shine through in every bite of this easy layered dessert. Think about it: this entire confection relies on everything being just right—creaminess, fruit texture, and a solid base. Every time I grab these items, I think about how much simpler life is when you have a great recipe ready to go. Speaking of simple, if you want another quick win for your dessert table, you should check out our guide for an easy 3-ingredient chocolate mousse recipe!
Now, here is exactly what you need to bring this dream to life. No fancy equipment required, just a 9×13 dish and a good mixing bowl.
- 1 1/2 cups graham cracker crumbs
- 1/2 cup unsalted butter, melted
- 1/4 cup granulated sugar
- 1 (8 ounce) package cream cheese, softened
- 1 cup powdered sugar
- 1 (12 ounce) container frozen whipped topping, thawed, divided
- 2 large ripe bananas, sliced
- 1 cup crushed pineapple, well drained
- 1 cup sliced fresh strawberries
- 1/4 cup chocolate syrup
- 1/4 cup chopped pecans or walnuts (optional)
- Maraschino cherries, for garnish
Ingredient Notes and Substitutions for the Banana Split Cake
We need to talk seriously about the pineapple for a second. This is where most people accidentally sabotage their perfect dessert! You absolutely must drain the crushed pineapple until it has practically given up all its water. If it’s too wet, your wonderful cream cheese base won’t set correctly, and you’ll end up with soup instead of a sliceable dessert. Trust me, press it between paper towels or squeeze it dry—it’s non-negotiable! Also, your cream cheese needs to be really soft, room temperature soft, so you don’t end up with lumps when mixing. And please, don’t skip the optional nuts if you like a little crunch. They add that fantastic texture we associate with a perfect sundae!
Step-by-Step Instructions for the No-Bake Banana Split Cake
Okay, this is where the magic happens! Since we aren’t involving any ovens, the steps involve mixing cold and room-temperature items, so pay attention to texture. The goal here is layering carefully to keep everything distinct before it settles together in the fridge. Think of this as building a beautiful, edible tower of flavor. If you want some serious help with layering techniques for other chilled desserts, you might want to look at how they handle delicate things in my cheesecake guide on making a crack-free cheesecake—the gentle mixing translates perfectly here!
Creating the Graham Cracker Crust Dessert Base
First things first: that crust has to be solid because it’s holding up all that creamy goodness. Mix your graham cracker crumbs, melted butter, and granulated sugar right in the 9×13 dish you plan to serve it in—one less dish to wash, thank goodness! Press it down firmly using the bottom of a measuring cup to make sure it’s packed tight. Once it’s flat and even, pop that dish straight into the freezer while you tackle the filling. We need that foundation to be icy cold!
Assembling the Creamy Chilled Dessert Layers
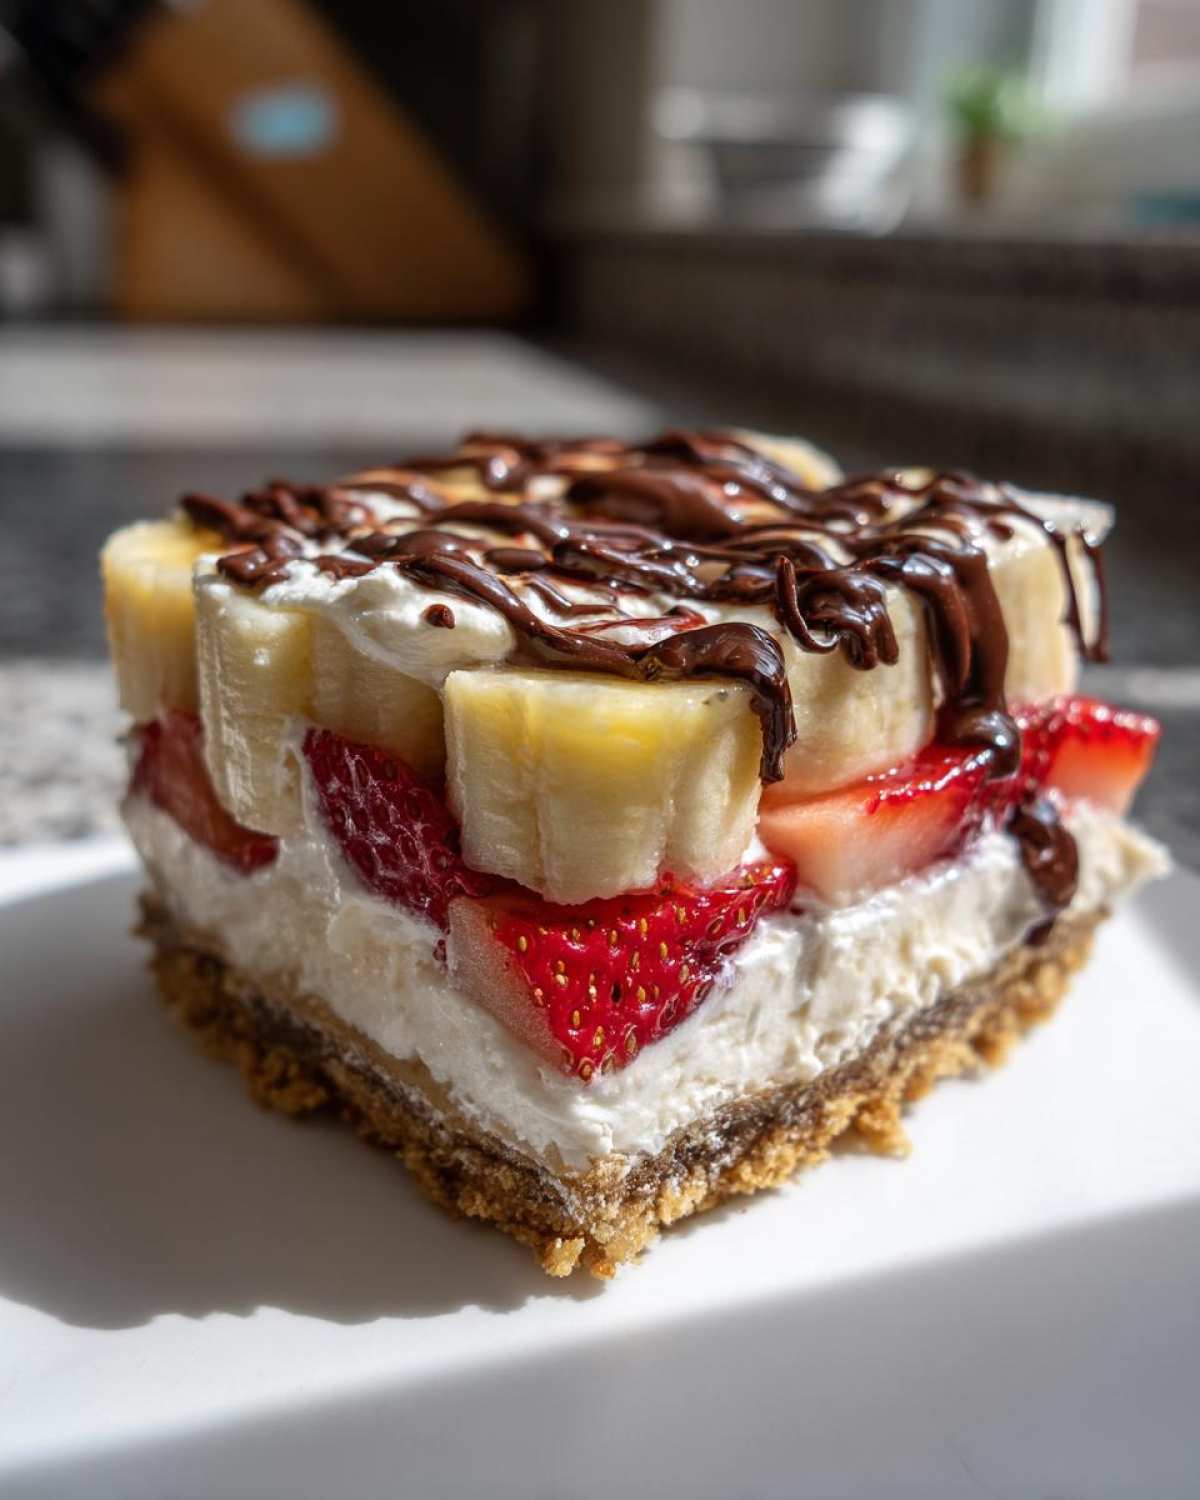
Now for the heavenly center! Beat your softened cream cheese until it’s completely smooth—no lumps allowed, we are treating ourselves like royalty here. Then, slowly mix in the powdered sugar. The trick is the whipped topping; take half of the thawed container and *gently* fold it into the cream cheese mixture. You want to maintain all that air to create that wonderful, light, fluffy cream dessert texture. Once that layer is spread over your frozen crust, it’s time for the fruit parade. Lay down your sliced bananas first, then gently dot the top with the incredibly well-drained pineapple, and finish the fruit layer with your fresh strawberries. This creates the perfect creamy chilled dessert profile.
Chilling and Serving Your Easy Banana Split Dessert
Once all the fruit is nestled in, spread that remaining half of the whipped topping gently over the top. Then, in goes the chocolate syrup drizzle and any optional nuts. This is where patience comes in! Cover it loosely and stick it in the fridge for a minimum of four hours. Honestly, letting this easy banana split dessert chill overnight is even better because it sets up perfectly for clean slicing. Just before you serve, drop those bright maraschino cherries on the top for the final flourish!
Tips for Success with Your Banana Split Cake
I’m Marco, Taster-in-Chief, and I have to chime in here because presentation is half the battle when you bring a potluck perfect dessert to a gathering. While Sofia handles the technical alchemy, I monitor the visual impact! The biggest flavor hurdle we discussed—the watery fruit—comes down to draining the pineapple relentlessly. If you skip that critical step, your beautiful layers will weep all over the plate, and that’s just not regal!
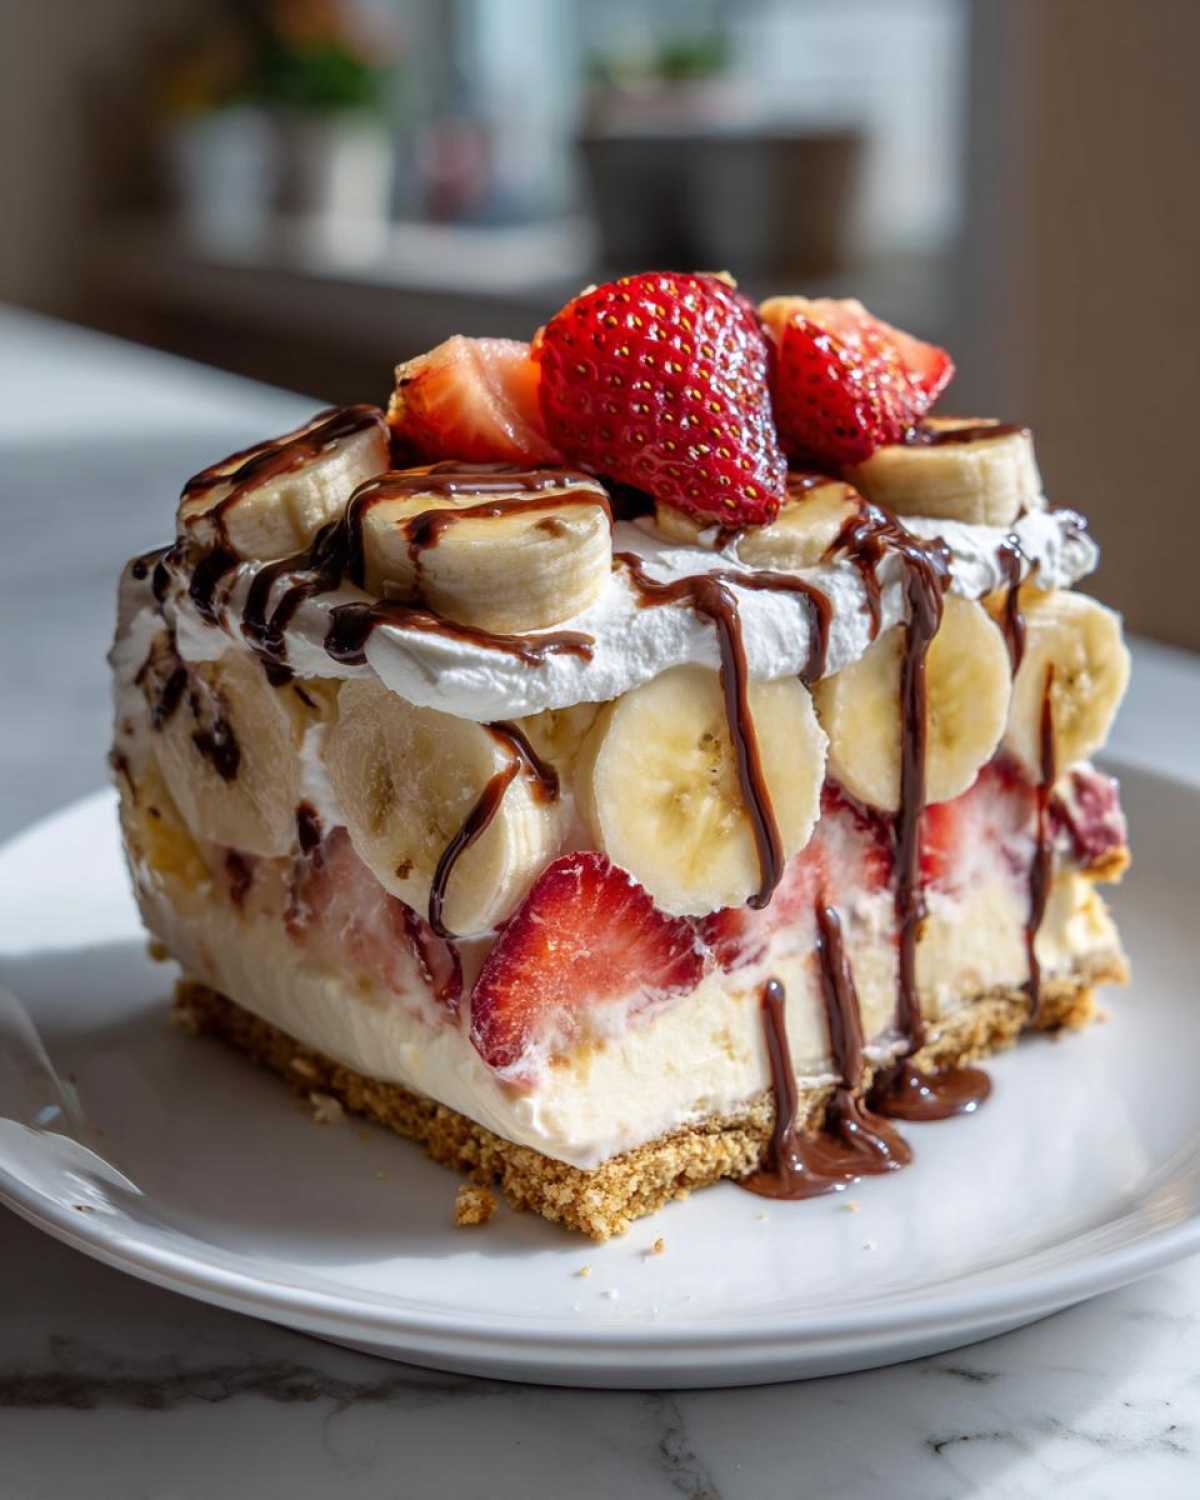
My big tip for presentation, especially if you plan to make this ahead, is to *hold back* on the chocolate syrup and cherries until just before serving. If you pour the syrup on too early, the moisture from the whipped topping can make it look streaky or muddy by the time you pull it out for company. A fresh, clean drizzle right before it hits the table? That’s how you command attention! If you are looking for another easy topping idea for when you serve this, perhaps you want some inspiration on how to pipe frosting beautifully—check out my guide on the best creamy vanilla buttercream recipe for inspiration on creating those swirly peaks!
Make Ahead Chilled Dessert and Storage Instructions
I absolutely adore this feature: this make ahead chilled dessert is your best friend when hosting. You can assemble the entire banana split cake, minus the final garnish, the day before your party. That means less rush and panic on the actual day—we don’t need stress at the royal table!
Because it needs that long chill time to firm up anyway, prepping it the night before is honestly the best move. Once cooled, cover the dish tightly with plastic wrap, making sure the wrap doesn’t touch the chocolate drizzle. It stays perfectly fantastic in the fridge for up to three days. When you slice into leftovers, the crust might soften just a tiny bit, but the flavor is still incredible. Just top any serving slices with fresh cherries when you pull it out!
Variations: Changing Up the Banana Split Cake
While the classic combination of banana, pineapple, and strawberry is tough to beat, true royalty likes options! You can certainly play around with this banana split cake recipe and keep it no-bake. If you want more texture in that top layer, forget the nuts and crush some chocolate wafer cookies over the top instead of pecans. Or maybe you want a different syrup? A caramel drizzle instead of chocolate makes it taste like a caramel-banana sundae!
Feel free to swap out a fruit too. For a slightly greener, tangier layer, try thinly sliced kiwi instead of the pineapple. If you’re feeling inspired for more baking explorations after mastering this chilled treat, check out my recipe for coffee cake cookies—they are soft and crumbly!
Estimated Nutritional Data for Banana Split Cake
Now, since we are Eatable Empress and we believe in being fully informed about what we treat ourselves to, I want to share the estimated nutrition breakdown for a slice of this beautiful dessert. Please remember, this is just an estimate based on the ingredients we listed, and using different brands of cream cheese or whipped topping can absolutely change these numbers. We always want to honor our bodies while indulging, right?
Marco always reminds me that the real “nutrition” comes from the joy it brings the table, but it’s nice to know the baseline numbers for our creamy chilled dessert!
- Serving Size: 1 slice
- Calories: 350
- Sugar: 35g
- Sodium: 210mg
- Fat: 19g
- Saturated Fat: 10g
- Carbohydrates: 45g
- Protein: 4g
This data is based on 12 equal servings from the 9×13 pan. It’s certainly a treat, but when you consider how much joy this easy banana split dessert brings, I’d say it’s worth every single bite!
Frequently Asked Questions About This Easy Banana Split Dessert
I know you have questions! When you’re dealing with layers and chilling times, specifics matter, especially if you want this to be the stunning, flawless quick layered dessert you pictured. Because we are relying on structure rather than baking to hold things together, a few pointers can make all the difference. Don’t hesitate to dive down here for answers; we want your experience making this recipe to be as smooth as the filling itself. If you ever have a question that isn’t covered, feel free to check out our main blog roll here: Eatable Empress Blog!
Can I use fresh pineapple instead of canned in this banana split cake?
Oh, you can absolutely use fresh pineapple, but this is a crucial point for our structure! Fresh fruit holds way more water than the canned stuff, and if you skip this step, your lovely layers won’t set up right. So, yes, use fresh, but you need to gently sauté or roast it first until some of that liquid evaporates. Just a quick cook down is enough to take out the excess moisture. That way, you get that pure flavor without risking a soupy bottom layer!
How long before serving should I add the bananas to the banana split cake?
Bananas are notoriously dramatic, aren’t they? They brown if you even look at them wrong! For the best look, I usually put the banana layer down right before I spread the second half of the whipped topping on. This sandwiches them nicely between the cream cheese and the top layer, shielding them a bit. The crucial thing here is that long, cold chill time—at least four hours if you can manage it. That time in the fridge keeps everything nice and firm so the colors stay bright and the bananas don’t get mushy right before you serve this easy banana split dessert.
Share Your Royal Feast: Rate This Banana Split Cake
Now it’s your turn, Eatable Empress! You’ve seen how Marco and I sneak this quick layered dessert into our weeknights just to feel a little bit regal. But the true coronation happens when you make it your own. We pour our hearts into these recipes, and honestly, seeing how they turn out for you is the best part of our day.
I want to know what you think! Did this banana split cake meet your royal standards for ease and flavor? Please, give this recipe a rating using the stars below—it helps other people discover how simple life can be when you treat yourself well.
And don’t forget to tell us in the comments! What toppings did you choose? Did you stick to the classic cherries and chocolate, or did you create a completely new masterpiece layering combo? We absolutely love hearing about your customizations for this creamy, no-bake wonder. Come share your feast with us below!
PrintNo-Bake Banana Split Cake: Easy Layered Summer Dessert
Capture the classic ice cream parlor flavors in this creamy, chilled No-Bake Banana Split Cake. This easy layered dessert uses a graham cracker crust, fresh fruit, and a fluffy filling, making it perfect for summer parties or potlucks without turning on the oven.
- Prep Time: 25 min
- Cook Time: 0 min
- Total Time: 4 hr 25 min
- Yield: 12 servings
- Category: Dessert
- Method: No Bake
- Cuisine: American
- Diet: Vegetarian
Ingredients
- 1 1/2 cups graham cracker crumbs
- 1/2 cup unsalted butter, melted
- 1/4 cup granulated sugar
- 1 (8 ounce) package cream cheese, softened
- 1 cup powdered sugar
- 1 (12 ounce) container frozen whipped topping, thawed, divided
- 2 large ripe bananas, sliced
- 1 cup crushed pineapple, well drained
- 1 cup sliced fresh strawberries
- 1/4 cup chocolate syrup
- 1/4 cup chopped pecans or walnuts (optional)
- Maraschino cherries, for garnish
Instructions
- Prepare the crust: Mix graham cracker crumbs, melted butter, and granulated sugar in a medium bowl until combined. Press the mixture firmly into the bottom of a 9×13 inch baking dish. Place the crust in the freezer while you prepare the filling.
- Make the cream cheese layer: In a large bowl, beat the softened cream cheese until smooth. Gradually beat in the powdered sugar until fully incorporated. Gently fold in half (about 1 1/2 cups) of the thawed whipped topping until just combined.
- Assemble the layers: Spread the cream cheese mixture evenly over the chilled graham cracker crust. Arrange the sliced bananas over the cream cheese layer.
- Add the fruit: Sprinkle the well-drained crushed pineapple evenly over the bananas. Top the pineapple layer with the sliced strawberries.
- Add the topping: Gently spread the remaining half of the whipped topping over the strawberries. Drizzle the chocolate syrup over the whipped topping. Sprinkle with chopped nuts, if using.
- Chill: Cover the dish loosely with plastic wrap and refrigerate for at least 4 hours, or preferably overnight, to allow the dessert to set completely.
- Serve: Before serving this easy banana split dessert, top with maraschino cherries. Slice and serve cold.
Notes
- Make sure the crushed pineapple is very well drained; excess liquid will make the cake watery.
- For the best flavor and texture, assemble this make ahead chilled dessert the day before you plan to serve it.
- If you prefer a firmer texture, you can substitute half of the whipped topping with instant vanilla pudding mix prepared according to package directions.
Nutrition
- Serving Size: 1 slice
- Calories: 350
- Sugar: 35
- Sodium: 210
- Fat: 19
- Saturated Fat: 10
- Unsaturated Fat: 9
- Trans Fat: 0
- Carbohydrates: 45
- Fiber: 2
- Protein: 4
- Cholesterol: 45