

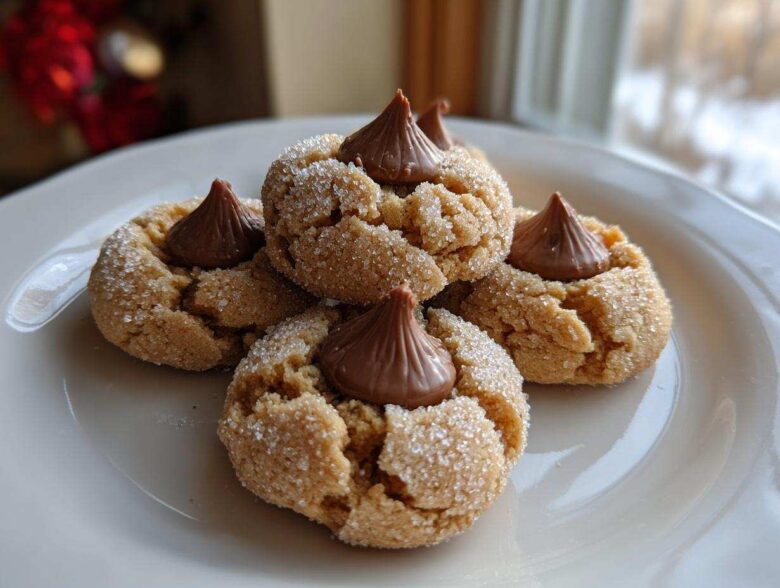
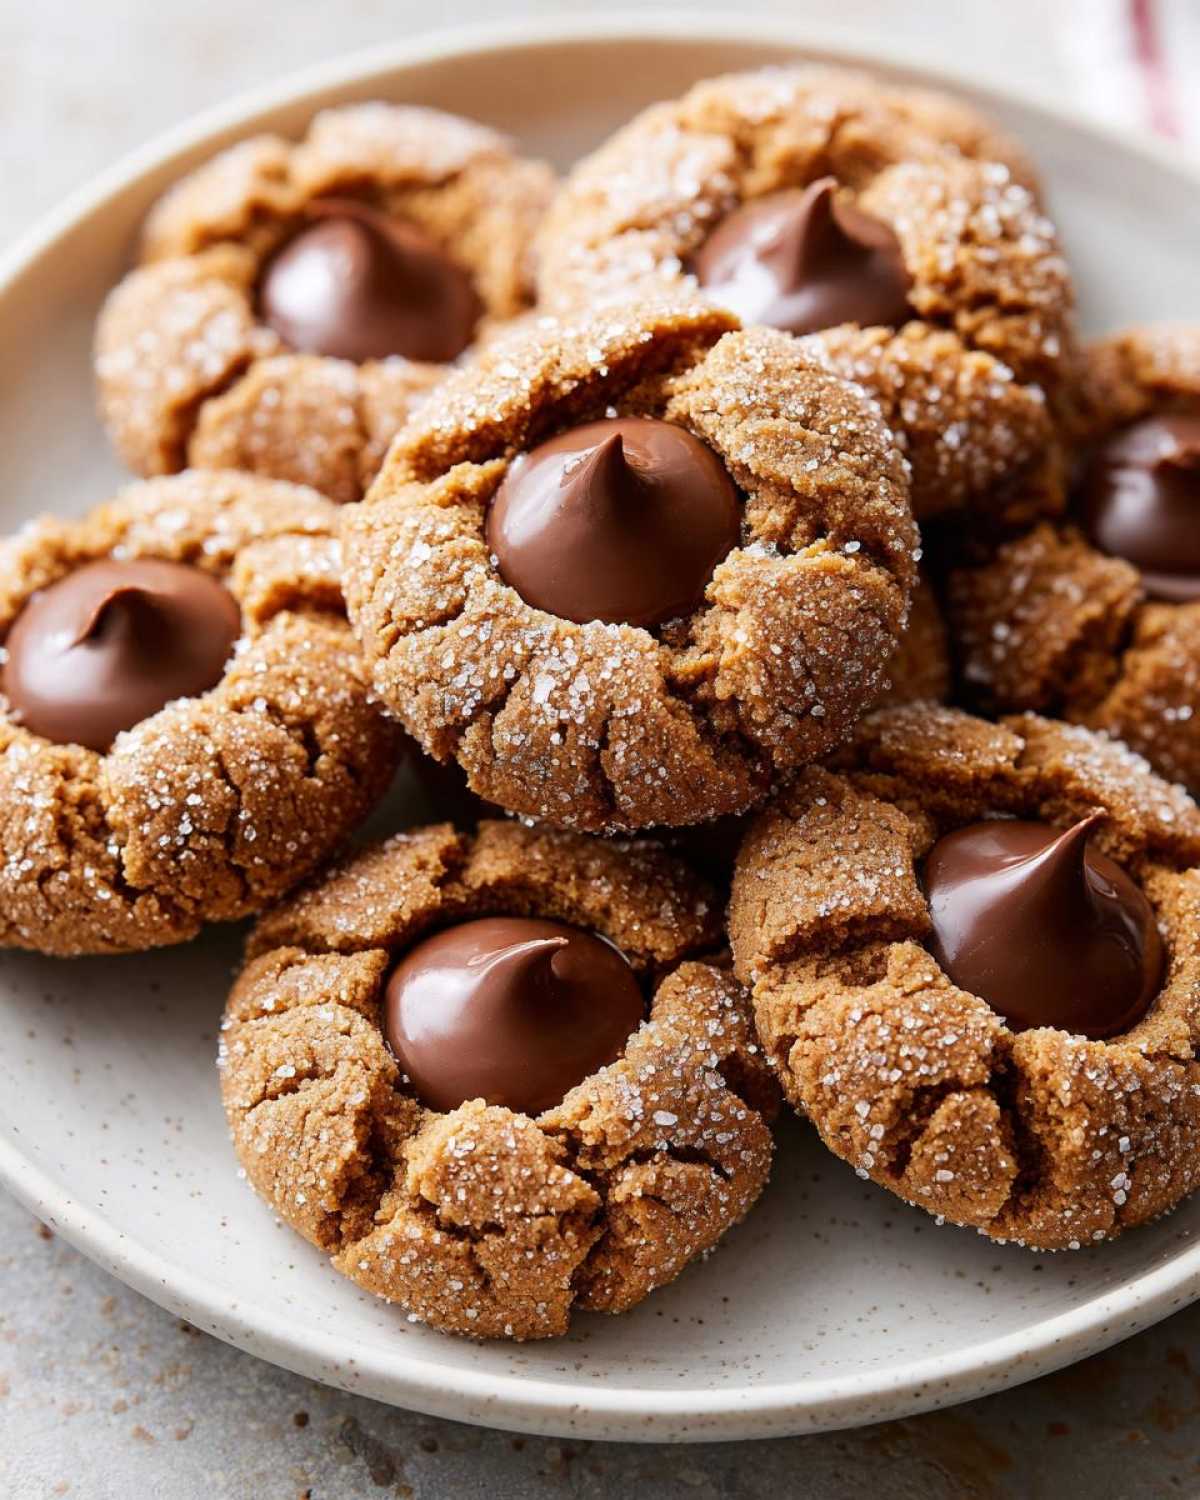
There is just something magical about walking into a kitchen filled with the warm scent of peanut butter and chocolate during the holidays, right? For me, the absolute cornerstone of any cookie platter is the **Peanut Butter Blossom Cookies**. These aren’t fancy sourdough starters or complicated French pastries; they are pure, wonderful, nostalgic baking.
I’ve baked hundreds of batches trying to perfect the base so it stays soft but firm enough to hold that iconic Hershey’s Kiss. Trust me, I’ve tried every trick out there! This recipe is my definitive, absolutely foolproof version. It comes together so quickly—you’ll have these rolled and baked before you even finish brewing your coffee. It’s simple, it’s classic, and it’s guaranteed to make everyone smile when they see that little flower shape.
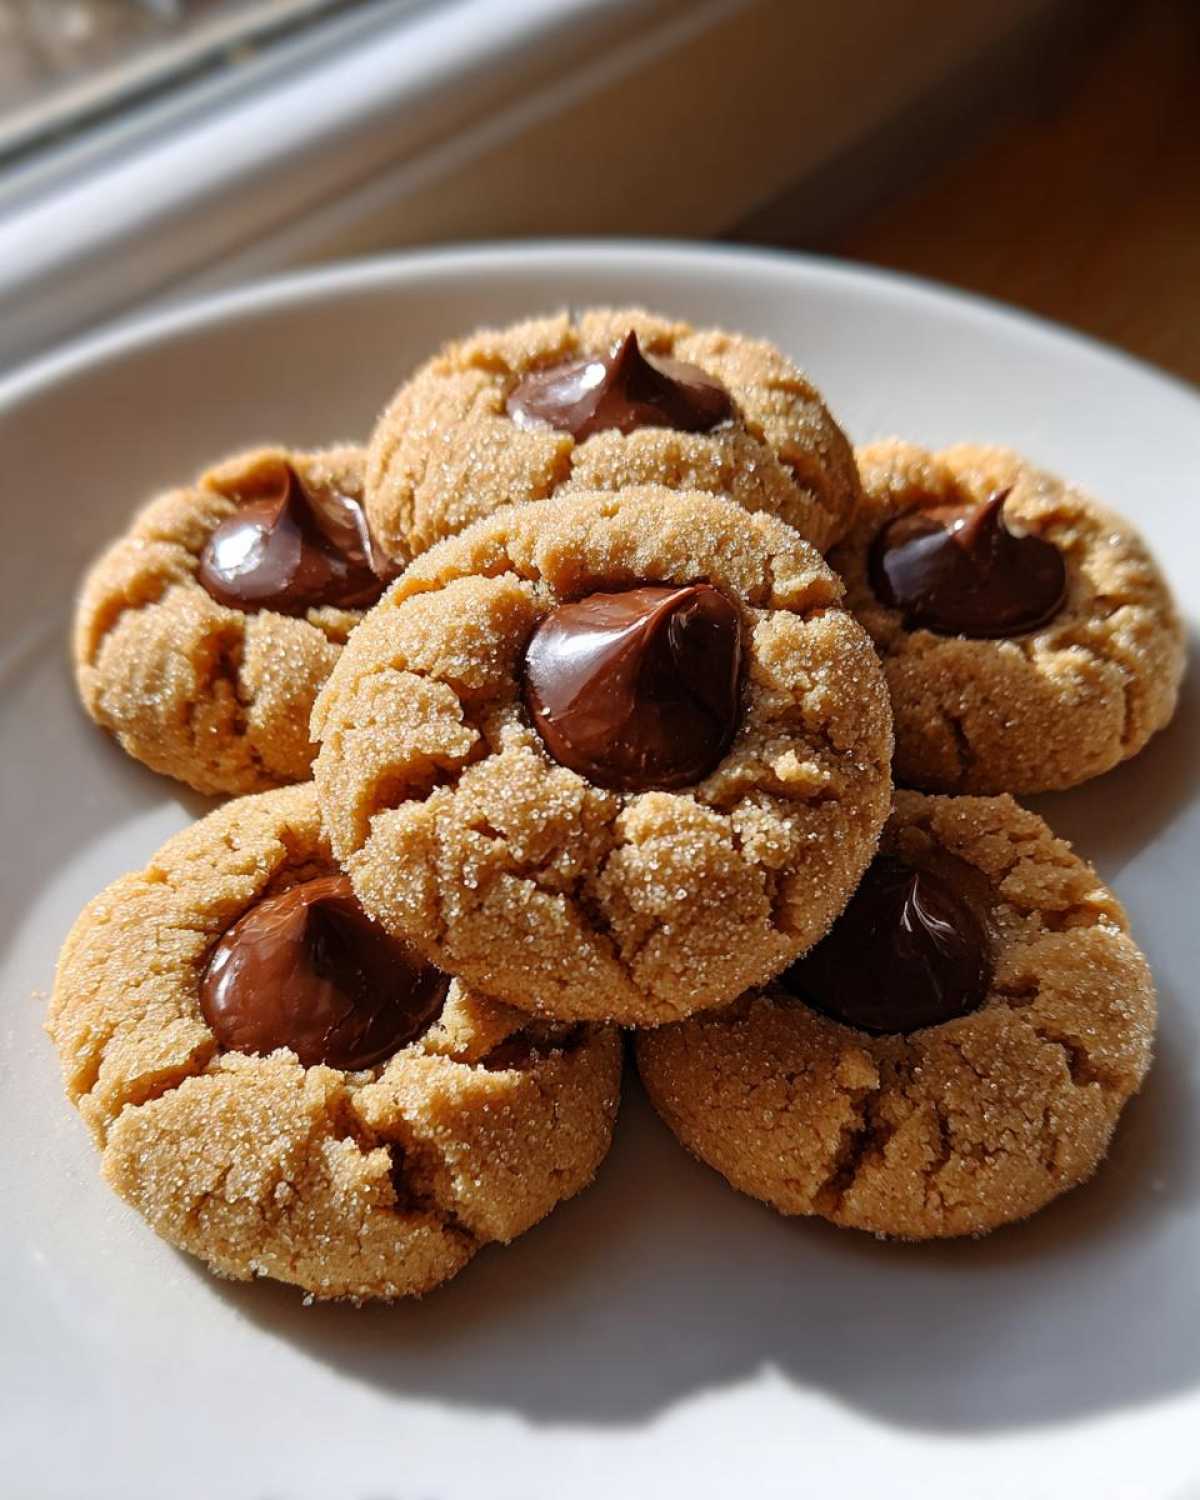
If you’ve ever looked at a pale, cracked, or overly flat blossom cookie and wondered what went wrong, stick with me! We’re going to make sure your cookies are perfectly textured and that chocolate center melts just right. You can find out a bit more about my baking philosophy over on my About Me page, but for now, let’s get this dough mixed!
Why This Peanut Butter Blossom Cookies Recipe Works Every Time
I know there are a million recipes out there for these classic cookies, but honestly, mine just *works*. I spent ages tweaking the fat content and the sugar ratios to get that perfect old-school feel. When you follow these steps, you’re not just making cookies; you’re guaranteeing a win for your next cookie exchange.
Here’s why I trust this particular recipe whenever the holidays roll around or I just need a comfort bake:
- They give you that perfect, recognizable criss-cross look if you choose to fork them, though skipping that step gives you a better base for the Kiss!
- The cookie base stays wonderfully soft and chewy, not hard like a cracker.
- It is seriously fast! From mixing bowl to cooling rack in under 30 minutes total—you can’t beat that speed.
- This recipe is so easy, I often let the kids manage the rolling and pressing part, making it perfect for kid-friendly cookie baking.
Essential Ingredients for Perfect Peanut Butter Blossom Cookies
Okay, let’s talk about what goes into these treats because the quality of your ingredients really shines through here, especially with only a few main components! I’ve outlined everything you need for about three dozen glorious cookies. If you’re getting ready for your big batch of holiday cookie baking, make sure you check your pantry now!
You’ll need 1 cup of unsalted butter that’s properly softened—don’t use melted, please! Then we combine that sweetness with 1 cup of regular granulated sugar and 1 full cup of packed light brown sugar. That brown sugar is crucial for that chewy texture we love. Next, grab those 2 large eggs and 1 teaspoon of vanilla extract.
The star, of course, is the peanut butter. I specify 1 full cup of *creamy* peanut butter. Now, if you try to use crunchy peanut butter here, you’ll end up with little hard pebbles in your cookie base. They won’t mash down nicely under the Kiss, and the texture will just be off! Trust me, stick to creamy for the smooth, classic base.
For the dry stuff, whisk together 2 and 3/4 cups of all-purpose flour, 1 teaspoon of baking soda, half a teaspoon of baking powder, and just half a teaspoon of salt. Finally, you need that bag of milk chocolate Kisses unwrapped and ready to go. That’s it! Simple components creating something truly classic.
Step-by-Step Guide: How to Make Peanut Butter Blossom Cookies
Now we get to the fun part! Making these cookies is really a two-part operation: first, we create the sturdy, flavorful base, and second, we add that beautiful little chocolate crown. Don’t get intimidated by the steps; they flow together so nicely. We are working toward that perfect classic look for your Christmas cookie classics platter.
Before you do anything, get that oven preheated to 375 degrees F. Seriously, do this first. Line your baking sheets with parchment paper—this prevents sticking and makes cleanup a dream, which honestly, is a huge win in my book!
Preparing the Dough for Classic Peanut Butter Cookies
Start big, my friends! In your largest mixing bowl, you need to cream together that softened butter, the granulated sugar, and the brown sugar. You want this mixture to get light and fluffy, almost pale yellow. This step whips the air into the butter, which is key for texture later on. Once that looks good, beat in your two eggs one at a time, ensuring each one is mixed in before adding the next. Then, stir in the vanilla and, finally, that creamy peanut butter until everything looks happy together.
In a separate bowl, give your dry ingredients—the flour, baking soda, baking powder, and salt—a quick whisk together. Remember what I always say about baking? You mix wet and dry separately for a reason! Now, add the dry mixture to your wet mixture, but listen closely: only mix on low speed until you just barely see the flour disappear. If you overmix here, your cookies will get tough, and we want soft!
Baking and Applying the Chocolate Kiss to Your Peanut Butter Blossom Cookies
Time to roll! Scoop your dough into little 1-inch balls. Here’s a little trick for that gorgeous, slightly crystallized outer shell that some people love: roll each ball lightly in some extra granulated sugar before setting them on the parchment. Place them about two inches apart because they spread just a bit.
Bake these for exactly 8 to 10 minutes. You are looking for the edges to look set, but if the very center still looks a tiny bit soft or underdone, that’s perfect—that’s the secret to softness! Pull the tray immediately from the oven. This next part is critical: while they are hot, gently press one unwrapped milk chocolate Kiss right into the center of each cookie. Use gentle pressure; you just want it to soften slightly, maybe crack the cookie surface a tiny bit. If you push too hard, you’ll force the chocolate to melt flat and lose that cute blossom shape. Let them sit on the warm pan for five minutes to set up before moving them to a wire rack to cool completely. Don’t skip that short cooling period on the pan!
Tips for Perfect Peanut Butter Blossom Cookies Every Time
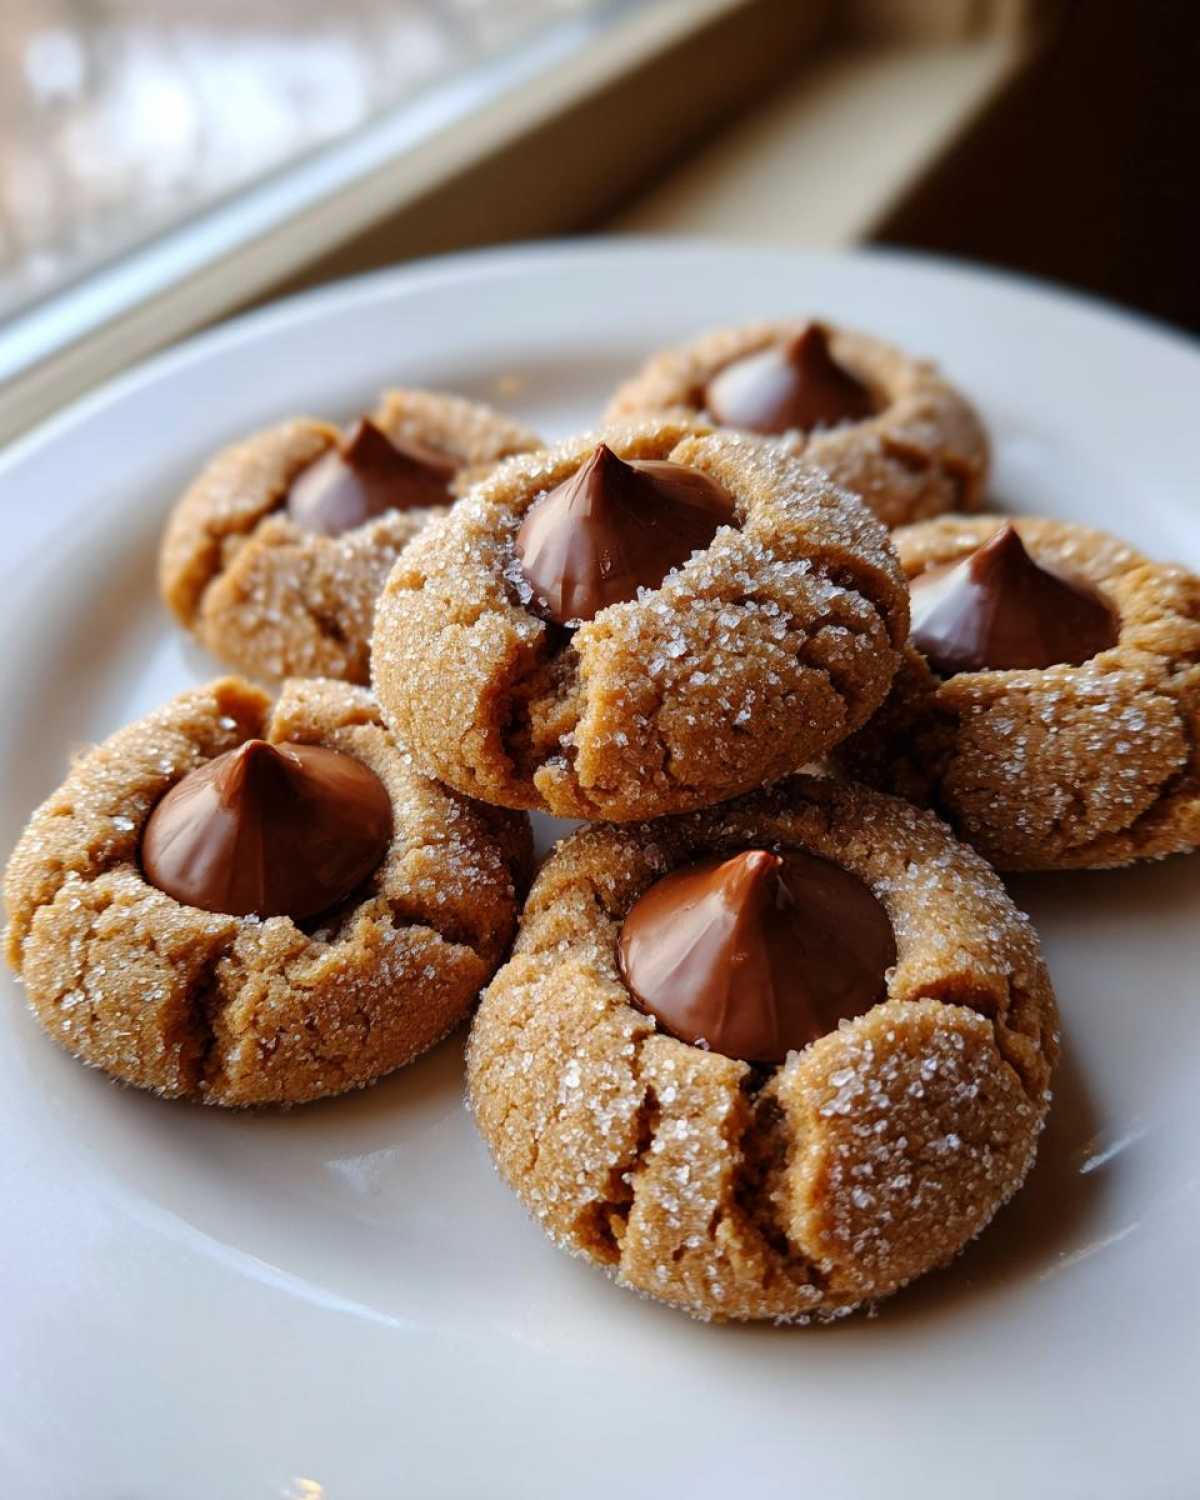
Even with the best recipe, sometimes baking throws you a curveball! But don’t worry, I’ve faced down every issue these sweet treats can present over the years. The biggest complaint I hear is that the cookies spread too much, ending up looking more like flat discs than plump little flowers. If you find that happening, try chilling your dough balls for 15 minutes before baking. Just a little chill firms up that butter and helps them hold their shape beautifully.
Secondly, let’s talk about that Kiss placement again, because this is where people lose the ‘blossom’ look! Remember what I said about pressing gently? You are only using the residual heat from the cookie to soften the chocolate; you aren’t trying to mash it into the dough entirely. Press until you see just the *slightest* crack appear on the cookie surface around the chocolate. That’s your signal to stop!
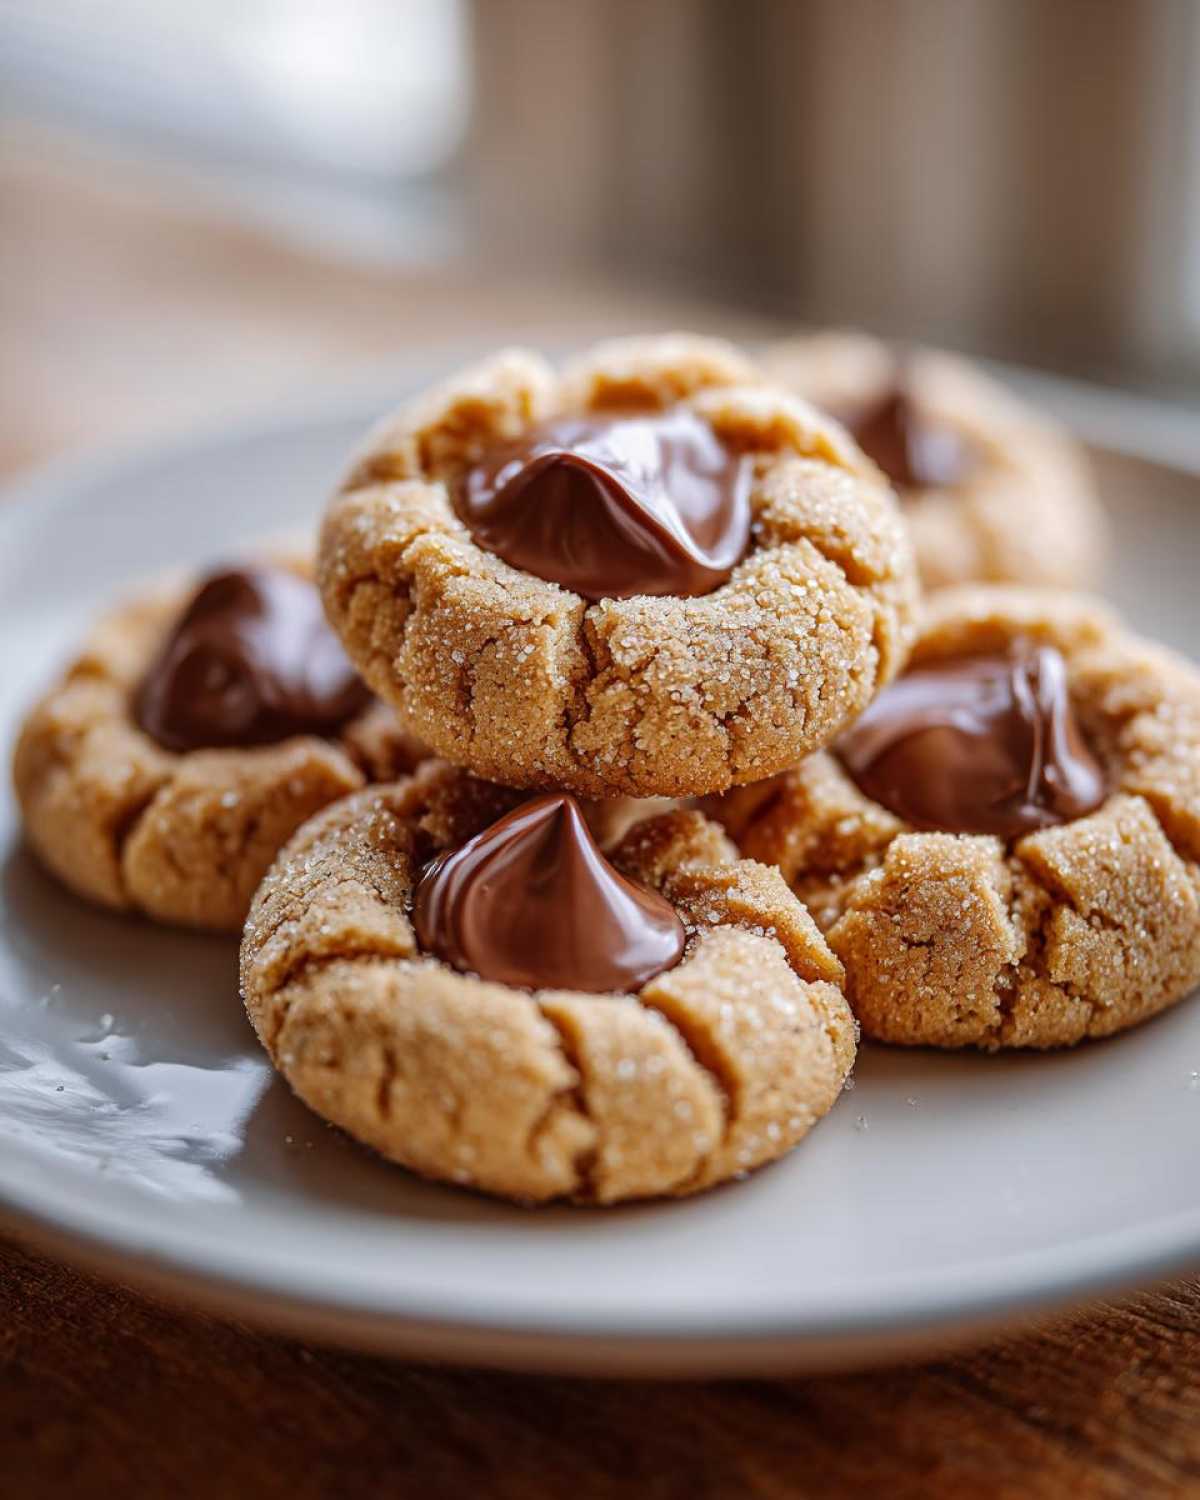
Also, stick to the creamy peanut butter we talked about earlier. That smooth structure is vital for the dough to be pliable enough to receive the chocolate without breaking apart. If you want to try chilling the entire batch of dough for an hour or two—especially if you’re planning ahead for a big baking day—that’s totally fine too! Just let it sit on the counter for about 15 minutes to warm up slightly before rolling.
Variations for Your Peanut Butter Blossom Cookies
While the classic milk chocolate Kiss version is what I always reach for first, mixing things up keeps baking fun, right? Luckily, this cookie base is super adaptable. It takes on new flavors really well, which is great if you’re looking to jazz up your standard Christmas cookie rotation.
First thing: swap out the chocolate! Instead of a standard milk chocolate Kiss, try using a dark chocolate Kiss for a richer flavor contrast against that sweet peanut butter. Or, if you’re feeling really decadent, grab some peanut butter cups—just cut them in half and press the flat side down into the warm cookie immediately after baking. That usually sends cookies right over the top!
Another easy swap is the peanut butter itself. If you use natural peanut butter, just know that your cookie dough might be slightly softer, so chilling becomes even more important. You could also stir a teaspoon of instant espresso powder right into the wet ingredients when you add the peanut butter for a fun Mocha Blossom! See? Small changes make a big difference without needing a whole new recipe.
Storage and Reheating Instructions for Peanut Butter Blossom Cookies
The best thing about these cookies, besides how quickly they bake, is how long they last, if you can manage to keep your hands off them! I always store my finished Peanut Butter Blossom Cookies in a truly airtight container. They are perfectly happy sitting right out on the counter at room temperature for up to a week. The chocolate Kiss usually stays firm enough unless your kitchen is super hot.
I find that they actually taste even better on day two once the peanut butter flavor has really settled into the cookie base. If you’re baking way ahead of time, yes, they freeze beautifully! Just place them in a heavy-duty freezer bag, making sure there’s no air inside, and they’ll be great for about two months. No reheating needed—just let them thaw on the counter for 20 minutes!
Frequently Asked Questions About Making Peanut Butter Blossom Cookies
I always get the same few questions asked about these beauties every year! If you’re planning your holiday cookie baking schedule, here are the quick answers to what most of you ask!
Can I use crunchy peanut butter for the cookie base?
Oh, I know some folks love the texture of crunchy peanut butter, but for this specific recipe, I strongly advise against it. We really want that smooth, uniform texture in the **Classic Peanut Butter Cookies** so the Kiss sits perfectly and doesn’t have hard bits poking through. Crunchy PB tends to make the dough a bit crumbly, too, which isn’t ideal for our required soft center.
Why did my chocolate kiss melt completely flat instead of staying on top?
This is the number one issue people run into with **Chocolate Kiss Cookies Recipe**! The key here is timing and residual heat. You *must* press the Kiss into the cookie the literal second it comes out of the oven—no waiting around! The cookie needs to be hot enough to slightly soften the chocolate, but if you leave it in there even for a minute too long, or if you pressed too hard, it will ooze right out. Remember, just a gentle press until you see the dough crack a little!
What is the best way to handle the dough if it seems too soft or sticky before rolling?
If you look at your dough and it seems really greasy or sticky, it means your butter might have been a touch too warm when you started mixing, or maybe your kitchen is just warm! Don’t panic; that’s fixable. Pop the whole bowl of dough into the refrigerator for about 30 minutes. This chills the fat back down. When you take it out, it will firm up enough for you to roll those perfect 1-inch balls, giving you the results you want for the **Best Blossom Cookie Recipe**.
Do these cookies freeze well before or after baking?
They freeze wonderfully both ways, which is fantastic for holiday prep! If you freeze the raw dough balls, just keep them tightly packed in a freezer bag. When you’re ready to bake, you don’t even need to thaw them fully; just put them on the parchment paper and add about 2 or 3 minutes onto your baking time. If you freeze them *after* they are baked and cooled (Kisses still attached, of course!), they thaw perfectly on the counter in about an hour. This is one of the easiest **Christmas Cookie Classics** to prep ahead!
Estimated Nutritional Information for Peanut Butter Blossom Cookies
Okay, now that you’ve got these gorgeous **Peanut Butter Blossom Cookies** cooling on the rack, you’re probably wondering about the numbers, right? I totally get it. We bake with love, but trying to keep track of everything is important!
I want to be super clear here: the nutritional data I’ve put together for this classic recipe is just an estimate. It’s based on using standard creamy peanut butter and the exact measurements listed for this batch size. Things like brand differences, how much you decide to roll them in extra sugar, or even the exact size of your eggs can change those figures!
For the most accurate details, especially if you’re tracking specific macros, I always recommend plugging your actual ingredient weights into your favorite tracking app. You can read more about how I handle these estimates on my official disclaimer page. But really, these are meant to be joyful treats, so let’s not stress too much over the precise numbers when they taste this good!
Share Your Perfect Peanut Butter Blossom Cookies Creations
Now that you’ve whipped up a batch of these incredible **Peanut Butter Blossom Cookies**, I absolutely need to know how they turned out! Seriously, these are the cookies that make people ask for the recipe, so please don’t keep your success a secret!
Did you manage to get that perfect little chocolate depression without flattening the bloom? Did the kids enjoy rolling the dough balls? Drop a comment down below! Rating the recipe is the best way you can help other bakers find this foolproof method for beautiful **Chocolate Kiss Cookies**.
I also love seeing your pictures! Tag me on social media so I can share your gorgeous results. If you have any final lingering questions after baking—maybe about substitutions or scaling up for a bigger crowd—pop over to my Contact Page and send me a message. Happy baking, and enjoy every single soft, chocolatey bite!
PrintClassic Peanut Butter Blossom Cookies

A recipe for traditional peanut butter cookies topped with a chocolate kiss center.
- Prep Time: 20 min
- Cook Time: 10 min
- Total Time: 30 min
- Yield: About 3 dozen cookies
- Category: Dessert
- Method: Baking
- Cuisine: American
- Diet: Vegetarian
Ingredients
- 1 cup unsalted butter, softened
- 1 cup granulated sugar
- 1 cup packed light brown sugar
- 2 large eggs
- 1 teaspoon vanilla extract
- 1 cup creamy peanut butter
- 2 3/4 cups all-purpose flour
- 1 teaspoon baking soda
- 1/2 teaspoon baking powder
- 1/2 teaspoon salt
- About 1 bag (12 ounces) milk chocolate kisses, unwrapped
Instructions
- Preheat your oven to 375 degrees F. Line baking sheets with parchment paper.
- In a large bowl, cream together the softened butter, granulated sugar, and brown sugar until light and fluffy.
- Beat in the eggs one at a time, then mix in the vanilla extract and peanut butter until combined.
- In a separate medium bowl, whisk together the flour, baking soda, baking powder, and salt.
- Gradually add the dry ingredients to the wet ingredients, mixing on low speed until just combined. Do not overmix.
- Roll the dough into 1-inch balls. Roll each ball in extra granulated sugar if desired for a crispier coating.
- Place the dough balls about 2 inches apart on the prepared baking sheets.
- Bake for 8 to 10 minutes, or until the edges are lightly set but the centers still look slightly soft.
- Immediately after removing the cookies from the oven, gently press one unwrapped chocolate kiss into the center of each warm cookie. The residual heat will soften the chocolate.
- Let the cookies cool on the baking sheet for 5 minutes before transferring them to a wire rack to cool completely.
Notes
- Use creamy peanut butter for the best texture in the cookie base.
- Press the chocolate kiss down just until it begins to crack the cookie surface; this prevents it from melting completely flat.
- Store cookies in an airtight container at room temperature for up to one week.
Nutrition
- Serving Size: 1 cookie
- Calories: 180
- Sugar: 15
- Sodium: 85
- Fat: 10
- Saturated Fat: 4
- Unsaturated Fat: 6
- Trans Fat: 0
- Carbohydrates: 21
- Fiber: 1
- Protein: 3
- Cholesterol: 25