

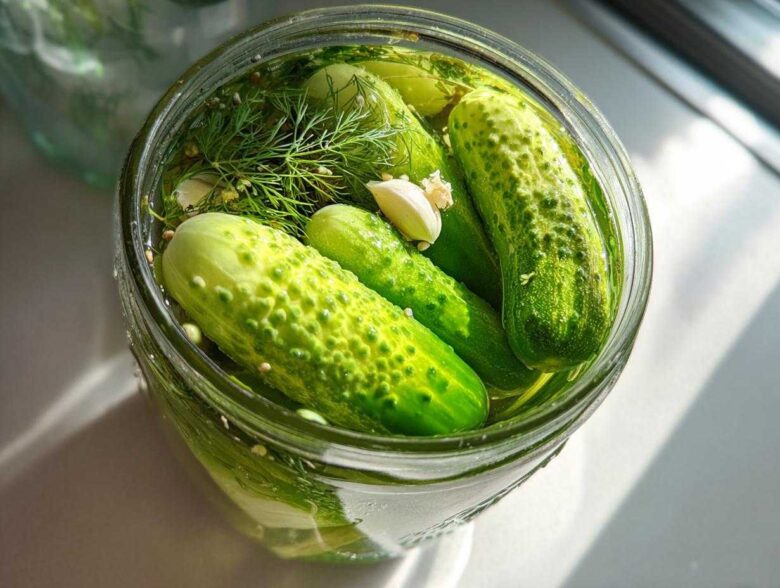
Oh, that craving hits you—you know the one? That sharp, tangy explosion followed by that incredible, shattering crunch. For years, I thought that level of perfection only came sealed in a glass jar from the grocery store. But Sofia and I made a pact: we are done saving the best treats for guests. We wanted that satisfying snap on a Tuesday night with leftovers!
That’s why I, Marco, am obsessed with these **refrigerator pickles**. They fit perfectly into our philosophy of reclaiming simple pleasures. Forget the fuss of traditional canning; these are about taking humble cucumbers, a simple vinegar brine, and turning them into something spectacular in less than a day. Trust me, when you taste the tang on these homemade refrigerator pickles, you’ll realize you deserve this crunch every single week, not just for company.
Why You Need These Crispy Refrigerator Pickles Now
If your past attempts at homemade pickles ended in mushy, sad cucumbers, listen up! That usually happens when you boil everything for processing. Since these **refrigerator pickles** use a cold brine and zero canning, we lock in that incredible snap. Honestly, this recipe is my current obsession because it’s my go-to easy homemade pickles solution.
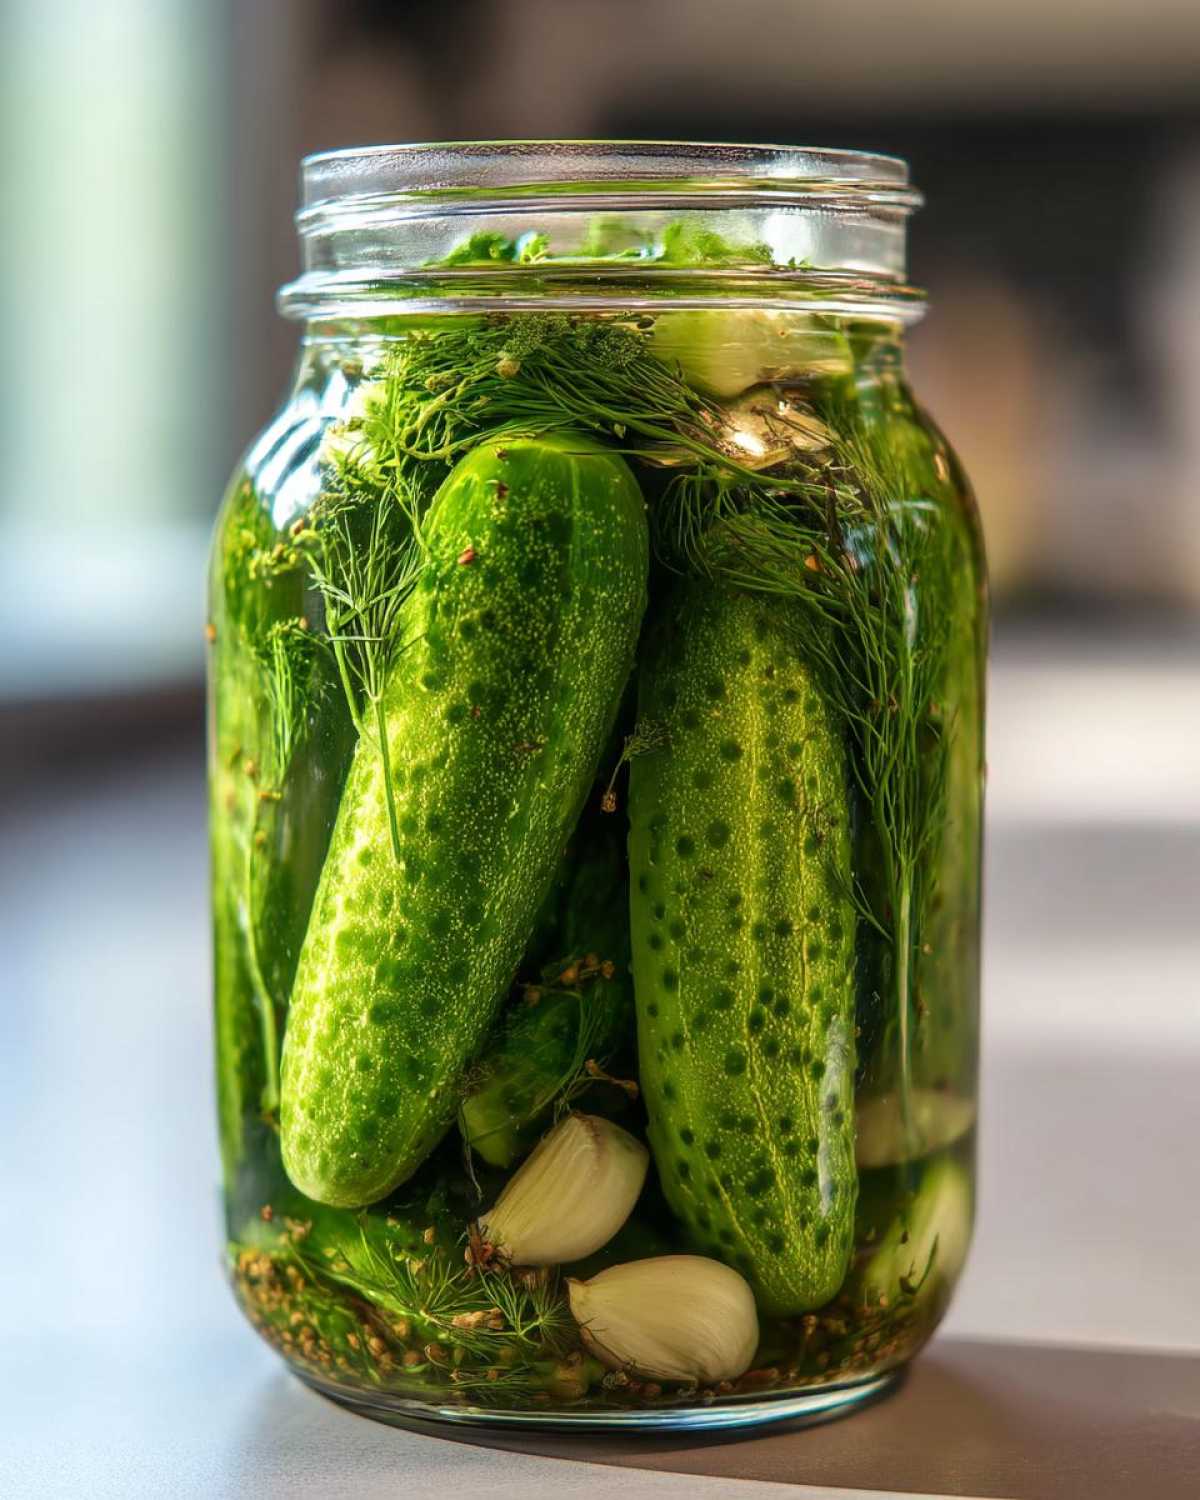
- No boiling water or scary canning lids needed—zero fuss!
- They’re ready to eat in just one day.
- They blow those major brands out of the water; we are talking a genuine Claussen copycat recipe here.
The Secret to Perfect Crispy Refrigerator Pickles
The magic to keeping these **crispy refrigerator pickles** firm lies in two things: starting with the freshest, firmest Kirby cucumbers you can find (they are naturally dense!) and skipping the heat bath. Heat destroys the cell structure in the cucumber, turning it soft. By using a cold vinegar mixture immediately, we let the acid work its magic slowly in the fridge. This technique keeps the crunch intact for weeks, which is truly what makes these quick pickles so addicting.
Gathering Ingredients for Your Easy Homemade Pickles
Okay, gather your court! Since this is a **no canning required recipe**, we don’t need a huge setup, just good stuff. The quality of your cucumber matters *more* here than in any other pickle recipe because we aren’t using intense heat to mask anything. We need firm, fresh Kirby or pickling cucumbers—trust me, the ones that feel like little rocks are your friends for those perfect **crispy refrigerator pickles**.
Here’s what you need for about two quarts of the best **tangy pickled cucumbers** you’ll ever taste:
- 2 pounds pickling cucumbers (Kirby or similar), sliced into spears or rounds
- 4 cups water
- 2 cups white vinegar (must be 5% acidity!)
- 2 tablespoons pickling salt (or kosher salt, but buy the real stuff!)
- 1 tablespoon granulated sugar
- 1 head fresh dill (or 2 tablespoons dried dill seed)
- 8 cloves garlic, peeled and smashed
- 1 teaspoon black peppercorns
I swear, just having these things ready on the counter makes me feel like royalty. You can find everything at a regular grocery store, but take note of that specialized salt!
Ingredient Notes and Substitutions for Vinegar Pickled Cucumbers
Let’s talk specifics on a few things. For the salt, please, please use pickling salt or quality kosher salt. Table salt has anti-caking agents that can make your brine cloudy, and we want clarity in our lives, right? If you can’t find fresh dill, using dried dill seed gets you a very close flavor profile for these **vinegar pickled cucumbers**.
Also, if you decide on the spot you want sweeter **bread and butter refrigerator pickles** instead of dill, it’s easy! Just swap out 1/2 cup of that white vinegar for apple cider vinegar, and bump that sugar up to 1/4 cup in the brine mix. That’s the beauty of these **quick pickles**—they are totally adaptable for your mood! I found this great recipe variation that uses different fruits for sweetness, which is fun if you want to explore after you master this classic sweet and sour pickle base.
Step-by-Step Instructions for No Canning Required Recipes
This is the fun part where we turn ingredients into royalty-worthy snacks! Since we are making **refrigerator pickles**, there’s no stressful canning involved—no water baths, no sealing worries. We’re leaning into the simplicity of a fantastic, cold brine. Don’t worry if you’re new to this; these quick pickles are incredibly forgiving!
- Wash your cucumbers well. Slice them into your preferred shape (spears or rounds).
- In a medium bowl or large measuring cup, whisk together the water, white vinegar, pickling salt, and sugar until the salt and sugar dissolve completely. This is your brine.
- Gather two clean, wide-mouth quart-sized jars.
- Divide the flavorings evenly between the two jars: place half the garlic cloves, half the fresh dill (or dill seed), and half the peppercorns into each jar.
- Pack the cucumber slices tightly into the jars, leaving about 1/2 inch of headspace at the top.
- Pour the prepared brine over the cucumbers in each jar, making sure the cucumbers are fully submerged. Tap the jars gently to release any trapped air bubbles. Marco here! Tapping is my favorite ritual; it makes sure no air gets trapped near the cucumbers, guaranteeing full brine coverage for even flavoring.
- Seal the jars with lids. Let the jars sit on the counter at room temperature for about 1 hour.
- Transfer the jars to the refrigerator. Your **refrigerator pickles** will be ready to eat in 24 hours, but they develop the best flavor after 48 hours.
Preparing the Best Dill Brine Recipe
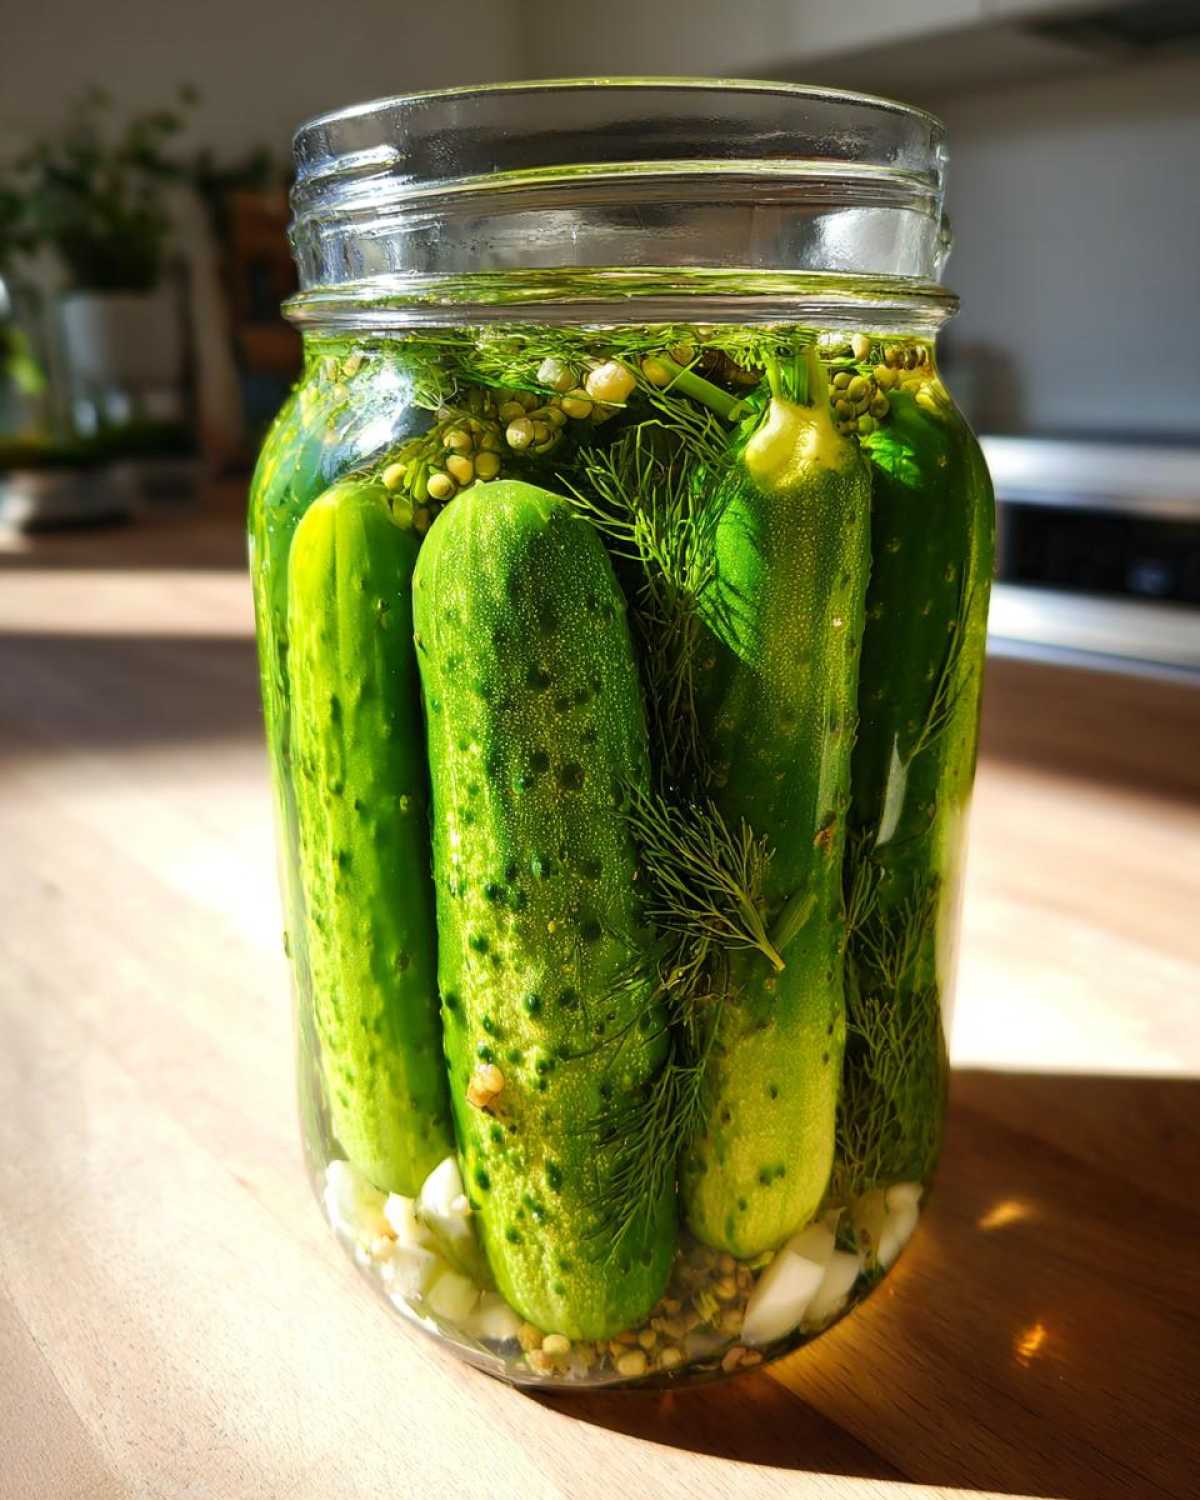
The brine is where the true flavor foundation of your **refrigerator pickles** is laid. You must whisk the water, vinegar, salt, and sugar together thoroughly. I always tell Sofia, “If you can still feel grit on the bottom of your glass, you aren’t done!” We need every granule of salt and sugar dissolved so that the strong flavor distributes evenly throughout the cucumbers. This step ensures we get that balanced tanginess right from the start.
Packing and Chilling Your Tangy Pickled Cucumbers
Pack those jars tightly! Seriously, squish them in there. We want minimal empty space so the brine does the work efficiently. Once the brine is poured over and you’ve tapped out any sneaky air bubbles, they get an hour on the counter to begin acclimatizing. After that short introduction to room temperature, straight into the fridge they go. Remember, these are **quick pickles**, so while you can sample them in 24 hours, waiting two full days makes a massive difference in flavor depth!
Tips for Success with Your Refrigerator Pickles
Now that you’ve assembled your delicious **refrigerator pickles**, let’s talk about making sure they live up to their crunchy potential. My biggest tip for achieving that coveted snap, even rivaling what you find in a jar at the store, is patience with the chilling time. While you *can* try them at 24 hours, flavor development continues long after that.
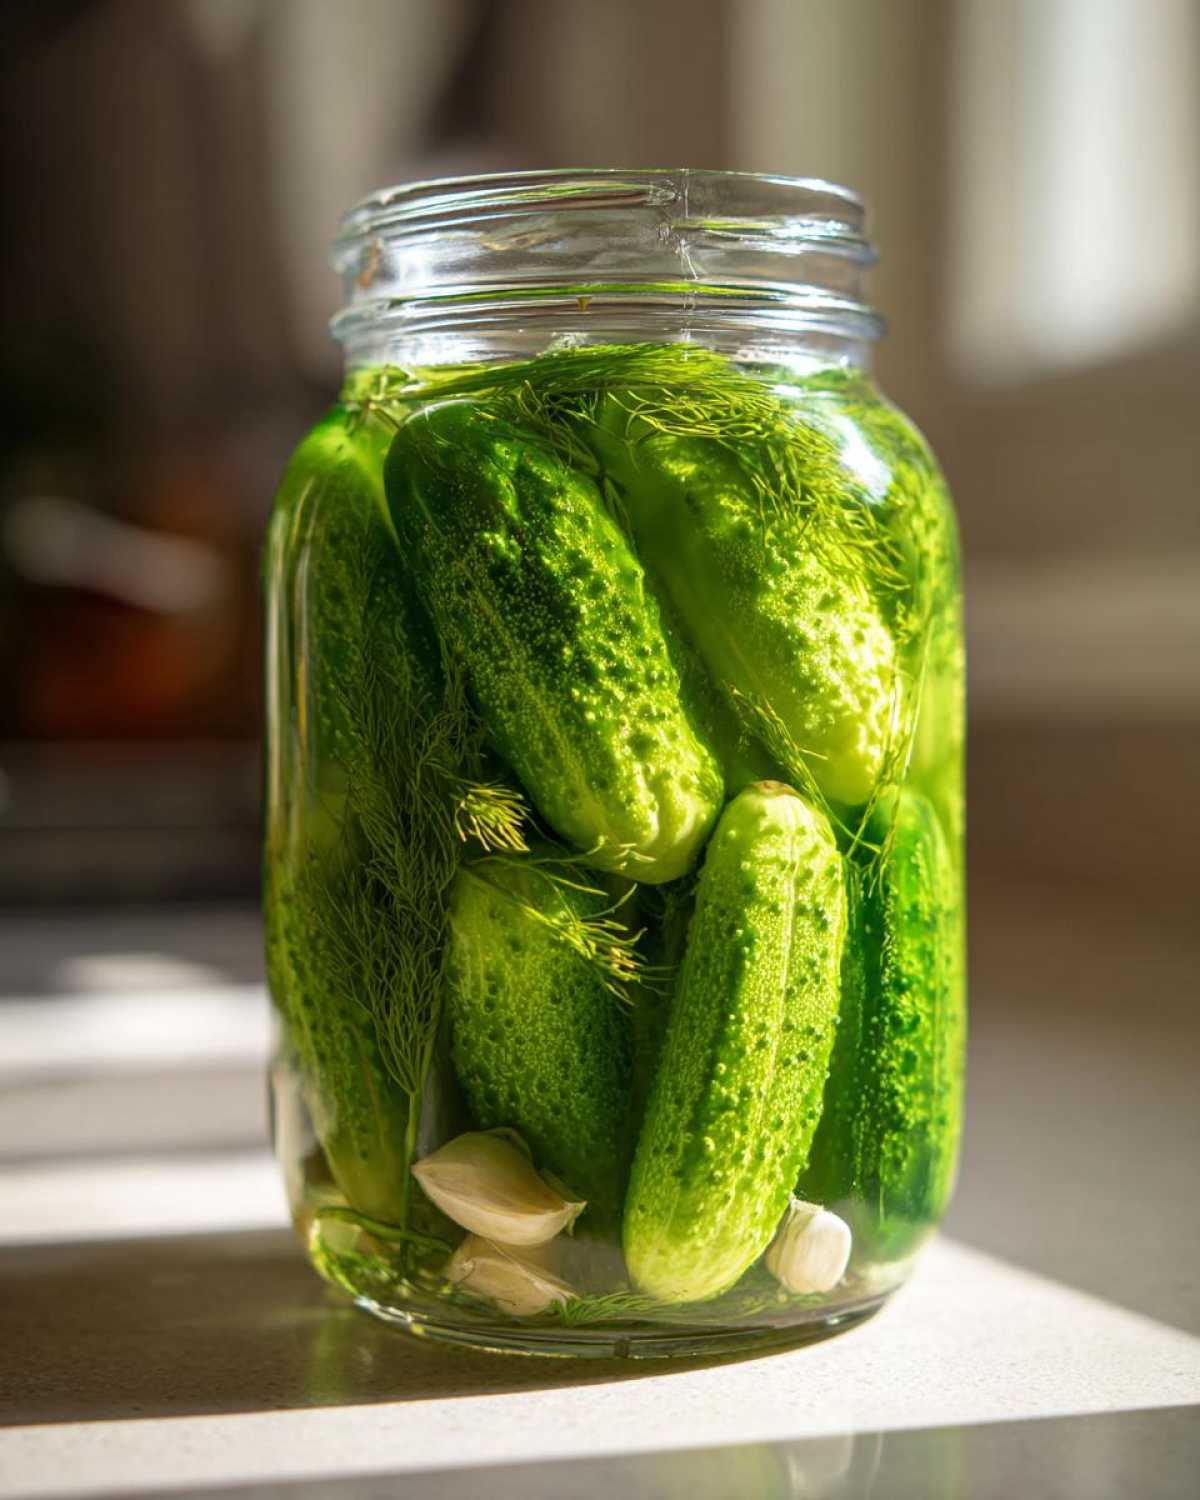
Aim for the 48-hour mark before you judge them definitively. That little extra day allows the brine to fully permeate the cucumber. Also, make sure your cucumbers are totally cold before pouring in the brine—shocking them slightly cold helps maintain firmness!
Another thing I only learned after a few soft batches: don’t overcrowd the flavorings at the bottom. Keep the dill and garlic spread out so the brine hits everything evenly. It makes a difference when you are going for such a clean, bright flavor profile, like in our blackened seasoning! These **homemade crisp pickles** really are worth the tiny extra wait.
Serving Suggestions for Sandwich Pickles
We’ve done the hard work, and now it’s time for the best part: eating these amazing **refrigerator pickles**! Because we nailed the crunch with this **best dill brine recipe**, they are fantastic all on their own as a bright, **fresh pickle snack**. Seriously, I just stand by the fridge and eat spears!
But where these truly shine is when you elevate your standard weeknight meal. Think about stacking these gorgeous, **tangy pickled cucumbers** high on a juicy burger—it adds such necessary texture! Sofia uses the spears sliced thinly for our go-to deli sandwiches, transforming them from boring lunch into a five-star experience. They’re brilliant chopped up and tossed into potato salad, too, giving that classic spaghetti pie side dish a zesty kick. Honestly, these **sandwich pickles** make every meal feel like a reserved table just for us.
Storage and Shelf Life of Refrigerator Vegetable Preserves
Since these are truly **refrigerator vegetable preserves** and not actually canned, they have to stay cold 100% of the time after the initial hour on the counter, okay? Never leave them out warm. They need that constant chill to keep the crunch locked in tight. I’ve noticed that if you leave the jars sitting on the counter for too long after they are made, the brine gets less effective.
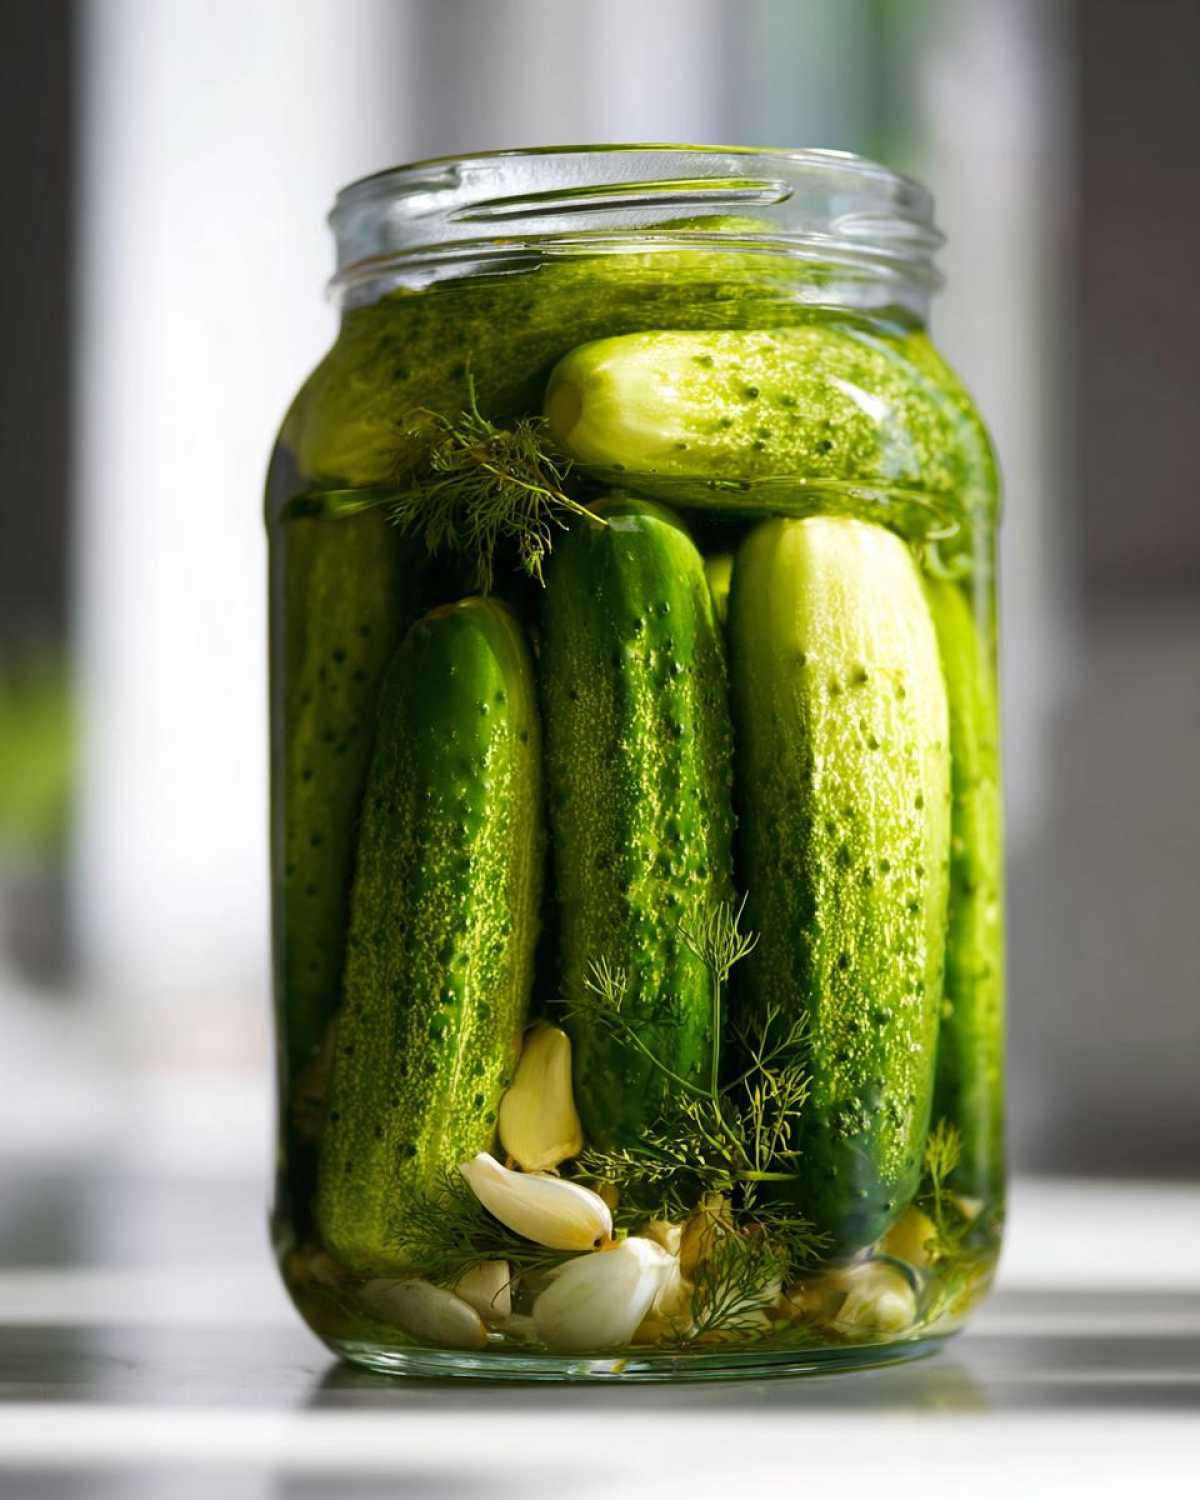
For the best experience—and I mean the absolute *best* snap for your **homemade crisp pickles**—try to eat them within three to four weeks. After that, they start to lose that fantastic, satisfying bite we worked so hard for. I promise, you won’t have any trouble finishing them off before then, especially if you serve them alongside our creamy mashed potatoes!
Frequently Asked Questions About Quick Pickles
It’s natural to have a few lingering questions when you’re trying out a new staple recipe! We’ve covered the main concerns here so you can feel confident making these **quick pickles** whenever the craving strikes. Don’t hesitate to ask if you have anything else—we love hearing from our royal court!
Can I make these refrigerator pickles spicy?
Absolutely, you can kick up the heat! If you want your **refrigerator pickles** to have a little fire, just toss in a teaspoon of red pepper flakes when you add the garlic and dill. Or, for a fresh, vibrant heat, add a few thin slices of jalapeño directly into the jar with your cucumbers. They absorb the spice beautifully!
How long do I need to wait before eating these refrigerator pickles?
I know waiting is the hardest part, but you seriously need a little patience here for the best results. You can technically eat them after 24 hours—they are safe then, and you can see if you like the initial flavor of your **24 hour pickles**. But Marco and I insist that you wait for 48 hours. That extra day lets the dill and garlic fully infuse everything, getting you much closer to that perfect **Claussen copycat recipe** taste we love.
If you’re looking for more specialized tips on achieving that store-bought crunch without the intensive labor, check out this really detailed article on copycat refrigerator pickles! It offers some neat insights into texture maintenance.
We’ve had a lot of success using these in our appetizer spreads, too, in case you’re wondering how else to use them up!
Nutritional Snapshot of Your Homemade Crisp Pickles
I always feel a little more regal eating something I made myself, especially when it doesn’t derail my whole day! Since these **homemade crisp pickles** are so simple, the nutrition is wonderfully clean. Remember, these are estimates based on the recipe, so they serve as a great guide.
Here’s a peek at the stats per serving (about 4 pickle slices):
- Calories: Just 10! I know, I was shocked too!
- Sugar: Only 1 gram—so much better than the syrups they use commercially.
- Sodium: Around 290mg, which is standard for pickles, but worth noting if you’re watching your salt intake.
It’s great knowing these **tangy pickled cucumbers** can jazz up a meal without adding guilt. They’re fantastic alongside our navy bean soup for a sharp contrast!
Share Your Royal Pickle Creations
Now that your jars are chilling and your kitchen smells beautifully of dill, we want to see your results! Did you manage that perfect snap?
Go ahead and rate this recipe, and please tag us in your photos of beautiful **refrigerator pickles** on social media. We love welcoming new members to our court. Come say hello anytime by visiting our Contact page!
PrintEasy No-Cook Crispy Dill Refrigerator Pickles (Claussen Copycat)
Make these easy refrigerator pickles with no canning required. You get crispy, tangy dill pickles ready fast, rivaling the crunch of store-bought favorites.
- Prep Time: 15 min
- Cook Time: 0 min
- Total Time: 24 hr
- Yield: About 2 quarts
- Category: Side Dish
- Method: No Canning Required
- Cuisine: American
- Diet: Vegetarian
Ingredients
- 2 pounds pickling cucumbers (Kirby or similar), sliced into spears or rounds
- 4 cups water
- 2 cups white vinegar (5% acidity)
- 2 tablespoons pickling salt (or kosher salt)
- 1 tablespoon granulated sugar
- 1 head fresh dill (or 2 tablespoons dried dill seed)
- 8 cloves garlic, peeled and smashed
- 1 teaspoon black peppercorns
Instructions
- Wash your cucumbers well. Slice them into your preferred shape (spears or rounds).
- In a medium bowl or large measuring cup, whisk together the water, white vinegar, pickling salt, and sugar until the salt and sugar dissolve completely. This is your brine.
- Gather two clean, wide-mouth quart-sized jars.
- Divide the flavorings evenly between the two jars: place half the garlic cloves, half the fresh dill (or dill seed), and half the peppercorns into each jar.
- Pack the cucumber slices tightly into the jars, leaving about 1/2 inch of headspace at the top.
- Pour the prepared brine over the cucumbers in each jar, making sure the cucumbers are fully submerged. Tap the jars gently to release any trapped air bubbles.
- Seal the jars with lids. Let the jars sit on the counter at room temperature for about 1 hour.
- Transfer the jars to the refrigerator. Your refrigerator pickles will be ready to eat in 24 hours, but they develop the best flavor after 48 hours.
Notes
- For the crispiest pickles, use very fresh, firm cucumbers. Do not use cucumbers that have been sitting out for long periods.
- If you prefer a Bread and Butter flavor, substitute 1/2 cup of the white vinegar with apple cider vinegar and increase the sugar to 1/4 cup in the brine mixture.
- These homemade crisp pickles are best eaten within 3 to 4 weeks for optimal crunch.
Nutrition
- Serving Size: 4 pickle slices
- Calories: 10
- Sugar: 1
- Sodium: 290
- Fat: 0
- Saturated Fat: 0
- Unsaturated Fat: 0
- Trans Fat: 0
- Carbohydrates: 2
- Fiber: 0
- Protein: 0
- Cholesterol: 0