

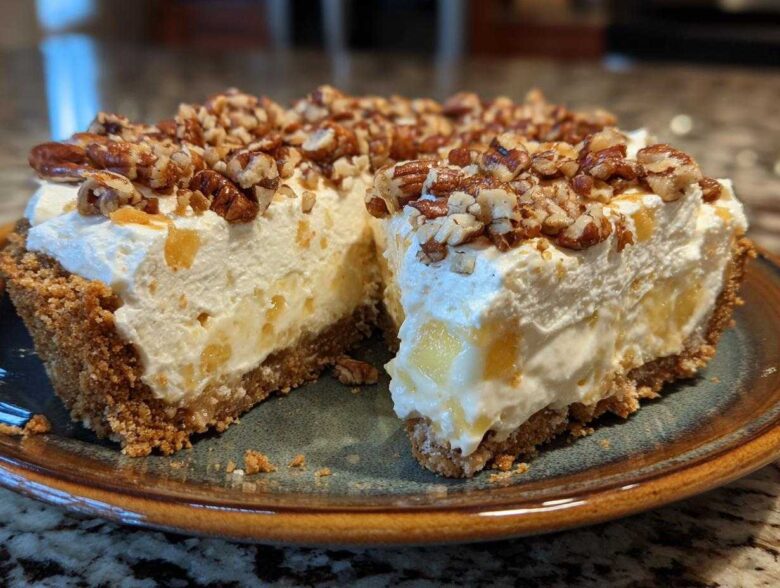
When the summer heat hits, the last thing Marco and I want to do is turn on the oven. We used to stress over complicated soufflés for our guests, but now? Our focus is purely on treating ourselves well, even on a Tuesday night. That’s why the **million dollar pie** became an instant staple in our royal kitchen. It’s retro, it’s unbelievably rich, and guess what? It needs zero baking time! This dessert is everything we look for now: speed, creaminess, and enough decadence to feel completely regal. If you’re ready to stop saving the best dishes for company, you need to check out our philosophy on why we cook simply for ourselves. We’re pouring our energy back into us, and it tastes like sweet cream cheese and buttery graham crackers.
Why This Classic Million Dollar Pie is Your New Favorite No Bake Dessert
Honestly, this **Million Dollar Pie** recipe is the definition of making life easy without sacrificing flavor. Marco loves it because it means zero oven time while the weather is hot, and I love it because it comes together faster than most weeknight dinners! It’s the ultimate showstopper that looks fancy but is secretly the simplest **No Bake Dessert** you’ll ever make.
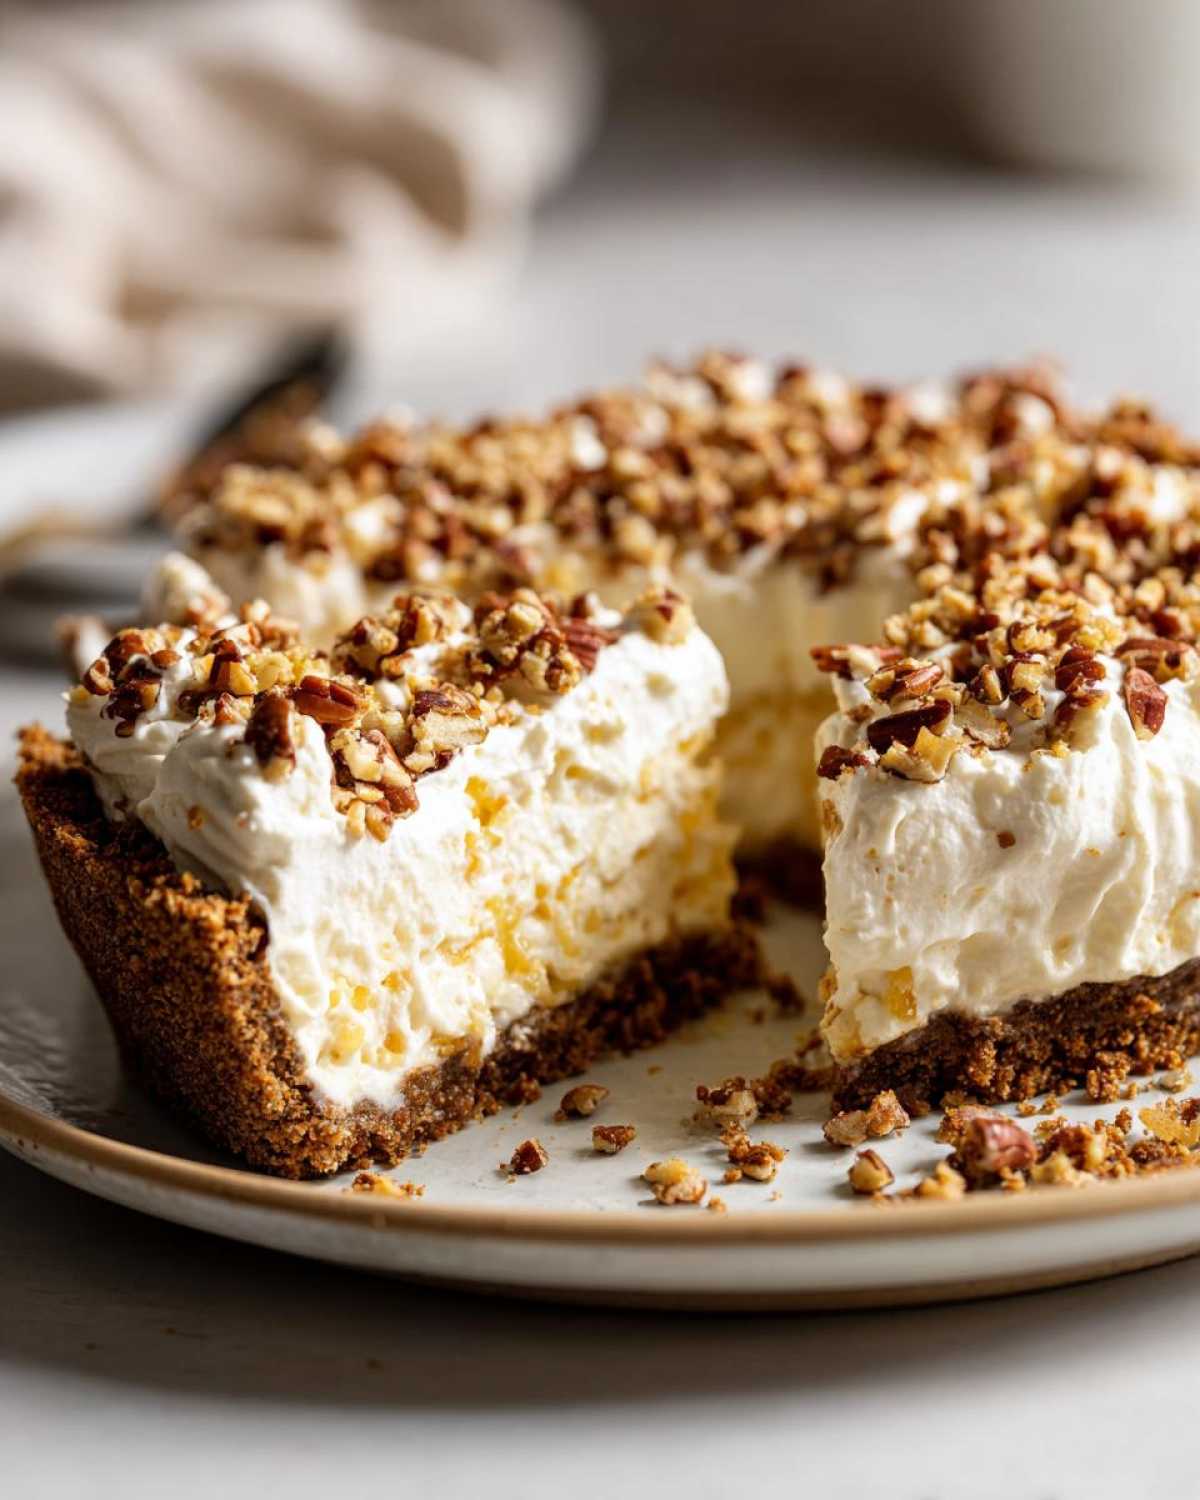
- It takes maybe 15 minutes of active prep time. Seriously!
- Absolutely no oven required—it chills beautifully in the fridge.
- It carries that wonderful air of a classic **Southern Dessert**.
- It’s fantastic for last-minute potlucks (since it needs hours to firm up anyway!). Check out our other no-bake favorites if you need more ideas!
The Appeal of an Old Fashioned Cream Cheese Pie
There’s just something intoxicating about that specific pairing of cream cheese, sweetened condensed milk, and fruit—it hits that sweet spot of nostalgic perfection. This **Cream Cheese Pie** mixture is what makes it uniquely rich and creamy; it holds together wonderfully but melts in your mouth. It’s the kind of dessert that makes people stop talking mid-sentence when they take the first bite. If you need something reliable for your next gathering, this is your winner.
Gathering Ingredients for Your Million Dollar Pie Recipe
Okay, deep breath! This is the fun part where we gather our treasures. I promise, you don’t need any exotic specialty items for this **Million Dollar Pie Recipe**. Everything here comes straight from the pantry or fridge, which is exactly how I love a good summer treat. Getting these components right—especially the drainage on that pineapple—is key to achieving that perfect, firm texture we’re aiming for. Check out our guide to creamy toppings later, but for now, let’s focus on the base!
Crust Components for Your Graham Cracker Crust Dessert
This crust sets up beautifully in the freezer, giving us that sturdy foundation. Don’t skimp on pressing it down tightly!
- 1 1/2 cups graham cracker crumbs
- 1/4 cup granulated sugar (this is just for the crust, remember!)
- 6 tablespoons unsalted butter, melted
The Sweet Cream Cheese Pie Filling
Here is where all the magic happens! See how specific I am about the texture of the cream cheese? It matters!
- 8 ounces cream cheese, softened to room temperature
- 1 (14 ounce) can sweetened condensed milk (the whole can, yes!)
- 1/2 cup crushed pineapple, yes, you must make sure this is well drained
- 1 teaspoon vanilla extract
- 1/2 cup chopped pecans, plus extra for dusting the top later
- 1 cup frozen whipped topping, thawed completely
Step-by-Step Instructions for the Million Dollar Pie
Alright, Empress, it’s time to transform those lovely ingredients into a showstopper! Since this is a **chilled pie recipe**, we start by building the foundation first so it chills while we mix the filling. Don’t worry, the instructions are simple, and we’re talking about a quick 15 minutes of work total before it chills away for the afternoon! If you love this quick assembly, you might also enjoy our guide to making easy 3-ingredient chocolate mousse!
Creating the Base for This Easy Summer Pie
First things first, let’s tackle that crust. You need to combine your graham cracker crumbs and that 1/4 cup of sugar in a bowl. Pour in the melted butter and mix it really well—you want every crumb to look moist, almost like wet sand. Press that mixture firmly into the bottom and up the sides of your 9-inch pie plate. Trust me on this: pop that crust straight into the freezer for about 10 minutes while you get the filling ready!
Mixing the Rich and Creamy Dessert Filling
Now for the creamy center. Get your mixer out and beat that softened cream cheese until it’s totally smooth—no lumps allowed for this **rich and creamy dessert**! Next, slowly beat in the entire can of sweetened condensed milk, then stir in the vanilla. This is important: Gently fold in your well-drained pineapple and the chopped pecans. Finally, gently fold in the thawed whipped topping. Seriously, fold gently; we are trying to keep all that air in there for that fluffy texture!
Chilling and Serving Your Pineapple Pecan Pie
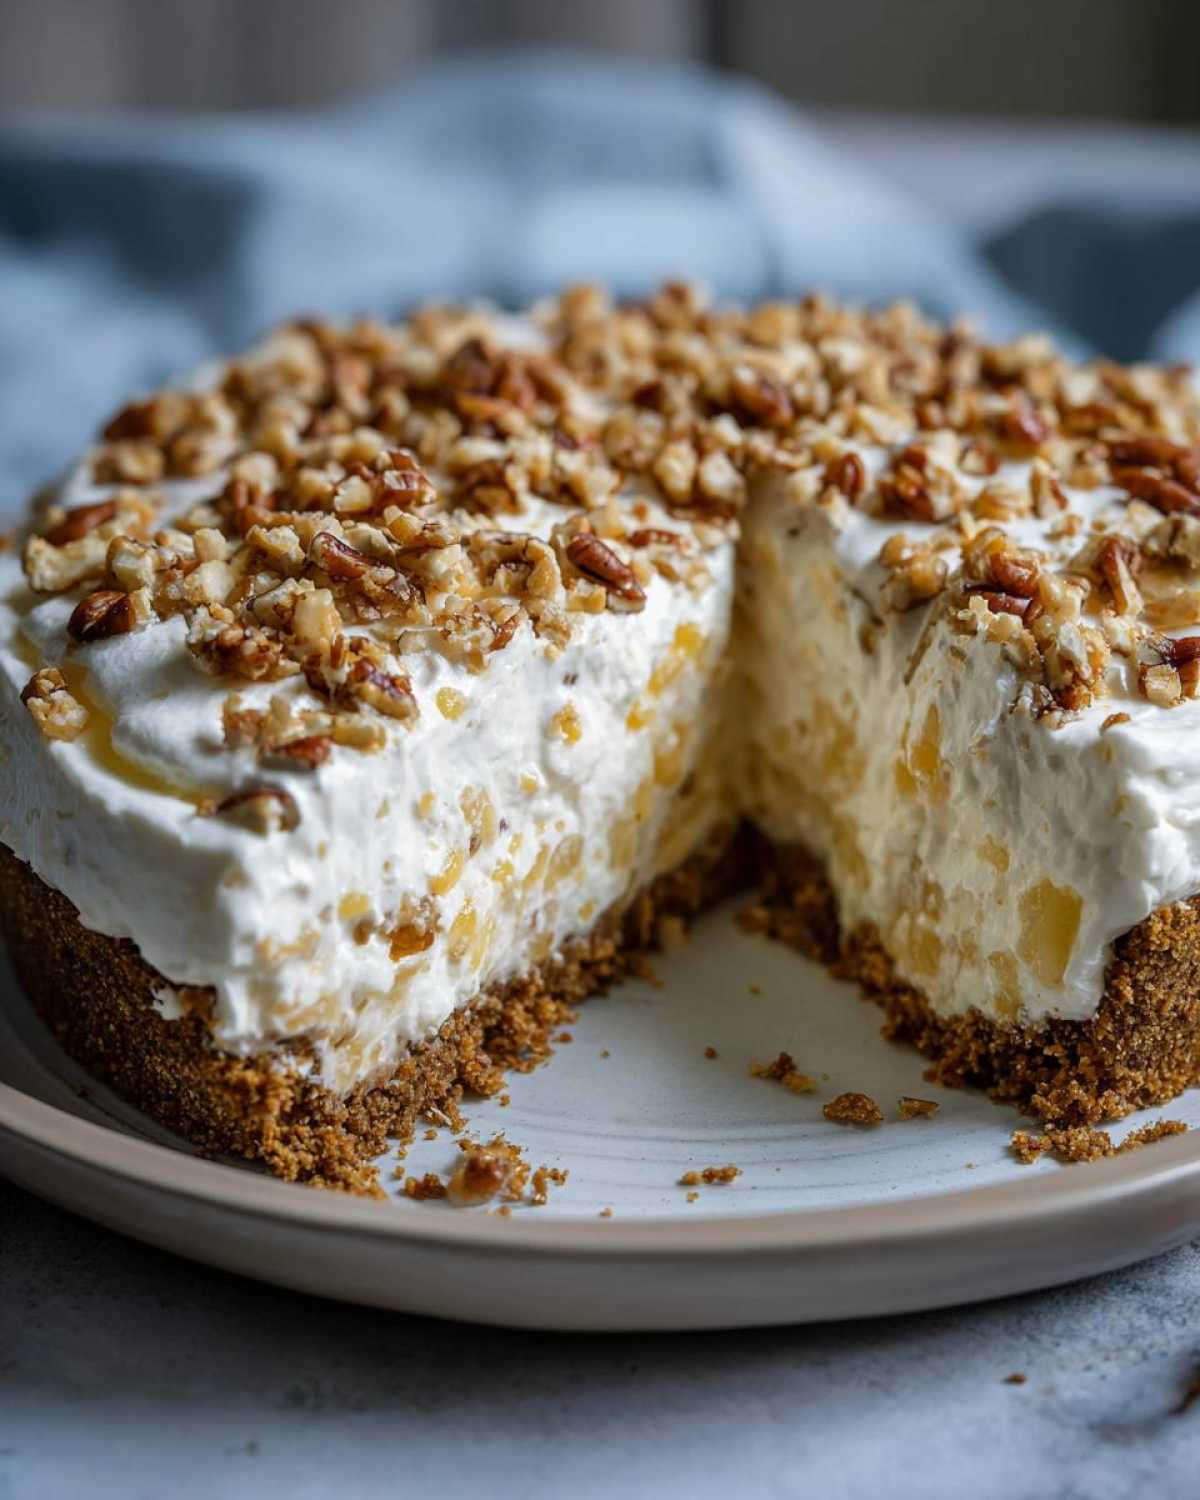
Spoon that beautiful filling right into your chilled crust and smooth the top nicely. Then, we wait! This **Pineapple Pecan Pie** needs a good chill. You must refrigerate it for at least 4 hours, but I always tell people overnight is best. When it’s time to serve, sprinkle the top generously with those extra chopped pecans. It’s the best part of this **easy summer pie**!
Pro Tips for the Perfect Million Dollar Pie
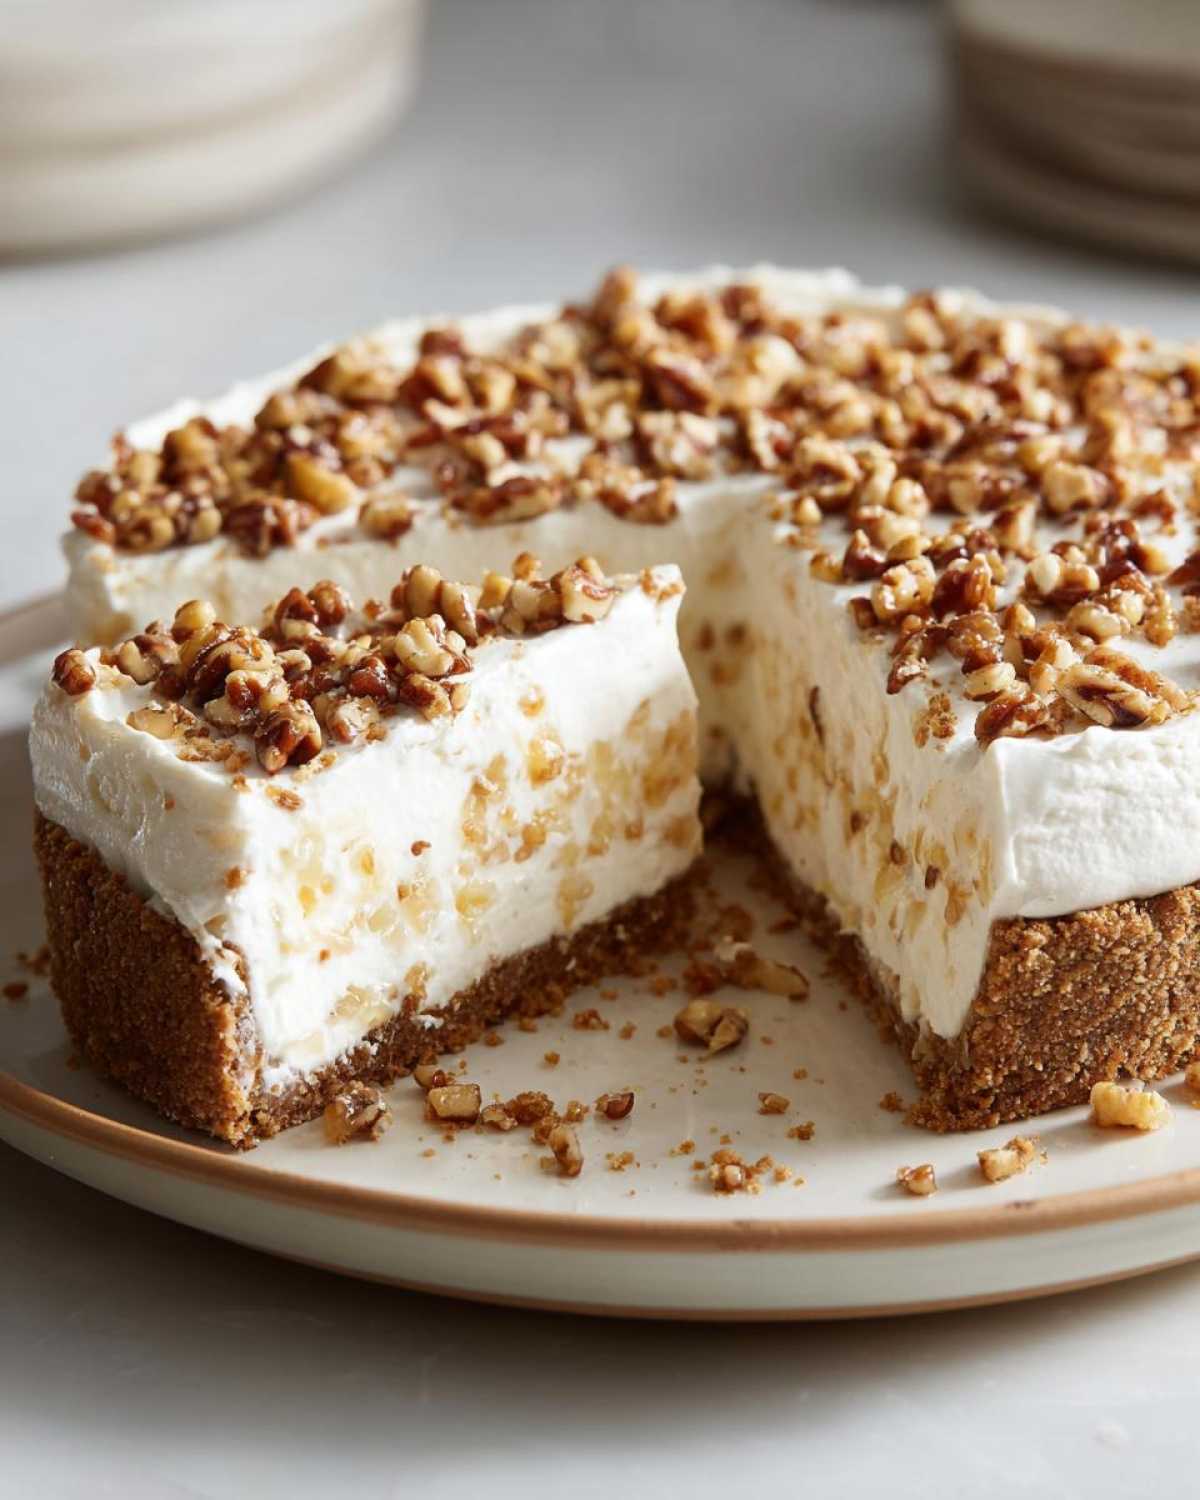
Even though this is a no-bake beauty, there are a few little tricks Marco and I learned the hard way to make sure this pie sets up like a dream. The absolute number one secret is the pineapple. You cannot skip draining it thoroughly—I mean *really* squeezing it dry! I learned this the hard way once when I was rushing to get it ready for a porch party. It looked gorgeous going into the fridge, but two hours later, it was basically soup. A sad, sweet, pineapple-y soup.
When you beat your cream cheese, make sure it’s truly room temperature so you get zero lumps, which is essential for that signature smooth finish. Also, when cutting? Don’t fight it! Warm the knife under hot water and wipe it dry between each slice. That little trick makes serving this gorgeous, **rich and creamy dessert** so much cleaner. Get more tips on achieving perfect textures over in my guide to flawless cheesecake!
Variations for Your Classic Pie Recipe
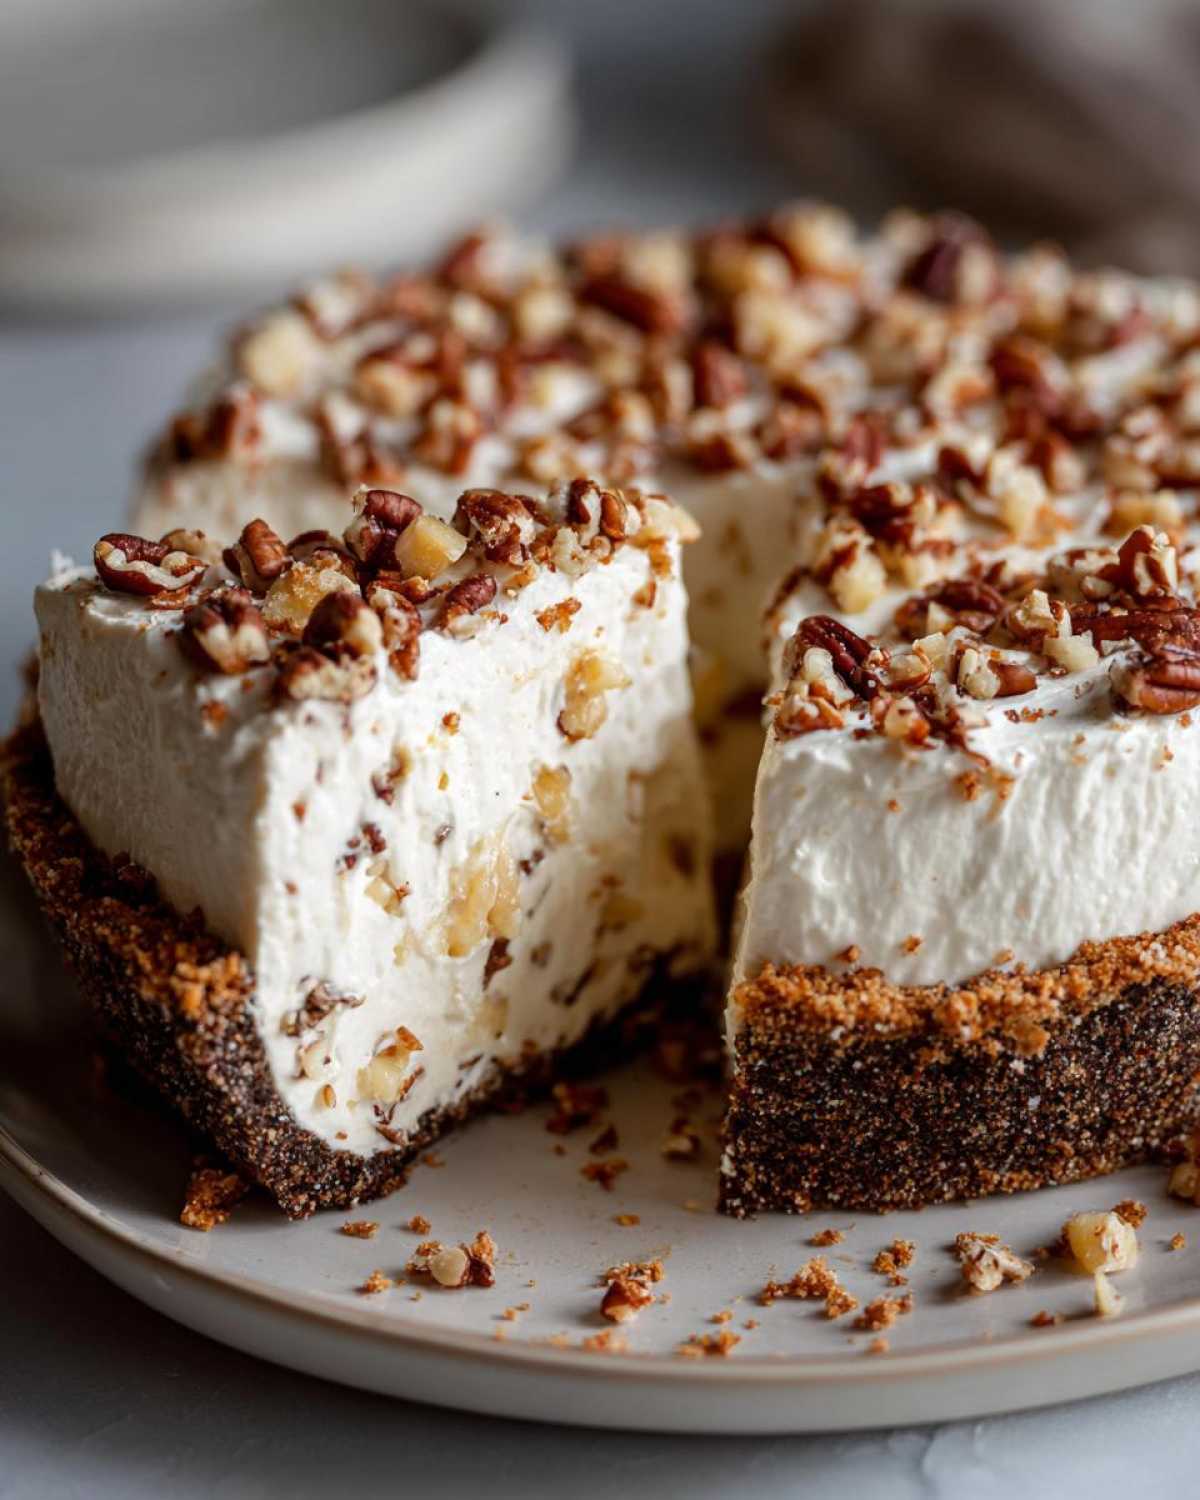
While I truly believe our recipe is the ultimate form of this dessert, I know every Eatable Empress likes to tweak things just a little bit to make it her own masterpiece. Since we focus on simplicity here, these variations just swap out one or two elements without adding any complexity—no baking required, I promise!
Sometimes Marco wants a little extra crunch, or maybe you’re missing the correct nut on hand. That’s fine! We can easily adjust this **classic pie recipe** without ruining that perfect, chilled texture.
If you’re feeling adventurous, you might even find this variation popping up online under the name ‘Millionaire Pie’—it seems like everyone has their own special touch! If you enjoy nutty flavors, don’t forget to check out my recipe for butter pecan cookies—they have a great savory-sweet balance.
Here are a few ways we change things up:
- Nut Swap: If pecans aren’t available, or you just prefer them, go ahead and use walnuts! Just remember to chop them roughly, like we do with the pecans. This is super easy and still gives you that bite of crunch.
- A Little Tropical Flair: I’ve seen some folks add about 1/3 cup of sweetened flaked coconut into the filling along with the pineapple. It really leans into that fruity vibe, which is lovely in the summer. You can check out other retro fruit pies over here for more inspiration!
- Brighten It Up: For a zingy lift, try mixing in the zest of half an orange along with the vanilla extract. The citrus really cuts through the richness of the cream cheese filling beautifully. It doesn’t change the set time at all, which is the best news!
Storage Guide for Your Chilled Pie Recipe
Since this is a supreme **chilled pie recipe**, storage is simple! Because of that lovely mix of cream cheese and condensed milk, it needs to stay cold. Cover the pie loosely with plastic wrap and keep it snug in the refrigerator. It seriously holds up well for about three to four days—if it lasts that long in your house, that is!
I never reheat or bake this, of course, since it’s no-bake. However, if you plan to serve leftovers straight from the fridge after day two, let it sit on the counter for just about 10 minutes before cutting. That little bit of warmth just takes the edge off the chill, making the filling unbelievably creamy again. It’s nearly as good as freshly made! For more tips on making things ahead, explore my guide to overnight oats!
Frequently Asked Questions About Million Dollar Pie
We get so many wonderful questions about this pie after Marco and I share it on social media! It’s thrilling to see so many of you trying this incredibly easy **Southern Dessert**. I’ve gathered a few of the most common notes and queries I receive below. If you still have questions after reading through the steps, please don’t hesitate to reach out via my contact page!
Can I make this Millionaire Pie Dessert ahead of time?
You absolutely should make this ahead! In fact, I insist on it. Because this **Millionaire Pie Dessert** relies completely on chilling—not baking—to set up that gorgeous filling, you need that time. We aim for 6 to 8 hours of chill time minimum, but if you can let it set overnight, that’s the crowned standard. It lets the graham cracker crust fully absorb any surface moisture and firms up the **sweet cream cheese filling** perfectly.
What if I don’t have whipped topping for this Sweet Cream Cheese Filling?
That’s a frequent question because sometimes those store-bought tubs can be hard to find! If you prefer to use heavy whipping cream instead, you can whip about 1 1/2 cups of cold heavy cream to stiff peaks and then gently fold that into the cream cheese mixture along with the pineapple and pecans. You might need to add just a tiny bit more cream cheese—maybe 2 extra ounces—to compensate for the stabilizing ingredients found in the pre-made topping, but the goal is keeping that filling light!
Is this Old Fashioned Pie supposed to be baked?
No baking required whatsoever! This is the beauty of it! If you are looking for traditional baked options like apple or cherry pies, this is definitely not that. This **Old Fashioned Pie** is a complete **no bake dessert** that relies on chilling to set the condensed milk and cream cheese base. We skip the oven entirely to keep things cool and fuss-free during those hot months!
Nutritional Estimates for This Rich and Creamy Dessert
Marco and I try not to look too closely at dessert numbers, but since this pie is so decadent, I figured we should at least look at the general estimates, just so we know what we are celebrating with! Remember, this **rich and creamy dessert** is truly a treat, not an everyday snack. We made this pie to feel indulgent, and the ingredients used reflect that!
These numbers are based on dividing the entire recipe yield into 8 servings. As always when you’re dealing with homemade goodness, these should be considered rough guidelines. For our official culinary standards disclaimer, you can pop over to our site here to read more!
- Serving Size: 1 slice
- Calories: 380
- Sugar: 35g
- Fat: 22g
- Saturated Fat: 11g
- Carbohydrates: 42g
- Protein: 6g
See? Definitely a treat! But when it tastes this good, it feels worth every single calorie! It’s the perfect way to celebrate treating yourself like royalty.
Share Your Royal Feast: Making This Million Dollar Pie
Alright, my fellow Eatable Empresses and Emperors, that’s the whole scoop on crafting this incredible, fuss-free **Million Dollar Pie**! Marco and I truly hope this recipe becomes your go-to when you need something rich, creamy, and wonderfully easy. We poured our hearts into making sure this **easy summer pie** works perfectly for your own table.
Now that you’ve made your royal dessert, we absolutely want to hear about it! Did you find the chilling time difficult? Did you decorate the top with extra pecans, or did you try the orange zest variation we mentioned? Don’t keep all that deliciousness to yourself!
Please, leave a rating below—tell us how many stars this easy treat earned in your kingdom. And if you snap a photo of your perfectly set, chilled dessert, tag us! We love seeing our simple feasts come to life in your homes. We celebrate every single one of you who is choosing to treat yourselves like royalty right now. Happy feasting, and come back soon to see what ritual Marco and I are using to treat ourselves this week on the blog! If you’re looking for other quick summer inspirations, check out this other great, similar recipe here!
PrintClassic No-Bake Million Dollar Pie

Make this rich and creamy Million Dollar Pie, an old-fashioned, no-bake dessert featuring a graham cracker crust, sweet cream cheese filling, pineapple, and pecans. It is a quick and refreshing summer treat.
- Prep Time: 15 min
- Cook Time: 0 min
- Total Time: 4 hours 15 min
- Yield: 8 servings
- Category: Dessert
- Method: No-Bake/Chilling
- Cuisine: American
- Diet: Vegetarian
Ingredients
- 1 1/2 cups graham cracker crumbs
- 1/4 cup granulated sugar (for crust)
- 6 tablespoons unsalted butter, melted
- 8 ounces cream cheese, softened
- 1 (14 ounce) can sweetened condensed milk
- 1/2 cup crushed pineapple, well drained
- 1 teaspoon vanilla extract
- 1/2 cup chopped pecans, plus extra for topping
- 1 cup frozen whipped topping, thawed (like Cool Whip)
Instructions
- Prepare the crust: Mix graham cracker crumbs and 1/4 cup sugar in a bowl. Pour in melted butter and mix until the crumbs are evenly moistened. Press the mixture firmly into the bottom and up the sides of a 9-inch pie plate. Place the crust in the freezer while you prepare the filling.
- Make the filling base: In a large bowl, beat the softened cream cheese with an electric mixer until it is smooth and fluffy.
- Combine wet ingredients: Gradually beat in the sweetened condensed milk until the mixture is fully combined and creamy. Mix in the vanilla extract.
- Add fruit and nuts: Gently fold in the well-drained crushed pineapple and the 1/2 cup of chopped pecans.
- Fold in whipped topping: Gently fold in the thawed whipped topping until just combined. Do not overmix; you want the filling to remain light.
- Assemble the pie: Spoon the filling evenly into the chilled graham cracker crust. Smooth the top with a spatula.
- Chill: Cover the pie loosely with plastic wrap and refrigerate for at least 4 hours, or preferably overnight, until the filling is firm.
- Serve: Before serving, sprinkle the top generously with extra chopped pecans. Slice and enjoy this rich and creamy dessert.
Notes
- Make sure your crushed pineapple is very well drained; excess liquid will prevent the filling from setting properly.
- For the easiest slicing, let the pie sit at room temperature for about 10 minutes before cutting.
- You can substitute walnuts for pecans if you prefer a different nut flavor.
Nutrition
- Serving Size: 1 slice
- Calories: 380
- Sugar: 35
- Sodium: 250
- Fat: 22
- Saturated Fat: 11
- Unsaturated Fat: 11
- Trans Fat: 0
- Carbohydrates: 42
- Fiber: 1
- Protein: 6
- Cholesterol: 45