

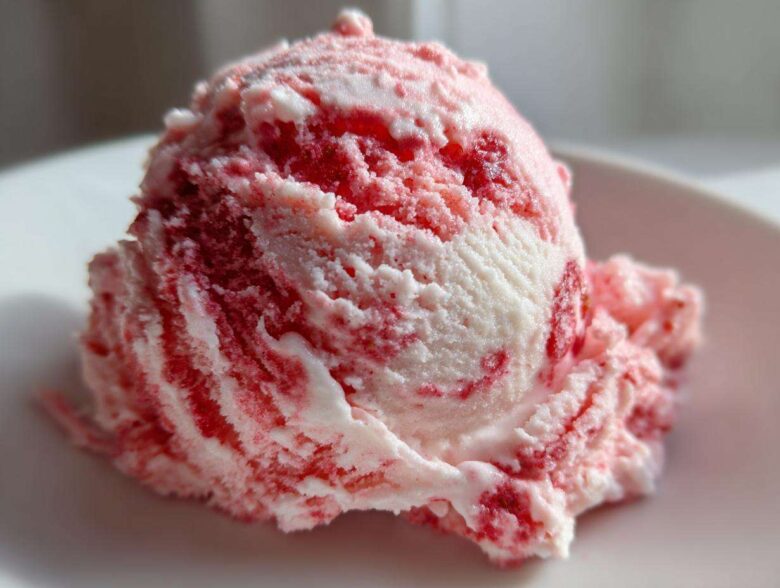
Oh, my friends, when the summer sun starts blazing, we deserve something truly magnificent, right? We don’t need to wait for restaurants or dig out that bulky ice cream maker collecting dust in the garage! Marco and I decided a long time ago that we are worthy of a feast every single day, and that absolutely includes dessert. That’s why I’m sharing my absolute favorite way to whip up the most amazing, unbelievably creamy strawberry ice cream. Trust me when I say this is the easiest, no-churn recipe you will ever try. You just whip, swirl, and freeze! It’s the perfect, simple declaration that you deserve to feel like royalty tonight. If you want to read more about how we decided to reclaim our kitchen and treat ourselves like royalty, check out our philosophy here: our story.
Why This is the Best Easy Strawberry Ice Cream Recipe You Will Make
If you’re looking for the best strawberry ice cream recipe that actually delivers on texture without any fuss, you’ve found it, friend. Why work overtime when you can treat yourself simply? This happens to be my go-to easy strawberry ice cream recipe because it skips the ancient, fussy steps and delivers true decadence.
No Special Equipment Needed for Perfect Strawberry Ice Cream
This really is the ultimate no churn strawberry ice cream! The secret lies in whipping the heavy cream until it becomes incredibly voluminous. That’s where all the air comes from. We don’t need an ice cream maker recipe or anything fancy; this method traps enough air that churning just isn’t necessary. It completely solves the common issue of searching for effective ice cream recipes no machine.
Using Fresh Strawberries for Vibrant Flavor in Your Strawberry Ice Cream
You know I love fresh ingredients—Marco always says if you start with better ingredients, you can’t mess up the end result! Using vibrant, ripe fresh strawberry ice cream means you get that bright, sunny flavor that extracts just can’t deliver. We want real fruit pops in every bite, not just a pink, sugary flavor mimicking the real thing. Say goodbye to artificial flavors and hello to natural deliciousness!
Gathering Ingredients for Your Creamy Strawberry Ice Cream
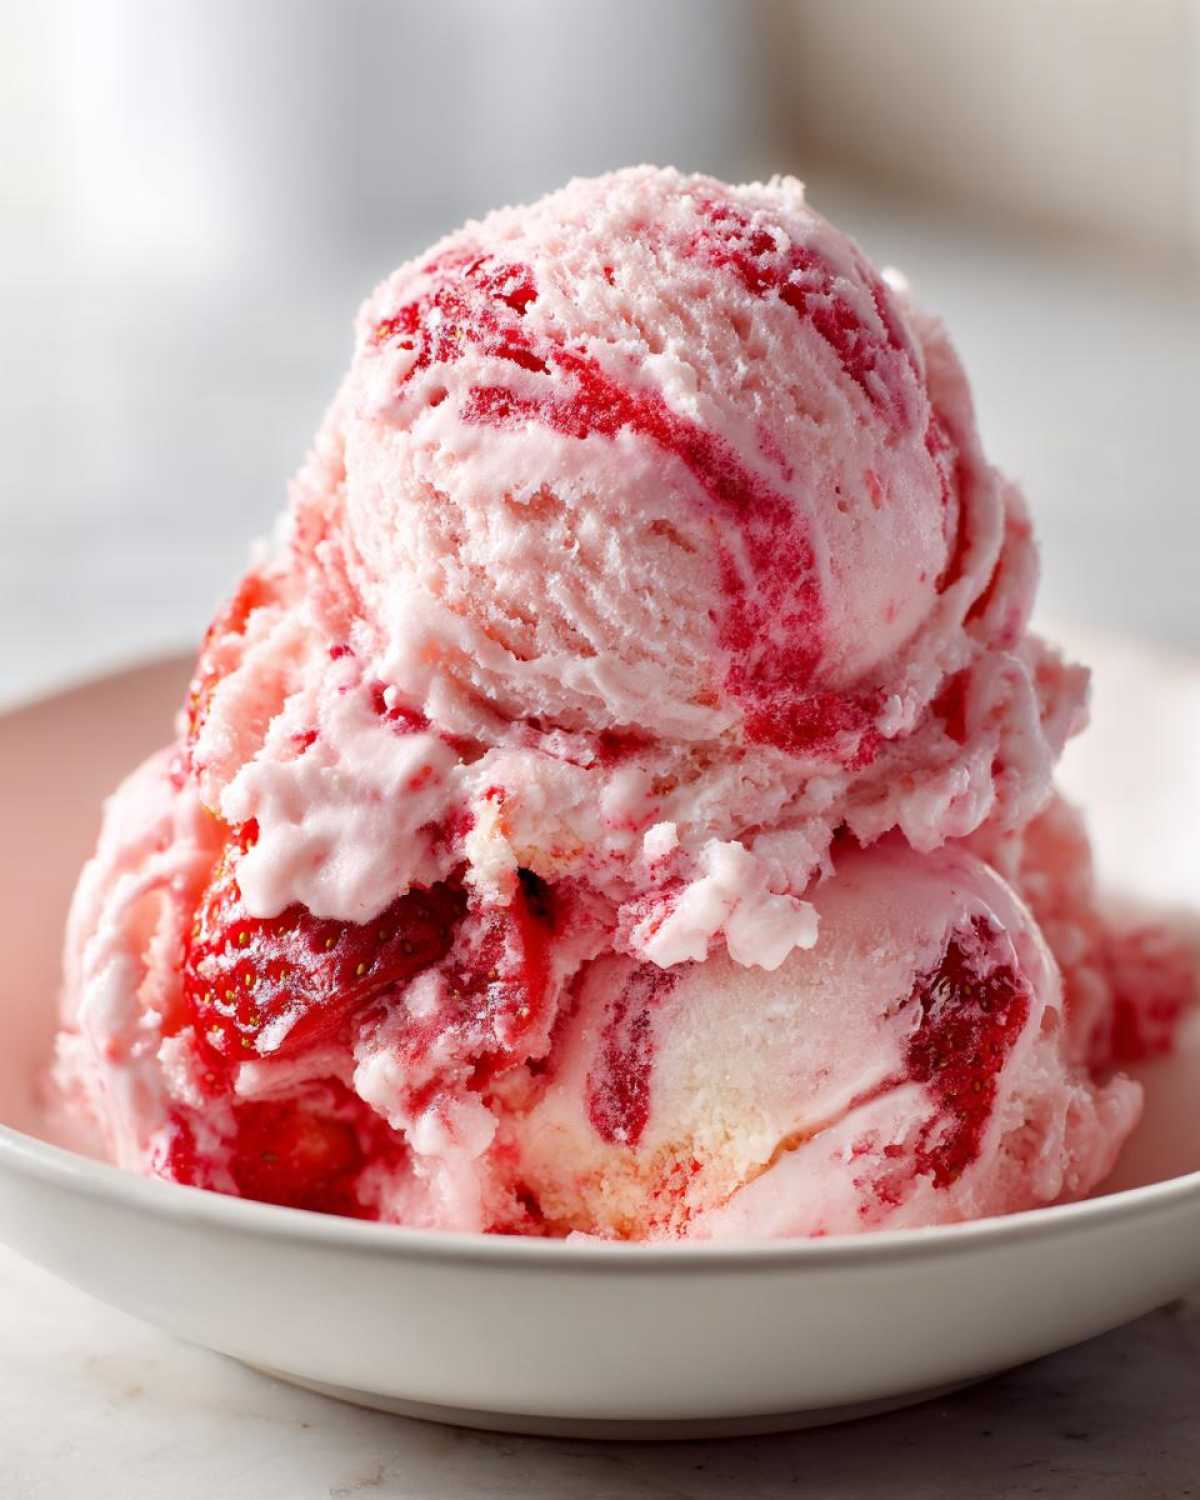
Before we get mixing, we need to talk supplies. You know I’m big on clarity, especially when it comes to ingredients because that’s how we guarantee a truly creamy strawberry ice cream—no weird icy surprises here! Since this is a relatively short list, precision matters even more. Don’t substitute the heavy cream for anything less than *very cold*; that’s our secret weapon for achieving stiff peaks without cheating and using that ice cream maker. We’re keeping things royal yet simple, using only the best components for our strawberry ice cream base.
Ingredient List for Simple Homemade Ice Cream
Here is everything you need to gather. Make sure those strawberries are handled with care, and have your electric mixer ready for action! Trust me, assembling these few items is less stressful than trying to find a babysitter for your ice cream maker.
- 1 pint fresh strawberries, hulled and sliced
- 1 (14 ounce) can sweetened condensed milk
- 2 cups heavy whipping cream, very cold
- 1 teaspoon vanilla extract
- 1 tablespoon fresh lemon juice (optional, for brightness)
Expert Tips for Making the Best Strawberry Ice Cream
Okay, now that we have the ingredients—and I’ve sent Marco off to chill the mixing bowl—we need to make sure the technique is flawless. This is where the difference between good strawberry ice cream and *regal* strawberry ice cream happens. Remember, we are aiming for creamy strawberry ice cream, not an icy disappointment that needs to live in the microwave for 10 minutes to be scoopable. We build that beautiful texture right here in the mixing stage.
Achieving Maximum Creaminess in Your No Churn Strawberry Ice Cream
Listen closely: you must beat that heavy cream until it holds stiff peaks. I mean it! If you stop when it looks like soft ski trails, your final product will be dense and hard. Stiff peaks mean you’ve incorporated tons of tiny air bubbles, which is exactly the structure that keeps this no churn strawberry ice cream from turning into a frozen brick. It’s the air that matters, so keep whipping until those peaks stand straight up. If you ever need a quick refresher on building structure with fats, check out how we manage our buttercream—it uses the same structural science! We talk structure chemistry there, too.
Strawberry Preparation: Chunks vs. Swirl for Your Strawberry Ice Cream
The fruit part is totally up to your mood! If Marco and I are feeling truly decadent, we mash about half the fresh strawberries lightly with a fork—just enough to release the juices but leave some texture behind. That gives us a perfect swirl when we fold them in. If you prefer distinct, solid pieces of fruit in your scoop of strawberry ice cream, just chop them finely instead! A little splash of lemon juice mixed with the fruit, by the way, wakes up the flavor and stops the sweetness from being too heavy. Don’t skip that tiny bit of brightness!
Step-by-Step Instructions for Perfect Strawberry Ice Cream
Alright, let’s get down to the real action. This is the part where we transform those beautiful ingredients into your very own strawberry ice cream masterpiece. Because we aren’t using a machine, the timing here is crucial for that airy, soft texture that makes no-churn so magical. No need to preheat anything, thank goodness! Just make sure your heavy cream chills down—I sometimes even pop my bowl and whisk attachments in the freezer for 10 minutes first. That little trick helps everything come together faster.
Preparing the Strawberries and Whipping the Base
First things first, handle those beautiful fresh strawberries. In a bowl, slice them up. If you want a smoother texture, take a fork and mash about half of them until they’re juicy but still have body. If you love big chunks, just chop them up instead! Next, grab your huge, cold bowl. This is where you combine the really cold heavy whipping cream, the entire can of sweetened condensed milk, and the vanilla. Now, take your electric mixer and beat it—and I mean *beat* it—on medium-high speed. We’re looking for stiff peaks! If you lift the whisk and the cream droops, keep going until it holds a strong, proud peak. That’s the foundation of your creamy strawberry ice cream!
Folding, Freezing, and Serving Your Homemade Strawberry Ice Cream
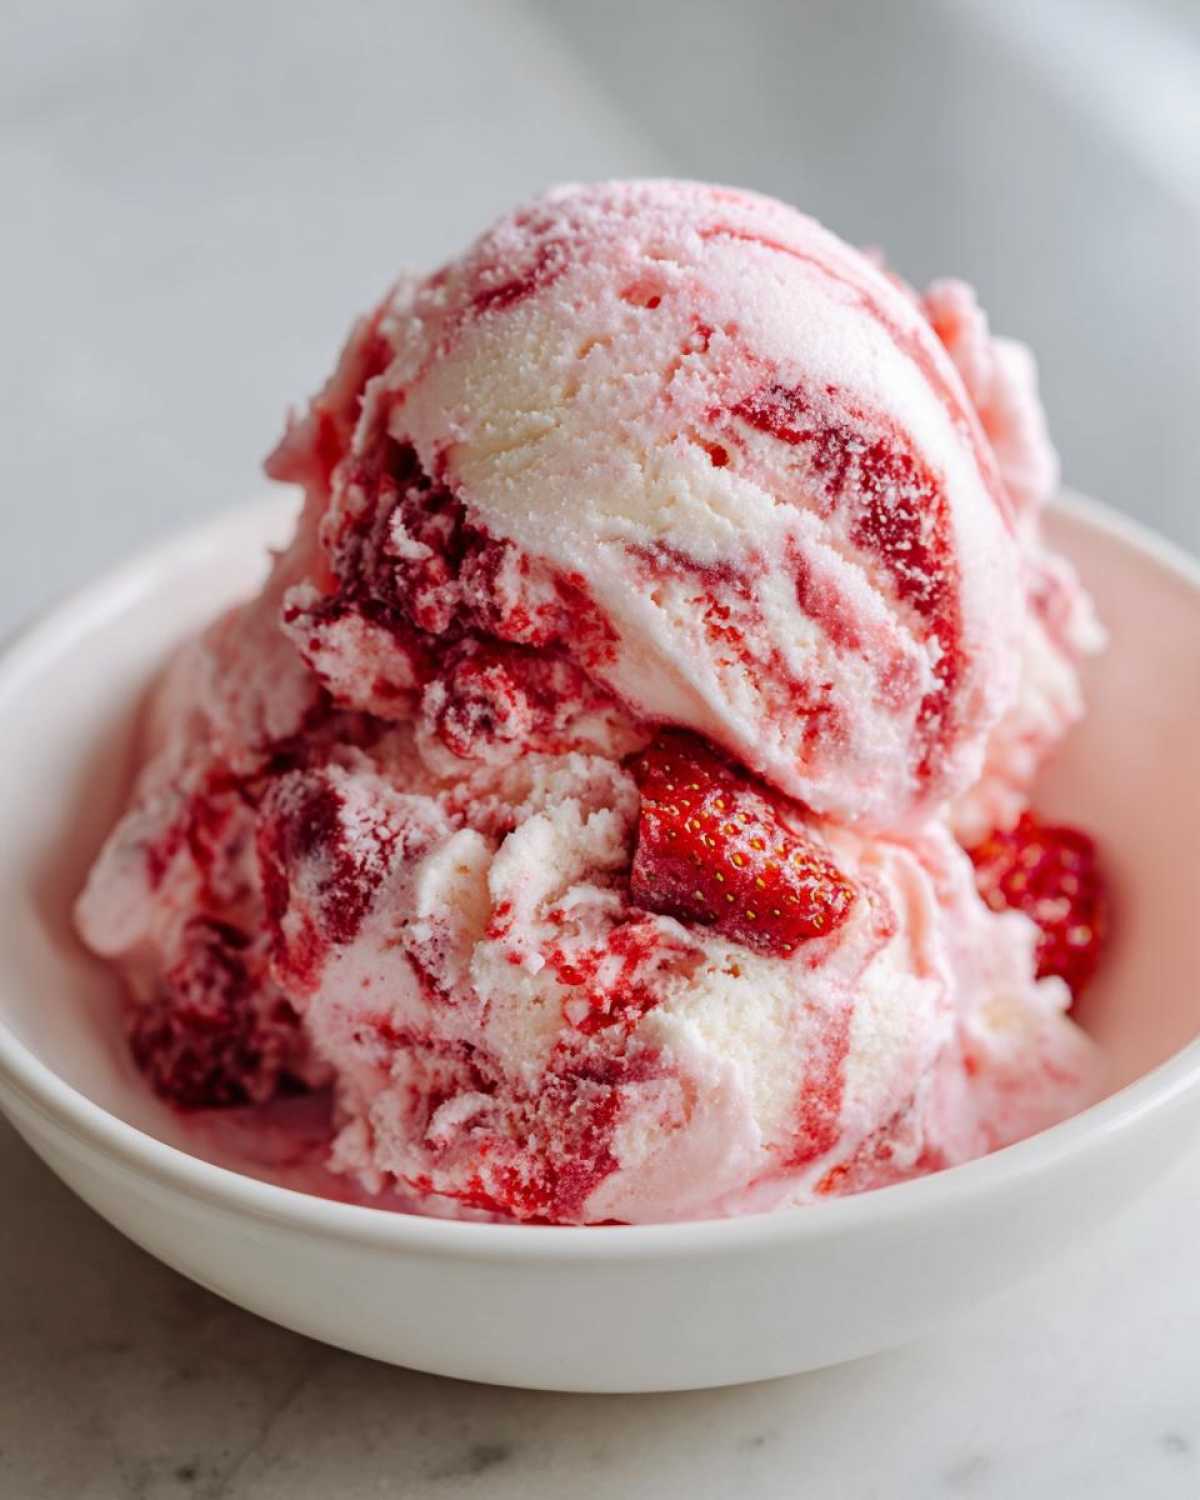
Once the base is perfect and fluffy, gently fold in your prepared strawberries and that tiny splash of lemon juice, if you’re using it for brightness. Seriously, go easy here! We don’t want to knock all that gorgeous air out we just whipped in. Just fold until you see streaks of red throughout the vanilla-toned cream. After that, transfer the whole gorgeous mix into a loaf pan or any freezer-safe container. Here is my biggest tip for any homemade strawberry ice cream: press a piece of plastic wrap directly onto the surface of the mixture before you seal the lid or foil. This stops those annoying ice crystals from forming on top. Pop it in the freezer for at least six hours, but usually overnight is best. When it’s time to serve your spectacular strawberry ice cream, just pull it out 5 to 10 minutes before scooping so it softens just enough. If you’re interested in comparing techniques for whipping mixtures, check out how we handle the structure in our chocolate mousse here. Enjoy!
Variations on Classic Strawberry Ice Cream
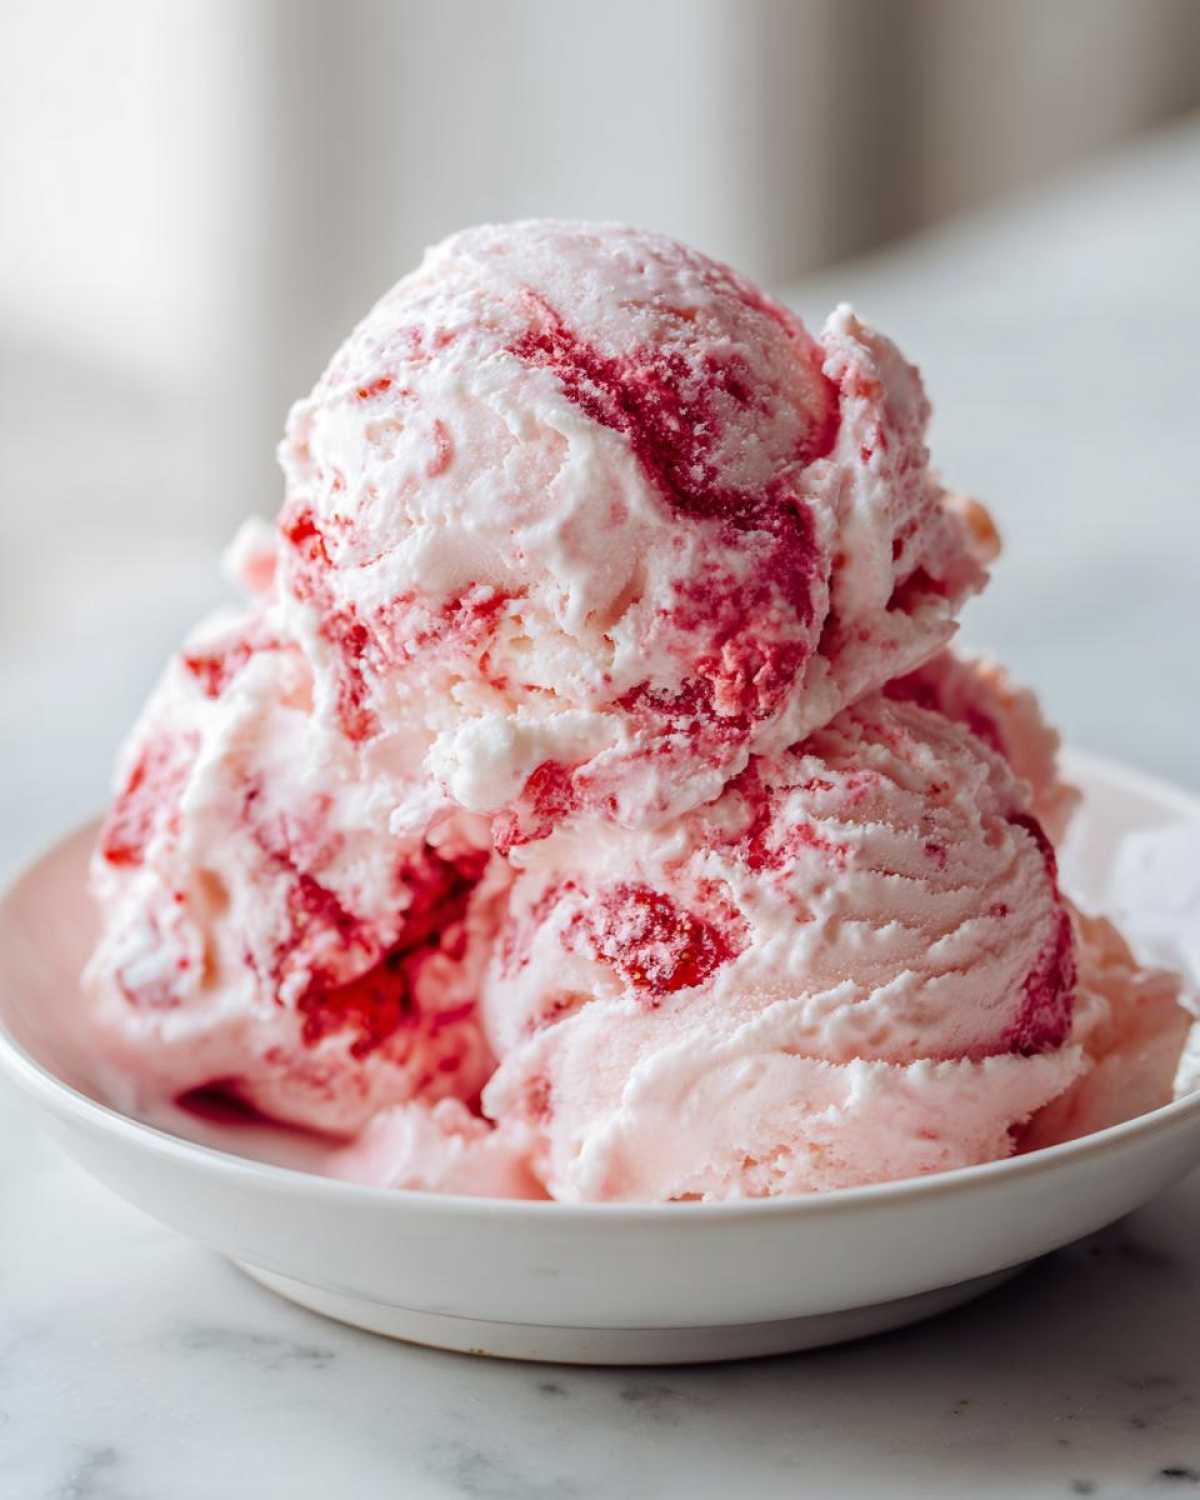
Marco loves when we switch things up a bit! While this foundational strawberry ice cream recipe is perfect as is, being an Eatable Empress means we occasionally dress up for a theme, right? Getting creative with our simple base means we can transform this into something completely new for any celebration. This is all about taking that wonderful creamy texture and giving it a new personality!
Making Strawberry Cheesecake Ice Cream
If you want to elevate this to full-on dessert status, you absolutely must try turning it into strawberry cheesecake ice cream. It’s so easy! Just crush up some buttery graham crackers. Before you fold in your fruit, mix about 4 ounces of softened cream cheese right into that sweet cream base until it’s totally smooth. For the absolute best texture when making homemade cheesecake desserts, I always remind everyone to properly temper the cream cheese—you can find my ultimate guide to avoiding cracks here: my best cheesecake recipe. Then, fold everything else together as usual. You can even swirl in a few extra graham crumbles right before you seal the lid.
Flavor Boosts for Your Strawberry Ice Cream
Sometimes I get wild and want to deepen the strawberry flavor even more. Instead of sticking strictly to vanilla extract, try swapping in just a tiny bit of almond extract—maybe a quarter teaspoon—to complement the sweet fruit. Another crazy trick Marco loves is adding just a small splash—seriously, just a teaspoon—of balsamic vinegar along with the lemon juice when you prep the strawberries. It sounds weird, I know! But that acidity really amplifies the freshness in the fruit, making your final scoop of strawberry ice cream taste intensely berry-forward. It’s a simple shake-up that feels incredibly gourmet.
Storing and Enjoying Your Summer Frozen Treats
This strawberry ice cream is truly the best summer frozen treat, but we need to treat it right so it stays amazing! Because this is a no-churn recipe, its structure relies heavily on that whipped cream, so thawing time is key. Never try to take a scoop right out of a deep freeze; it’ll be too hard. Take your container out of the freezer about 5 to 10 minutes before you plan to serve. This lets it soften just enough so you can scoop those perfect, creamy spheres without breaking your wrist!
It stays wonderfully fresh in the freezer for up to two weeks, but honestly, I’ve never had a batch last that long! As long as you keep that lid sealed tight and plastic wrap pressed onto the surface, you’ll maintain that beautiful texture we worked so hard to create.
Frequently Asked Questions About Homemade Strawberry Ice Cream
I know you might have a few lingering thoughts—that’s totally normal when you’re attempting something this decadent for the first time! We want your adventure into making homemade strawberry ice cream to be absolutely perfect. If you’re still wondering about ingredients or texture tweaks, check out these quick answers. We want every scoop of this sweet strawberry frozen dessert to feel like a celebration!
Can I use frozen strawberries instead of fresh for this strawberry ice cream?
Oh, absolutely you can! This is a great way to use up berries that are nearing the end of their freezer life. The only thing is, when they thaw, they release way more liquid than fresh ones, and extra liquid equals ice crystals—and that’s the enemy of creamy strawberry ice cream! So, if you use frozen strawberries, please thaw them thoroughly first, and then gently blot them dry with a paper towel or press out the excess liquid before folding them into your base. That step keeps your simple homemade ice cream texture smooth.
Why is my no churn strawberry ice cream too hard?
That’s the most heartbreaking result, isn’t it? If your no churn strawberry ice cream turns out like a rock, it usually means one of two things: you either didn’t whip enough air into your cream (so you didn’t hit those stiff peaks!), or maybe you had too much liquid from the fruit, throwing off the fat-to-sugar balance. If it’s too hard when you take it out, don’t panic and don’t microwave it! Just let it temper on the counter for a full 10 to 15 minutes. This allows the sugars and fats to soften slightly so you can finally enjoy that creamy bite. For anything complex, always remember our commitment to transparency here: we share our best knowledge.
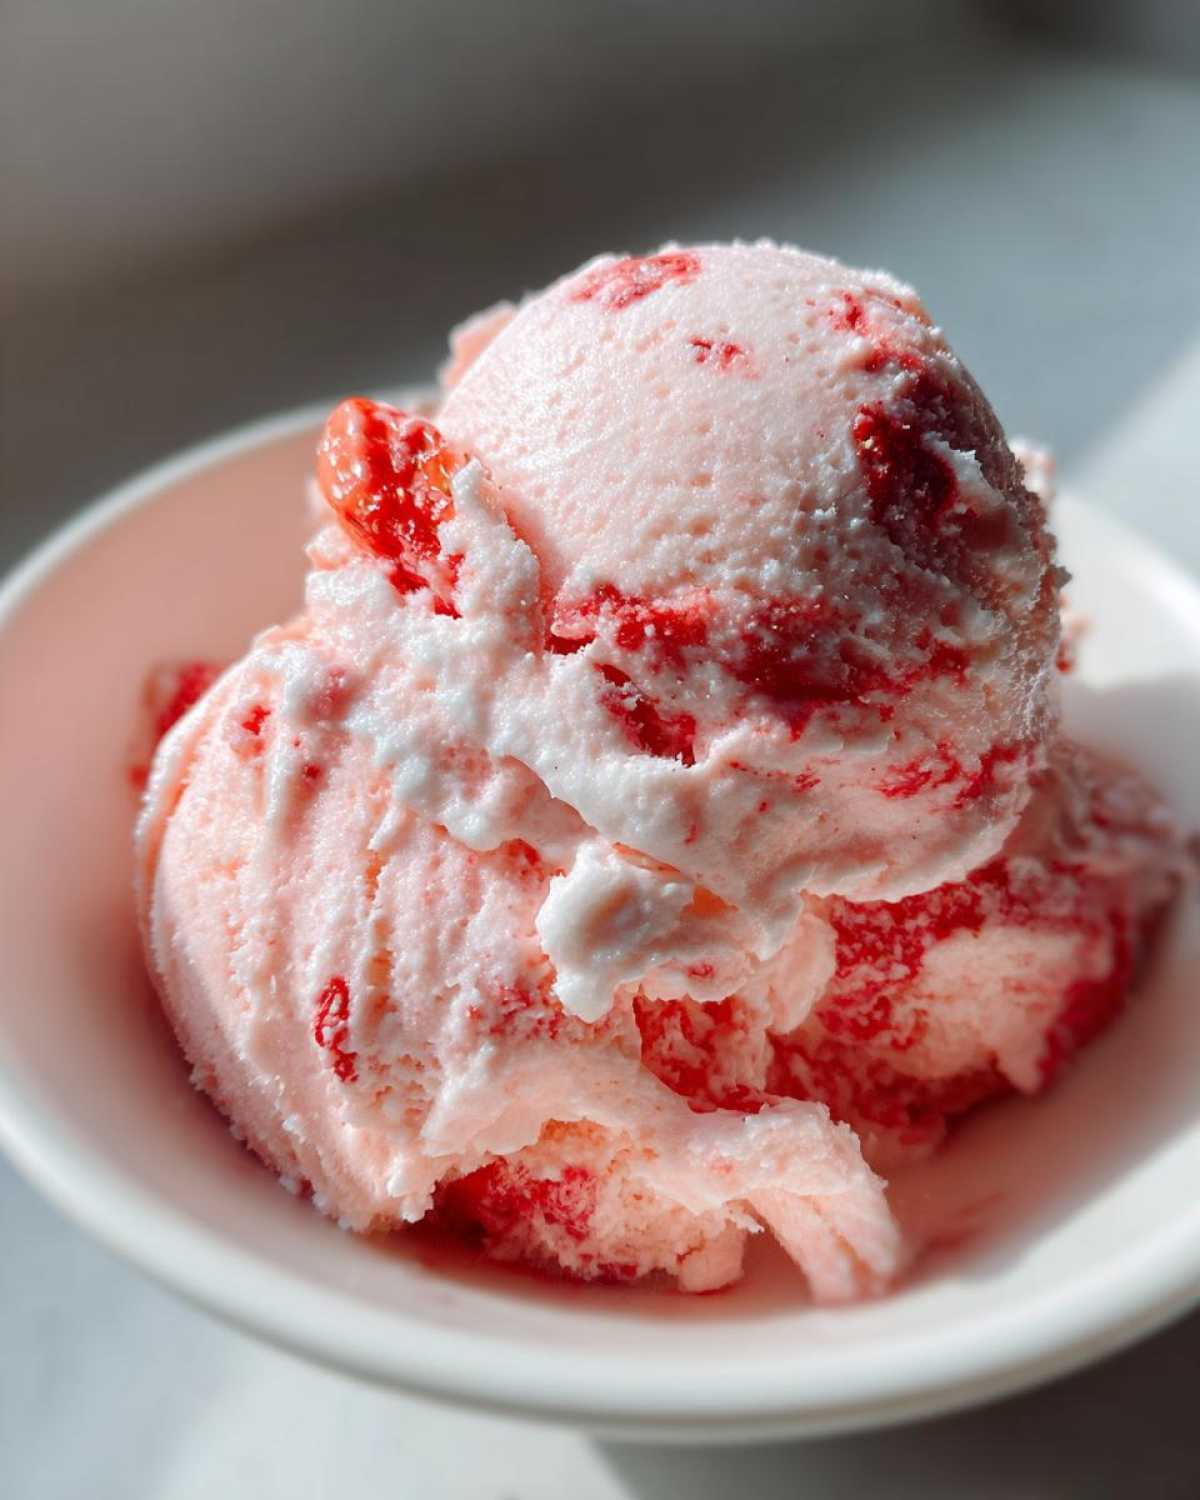
Nutritional Estimates for This Simple Homemade Ice Cream
Now, I know some of you royal eaters care about keeping track of what you’re enjoying, and I respect that completely! Since we are all about treating ourselves well here at Eatable Empress, I wanted to give you a general idea of what’s in a standard serving of this dessert. Remember, Marco always says that enjoying a beautiful meal is more important than obsessing over charts, but knowledge is power!
These figures are just estimates, based on the standard ingredient brands available where I shop, and they are calculated for one serving size, which we determined is about 2/3 cup. Seriously, don’t sweat it too much—this is a special treat!
- Serving Size: 2/3 cup
- Calories: 320
- Total Fat: 18g (11g Saturated Fat)
- Carbohydrates: 38g
- Protein: 4g
- Cholesterol: 65mg
It’s rich because it’s made with real heavy cream and condensed milk, designed to be a true indulgence! Enjoy every delicious spoonful, knowing you made this creamy delight yourself.
Share Your Royal Strawberry Ice Cream Creation
We’ve shared all our secrets here for making the creamiest, easiest frozen treat, and now it’s your turn to reign! Baking is always more fun when we can share the results, even if our philosophy is about cooking for ourselves. I feel like I’ve just shared dessert with you, and I truly want to know how it turned out!
Did you try the lemon juice trick? Did you go for smooth fruit or big chunks? Don’t be shy—let us know what you thought! Please take a moment to drop a rating right below this post. Five stars if it made you feel like royalty, obviously! Leaving a comment with your experience helps other people feel confident trying this simple homemade ice cream for the first time. It builds up our whole little court here.
And, if you snapped a photo of your beautiful, homemade summer frozen treat—because I know you did!—please share it on Instagram or TikTok. Tag us so Marco and I can see your masterpiece in all its glory! We love seeing how everyone brings a little bit of that royal feeling into their everyday week. You can find us and all our latest simple feasts over on the main blog feed. Go on—you deserve the applause!
PrintThe Easiest Creamy No-Churn Strawberry Ice Cream
You deserve a beautiful, delicious treat just for you. This easy, no-churn strawberry ice cream recipe uses fresh strawberries and simple ingredients to create a creamy dessert without needing an ice cream maker. Treat yourself like royalty tonight.
- Prep Time: 15 min
- Cook Time: 0 min
- Total Time: 6 hr 15 min
- Yield: 6 servings
- Category: Dessert
- Method: No-Churn Freezing
- Cuisine: American
- Diet: Vegetarian
Ingredients
- 1 pint fresh strawberries, hulled and sliced
- 1 (14 ounce) can sweetened condensed milk
- 2 cups heavy whipping cream, very cold
- 1 teaspoon vanilla extract
- 1 tablespoon fresh lemon juice (optional, for brightness)
Instructions
- Prepare the strawberries: Place the sliced fresh strawberries in a bowl. If you want a smoother texture, you can mash about half of them lightly with a fork. If you prefer chunks, leave them whole or roughly chopped.
- Make the base: In a large bowl, combine the cold heavy whipping cream, sweetened condensed milk, and vanilla extract.
- Whip the mixture: Using an electric mixer or a whisk, beat the mixture on medium-high speed until stiff peaks form. This means the cream holds its shape when you lift the beaters. This step incorporates the air needed for a creamy texture.
- Fold in strawberries: Gently fold the prepared fresh strawberries and the lemon juice (if using) into the whipped cream mixture. Do not overmix; you want streaks of strawberry throughout.
- Freeze: Transfer the mixture into a freezer-safe container, such as a loaf pan or an airtight container. Cover the surface directly with plastic wrap to prevent ice crystals, then cover the container tightly with a lid or foil.
- Chill: Freeze for at least 6 hours, or preferably overnight, until firm. You do not need an ice cream maker for this simple homemade ice cream.
- Serve: When ready to eat, let the strawberry ice cream sit on the counter for 5 to 10 minutes before scooping. Enjoy your summer frozen treat!
Notes
- For an even richer flavor, consider using a vanilla base ice cream recipe foundation, as some of the best strawberry ice cream recipes do.
- If you want a more intense strawberry color, add one drop of red food coloring when mixing in the fruit.
- This egg free ice cream recipe is perfect for beginners looking for a quick strawberry dessert.
Nutrition
- Serving Size: 2/3 cup
- Calories: 320
- Sugar: 35
- Sodium: 65
- Fat: 18
- Saturated Fat: 11
- Unsaturated Fat: 7
- Trans Fat: 0
- Carbohydrates: 38
- Fiber: 1
- Protein: 4
- Cholesterol: 65