

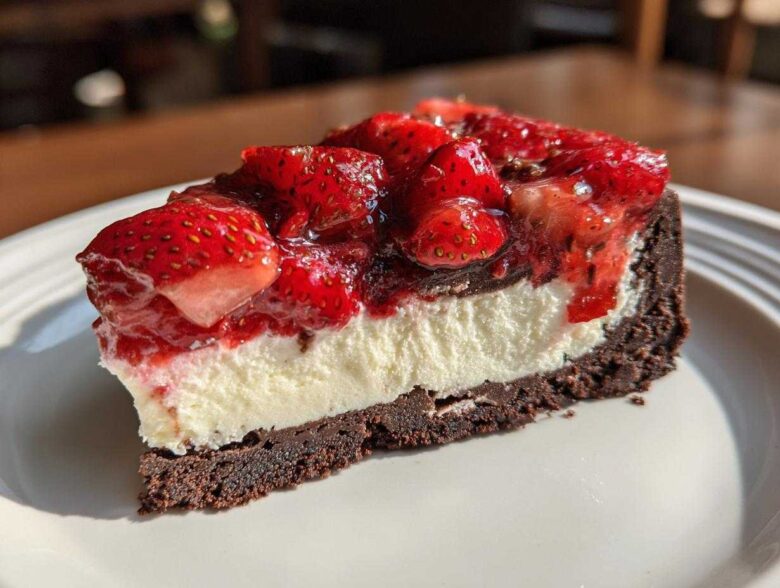
Oh my gosh, are you ready for a dessert miracle? I know that craving—you want that rich, tangy cream cheese flavor, the deep hug of chocolate, and that bright burst of fresh summer strawberry, but the thought of turning on the oven when it’s boiling outside? No thank you! That’s exactly why I perfected this recipe for the ultimate No-Bake Strawberry Chocolate Cheesecake Slice. Trust me, I burned through batches trying to get the chilling time just right so you get a square that actually holds its shape when you cut it. If you’re ever curious about why I go through such trouble to avoid oven baking for these treats, you can check out my thoughts on why sometimes a good no-bake option beats a traditional one. This layered bar is seriously the easiest, most impressive treat you’ll make all summer. If you love classic cheesecake texture without the hassle of water baths or worrying about cracks, you’ve landed in the right place!
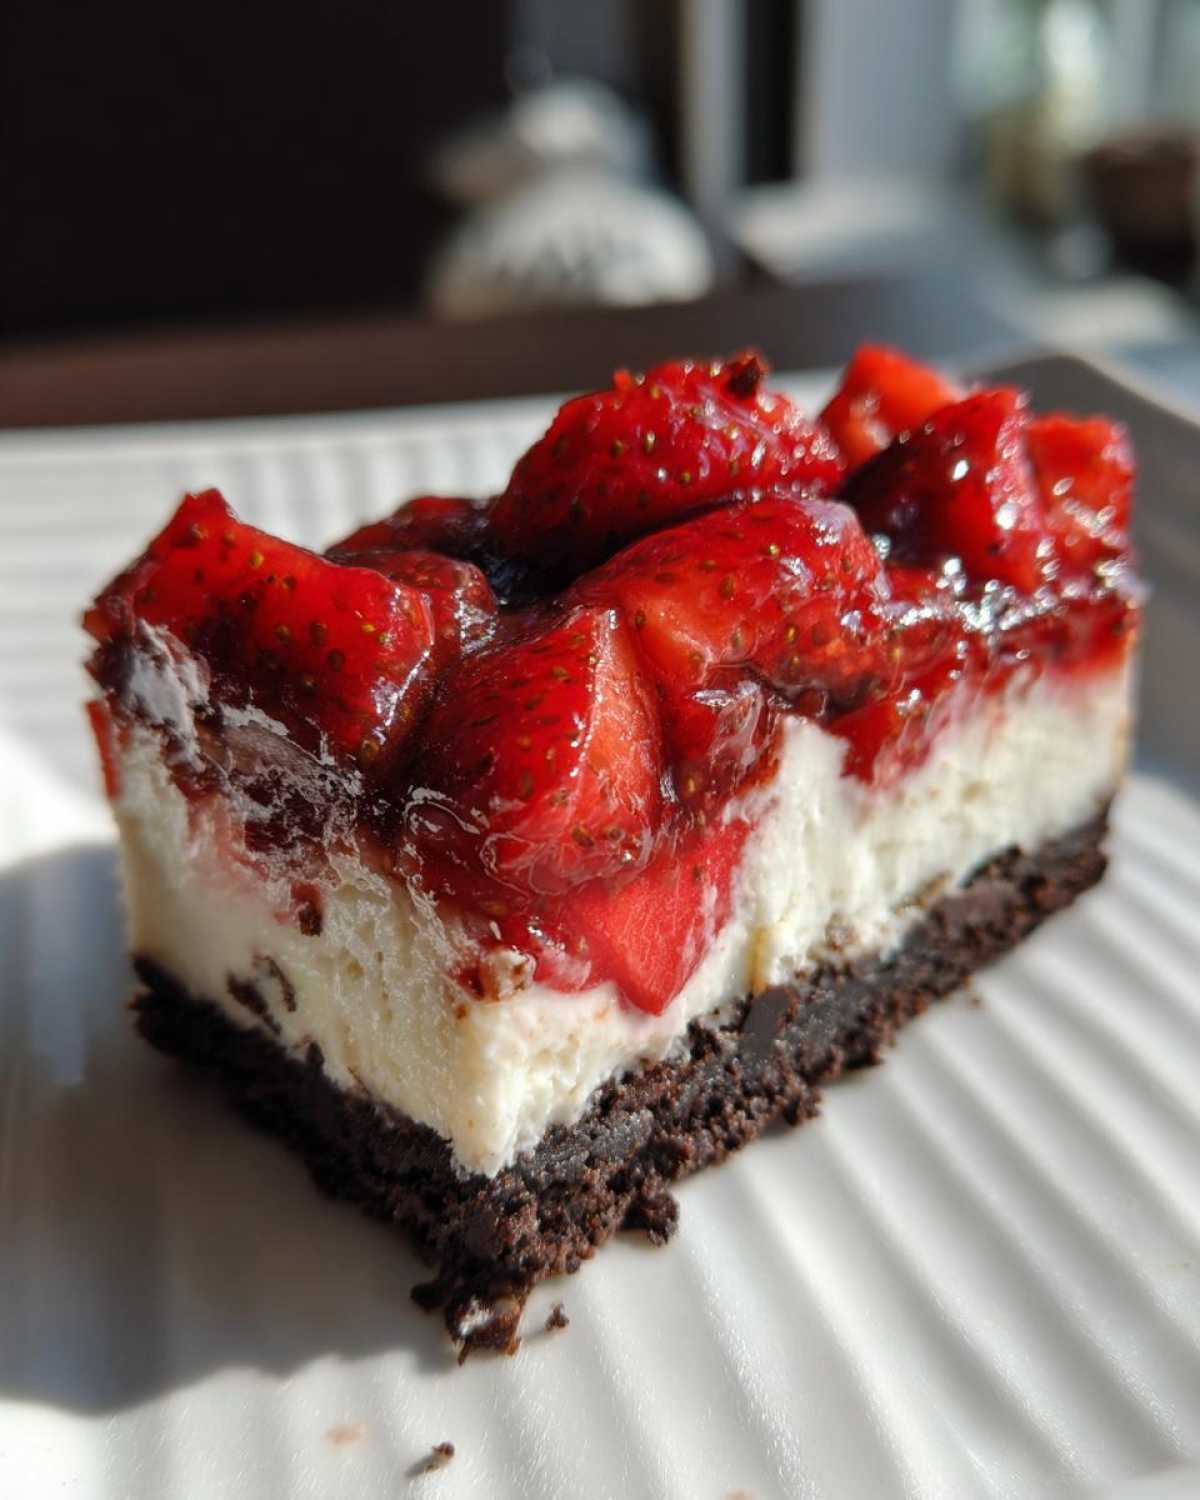
Why You Will Make This No-Bake Strawberry Chocolate Cheesecake Slice Again and Again
Honestly, this recipe is my secret weapon when company shows up last minute, or when I just need something decadent without the commitment of baking. It ticks every single box a summer dessert needs:
- It requires absolutely zero oven time—hello, cool kitchen!
- The layers are stunning, giving you that rich, decadent look effortlessly.
- It comes together so fast you’ll wonder where the other six hours of chilling time went.
- The combination of chocolate crust, tangy cream cheese, and sweet strawberries is pure magic in every No-Bake Strawberry Chocolate Cheesecake Slice.
Gathering Ingredients for Your No-Bake Strawberry Chocolate Cheesecake Slice
Okay, grabbing ingredients for this treat is almost the best part because everything is ready to go! No weird pantry sweeps needed. Since we aren’t baking, the quality of what you put in really matters for structure and flavor. I always try to get the best chocolate wafers I can find, and having good, ripe strawberries makes all the difference in that jewel-toned topping. If you ever need a quick, rich drink to have while you assemble this, I swear by my recipe for quick homemade chocolate milk, but let’s focus on the good stuff we’re making here!
For the Chocolate Cookie Crust
This is our foundation, so make it sturdy! You only need two things here:
- 1 1/2 cups chocolate wafer cookie crumbs (Get those Oreos or chocolate ‘wafer-style’ cookies!)
- 6 tablespoons unsalted butter, melted
For the Creamy Cheesecake Filling
Here’s my expert tip right off the bat: make sure your cream cheese is truly room temp. If it’s cold, you’ll end up with tiny lumps, and nobody wants lumpy cheesecake texture! I like to use a rubber spatula to beat it against the side of the bowl before I even turn the electric mixer on.
- 16 ounces cream cheese, softened (like, really soft!)
- 1 cup powdered sugar (Don’t substitute this with granulated, it won’t dissolve right!)
- 1 teaspoon vanilla extract
- 1/4 cup heavy cream
For the Fresh Strawberry Topping
This part smells incredible simmering on the stove. A little lemon juice brightens up the strawberries so they don’t taste flat against the rich chocolate and cream cheese underneath.
- 1 cup fresh strawberries, sliced
- 1/4 cup strawberry jam or preserves
- 1 tablespoon lemon juice
Step-by-Step Instructions for Your No-Bake Strawberry Chocolate Cheesecake Slice
Okay, this is where the magic happens! Since we aren’t baking, our success hinges entirely on layering correctly and letting time do the heavy lifting in the fridge. I’ve found that taking my time on these first few steps guarantees that beautiful, cuttable bar we are aiming for when making these No-Bake Strawberry Chocolate Cheesecake Slice treats. Don’t rush the chill times; that’s my number one rule! If you’re looking for another great chilled chocolate recipe to tide you over while this sets up, you absolutely have to try my easy 3-ingredient chocolate mousse recipe. It’s ridiculously simple!
Creating and Chilling the Chocolate Base
First up, let’s build that crunchy chocolate foundation. You want to combine your chocolate wafer crumbs and the melted butter in a bowl. Mix it up real well until it looks like wet sand—that means every crumb is coated in butter!
Now grab your 8×8 inch pan. I always line mine with parchment paper first, making sure there’s an overhang on two sides—that’s how we lift the whole thing out later, genius, right? Press that crumb mixture firmly into the bottom, really packing it down tight. Use the bottom of a measuring cup or flat glass to get it nice and even. Pop that pan in the freezer or fridge for at least 20 minutes while you whip up the filling. This sets the chocolate layer before we put anything wet on top of it.
Whipping the No-Bake Cheesecake Filling
Remember how I talked about room temperature cream cheese? Good. Beat that softened cream cheese until it’s totally smooth and creamy with no lumps. Then, gently introduce your powdered sugar and vanilla extract. Mix it just until it disappears; don’t overdo it here!
In a separate bowl, whip your heavy cream until you get soft peaks—you know, when the peaks flop over slightly when you lift the whisk. This step gives our cheesecake that airy, lighter texture we love in a no-bake recipe. Now, take that whipped cream and gently fold it into the cream cheese mixture. I mean gently! Use a spatula and cut down the middle, then sweep up the side. We want to keep all those lovely air bubbles in there!
Preparing and Setting the Strawberry Layer
Time for the fruit! Toss your sliced strawberries, the jam, and that splash of lemon juice into a tiny saucepan. Heat it over medium-low heat for about five minutes. You aren’t trying to cook them down into a traditional jam, just warm them enough to soften them slightly and get that jam mixture incorporated. This step keeps the strawberry layer from being too hard once chilled.
Pull that off the heat and let it cool down for about ten minutes before you touch the cheesecake layer. If you pour hot fruit mixture onto cold cream cheese, it can get weird, and we don’t want weird!
The Final Chill and Serving the No-Bake Strawberry Chocolate Cheesecake Slice
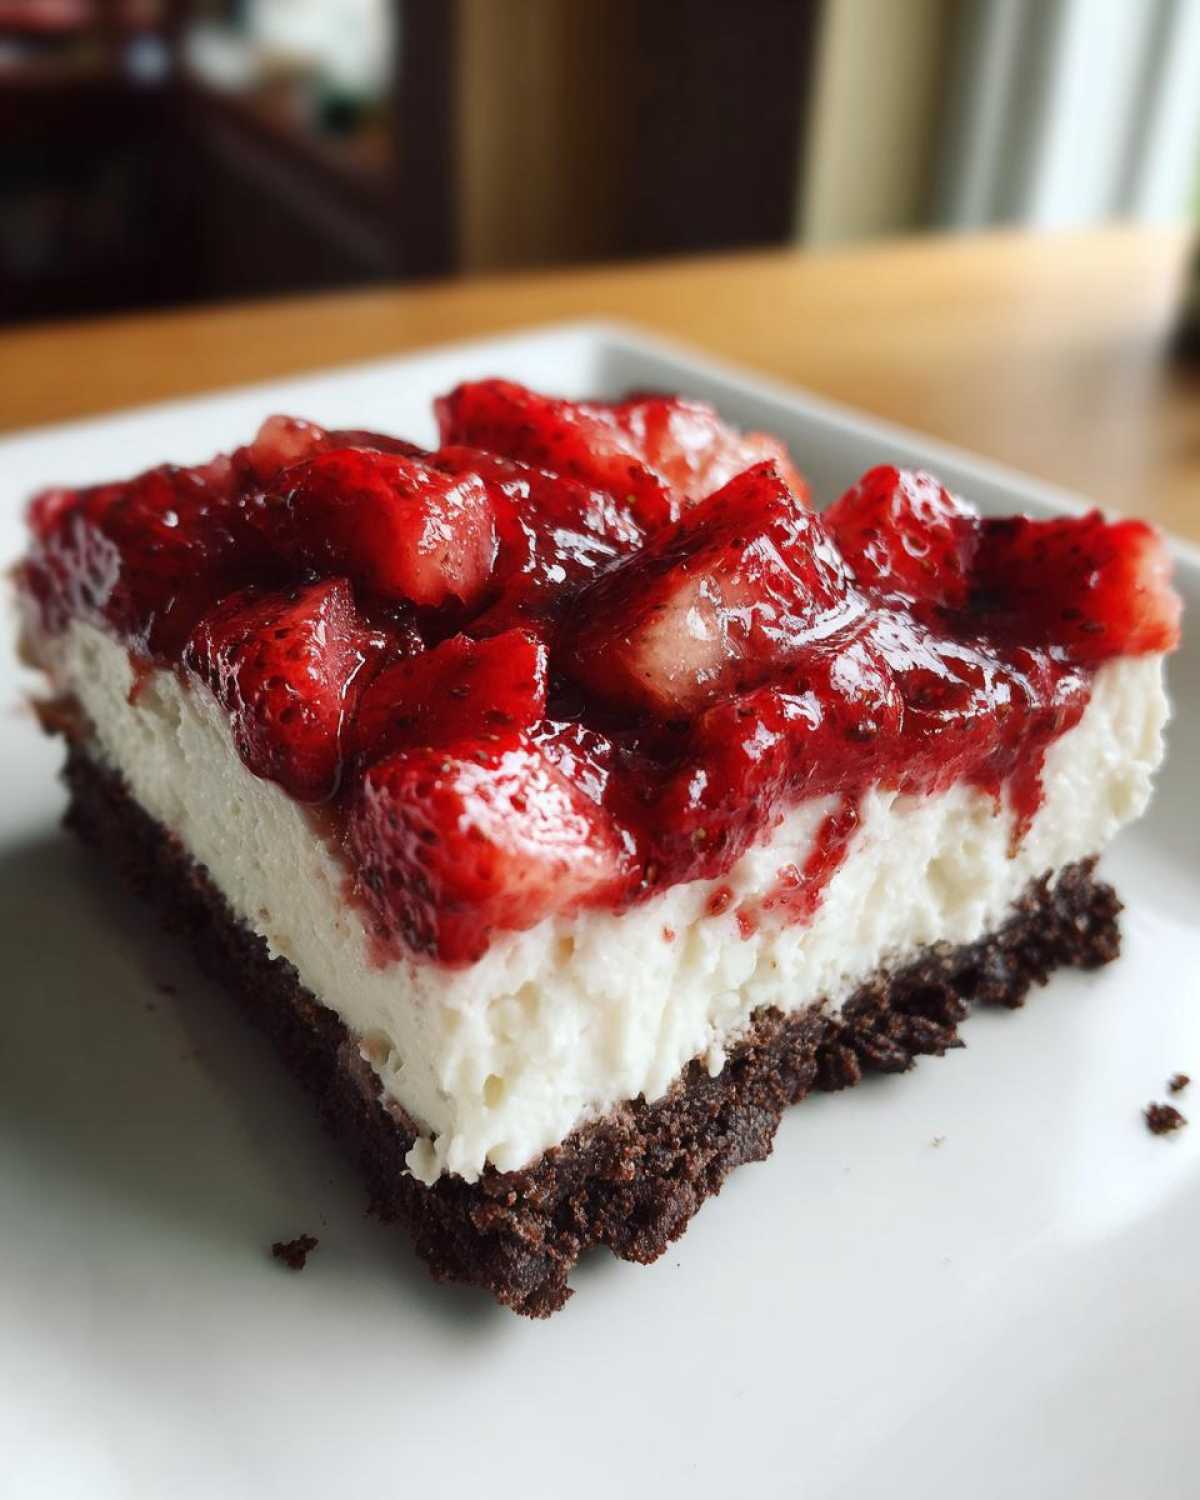
Spread that gorgeous creamy filling evenly over your chilled chocolate base. Then, dollop that slightly warm strawberry topping over the cream cheese. You can swirl it with a knife for a pretty pattern, or just spread it smooth! I like swirls, myself.
Now, here’s the hardest part: covering it loosely in plastic wrap and forgetting about it. You need a minimum of six hours, but honestly, overnight is what guarantees perfect structure for cutting your No-Bake Strawberry Chocolate Cheesecake Slice bars. Once fully set, grab those parchment overhangs, lift the whole beautiful creation out onto a cutting board, and slice it into 9 or 16 squares. Wow, look at those layers!
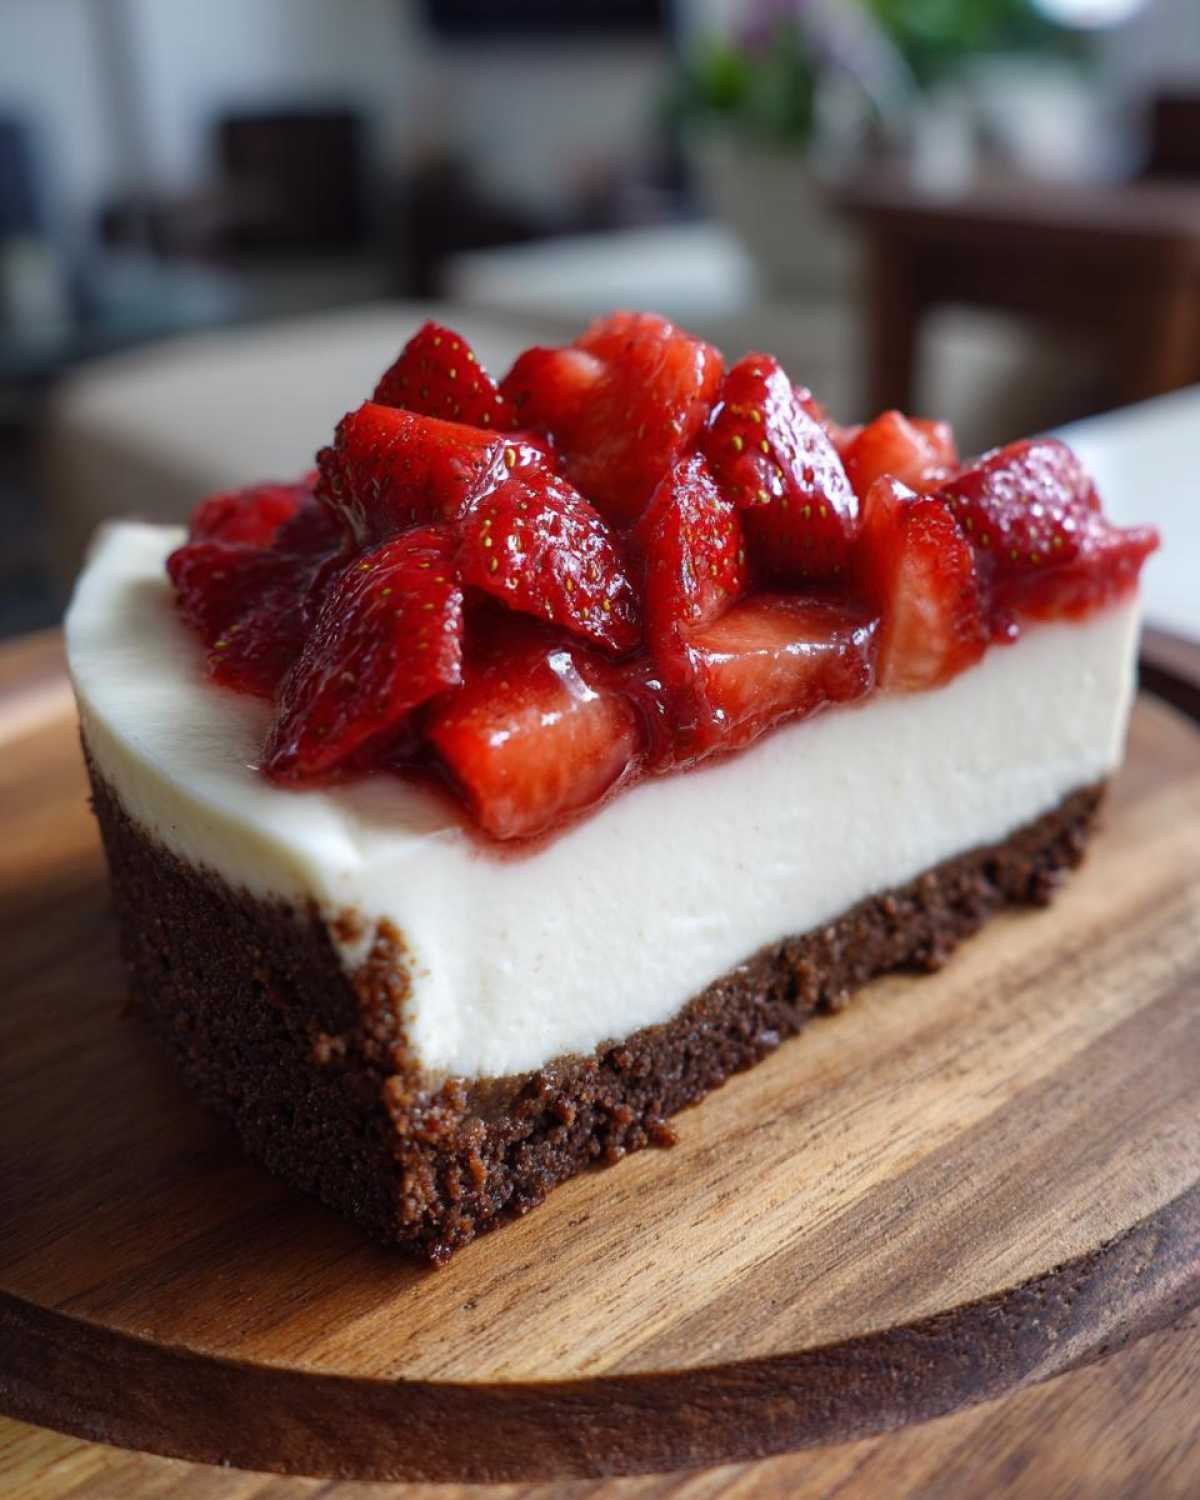
Tips for the Perfect No-Bake Strawberry Chocolate Cheesecake Slice
Even without the oven doing the hard work, there are a few little secrets to making sure these Easy No Bake Cheesecake Slices look professional when you cut them. If you follow these, you’ll be set for spectacular results!
First, concerning texture: If you are making these for a big party and you want them rock solid, add a little insurance policy! I mentioned it in the notes, but seriously consider blooming 1 teaspoon of unflavored gelatin in 2 tablespoons of cold water, then stir that into your warm strawberry topping before cooling. It seriously firms up that top layer, making these Layered Strawberry Chocolate Bars slice like a dream.
Second, always use full-fat cream cheese. I know healthier options exist, but for a luxurious texture in these Cream Cheese Strawberry Chocolate Slices, you need that full fat content to whip up light and then set firm. Don’t skimp!
Finally, for flavor depth, if you’re having a grown-up gathering, try substituting the water in the strawberry sauce with a splash of good quality balsamic vinegar instead of lemon juice. It sounds wild, but it deepens the berry flavor so much! It’s a trick I learned making my coffee cake cookies, and it totally works here too.
Ingredient Notes and Substitutions for Your Cream Cheese Strawberry Chocolate Slices
I always get so many questions about substituting ingredients in no-bake recipes because you really need things structured just right when the oven isn’t helping you out! The good news is that these Cream Cheese Strawberry Chocolate Slices are pretty flexible, but there are a couple of non-negotiables. If you’re worried about the strawberry layer being too runny, please listen to me: add the gelatin! Seriously, bloom one teaspoon of plain gelatin in two tablespoons of cold water first. When you warm your jam and strawberries, stir that gelatin mix in right at the end before cooling. It helps lock everything together beautifully, as noted in my recipe details.
Now, let’s talk crumbs. The chocolate wafer cookies give you that deep, familiar flavor that pairs perfectly with the cheesecake, making them ideal for No Bake Strawberry Cheesecake Bars. But hey, if you’re totally out? You can absolutely use a good quality chocolate graham cracker or even crushed Oreos if you scrape out most of the filling first! Just make sure you still use the right amount of melted butter to bind it tight.
And those strawberries? If fresh ones are out of season or too expensive, you can use frozen ones, but you absolutely must thaw them completely and blot them very, very dry with paper towels before heating them with the jam. Too much extra water means too much chill time, and nobody wants that! If you’re looking for a different bright flavor profile to maybe swirl into the top instead of strawberry, you could check out how I use lemon in my lemon cookies meltaway recipe for inspiration!
Storage and Reheating Instructions for Your Refrigerated Strawberry Chocolate Treat
Since these slices rely on chilling power rather than baking heat, storage is super easy, which is just one more reason they’re perfect for meal prepping or make-ahead party desserts. You definitely don’t want to reheat this treat; melting that beautiful cream cheese filling and the set strawberry topping would turn this gorgeous bar into a sad puddle! My **Refrigerated Strawberry Chocolate Treat** stays perfect right where it is supposed to be—in the cold.
Keeping Your Slices Fresh in the Fridge
Once you’ve cut your **No Bake Strawberry Cheesecake Bars**, storage is key to keeping that crust crisp and the filling tangy. You need to cover them up tightly. I find the best method is to put them back into the 8×8 pan if there aren’t too many left, cover it securely with plastic wrap, and then maybe add a layer of foil over the top just to block out any stray fridge smells. If you’ve already separated them onto a platter, that’s fine, but make sure each slice is basically sealed off from the air. Plastic wrap touching the surface can sometimes leave marks, so be gentle!
The great news is that since there are no eggs in the conventional sense that cause spoilage risk, these bars last a good long time! You can expect them to stay absolutely delicious for up to four days. That’s almost a full work week of dessert sorted!
Can You Freeze the No-Bake Strawberry Chocolate Cheesecake Slice?
Yes, you absolutely can freeze them for longer storage, although I rarely have any left to freeze! If you do decide to stash them away—maybe you made two batches—you need to prep them slightly differently for the freezer. Try to only freeze slices that don’t have any loose topping on them yet. Place the slices on a baking sheet lined with parchment paper and freeze them completely unwrapped for about an hour. This flash-freezing step stops them from sticking together.
Once they are hard as rocks, transfer them into a heavy-duty freezer bag or an airtight container, making sure to put a square of parchment paper between any layers of slices so they don’t fuse together. They should last beautifully for up to a month. When you’re ready to enjoy one, just pull a slice out and let it thaw right on a plate in the refrigerator for about 30–45 minutes. It thaws perfectly and retains that great texture—not icy at all! For fun ideas on other make-ahead/refrigerated goodies, you should check out my recipe for apple cinnamon overnight oats; just replace the apple/cinnamon with some leftover strawberry topping!
Making Variations of the Layered Strawberry Chocolate Bars
While I absolutely adore this recipe exactly as written—that chocolate, strawberry, and cream cheese combination is timeless—sometimes a girl needs to switch things up, especially when I’ve already made one batch of the No-Bake Strawberry Chocolate Cheesecake Slice and need an excuse to make another!
The beauty of a no-bake bar is that the layers are so distinct, you can easily swap out components without ruining the structure. Think of the base, the filling, and the topping as three different canvases waiting for your artistic touch!
Swap Out the Berry Base
If fresh strawberries aren’t available, or maybe you just want a change, this recipe plays really nicely with other fruits! My absolute favorite secondary option is using raspberries. Raspberries have a bit more tartness, which cuts through the richness of the cheesecake filling even better than strawberries sometimes. You can use raspberry jam instead of strawberry jam, or even gently cook down fresh blackberries.
The technique stays exactly the same: soften the fruit gently with the jam and lemon juice, cool it down, and top the cheesecake. It’s such a simple change for a completely new flavor experience. I might even suggest trying a swirl of equal parts raspberry and blueberry jam if you want something really show-stopping!
Mix-Ins for the Cream Cheese Layer
You know how I preach about folding in the whipped cream gently? That space you create when you fold is perfect for stealthy additions! If you want to make your filling extra decadent, try folding in about half a cup of mini chocolate chips along with the whipped cream. They stay firm when chilled and give you a wonderful textural surprise when you bite into the creamy layer.
Another fun little secret for a bit of crunch without compromising the no-bake nature is to gently fold in about half a cup of finely chopped pecans or walnuts. They offer a great nutty contrast to the smooth cheesecake. If you love layering different textures, you should definitely check out my recipe for chocolate caramel toffee crunch cake; it shows exactly how contrasting textures make a dessert sing!
Changing Up the Foundation
The chocolate wafer crust is amazing, but what if you don’t have those cookies? No problem! The crust is sturdy enough that you can pivot to almost any cookie crumb you have on hand. If you prefer a milder base that lets the strawberry shine through even more, use plain vanilla wafers or even graham crackers.
When you swap to graham crackers, you might need to add just a tiny bit more melted butter—maybe one extra teaspoon, because graham crackers soak up liquid faster than the chocolate ones. Just watch the consistency to make sure it still packs firmly into the pan for your No-Bake Strawberry Chocolate Cheesecake Slice!
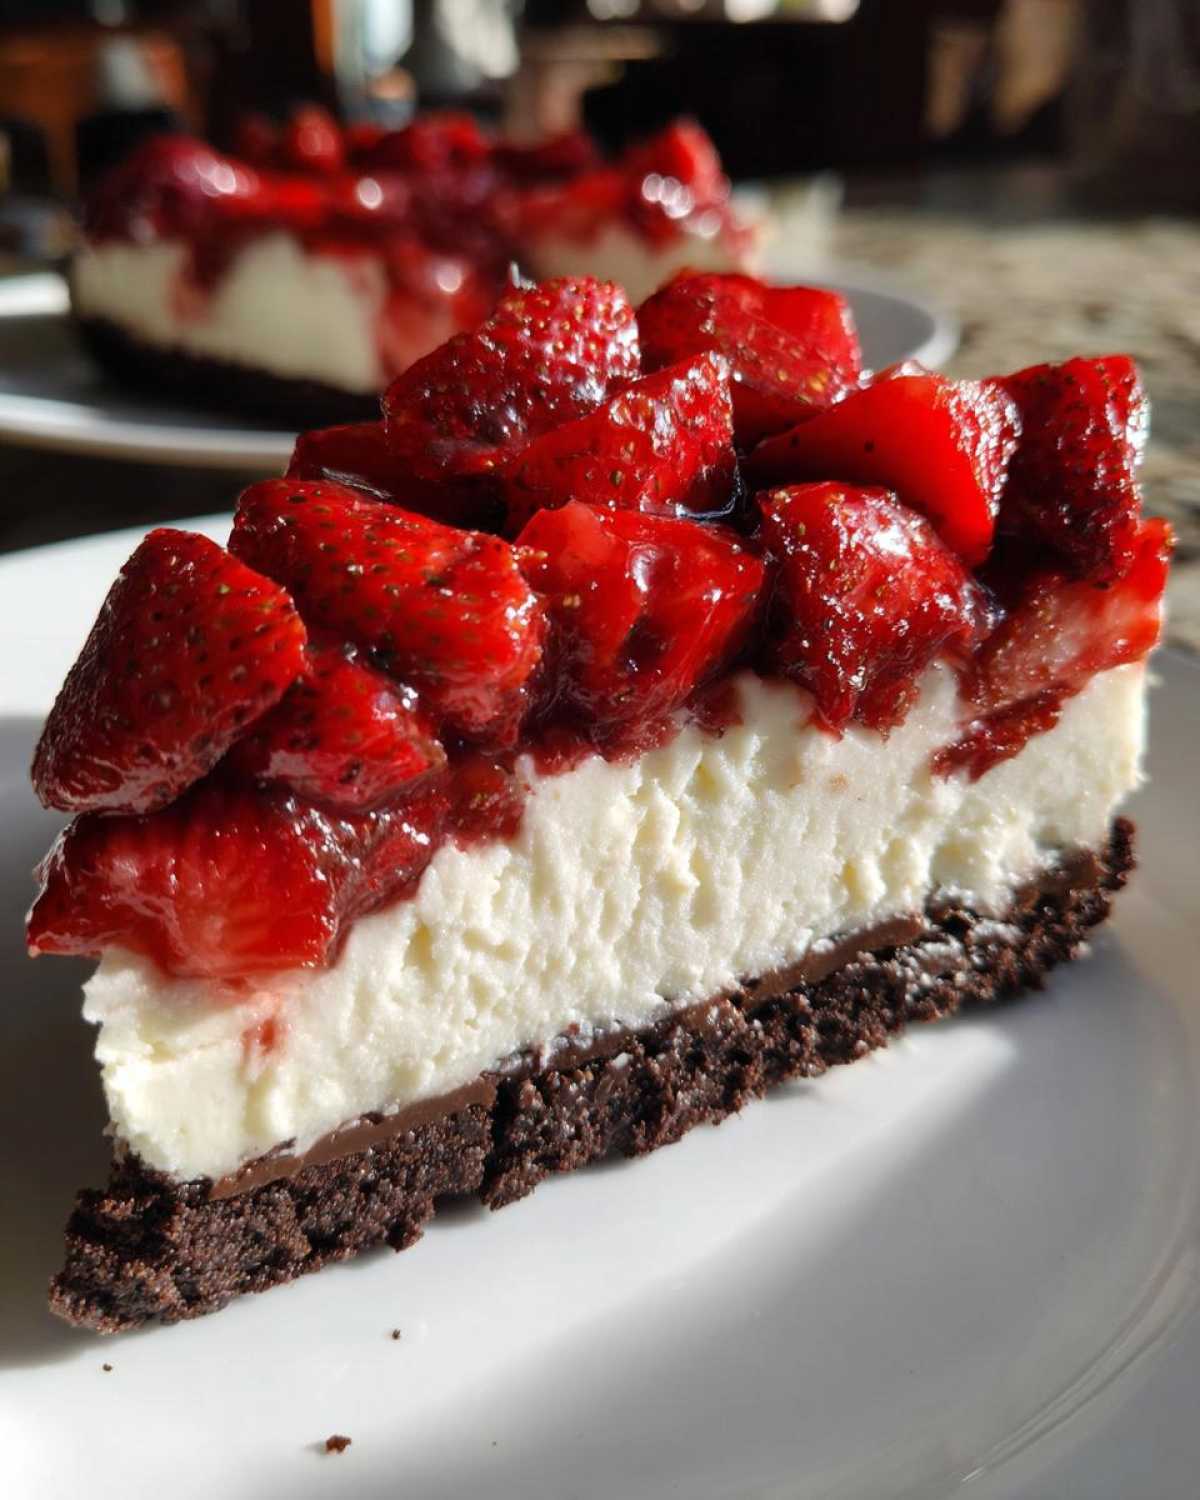
Frequently Asked Questions About No Bake Strawberry Cheesecake Bars
When you’re dealing with a chilled dessert like this, I get so many great technical questions! People want to make sure their No Bake Strawberry Cheesecake Bars set perfectly, and I totally get it. If you’re planning ahead, you might have questions about freezing, or maybe you’re missing an ingredient today.
Can I freeze my No-Bake Strawberry Chocolate Cheesecake Slice?
Oh yes, you totally can! I touched on this above, but for a quick answer: wrap those already-sliced bars tightly in plastic wrap, then foil, and they’ll be good for about a month. The texture holds up really well because there isn’t any traditional egg structure to turn icy. Thaw them in the fridge for about an hour before serving!
How do I know when the filling is firm enough to slice?
This is the most important question for structure! You have to wait for that full chill time—at least six hours, but overnight is always better. You’ll know it’s firm when you gently press the center of the cheesecake and it doesn’t give way at all; it should feel solid, like a very dense mousse. If you cut it early, you’ll just get a messy delicious blob, not a slice!
Can I skip the lemon juice in the strawberry topping?
You *can* skip it if you absolutely must, but I wouldn’t recommend it for the best flavor in these Easy No Bake Cheesecake Slices. The lemon juice doesn’t make the topping taste lemony; what it does is balance the sweetness of the jam and really brighten up the natural flavor of the strawberries. Without it, the topping can taste a little flat against that rich chocolate base.
My cream cheese is still a little lumpy, what do I do?
Don’t panic! If you see lumps after you mix the sugar in, I recommend taking the bowl off the electric mixer and switching to a sturdy rubber spatula. Then, use a little elbow grease and scrape the mixture firmly against the sides of the bowl for another minute or two. Sometimes that manual friction breaks down those stubborn bits better than the mixer does. It’s a classic baking trick that works wonders for Refrigerated Strawberry Chocolate Treat fillings!
If you want to check out another one of my favorite no-bake recipes that sets beautifully, you should see my recipe for peanut butter pie—it uses a similar chilled structure!
Share Your Experience Making This No-Bake Strawberry Chocolate Cheesecake Slice
Alright, friends, now it’s your turn to get messy—or, well, neat and tidy, since this is no-bake! I am dying to know how these gorgeous No-Bake Strawberry Chocolate Cheesecake Slice treats turned out in your kitchens. Did the chocolate crust stay crisp? Did your strawberry topping set up perfectly? Did you follow my advice and let it chill overnight? Spill the details!
I put so much love into getting the measurements right so that this recipe yields a perfect 9 generous servings, but I know your family might cut them into 16 smaller squares! Let me know how you sliced yours up!
If you loved this recipe as much as my family does, please take two seconds to drop a rating right below! Stars speak volumes, and it helps other bakers find this easy, no-oven wonder. And if you snapped a picture of those perfect layers? You simply have to share it! Tag me on all the socials so I can admire your work. You can find all my latest kitchen adventures over on my main blog page—I’m always sharing sneak peeks!
Seriously, no-bake desserts feel like cheating because they give you maximum payoff for minimum effort. I hope these rich, creamy slices become a summer staple in your house just like they are in mine!
PrintNo-Bake Strawberry Chocolate Cheesecake Slices
Make rich, layered cheesecake slices without turning on your oven. This recipe features a chocolate cookie crust, a creamy cheesecake layer, and a fresh strawberry topping.
- Prep Time: 25 min
- Cook Time: 5 min
- Total Time: 6 hr 30 min
- Yield: 9 servings
- Category: Dessert
- Method: Refrigeration
- Cuisine: American
- Diet: Vegetarian
Ingredients
- 1 1/2 cups chocolate wafer cookie crumbs
- 6 tablespoons unsalted butter, melted
- 16 ounces cream cheese, softened
- 1 cup powdered sugar
- 1 teaspoon vanilla extract
- 1/4 cup heavy cream
- 1 cup fresh strawberries, sliced
- 1/4 cup strawberry jam or preserves
- 1 tablespoon lemon juice
Instructions
- Prepare the crust: Mix the chocolate cookie crumbs and melted butter until fully combined. Press the mixture firmly into the bottom of an 8×8 inch baking pan lined with parchment paper, leaving an overhang for easy removal. Chill the crust for 20 minutes.
- Make the cheesecake filling: In a large bowl, beat the softened cream cheese until smooth. Gradually add the powdered sugar and vanilla extract, mixing until just combined.
- Whip the heavy cream in a separate bowl until soft peaks form. Gently fold the whipped cream into the cream cheese mixture until no streaks remain.
- Spread the cheesecake filling evenly over the chilled chocolate crust.
- Prepare the strawberry topping: In a small saucepan, combine the sliced strawberries, jam, and lemon juice. Heat over medium-low heat for 5 minutes, stirring occasionally, until the strawberries soften slightly and the mixture thickens. Remove from heat and let cool for 10 minutes.
- Spoon the cooled strawberry mixture over the cheesecake layer. You can spread it evenly or create swirls if desired.
- Cover the pan loosely with plastic wrap and refrigerate for at least 6 hours, or preferably overnight, until the cheesecake is firm.
- Use the parchment paper overhang to lift the entire cheesecake out of the pan. Cut into 9 or 16 equal slices before serving.
Notes
- Use high-quality chocolate wafers for the best crust flavor.
- If you prefer a firmer strawberry layer, you can mix 1 teaspoon of unflavored gelatin (bloomed in 2 tablespoons of cold water) into the warm strawberry mixture before cooling.
- Store leftovers tightly covered in the refrigerator for up to 4 days.
Nutrition
- Serving Size: 1 slice
- Calories: 350
- Sugar: 30
- Sodium: 210
- Fat: 22
- Saturated Fat: 13
- Unsaturated Fat: 9
- Trans Fat: 0
- Carbohydrates: 35
- Fiber: 1
- Protein: 5
- Cholesterol: 65