

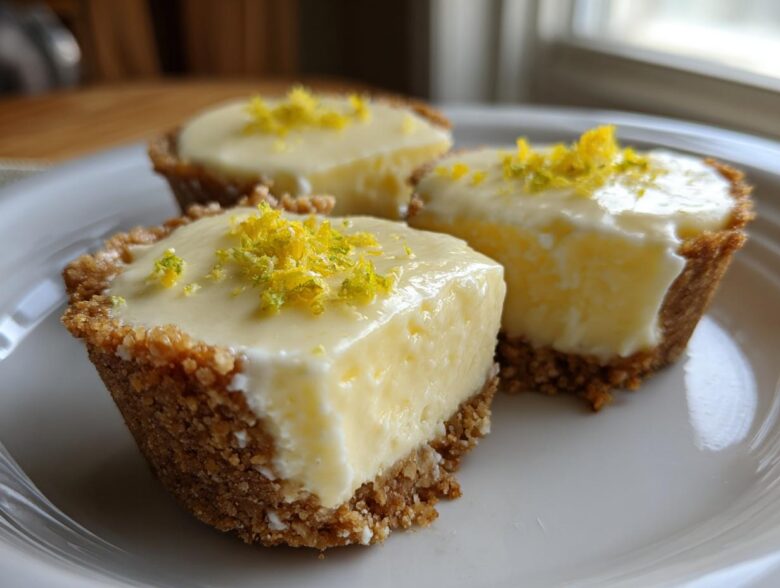
Oh my gosh, are you ready for the easiest, brightest dessert you will ever make? Seriously, when the heat hits and the thought of turning on the oven makes me sweat just looking at the stove, I immediately make a batch of these amazing lemon cookies stand-ins! These No-Bake Lemon Cream Pie Cups are my absolute lifeline when I need something zesty and satisfying *fast*. Forget baking; we’re talking pure, unadulterated chilling magic here. They come together in minutes, are perfectly portioned so you don’t overdo it, and that tangy creaminess just screams summer afternoon. I must have made three batches just last June!
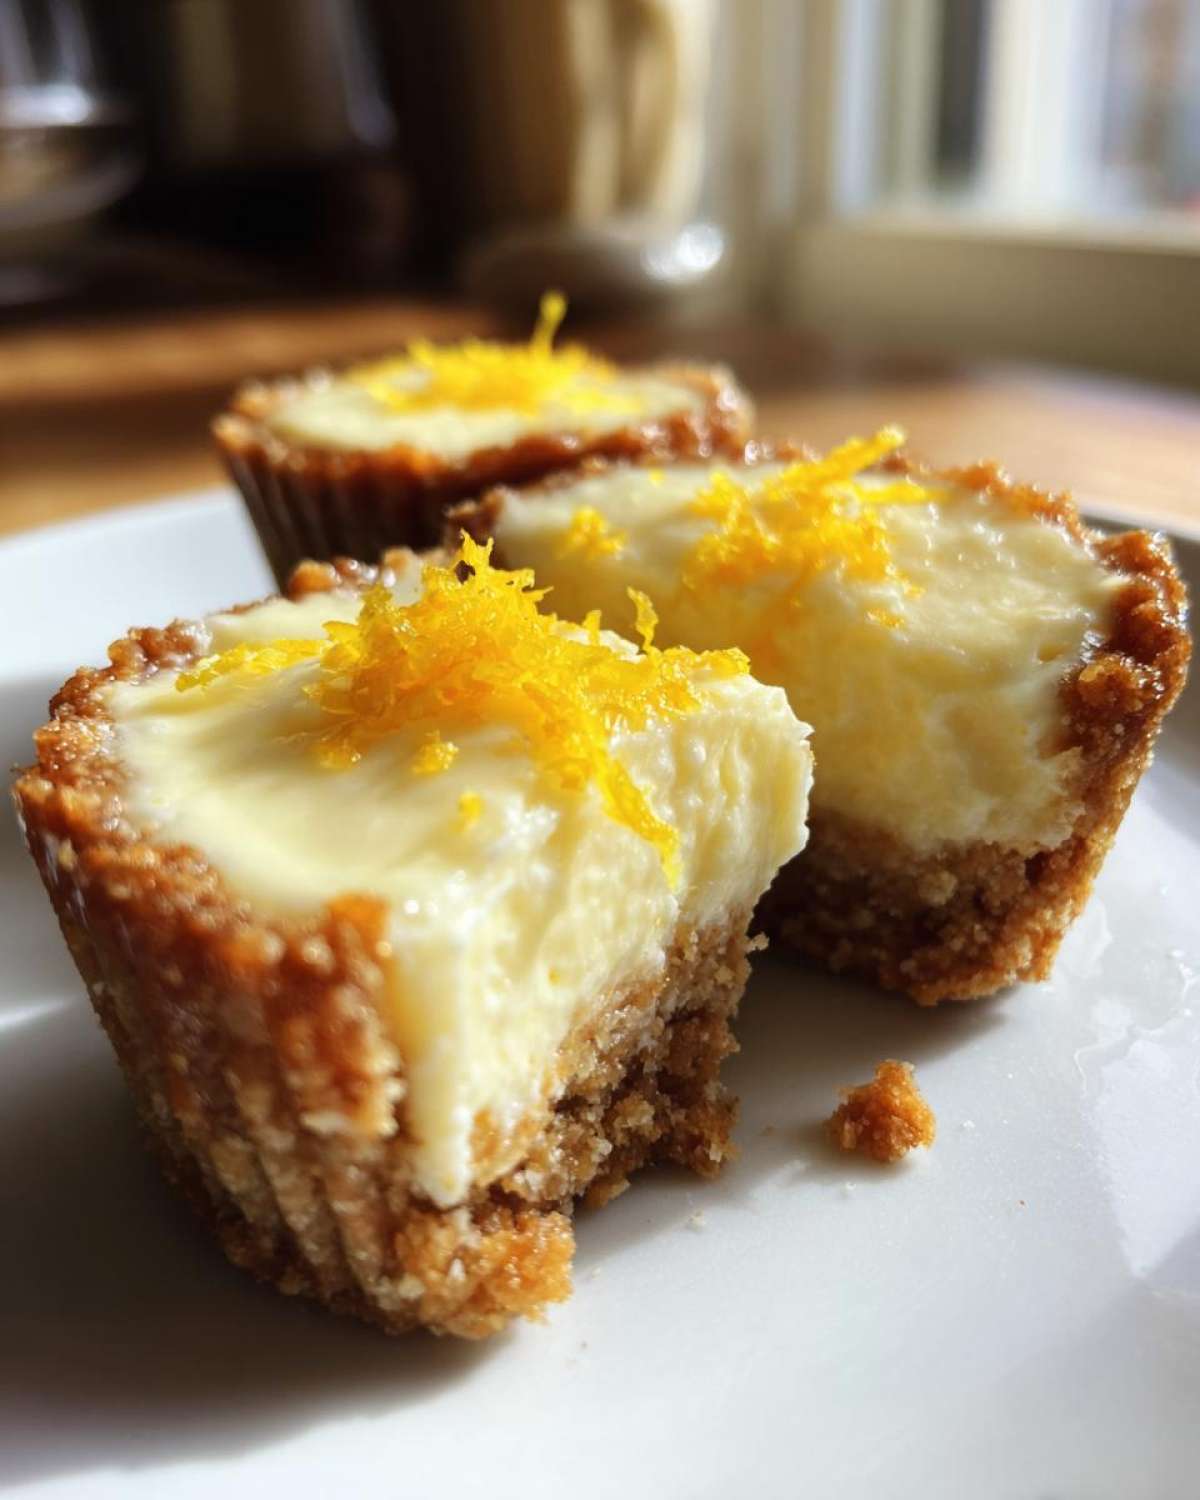
Why You Will Make These No-Bake Lemon Cream Pie Cups Again and Again
I know you have a million desserts bookmarked, but trust me on this specific batch of summer lemon recipes. These cups check every single box for low-effort, high-reward baking—or should I say, *no*-baking! They are utterly addictive.
- They are ridiculously fast! We are talking maybe 15 minutes of hands-on time. You mix, you press, you spoon, and you let the fridge do the heavy lifting.
- Hello, portion control! Serving these in individual cups means everyone gets a perfect, neat little serving, and there’s no awkward slicing involved.
- The texture is just sublime—that cool, thick creaminess cuts through the bright lemon zip perfectly. It’s heaven on a spoon.
- You don’t heat up the kitchen! This is the best part about true Quick No Bake Desserts when it’s 90 degrees outside.
- They look fancy, right? Layered desserts always look like you tried way harder than you actually did. Perfect for surprise guests!
- They are so adaptable! If you don’t like graham crackers, you can totally switch up that base—check the notes below for ideas on using vanilla wafers!
Gathering Ingredients for Your No-Bake Lemon Cream Pie Cups
Okay, the beauty of these No-Bake Lemon Cream Pie Cups is that they use staples you probably already have, or can grab super easily. Since this is a chilling dessert, ingredient quality really matters for that perfect texture we’re aiming for. Seriously, don’t skimp on the fresh lemon juice here; it’s the star! Pay attention to the notes on softening the cream cheese and thawing the whipped topping, because those little details keep us right on track for that smooth, melt-in-your-mouth filling. If you loved my easy chocolate mousse, you’ll appreciate the simplicity here!
- 1 1/2 cups graham cracker crumbs
- 1/4 cup melted unsalted butter
- 8 ounces cream cheese, softened
- 1 (14 ounce) can sweetened condensed milk
- 1/2 cup fresh lemon juice
- 1 tablespoon lemon zest
- 1 cup frozen whipped topping, thawed
Ingredient Notes and Substitutions for Creamy Layered Desserts
Let’s talk texture for a second. To get that thick, dreamy filling that holds its shape, your cream cheese has to be genuinely soft—room temperature soft, not microwave-melty soft. That ensures it beats up smoothly with the condensed milk without any lumps. And listen to me: always, always use fresh lemon juice!
The zest is where you get that incredible aromatic punch that keeps these Individual Creamy Desserts bright. While the recipe calls for graham crackers, if you happen to have vanilla wafers or even a nice shortbread cookie around, crush those up! They make a fantastic crust, too. It’s all about keeping it flexible while meeting that creamy goal!
Step-by-Step Instructions for Perfect No-Bake Lemon Cream Pie Cups
Alright, this is where the magic of No-Bake Lemon Cream Pie Cups really starts to shine because we aren’t wrestling with hot ovens! We’re just mixing, stirring, and chilling our way to perfection. Since we are keeping this super simple, make sure you have your little cups or ramekins ready to go before you start mixing the filling. Remember, these are Quick No Bake Desserts, so speed is key! Check out the full instructions for other quick no-bake desserts if you need more ideas!
Preparing the Graham Cracker Crust Desserts Base
First things first, mix those graham cracker crumbs and the melted butter until it looks like wet sand. Now, get firm! Press just about a tablespoon of that crumb mix into the bottom of each cup. I use the back of a little spoon to really pack it down tight—you want a solid little base so your filling doesn’t crumble apart later. Pop those cups right into the fridge while you tackle the star of the show.
Mixing the Tangy Lemon Filling for Individual Creamy Desserts
Grab your bowl and beat that softened cream cheese until it’s silky smooth! Slowly, slowly drizzle in that sweet condensed milk while you keep mixing. Once that’s totally combined, stir in your lemon juice and zest. You’ll notice it thickening up right away—that’s the lemon juice reacting with the milk, which is awesome! Now, here is my number one tip for that incredible creamy texture: gently fold in the thawed whipped topping with a spatula. Don’t even *think* about using the electric mixer here; you’ll deflate all the air we just worked so hard to incorporate. Just fold until you don’t see white streaks anymore. Stop mixing!
Assembling and Chilling Your No-Bake Lemon Cream Pie Cups
Carefully spoon that glorious, tart filling right over your chilled crusts. Divide it evenly among the cups. Now for the hardest part: waiting! You absolutely must chill these for a minimum of two hours before you even think about tasting them. This time lets them set up perfectly, making them ideal as Make Ahead Citrus Desserts for a party later!
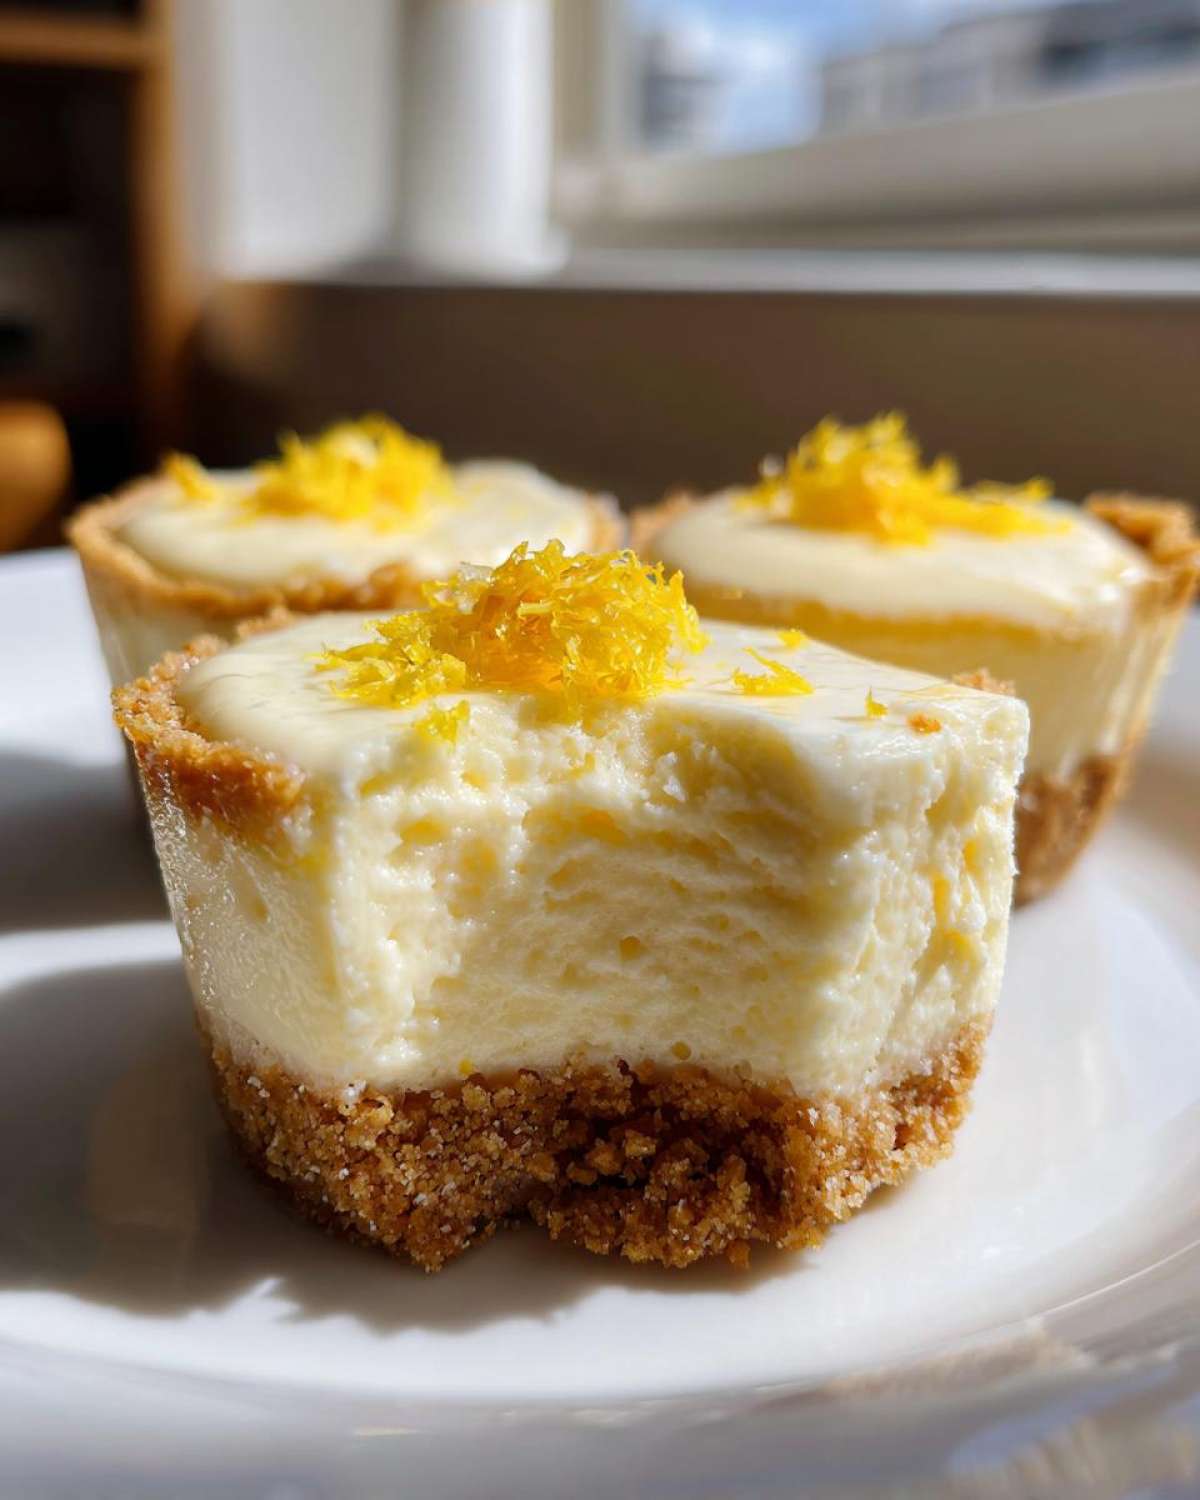
Tips for Success with No-Bake Lemon Cream Pie Cups
Even though these are *no-bake*, there are still a few little things you can do to make sure your cups come out absolutely perfect every single time. Trust me, I learned these the hard way when my first batch ended up being a runny, lemony puddle! Getting the chilling time right is non-negotiable, but here are my foolproof tricks to avoid common pitfalls.
First, remember the crust! If your crust feels too crumbly when you press it down, that’s usually because your butter wasn’t quite warm enough or you needed just a *tiny* bit more. You want it compressed like you’re making a real pie base. A slightly under-buttered crust is the number one reason for crumbling when scooping. Press it firmly into every little dish you’re using.
Second, don’t let your ingredients get too warm while you mix. If your cream cheese starts getting oily or your whipped topping melts completely before you fold it in, your final set will be loose and sloppy. If your kitchen is hot, mix things fast, or even stick the bowl of the cream cheese mixture in the freezer for five minutes before folding in the topping. This keeps the structure tight.
And speaking of structure, let’s talk about making these ahead of time, because these are truly the best make ahead citrus desserts you’ll find! You can totally assemble these cups the day before you need them. In fact, I think they taste even better after a solid 12 hours in the fridge because the lemon flavor really sinks into that crust. Just cover them tightly with plastic wrap so they don’t pick up any smells from the fridge, and chill away!
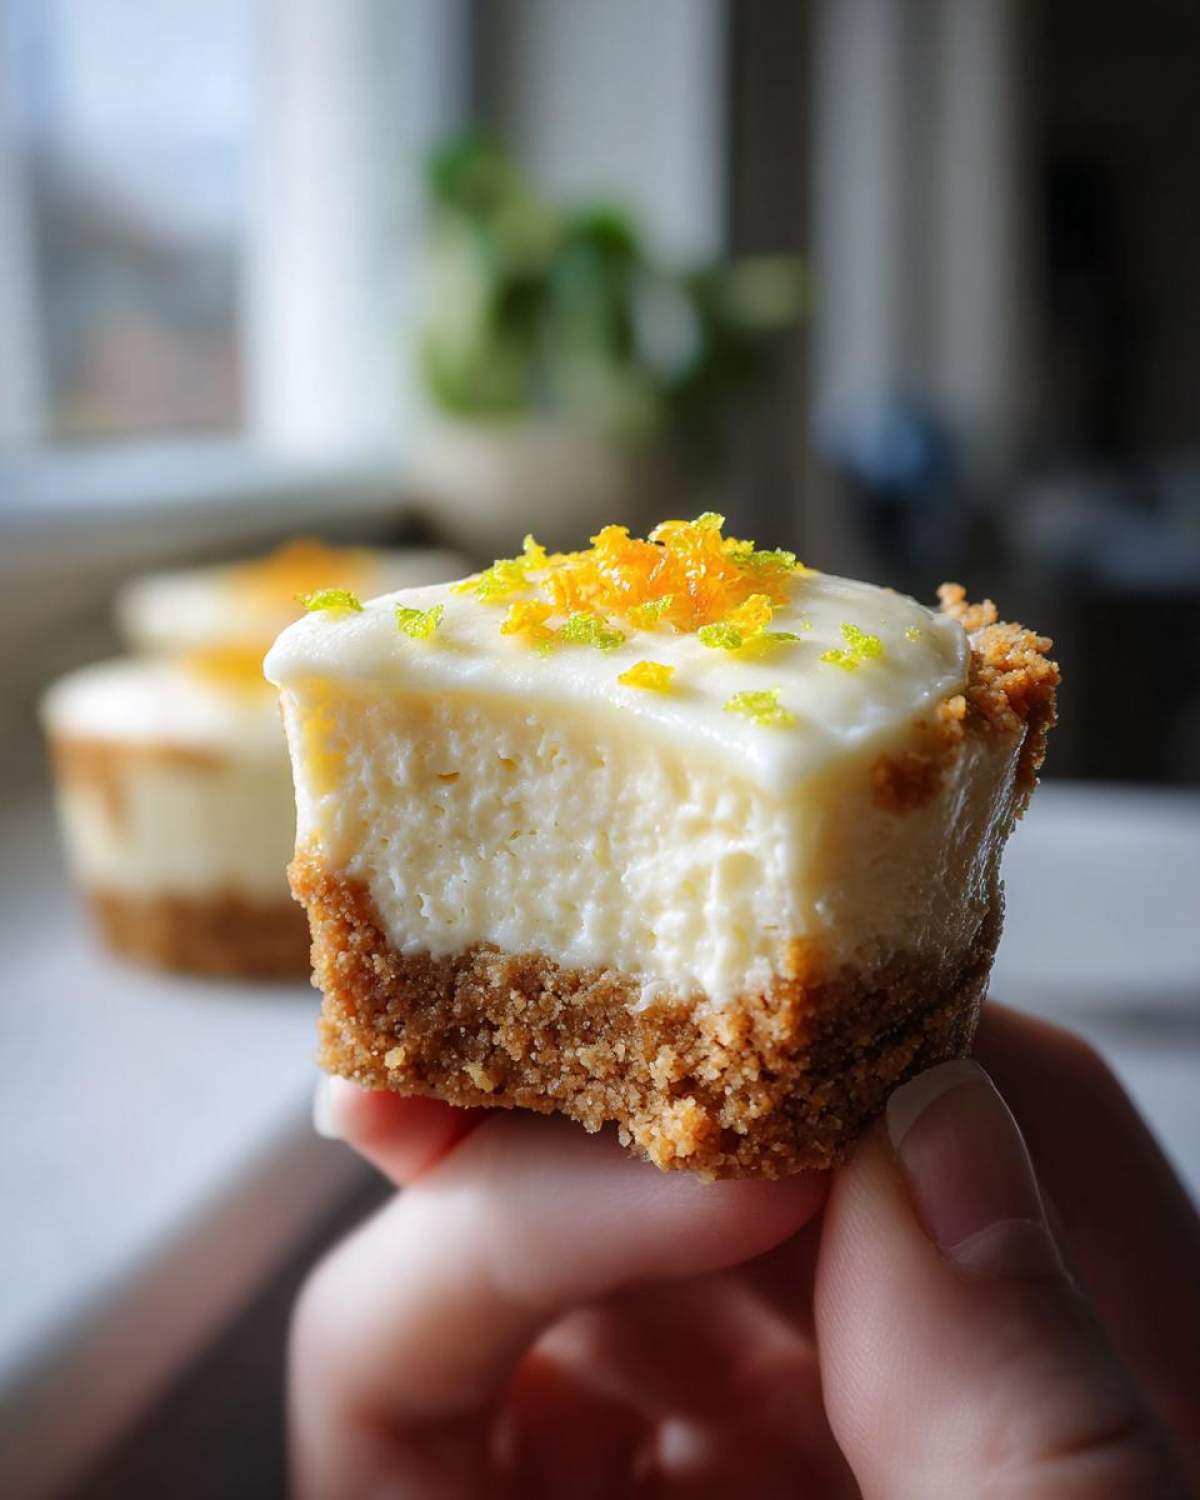
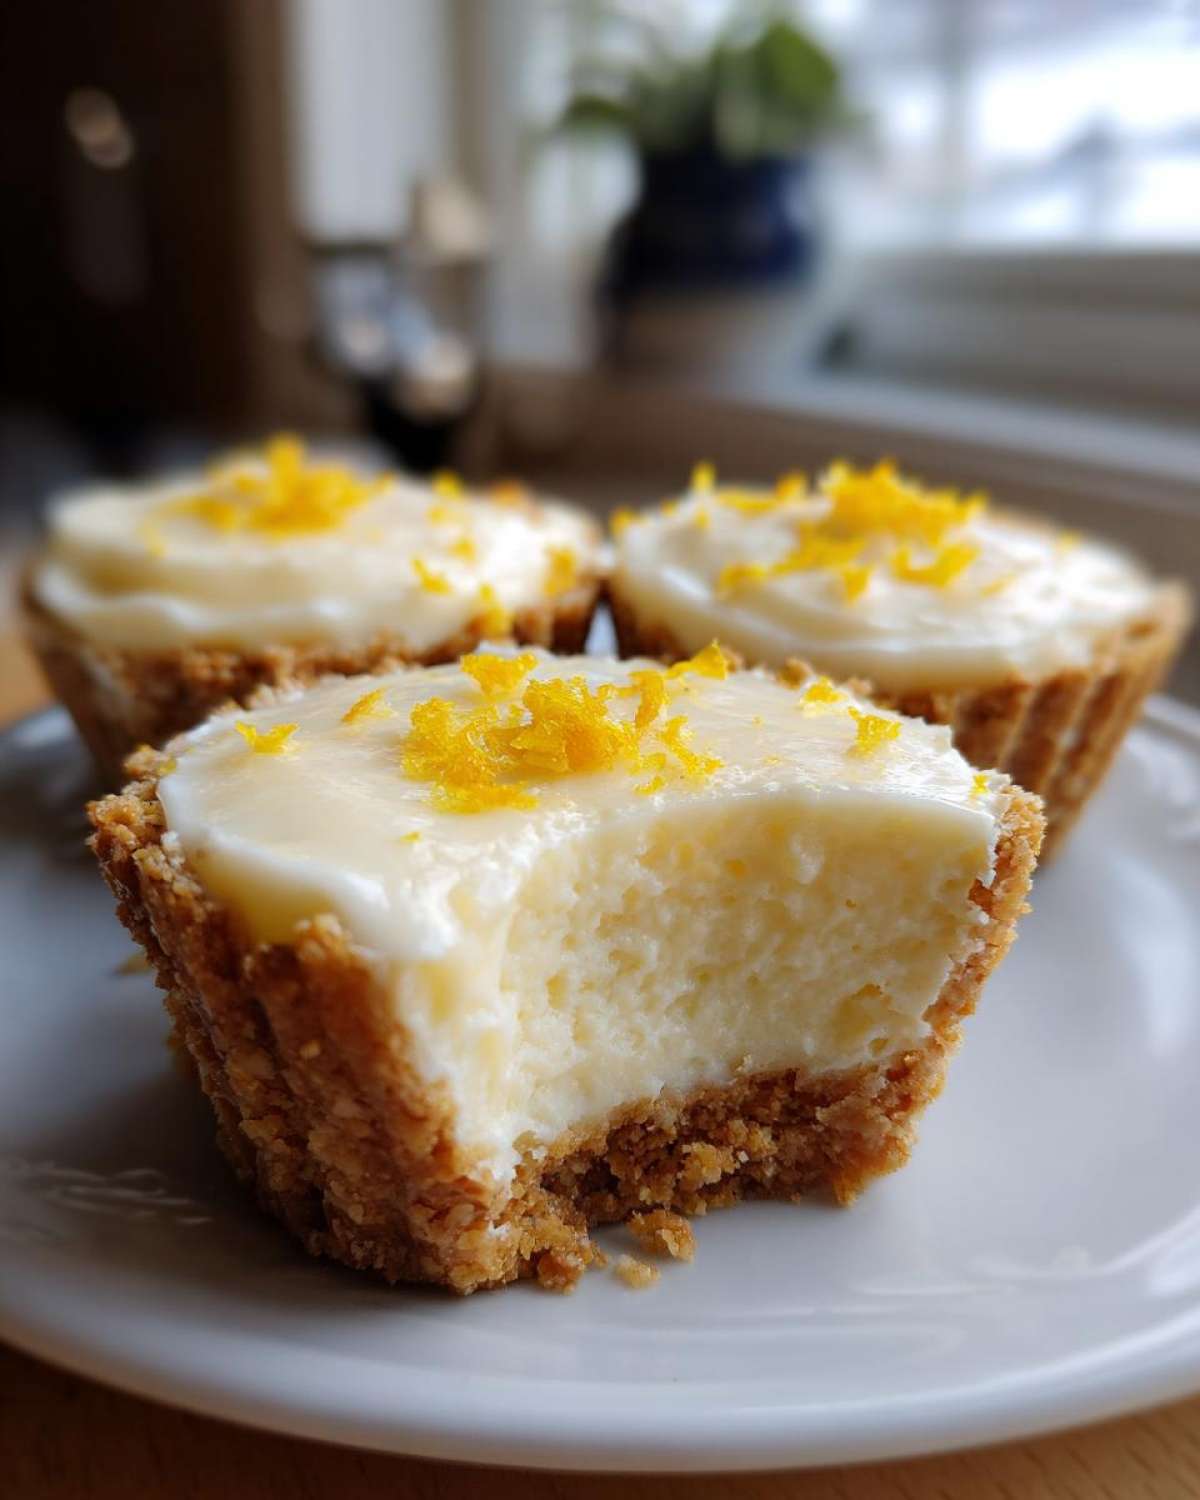
Finally, when it comes to presentation, don’t skip the final garnish! A little sprinkle of fresh lemon zest right before serving gives you that beautiful pop of color and an immediate burst of aroma that makes people think you spent hours working on them. Freshness goes a long way!
Serving Suggestions for Individual Citrus Desserts
Okay, we’ve got them chilled, they are firm, and they look lovely just sitting in their little cups, but presentation is everything, right? Even though these are Minimal Effort Desserts, we want them to look like they deserve a fancy spot on the dessert table! Since we are working with bright, beautiful lemon, we can lean into that sunshine aesthetic.
My absolute favorite way to finish these is with a tiny shower of extra lemon zest right before they hit the table. It gives them back that intense, fresh smell we missed while they were chilling. You can even grab a microplane and zest a whole lemon right over the top of all six cups at once—it’s so satisfying!
If you want to add a little color contrast, fresh berries are just divine with lemon. A couple of perfectly ripe raspberries or a single, plump blueberry perched on top of the cream right before serving adds such a gorgeous visual pop. Sometimes I’ll even slip a tiny sprig of fresh mint right next to the crust if I’m feeling super fancy!
When thinking about what to serve these Individual Citrus Desserts with, think about balance. Because the lemon is so bright and tangy, they pair wonderfully with things that are slightly richer or nuttier. They are fantastic after a really heavy meal because they cleanse the palate so nicely!
I often serve them alongside my coffee cake cookies; the brown sugar and cinnamon notes in the cookie are the perfect warm complement to the cool, tart lemon cream. If you’re having these after dinner, a nice hot cup of black coffee or a light floral tea is the perfect chaser. They are just so versatile for any little gathering!
Storage and Reheating Instructions for No-Bake Lemon Cream Pie Cups
Since these wonderful No-Bake Lemon Cream Pie Cups rely on cream cheese and whipped topping, refrigeration is mandatory! They stay fantastic in the fridge for up to three days, as long as they’re covered well. That plastic wrap is key to keeping that creamy filling luscious and fresh. Honestly, I’ve never tried freezing them because I worry about the texture of the whipped topping separating, and they disappear too fast anyway!
Frequently Asked Questions About Quick No Bake Desserts
I totally get it; sometimes the little details trip us up, even when we’re making something as easy as these No-Bake Lemon Cream Pie Cups! Since we want these to be your new favorite secret weapon for Minimal Effort Desserts, let’s clear up some common questions I always get asked about balancing the sweet and the tart, and making sure those single servings come out just right. If you’ve ever made my famous no-crack cheesecake, you’ll know I’m a stickler for texture, so let’s talk about nailing that creamy goodness!
Can I make these No-Bake Lemon Cream Pie Cups sweeter or tangier?
Oh, you absolutely can tweak the flavor profile! That’s the beauty of using fresh ingredients. The condensed milk brings all the sweetness needed to balance the lemon. If you want it sweeter—maybe if you are using a less tart lemon variety—add another tablespoon of condensed milk slowly until you taste the sweetness you prefer, but be warned, too much milk will make the filling looser.
For extra tanginess, this is where the zest and juice come in. I’d suggest adding another teaspoon of lemon juice at a time. You’ll notice the mixture thickens faster as you add more acid, which is great! Just don’t go crazy, because if you add too much lemon juice without enough sugar, the filling might not firm up properly when chilled. It’s a delicate dance, but keep tasting as you go!
What is the best way to achieve perfect portion controlled desserts?
When I say “cups,” I mean ANY small vessel! The key to perfect Portion Controlled Desserts is uniformity in your containers. If you use mismatched jars, they will set unevenly, and you’ll end up with some super firm cups and some slightly softer ones. I usually count out the crust mixture first to make sure each cup gets the exact same amount of base.
For a fun change, try using small espresso or shot glasses if you want tiny little bite-sized versions—perfect for layered desserts after a big meal. For a more substantial portion, use little 4-ounce mason jars. As long as you use the same vessel for every cup, you guarantee a beautiful, even set across the whole batch. If you’re looking for baking tips without the bake, always check out my guide on cheesecake recipes for general setting advice!
Are there good alternatives to graham crackers for the crust?
Yes, and I love when you get creative with the base! Graham crackers are classic—you can’t go wrong—but feel free to swap them out entirely. Vanilla wafers are fantastic because they are already sweet and have a delicate flavor that lets the lemon shine right through.
If you want a slightly richer, buttery crust, grab some simple shortbread cookies. Crush them up the exact same way you would the graham crackers—combine with the melted butter—and press them firmly. The flavor will be a little different, maybe a bit warmer, but it holds together just as well for these Graham Cracker Crust Desserts. It’s all about using what you have on hand to make something awesome!
Nutritional Estimates for No-Bake Lemon Cream Pie Cups
I always feel slightly guilty sharing the numbers because, let’s be honest, when something tastes this good and takes this little effort, who is truly counting calories? But you know I believe in full transparency here at the kitchen table, so here are the estimates for one of these lovely Portion Controlled Desserts. Remember, I crunch these numbers based on standard pantry brands, so your specifics might shift a tiny bit, especially depending on the brand of whipped topping you use, so think of this as your gentle guide, not a hard-and-fast rule!
These figures are based on yielding 6 servings, as outlined in the recipe. These estimates are provided for informational purposes only and should be used as a general guide when planning your meal planning!
- Serving Size: 1 cup
- Calories: 350
- Fat: 18g
- Saturated Fat: 10g
- Carbohydrates: 45g
- Sugar: 30g
- Protein: 5g
- Cholesterol: 45mg
There you have it! Not too bad for such a rich, satisfying bite of pure lemon bliss. Just keep in mind that since we aren’t baking these, we aren’t losing any moisture to evaporation, which keeps the nutritional profile pretty concentrated compared to a baked filling. Enjoy these No Oven Lemon Treats guilt-free, okay?
Share Your Experience Making These Easy Lemon Desserts
Now I’ve told you all my secrets for these dreamy No-Bake Lemon Cream Pie Cups, but the best part of sharing recipes is hearing how they turn out in *your* kitchens! I am so curious to know what you thought about that super quick crust and how perfectly tangy the filling set up for you.
Please, please, please leave me a comment below! Tell me what you thought—was the texture exactly what you hoped for in an Easy Lemon Dessert? Did you try one of the crust substitutions, or maybe you garnished these Individual Citrus Desserts with something totally genius that I missed?
If you snapped a picture of your beautiful, perfectly portioned cups, I’d absolutely love to see them! Tag me on social media—it honestly makes my day to see your creations. Head over to my main blog page for more sweet inspiration!
Don’t forget to give this recipe a star rating right above the comments section if you loved how simple and bright they were. Happy chilling, friends!
PrintNo-Bake Lemon Cream Pie Cups

Make these simple, individual lemon cream pie cups without turning on your oven. They feature a graham cracker base and a smooth, tangy lemon filling.
- Prep Time: 15 min
- Cook Time: 0 min
- Total Time: 15 min
- Yield: 6 servings
- Category: Dessert
- Method: Chilling
- Cuisine: American
- Diet: Vegetarian
Ingredients
- 1 1/2 cups graham cracker crumbs
- 1/4 cup melted unsalted butter
- 8 ounces cream cheese, softened
- 1 (14 ounce) can sweetened condensed milk
- 1/2 cup fresh lemon juice
- 1 tablespoon lemon zest
- 1 cup frozen whipped topping, thawed
Instructions
- Mix the graham cracker crumbs and melted butter in a small bowl until combined.
- Press about 1 tablespoon of the crumb mixture into the bottom of six small serving cups or ramekins. Place the cups in the refrigerator while you prepare the filling.
- In a medium bowl, beat the softened cream cheese until smooth.
- Gradually beat in the sweetened condensed milk until fully incorporated.
- Stir in the fresh lemon juice and lemon zest until the mixture thickens slightly.
- Gently fold in the thawed whipped topping until just combined. Do not overmix.
- Spoon or pipe the lemon filling evenly over the crusts in the prepared cups.
- Chill the cups for at least 2 hours, or until firm.
- Garnish with extra lemon zest before serving.
Notes
- You can substitute vanilla wafers for the graham crackers if you prefer a different crust flavor.
- For a firmer set, use only half of the whipped topping in the filling and reserve the other half for topping before chilling.
- Make these cups up to one day ahead for easy party preparation.
Nutrition
- Serving Size: 1 cup
- Calories: 350
- Sugar: 30
- Sodium: 200
- Fat: 18
- Saturated Fat: 10
- Unsaturated Fat: 8
- Trans Fat: 0
- Carbohydrates: 45
- Fiber: 1
- Protein: 5
- Cholesterol: 45