

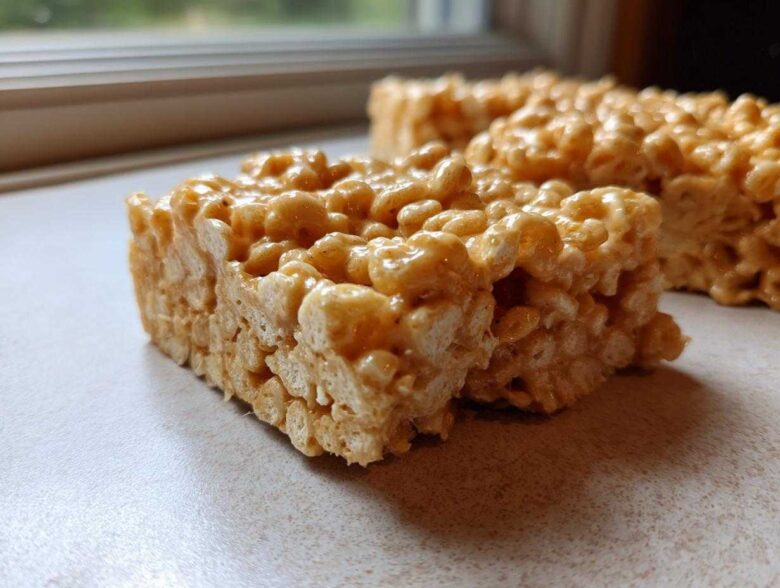
Oh my goodness, we are starting with the best part: taking a beloved childhood classic and making it taste like it grew up and got sophisticated! Honestly, the secret weapon that transforms simple cereal squares into something truly special is one simple step: browning the butter. When you switch to these Brown Butter Rice Krispie Treat Bars, you aren’t just making a snack; you’re building flavor layers. I used to think the pale, slightly bland flavor of regular melted butter was just how they were supposed to taste. But trust me when I say that deep, nutty aroma that comes from just a few extra minutes on the stove makes all the difference. It adds that unexpected caramel depth that makes everyone ask, “What did you put in these?!” If you want my honest opinion on how I elevate everything I bake, you can read a little bit about my baking philosophy right here.
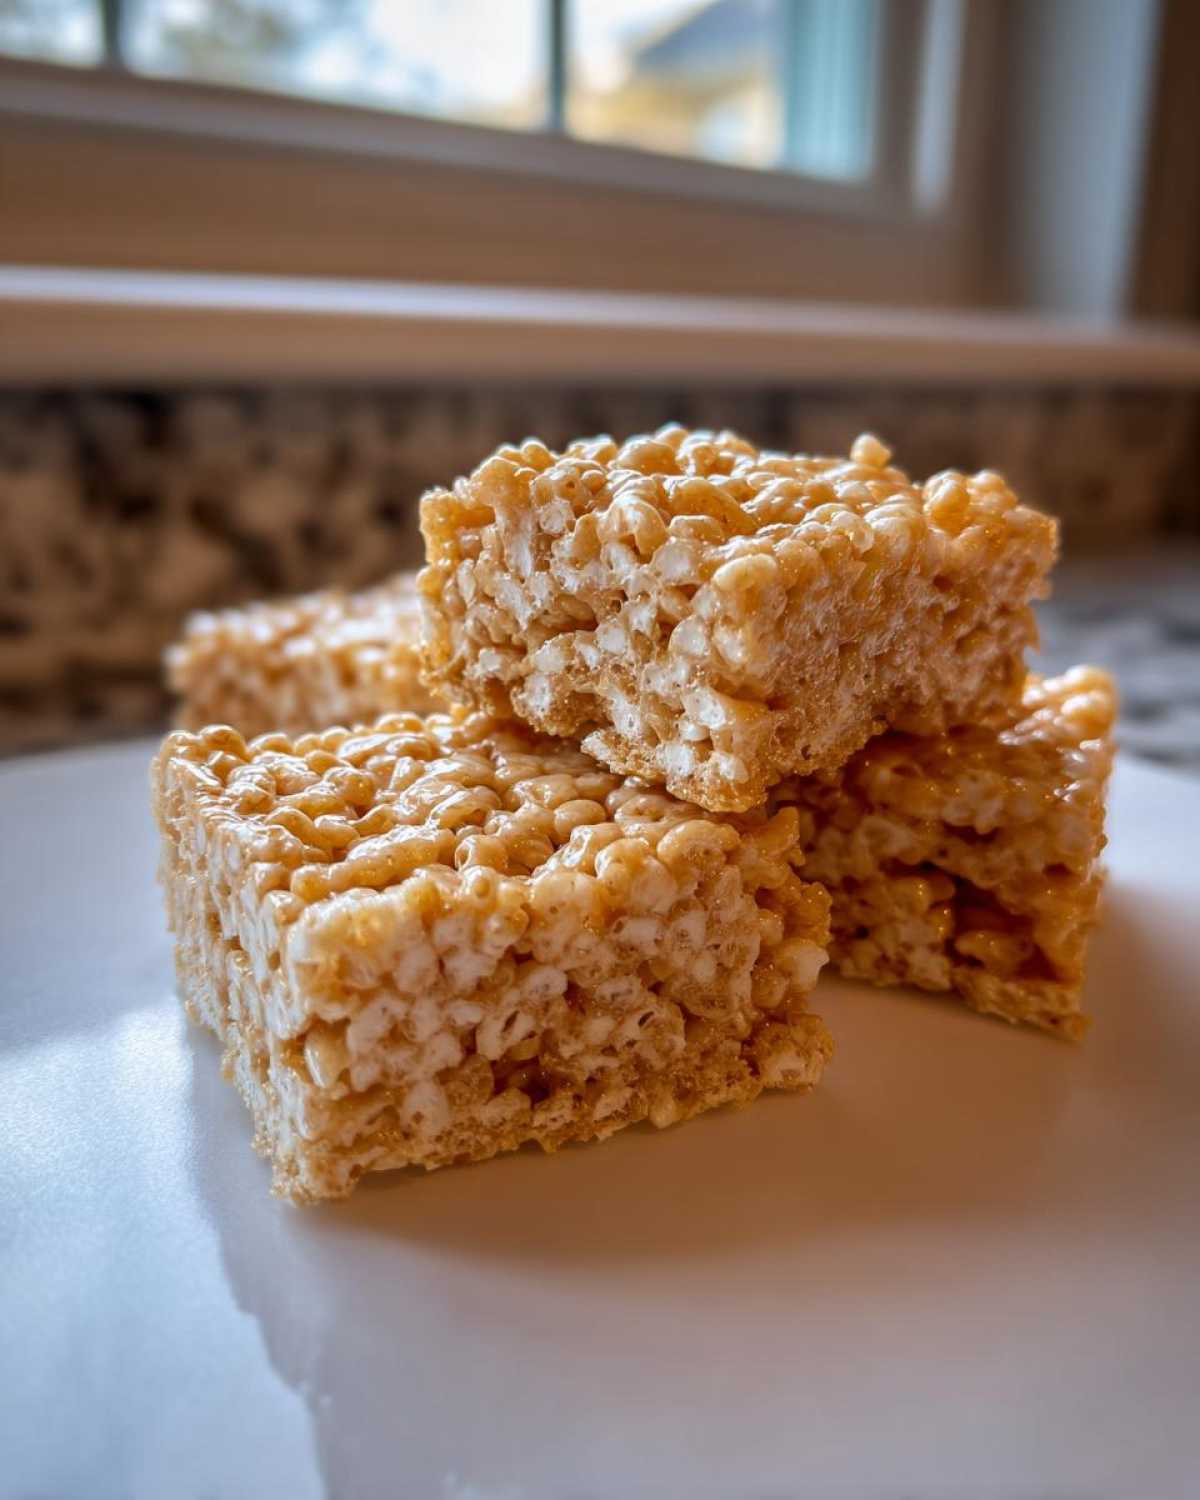
Why These Brown Butter Rice Krispie Treat Bars Are Superior (E-E-A-T)
When you see pale, melted butter poured over marshmallows, you just get a sweet blob. But once you take the time to go through the browning process? Wowza! That transformation is everything. You’re taking simple fat and turning it into liquid gold with deep, nutty, almost toffee-like notes. That’s why this becomes a rich Nutty Rice Krispie Treats Recipe instead of just a basic one. That little extra step is how we move from a campfire snack to true Deep Flavor Marshmallow Squares.
It’s all about teaching your taste buds that the butter itself should contribute flavor, not just act as the binder. I promise, once you try these, you’ll never go back to the regular stuff, and readers love knowing *why* a recipe works so well.
Achieving the Perfect Texture in Your Brown Butter Bars
Now, flavor is king, but texture rules the land! We want these to be perfectly chewy, not rock hard. The biggest mistake people make, even with the best brown butter, is pressing the mixture into the pan way too aggressively. Don’t pack it down like you’re trying to win a sandcastle competition!
When you press gently—just enough to get an even layer—you keep those tiny pockets of air distributed throughout. That’s the key to a truly Chewy Brown Butter Bars experience, making sure every square snaps back a little when you bite into it. Check out more on my thoughts on better baking on the Eatable Empress Blog!
Essential Ingredients for Brown Butter Rice Krispie Treat Bars
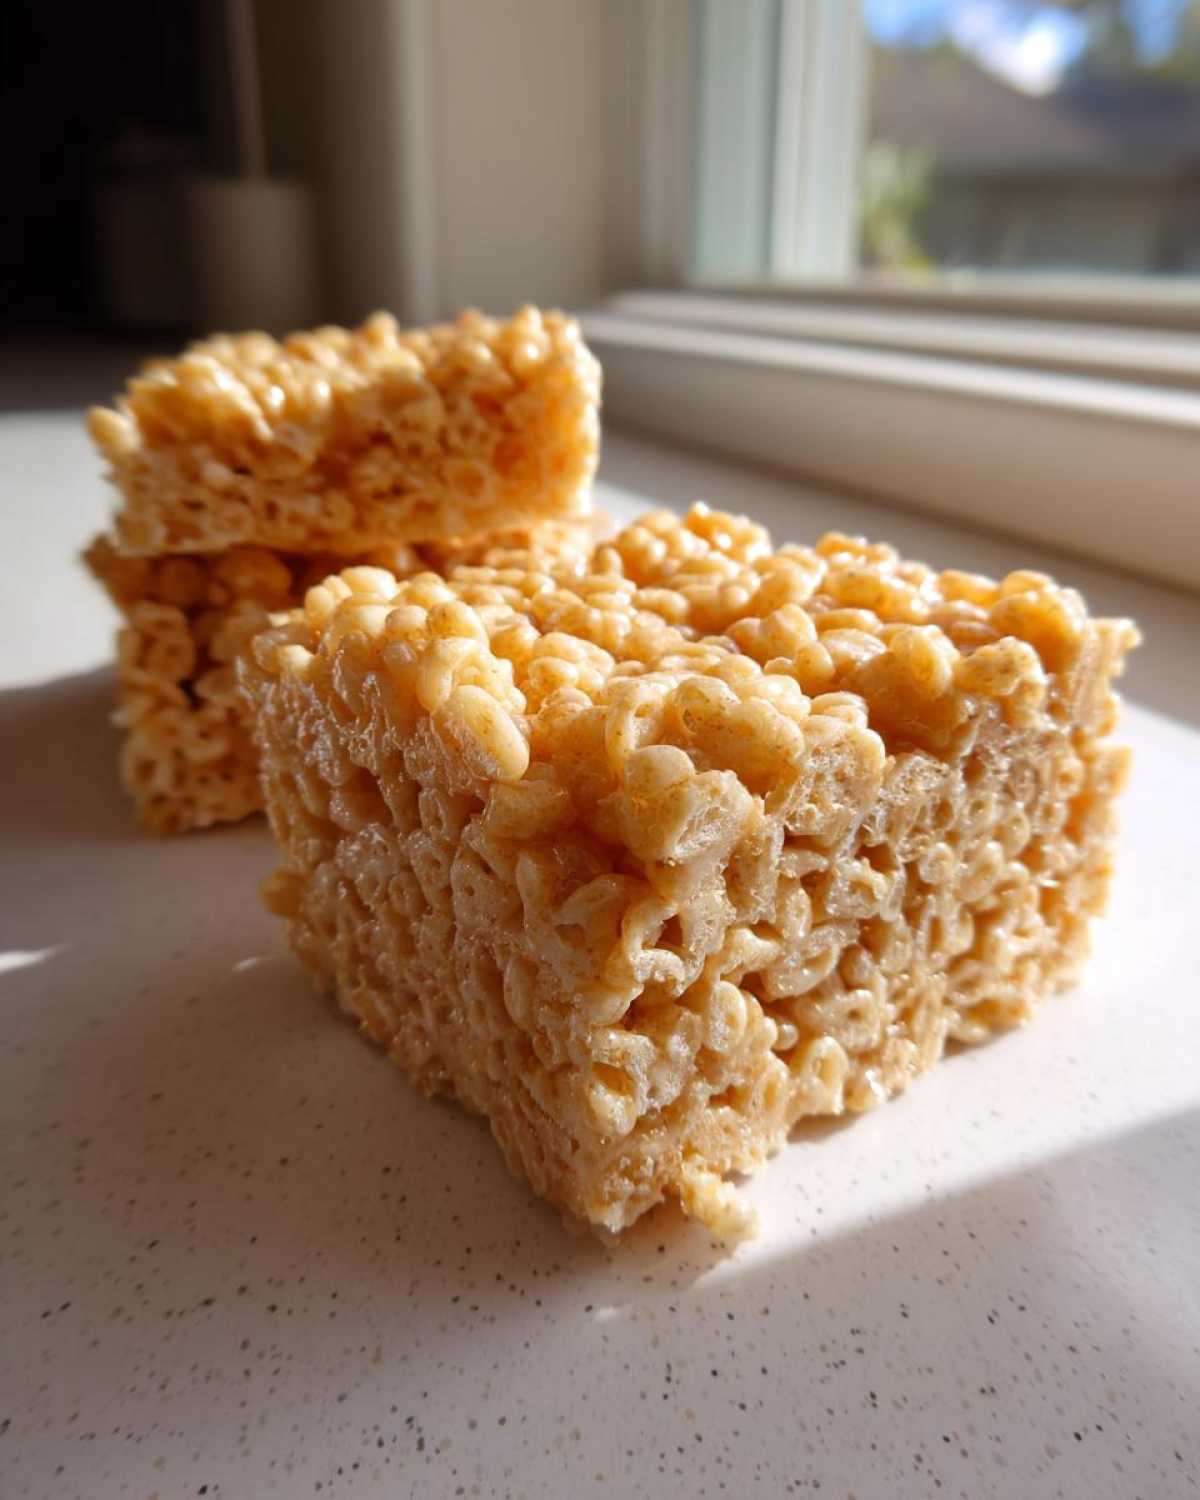
Okay, let’s talk about what goes into these beauties. Since we are relying so heavily on the butter for that intense flavor, we need sharp, clear ingredients otherwise. We are keeping this list short and sweet because we want the star—the brown butter—to really shine. You need exactly 6 tablespoons of unsalted butter to start the browning process. Don’t try to cut that; it’s the perfect ratio for the volume of cereal we use!
Then, of course, we need the marshmallows—please, *please* use fresh ones! If your bag feels hard or the marshmallows are stuck together, they won’t melt right, and you’ll end up with lumps instead of smooth ribbons of goodness. Six cups of puffed rice cereal is standard, and don’t forget that splash of vanilla extract. I keep my ingredient list simple because I want the depth of the toasted butter to come through loud and clear.
Ingredient Notes and Flavor Boosts
This is where you get to tinker slightly! The vanilla extract isn’t just for show; it’s super important because its floral notes cut through the richness of the brown butter so the whole thing doesn’t taste too heavy. I also highly recommend adding that 1/2 teaspoon of coarse sea salt right at the end. When you bite into a Salted Brown Butter Treat, that little pop of salt makes the caramel flavors go wild!
If you are feeling a bit extra—and honestly, you should be—toss in about a half cup of white chocolate chips right when you pull the pan off the heat. They melt just enough to swirl through the bars without completely taking over. If you’re curious about making your own marshmallows for the ultimate experience, here is my recipe for Easy Homemade Marshmallows—but trust me, store-bought is fine if they’re fresh!
Step-by-Step Instructions for Perfect Brown Butter Rice Krispie Treat Bars
Okay, let’s get cooking! Even though these are technically no-bake treats once the marshmallows are melted, the prep and the butter browning take about 10 minutes each, so aim to have your 9×13 pan ready to go before you flip on the stove. First thing: grab your pan and lightly grease it, or even better, line it with parchment paper with a little overhang on the sides. That overhang is your best friend when it’s time to lift these beauties out later!
When you’re ready, you’re going to melt 6 tablespoons of butter over medium heat. This is the moment of truth, and you need to watch it like a hawk! This is where so many people panic, but you’ve got this. I’ve linked my go-to guide for simple brown butter baking if you want visual help.
Mastering the Brown Butter Stage
Once that butter is melted, it’s going to start foaming up like crazy. Let it bubble! After the foaming dies down, you’ll start seeing little brown specks forming at the bottom of the pan. Your kitchen should start smelling incredible—nutty, warm, like toast mixed with caramel. This whole show generally takes about 5 to 8 minutes total, depending on your stove.
The second you smell that deep, toasted aroma and see those brown bits—STOP! Immediately pull the pan completely off the burner. If you leave it on the heat for another 30 seconds, those solids will burn, and your Brown Butter Rice Krispie Treat Bars will taste bitter. Don’t risk it!
Mixing and Pressing Your Chewy Brown Butter Bars
With the pan safely off the heat, toss in your marshmallows and stir until they turn into one perfectly glossy, nutty sauce. Then, stir in your teaspoon of vanilla and the optional sea salt. Now, add the 6 cups of cereal and stir gently until everything is just coated. We aren’t mixing bread dough here!
Transfer that sticky magic into your prepared pan. Here’s my vital textural tip: use a piece of wax paper or a spatula lightly greased with butter. Very lightly press the mixture into an even layer. I mean *lightly*! If you push too hard trying to make them dense, you squeeze out all the beautiful air we just created, transforming your soft, tender treats into hockey pucks. We are aiming for Chewy Brown Butter Bars, remember?
Tips for Cutting Clean Brown Butter Cereal Bars
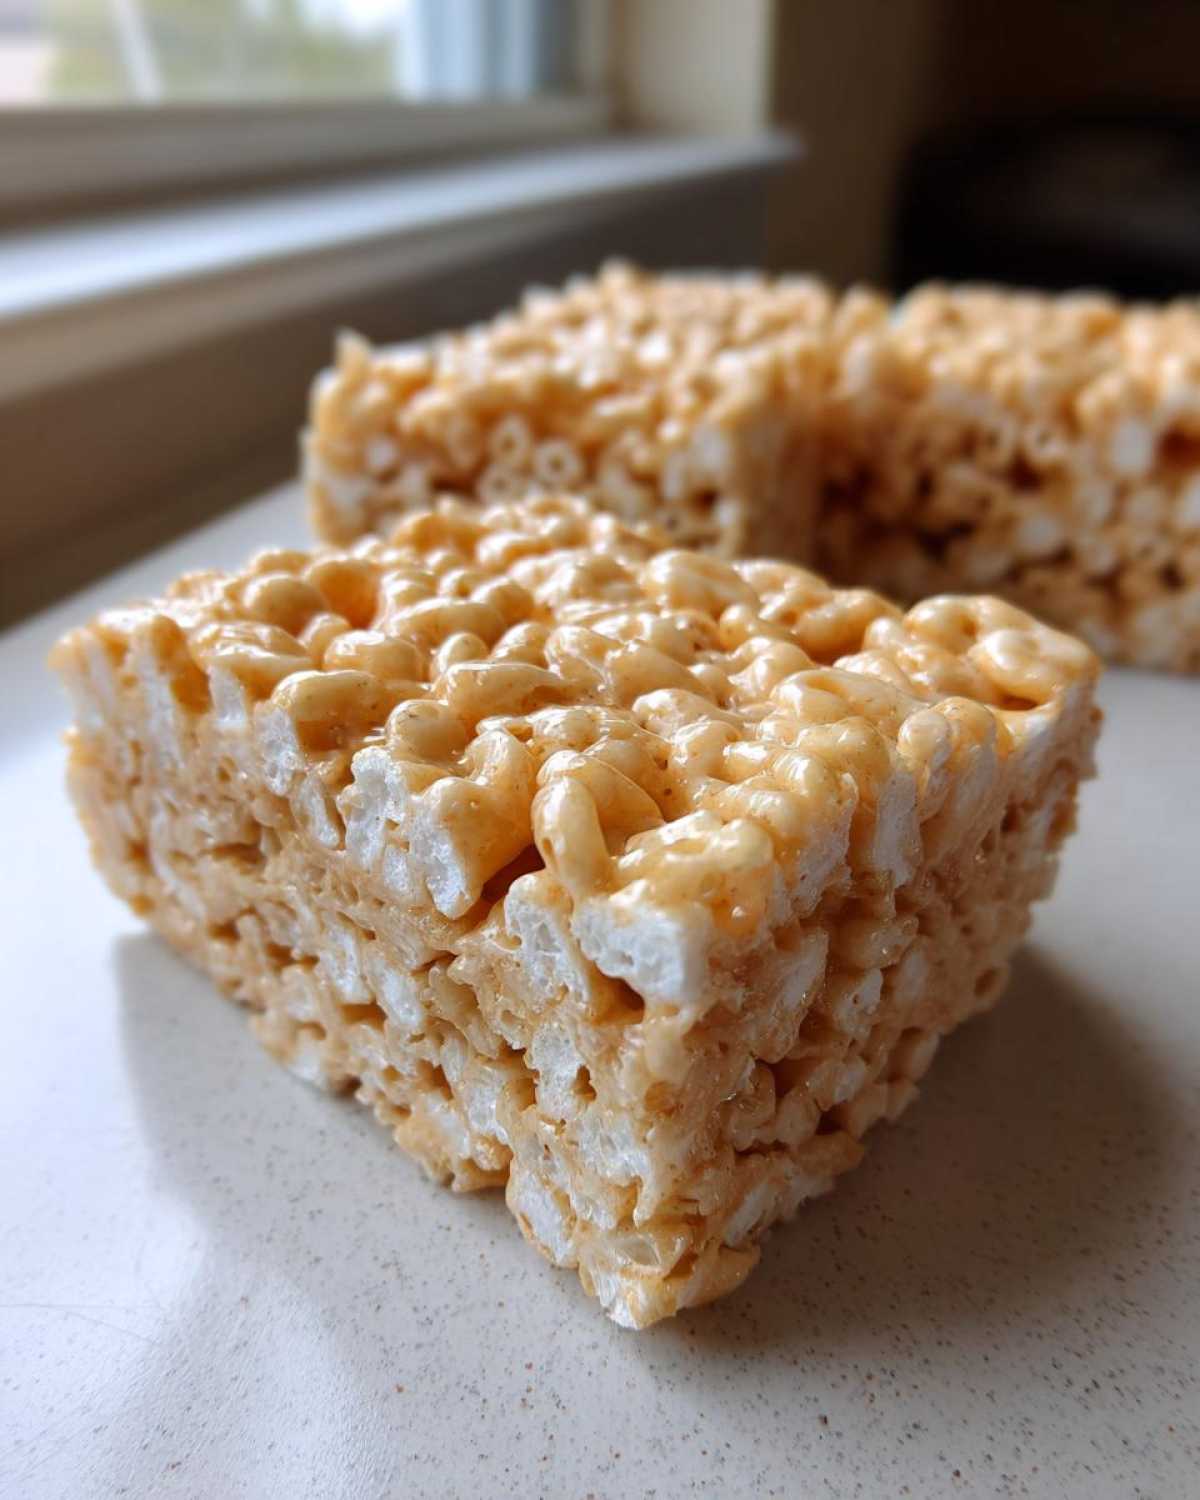
I swear, the final step—cutting the bars—is where everyone loses their patience! You just spent all that time making the most luxurious Browned Butter Cereal Bars, and then you go in with a dull knife and mangle them all up? No thank you! This is where that parchment paper overhang you left comes in handy. Once the bars are fully cooled, just lift the whole slab right out of the pan. It makes cutting so much easier!
Next, sharpen up or grab your largest knife, and here’s the trick: lightly spray the blade with non-stick spray, or if you’re old school like me, just run it under hot water and dry it quickly so it’s still warm. The warmth and the slick surface slice right through the sticky marshmallow mixture cleanly. Most importantly, let them cool completely—I mean sit there for at least an hour. Patience rewards you with beautiful, perfect squares every single time!
If you’re looking for more simple recipes that offer a huge flavor payoff with minimal effort, you should check out some of my other easy chewy bar recipes here!
Variations for Your Gourmet Marshmallow Squares
Now that you’ve mastered the foundational, absolutely divine Brown Butter Rice Krispie Treat Bars, it’s time to get creative! The beauty of using brown butter is that it’s basically a starting flavor platform—it’s so nutty and deep that it pairs well with almost anything. If you’re making these for a party, you absolutely need to try adding some mix-ins when you stir in the cereal.
I mentioned white chocolate chips earlier, but let’s talk about salt for a second. That coarse sea salt I put in the main recipe? You can take that up a notch. Try sprinkling flaky Maldon sea salt right on top of the bars *before* they cool. It elevates these into seriously impressive Gourmet Marshmallow Squares because the salt brightens up the toasted butter so perfectly.
For an extra cozy flavor, try whisking about half a teaspoon of ground cinnamon straight into your marshmallow mixture right before you add the cereal. It makes them smell heavenly! Or, if you’ve got some leftover pretzel pieces or chopped pecans, toss those in for more crunch. You can find some great pairing inspiration when you look through my Salted Caramel Apple Galette recipe—think about how those flavor profiles translate here!
Storage and Keeping Your Brown Butter Rice Krispie Treat Bars Fresh
These Brown Butter Rice Krispie Treat Bars are so incredibly delicious, you probably think they won’t last long anyway! But listen up, because knowing how to store them properly means you can enjoy that toasted butter flavor for days. You must keep them in an airtight container, and they really love to hang out at room temperature.
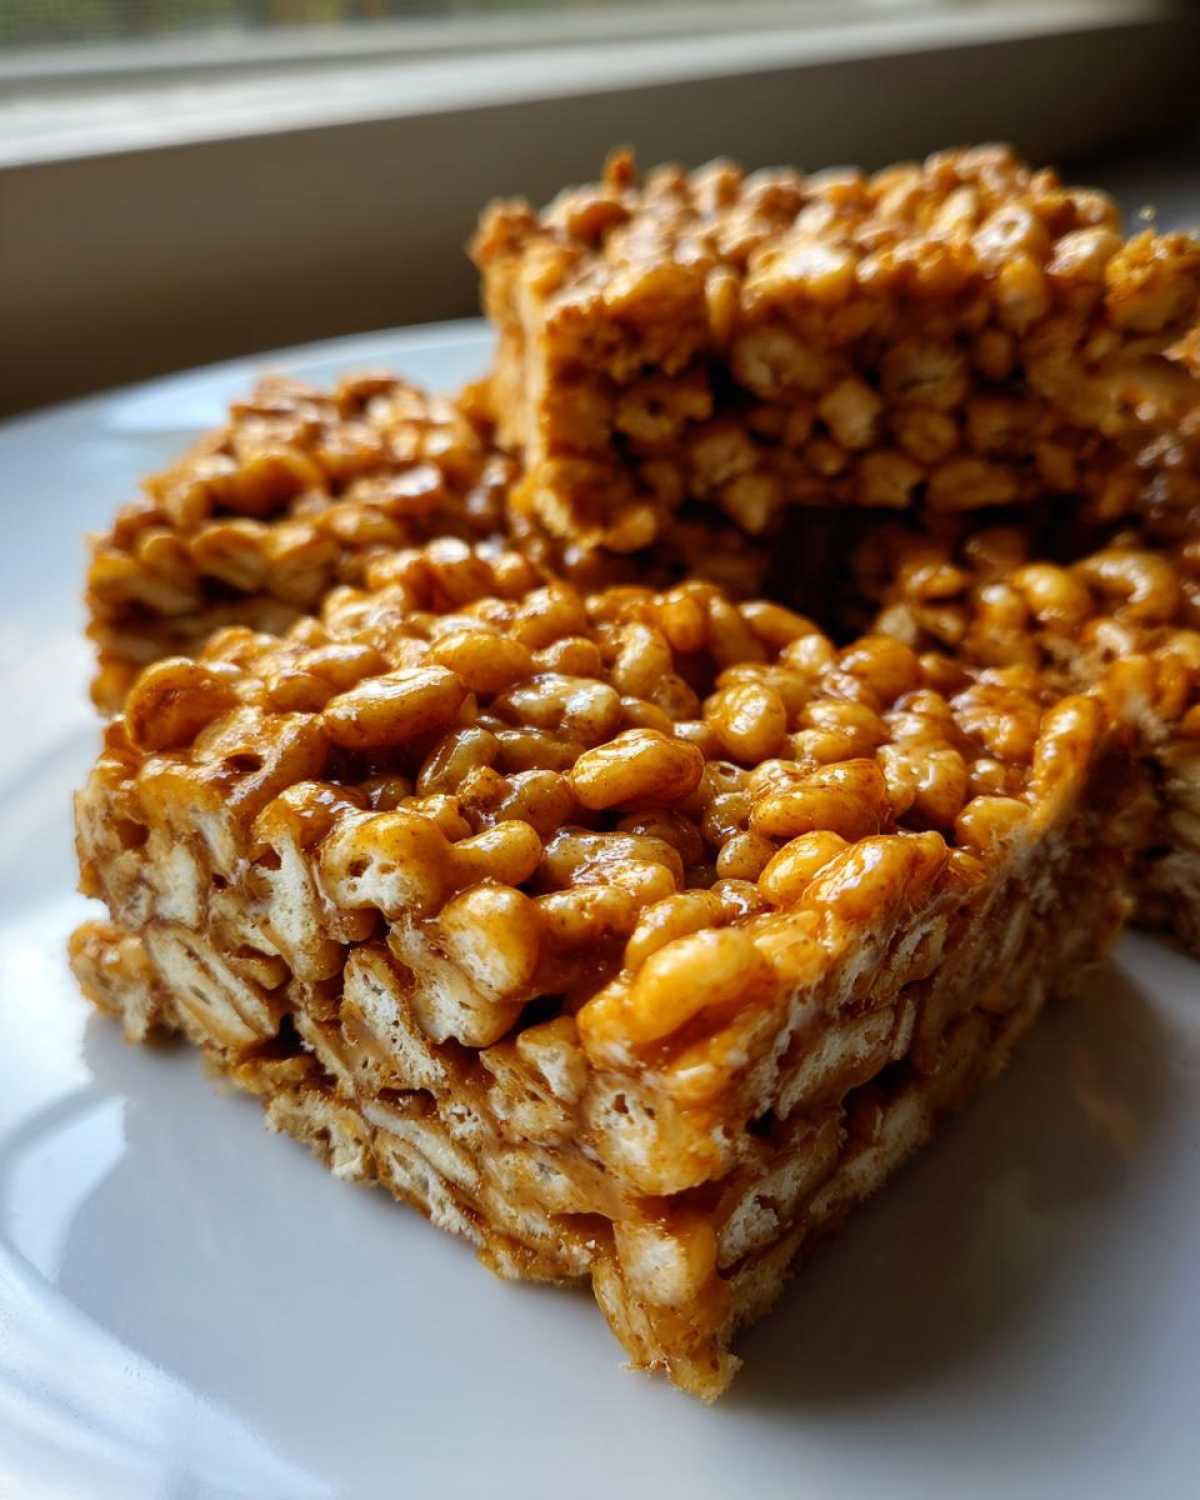
Forget the fridge! If you chill these chewy babies, they turn into little bricks. Store them in that container for up to three days, and they’ll stay perfectly soft and chewy. If you want to see some other great ways to store treats, check out my tips for my No-Bake Pumpkin Pie storage!
Frequently Asked Questions About Brown Butter Rice Krispie Treat Bars
When you switch to making these elevated versions, naturally you’ve got some questions pop up. That’s totally normal! I want you to feel confident making these Easy Brown Butter Dessert bars without any kitchen anxiety. Here are the things I get asked about most often when I share this recipe with friends!
Can I make these Brown Butter Dessert Bars ahead of time?
Oh yes, you absolutely can! And honestly, they taste even better the next day once they’ve totally set up. That caramel goodness just seems to deepen overnight. Just make sure you follow the storage rules we talked about—keep them in a sealed, airtight container at room temperature. Don’t even think about popping them in the fridge unless you want rock-hard squares! You can keep them excellent for about three days this way, perfect for party prep.
What happens if my butter burns while making the Brown Butter Rice Krispie Treat Bars?
This is the most important question, because if you burn the butter, you have to start over, my friend. Burnt butter doesn’t just look dark; it tastes bitter, acrid, and frankly, terrible. It will completely overpower those lovely marshmallows and the cereal. If you see the little brown bits turn black and start smoking way beyond that lovely nutty scent, ditch that batch right away. Wipe out the pan, use fresh butter, and watch it like a hawk the second time around. It’s a hard lesson, but one worth learning for the best Homemade Crispy Treats Recipe!
Are these Salted Brown Butter Treats suitable for vegetarians?
Yes, they are! And this is great news, because they are naturally a vegetarian-friendly treat. We aren’t using any gelatin, and all the main ingredients are plant-based except for the dairy butter and the marshmallows. Speaking of marshmallows, double-check your bag if you have strict vegetarian guests, because some generic brands *can* use gelatin, though most mainstream brands sold here in the US are fine. You can find the full rundown of my simple dessert recipes over on my Chocolate Mousse page, which is also vegetarian!
Estimated Nutritional Data for Homemade Crispy Treats Recipe
I always feel a little weird posting the exact numbers for treats like this because, let’s be honest, we aren’t eating these for the health benefits! But for those of you who want the facts, here is the estimate based on using standard ingredients exactly as listed here (we’ll call this Option A). Just remember that adding chips or extra salt will shift these slightly. Here are the numbers per bar (yield is 18 servings):
- Calories: 140
- Fat: 5g
- Carbohydrates: 23g
- Protein: 2g
I always check my Privacy Policy to make sure I disclose when this data is merely an estimate. These are truly meant to be enjoyed in moderation, maybe with a tall glass of milk!
Share Your Best Brown Butter Crispy Bars Experience
Now that you’ve finished making these incredible, rich, and nutty treats, I want to hear all about it! Seriously, nothing makes me happier than knowing I’ve convinced another home cook to try brown butter on their cereal bars. Did you go for the sea salt topping? Did you end up sneaking in peanut butter chips or maybe even a sprinkle of toffee bits?
Don’t be shy about tweaking things! This recipe is sturdy enough that it handles surprises really well. If you tried something brand new that just blew your mind, come back and tell us about it in the comments section below. A quick star rating and a note about your favorite addition helps everyone else feel confident trying this recipe too!
If you ever have any questions about substitutions, baking times, or just want to share a picture of your perfectly golden Brown Butter Rice Krispie Treat Bars, please reach out! You can always get in touch with me directly over on my Contact Page. Happy baking, everyone!
PrintBrown Butter Rice Krispie Treat Bars
A recipe for classic Rice Krispie Treat Bars made richer and nuttier by incorporating browned butter.
- Prep Time: 10 min
- Cook Time: 10 min
- Total Time: 70 min
- Yield: 18 servings
- Category: Dessert
- Method: No-Bake
- Cuisine: American
- Diet: Vegetarian
Ingredients
- 6 tablespoons unsalted butter
- 1 (10 ounce) package miniature marshmallows
- 6 cups puffed rice cereal
- 1 teaspoon vanilla extract
- 1/2 teaspoon coarse sea salt (optional)
Instructions
- Lightly grease a 9×13 inch baking pan or line it with parchment paper, leaving an overhang for easy removal.
- Place the butter in a medium saucepan over medium heat. Melt the butter completely.
- Continue cooking the melted butter, swirling the pan occasionally. The butter will foam, then the foam will subside, and brown bits will form at the bottom. The butter will smell nutty. This takes about 5 to 8 minutes. Watch carefully to prevent burning.
- Remove the pan from the heat immediately once the butter is browned. Do not let it continue cooking.
- Add the marshmallows to the saucepan with the hot brown butter. Stir constantly until the marshmallows are fully melted and smooth.
- Remove the pan from the heat. Stir in the vanilla extract and sea salt, if using.
- Add the puffed rice cereal to the marshmallow mixture. Stir gently until the cereal is evenly coated.
- Transfer the mixture to the prepared baking pan. Lightly press the mixture into an even layer using a piece of wax paper or a lightly buttered spatula. Do not press too firmly, as this can make the bars hard.
- Let the bars cool completely at room temperature for at least 1 hour before cutting into squares.
- Use the parchment overhang or a sharp, lightly oiled knife to cut clean bars.
Notes
- For extra flavor, you can add 1/2 cup of white chocolate chips or peanut butter chips along with the marshmallows while they are melting.
- If you want extra chewy bars, use slightly fewer marshmallows or slightly less cereal.
- Store the finished bars in an airtight container at room temperature for up to 3 days.
Nutrition
- Serving Size: 1 bar
- Calories: 140
- Sugar: 12
- Sodium: 110
- Fat: 5
- Saturated Fat: 3
- Unsaturated Fat: 2
- Trans Fat: 0
- Carbohydrates: 23
- Fiber: 0
- Protein: 2
- Cholesterol: 10