

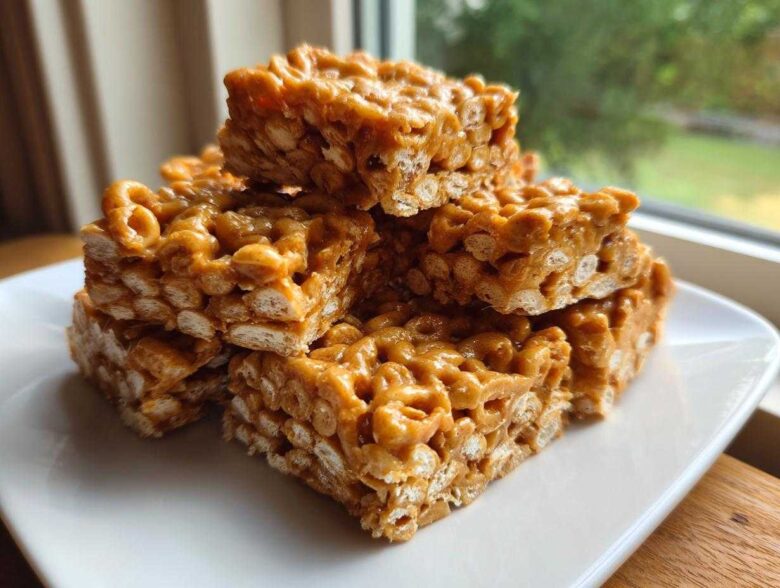
Oh my gosh, if you are drowning in endless snack requests from little hands, I totally feel you! The afternoon slump hits hard, and homemade granola bars feel like a three-day commitment. That’s why I’m letting you in on my absolute go-to for emergency kid fuel: **cheerio bars**.
Seriously, these things are magic. We’re talking three ingredients, zero steps in the oven, and ten minutes of actual work. They come together faster than you can find the good Tupperware lid to store them in! These no-bake peanut butter cereal treats have saved my sanity more times than I can count, and the kids devour them every single time. If you need a packed lunch solution, a quick breakfast fix, or just a win for the day, stick around. I have the simplest recipe that just *works* every time.
For those of you who love delicious homemade goodies but hate the mess, check out all my best quick snack recipes—but trust me, these bars are the reigning champion right now!
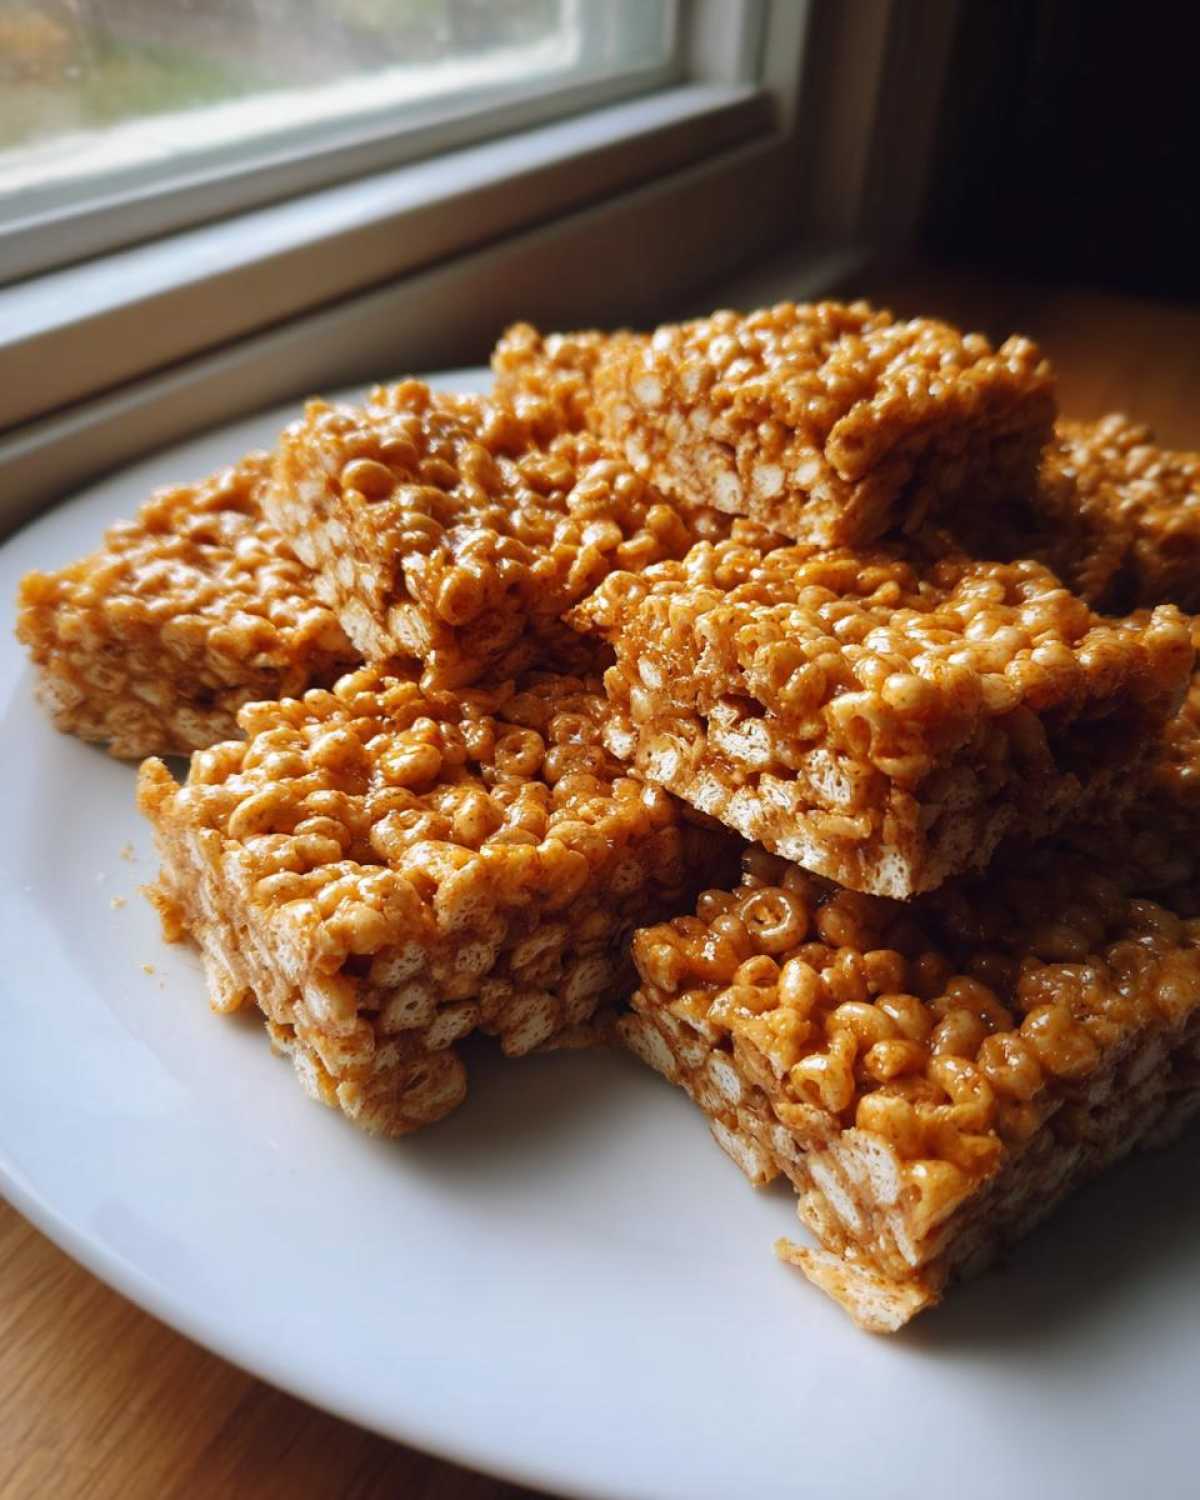
Why You Will Make These No Bake Cheerio Bars Often
Honestly, these are my secret weapon against after-school chaos. I keep meaning to write out a whole binder of amazing dessert options, but sometimes you just need something *now*. That’s where these **cheerio bars** shine. They’re a total game-changer for my busy week!
- They are genuinely ready in about ten minutes of active work—seriously, ten minutes!
- Zero baking means zero preheating time and virtually no oven clean-up, which is my favorite part.
- They are incredibly satisfying for little ones; that classic peanut butter-honey hug is irresistible.
- These bars freeze beautifully, so I make a double batch and keep half tucked away for emergencies.
- You can easily swap out the cereal if you have allergies or just run out of one type (though I highly recommend the Honey Nut variety!).
- They hold up perfectly in lunchboxes, even on warmer days, as long as you keep them slightly chilled. If you like similar lunchbox treats, you absolutely have to try my Lunch Lady Bars, too!
Gathering Ingredients for Your 3 Ingredient Snack Bars
See? I told you this was simple! When a recipe only has three main components, you know you’re in for a fast win. You probably have all of this stuff sitting in your pantry already, making these **cheerio bars** perfect for spur-of-the-moment baking emergencies.
I always prefer using Honey Nut Cheerios because that touch of extra sweetness and cinnamon really helps the binder set up beautifully, but my notes below cover substitutes if you need them. Here’s what you need on hand to get mixing:
- 4 cups Honey Nut Cheerios cereal
- 1 cup creamy peanut butter
- 1 cup honey
That’s it! Don’t even think about reaching for anything else. These ratios are tried and true for the perfect stickiness and crunch ratio. If you have had success with my no-bake protein balls, you’ll recognize this binder combination right away. It’s dependable goodness!
Expert Tips for Perfect Peanut Butter Cereal Treats
When you’re dealing with a three-ingredient recipe, every single component has to pull its weight, you know? It’s not like you can hide a less-than-perfect binder under a mountain of chocolate chips. These little tips are what keep my batches firm, flavorful, and consistently amazing for the kids. Don’t skip reading this part if you hate dealing with bars that crumble apart!
I’ve learned a few tricks over the years to make sure these **peanut butter cereal treats** set up just right. For instance, the temperature of your ingredients matters more than you think, especially the peanut butter. If it’s ripped straight from the fridge, it’s going to be tough to mix evenly!
If you want to see another great comparison recipe, my take on the Lunch Lady Bars also relies on a sticky binder, so the techniques overlap nicely!
Ingredient Notes and Substitutions for Cheerio Bars
The recipe calls specifically for Honey Nut Cheerios, and that’s usually because those extra sugar and honey coatings give the binder something extra to cling onto. However, if you only have plain Cheerios kicking around, you can absolutely use them! Just know that the final product will be slightly less sweet, and you might need to microwave the honey/peanut butter mix just a tiny bit longer to ensure it’s super gooey.
Now, the big one: allergies. I’ve had a few readers ask about nut-free options, which is so important. You can swap out the peanut butter for creamy sunflower seed butter or even tahini if you’re feeling adventurous! Just be aware that tahini has a stronger flavor profile, so these **toddler friendly snacks** will taste a little earthier. If you go that route, taste the binder before adding the cereal just to make sure you’re happy with the flavor balance.
Another necessary tip is about keeping those ingredients smooth. If you’re using natural peanut butter where the oil separates, make sure you stir it really well before you measure it out. We need homogenous, consistent ingredients for perfect **no bake cheerio bars**!
Step-by-Step: How to Make No Bake Cheerio Bars
Okay, this is where the magic happens, and trust me, it moves fast! You don’t want to dawdle once the binding mixture is warm, so have your cereal measured out and ready to go. The beauty of these **cheerio bars** is that there’s absolutely no fussy baking time, but there *is* crucial chilling time. Don’t think you can skip that hour in the fridge unless you want a sticky disaster on your hands!
Once you get the hang of this, you’ll be whipping up a batch of these **easy cereal bars** whenever the mood strikes. Remember, these are built for speed and simplicity, which is why they are quickly becoming my go-to alternative to baking when I’m short on energy.
Preparing the Pan and Heating the Binder for Cheerio Bars
First things first, prep your 8×8 pan. I learned the hard way that trying to pry these out without a safety net is impossible, so grab your parchment paper. You need to line the pan and leave a good overhang on two sides—that’s your built-in handle for lifting the whole slab out later. It’s a non-negotiable step for clean cuts!
Next, we make the super gooey binder. Pop your cup of peanut butter and cup of honey into a big microwave-safe bowl. Blast it for 30 seconds, stir like crazy, and then go back in for another 30 seconds. You want it silky smooth. If your microwave is weak, or if you don’t like using one, slowly melt it on the stovetop in a small saucepan over low heat. Just keep stirring constantly so the honey doesn’t scorch on the bottom. Once it looks like smooth caramel—that’s your cue!
Mixing and Pressing Your Honey Peanut Butter Bars
As soon as that binder is smooth, dump all four cups of cereal right in there! Seriously, work quickly now. Use a sturdy spatula to fold everything together. You need to make sure every single Cheerio gets a good coating of that golden honey mixture. Don’t try to stir gently like you would with cake batter; really mix it until you see no dry spots remaining.
Immediately scrape that mixture into your prepared pan. Now, this is the trickiest part for a good bar structure: you have to press it down firmly. Use the bottom of your spatula or even a sheet of wax paper and press down hard across the entire surface. You want a dense, compact layer so your **honey peanut butter bars** actually hold their shape when you cut them. Once it’s firmly packed, stick the whole thing in the fridge for at least an hour. Don’t rush this; the chill time is what replaces the baking time here!
Serving Suggestions for These Quick Kid Snacks
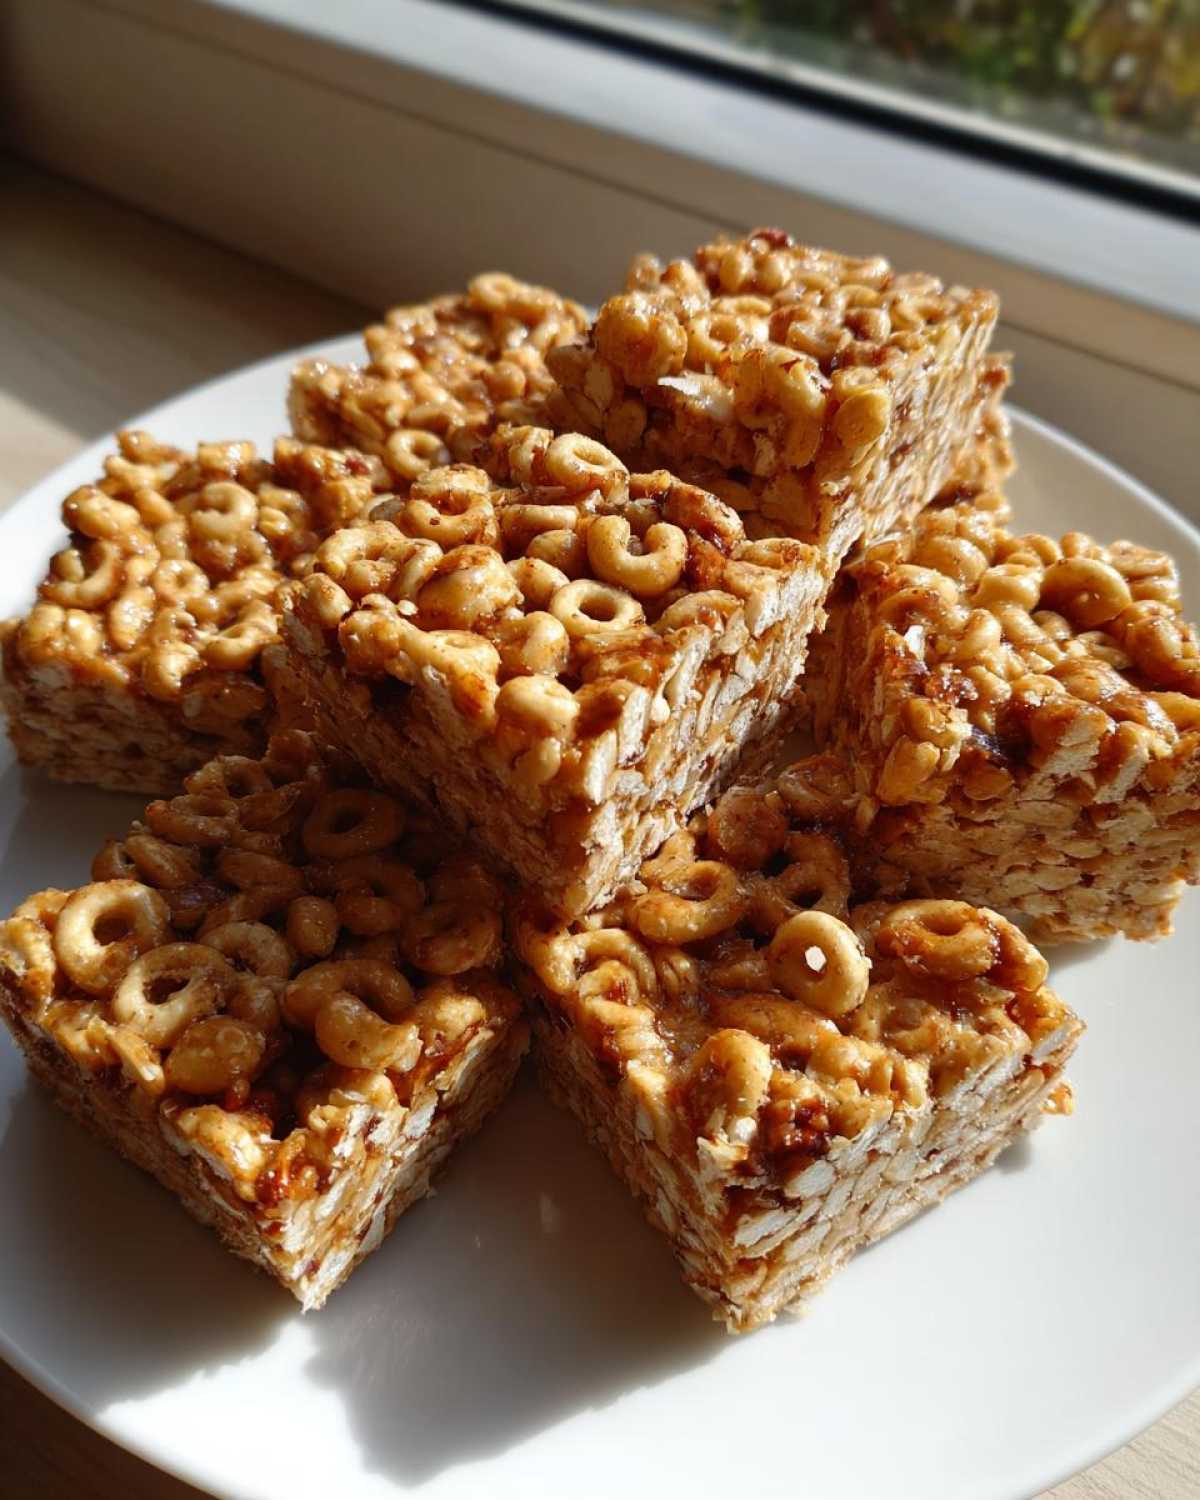
Once these **cheerio bars** come out of the fridge all firm and beautiful, the fun part is deciding how to serve them! Because they’re so sturdy and hold up so well, you can get creative with presentation, which is great for tricking picky eaters into thinking they are getting something fancy. Or, you know, you can just eat them warm and gooey straight over the sink, which is what I usually do when eating the edges!
I usually stick to the standard squares—I get 16 out of my 8×8 pan, which is the perfect little pick-me-up size for school lunches. But sometimes I like to change things up. If you’re taking these to a casual party or a playdate, try cutting them into triangles! It just looks different enough to earn praise.
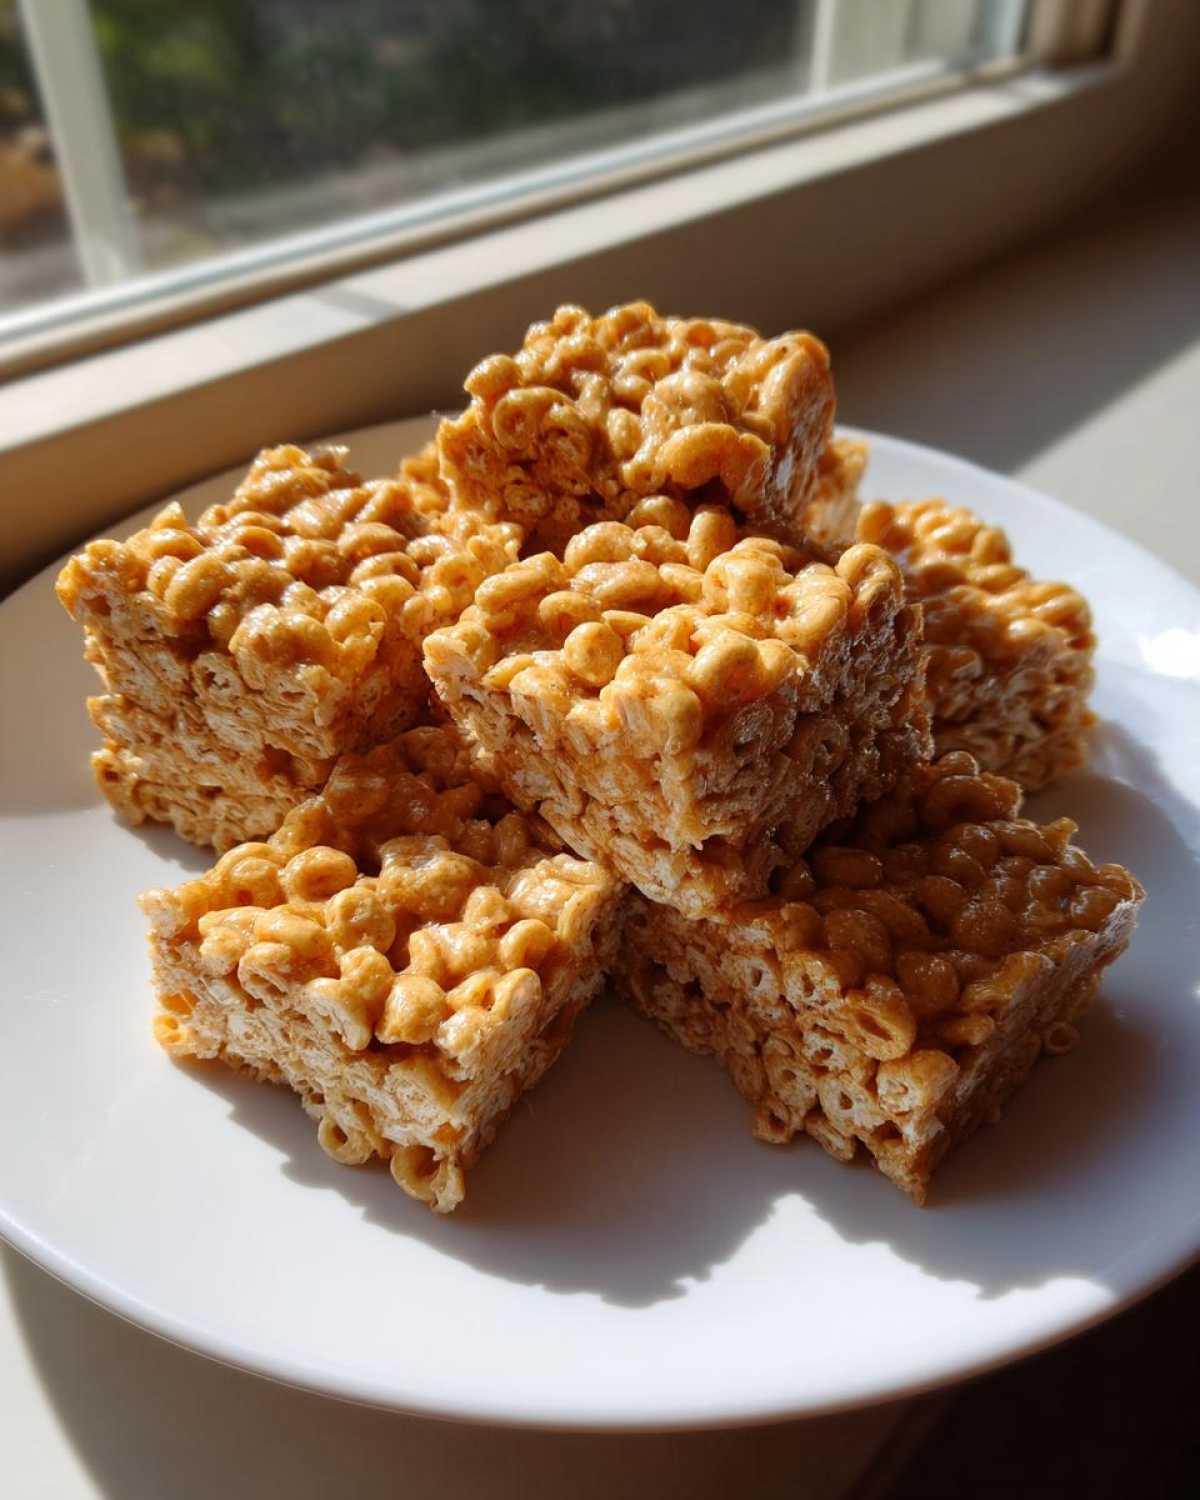
When pairing these easy cereal bars, remember they are quite sweet and protein-packed thanks to the peanut butter. My kids usually take them alongside some fresh fruit to balance things out. Applesauce pouches or a handful of grapes work perfectly for lunchboxes. If they are having this as an afternoon snack here at home, a cold glass of milk makes them exponentially better—it softens the binder just a tiny bit.
If you happen to make a batch and want ideas for other morning treats that don’t require an oven, you should absolutely check out my Apple Cinnamon Overnight Oats. That’s another fantastic make-ahead option!
Storage and Reheating Instructions for Cheerio Bars
One of the absolute BEST parts about these **cheerio bars**? The cleanup is minimal, and the storage is even easier! Since they are no-bake, there’s no concern about them getting dry or developing a weird crust when stored, which is my biggest pet peeve with baked goods.
You absolutely do not need to reheat these! Reheating peanut butter and honey mixtures usually just makes them a melty, sticky mess, and frankly, these **no cook snacks** are designed to be eaten cold or at room temperature. They are just as delicious straight out of the fridge as they are sitting on the counter for an hour.
When storing them, make sure you use a good container. I always use a rigid, airtight container, and I usually place a sheet of parchment paper between the layers if I’m stacking them. This stops them from sticking together and keeps them looking perfect for days.
Here’s the rundown on how long they last—which is perfect for planning ahead. If you’re prepping for the week, you’re good to go! If you want some more fantastic meal-prepping ideas involving make-ahead grains, check out my guide on the ultimate guide to creamy overnight oats; that’s another staple in my house!
You can safely keep these **simple dessert bars** in the refrigerator for up to one whole week. Keep them chilled until you are ready to pack them up for school or grab one for yourself after dinner!
Frequently Asked Questions About Peanut Butter Cereal Treats
I always get the same questions when I post these **peanut butter cereal treats** floating around social media, which tells me everyone else needs quick snacks just as much as I do! Before you run off to whip up a batch, let me clear up a few things. Don’t worry if you’re missing one item; usually, there’s a quick fix for these **easy cereal bars**!
For all my other handy tips and tricks for fast recipes, you can check out the main recipe index for more inspiration!
Can I make these Cheerio Bars without peanut butter?
Oh, absolutely! Nut allergies are real, and we need solutions for everyone. If you can’t use peanut butter, you have a couple of great options for your **cheerio bars**. Creamy almond butter is the closest swap in terms of texture and binding power, but the flavor profile changes slightly—a good thing if you love almonds!
If you need to stay completely free of tree nuts as well, sunflower seed butter is a fantastic alternative. It gives you that creamy, sticky binder we need to hold everything together. Just remember that seed butters sometimes don’t mix quite as smoothly when heated as peanut butter does, so give that binder a really good extra stir.
Are these considered Healthy Cereal Snacks?
Okay, let’s be real here—these are a treat! They are not diet food, but I think of them as a *better* choice compared to what you find in the grocery aisle. When we call these **healthy cereal snacks**, we are comparing them to highly processed alternatives that are often filled with artificial flavors and tons of high-fructose syrup.
Since we are using just three simple ingredients—cereal, honey, and peanut butter—you control exactly what goes in. It’s a **homemade granola bars alternative** that skips all the preservatives. They have good protein from the peanut butter and fiber from the Cheerios. So, yes, they’re a wholesome, homemade treat perfect for an energy boost, but I wouldn’t call them virtue food! They are perfect for satisfying that sweet tooth guilt-free.
What is the best way to cut the Cheerio Bars neatly?
If you want those perfect squares for your **toddler friendly snacks** or lunchboxes, you need to follow my chilling rule above! Seriously, you MUST let them firm up in the fridge for at least an hour. If you try to cut them warm, you’ll end up with a sticky smear across your cutting board!
Once they are fully chilled and firm, take the whole block out using the parchment handles. Use a large, sharp, non-serrated knife—like a chef’s knife. Press straight down instead of sawing back and forth. Sawing rips the bars! If you press down firmly and cleanly, you’ll get those beautiful, stackable squares every single time. This works much better than trying to slice them while they are still in the pan.
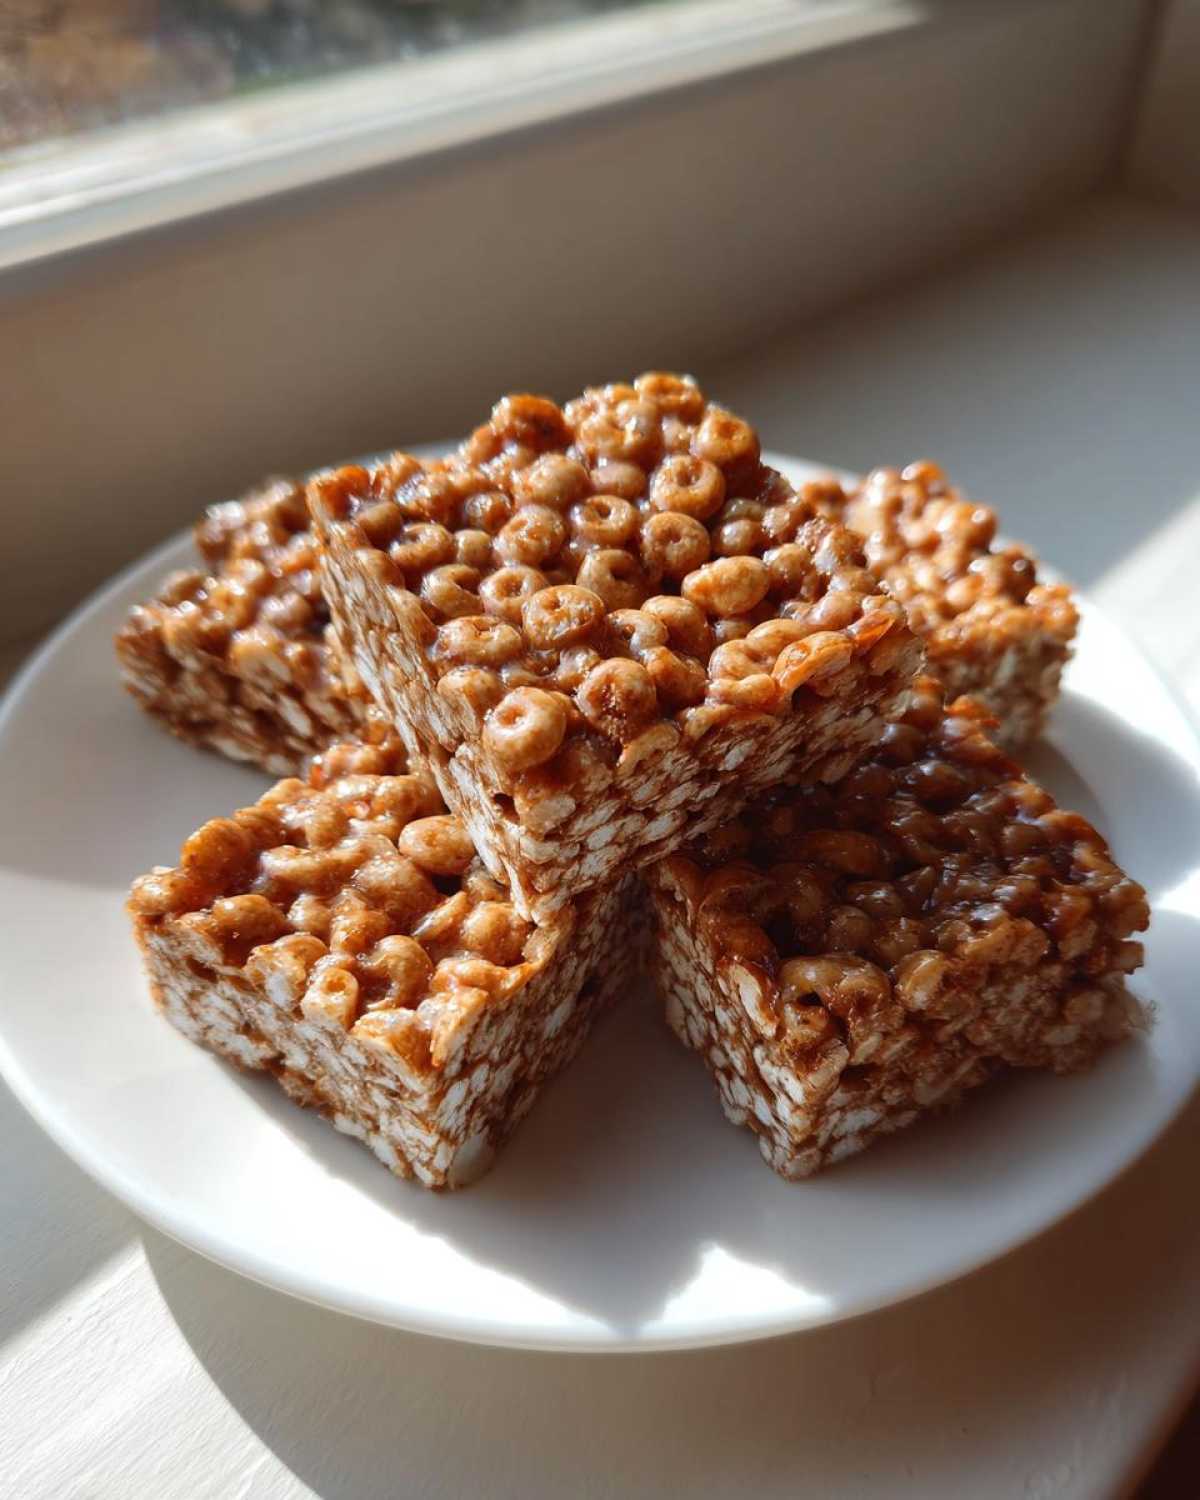
Nutritional Estimates for These Simple Dessert Bars
I always like to give you folks a quick heads-up on exactly what you’re getting when you make these **simple dessert bars**. Remember, since we are only using three core ingredients and no weird additives, the nutrients are straightforward! We went over the method, but seeing the numbers sometimes helps when planning out lunchboxes or snacks.
Keep in mind these are just estimates based on using standard creamy peanut butter and Honey Nut Cheerios. If you swap out for natural peanut butter or plain Cheerios, those numbers will shift a little bit, so factor that in if you’re tracking macros!
The yield is based on cutting the 8×8 pan into 16 equal squares. If you cut them into 12 bigger squares, the per-bar numbers will increase slightly.
Here is the estimated breakdown for one bar:
- Serving Size: 1 bar
- Calories: 195
- Sugar: 12g
- Sodium: 85mg
- Fat: 9g
- Saturated Fat: 1.5g
- Unsaturated Fat: 7.5g
- Trans Fat: 0g
- Carbohydrates: 26g
- Fiber: 2g
- Protein: 6g
- Cholesterol: 0mg
For the full fine print on where these numbers come from and how they are calculated, you can always check out my official recipe disclaimer page. When it comes to homemade treats, transparency is important, and I want you to feel confident feeding these amazing **no bake cheerio bars** to your family!
Share Your Experience Making Cheerio Bars
Now that you know the absolute easiest way to whip up a batch of these incredible **cheerio bars**, I genuinely want to hear all about it! Honestly, I live for your comments and seeing how everyone customizes their quick snacks.
Did you stick to the three original ingredients, or did you sneak in some chopped nuts or a sprinkle of chocolate chips? Did your kids eat them for breakfast, lunch, or an emergency 3 PM snack? Tell me everything!
Please rate this recipe using the stars below—it helps other cooks find this super-fast recipe! And if you snap a picture of your perfect, crunchy squares, tag me on social media. I love seeing your **peanut butter cereal treats** in the wild!
If you have any lingering questions that I missed in the FAQs, or if you just want to send some virtual cookie appreciation, feel free to drop a line over on my contact page!
PrintNo-Bake 3-Ingredient Peanut Butter Cheerio Bars
Make these quick, no-bake cereal bars using only three simple ingredients. They are perfect for fast snacks or lunchbox treats.
- Prep Time: 10 min
- Cook Time: 0 min
- Total Time: 1 hour 10 min
- Yield: 16 bars
- Category: Snack
- Method: No-Bake
- Cuisine: American
- Diet: Vegetarian
Ingredients
- 4 cups Honey Nut Cheerios cereal
- 1 cup creamy peanut butter
- 1 cup honey
Instructions
- Line an 8×8 inch baking pan with parchment paper, leaving an overhang on the sides for easy removal.
- In a large microwave-safe bowl, combine the peanut butter and honey. Microwave on high for 30 seconds. Stir well.
- Microwave the mixture again for another 30 seconds, then stir until the mixture is smooth and fully combined.
- Pour the Cheerios into the peanut butter mixture. Stir quickly until all the cereal pieces are evenly coated.
- Transfer the mixture to the prepared baking pan. Press the mixture down firmly and evenly using the back of a spatula or wax paper.
- Refrigerate for at least 1 hour, or until firm.
- Lift the bars out of the pan using the parchment paper overhang. Cut into 12 or 16 squares before serving.
Notes
- You can substitute plain Cheerios for Honey Nut Cheerios, but the flavor will be less sweet.
- If you do not have a microwave, gently heat the peanut butter and honey in a small saucepan over low heat until smooth, stirring constantly.
- Store leftovers in an airtight container in the refrigerator for up to one week.
Nutrition
- Serving Size: 1 bar
- Calories: 195
- Sugar: 12
- Sodium: 85
- Fat: 9
- Saturated Fat: 1.5
- Unsaturated Fat: 7.5
- Trans Fat: 0
- Carbohydrates: 26
- Fiber: 2
- Protein: 6
- Cholesterol: 0