

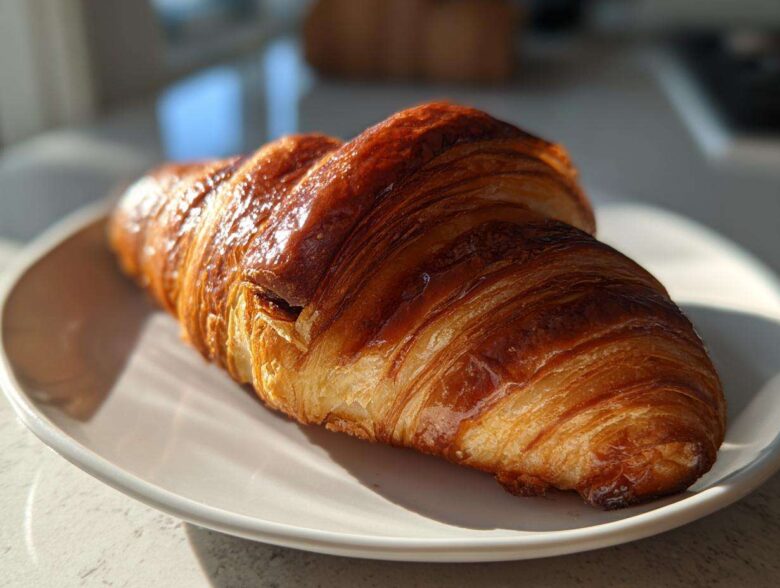
We used to save the best for last—the perfect table settings, the most glamorous centerpiece, and certainly the richest desserts—all for the guests. But honestly? That left us feeling like we were dining on leftovers in our own kingdom. Well, that stops now. I’m Sofia, and this is our declaration that you deserve to be the guest of honor at your own table. Marco agrees; he’s usually the one pouring the toast! We want you to know more about how we decided to reclaim our joy in the kitchen, because that’s why we started Eatable Empress. Today, we’re conquering a classic: the magnificent, buttery **chocolate croissant**. Forget spending all day wrestling with laminated dough; we’re using a brilliant shortcut to give you that bakery-quality, flaky perfection in just minutes. Treat yourself like royalty, starting right now.
Why This Easy Chocolate Croissant Recipe Reigns Supreme
Okay, friends, let’s be real. You want that golden, shatter-on-impact flakiness, but you probably don’t have three days set aside for folding butter into dough. I get it! Marco and I developed this version precisely because we are serious about flavor but even more serious about enjoying our evenings. This recipe is the perfect bridge between ambition and reality.
- It’s ridiculously fast. We’re talking 15 minutes of prep time before they hit the oven. That means you can genuinely have an **indulgent morning treat** on a Tuesday morning if you plan ahead slightly!
- The texture is unbelievable. You get those beautiful layers without any of the lamination anxiety.
Speed and Simplicity: The Shortcut to Flaky Pastries
If you’ve ever looked up how to make croissants from scratch, you know it involves endless chilling, folding, and praying to the butter gods. Not here! We lean on high-quality, store-bought puff pastry. Trust me, that little foil-wrapped package holds magic. It does 90% of the hard work for you so you can focus on the fun part: drowning a good bar of chocolate in dough.
Achieving Bakery Style Croissants at Home Flavor
Just because it’s fast doesn’t mean we sacrifice taste. The secret here is using all-butter puff pastry—you *must* check the box for that! That high-quality fat is what delivers those incredible, **buttery croissants** you crave. When baked, it puffs up gorgeously and tastes exactly like you spent hours sourcing European butter. It’s about making smart choices.
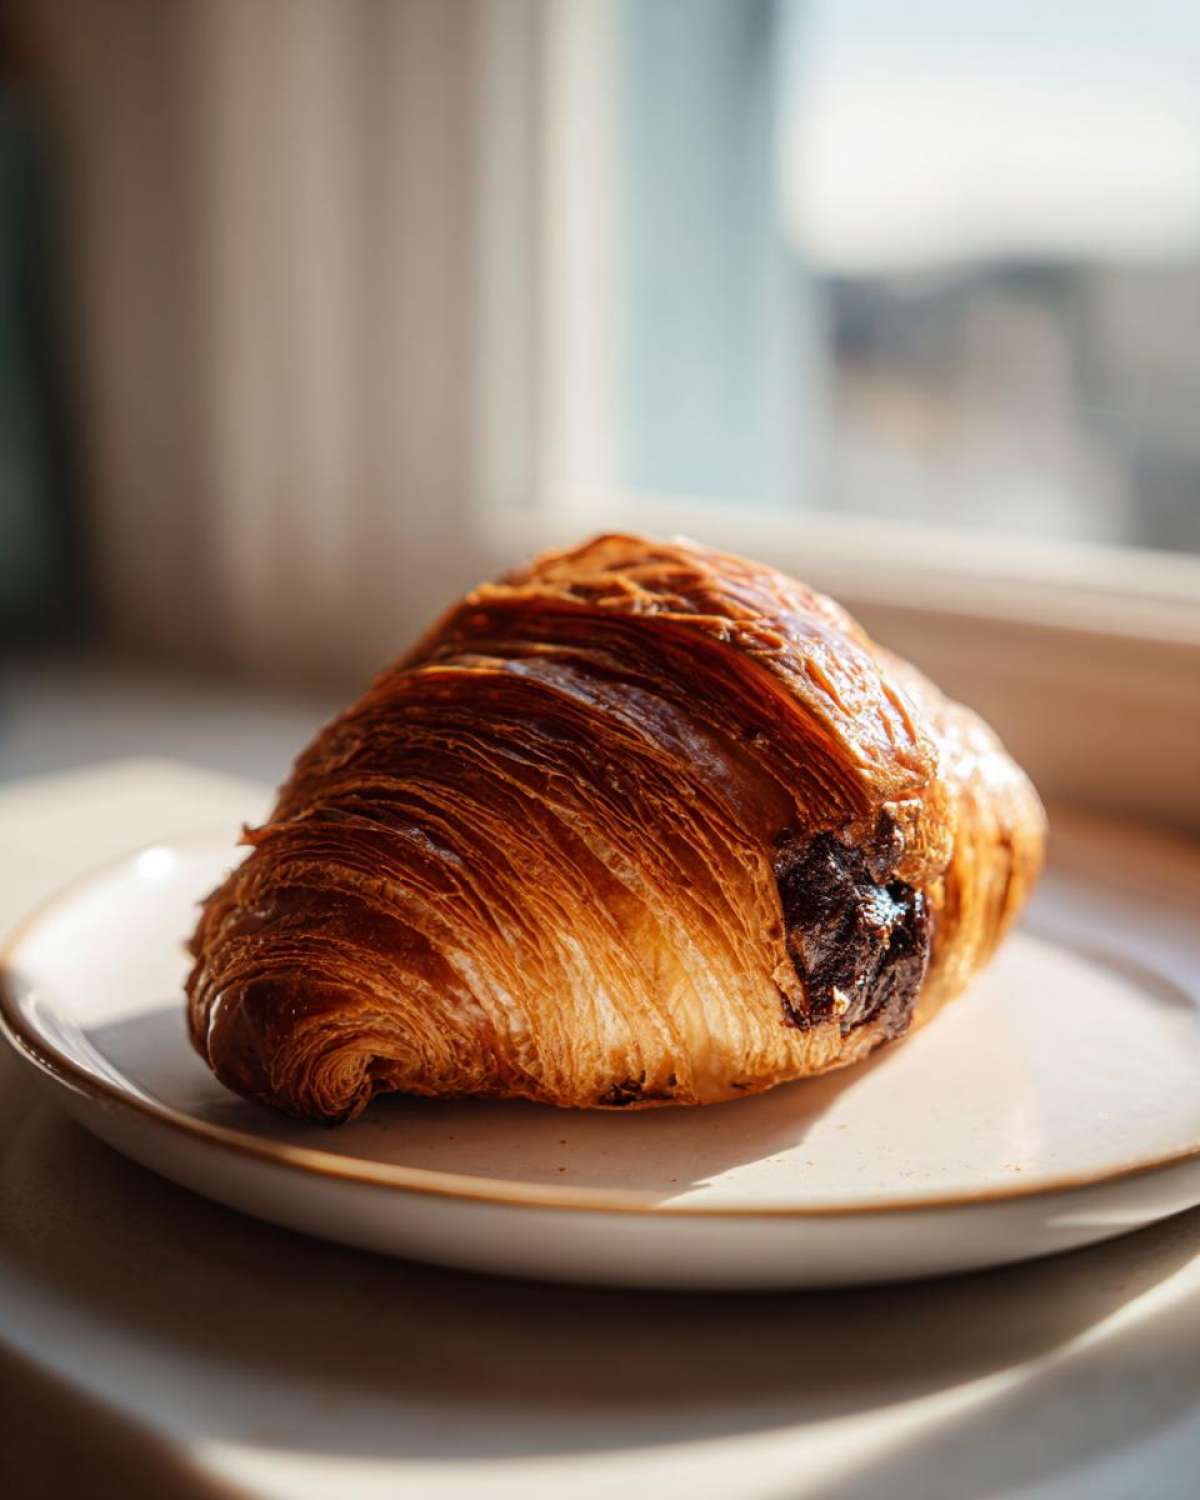
Gathering Ingredients for Your Chocolate Croissant Feast
Alright, Empress, let’s rally the troops! Since we aren’t doing the whole sourdough starter, overnight proofing, 27-fold lamination ballet, gathering ingredients for these **chocolate croissants** is honestly kind of a joy. It’s simple, highly quality focused, and fast. You only need four main players to make this happen, and I’ve linked to my favorite quick chocolate drink if you want a pairing!
Here is exactly what you need on your counter before you start preheating that oven:
- 1 package (14.1 ounces) all-butter puff pastry, thawed according to package directions
- 4 ounces bittersweet or semi-sweet chocolate baking bars (like Lindt or Ghirardelli), cut into 1/2-inch thick sticks
- 1 large egg, beaten with 1 teaspoon water (for egg wash)
- 1 tablespoon granulated sugar (optional, for sprinkling)
Ingredient Notes and Chocolate Croissant Substitution Tips
Marco is the King of Taste Tests around here, and he’s very particular about what goes *into* the pastry, even if we aren’t making the pastry itself. My number one rule, and I repeat this often, is that you absolutely must use all-butter puff pastry if you can find it. The flavor difference is shocking; margarine-based stuff just tastes heavy and flat when baked, and we want that delicate, rich structure!
Also, for the chocolate? Sticks over chips, every time. Chocolate baking bars are formulated to melt slowly and evenly, giving you those gorgeous, gooey puddles inside the flaky layers. If you use chips, the high vinegar content can sometimes make them seize up or burn before the pastry is done. Use good quality dark chocolate—you deserve it!
Step-by-Step Guide: How to Make Easy Chocolate Croissants
Now for the fun part! This is where your ingredients transform into something truly spectacular. We’re keeping this process simple, focusing on minimizing mess and maximizing that essential puff. Remember, precision timing is key to getting those beautiful, airy pockets in the pastry. Don’t stress about perfection; we just want that delicious, messy, melty interior! These are perfect for serving alongside any of our special breakfast dishes.
Preparing the Dough and Cutting for Perfect Flaky Pastries
First thing: your oven needs to be hot! Preheat it to 400 degrees Fahrenheit (200 Celsius). Line two baking sheets with parchment paper—this is a lifesaver for cleanup. Next, gently unfold your thawed puff pastry onto a lightly floured spot on your counter. If it feels sticky at all, dust your hands lightly with flour. We need to cut these into tidy rectangles. Cut each sheet in half lengthwise first, creating long strips. Then, cut those strips in half crosswise. You should end up with exactly eight smaller rectangles ready for filling. Handle the dough as little as possible; we’re protecting those layers!
Assembling Your Chocolate Croissant Rolls
Take one little rectangle. Place one stick of your rich chocolate right near the very short edge. Now, roll the pastry over that chocolate just once. Stop, and place your second piece of chocolate right where your roll ended. Continue rolling everything up tightly until you use the whole strip. Make sure you pinch that final seam shut—we don’t want chocolate leaking out everywhere right now! You can curve it into a traditional crescent shape if you like, or leave it straight; Marco prefers the straight ‘Pain au Chocolat’ look for stability, which feels simpler for a home baker.
Baking Tips for Golden Brown Homemade Chocolate Croissants
Once all eight are nestled seam-side down on your lined sheets, it’s time for the egg wash. Whisk that egg with just one teaspoon of water. Brush this mixture evenly over the tops. This is what gives you that gorgeous, shiny, golden-brown finish we associate with French bakeries. If you want a little extra crunch, sprinkle a tiny bit of granulated sugar over the top. Bake them for 15 to 20 minutes. Keep an eye on them! You want them puffed up and deeply golden, not just pale yellow. Marco always says, if they look ready, wait two more minutes!
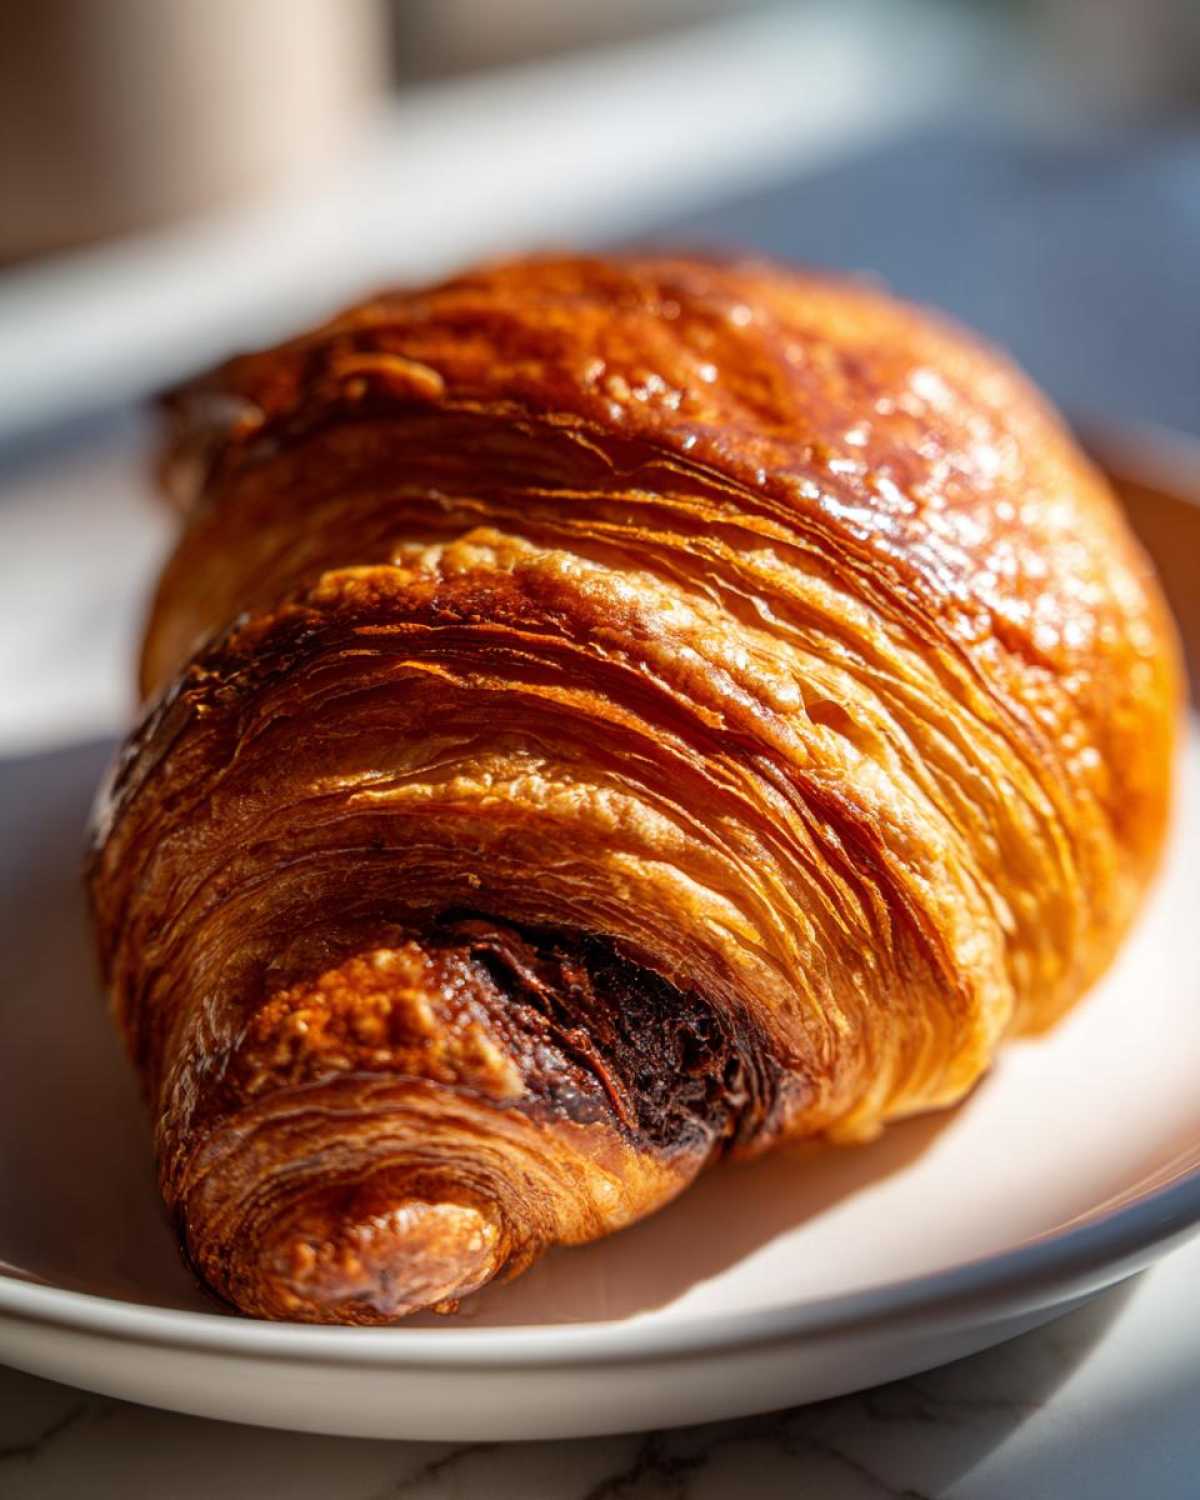
Pro Croissant Baking Tips for the Best Results
Even using puff pastry, we still need to respect the butter! This recipe is lightning-fast, but if you notice your dough getting warm or soft while you’re rolling and shaping all eight pastries, stop immediately. Seriously, walk away for five minutes. Warm butter messes up the delicate layers, and you end up with a biscuit instead of a beautiful, flaky pastry. Pop those assembled rolls onto the baking sheet, cover them loosely, and give them a 10-minute chill in the refrigerator before they go into the 400°F oven. That cold rest is what locks in the structure.
Also, remember to never use a rolling pin to flatten the pastry after you’ve cut your shapes; you’ll deflate all the lovely air pockets we’re aiming for. We just want gentle shaping. These little tricks, the kind Sofia learned while watching amazing bakers, are what elevate something “easy” into something truly special enough for our own royal table. If you want to practice your shaping further, our scone recipe also relies on keeping the fat cold!
Storage and Reheating Your Perfect Chocolate Croissant
You’ve done it! You’ve created the perfect, bakery-worthy **chocolate croissant**. But let’s face it, with flaky pastries this good, there’s usually a leftover or two—if you’re being extremely disciplined, that is. If you manage to save any of these beauties for later, storage is key to keeping that buttery texture intact. Don’t worry; refreshing them is totally simple.
For short-term storage, say, if you plan to eat the rest tomorrow morning, just leave them on the counter. Pop them into an airtight container—don’t seal them too tightly, though, or the moist air will soften the crust! Room temperature is best for the first day. If you need them to last longer than 24 hours, the fridge works, but this can slightly dull the flakiness, so we don’t love it for more than two days.
Now, for the magic of reheating! This is non-negotiable if you want that “just pulled from the oven” experience. Forget the microwave; it’s the enemy of flaky pastries! Instead, pop your **chocolate croissant** right back into a moderate oven—about 325°F (160°C)—for about 5 to 7 minutes.
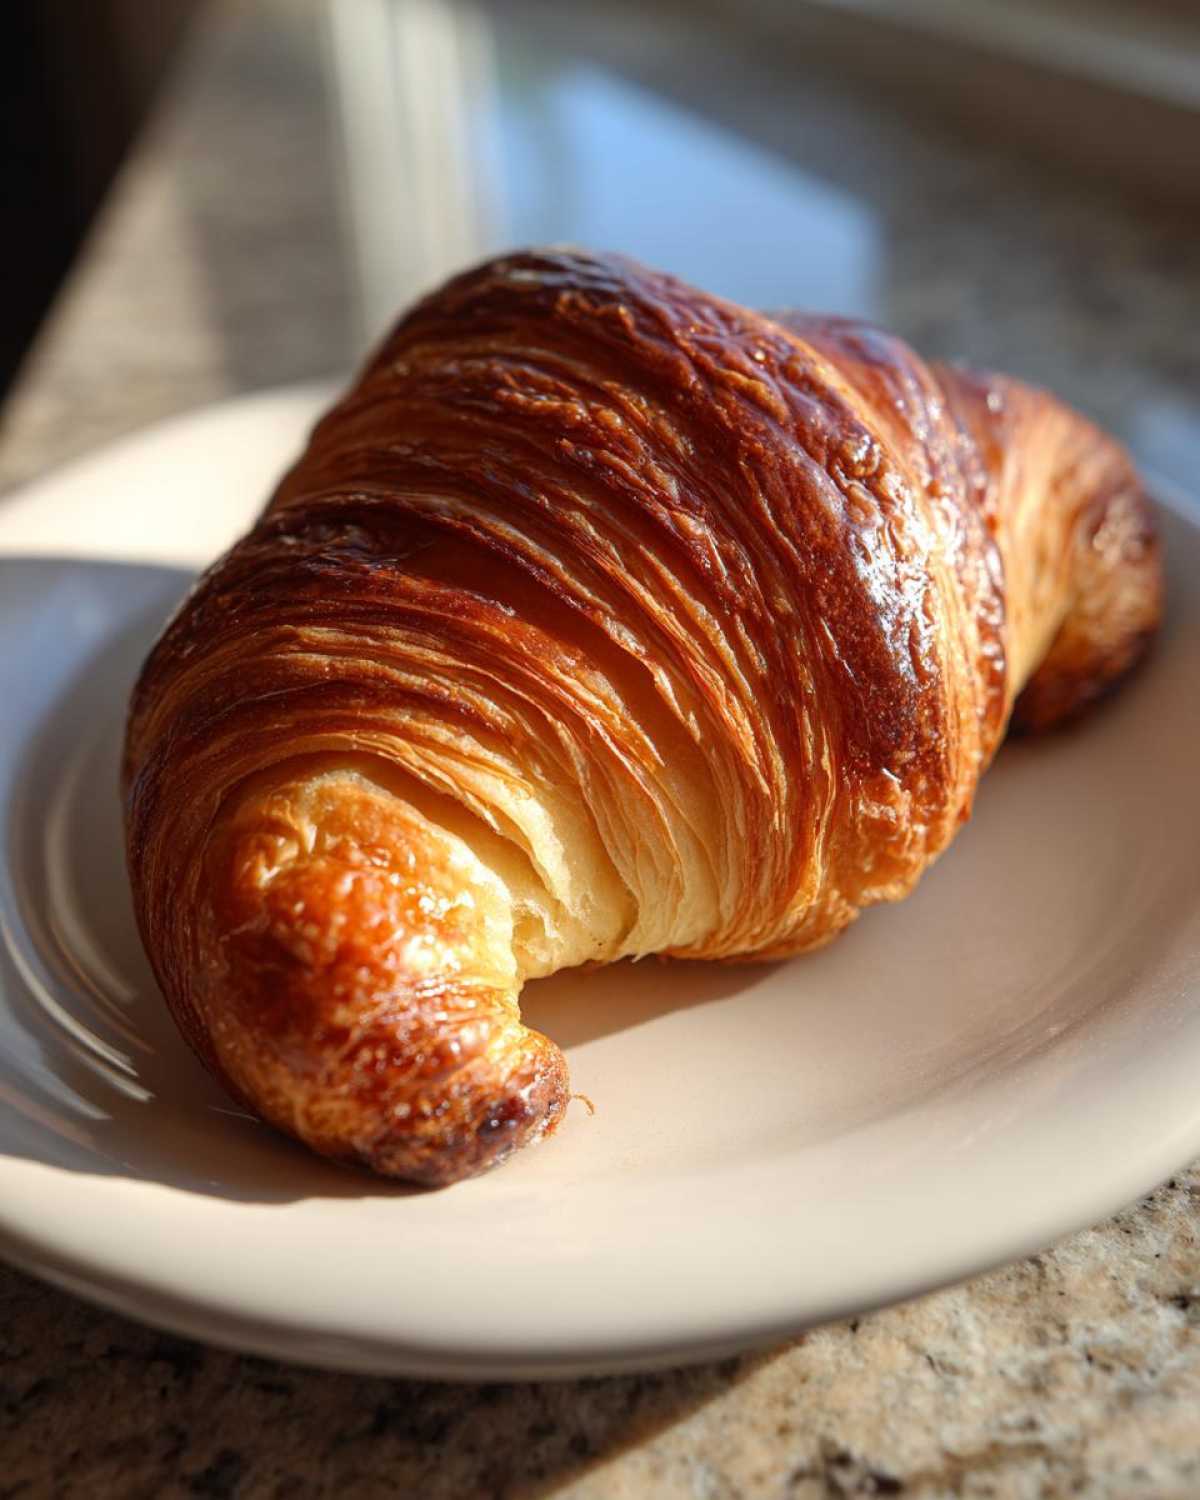
That gentle heat coaxes the butter back to life, re-crisps the exterior, and oh my goodness, that chocolate center gets perfectly molten again. It’s the best way to recapture that first bite magic. Trust me, taking those extra few minutes to reheat is how an Empress honors her own leftovers!
Beyond the Classic: Chocolate Croissant Variations
We are all about honoring our own unique tastes here at Eatable Empress, and while this recipe creates the perfect classic **chocolate croissant**, sometimes you just need to switch things up, right? You have the flaky, buttery foundation now, thanks to that genius puff pastry shortcut. Why not play a little? Marco always encourages me to experiment once the basic structure is perfected. It keeps baking fun and prevents us from getting stuck in a rut!
These little adjustments are super easy, and they use the exact same timeline as the original recipe—no extra chill time needed, which I love.
If you’re looking for other ways to treat yourself beautifully, you might want to check out these soft streusel cookies next week!
Here are a few things we love to add right before we roll up that pastry:
- Spice it Up (Slightly): Dusting the chocolate sticks lightly with a pinch of ground cinnamon before rolling adds such a warm background note. It’s subtle, but it elevates the whole experience. It just reads more “fancy French bakery” to me.
- The Dual Chocolate Approach: Why settle for one? Try using both bittersweet chocolate and a few white chocolate chips tucked in there. When they melt together, you get this incredible swirl of flavors. It makes the center even more decadent.
- Nutty Addition: If you have some toasted, slivered almonds hanging around, place a tiny sprinkle over the chocolate layer just before you do the final roll. This gives a nice textural component alongside the flakiness. It’s lovely for a weekend brunch pastry when you have a little more time.
- A Hint of Booze (For Adults!): This is Marco’s suggestion, naturally. If you happen to have high-quality hazelnut liqueur, just brush a tiny, tiny bit onto the dough strip before placing the chocolate. It caramelizes beautifully and deepens the flavor profile immensely. Don’t overdo it, or you run the risk of having soggy pastry, but a light brush works wonders!
See? It’s still the same easy concept, but a quick variation can make it feel like an entirely new treat. That’s the luxury of ruling your own kitchen!
Serving Suggestions for Your Easy Breakfast Pastry
Now that you’ve successfully created these amazing **easy breakfast pastry** wonders—flaky, golden, and smelling like a dream—we need to discuss the presentation. Remember, we aren’t just eating; we are hosting! Even if the only guest is the wonderful person looking back at you in the reflection of your toaster oven (that’s probably me half the time!), you deserve the full, regal experience.
We’re keeping the pairings simple, elegant, and focused on letting that rich chocolate do the heavy lifting. Forget complicated sauces; we’re using elegance of restraint. Marco always insists that the drink pairing is just as important as the food itself, so make sure you brew a good pot!
Here are the ways we like to serve these beauties at our court:
- The Perfect Morning Brew: You absolutely need a superior cup of coffee or espresso. Marco swears by a strong French press to stand up to the richness of the all-butter dough and the dark chocolate. If coffee isn’t your jam, a delicate black tea, like Earl Grey, is lovely.
- The Cool Contrast: If you’re serving these slightly warm, the contrast with something cool is divine. A small dollop of crème fraîche on the side is intensely European and feels so luxurious! If crème fraîche is too much trouble, plain Greek yogurt or even a high-quality vanilla bean yogurt works beautifully to cut the richness.
- A Bright Sidekick: Don’t skip the fruit! This cuts through the butteriness and makes the meal feel balanced, not just indulgent. We usually serve a small bowl of fresh raspberries or thinly sliced oranges nearby. Something bright and slightly tart balances the deep chocolate wonderfully.
- For an Extra Luxurious Feel: If you have some on hand, a tiny drizzle of plain powdered sugar glaze over the top right before serving instantly makes it look like it came from a glass display case. You can find my simple recipe for creamy white hot chocolate, and you can borrow that glaze technique easily!
Remember, when you sit down to eat your gorgeous **easy breakfast pastry**, use your favorite plate. Light a candle if you feel like it. You earned this moment of delicious peace. Enjoy every single flaky bite!
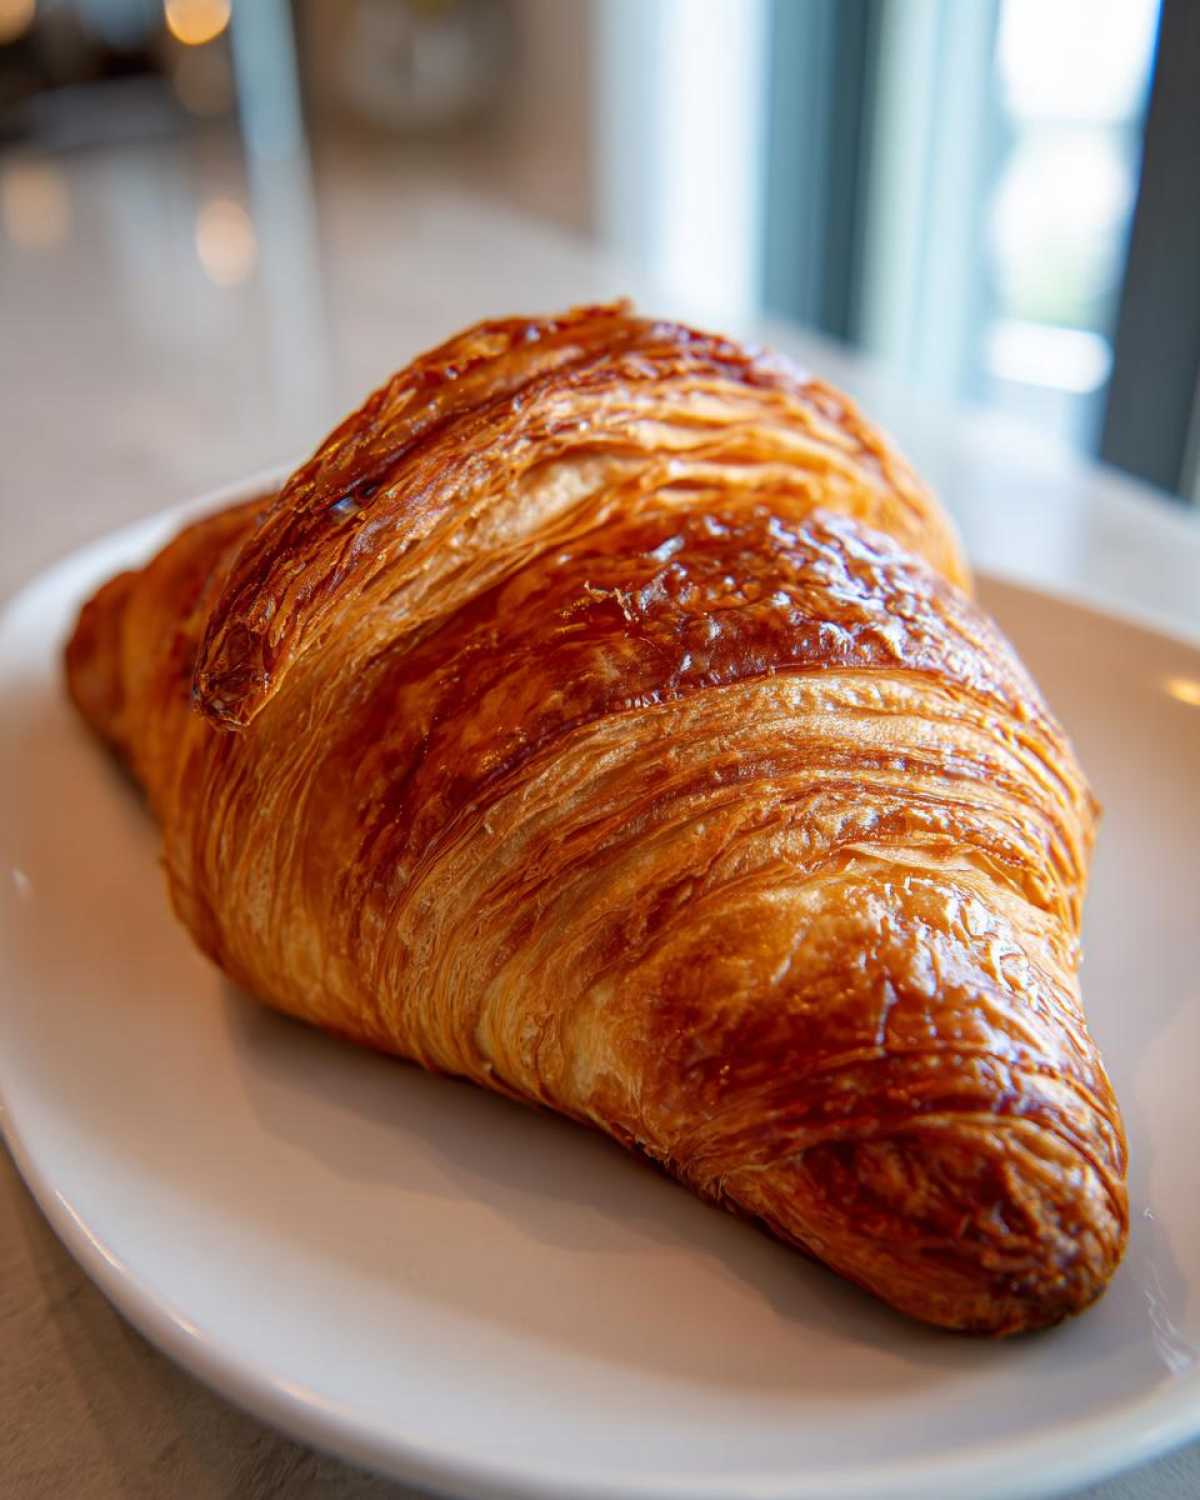
Frequently Asked Questions About Homemade Chocolate Croissants
I know you’ve got questions! When you’re baking something that feels this decadent, you want to make absolutely sure you nail it. I totally respect that. Marco and I have compiled the questions that always pop up when we talk about our **homemade chocolate croissants** with friends. We want your baking experience to be stress-free!
Can I make these chocolate croissants ahead of time?
Yes, you totally can, and it’s a smart move for weekend brunch planning! You can finish assembling the rolls entirely—including applying the egg wash—and then cover them tightly with plastic wrap and refrigerate them for up to 24 hours. Keep them cold! When you’re ready to bake, pull them out, let them sit on the counter while the oven preheats, and then bake them straight from cold. They might need an extra minute or two in the oven since they start colder, but the results are still fantastic!
Why aren’t my croissants flaky? What went wrong?
Oh, this is the big fear! If your pastry didn’t puff up into beautiful, separated layers, it almost always comes down to temperature. You have two likely culprits: either the puff pastry wasn’t cold enough when you started rolling (so the butter was too soft and just squished into the dough layers instead of creating steam pockets), or your oven wasn’t hot enough. For the best results achieving those **flaky pastries**, make sure that butter stays firm, firm, firm! If you stop to watch the news mid-assembly, pop them in the fridge!
I bought the pastry yesterday. Can I freeze my chocolate croissants?
Freezing assembled, unbaked pastries is fantastic. After you roll them into shape and brush them with egg wash (Step 6), place the tray right into the freezer until they are rock solid. Then, transfer the frozen croissants into a heavy-duty freezer bag. They will last for about a month this way. When you want to bake them, just transfer them to the counter overnight to thaw, and then bake them as directed. They thaw beautifully and are still wonderful! This makes them a truly great option for an **easy breakfast pastry**.
What exactly is Pain au Chocolat?
That’s what the French call this wonderful creation! Pain au Chocolat literally translates to “chocolate bread,” but trust me, it’s much more than bread; it’s pastry! Traditionally, it’s made with layered, laminated dough (like a classic croissant), but instead of being shaped into a crescent, it’s usually rolled into a neat rectangle with one or two sticks of chocolate tucked inside. Our shortcut method gives you that exact rectangular shape if you skip curving the dough. It’s the same delicious core concept!
Are these as good as the authentic ones made from scratch?
Look, are they the exact same as the ones a dedicated Parisian baker spends three days hand-laminating? Maybe not 100% identical, but for your own table, they are 98% of the way there, and they are 1000% easier! We designed this recipe specifically so that you don’t have to dedicate your weekend to butter folding just to have an **indulgent morning treat**. If you use high-quality, all-butter puff pastry, the results are unbelievably close and definitely worthy of your best plates. You’ll love making these better than you’d stress over the scratch version!
If you want tips on how to make our dazzling lemon meltaway cookies for dessert later, head over there next!
Nutritional Snapshot of This Chocolate Croissant Recipe
Now, I know what you might be thinking: an **indulgent morning treat** this buttery and rich cannot possibly be okay to eat regularly! And you’re probably right. Part of treating ourselves like royalty is knowing when to indulge fully, and that’s what these **easy chocolate croissants** are designed for. We enjoy these on a weekend morning when we decide we deserve the very best, like when we pair them with our three-ingredient mousse later in the day!
Marco worries about this part the most, but honestly, if you’re going to splurge, you should know what you’re eating. We’ve worked up the estimates below so you can see what you are getting into with one of these flaky parcels of joy.
Please remember this tiny disclaimer: Since we are using store-bought puff pastry, and chocolate brands vary wildly in sugar and fat content, these numbers are general estimates. Your actual values might shift slightly based on which brand of *all-butter* pastry you use. Don’t sweat the small stuff; just savor the flavor!
- Serving Size: 1 croissant
- Calories: 320
- Fat: 19g (with about 11g Saturated Fat)
- Carbohydrates: 30g
- Protein: 6g
- Sugar: 12g
- Cholesterol: 45mg
See? It’s satisfying! You’re getting a nice hit of fat for energy from that butter, some good carbs to get you going, and even a little protein. It’s a balanced indulgence, if you ask me. Just make sure you have a glorious cup of coffee ready to go with it!
Share Your Royal Baking Creations
And there you have it! You have officially mastered the **chocolate croissant** without needing to spend a week tending to a sourdough starter or battling sticky butter layers. That, my friends, is how we rule our own tables here at Eatable Empress. You took humble puff pastry and turned it into something that smells and tastes like a vacation in Paris!
Now, Marco and I genuinely want to see your royal results. Cooking is so much better when you share the feast, even if that feast is just for you and your spouse on a quiet Thursday morning. Seriously, we live for these success stories!
Did you try the optional sprinkle of sugar? Did you curve them into crescents or keep them straight for that classic Pain au Chocolat silhouette? Tell us everything!
Please take a moment to rate this recipe and leave a comment right below. Your feedback is how we know which simple feasts deserve more attention in our court. If you snap a photo of your golden, flaky creation—especially if you’re enjoying it with your favorite mug of coffee—tag us on social media! We love seeing how you bring the royal treatment to your own kitchen.
Come back soon; we’ve got more ways to help you savor the simple feast. You can always catch up on all our latest culinary decrees over on the main blog index!
PrintEasy Homemade Chocolate Croissants: Bakery Style Without the Lamination

You deserve flaky, buttery pastries. Learn how to make incredible chocolate croissants, or pain au chocolat, using a simple puff pastry shortcut for quick, indulgent morning treats.
- Prep Time: 15 min
- Cook Time: 20 min
- Total Time: 35 min
- Yield: 8 servings
- Category: Breakfast
- Method: Baking
- Cuisine: French
- Diet: Vegetarian
Ingredients
- 1 package (14.1 ounces) all-butter puff pastry, thawed according to package directions
- 4 ounces bittersweet or semi-sweet chocolate baking bars (like Lindt or Ghirardelli), cut into 1/2-inch thick sticks
- 1 large egg, beaten with 1 teaspoon water (for egg wash)
- 1 tablespoon granulated sugar (optional, for sprinkling)
Instructions
- Preheat your oven to 400 degrees Fahrenheit (200 degrees Celsius). Line two baking sheets with parchment paper.
- Unfold the thawed puff pastry sheets onto a lightly floured surface. If the pastry is still slightly sticky, dust your hands lightly with flour.
- Cut each pastry sheet in half lengthwise to create four long rectangles. Then, cut each long rectangle in half crosswise, resulting in eight smaller rectangles total.
- Place one piece of chocolate near the short edge of one rectangle. Roll the pastry over the chocolate once, then place a second piece of chocolate near the new edge. Continue rolling tightly until you reach the end of the dough strip. Pinch the seam closed gently.
- Curve the rolled pastry slightly to form a crescent shape, if desired, or leave it straight for a traditional pain au chocolat look. Place the shaped croissant seam-side down on the prepared baking sheet. Repeat with the remaining dough and chocolate.
- Brush the tops of the croissants evenly with the egg wash. If you like a slightly crisp, sweet exterior, sprinkle lightly with granulated sugar.
- Bake for 15 to 20 minutes, or until the croissants are puffed, golden brown, and flaky.
- Remove from the oven and let them cool on the baking sheet for 5 minutes before transferring them to a wire rack to cool slightly. Serve warm for the best melted chocolate experience.
Notes
- For the flakiest results, ensure your puff pastry remains cold while you work with it. If the dough gets too warm, place the assembled croissants in the refrigerator for 10 minutes before baking.
- You can substitute the chocolate sticks with high-quality chocolate chips if you prefer, though sticks melt more evenly.
- If you want a truly bakery style croissant, you must use all-butter puff pastry; margarine-based pastry will not achieve the same rich flavor or texture.
Nutrition
- Serving Size: 1 croissant
- Calories: 320
- Sugar: 12
- Sodium: 280
- Fat: 19
- Saturated Fat: 11
- Unsaturated Fat: 8
- Trans Fat: 0.5
- Carbohydrates: 30
- Fiber: 1
- Protein: 6
- Cholesterol: 45