

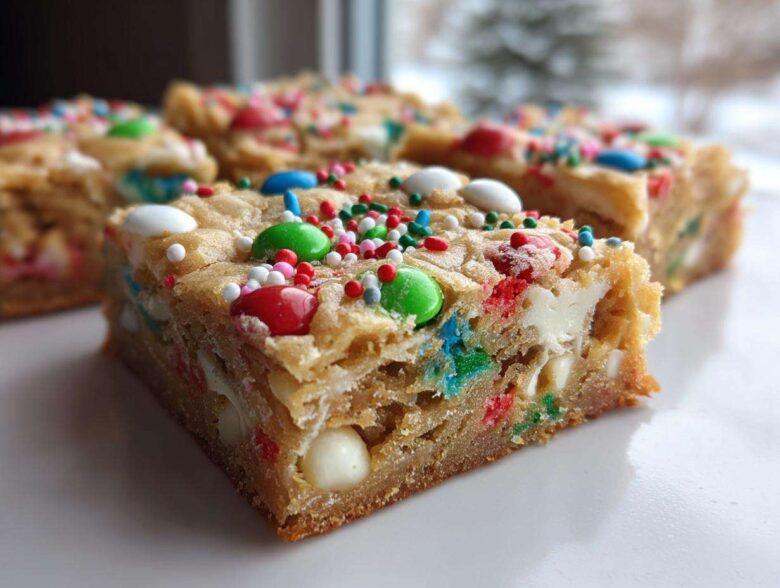
The holidays are supposed to feel magical, right? But let’s be honest, sometimes they feel like a marathon of fussy baking where you’re stuck rolling dough for hours. I hear you. As the Eatable Empress, I’ve declared an end to that stress! My philosophy, which you can read more about on our About Us page, is that you deserve to feel regal every day, especially when things get hectic. That is why I live for these **ultimate chewy Christmas cookie bars**. Forget scooping perfect circles; these are one-pan superstars loaded with colorful M&Ms and sprinkles. We are honoring our simple feast and making joy easy this season, I promise you.
Why These Christmas Cookie Bars Are Your New Holiday Staple
When I look around during the holidays, I see so many friends stressing over delicate, fussy cookies that take forever to decorate. Not here! These **Christmas cookie bars recipe** are my secret weapon for keeping things joyful and delicious. They deliver that deep, buttery satisfaction we crave in a classic cookie but in a completely stress-free format. You don’t even need to scoop dough onto a sheet!
That’s right—these are the definition of **easy holiday cookie bars**. We press the dough right into the pan. And the texture? Oh, they are perfectly **chewy Christmas bars**, rich and soft, studded with those bright M&Ms and sprinkles that scream ‘holiday cheer.’ They are officially the queen of one-pan desserts in my holiday rotation. Find the full recipe details saved right here if you need them!
Gathering Ingredients for Your Festive M&M Cookie Bars
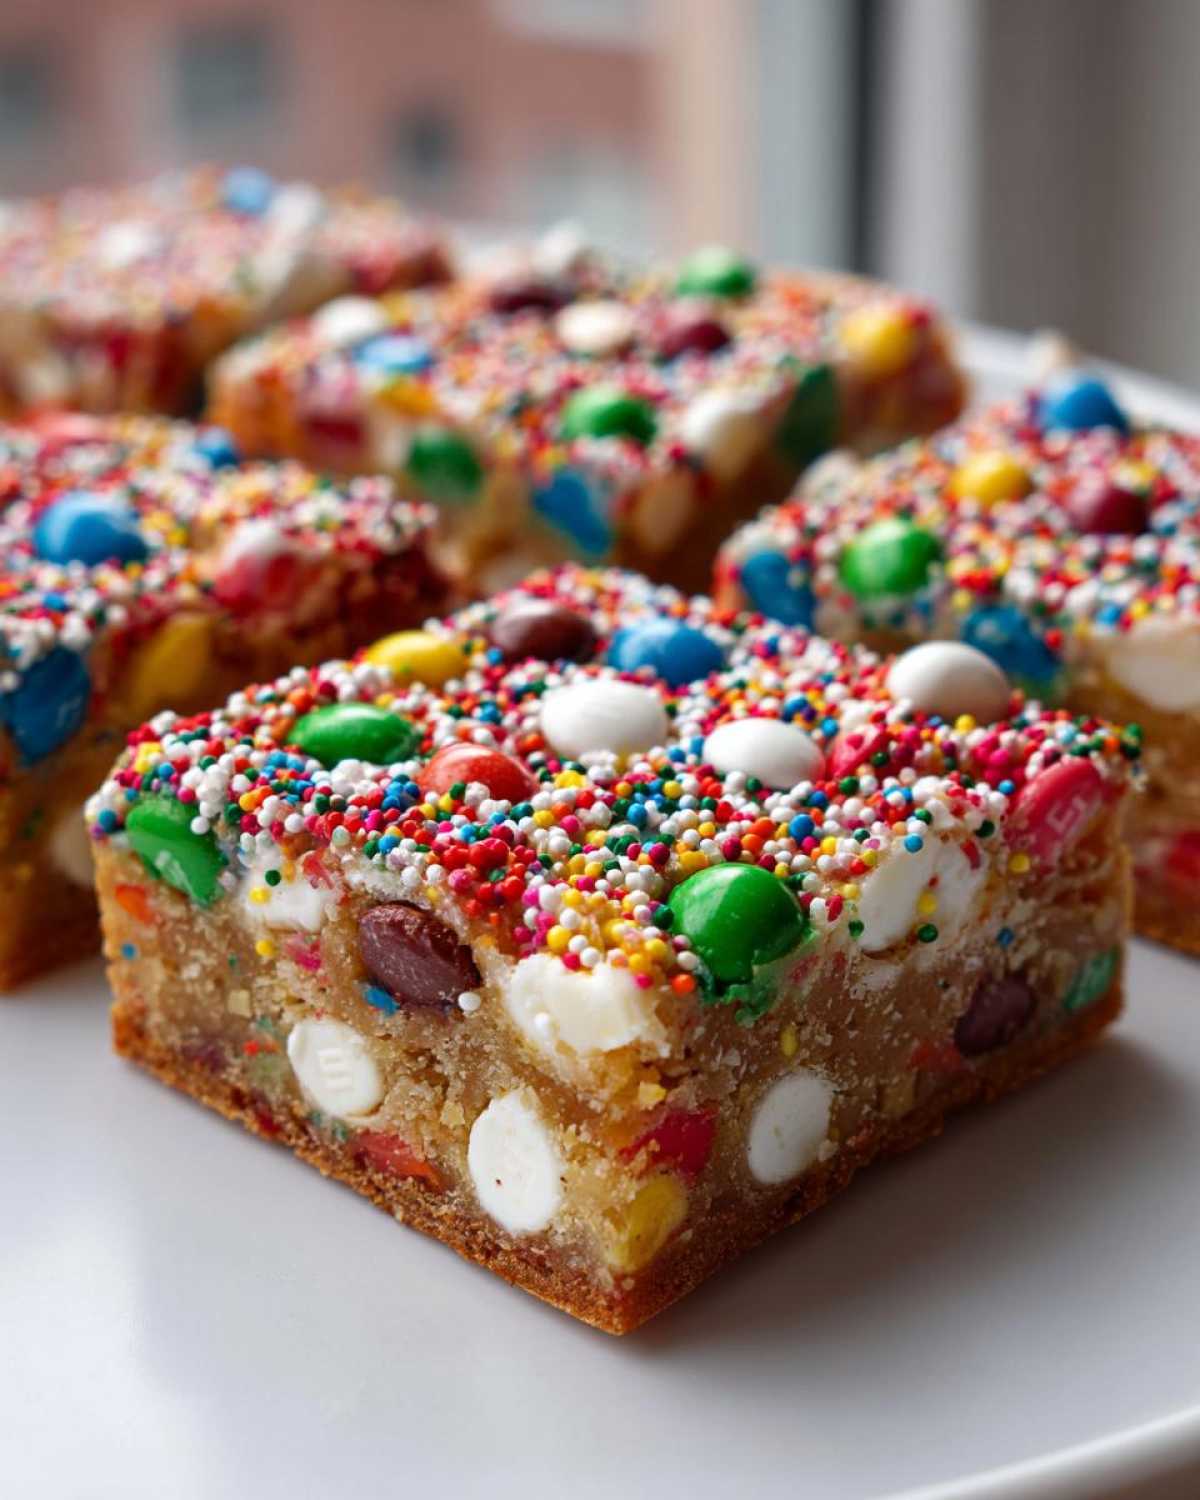
Before we get royal in the kitchen, we have to make sure our pantry is stocked. This is where the magic starts, and trust me, quality ingredients make all the difference, especially the butter if you want those perfect **buttery holiday squares**!
I wrote down everything super clearly because trying to find a missing egg when you’re halfway through creaming the sugar is just a recipe for disaster, not a simple feast. We need to pull everything out and admire our colorful haul before we start mixing.
Essential Components for Rich Christmas Cookie Bars
You’re going to need a standard 9×13 inch baking pan for this recipe—make sure you line it with parchment paper so the overhang acts like built-in handles later on. That parchment is your best friend for stress-free removal!
- You need one full cup of unsalted butter, and it absolutely must be softened. Not melted, just soft enough to easily dent with your finger.
- For that deep, rich chewiness we want, measure out one cup of light brown sugar, and be sure to pack it down into the cup! We also need a half cup of regular white, granulated sugar.
- Two large eggs, room temperature if you can swing it, and a full tablespoon of good vanilla extract.
- For the dry base, gather 2 and 1/4 cups of all-purpose flour, one teaspoon of baking soda, and just a half teaspoon of salt. Keep these whisked together!
- Here comes the fun part: one cup of holiday M&Ms—I only use the red and green ones for maximum festive vibes!
- A half cup of white chocolate chips blends so beautifully with the butter flavor.
- And finally, the showstopper: a half cup of festive Christmas sprinkles. Make sure they are the chunky holiday mix, not just the sad little jimmies!
Step-by-Step Guide to Making Ultimate Chewy Christmas Bars
Okay, command center ready! This is where we put Marco’s favorite philosophy into action: simple steps lead to maximum payoff. Creating these **cookie bar recipes for Christmas** is truly **simple Christmas baking**, but we need to treat the mixing process with the respect it deserves to guarantee that chewy texture. This isn’t like mixing a sponge cake; we’re building a dense, luxurious cookie base here.
Preparation and Mixing for Perfect Christmas Cookie Bars
First things first—fire up that oven to 350°F (175°C). Remember how I stressed the parchment paper overhang? Make sure it’s there; it’s how you get the bars out in one glorious piece later. Trust me, lifting them out with the parchment handles feels like royalty!
Now for the most important step for texture: creaming. Get that softened butter, brown sugar, and white sugar into your big bowl. This takes a minute, but you are forcing air into the fat, which is your structure stabilizer. I always tell Marco, “If it doesn’t look pale and fluffy enough to be a festive cloud, keep going!” Beat those eggs in one by one, followed by that ribbon of vanilla.
When you combine the dry mixture into the wet ingredients, this is crucial: stop mixing as soon as the last streak of flour disappears. Overmixing develops tough gluten, and we want soft, tender bars, not chew toys. You’re almost there!
Assembling and Baking Your One Pan Holiday Desserts
Time to bring in the candy! Gently fold in those glorious M&Ms and white chocolate chips. Now, don’t dump it all in the pan at once. We are layering for maximum visual appeal and texture contrast in these **one pan holiday desserts**.
Press about two-thirds of your dough firmly into the bottom of that prepared pan. Don’t have patches—press it evenly right to the edges. Next, rain down those festive sprinkles across the surface. They’ll stick right into the dough layer. Take the last third of your cookie dough and just crumble it randomly over the top of the sprinkles. This creates those wonderful, slightly crisp crumbles on top!
Slide it into the preheated oven for about 25 to 30 minutes. You want the edges looking light golden brown, but the center should still look *set* but not dry. Resist the urge to pull them out early! If they look done, they probably are. We’ll discuss the cooling ritual next, as that’s how we lock in all that chewiness. You can check out some of my other favorite baking rituals over here, like the one for my coffee cake cookies!
Tips for Success with Your Christmas Cookie Bars Recipe
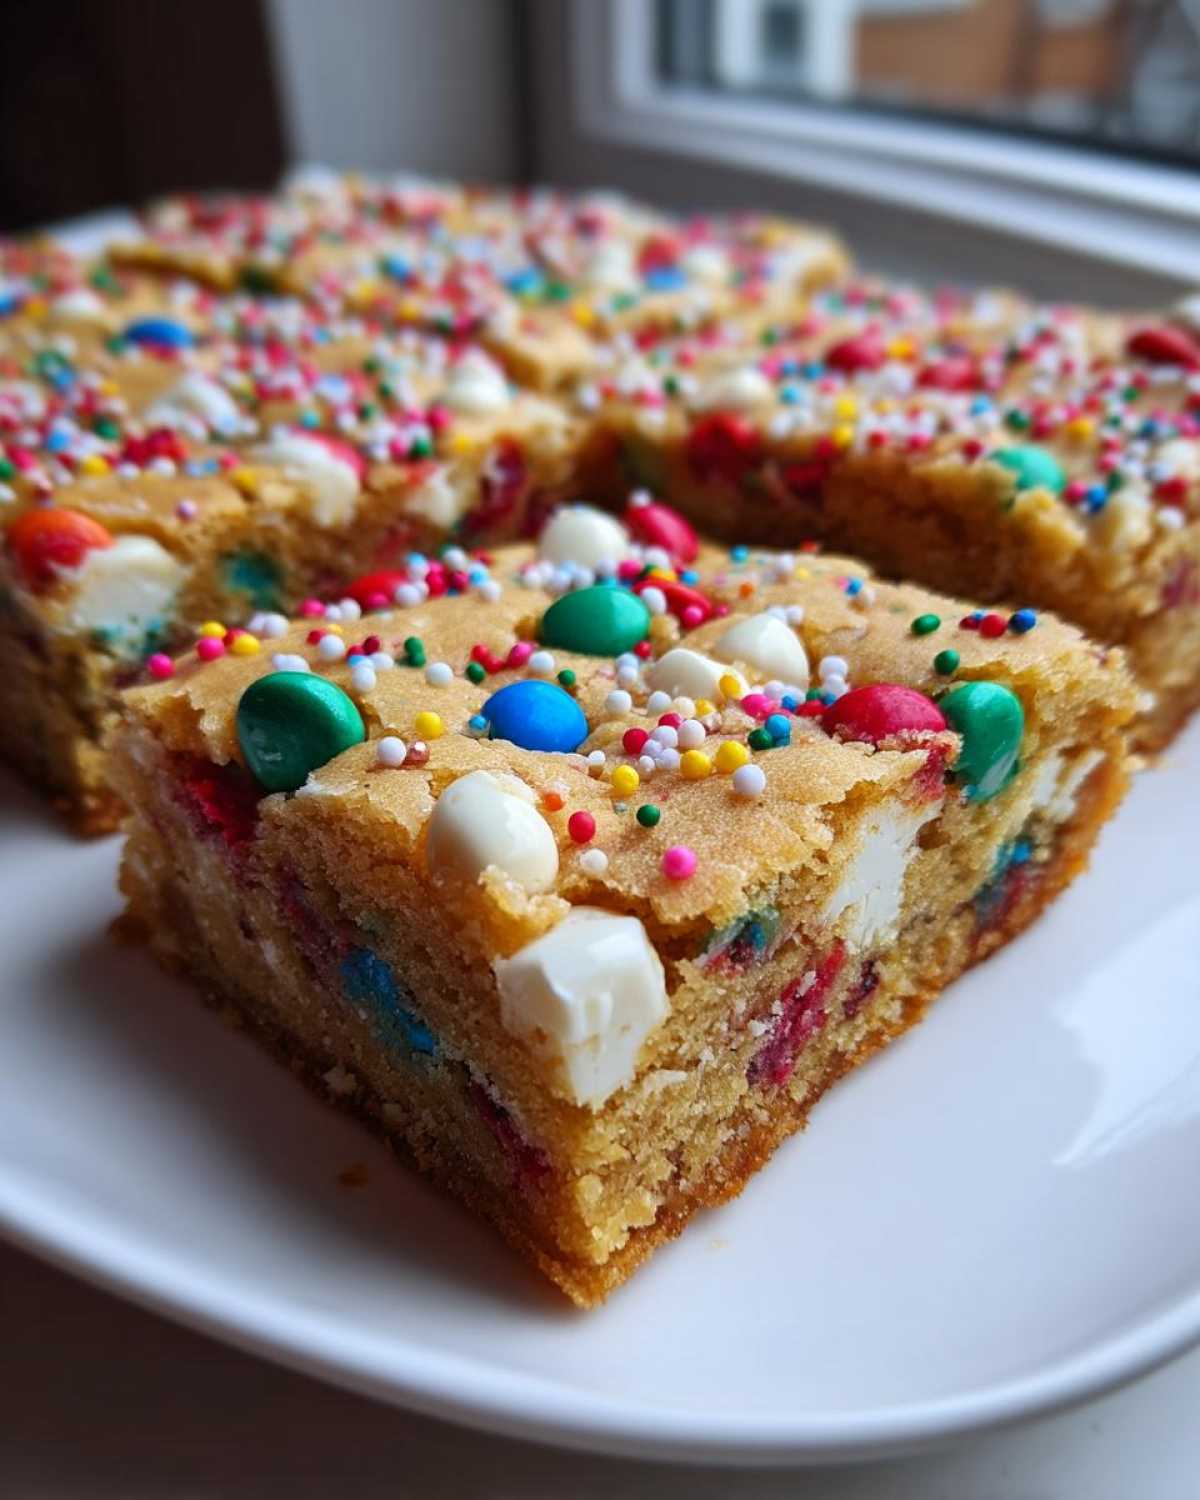
We’ve made it through the mixing, but honestly, the cooling process is just as vital if you want true, decadent **chewy Christmas bars**. Don’t rush this part! I know the smell of warm, buttery sugar is intoxicating, but if you try to slice these right out of the oven, you’ll end up with a beautiful, multicolored puddle instead of perfect squares. Let them cool completely in that pan on the rack. Marco usually has to guard them because my impulse is always to poke one!
If you want that ultimate chewiness locked in, remember step one from my notes on ingredients: really pack that light brown sugar when measuring. It’s there for the moisture and molasses flavor, and if you don’t pack it, your bars will bake up too dry. It’s a small thing, but it’s the difference between good and Eatable Empress approved!
Another thing—don’t be afraid to use an 8×8 inch pan if you want bars so thick they need a knife and fork! Just know that if you go smaller, you have to check them longer, maybe adding 5 to 10 extra minutes. If that sounds like too much oven time, stick to the 9×13. I actually have a whole section on my best tips for avoiding cracks in things like cheesecakes, and many of those cooling principles apply here: slow and steady wins the race for texture!
Variations for Your Decorated Christmas Dessert Bars
Part of the fun of simple Christmas baking is making the recipe your own! I absolutely adore the classic look of the red and green M&Ms and bright sprinkles for our main batch of **christmas cookie bars**, but when I’m feeling extra playful, I love switching things up. Since these are inherently rich and buttery holiday squares, they take to swaps like a dream. You do not have to stick to the classics if you don’t want to!
If you aren’t big on white chocolate, try swapping those chips out for peanut butter chips. The combination of peanut butter and chocolate is just decadent, and it pairs beautifully with the sweet vanilla base. Or, ditch the M&Ms entirely and go for salty additions! Chopped pecans or walnuts are fantastic if you’re looking for crunch, though those are decidedly less festive color-wise.
For the sprinkles, you can really dictate the mood of your **decorated Christmas dessert bars**. If you’re having a cozy movie night, maybe use only white and silver sprinkles for a snowy look. If you’re making them for a New Year’s party, shift to gold, silver, and black! We’re commanding our table here, remember? If you want to explore my zestier side, check out my recipe for lemon meltaway cookies—it proves that bright citrus can also feel special!
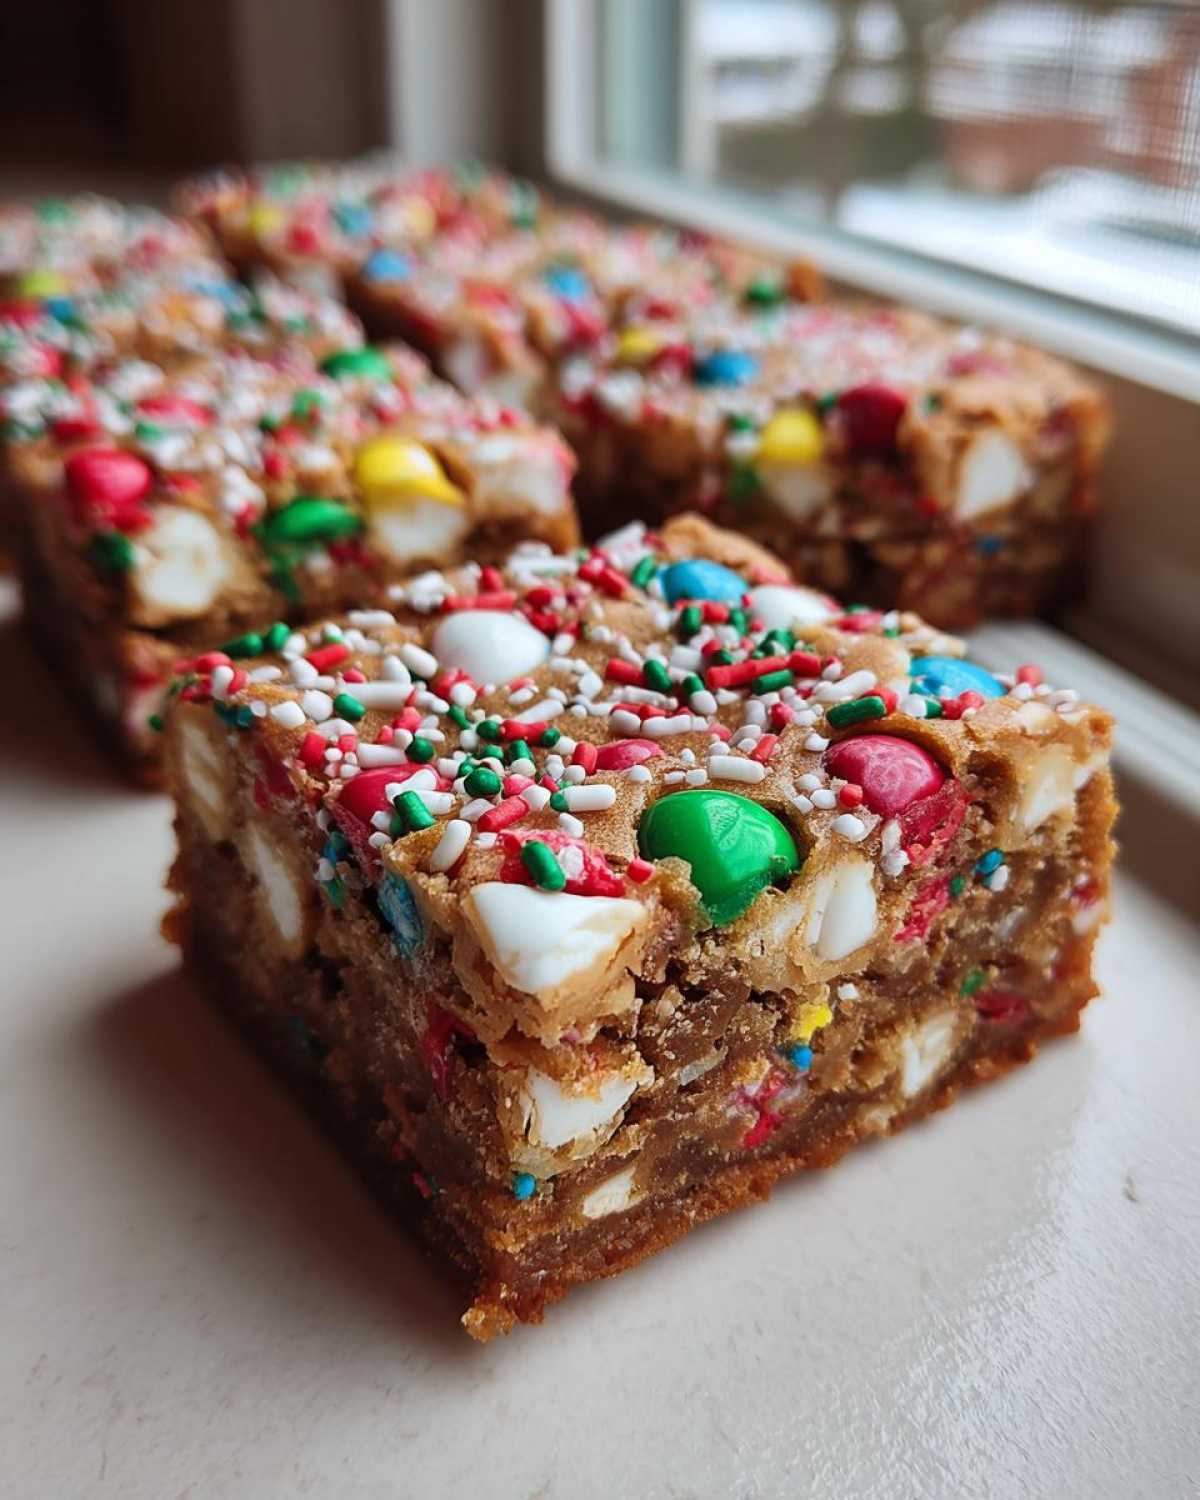
The beauty of this simple recipe is that it’s sturdy enough to handle almost any mix-in you throw into the batter. Just remember, if you add something very heavy, like lots of dried fruit, you might need to give it an extra minute or two in the oven, just to make sure the center is truly set before you dive into that cooling process.
Storage and Make Ahead Holiday Bars
The holidays get so wonderfully hectic, don’t they? Between wrapping presents and setting the table for impromptu guests, sometimes you just need to get ahead of the game. That’s why I absolutely love that these **christmas cookie bars** are fantastic **make ahead holiday bars**. You can conquer your dessert list early and save your precious oven space for the main event!
Marco and I have a pact: if we can make something once and enjoy it twice, we will. With these bars, you have two amazing options. First, you can bake them completely, let them cool fully—remember that critical cooling step!—and then store them in an airtight container at room temperature. They stay magically chewy for up to four solid days. I usually put a layer of parchment between stacked bars just to keep the sides from sticking together after slicing.
Second, and this is my favorite trick for sanity during busy weeks, you can prepare the dough in advance! Just follow the recipe right up to the point where you press the dough into the pan. Once the dough is pressed in—and you’ve sprinkled those gorgeous M&Ms and chocolate chips in—cover the whole pan tightly with plastic wrap. You can keep this raw dough in the refrigerator for up to two days. When you’re ready to serve them, just follow the baking instructions! It feels like cheating, but it’s really just smart empress planning.
If you are storing the dough or the finished product, it makes a perfect pairing with something cozy. I always make a huge batch of my homemade hot cocoa mix right around the same time, so we always have the perfect rich, warm beverage to go alongside these buttery squares. It makes the kitchen smell amazing!
Serving Suggestions for These Buttery Holiday Squares
Okay, the bars are cooled, they are sliced perfectly (because you chilled them, right?), and now it’s time to treat yourself like royalty! These **buttery holiday squares** taste incredible all on their own—they are rich enough to be their own celebration. Marco insists that a simple, elegant presentation elevates any meal, even a quick dessert like this one.
When Marco sets up our little evening ritual, he always stacks two of these bars on a small dessert plate—never just piling them onto a paper napkin! He says the structure reminds us that we are honoring the moment. They are perfect bite-sized treats for any holiday platter, but if you’re serving them just for us—the royal couple—make it special!
My favorite pairing, especially on a cold evening when we’re winding down after a long day of holiday prep, is something warm and utterly decadent. These bars are wonderful when served alongside a mug of my creamy white hot chocolate. The vanilla sweetness of the bar melts right into the velvety chocolate drink. It’s the ultimate simple feast experience!
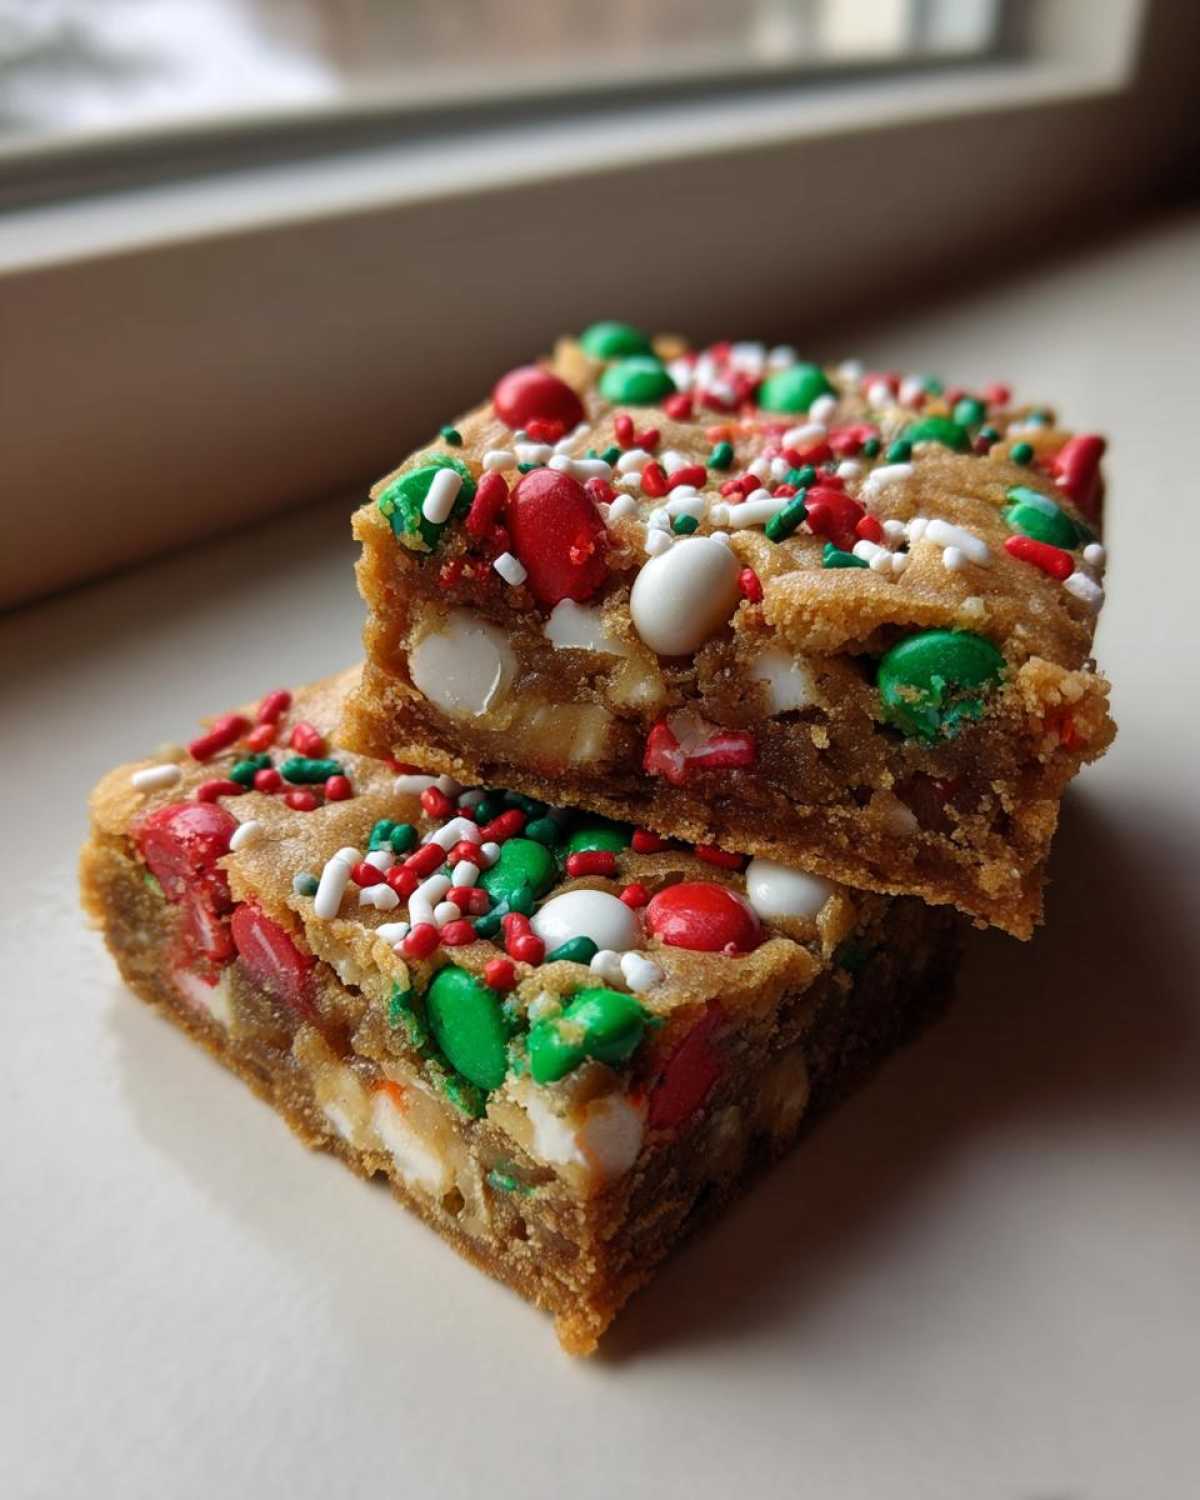
If you are hosting a bigger gathering and want to bulk up your dessert table a bit, serving these squares next to a bowl of fresh raspberries or a dollop of slightly tart lemon curd cuts through that golden butter flavor beautifully. It adds a layer of sophistication without baking another thing! For more ideas on making simple desserts feel totally grand, you can see what my friends over at The Comfort Pan are doing with their holiday bakes!
Frequently Asked Questions About Christmas Cookie Bars
I know when you’re trying to make a batch of **quick Christmas treats**, you might have a few little lingering doubts! That’s totally normal. I always have questions right before I put something in the oven, even when I’m making my own family favorites. Here are the things I get asked most often about achieving perfection with these **christmas cookie bars recipe**.
Can I use different candies instead of M&Ms in these Christmas cookie bars?
Yes, absolutely! This is your kitchen, Empress! The M&Ms are fantastic because they hold their shape really well during baking, which keeps those colors bright. If you use something softer, like chopped peppermint bark, it might melt a bit more and swirl into the dough, which is delicious but less visually striking. If you try chopped candy canes, they melt faster, so you might want to stir those in right at the very end, almost immediately before pressing the dough into the pan, just to keep that candy crunch apparent in your **buttery holiday squares**.
What is the best way to cut these bars cleanly?
This is where we apply the royal patience we talked about earlier! If you try to slice these while they are even slightly warm, you are going to get that chewy, sticky drag that ruins the sharp edges. You must let them cool *completely* in the pan. I mean completely! Then, here’s my trick: even after they cool on the counter, slip the entire covered pan into the refrigerator for about an hour before slicing. Cold dough cuts like butter! Use a large, sharp knife, wipe the blade clean between each cut, and you’ll get beautiful, perfect squares ready for gifting or serving. It makes these irresistible **cookie bar recipes for Christmas** look totally professional.
If you’re looking for other ways to jazz up your dessert presentation without adding work, check out my notes on making simple chocolate mousse—sometimes the best presentation is a dollop of something rich on top of a perfectly chewy base!
Understanding Nutrition in Your Christmas Cookie Bars
Now, I know when we are pulling out these gorgeous **christmas cookie bars**, we aren’t really thinking about macros. Marco and I are firm believers that the holidays are the time for indulgent, soul-warming food. We are honoring the moment, not counting every single calorie we put into our bodies—that’s what January is for, right?
However, since we are treating ourselves like royalty, it’s only fair to know what’s going into these rich, **buttery holiday squares**. These figures are based on dividing the whole batch into 24 servings, so keep in mind that slicing them into smaller pieces for a quick serving might change these numbers slightly!
Here is a breakdown of the estimates for one of these decadent cookie bar servings:
- Serving Size: 1 bar
- Calories: About 210
- Fat Content: 11g (about 6g of that is the satisfying saturated fat from the real butter we used!)
- Carbohydrates: 27g
- Sugar Swirl: 18g
- Protein: 2g
See? It checks out as a perfect, satisfying treat! While these aren’t exactly our light, weekday dishes (you can browse those on the main blog page), they truly make the holiday season feel worth it. If you’re looking for ways to manage indulgence during the busy season, remember that making things ahead of time means you’re less likely to grab something less satisfying later. These are truly some of the best **quick Christmas treats** because they last long and keep you happy!
PrintUltimate Chewy Christmas Cookie Bars with M&Ms and Sprinkles
Make your holiday baking simple and festive with these ultimate chewy Christmas cookie bars. They are packed with colorful M&Ms and sprinkles, offering rich, buttery flavor in a single-pan dessert that requires no scooping.
- Prep Time: 15 min
- Cook Time: 30 min
- Total Time: 45 min
- Yield: 24 servings
- Category: Dessert
- Method: Baking
- Cuisine: American
- Diet: Vegetarian
Ingredients
- 1 cup unsalted butter, softened
- 1 cup packed light brown sugar
- 1/2 cup granulated sugar
- 2 large eggs
- 1 tablespoon vanilla extract
- 2 1/4 cups all-purpose flour
- 1 teaspoon baking soda
- 1/2 teaspoon salt
- 1 cup holiday M&Ms (red and green)
- 1/2 cup white chocolate chips
- 1/2 cup festive Christmas sprinkles
Instructions
- Preheat your oven to 350°F (175°C). Line a 9×13 inch baking pan with parchment paper, leaving an overhang for easy removal.
- In a large bowl, cream together the softened butter, brown sugar, and granulated sugar until the mixture is light and fluffy.
- Beat in the eggs one at a time, mixing well after each addition. Stir in the vanilla extract.
- In a separate bowl, whisk together the flour, baking soda, and salt. Gradually add the dry ingredients to the wet ingredients, mixing on low speed until just combined. Do not overmix.
- Gently fold in the holiday M&Ms and white chocolate chips.
- Press about two-thirds of the cookie dough evenly into the bottom of the prepared baking pan.
- Sprinkle the festive Christmas sprinkles evenly over the dough layer.
- Take the remaining one-third of the dough and crumble it evenly over the top of the sprinkle layer. Gently press down slightly so the crumbs adhere.
- Bake for 25 to 30 minutes, or until the edges are lightly golden brown and the center is set.
- Let the bars cool completely in the pan on a wire rack before lifting them out using the parchment paper overhang.
- Slice into squares and serve your easy holiday cookie bars.
Notes
- For the chewiest texture, ensure your brown sugar is packed firmly when measuring.
- You can prepare this dough ahead of time and store it covered in the refrigerator for up to 2 days before baking.
- If you want a slightly thicker bar, use an 8×8 inch pan, but adjust the baking time, checking for doneness around 35-40 minutes.
Nutrition
- Serving Size: 1 bar
- Calories: 210
- Sugar: 18g
- Sodium: 95mg
- Fat: 11g
- Saturated Fat: 6g
- Unsaturated Fat: 5g
- Trans Fat: 0g
- Carbohydrates: 27g
- Fiber: 1g
- Protein: 2g
- Cholesterol: 35mg