

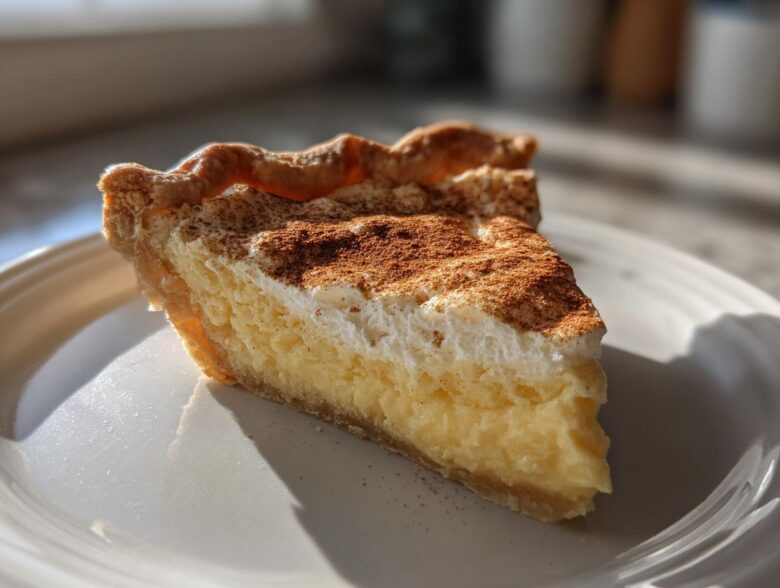
Oh, friends, are you ready for pure, unadulterated comfort? Forget the six-hour baking marathons; sometimes, the most beautiful thing you can serve is the simplest. That’s why I insist you try this custard pie recipe. Marco and I finally figured out the ritual for achieving that impossibly creamy, velvety texture we chase, and the real magic? It practically guarantees you a flawless, non-cracked top. I used to think home cooking had to be a performance for guests, but honestly, reclaiming my weeknights with simple, soulful desserts like this is what made me an Eatable Empress. You know how serious I am about getting a perfect texture; if you loved my guide to crack-free cheesecakes, you’ll adore the simplicity here. This classic egg custard pie will be your new go-to whenever you need a hug in a slice.
Why This Old Fashioned Custard Pie is Your New Comfort Food Pie
If you crave that deep, nostalgic flavor that only a truly old fashioned custard pie can deliver, stop looking. This recipe nails it—creamy, rich, and made using basic pantry staples. Forget fussy steps; we need our weeknight feasts to be glorious but manageable, right? This pie is just pure, comforting tradition without any fuss.
- It’s wonderfully simple—truly an easy custard pie that tastes like it took all day.
- It delivers the perfect balance of vanilla and subtle spice.
- It holds that luxurious texture that screams ‘homemade’ without any stress.
Marco always requests this one when he needs a pick-me-up. If you are looking for a dessert like my soft streusel coffee cake cookies, this hits the same sweet spot of cozy perfection.
Achieving Silky Smooth Pie Filling Every Time
The goal here is a silky smooth pie filling, not a spongy scramble. We manage this by treating our eggs with respect—no aggressive whisking! Then, we temper the warm milk into the yolks very slowly. This gentle introduction, combined with the right ratio of eggs to milk, ensures the texture melts in your mouth rather than setting up too stiffly. It’s the only way to get that luscious, velvety mouthfeel we are after.
The Secret to a No Crack Custard Pie
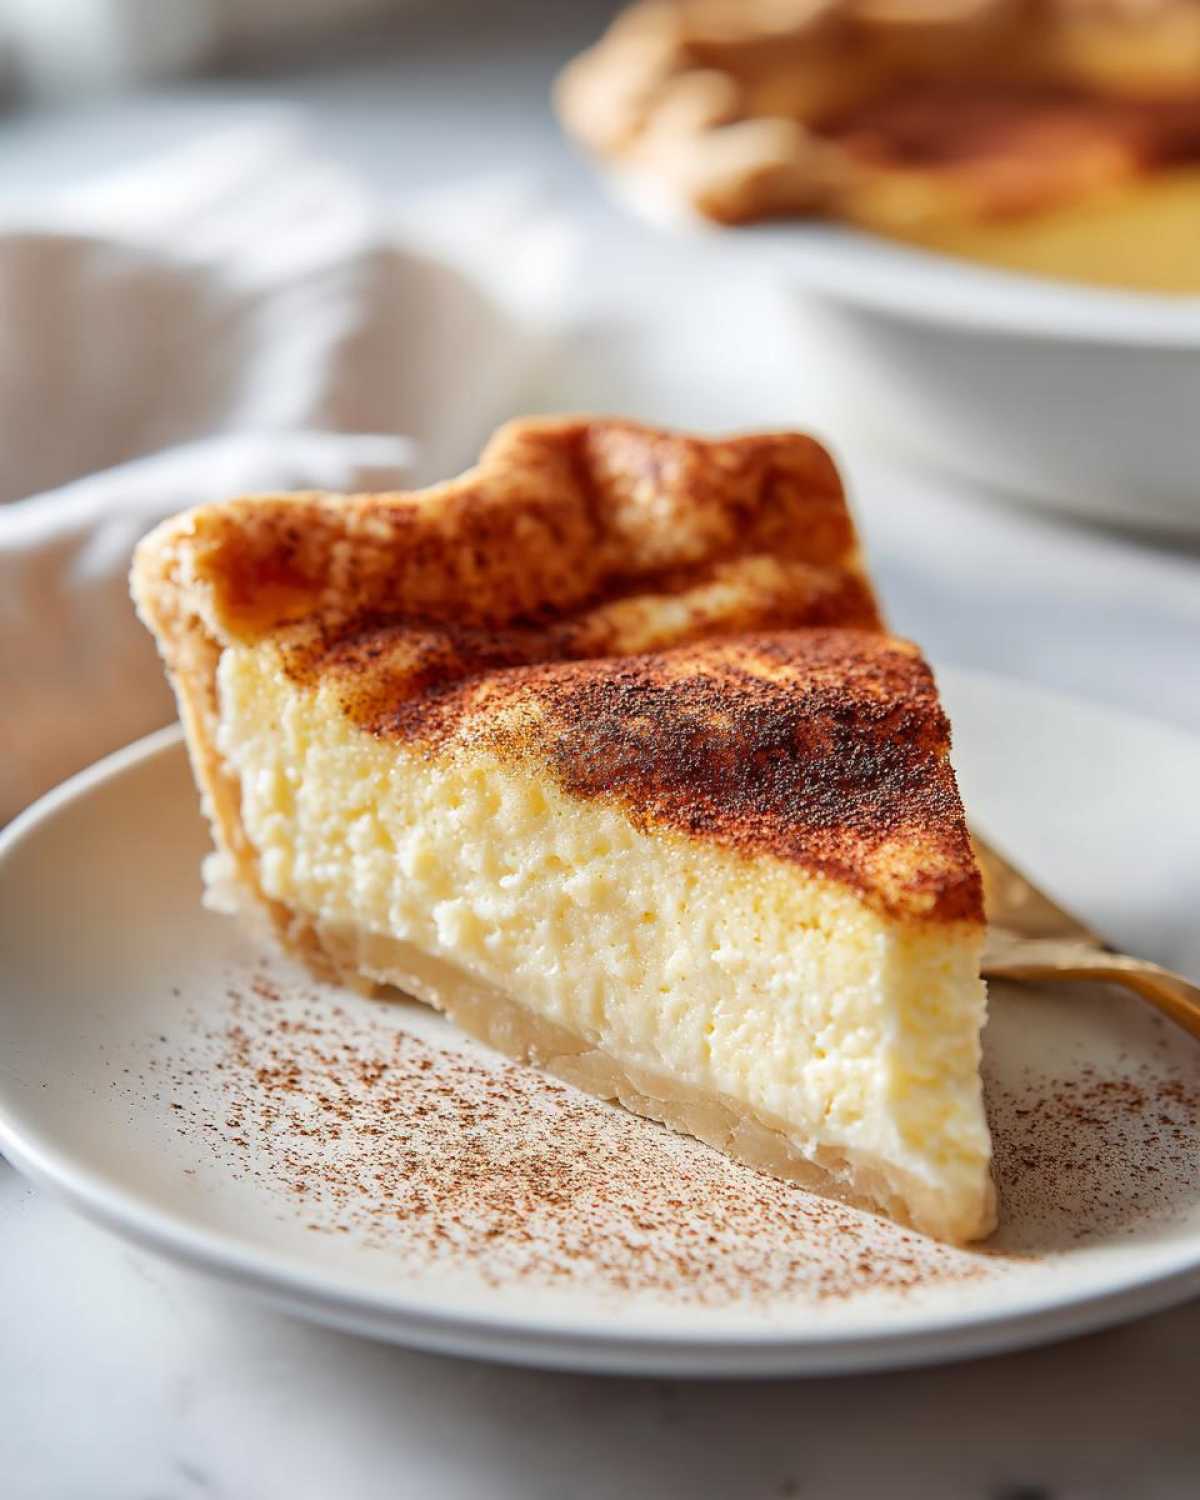
I know everyone stresses about that dreaded crack right in the center, don’t you? Don’t worry about it anymore. The key to a no crack custard pie isn’t just the mixing; it’s the cooling process. We pull the pie when it still has a noticeable jiggle, and letting it cool slowly on the counter handles the rest of the cooking naturally. Baking it on a sheet pan also helps regulate the heat from below, which prevents bubbling and cracking underneath the surface.
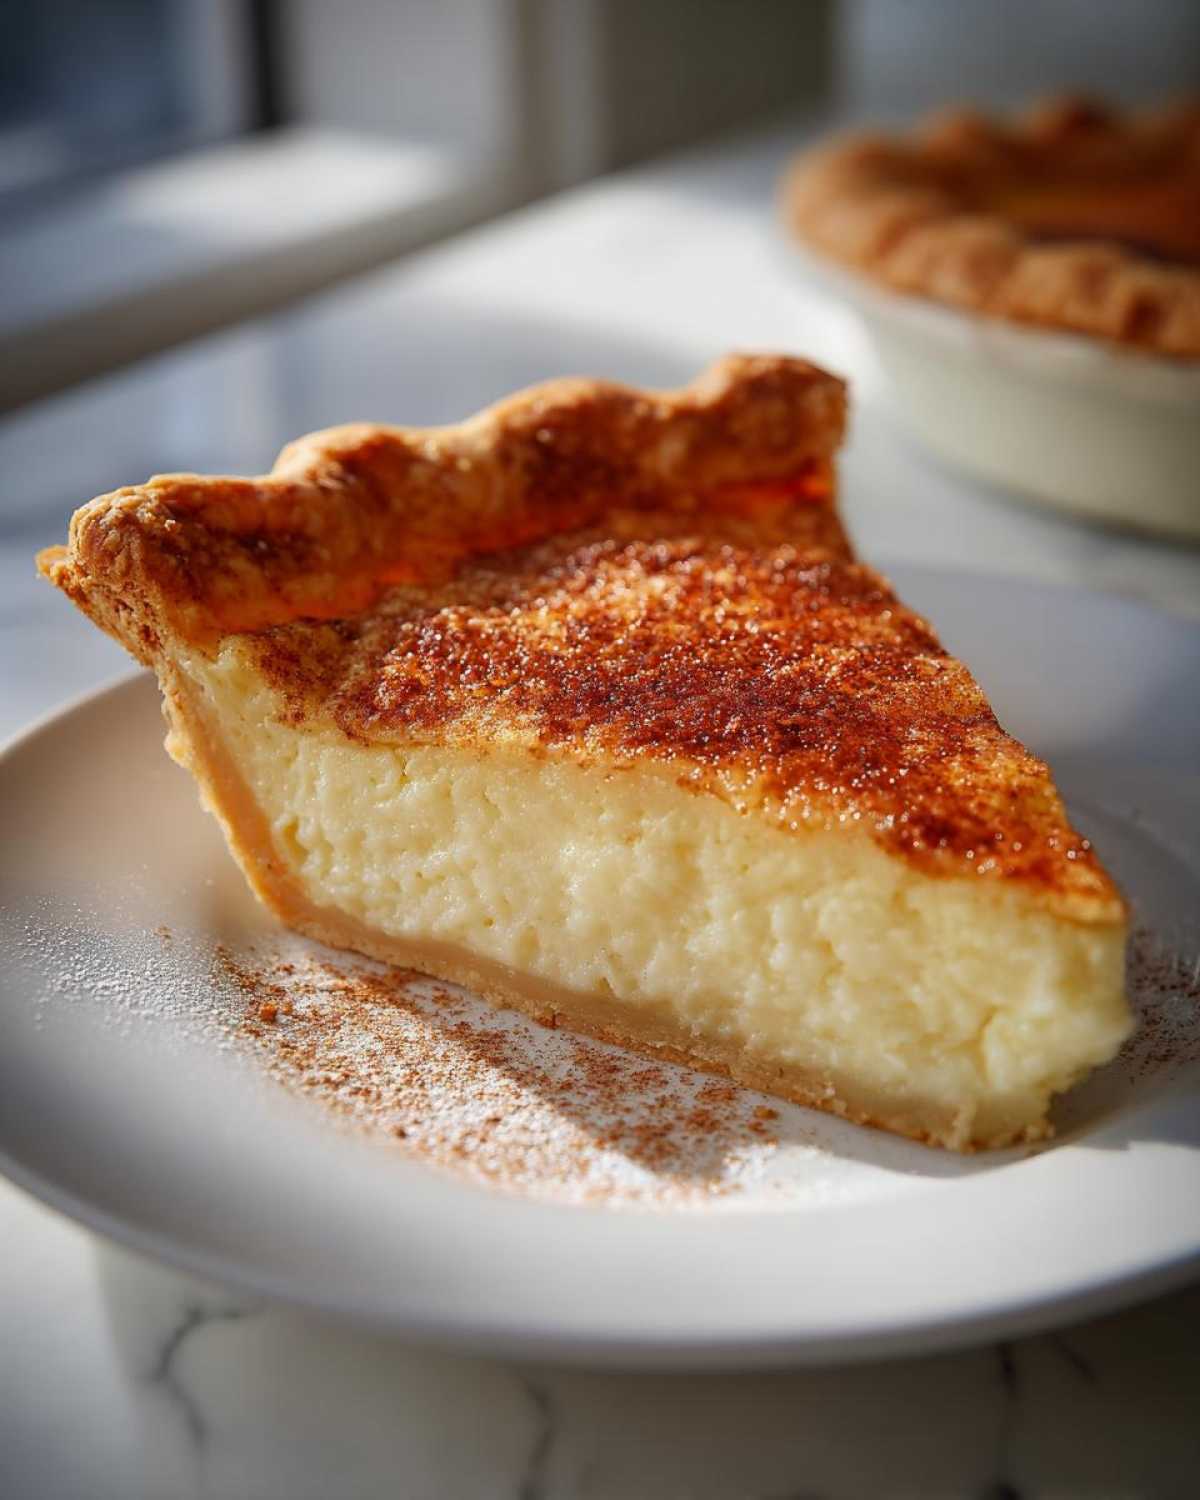
Ingredients for Your Creamy Custard Pie Recipe
We are sticking to simple, classic ingredients here because that’s how you guarantee that old fashioned custard pie taste! Everything you need is usually right there in your pantry, which makes this a fantastic simple dessert pie idea for any night of the week. You trust simple ingredients when you want that perfect smooth texture, and these yield the absolute best results.
- One 9-inch unbaked flaky pie crust (don’t bake it first, trust me!)
- Four large eggs, whisked lightly
- 3/4 cup granulated sugar
- 1/4 teaspoon salt
- 1 teaspoon pure vanilla extract
- 2 cups whole milk (it needs to be whole milk for that richness!)
- A tiny dash of ground cinnamon for sprinkling on top—totally optional, but lovely!
Essential Equipment for Making the Best Custard Pie
Because this is such an easy custard pie, the equipment list is wonderfully short. We hate breaking out twenty different bowls for one simple dessert, right? You likely have everything you need on hand already. Get these three items ready, and you are halfway to that perfect, creamy slice!
- A sturdy 9-inch pie plate for your unbaked crust.
- A large mixing bowl—we aren’t using an electric mixer here!
- A medium saucepan to gently warm that whole milk.
- A reliable whisk for constant, gentle stirring.
How to Prepare Your Easy Custard Pie Instructions
Alright, let’s get this classic egg custard pie into the oven! This is where precision meets simplicity. First up, preheat your oven to 350 degrees F (175 degrees C). Remember, we are not pre-baking that flaky crust—just settle your unbaked pie crust right into the plate. Now, grab your bowl and let’s work gently. We need a lovely set, not a bubble bath! If you want to see how others approach this, check out some ideas like the Pioneer Woman’s version for inspiration.
The baking time is usually 40 to 50 minutes, but here’s the pro tip Marco reminds me of: pop a baking sheet on the lower rack while it cooks. It keeps that bottom heat from scorching or causing the filling to overwork itself. Check for doneness when the edges look solid but the center still has that little jiggle, okay? Then, the hardest part: cooling slowly for at least two hours. That cooling process finishes what the oven started, giving us that perfect texture without fail.
Mixing the Custard Base Gently
Listen to me: do not grab the electric mixer for this part! Over-beating those eggs chains way too much air into the mixture, and that air expands in the oven, causing the dreaded crack. We want to whisk the eggs lightly until they are just broken up. Then, whisk the sugar and salt in only until they disappear. Gentle incorporation builds our creamy foundation for this traditional pie recipe.
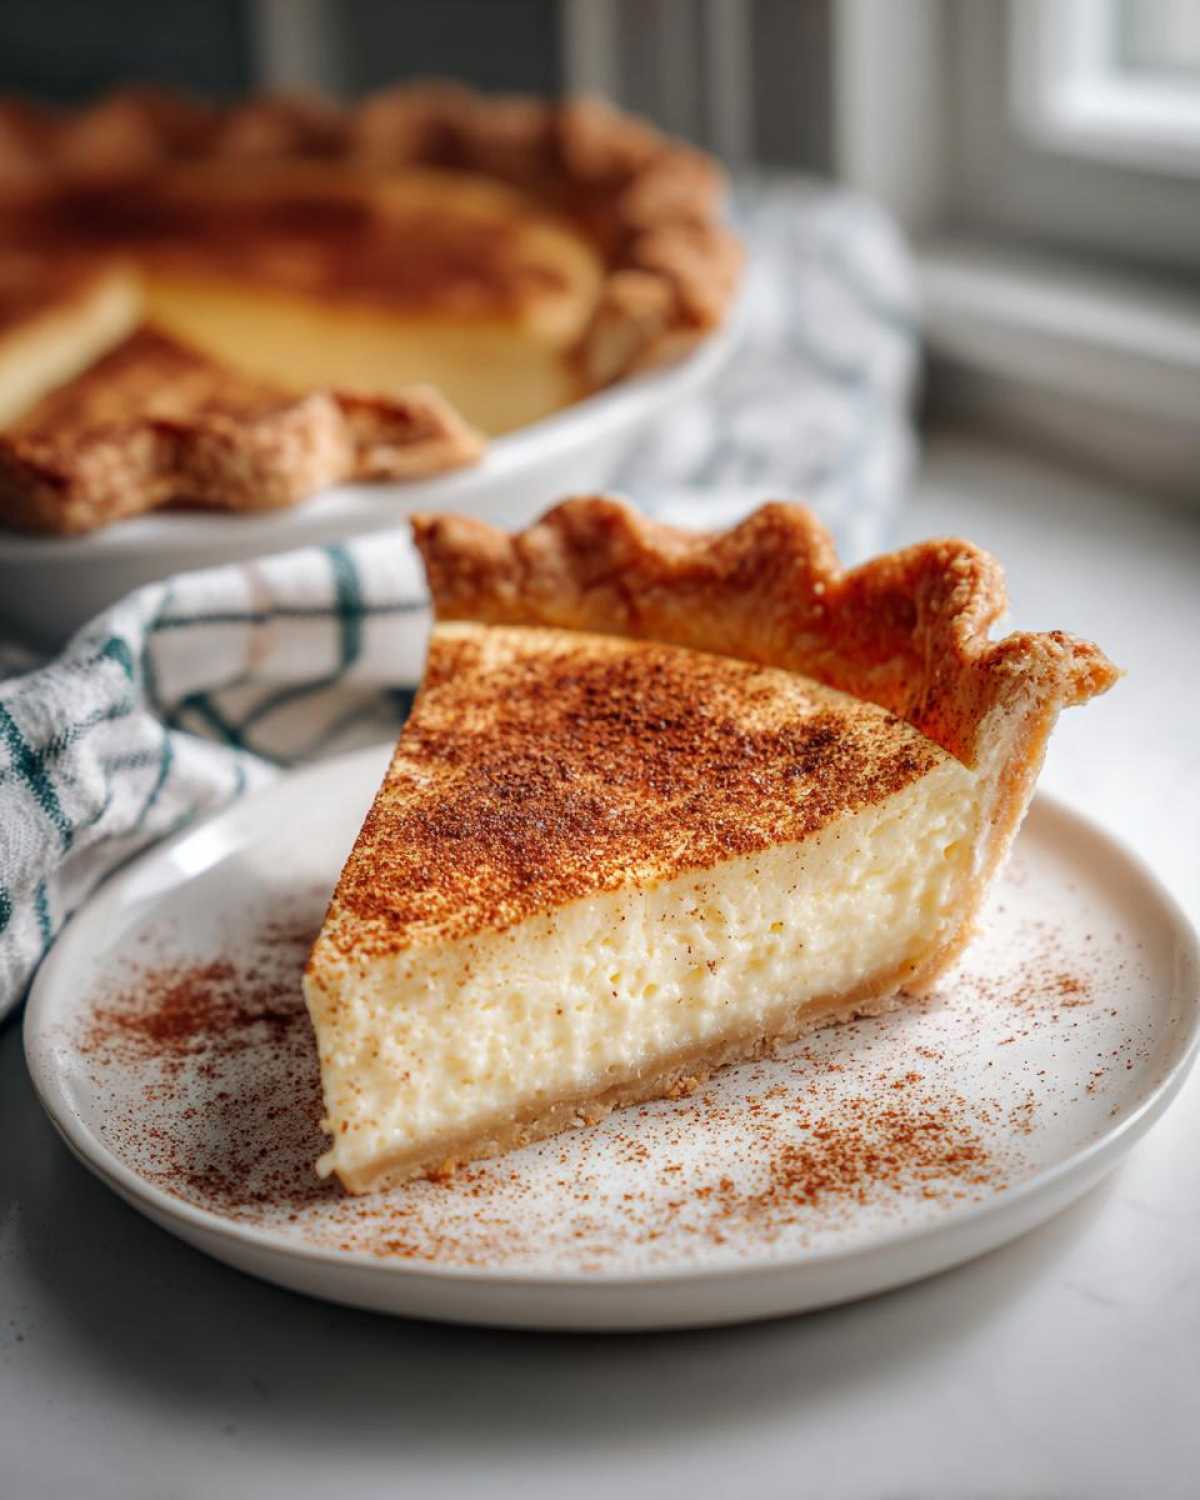
Tempering the Eggs for a Flawless Custard Pie
This step is pure Eatable Empress magic for that silky smooth pie filling! While you are whisking your eggs gently, we need to warm up the two cups of whole milk slowly—steaming, not boiling! Then, you pour that warm milk into the eggs in the slowest drizzle possible while whisking constantly. If you dump it all in, you’ll scramble your eggs instantly! Tempering coaxes the proteins in the eggs to accept the heat slowly, which is exactly how we achieve that perfectly smooth texture that makes this scone recipe’s cousin, the custard pie, so amazing.
Tips for Success with Your Homemade Custard Pie
Now that you know the technique, let’s talk about sealing the deal on that perfect, velvety finish for your homemade custard pie. My biggest advice, which Mom always stressed, involves the milk. Please, please use whole milk! Skim milk just doesn’t have the fat content needed to create that luxurious mouthfeel we are aiming for in this classic dessert. If you absolutely must substitute, use half-and-half or a mix of heavy cream and water, but the richness you get from whole milk is unmatched.
Also, resist the urge to rush the cooling. Seriously, wandering off to do something else while the pie cools on the counter is vital for that no crack custard pie goal. If you want that extra bit of holiday magic—maybe you’re making this a Christmas dessert pie—toss a tiny pinch of nutmeg into the warm milk when you heat it. It gives the vanilla custard pie a lovely, cozy depth. If you’re craving more vanilla sweetness in your life, you have to see my recipe for moist vanilla cupcakes!
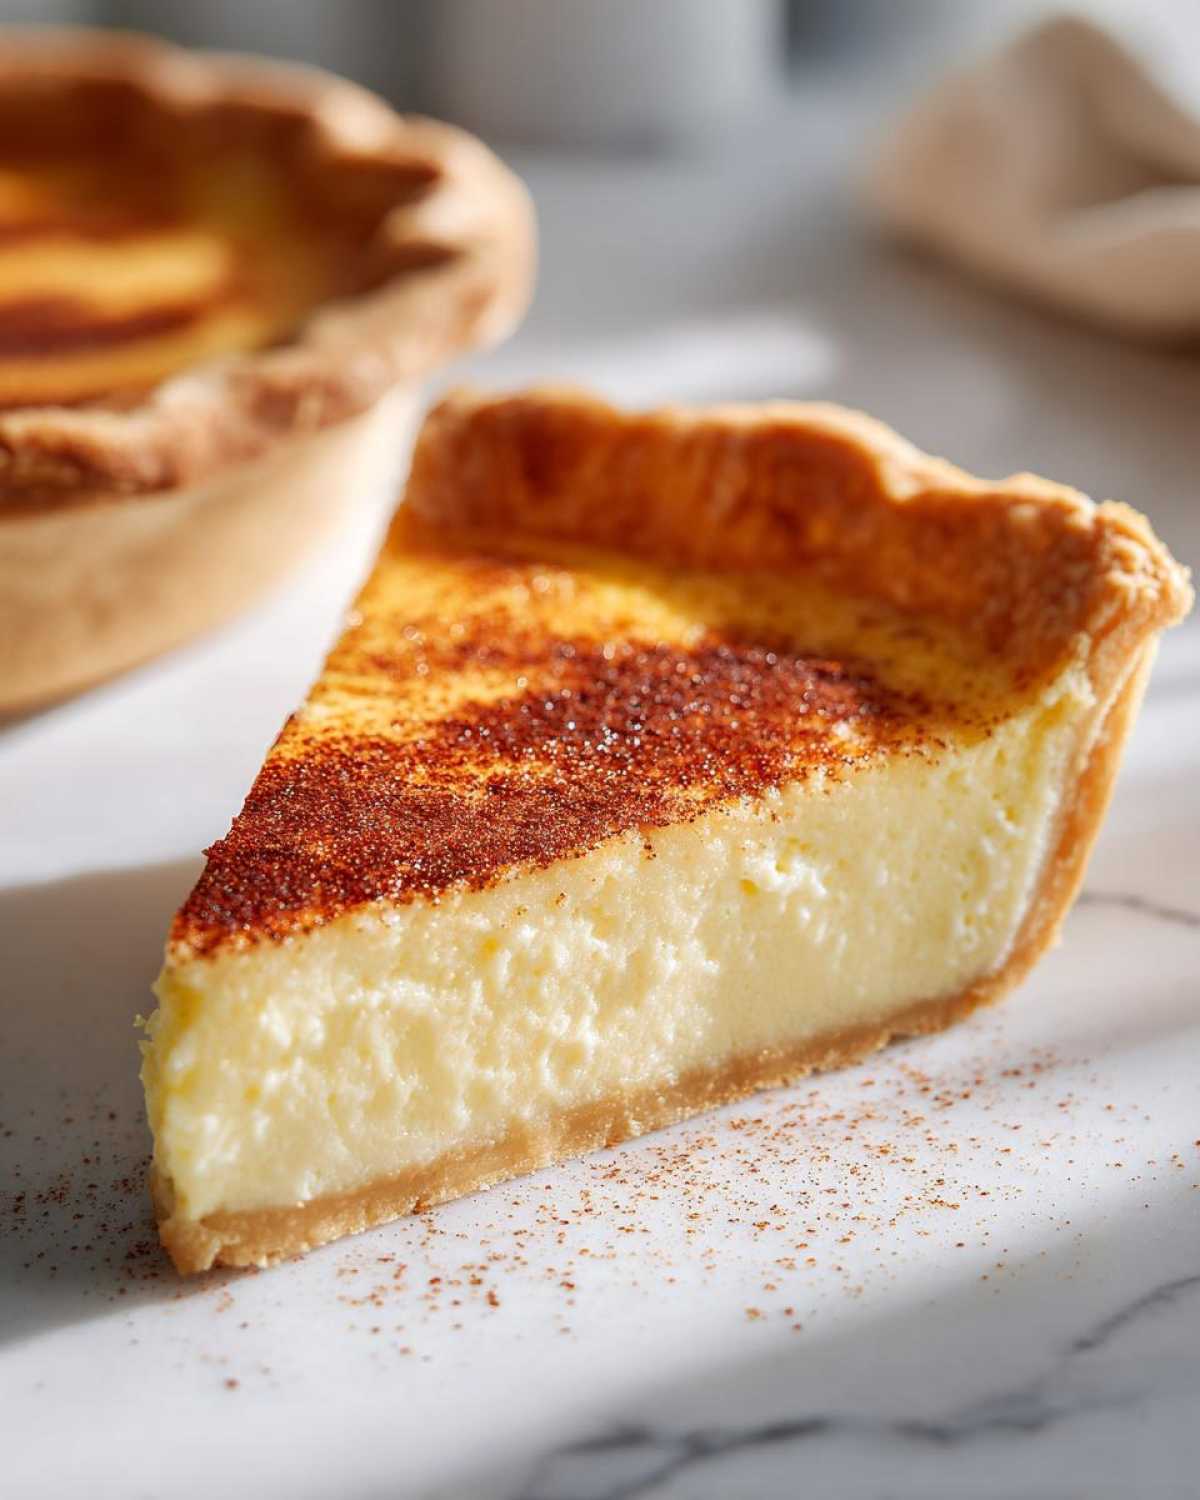
Storage & Reheating Instructions for Classic Egg Custard Pie
Dealing with leftovers from this beautiful classic egg custard pie is easy, as long as we are careful about the cooling first. You absolutely must let the pie cool completely—I mean truly room temperature for at least two hours—before you even think about covering it. Once it’s completely cool, cover it loosely with plastic wrap or foil and tuck it right into the fridge. It keeps wonderfully for about three days! We find it tastes best slightly chilled, so when you want a slice, just let it sit on the counter for 15 minutes first. If you want to warm it slightly, keep it super gentle; a very short time in a low oven works better than the microwave.
If you’re saving it for later in the week, check out my tips on storing my moist banana bread—the same principles of letting steam escape initially apply here for keeping that crust flaky!
Variations for Your Vanilla Custard Pie
Who says a classic apple cinnamon flavor profile can’t cross over into our savory desserts? While this is a perfect base vanilla custard pie, it’s so easy to shake things up! If you are looking for that cozy holiday vibe right now, toss in a tiny extra pinch of nutmeg when you warm the milk. That instantly transforms the base into a lovely cinnamon custard pie, which Marco says makes it perfect for a Christmas Eve serving. For those who like to peek at tradition, see how others approach their recipes over at this wonderful old-school recipe post! It’s all about making the simple feast yours.
Frequently Asked Questions About Making Custard Pie
I always get the best questions after posting a recipe like this! It shows me you are truly invested in making this the best comfort food pie you’ve ever had. Let’s clear up any lingering doubts about achieving perfection with your classic egg custard pie.
Can I use a pre-baked crust for this custard pie?
Honestly, no, you really shouldn’t for this specific pie. This recipe is designed so the crust bakes right alongside the creamy filling. If you pre-bake it, the bottom crust will likely end up too dry or even slightly warped before the tender custard is finished setting. We want that perfect marriage of flaky crust and soft filling, and an unbaked crust helps achieve that moisture balance.
What is the best milk substitute for a creamy custard pie recipe?
To get that truly creamy custard pie recipe finish, remember we stressed using whole milk for the fat content. If you are out of whole milk, skip the skim milk entirely—it makes the texture watery and thin, which is the opposite of what we want. Your next best bet is using half-and-half, or you can mix a cup of heavy cream with a cup of water. That fat content is what gives us that rich, velvety mouthfeel we love so much!
How do I know when my baked custard dessert is done?
This is the single most important question for avoiding cracks! Don’t wait until it looks totally solid. When you shake the pie plate very gently, the outer ring of your baked custard dessert should look set, firm, and opaque. But right in the center—about the size of a silver dollar—it should still have a very slight, gentle jiggle. That little wobble means residual heat is going to finish the job beautifully as it sits on the rack. It’s our final trick for that perfect, smooth center!
We want everyone at their own table to feel like royalty. If you’re curious about my own royal journey, you can always pop over to my About Us page. Happy baking!
Appreciating This Simple Dessert Pie
There you have it! Your truly glorious, homemade custard pie is ready to enjoy. Remember, an Eatable Empress doesn’t save the best for last; she enjoys the simple feast right now. Please let me know how this recipe worked for your family below! Take a moment, light a candle, and savor that perfect, creamy slice—you absolutely earned this beautiful moment. You can always see more of my current rituals and recipes over on the main blog page. Enjoy the reign!
PrintFlawless, Creamy Old-Fashioned Custard Pie

Make this classic, old-fashioned custard pie for a truly silky smooth dessert. This simple recipe delivers a velvety vanilla filling without the stress of a cracked top.
- Prep Time: 15 min
- Cook Time: 50 min
- Total Time: 1 hour 5 minutes
- Yield: 8 servings
- Category: Dessert
- Method: Baking
- Cuisine: American
- Diet: Vegetarian
Ingredients
- 1 (9 inch) unbaked flaky pie crust
- 4 large eggs
- 3/4 cup granulated sugar
- 1/4 teaspoon salt
- 1 teaspoon pure vanilla extract
- 1/4 teaspoon ground cinnamon (optional, for topping)
- 2 cups whole milk
Instructions
- Preheat your oven to 350 degrees F (175 degrees C). Place the unbaked pie crust into a 9-inch pie plate. Do not pre-bake the crust.
- In a large bowl, whisk the eggs lightly. Do not over-beat the eggs, as this incorporates too much air and can cause cracking.
- Whisk in the sugar and salt until just combined. Stir in the vanilla extract.
- Gently warm the whole milk in a saucepan over medium heat until it is steaming but not boiling. Remove from heat.
- Slowly pour the warm milk into the egg mixture while whisking constantly and gently. This tempering step helps create a smooth texture.
- Pour the custard mixture into the unbaked pie shell. If you wish to add cinnamon on top, sprinkle it lightly over the surface now.
- Bake for 40 to 50 minutes. To prevent cracking, place a baking sheet on the lower rack of the oven while the pie bakes. This helps regulate the bottom heat.
- The pie is done when the edges are set, but the center still has a slight jiggle (about 1 inch diameter).
- Remove the pie from the oven and let it cool completely on a wire rack for at least 2 hours before slicing. This slow cooling is key to a non-cracked top.
Notes
- For an extra creamy custard pie filling, use only whole milk. Skim milk can result in a less rich texture.
- To avoid a cracked top, do not overbake. The residual heat will finish cooking the center as it cools.
- If you are making this for Christmas Eve, add a pinch of nutmeg to the milk while warming for a subtle holiday spice.
- This recipe uses pantry staples, making it a wonderful simple dessert pie.
Nutrition
- Serving Size: 1 slice
- Calories: 280
- Sugar: 25
- Sodium: 180
- Fat: 12
- Saturated Fat: 6
- Unsaturated Fat: 6
- Trans Fat: 0
- Carbohydrates: 30
- Fiber: 1
- Protein: 10
- Cholesterol: 120