

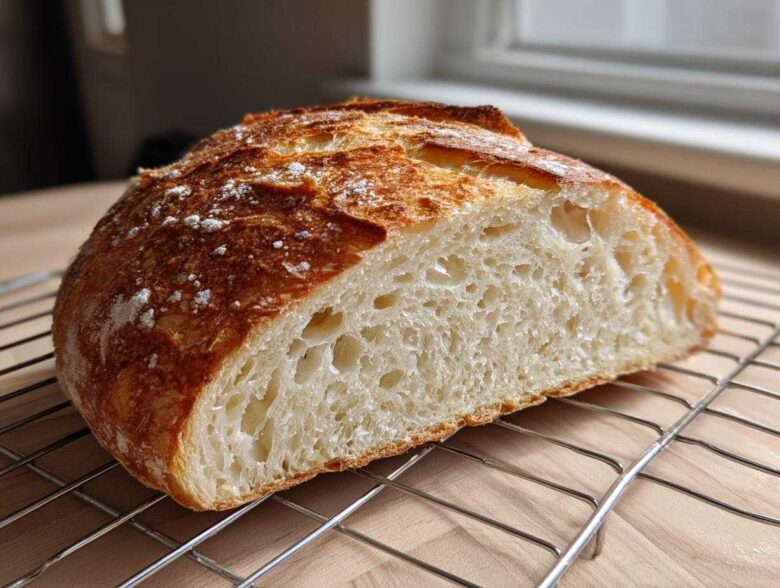
Oh, trust me when I say there is nothing—absolutely nothing—that beats the smell of fresh, warm French bread baking right on your own kitchen counter. For years, I searched for a reliable method, but now I’ve perfected this classic homemade French bread recipe. It finally delivers that stunningly crackly, crusty exterior while keeping the inside unbelievably soft and airy. If you want to know more about where these tried-and-true methods come from, you can always check out my baking story! It took me age to get this texture just right, but I promise you’ll nail it on your very first try!
Why This Classic Homemade French Bread Recipe Works for Everyone
I want you to ditch that grocery store plastic bag bread right now! This recipe is truly special because it was designed to be wonderfully reliable, even if you think you aren’t ready for beginner bread recipes. Honestly, it’s the secret to easy french bread baking success when you break it down. We always chase that magic combination: that hard, shattery crust outside and the super tender, open interior. Follow these simple steps, and you’ll see why thousands of people swear by this method for their dinner table!
Achieving Soft Fluffy French Bread Texture
That light, airy texture you crave in soft fluffy french bread? That all comes down to gluten development! You need to knead that dough until it’s smooth like silk—don’t stop early! Then, letting it have its initial long, warm rise gives those yeasties time to create all those lovely air bubbles you see when you slice into a finished loaf. Patience here pays off big time, I promise!
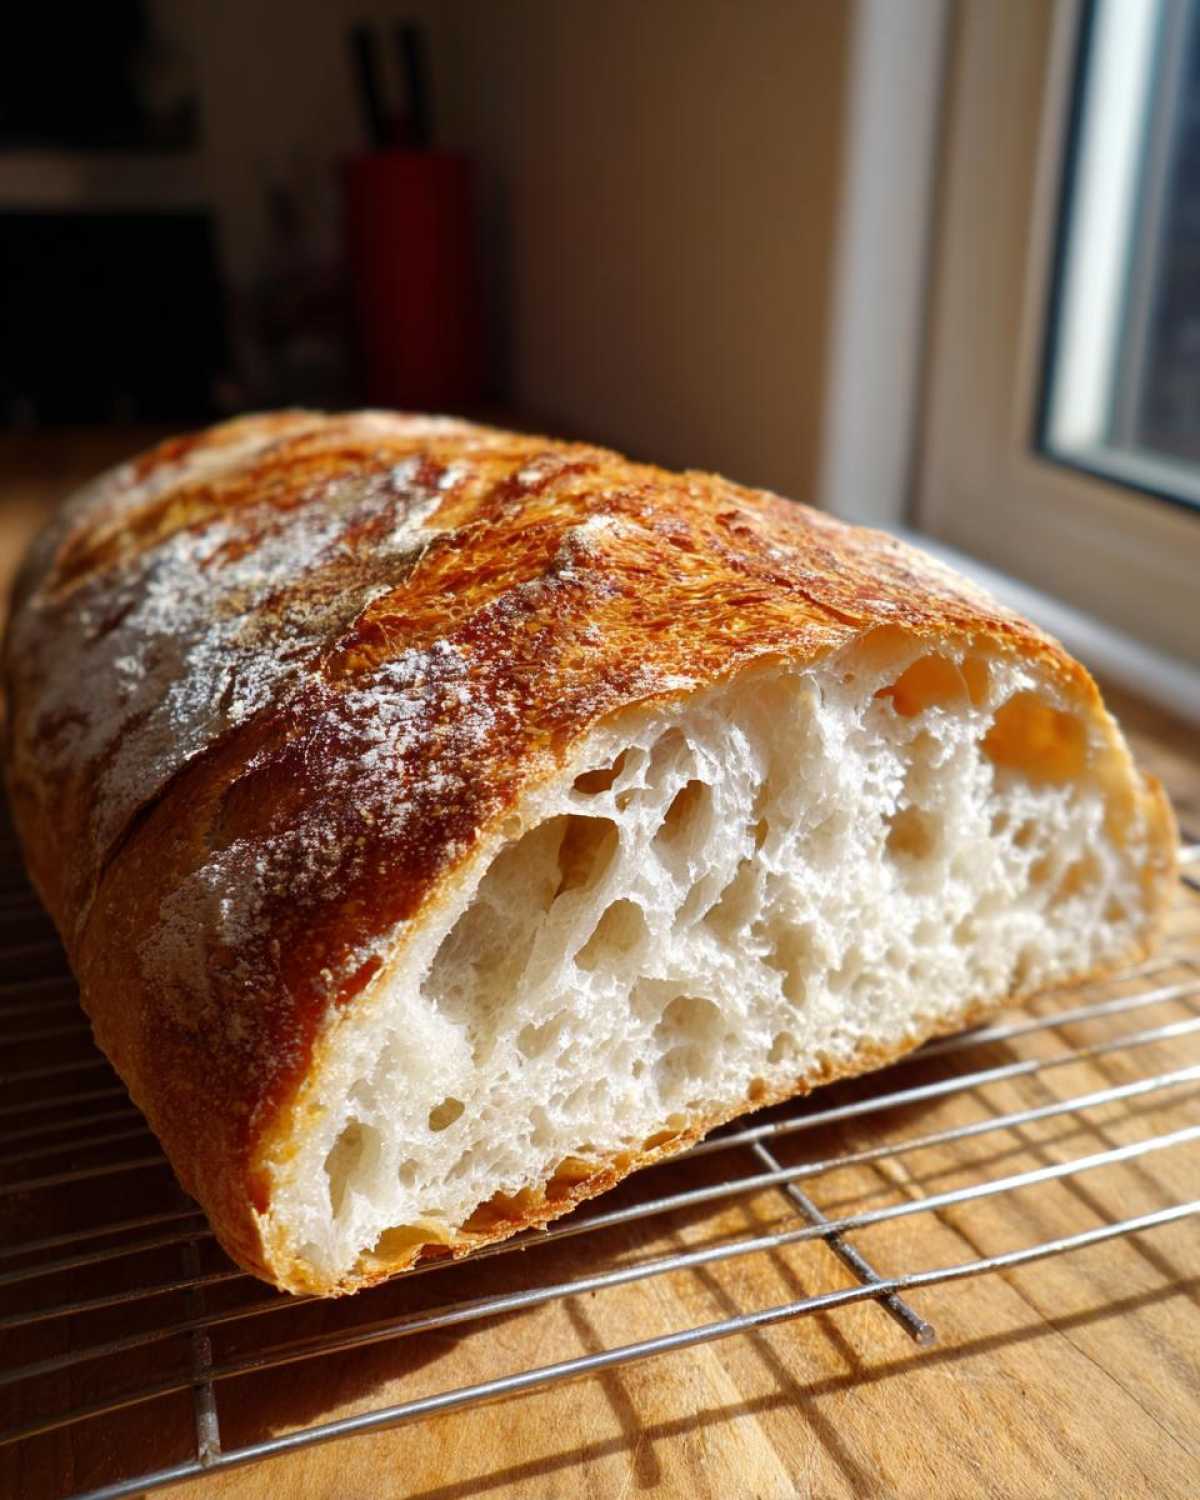
The Secret to a Perfect Crusty Bread Recipe
Now, let’s talk CRUST. If you skip the steam, you end up with something that feels a bit dull, right? For the ultimate crusty bread recipe, you must create a sauna in your oven. That little pan of hot water you put on the bottom rack during baking is non-negotiable! The steam keeps the outside of the dough moist at the start, allowing the loaf to expand fully—that’s oven spring! Once the steam dissipates, the crust dries out quickly and gets beautifully crisp. It’s simple genius!
Gathering Your Ingredients for Authentic French Bread
See? Making beautiful, from scratch french bread doesn’t require a specialty shop run! We are keeping this collection of components incredibly straightforward. You probably have most of this sitting in your pantry right now. It’s amazing what simple flour, water, and yeast can achieve when you treat them right. We want that classic, airy result, so let’s make sure we have everything ready to go before we even think about turning on the mixer.
Ingredient Clarity and Preparation Notes
Make sure you measure carefully, especially the yeast! You need one standard packet, which boils down to about 2 and 1/4 teaspoons of active dry yeast. It must dissolve happily in your warm water, which should register between 105 and 115 degrees Fahrenheit—too hot and you kill the yeast, too cold and they sleep in! Don’t forget that tiny bit of sugar; it’s just food for the yeasties to get them bubble-happy. For the final magic touch before baking, we use a beaten egg white wash. This isn’t for flavor; it’s strictly for that gorgeous, shiny, deep-golden finish on your crust. Just brush it on gently right before those diagonal scores!
Step-by-Step Instructions for Your Rustic French Loaf
Okay, this is where the real fun starts! We take those simple ingredients and turn them into something glorious. Don’t rush anything here, especially the waiting times; that’s how we lock in that beautiful texture for your rustic french loaf. We’re moving in three main stages: mixing the dough, letting it chill out, and then getting that bake perfect. Follow these steps just like the recipe card says, and you’ll have bakery-style bread coming out of your oven!
Mixing and Kneading the Yeasty Homemade Bread Dough
First things first, get your yeast happy by dissolving it with that sugar in the warm water for about five minutes until it’s foamy—that confirms your yeast is alive and ready to work! Then, toss in the flour and salt and stir until it looks like a messy ball of dough. Now, you need to get your hands in there! Turn it out and knead for a full 8 to 10 minutes. Seriously, don’t stop until the whole batch of yeasty homemade bread is totally smooth and feels elastic when you poke it gently. That smooth feel means the gluten structure is strong!
Proofing and Shaping Your Homemade French Bread
Once it’s kneaded, pop that dough into an oiled bowl, cover it well, and let it go. It needs 1 to 1.5 hours to double in size. Don’t rush the rise because that’s what builds flavor! When it’s ready, gently deflate it—we don’t want to squash all those new air pockets we just made. Divide it precisely in half and gently form those two halves into long, pleasing shapes. Cover them again and let them rest for a final 30 minutes while your oven heats up super hot.
Baking Techniques for Perfect French Bread
Preheat that oven to 400°F, and here is the trick: put a shallow pan underneath the rack where the bread will sit! Once your loaves are on the sheet, brush them lightly with that egg white wash—hello, shine! Then, take a very sharp knife and score the tops three times diagonally; this controls where the bread expands. Now, carefully pour half a cup of very hot water into that bottom pan and immediately slide your French bread in. That initial blast of steam is key! Bake for about 25 to 30 minutes. When the crust is gorgeously dark golden brown, pull them out and tap the bottom—if it sounds hollow, you nailed it!
Tips for Mastering Artisan Style Bread at Home
Even though this is an approachable recipe, sometimes we need a little extra know-how to go from just ‘good’ to truly ‘bakery-quality.’ Trust me, once you start treating your dough right, you will unlock so many useful baking bread tips. If you want to elevate your texture to the next level, try swapping out all-purpose flour for high-protein bread flour. It absorbs a little more water and really helps develop those long gluten strands, giving you a chewier, more substantial loaf—perfect for that artisan style bread at home feel.
Troubleshooting Common French Bread Issues
Did your loaf go totally flat? Nine times out of ten, that means you either didn’t knead enough (no gluten structure!) or you let it rise way too long the first time, exhausting all the yeast power. If your crust looks pale and sad, don’t panic! You definitely skimped on the steam, or maybe your oven wasn’t hot enough when that hot water went in. Make sure you get maximum steam during those first ten minutes of baking for that perfect color!
Variations on Your Classic French Bread Bake
Once you master the basic dough, playing around with additions is so much fun! This dough is robust enough to handle some savory twists, making it excellent for your favorite dinner bread recipes. Before the final shaping step, try gently folding in about a teaspoon of fresh, finely chopped rosemary or thyme. That earthy herby scent that hits you when you pull it out is divine!
If you want cheese, add about half a cup of grated hard cheese, like Parmesan, right along with the salt and flour during the initial mixing stage. You’ll want to skip the egg wash if you use cheese, though, and just brush with water for a slightly crunchier, less shiny top. These little changes keep things interesting without messing up the core method we worked so hard to perfect!
Storing and Reheating Your Fresh French Bread
The hardest part about this perfect French bread is letting it cool completely! But once it’s cooled, you need to store it correctly if you want to save some for tomorrow. Forget plastic bags; plastic suffocates that beautiful crust we worked so hard for! Keep your cooled loaves in a simple paper bag on the counter—this keeps the inside soft while letting the crust stay crisp for a day or two. If it gets a little stale, don’t toss it! Just spritz it lightly with water and pop it back into a 350°F oven for about five minutes. That steam brings back that gorgeous, snappy crust instantly!
Frequently Asked Questions About Making French Bread
I know you might have a few lingering questions after diving into this classic bake. Baking bread always brings up questions, even for seasoned cooks! We want you to feel totally confident tackling your very own homemade French bread. If you ever need to check up on the science of baking, always remember to review the general guidelines on my disclaimer page, just to be safe!
Can I make a quick french bread recipe using this method?
That’s a great question! This recipe clocks in around two hours total because we give the yeast time to work its magic, which is essential for that airy structure. While you could technically shorten the rise times slightly, to get a true quick french bread recipe flavor, you might need specialty yeast or a warmer environment. For the best results here, stick to the rising times!
How do I achieve a true french baguette recipe shape?
The shaping is slightly different than the simple oval we made for the rustic loaf! For a true french baguette recipe, after you divide the dough, you want to flatten it into a rough rectangle. Then, gently fold the top third down to the center, and the bottom third up over that fold, like folding a letter. Then, roll it tightly from one end to the other, sealing the seam underneath. Roll gently until it’s lengthened almost to the length of your baking sheet!
Estimated Nutritional Data for This French Bread
I always like to show you guys what’s going into these wonderful loaves, even though I’m not a nutritionist! Based on the ingredients used in this French bread, one slice will run you about 150 calories, with just half a gram of fat. It’s a fantastic source of energy, giving you about 31 grams of carbohydrates and 5 grams of protein per serving.
Now, please remember this is just an estimate based on my calculations for the entire batch yield. The true values can shift a bit based on humidity, the exact brand of flour you use, and how thick you slice it after you’ve managed to let it cool completely! If you ever need to reference official guidelines or privacy details from my site, you can always check out the privacy policy page here.
Share Your Homemade French Bread Creations
Now that you’ve got this incredible French bread under your belt, I absolutely need to know how it turned out! Please rate the recipe below and drop a comment telling me how crunchy your crust got. If you baked a beautiful loaf, snap a picture and tag me on social media! I love seeing your successes. If you have any lingering questions, you can always reach out via my contact form!
PrintClassic Homemade French Bread
Make crusty French bread at home with a soft, airy interior. This recipe is straightforward for beginners.
- Prep Time: 20 min
- Cook Time: 30 min
- Total Time: 2 hours 20 min
- Yield: 2 loaves
- Category: Baking
- Method: Baking
- Cuisine: French
- Diet: Vegetarian
Ingredients
- 3 cups all-purpose flour
- 1 teaspoon salt
- 1 packet active dry yeast (about 2 1/4 teaspoons)
- 1 1/4 cups warm water (105-115°F)
- 1 tablespoon sugar
- 1 egg white, lightly beaten (for wash)
Instructions
- In a large bowl, dissolve the yeast and sugar in the warm water. Let stand for 5 minutes until foamy.
- Add the flour and salt to the yeast mixture. Mix until a shaggy dough forms.
- Turn the dough out onto a lightly floured surface. Knead for 8 to 10 minutes until the dough is smooth and elastic.
- Place the dough in a lightly oiled bowl, turning to coat. Cover the bowl with plastic wrap and let it rise in a warm place for 1 to 1.5 hours, or until doubled in size.
- Gently punch down the dough. Divide it in half. Shape each half into a long, rustic loaf shape (or baguette shape).
- Place the shaped loaves on a baking sheet lined with parchment paper. Cover loosely and let them rest for 30 minutes.
- Preheat your oven to 400°F (200°C). Place a shallow pan on the bottom rack for steam.
- Brush the tops of the loaves lightly with the beaten egg white wash. Score the tops of the bread with three diagonal cuts using a sharp knife.
- Carefully pour 1/2 cup of hot water into the shallow pan on the bottom rack to create steam. Immediately place the bread in the oven.
- Bake for 25 to 30 minutes, or until the crust is deep golden brown and the bread sounds hollow when tapped.
- Cool completely on a wire rack before slicing.
Notes
- For a crispier crust, spray the oven walls with water a few times during the first 10 minutes of baking.
- If you want a quicker rise, place the dough in a slightly warmer spot, but monitor closely to avoid over-proofing.
- Use bread flour instead of all-purpose flour for a slightly chewier texture.
Nutrition
- Serving Size: 1 slice
- Calories: 150
- Sugar: 1
- Sodium: 180
- Fat: 0.5
- Saturated Fat: 0
- Unsaturated Fat: 0.5
- Trans Fat: 0
- Carbohydrates: 31
- Fiber: 1
- Protein: 5
- Cholesterol: 0