

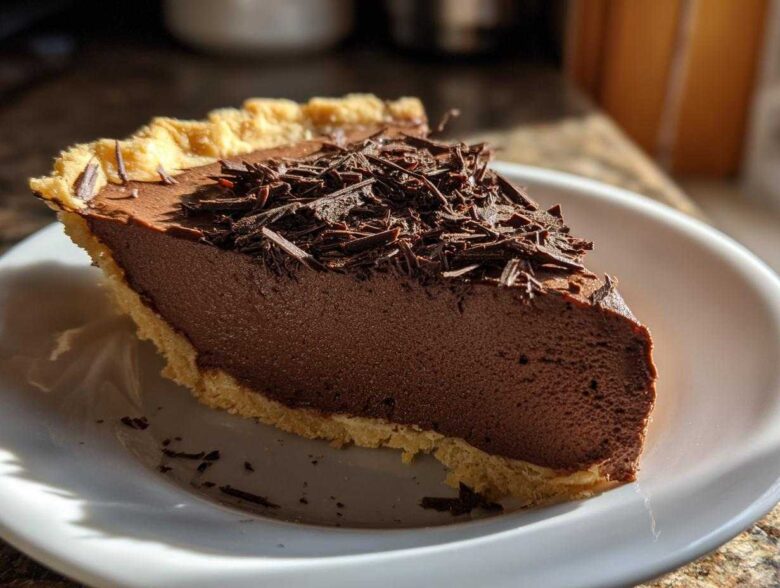
Oh, forget everything you thought you knew about chocolate pies! If you’ve ever been hesitant about making a truly **rich chocolate pie** because of scary stories involving raw eggs or grainy fillings, stop right there. I spent way too much time trying different methods—my kitchen looked like a war zone of split creams and melted chocolate—until I finally landed on this—The Ultimate Foolproof **French Silk Pie**.
My secret weapon is a simple, traditional tempering technique that gently cooks those yolks. It guarantees you get that impossibly light, velvety texture every single time. Trust me, once you nail this technique, this **French silk pie** becomes your go-to recipe for every holiday or when you just need a serious chocolate fix. It’s so much easier than it sounds, and the results are pure, decadent magic. If you’re looking for more amazing mousse ideas after you finish this, check out my easy 3-ingredient chocolate mousse recipe!
Why This is the Best French Silk Pie Recipe You Will Make
I get it, the fear of the curdled disaster is real! But this recipe takes all the fuss out of making a stunning **French silk pie**. This isn’t just another chocolate dessert; it’s the one that actually works every time you pull it out of the fridge. Get ready for compliments because this one never fails to impress!
- It delivers that deep, luxurious flavor profile that screams “special occasion” without needing a whole day in the kitchen.
- The texture is spot-on—think homemade chocolate mousse but structurally sound enough to slice perfectly.
- We handle the eggs safely using gentle heat, turning a potential risk into a rich guarantee.
- It’s incredibly versatile! You can switch up that crust easily if you prefer something crunchier over the classic pastry.
Achieving Silky Smooth French Silk Pie Filling
The true magic here is how we treat those egg yolks. So many recipes just toss them in raw, and I’ve ended up with a gritty mess more times than I care to admit. Not here! We’re going to gently whisk them over low heat until they just hit that safe temperature. This process effectively pasteurizes them while keeping them emulsified perfectly with the butter and sugar. It stops that separation that ruins the dream of a truly **silky smooth pie filling**.
Quick Prep Times for This Decadent Chocolate Dessert
Don’t let the 6-hour chill time scare you off! Your active time at the counter is lightning fast. Seriously, between beating the butter and folding in the cream, you’re looking at less than 30 minutes of work. That’s amazing for something that tastes like it came from a fancy French bakery. For a **decadent chocolate dessert** this impressive, 30 minutes of hands-on time is basically free labor!
Ingredients for Your Creamy Silk Pie Recipe
Okay, now for the fun part—gathering your treasures! Because this **creamy silk pie recipe** is so focused on texture, the quality of your ingredients really shines through. Don’t skimp on the chocolate chips, and make sure that butter is genuinely soft, not melted. Every measurement here matters for that dream-like finish, so measure carefully!
Here’s what you need for the star of the show—the filling:
- 1 (9-inch) unbaked, fully baked, or graham cracker pie crust (We’ll talk crust options below!)
- 1 cup (2 sticks) unsalted butter, softened perfectly
- 1 1/2 cups granulated sugar
- 4 large egg yolks (These are tempered, remember? Very important!)
- 1 cup semi-sweet chocolate chips, melted down and allowed to cool just a bit
- 1 teaspoon vanilla extract (Use the real stuff, please!)
- 1/4 teaspoon salt (It deepens the chocolate flavor, I promise!)
And for the cloud-like topping, which really seals the deal on this **decadent chocolate dessert**:
- 1 cup heavy whipping cream
- 2 tablespoons powdered sugar
- 1/2 teaspoon vanilla extract
- Chocolate shavings, for looking incredibly fancy on top
Crust Options for Your French Silk Pie
The crust sets the stage for this whole performance! Because the filling is so wonderfully soft, you need a sturdy base that won’t fight the texture. For this recipe, you need a crust that is already set.
You can use a classic, pre-baked flaky pastry crust—make sure it’s completely cooled before you fill it. Or, if you are short on time or prefer that crumbly chocolate base, a graham cracker crust works like a charm. If you want to whip up a quick cookie crust instead, here’s the trick I mentioned in the notes: Mix 1 1/2 cups of finely crushed chocolate wafer cookies with 6 tablespoons of melted butter, press it into your plate, and chill it in the freezer for about 30 minutes until firm. It makes for the ultimate **cookie crust pie recipe**!
If you want to see how I make my favorite creamy toppings for just about everything, you might want to check out my recipe for best creamy vanilla buttercream recipe—the whipping technique is similar!
How to Prepare the Ultimate French Silk Pie
Putting this **rich chocolate pie** together is like executing a careful dance—you want speed and flow, but you absolutely cannot skip any steps, especially when dealing with the yolks! Don’t worry, though; once you follow these steps exactly, you’ll realize just how easy it is to make this **showstopper chocolate dessert**. We’re moving fast, so make sure your ingredients are ready to go before you turn on the stove!
First, make sure that crust is totally cool; I mean stone-cold! Then, grab your mixer and cream the softened butter and sugar until it goes pale and fluffy—that just takes about three minutes. Next, it’s time for the critical step where we ensure this is a truly **creamy silk pie recipe**.
Tempering Egg Yolks for a Safe Silky Smooth Pie Filling
This is the part people skip, and that’s why their pies fail! In a small saucepan, combine your four egg yolks with just 1/4 cup of water. You must whisk this constantly over medium-low heat. Grab one of those little candy thermometers—we need to hit exactly 160 degrees Fahrenheit. Seriously, don’t walk away! Once it hits 160°F, yank it off the heat immediately. That slight warmth is all you need to cook those yolks safely while keeping them smooth. Then, you carefully beat that warm yolk mixture into your butter base.
Now, mix in your cooled melted chocolate, vanilla, and salt until everything looks rich and uniform. If you want tips on keeping your fillings smooth even when they are hot, like when baking a cheesecake, pop over to my guide on best cheesecake recipe crack-free!
Folding in the Whipped Cream for Lightness
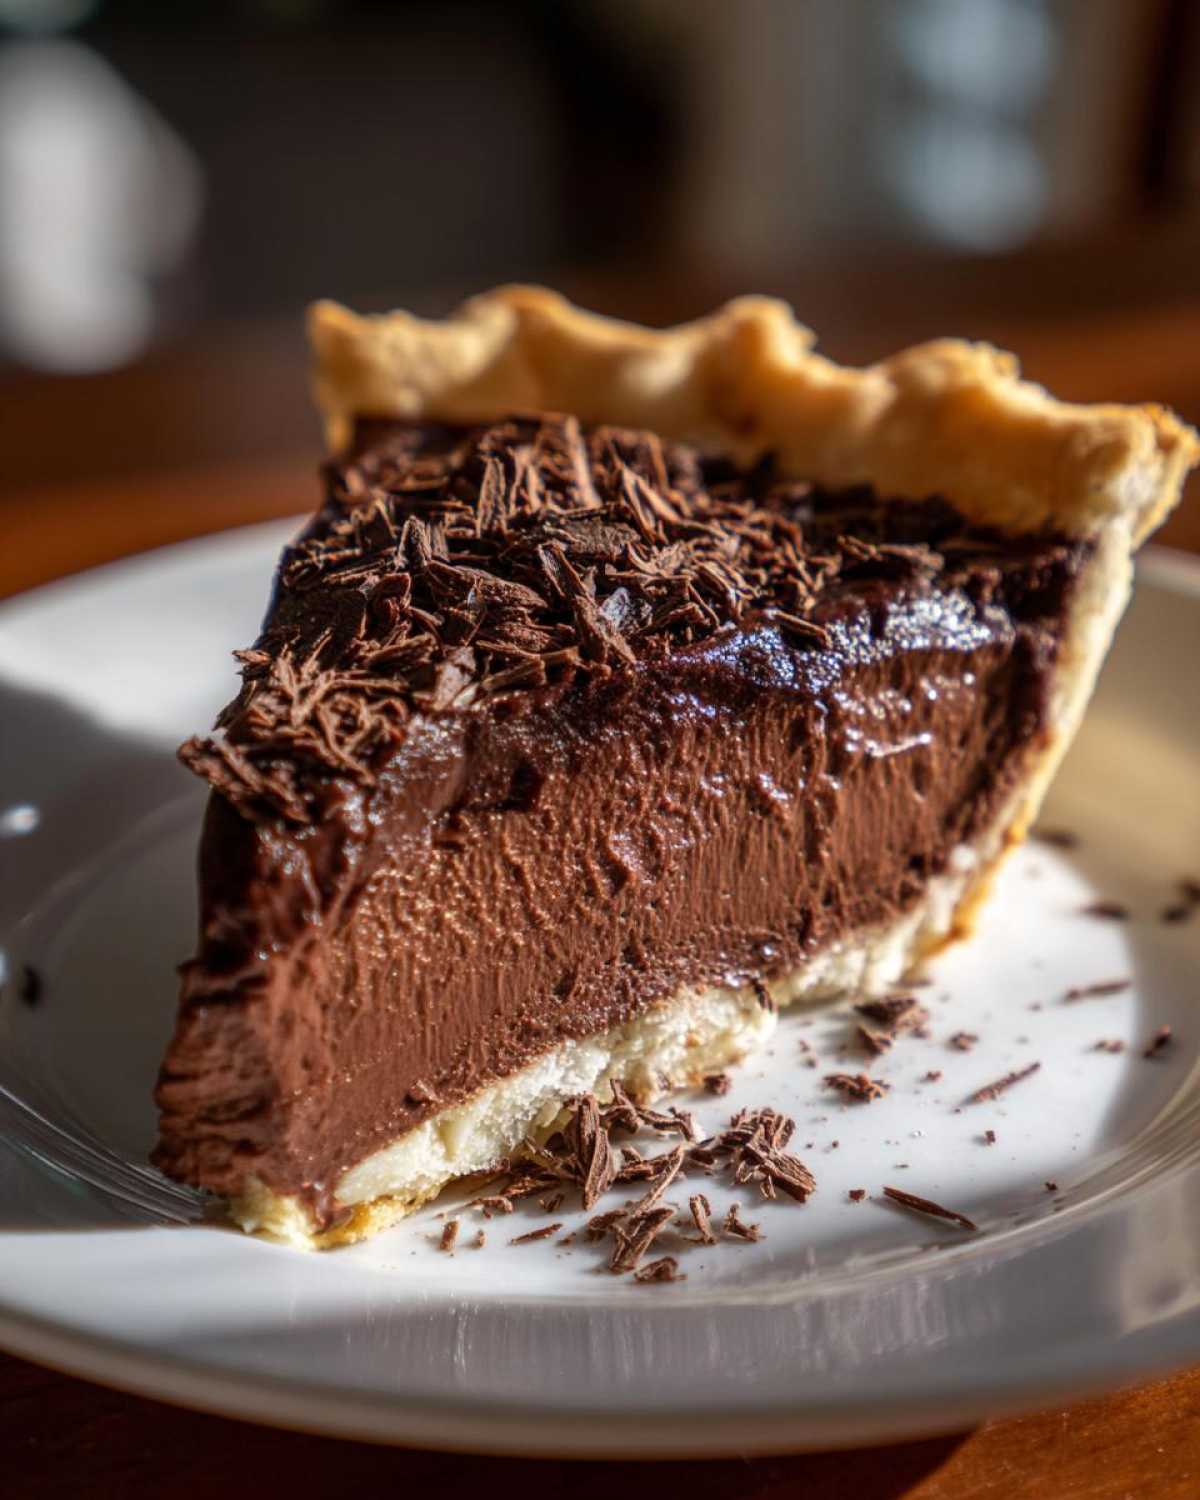
We’re almost done! In a separate, clean bowl, whip that heavy cream, powdered sugar, and vanilla until you have stiff peaks—they should stand up proudly. Now, here is the folding secret: take about one-third of that gorgeous whipped cream and mix it firmly into the chocolate base. This lightens the batter up so it doesn’t deflate the rest of the cream. Then, gently fold in the remaining two-thirds in two additions. Be gentle! You want to keep all those wonderful air bubbles in there for that perfect lift and that **velvety chocolate pie** feel. Spoon it into the crust, smooth the top, and get ready to chill it for at least six hours!
Tips for a Foolproof French Silk Pie Success
Even with the best instructions, sometimes a **french silk pie** throws a little curveball. Don’t panic! Most failures here come down to just one or two tiny details that are easy to fix next time. I learned these the hard way, so you don’t have to!
First, let’s talk chocolate: make sure your melted chocolate isn’t hot when you mix it into the cooled butter/sugar base. If it’s too warm, it can start melting the butter structure you just worked so hard to create while creaming. Cool it down until it’s just warm to the touch before adding it. If you prefer making rich, baked chocolate desserts, you might want to check out my homemade chocolate cake recipe for a different texture challenge!
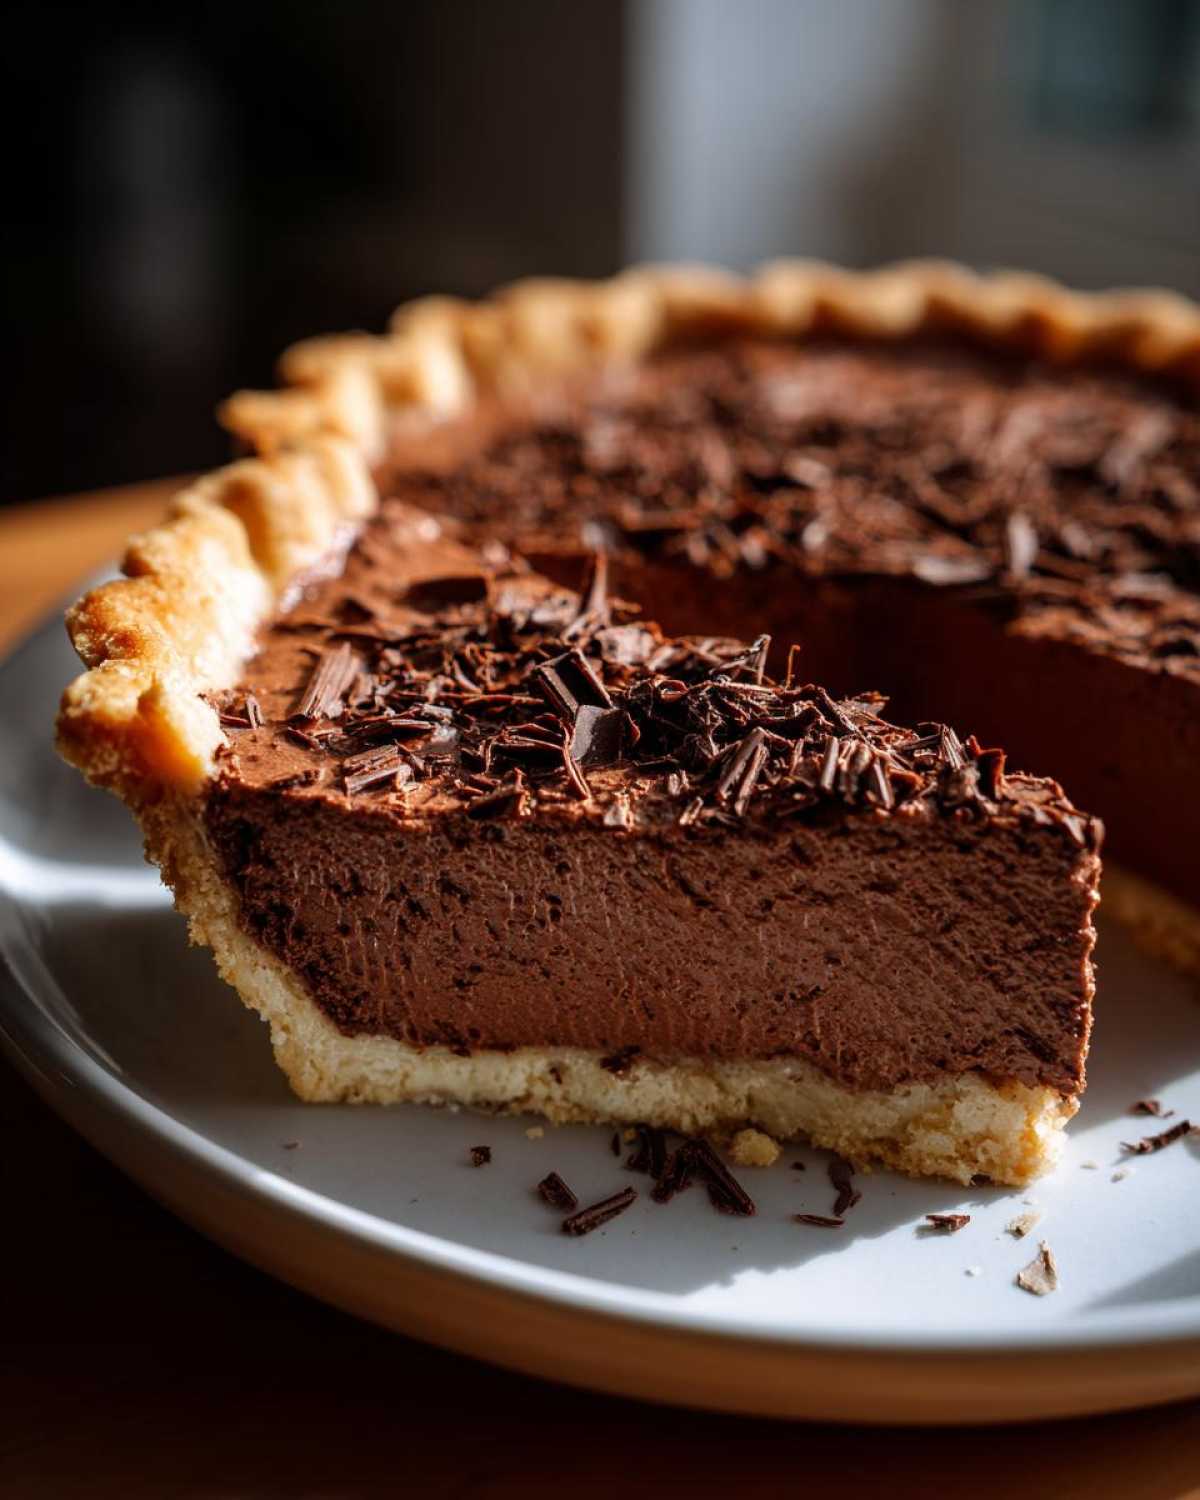
The chilling time is non-negotiable, guys. Six hours is the *minimum*. Seriously, plan on leaving this **french silk pie** in the fridge overnight if you can. When the filling is truly cold and set, that’s when you get those clean, beautiful slices that make everyone gasp. If you try to cut it early, it’s going to look more like a messy puddle than a slice of heaven.
Another area where folks sometimes slip up is with the whipped cream topping. Remember, you are folding that whipped cream into a very dense chocolate base. You have to be gentle, but you also need to make sure that cream is whipped to *stiff peaks* first. If it’s soft, it will completely deflate when you combine it with the chocolate, resulting in a heavy filling instead of that light, airy texture everyone expects from a **silky smooth pie filling**.
Variations: Making Your Own Easy Silk Pie Dessert
I know some of you are looking for an **easy silk pie dessert** that skips the tempering process entirely, maybe because you have allergies, or maybe you just really needed pie *right now* and didn’t want to wait for the yolks to warm up! Good news! We absolutely can make a fantastic, creamier-than-ever version of this **french silk pie** that is completely eggless.
This substitution is a game-changer for quick desserts. Instead of dealing with the saucepan and the thermometer, we swap out the yolks for a creamy base. This version is nearly instantaneous! If you love quick fixes like this, you absolutely must check out my no-bake pumpkin pie recipe—it uses a similar philosophy of swapping cook time for chilling time.
To make this magic happen, just skip Step 3 entirely regarding the yolks. Instead, when you get to the point where you would be adding the warm yolks, you’re going to beat in:
- 8 ounces of softened cream cheese (make sure it’s fully soft!)
- 1/4 cup milk
- 1/2 cup powdered sugar
Whip those things until they are perfectly smooth and lump-free, then proceed with adding your melted chocolate and vanilla. The cream cheese blends beautifully, giving you that dense, rich mouthfeel with all the flavor of the classic **rich chocolate pie** but without any cooking required on your end!
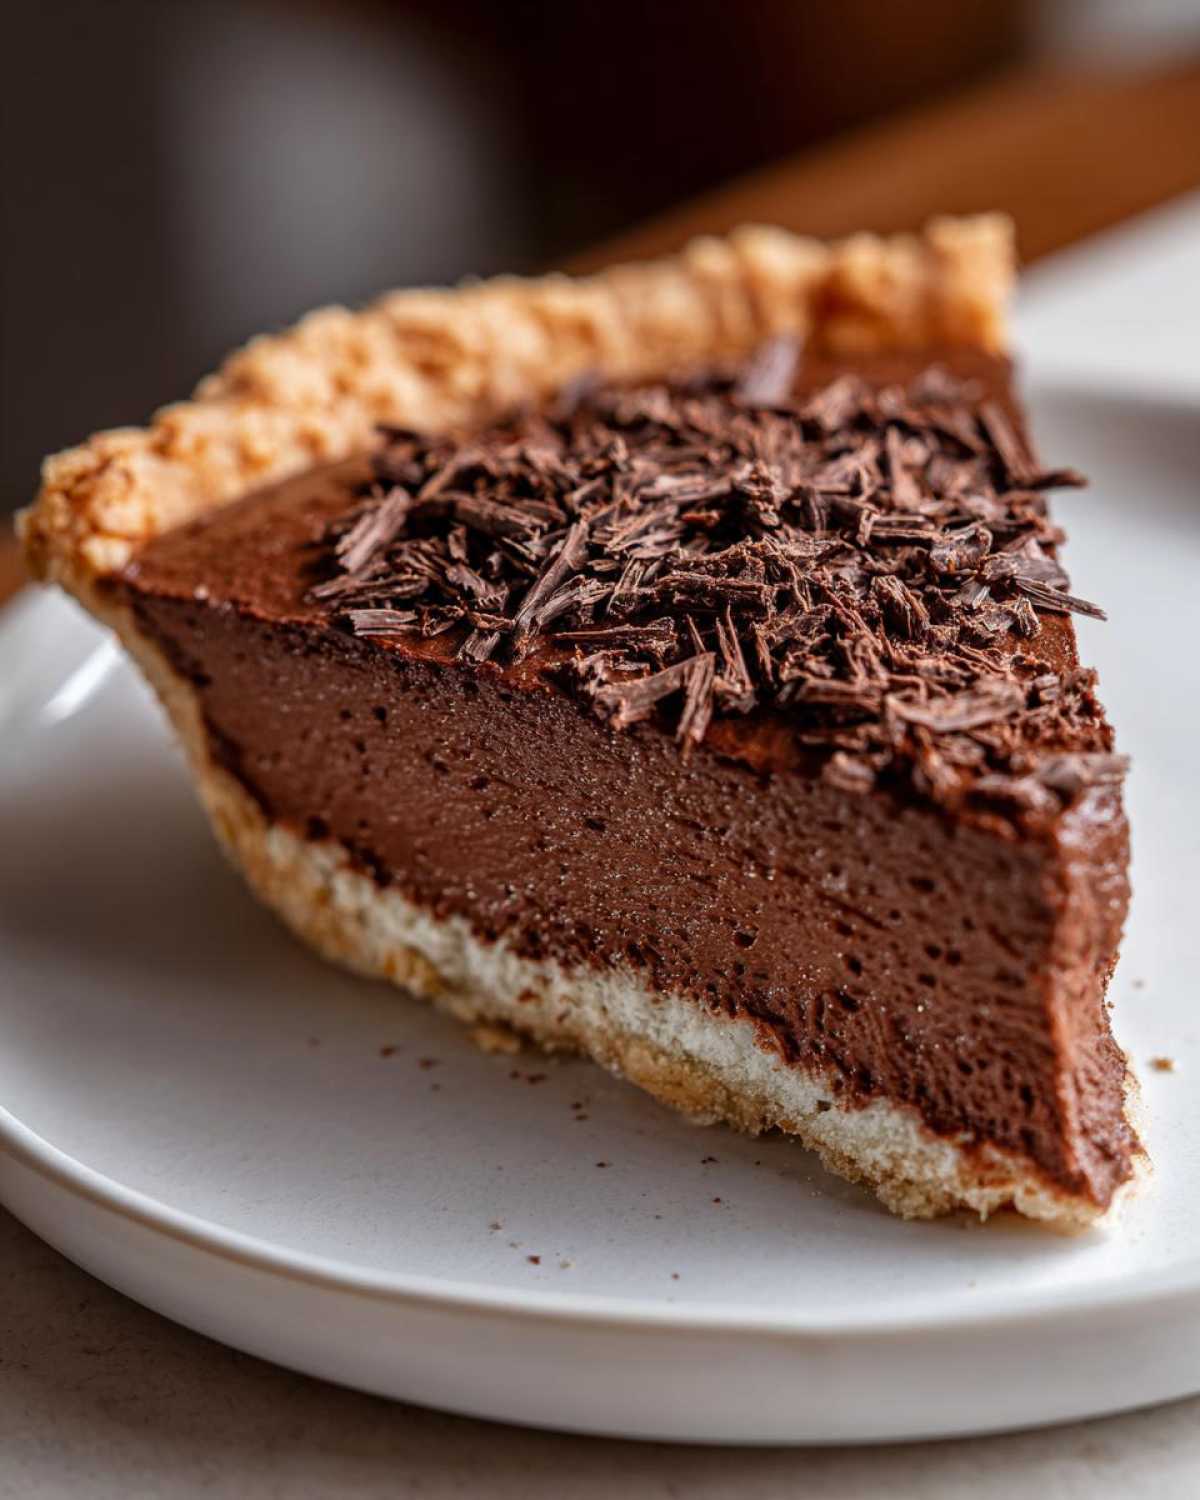
See? We can change things up without losing the luxurious feel! While this alternative doesn’t need tempering, the rest of the steps—especially folding in that billowy whipped cream—remain the same to ensure you get that light, cloud-like texture in your **easy silk pie dessert**.
Serving Suggestions for This Pie Recipe for Holidays
You’ve done the hard work—you’ve tempered the eggs, folded the cream perfectly, and waited patiently while your **french silk pie** solidified into perfection. Now, we need to present this masterpiece! This pie absolutely screams “centerpiece,” so let’s give it the royal treatment it deserves for your **pie recipe for holidays** setup.
Beyond the mandatory, gorgeous chocolate shavings we sprinkle on top, I always like adding something bright or textured right before serving. It cuts the richness beautifully and makes the whole plate look professionally styled. Since this is such a **showstopper chocolate dessert**, presentation matters!
Here are a few things I love to serve alongside a chilled slice of this **velvety chocolate pie**:
- **Raspberry Coulis:** A quick drizzle of raspberry sauce on the plate adds a fantastic tart contrast that sings against the dark chocolate. Just simmer fresh raspberries with a little sugar and strain out the seeds. Instant elegance!
- **Fresh Mint Sprigs:** A few tiny, vibrant mint leaves tucked onto the plate provide a pop of color and a fresh aroma. It’s subtle but effective.
- **A Dusting of Cocoa:** If you want to play up the deep chocolate color, use a fine-mesh sieve just before serving to dust a thin veil of unsweetened cocoa powder over the whole pie. It looks moody and dramatic!
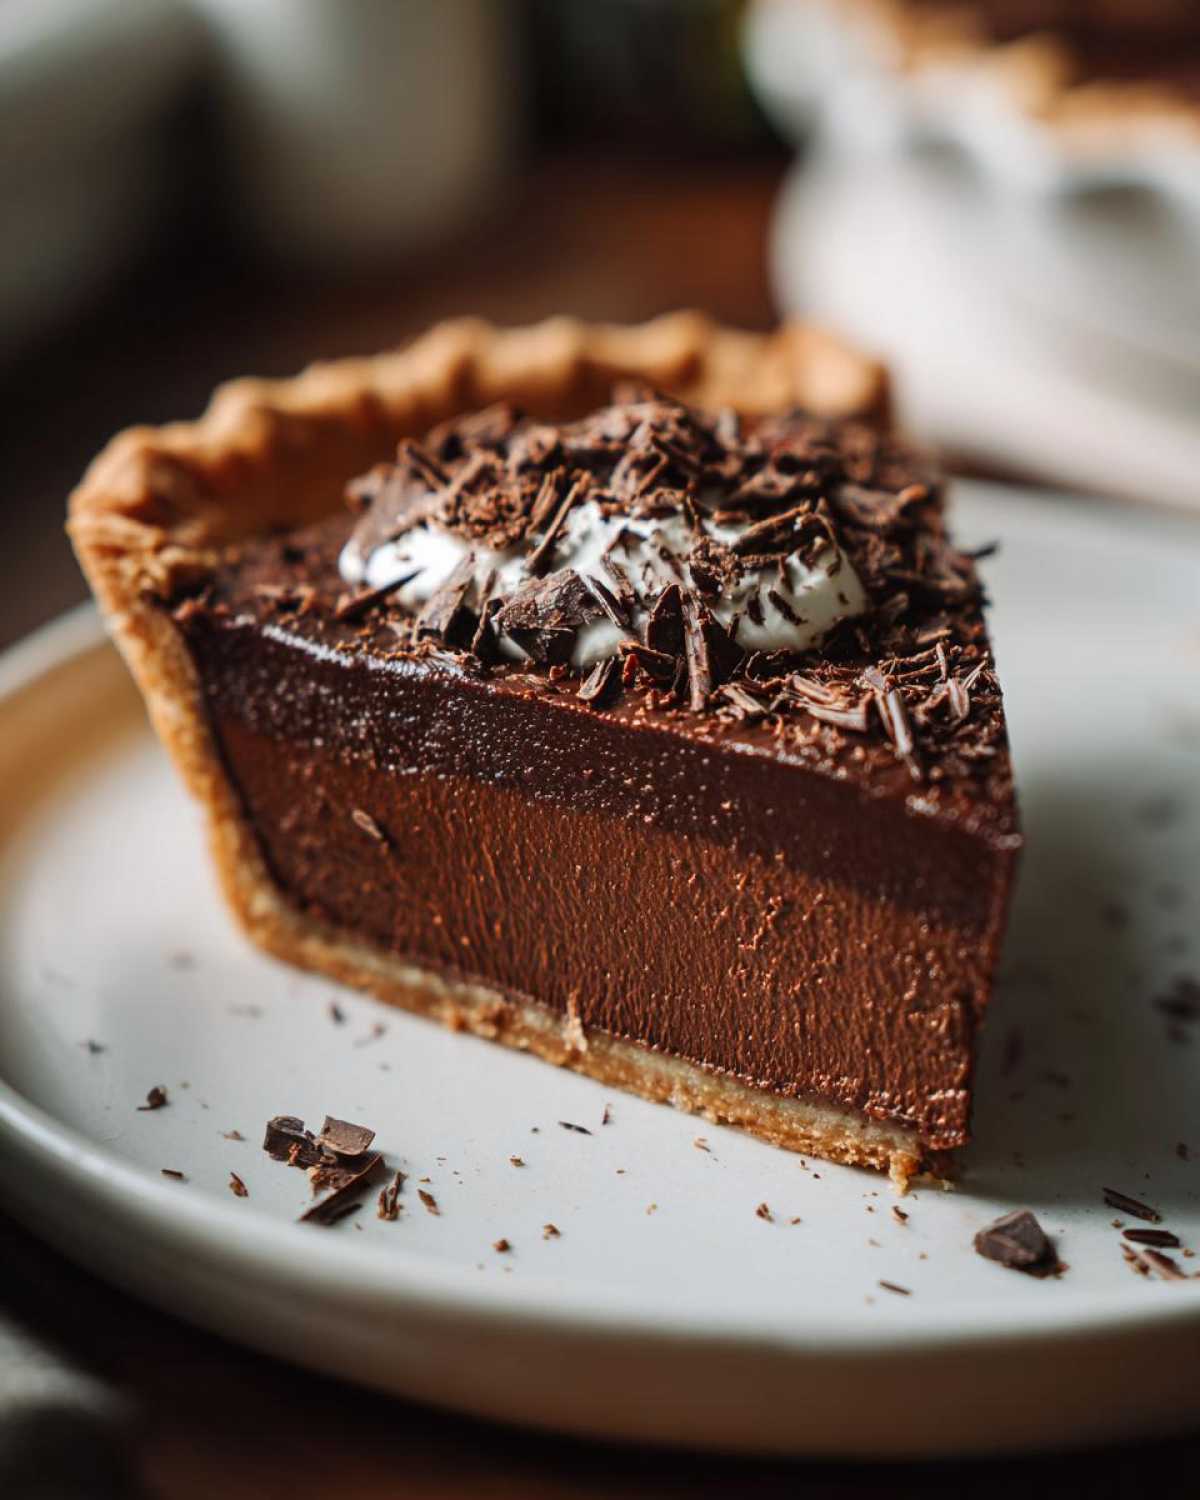
This pie is wonderfully rich and decadent on its own, but if you are serving it after a big meal, consider pairing it with something warm and comforting to sip on. It goes surprisingly well with something spiced. If you’re looking for a fantastic holiday beverage to serve alongside, you have to try my recipe for coquito recipe—authentic Puerto Rican holiday drink. The creamy coconut and rum cuts right through the deep chocolate richness, making for a perfect end to any festive evening!
Storage and Reheating Instructions for French Silk Pie
Whew! You made it, and now you have this incredible, **silky smooth pie filling** sitting in your fridge. Hooray! The trick now is keeping it perfect until serving time. This is not a pie you want to rush, and it’s definitely not a one-day wonder—it actually gets better!
Since this **french silk pie** relies on that perfectly chilled, slightly solidified butter/cream structure, chilling is key. You absolutely must keep it refrigerated the whole time. Don’t even think about leaving it out on the counter while you’re setting the table!
You can easily make this pie ahead of time, which is why it’s my go-to **pie recipe for holidays**. I usually aim to have it made the day before serving. Why? Because that 6-hour chill time is the minimum. Overnight chilling lets the flavors really meld together, and the filling firms up just enough that slicing it is totally foolproof. Once it’s fully chilled, you can cover it loosely with plastic wrap—just make sure the wrap isn’t touching the chocolate shavings if you added them!
As for leftovers, this **rich chocolate pie** is good in the fridge for up to four days. Honestly, I’ve never had it last that long, but it maintains its texture really well if covered properly. Just make sure you slice what you need and put the rest right back in the cold!
Now, about freezing this beauty? I generally advise against it. While the filling is dense, the high fat and whipped cream content don’t freeze beautifully; you risk slight weeping or texture changes once it thaws completely. If you absolutely must freeze an un-garnished pie, wrap it tightly in plastic wrap AND foil, and thaw it slowly in the refrigerator overnight. But truly, this pie disappears so fast, you probably won’t need to worry about freezing it!
Frequently Asked Questions About Velvety Chocolate Pie
I always get questions about this **velvety chocolate pie**, especially since mine uses that tempering method. It’s totally normal to have worries when tackling a classic dessert like this **french silk pie**! I’ve gathered the most common things people ask me about, so hopefully, this gives you all the confidence you need to start mixing!
Can I make a French Silk Pie without using eggs at all?
Yes, you absolutely can! And this is one of my favorite tricks, especially when I need a pie *yesterday*. We talked about it in the variations section, but just to reiterate: you don’t have to skip this **decadent chocolate dessert** just because you want to skip the yolks. The trick is using softened cream cheese, milk, and powdered sugar as your base fat/emulsifier before you add the melted chocolate. It yields an incredibly rich result, maybe even a little denser than the tempered version, but still perfectly delicious and safe for everyone!
What is the best way to get that perfect, chocolate pie with whipped cream topping look?
Presentation makes all the difference, right? Since this is a **showstopper chocolate dessert**, we want the top layer to look flawless. If you just use a spatula to spread the whipped cream, you’ll end up with lovely soft swirls, which is totally fine! But if you want those dramatic, restaurant-quality peaks, you need a piping bag fitted with a large star tip. Fill that bag with your chilled whipped cream topping and pipe little dollops all over the top of the pie. You can pipe one large rosette in the center, or create a border around the edge. A quick dusting of cocoa powder after the piping seals the professional look. It really elevates the final slice of your **chocolate pie with whipped cream topping**.
If you want to dive deeper into my baking philosophy and read more about why I test things so much, you can always check out my About Us page!
Estimated Nutritional Data for This French Silk Pie
Alright, let’s talk fuel! Because this **french silk pie** recipe is pure, unadulterated chocolate heaven, it definitely falls into the “indulgence” category, and that’s okay sometimes! We all deserve a slice of this **decadent chocolate dessert** on a special occasion. I ran the numbers based on the standard recipe (using a standard pastry crust and the tempered yolk method) to give you a rough idea of what you’re getting into per slice.
Keep in mind, since every ingredient can vary (what brand of chocolate chips you use, how thick your crust is), these are just estimates. This is just what my standard serving comes out to when I use the recipe as written, so for the most accurate data, double-check your own pantry items! You can always read more about my general approach to recipe data on my disclaimer page.
Here is the approximate nutritional profile for one slice of this **creamy silk pie recipe**:
- Serving Size: 1 slice
- Calories: 450
- Sugar: 35g
- Fat: 32g
- Saturated Fat: 18g
- Protein: 5g
- Carbohydrates: 38g
- Cholesterol: 120mg
That sugar content is high, but hey, that’s the price of amazing dessert! Enjoy every bite of that **silky smooth pie filling**!
PrintThe Ultimate Foolproof French Silk Pie

Make a rich, creamy, and deeply chocolatey French Silk Pie using a safe, tempered egg method for a truly silky smooth texture. This recipe features a classic flaky crust.
- Prep Time: 30 min
- Cook Time: 5 min
- Total Time: 6 hours 35 min
- Yield: 8 servings
- Category: Dessert
- Method: No Bake/Chilling
- Cuisine: American
- Diet: Vegetarian
Ingredients
- 1 (9-inch) unbaked, fully baked, or graham cracker pie crust
- 1 cup (2 sticks) unsalted butter, softened
- 1 1/2 cups granulated sugar
- 4 large egg yolks
- 1 cup semi-sweet chocolate chips, melted and slightly cooled
- 1 teaspoon vanilla extract
- 1/4 teaspoon salt
- 1 cup heavy whipping cream
- 2 tablespoons powdered sugar
- 1/2 teaspoon vanilla extract
- Chocolate shavings, for garnish
Instructions
- Prepare your pie crust: If using a traditional pastry crust, bake it fully until golden brown and let it cool completely. If using a graham cracker or cookie crust, prepare it and chill it.
- In a large bowl, beat the softened butter and granulated sugar together with an electric mixer until light and fluffy, about 3 minutes.
- In a separate small saucepan, combine the egg yolks and 1/4 cup of water. Heat over medium-low heat, whisking constantly, until the mixture reaches 160 degrees Fahrenheit on a candy thermometer. Do not let it boil. This gently cooks the yolks. Remove from heat immediately.
- Slowly beat the warm egg yolk mixture into the butter and sugar mixture until fully combined.
- Beat in the melted chocolate chips, 1 teaspoon vanilla extract, and salt until the mixture is smooth.
- In a clean, chilled bowl, whip the heavy cream with the powdered sugar and 1/2 teaspoon vanilla extract until stiff peaks form.
- Gently fold about one-third of the whipped cream into the chocolate mixture to lighten it. Then, fold in the remaining whipped cream until just combined, being careful not to deflate the air.
- Spoon the filling evenly into the cooled pie crust. Smooth the top with a spatula.
- Chill the pie in the refrigerator for at least 6 hours, or preferably overnight, until the filling is firm.
- Before serving, garnish the top with chocolate shavings. Slice and serve cold.
Notes
- For a no-bake, eggless alternative, substitute the egg yolks with 8 ounces of softened cream cheese mixed with 1/4 cup milk and 1/2 cup powdered sugar before adding the chocolate.
- If you prefer a cookie crust, use 1 1/2 cups of crushed chocolate wafer cookies mixed with 6 tablespoons of melted butter and press into the pie plate. Chill for 30 minutes before filling.
- To achieve the silkiest texture, ensure your melted chocolate is not too hot when added to the butter mixture.
Nutrition
- Serving Size: 1 slice
- Calories: 450
- Sugar: 35g
- Sodium: 150mg
- Fat: 32g
- Saturated Fat: 18g
- Unsaturated Fat: 14g
- Trans Fat: 0.5g
- Carbohydrates: 38g
- Fiber: 2g
- Protein: 5g
- Cholesterol: 120mg