

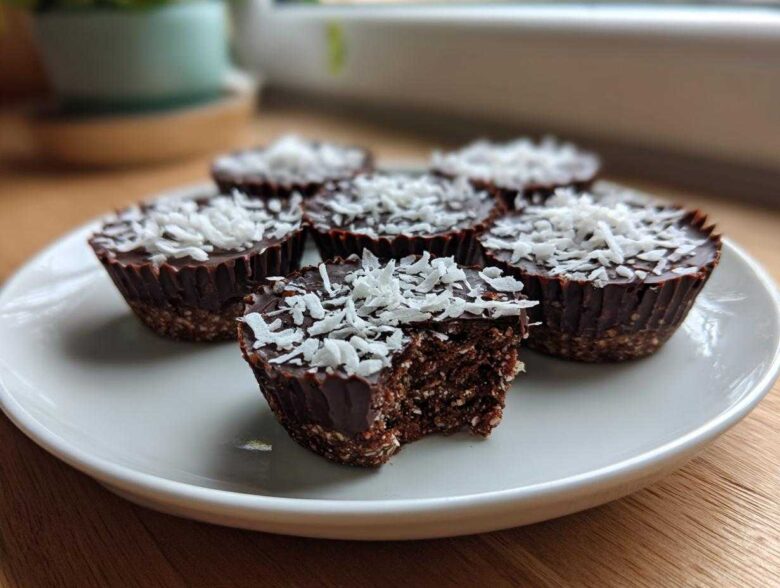
Oh my gosh, you are going to *love* these! When my schedule gets totally crazy—you know, those weeks where I forget to eat until 4 PM—I rely on things that are fast, packed with fuel, and don’t require turning on the oven. I’ve perfected my go-to recipe, and these **No-Bake Chocolate Coconut Protein Cups** are seriously the superstars of my freezer stash. If you’re looking for the ultimate grab-and-go fuel, you should also check out my other no-bake protein balls! We’re talking five core ingredients, max! They come together in about ten minutes, and trust me, they taste like a decadent little treat even though they’re fueling up my workout recovery. If you need that quick, healthy grab-and-go snack that satisfies that deep chocolate craving, you’ve hit the jackpot. I actually made a huge batch last weekend and already have to make more!
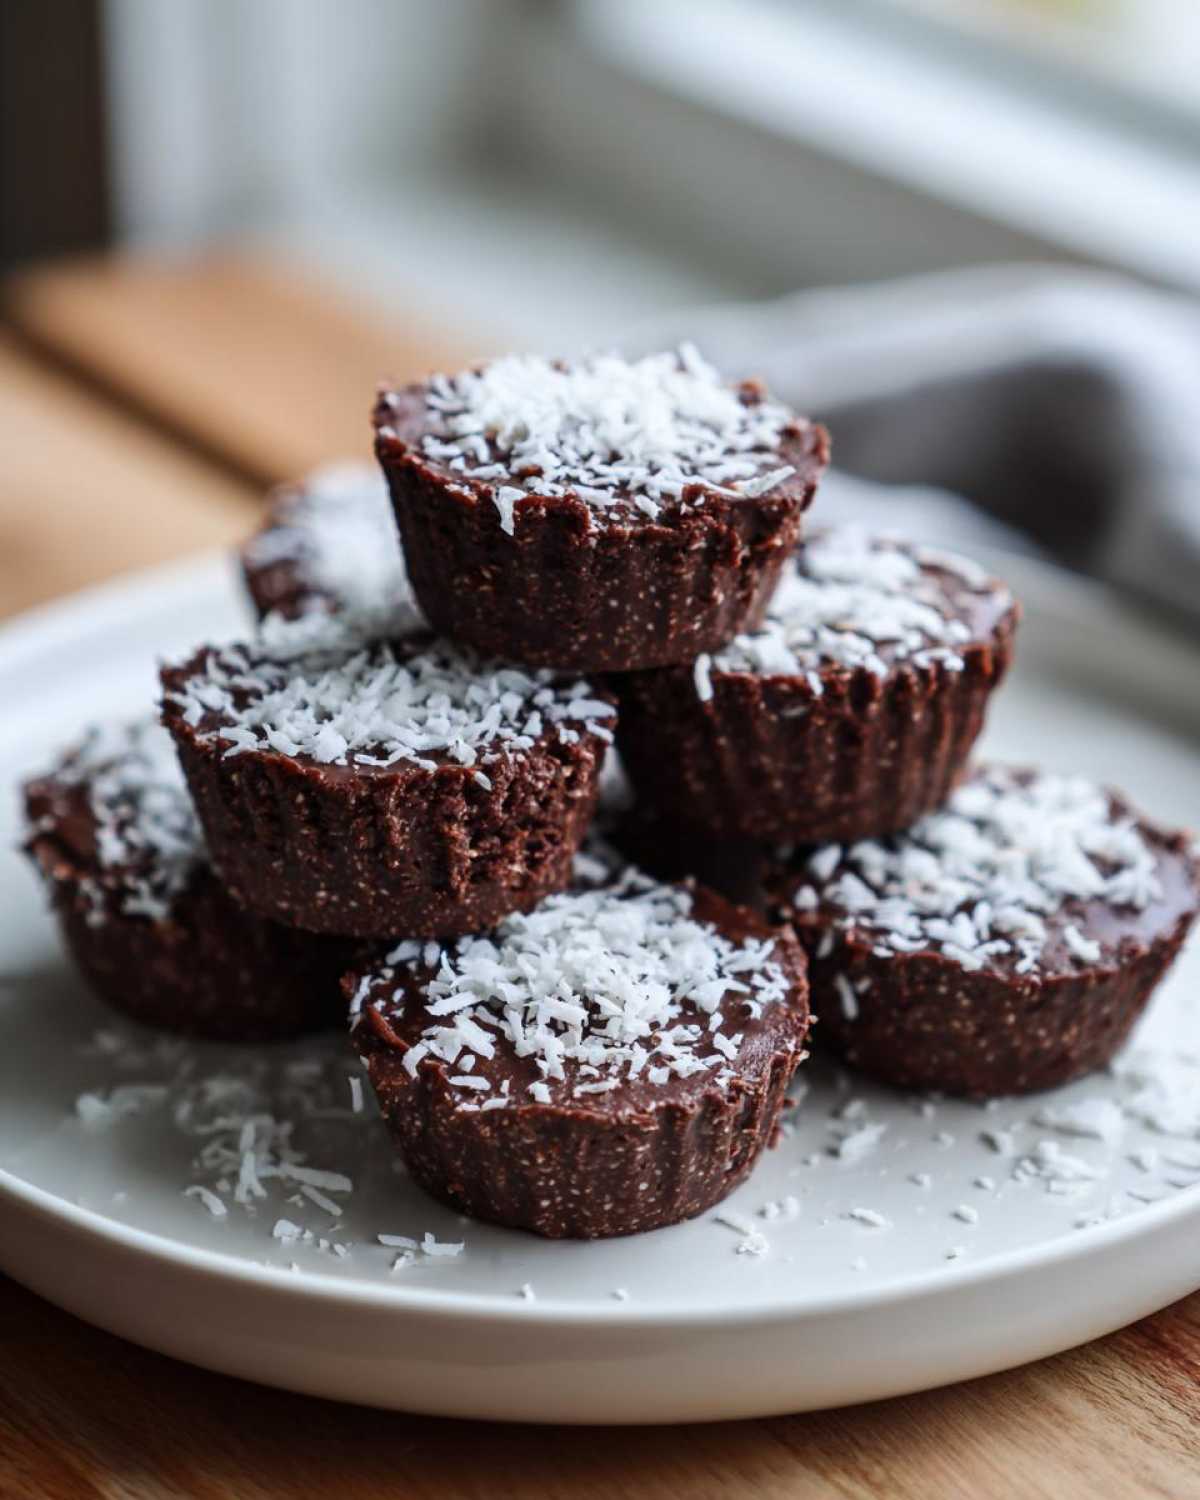
Why You Will Love These No-Bake Chocolate Coconut Protein Cups
Seriously, what’s not to adore about a snack that does 90% of the work while you sit on the couch? These cups answer all my fitness food needs. They are the definition of effective, minimal-fuss fuel. Whenever I’m planning my week, these are always listed first!
- Absolute Speed: Prep time is genuinely under ten minutes. They’re super quick to mix up.
- Zero Heat Required: No turning on the oven means less cleanup and perfect for those hot summer days when I can’t stand the idea of heating up the kitchen.
- Perfect for Meal Prep: I make a big batch every Sunday night, and they last all week. They are essential for my weekly meal prep routine.
- Fitness Focused: They pack a serious protein punch, making them the ideal post-workout reward or midday boost, just like the other fitness snack recipes I love.
Essential Ingredients for Perfect No-Bake Chocolate Coconut Protein Cups
Okay, this is the secret sauce—the reason these cups are so ridiculously easy yet taste so satisfying! We are only using five main players here, which keeps the cost down and the cleanup manageable. Remember, since nothing is baking or solidifying in the oven, the quality of your ingredients really shines through, so try to use good stuff!
- 1 cup vanilla or unflavored protein powder (I use a fine whey isolate)
- 1/2 cup unsweetened shredded coconut (don’t grab the sweetened kind, trust me on this one!)
- 1/2 cup creamy peanut butter or almond butter (must be smooth)
- 1/4 cup unsweetened cocoa powder
- 1/4 cup maple syrup or honey (this is our binder and sweetener)
- 1 tablespoon coconut oil (this is optional, but it helps things set up really nicely and cuts the chalkiness)
If you are watching your sugar intake closely, make sure you check out my thoughts on low sugar protein snacks too; it gives you an idea of how to adjust sweeteners!
Ingredient Notes and Substitutions for Your No-Bake Chocolate Coconut Protein Cups
The protein powder choice is huge here. If you use a gritty plant-based powder, you might need an extra teaspoon of liquid, like a splash of almond milk, because they soak up moisture differently than whey. Also, if you use peanut butter that’s super runny straight from the jar, your mixture might be sticky, so chill your jar for 15 minutes beforehand!
When it comes to that maple syrup, if you want to keep these lower carb, you can swap it out for a liquid zero-calorie sweetener like monk fruit drops or liquid stevia. Just add it by the dropperful until the dough holds together perfectly. You need that sticky liquid to bind everything, whether it’s maple or a sugar-free alternative!
How to Prepare Your No-Bake Chocolate Coconut Protein Cups Step-by-Step
I promise, this is the easiest recipe you’ll ever follow! The beauty of skipping the oven is that we just mix and chill. First thing first, you need to get your muffin tin ready. I always grab my trusty paper liners—they make cleanup completely non-existent, which is the best part of any easy energy balls no bake recipe. Line up those 12 cups!
Next, it’s time to build the dry base. In a medium bowl, I whisk together the protein powder, the shredded coconut, and the cocoa powder. Make sure you fluff those dry ingredients up so there are no weird clumps of protein powder hiding anywhere. You want it totally uniform before we start adding the wet stuff.
Now for the sticky part! Dump in your creamy peanut butter and your maple syrup. Start mixing this with a serious spoon first. I usually end up ditching the spoon and using my hands because you really need to squish and press everything together until it forms this thick, cohesive dough. Here’s my expert tip: if it’s too dry and crumbly, don’t panic! Add that optional teaspoon of coconut oil or even just one teaspoon of water until it clumps up nicely when you squeeze it.
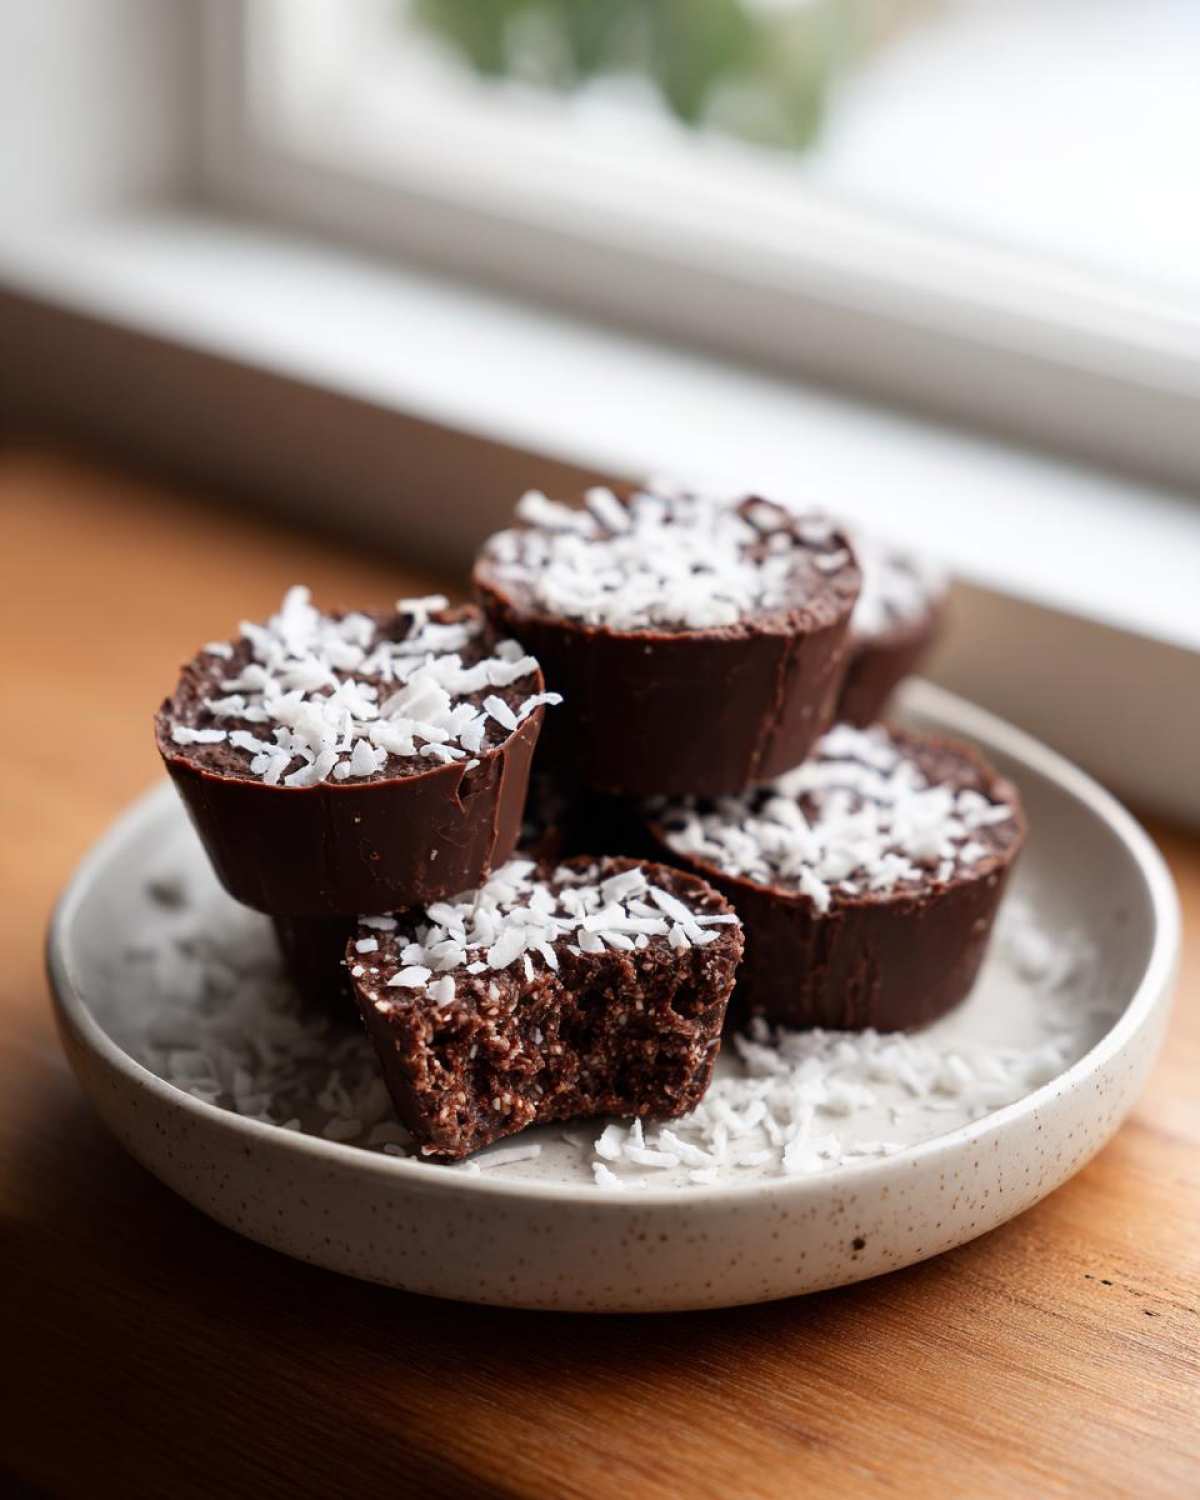
Once it looks like thick cookie dough, divide it evenly among the 12 lined cups. Press it down firmly into the base with the back of a spoon or your thumb—we want dense cups, not loose mounds! Then, pop the whole tin into the freezer. You need them to freeze solid, so set your timer for at least 30 minutes. Don’t cheat on that chill time, or they’ll turn into melty chocolate messes!
Tips for Success When Making No-Bake Chocolate Coconut Protein Cups
You know, even though these are “no-bake,” there are still a few little tricks to make sure these turn out perfectly dense and not weirdly sticky or dry. The biggest thing I always tell people is to pay attention to your protein powder. If you’re using a newer, ultra-fine powder, it sucks up moisture like a sponge! If you’re making these for meal prep, you want them firm enough that they don’t smoosh together.
I learned this the hard way once when I subbed in a different brand. My mixture looked great in the bowl, but when I pressed it into the cups, it started cracking apart! It was way too dry. My fix? I added just one extra teaspoon of peanut butter and a tiny splash of vanilla extract—literally drops at a time—until it was pliable again. Don’t add liquid all at once, or you’ll regret it!
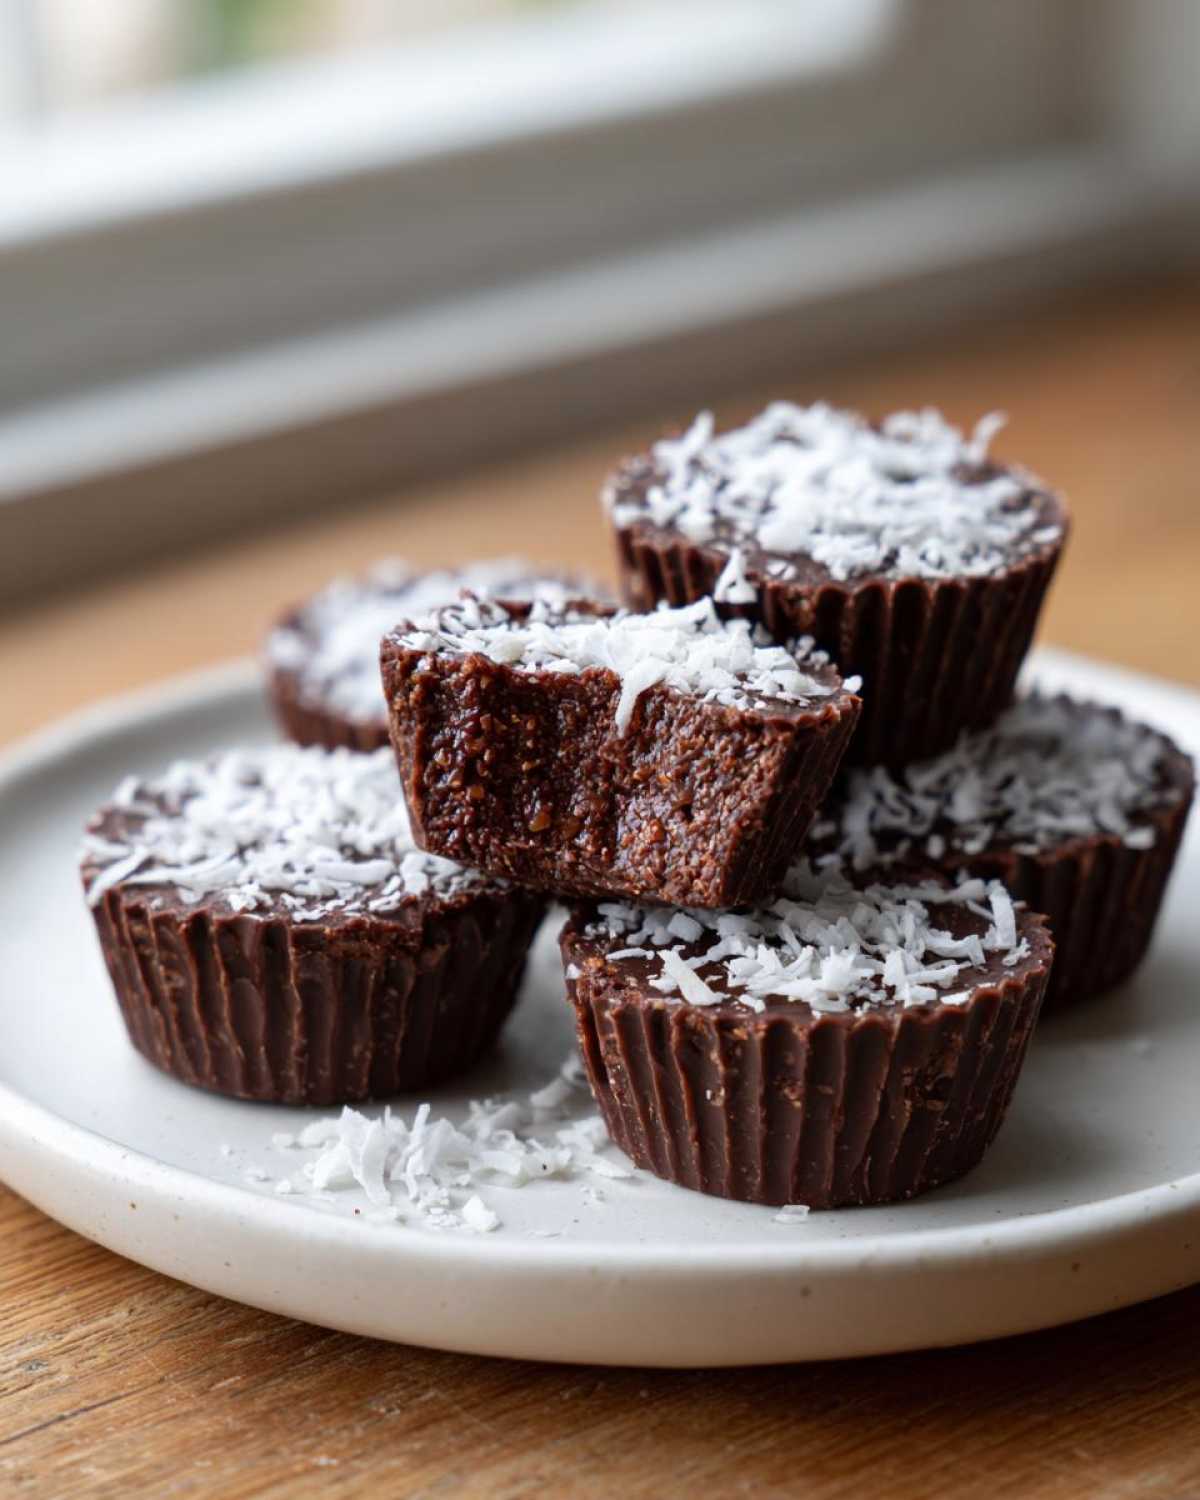
Taking the time to press them down firmly into those paper liners really makes the difference in the final structure. These are the ultimate best no-bake protein balls because they hold their shape perfectly once chilled. If you treat this like molding little power domes, you’ll have the best simple protein bites recipe ever!
Storage and Make-Ahead Instructions for No-Bake Chocolate Coconut Protein Cups
The best thing about these cups, besides being fast, is how amazing they are for making ahead! Since they are no-bake, they store beautifully, which means they are my go-to for weekly fuel. I always line a simple, airtight container—I use the same kind of container I use for my meal prep egg muffins—and place a layer of parchment paper between the layers.
In the refrigerator, these guys stay fresh and perfectly dense for about a week. They firm up a bit more once they are chilled, which I love. If you’re stocking up for the long haul, skip the fridge and head straight for the freezer! They freeze rock solid and maintain their texture fantastically well. You can easily keep them tucked away for up to two months. Honestly, grabbing one frozen straight from the freezer and letting it thaw for five minutes is the perfect way to start my afternoon slump!
Variations for Your Chocolate Coconut Protein Snack Cups
Now that you’ve mastered the basic formula, let’s talk tweaking! The beauty of these no-bake cups is that you can mess with the flavor profile without ruining the structure, which is why they are such fantastic quick vegan protein snacks if you use a plant-based powder. I love swapping out the peanut butter for sunflower seed butter if I’m trying to keep nuts out of the house, and boy, does that change the profile!
Another fun addition is spice! Try mixing in half a teaspoon of ground cinnamon along with your cocoa powder—it gives them this warm, almost brownie-like flavor that is incredible. If you want a little crunch, before you freeze them, sprinkle a few extra flakes of shredded coconut or some cacao nibs right on top of the pressed mixture. They look fancy but take zero extra effort!
Making Keto Friendly Chocolate Coconut Bites
If you’re following a keto lifestyle, you can absolutely make these work! The main switch is ditching the maple syrup entirely, since that’s where the sugar comes from. We need to replicate that stickiness with healthy fats. Use the optional coconut oil, and maybe add an extra splash of it. Then, use a few drops of liquid stevia or a small addition of monk fruit sweetener until you reach your desired sweetness level. This turns them straight into keto friendly chocolate coconut fat bombs!
Serving Suggestions for These High Protein Dessert Treats
Honestly, you can just grab one straight from the fridge and call it breakfast, lunch, or dessert—they are that good! But if you want to get fancy (which I rarely do before 9 AM), I have a few ideas. They are amazing slightly warmed for about ten seconds in the microwave; it makes the chocolate gooey, almost like a soft truffle. That warmth pairs perfectly with a strong cup of black coffee.
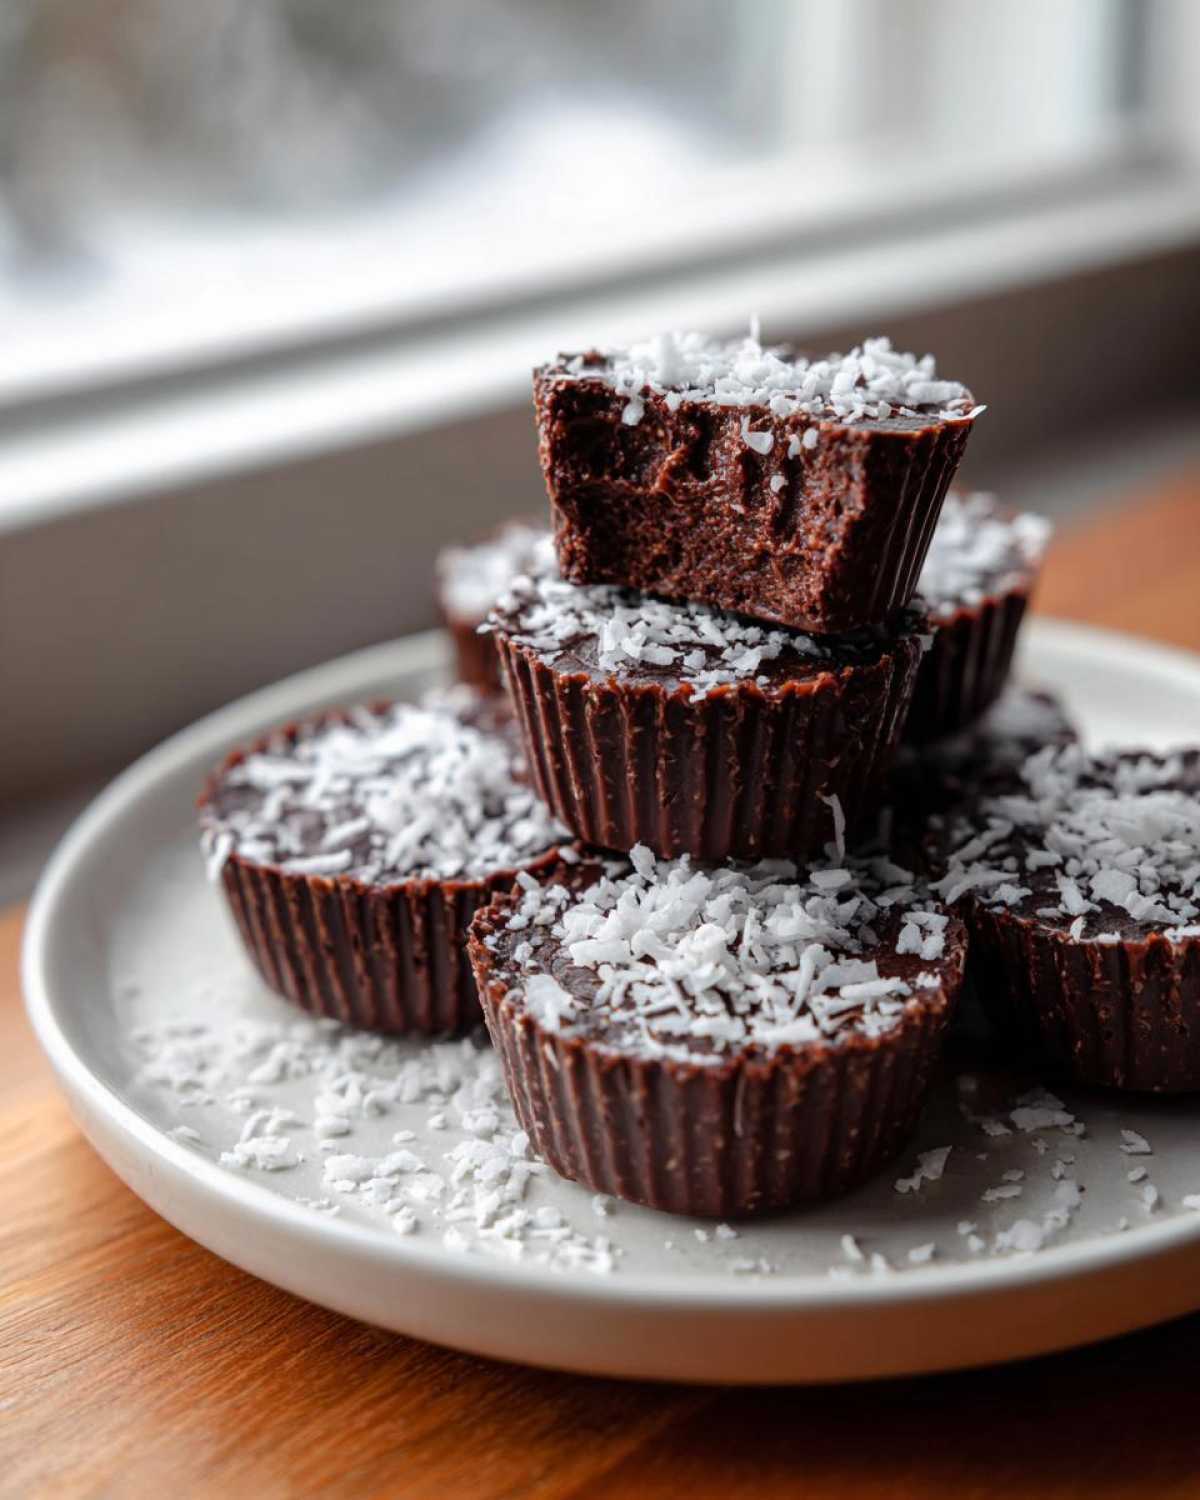
They also make the perfect crunchy topping for Greek yogurt or a smoothie bowl if you crumble a couple over the top! They add that nice hit of chocolate and protein so you don’t need those sugary granola toppings. Try making a quick glass of my homemade chocolate milk to go alongside one of these for a real treat!
Frequently Asked Questions About No-Bake Chocolate Coconut Protein Cups
I know when you’re trying to stick to a workout schedule or specific dietary macros, you usually have a few hang-ups about new recipes. Don’t worry, I’ve answered the main concerns readers have about turning these into the perfect high protein dessert!
Can I use a different nut butter in the No-Bake Chocolate Coconut Protein Cups?
Yes, you absolutely can! If you don’t have peanut butter on hand, you can swap it out 1:1 for almond butter, cashew butter, or even sunflower seed butter. The most important thing is that it’s creamy and well-stirred. If you use a natural, super-oily or drippy nut butter, you might just need to add an extra tablespoon of protein powder or a tiny bit more cocoa to get that dough to come together properly. Test it gently before you press it into the cups!
How do I make these into Gluten Free Protein Treats?
The fantastic news is that this recipe is naturally gluten free protein treats friendly! We aren’t using any flour or oats here. The main thing you have to check is your protein powder. Most pure whey or plant-based powders are GF, but sometimes facility cross-contamination happens or sometimes additives aren’t pure. Give that tub a quick once-over to make sure the label confirms it’s certified gluten-free if that’s a serious requirement for you!
Estimated Nutritional Snapshot for No-Bake Chocolate Coconut Protein Cups
Listen, when you’re making satisfying treats like these, you want to know what you are fueling your body with, right? Cooking at home gives you total control, which is why I love knowing the breakdown of these super simple cups. Because we are using five main ingredients, tracking this stuff is actually pretty painless!
Below is the estimated nutrition breakdown per one cup. Keep in mind, these numbers change based on the protein powder you choose (whey versus plant-based) and whether you use maple syrup or a zero-sugar substitute. I calculated this assuming standard vanilla whey powder and maple syrup, but always double-check if you are tracking very strictly!
- Serving Size: 1 cup
- Calories: 160
- Protein: 12g
- Fat: 9g (Watch that saturated fat, it climbs fast with coconut!)
- Carbohydrates: 12g
- Fiber: 3g
- Sugar: 6g
These numbers are solid for a quick, satisfying bite that keeps me full until my next meal. I always say that knowing what’s in your food makes it taste even better! If you need to dive deeper into how ingredient choices affect your goals, make sure you read my general nutrition disclaimer page.
Print5 Ingredient No-Bake Chocolate Coconut Protein Cups
Make these simple, high-protein chocolate coconut cups without turning on your oven. They are quick to prepare and perfect for meal prepping.
- Prep Time: 10 min
- Cook Time: 0 min
- Total Time: 40 min
- Yield: 12 cups
- Category: Snack
- Method: No-Bake
- Cuisine: American
- Diet: Vegetarian
Ingredients
- 1 cup vanilla or unflavored protein powder
- 1/2 cup unsweetened shredded coconut
- 1/2 cup creamy peanut butter or almond butter
- 1/4 cup unsweetened cocoa powder
- 1/4 cup maple syrup or honey (adjust to taste)
- 1 tablespoon coconut oil (optional, for smoother texture)
Instructions
- Line a standard 12-cup muffin tin with paper liners or silicone cups.
- In a medium bowl, combine the protein powder, shredded coconut, and cocoa powder. Mix well until uniform.
- Add the peanut butter and maple syrup (or honey) to the dry ingredients.
- Mix everything together using a sturdy spoon or your hands until a thick, uniform dough forms. If the mixture is too dry, add the coconut oil if using, or a teaspoon of water or milk until it holds together.
- Divide the mixture evenly among the 12 liners, pressing the mixture firmly into the bottom of each cup.
- Place the muffin tin in the freezer for at least 30 minutes to set completely.
- Store the finished cups in an airtight container in the refrigerator for up to one week or the freezer for longer storage.
Notes
- Use a whey or plant-based protein powder that blends well; very fine powders work best.
- For a lower sugar option, substitute the maple syrup with a few drops of liquid stevia or monk fruit sweetener, adjusting sweetness to your preference.
- If you want a richer chocolate flavor, add 1 teaspoon of instant coffee granules to the dry mix.
Nutrition
- Serving Size: 1 cup
- Calories: 160
- Sugar: 6
- Sodium: 80
- Fat: 9
- Saturated Fat: 4
- Unsaturated Fat: 5
- Trans Fat: 0
- Carbohydrates: 12
- Fiber: 3
- Protein: 12
- Cholesterol: 5