

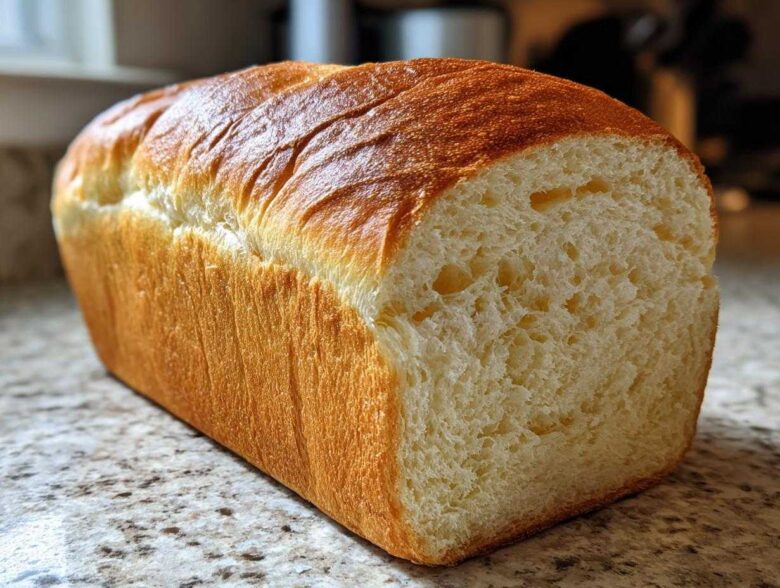
Oh, the sheer magic of pulling a warm loaf of homemade bread out of your own oven! Forget those sad, square slices from the grocery aisle—we’re making the real deal today. I’m so excited to share my absolute favorite recipe for the ultimate easy, fluffy homemade white sandwich bread. I promise you, if you’ve been scared to try yeast before, this is the one that will change everything. It’s seriously so simple and requires next to no hard work. This recipe is my go-to, and it’s got the best soft texture you can imagine. Trust me, once you learn how to make this simple bread, you’ll never look back!
Why This Is the Easiest Homemade White Sandwich Bread
I know what you’re thinking: bread means hours of work, right? Nope! Not with this recipe. I’m so excited to share my absolute favorite recipe for the ultimate easy, fluffy homemade white sandwich bread. I promise you, if you’ve been scared to try yeast before, this is the one that will change everything. It’s seriously so simple and requires next to no hard work. This recipe is my go-to, and it’s got the best soft texture you can imagine. For more help getting started, check out my beginner bread baking tips. Trust me, once you learn how to make this simple bread, you’ll never look back!
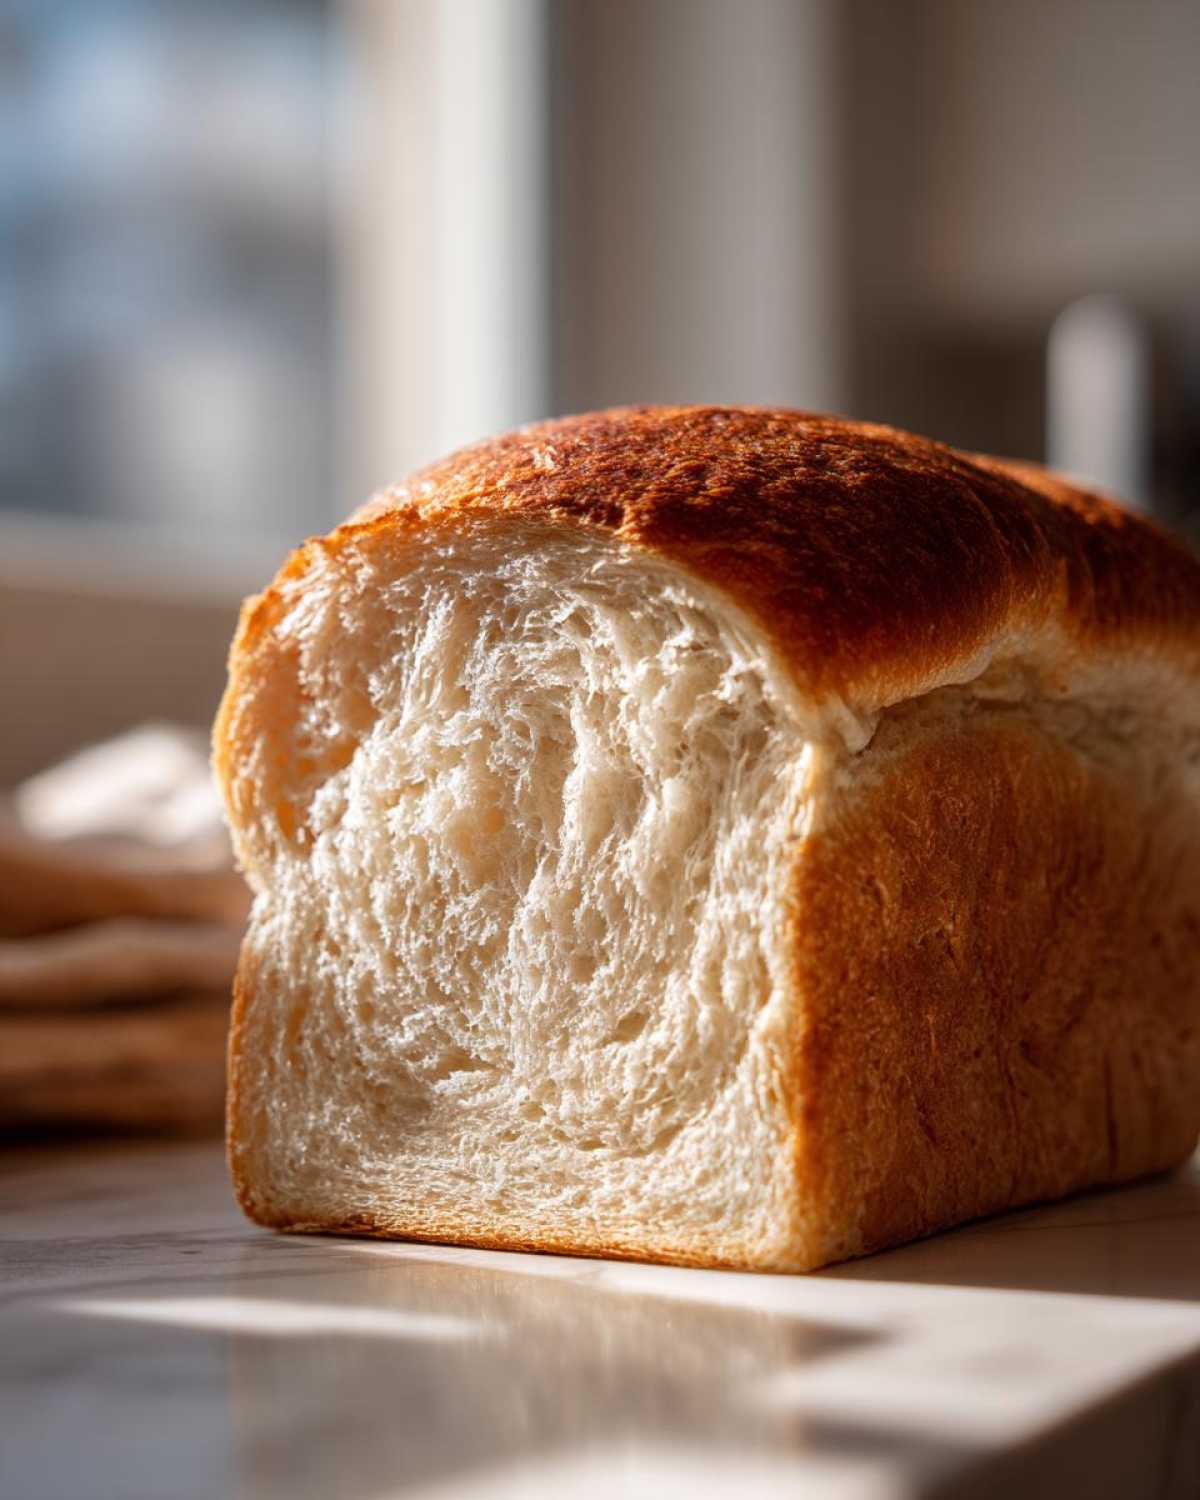
- It comes together so quickly because we skip the aggressive kneading most recipes demand.
- The texture is unbelievably soft—perfect for picky eaters or delicate sandwiches.
- You get that classic, slightly sweet bakery flavor right in your kitchen.
This simple method guarantees incredible results every single time you bake this loaf of bread.
Achieving Fluffy Yeast Bread Texture with Less Work
The secret to this wonderfully fluffy yeast bread texture is really in how we treat the fats and liquids in our dough. That little bit of melted butter and the warm milk we add in at the beginning moisturizes the flour right away. It helps the gluten relax, which means we don’t have to beat the dough into submission! You only need 5 or 7 minutes of gentle kneading until it’s smooth. That small effort is just enough work to get that perfect soft sandwich loaf without tiring your arms out. This is truly easy homemade bread!
Ingredients for Your Simple White Bread from Scratch
Okay, let’s talk about what you need. The beauty of this white bread is that it uses straight-up pantry staples. You don’t need any fancy mixers or weird ingredients here, which is why it’s such a fantastic starter recipe for anyone new to making bread.
Grab these items:
- 3 cups all-purpose flour (measure this gently, don’t pack it in!)
- 1 packet (2 1/4 teaspoons) active dry yeast
- 1 teaspoon salt
- 1 tablespoon granulated sugar
- 1 cup warm milk (make sure it’s about 105-115°F—too hot kills the yeast!)
- 1/4 cup unsalted butter, melted
- 1 large egg
That’s it! With these simple things, you are going to create the best loaf of bread this week, seriously. Having everything measured out before you start mixing is the best advice I can give you for foolproof baking.
Step-by-Step Instructions for Perfect Homemade Bread
It’s time to get mixing! This process is super straightforward, but paying attention to the details here is what separates a good loaf from a truly amazing one. I always tell people that making this kind of yeast bread is relaxing once you get into the rhythm. Be sure your oven is ready to go later, but for now, we just focus on this dough!
Mixing and the Minimal Kneading for This Bread
First things first, grab your big bowl and whisk all your dry bits—flour, yeast, salt, and sugar—together really well. That yeast needs to meet all its friends evenly! In a second bowl, mix up your warm milk (remember that sweet spot temperature!), the melted butter, and the egg. Now, pour the wet into the dry and just stir it with a sturdy spoon until it looks like a messy, shaggy ball of dough. Don’t overthink the messiness at this stage!
Next, turn that shaggy dough out onto a lightly floured counter. This is where we knead, but only for about 5 to 7 minutes. You’re looking for the dough to stop sticking everywhere and feel smooth and springy, like the soft skin on your inner wrist. When you push it lightly, it should bounce back. That quick session is all the work this simple bread needs!
First Rise and Shaping Your Soft Sandwich Loaf Recipe
Once you’re happy with the kneading, it needs a rest. Lightly oil your mixing bowl, plop the dough in, turn it over so it gets coated, and cover it tight with plastic wrap. Find a warm, draft-free spot—the top of the fridge works great if your kitchen is chilly. Let it happily double in size, which usually takes an hour or maybe a little more. Don’t rush this part!
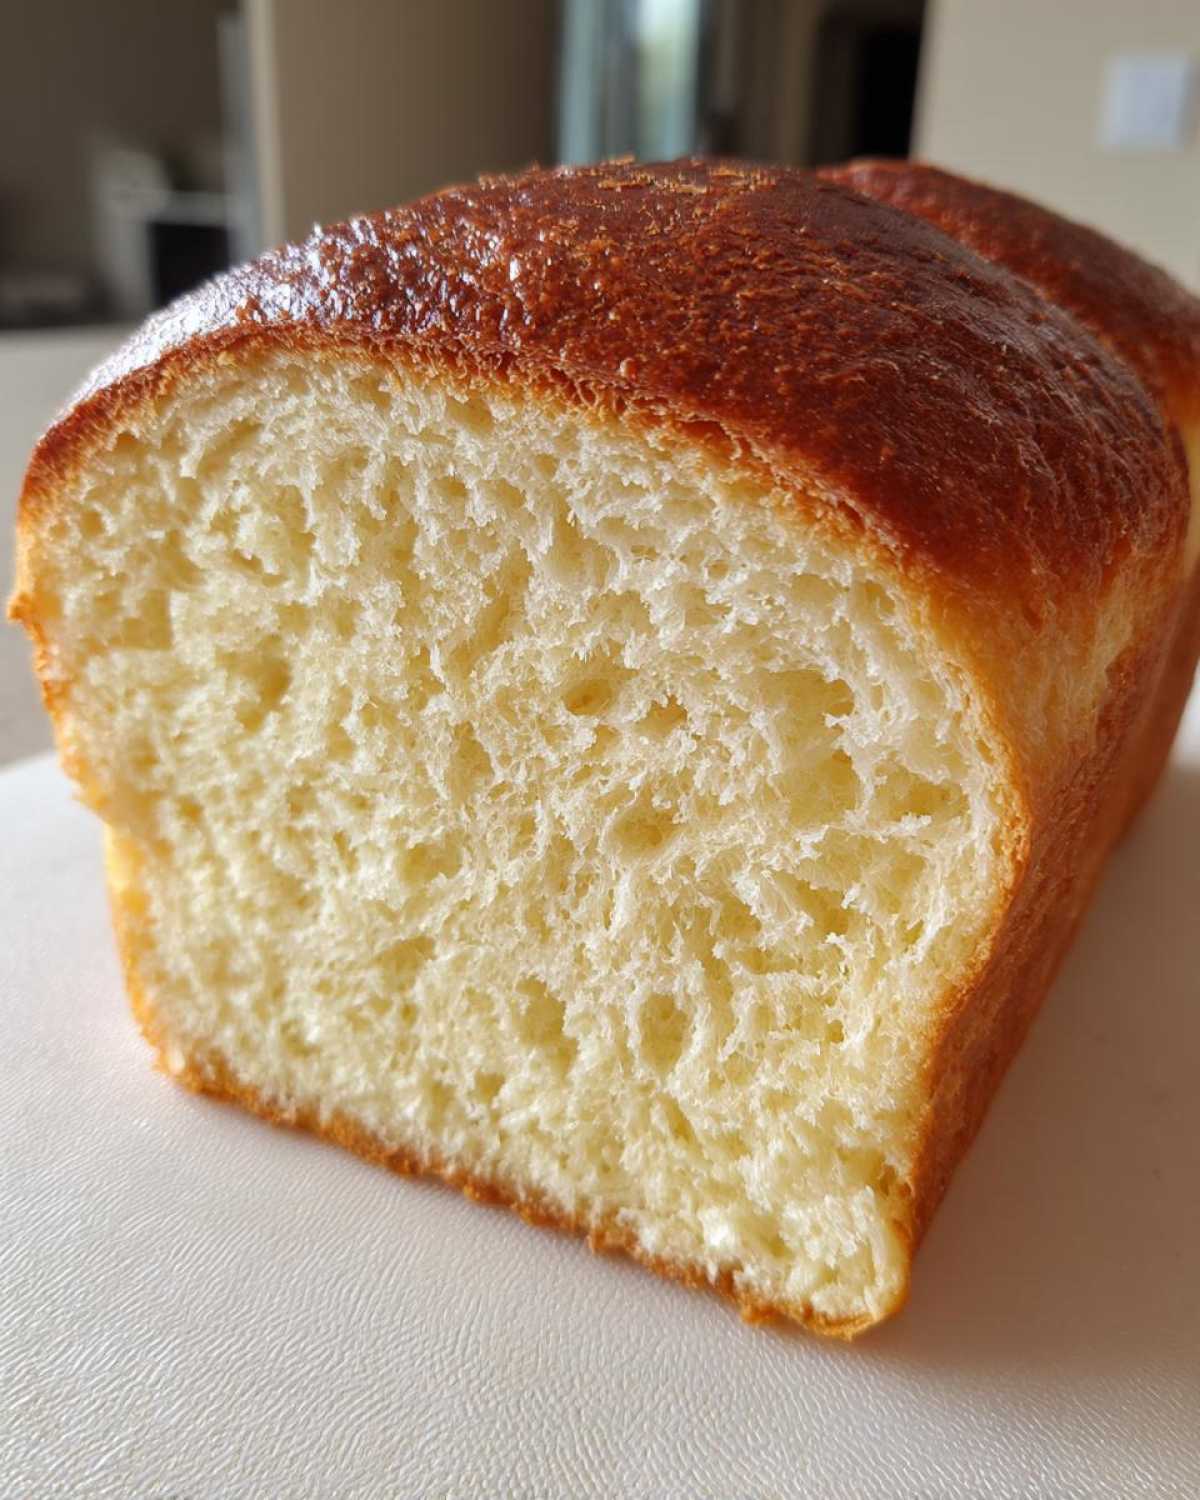
When it’s doubled, gently punch the air out—it’s not an angry punch, just a gentle deflating! Now, shape it carefully into a neat log and tuck it right into your greased 9×5 loaf pan. Cover it loosely again, and let it have its second nap for about 30 to 45 minutes. You want to see it really crown, peaking about an inch over the pan edge. That beautiful second rise is what ensures your soft sandwich loaf recipe comes out light and airy!
If you want some fantastic inspiration for other dough projects, you can peek at my guide for making French bread when you’re ready for the next challenge!
Expert Tips for Beginner Bread Baking Success
Baking your first loaf of bread can feel high-stakes, but honestly, the biggest secret is just paying close attention to the temperature! I’ve picked up a few tricks over the years that help beginners avoid flat loaves or dense insides. My goal is always that perfect springy crust and fluffy interior, and these little tips really make the difference.
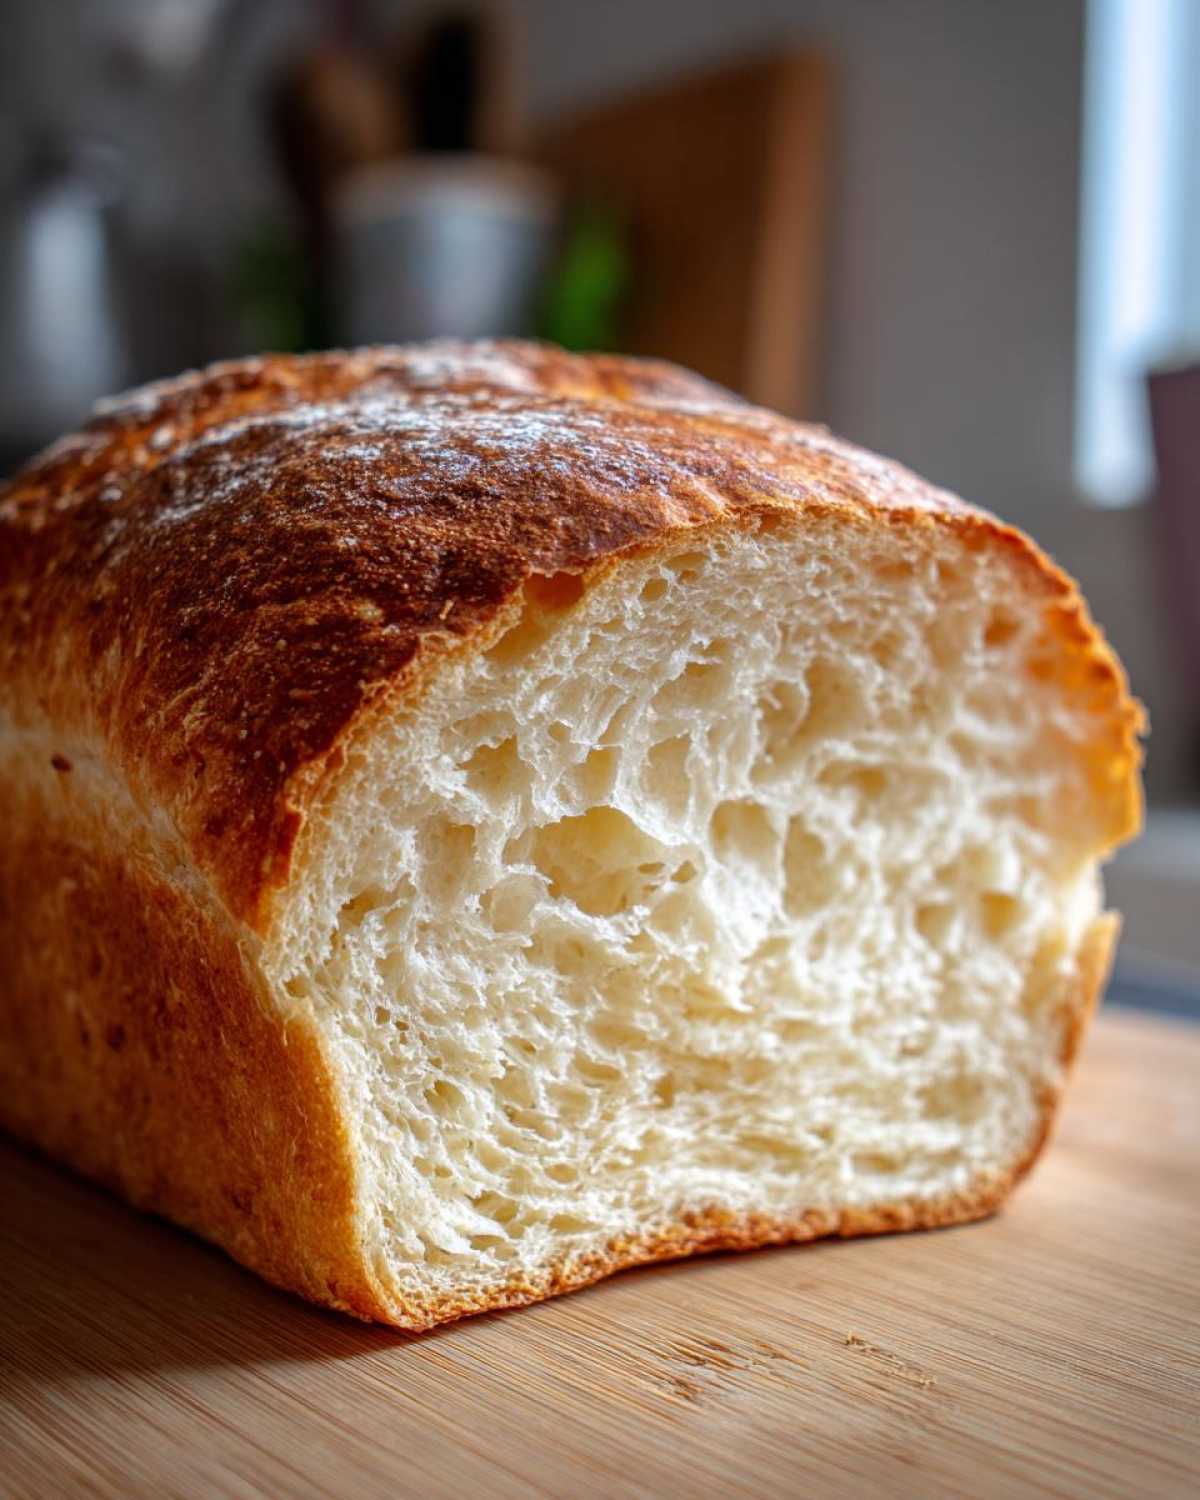
When it comes time to bake, make sure your oven is fully preheated to 375°F before the dough even goes in! An oven that’s too cool leads to a slow rise and messes up the crust development. Also, remember that golden rule from Grandma’s kitchen: when it comes out of the oven, pull it out of the pan immediately. If it sits in that hot metal, the bottom crust steam-cooks, and you end up with a sticky bottom, which is a total shame after all that hard work!
For more detailed guidance, you absolutely must read my big dive into beginner bread baking tips; it covers everything from yeast activation to troubleshooting a sticky dough!
Ingredient Notes and Substitutions for This Bread
We talked about milk temperature, but let’s chat about the milk itself. I really push for whole milk here because the extra fat content contributes directly to that gorgeous, rich flavor and that soft crumb we love in this white bread. Low-fat milk just won’t give you the same plush reward.
As for flour, stick to all-purpose if you can for this soft loaf. Bread flour has higher protein and you might end up needing to knead more or getting a chewier result than you wanted. If you absolutely must substitute, you could try a 50/50 blend of AP and cake flour, but honestly, keeping it 100% AP flour makes this the easiest beginner bread recipe possible!
How to Store and Reheat Your Homemade Bread
That glorious aroma fades too fast, doesn’t it? Keeping this fluffy white bread fresh is almost as important as baking it perfectly! Once your loaf is completely cool—and I mean stone cold, because slicing warm bread causes weird textures—you need to wrap it right. For keeping it on the counter for just two or three days, I wrap mine tightly in plastic wrap first, and then put it inside a large zip-top bag. This traps all the internal moisture.
If you are like me and always bake a double batch, you absolutely must freeze the extra loaf! Slice the bread first, then wrap the slices tightly in plastic wrap, then foil, and pop them into a freezer bag. They stay perfect for up to three months. When you want a slice, just pull it out!
To reheat those frozen slices, don’t put them in the toaster right away! Pop the slices—still wrapped in plastic—into the microwave for about 10 seconds. Then, toast them as normal. It’s like magic! The microwave quickly reintroduces just enough steam to bring that ultra-soft texture right back before the toaster dries it out. This simple trick works wonders for day-old bread, too!
Serving Suggestions for This Fluffy White Bread
Now that you have an amazing, square, fluffy loaf of homemade bread, what are you going to eat it with? Honestly, just a slather of good quality salted butter while it’s slightly warm is heavenly enough to weep over! But if you’re looking to make a meal of it, this white loaf is fantastic for PB&J, of course, but it really shines when it turns into grilled cheese because the crust gets perfectly crisp.
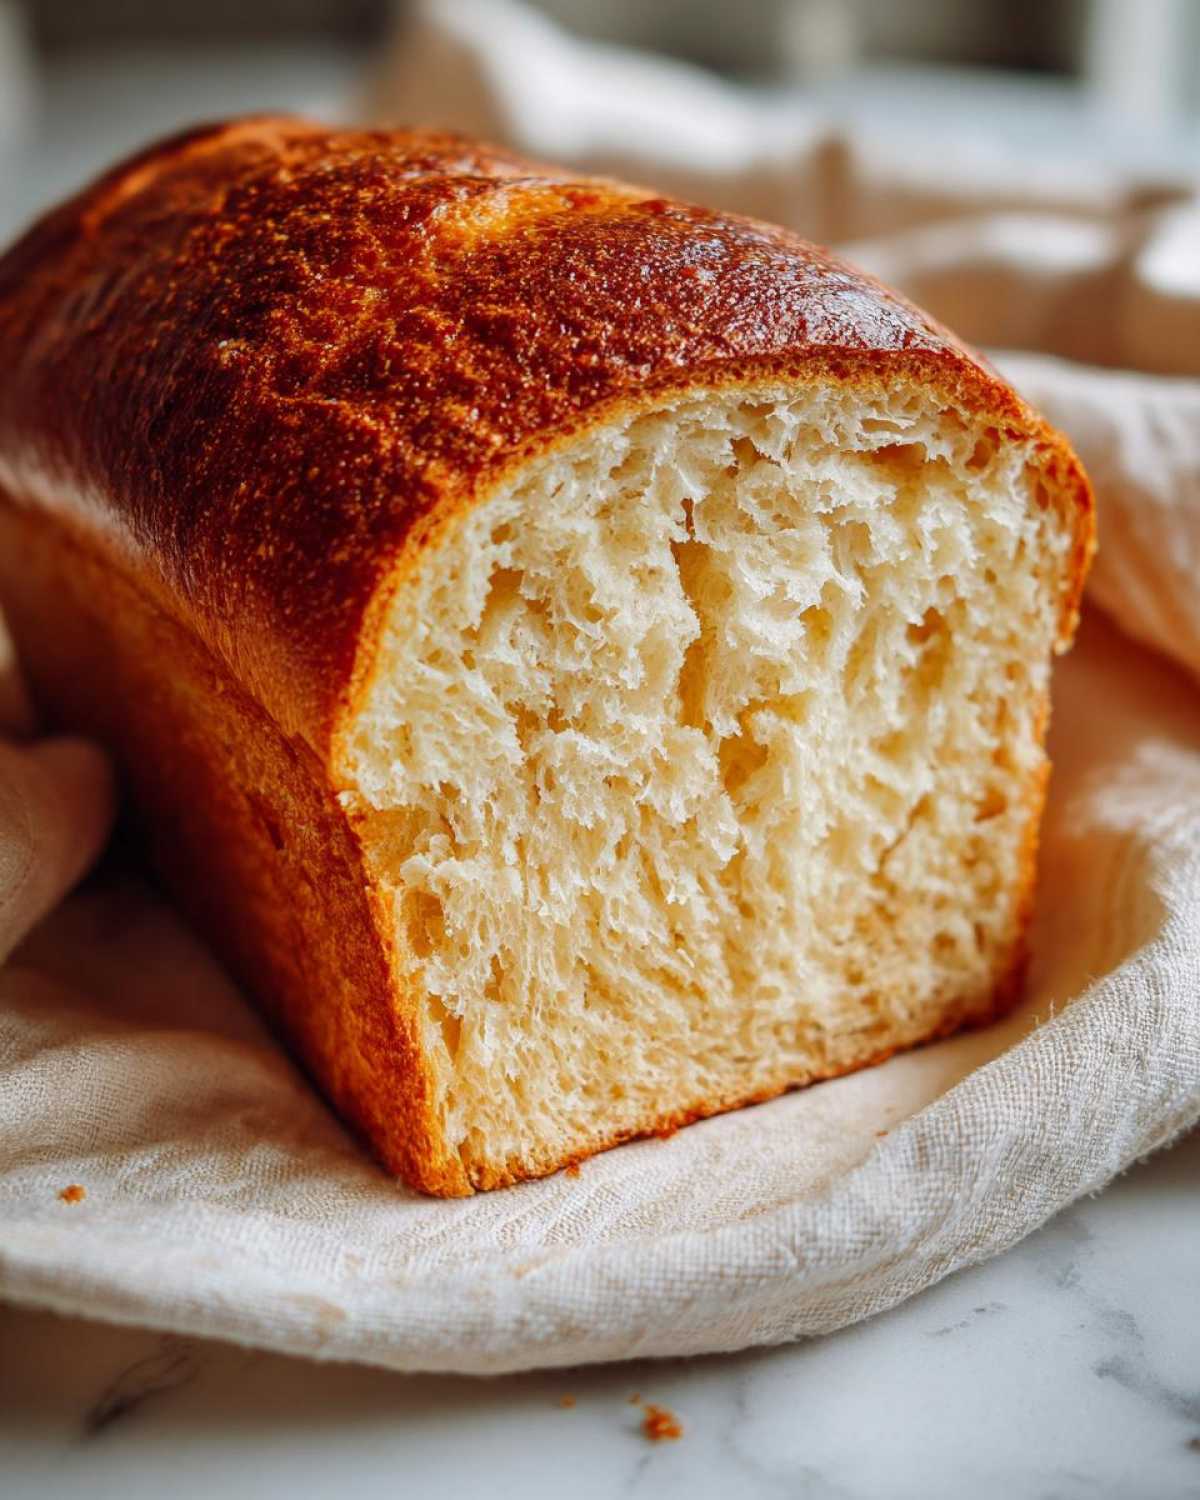
It’s also the best companion for a hearty bowl of soup—think creamy tomato or maybe even a big mug of chicken vegetable soup! It’s sturdy enough to scoop up all the broth without falling apart. Can you tell I’m already planning my lunch tomorrow?
Frequently Asked Questions About Making This Bread
I get so many questions about yeast baking—it’s totally normal when you’re starting out! Don’t stress if the first time feels a bit tricky. I’ve gathered the most common things folks ask me about this super easy homemade bread recipe below. If you’re looking for even more beginner details, my big guide to easy bread recipes for beginners has tons of info too!
Can I make this bread without a stand mixer?
Absolutely, yes! I made this incredible soft sandwich loaf by hand for years before I got my mixer. Hand kneading takes 5 to 7 minutes, which is exactly what I put in the recipe steps. Just make sure you don’t skip that time, though; that’s your workout!
What temperature should the milk be for the yeast?
This is crucial for amazing yeast activity! Your milk needs to be warm, but not hot enough to scald you. The sweet spot is 105°F to 115°F. If it feels too hot to comfortably hold your pinky in for a few seconds, it’s too hot and will kill the yeast, meaning your beautiful bread dough won’t ever rise!
My dough is rising really slowly. What happened?
Usually, slow rising means your kitchen is too cold. The yeast is sleepy! Try my trick: put your covered bowl in a cold oven, put a pan of hot water on the rack underneath it (don’t turn the oven element on!), and close the door. That slightly warm, steamy environment is heaven for dough.
How do I get that perfect sliceable texture for sandwiches?
Patience! The most common mistake with any loaf of bread is slicing it too soon. You *must* let it cool completely on a wire rack—at least an hour, maybe more. Slicing warm bread compresses the crumb, making it gummy and dense, even if the baking was perfect!
Estimated Nutritional Information for Homemade Bread
Now, I have to preface this by saying I’m a cook, not a nutritionist, so please take these numbers as a general guide! Since we’re using real ingredients like milk and butter, the values will shift a tiny bit depending on what brand of milk you grab. This estimate is based on one slice, assuming the whole recipe yields about 12 servings, perfect for calculating your sandwiches!
Here is the general breakdown for this fluffy white bread:
- Serving Size: 1 slice
- Calories: 150
- Fat: 4g
- Carbohydrates: 26g
- Protein: 4g
- Sugar: 3g
It’s pretty reasonable for such a delicious, soft loaf, right? Enjoy it!
Share Your Experience Making This Simple Bread
Seriously, I want to know how your homemade bread turned out! Did you manage to get that perfect fluffy texture? Please take a photo and share it with me, or drop a comment below letting me know how it went. Rating the recipe helps other new bakers feel confident about trying it out. Happy baking, and don’t forget to visit my main blog for more weekly kitchen adventures!
PrintThe Ultimate Easy, Fluffy Homemade White Sandwich Bread

Make soft, fluffy white sandwich bread at home with this simple recipe that requires minimal kneading.
- Prep Time: 20 min
- Cook Time: 35 min
- Total Time: 1 hour 50 min
- Yield: 1 loaf
- Category: Baking
- Method: Baking
- Cuisine: American
- Diet: Vegetarian
Ingredients
- 3 cups all-purpose flour
- 1 packet (2 1/4 teaspoons) active dry yeast
- 1 teaspoon salt
- 1 tablespoon granulated sugar
- 1 cup warm milk (about 105-115°F)
- 1/4 cup unsalted butter, melted
- 1 large egg
Instructions
- In a large bowl, whisk together the flour, yeast, salt, and sugar.
- In a separate bowl, combine the warm milk, melted butter, and egg.
- Pour the wet ingredients into the dry ingredients. Mix with a spoon until a shaggy dough forms.
- Turn the dough out onto a lightly floured surface. Knead for 5 to 7 minutes until the dough is smooth and elastic.
- Place the dough in a lightly oiled bowl, turning once to coat. Cover the bowl with plastic wrap and let it rise in a warm place for 1 to 1.5 hours, or until doubled in size.
- Gently punch down the risen dough. Shape it into a loaf and place it into a greased 9×5 inch loaf pan.
- Cover the pan loosely and let the dough rise again for 30 to 45 minutes, or until it has crowned about 1 inch over the rim of the pan.
- Preheat your oven to 375°F (190°C).
- Bake for 30 to 35 minutes, or until the top is golden brown and the internal temperature reaches 200°F (93°C).
- Remove the bread from the pan immediately and cool completely on a wire rack before slicing.
Notes
- For a softer crust, brush the top of the loaf with melted butter immediately after it comes out of the oven.
- If your kitchen is cold, place the covered dough in a turned-off oven with the light on to encourage rising.
- Use whole milk for a richer flavor and softer crumb.
Nutrition
- Serving Size: 1 slice
- Calories: 150
- Sugar: 3
- Sodium: 250
- Fat: 4
- Saturated Fat: 2
- Unsaturated Fat: 2
- Trans Fat: 0
- Carbohydrates: 26
- Fiber: 1
- Protein: 4
- Cholesterol: 25